Free original resources
Music Staff Paper Printable: Plan Staves, Spacing and Grouping
Learn how to lay out blank music staff paper: set staff spacing, margins and grouping, check line spacing at 100% print, and use a rubric for layout quality.
Free resources
Letter & A4
PDF & SVG
Letter & A4
PDF & SVG
Make it yours.
Free · no signup · calculated in your browser
Your free printable kit.
Original reference, student practice and separate worked answers. No account or payment.
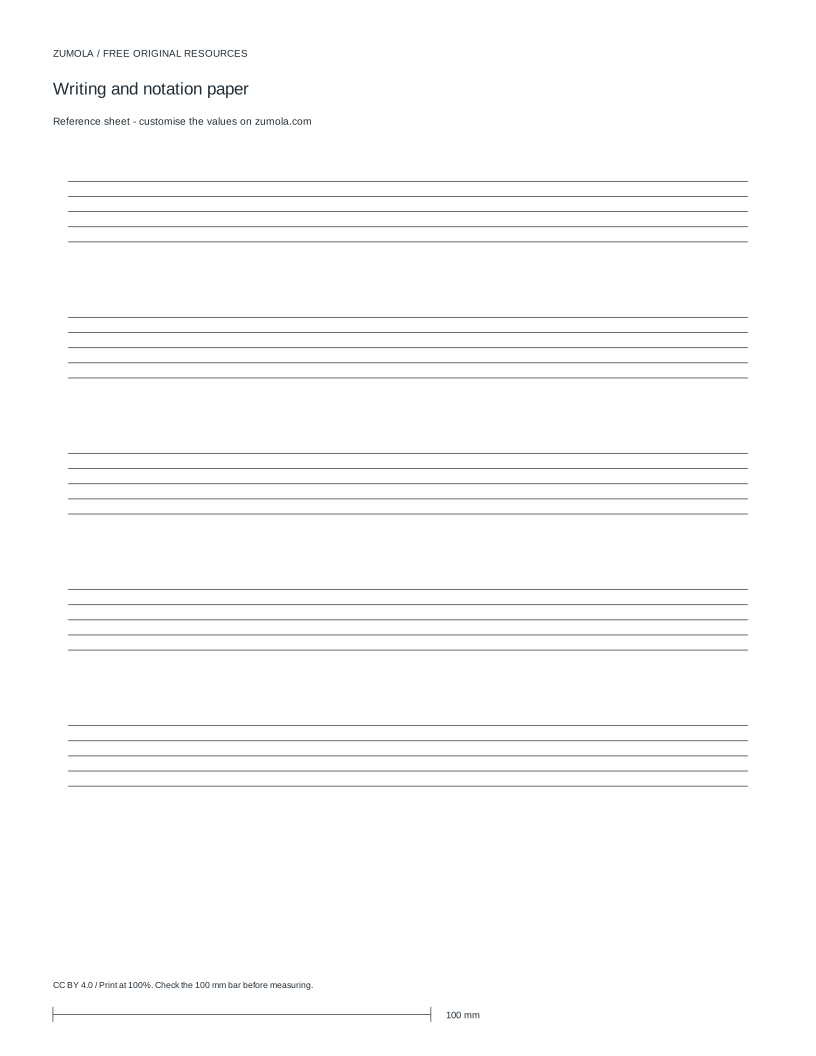
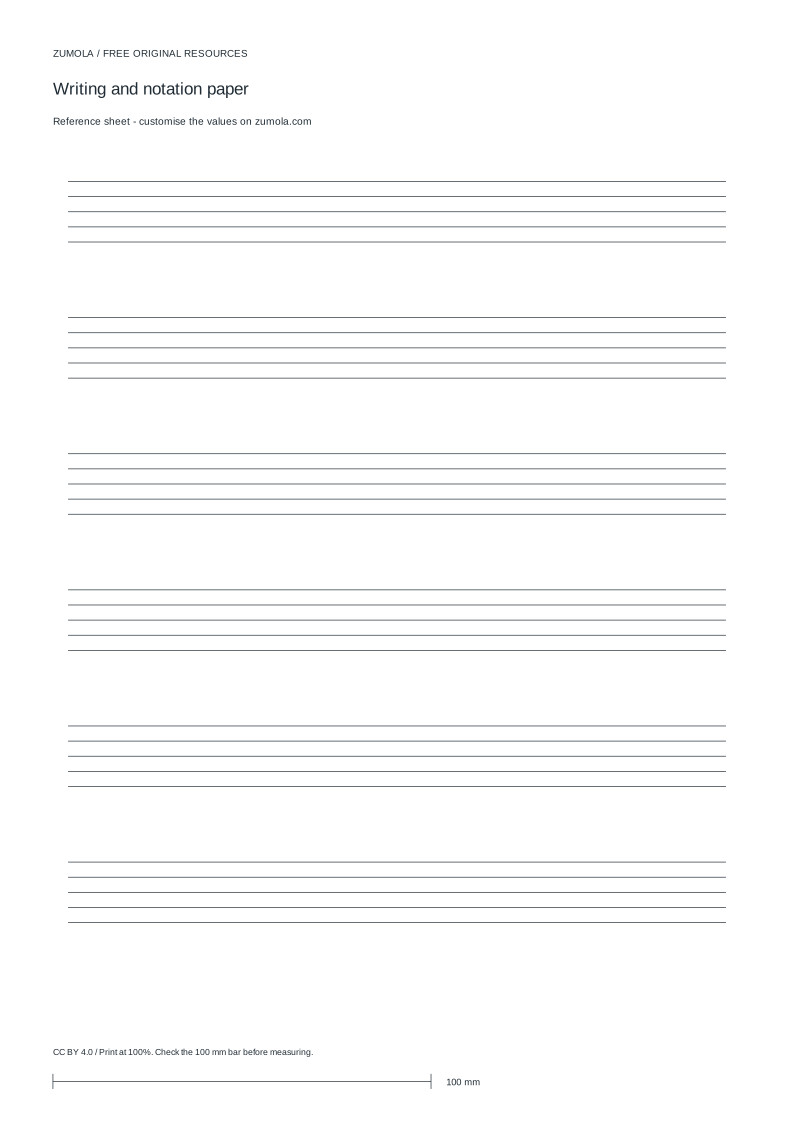
Practice worksheet
Worked answers / rubric
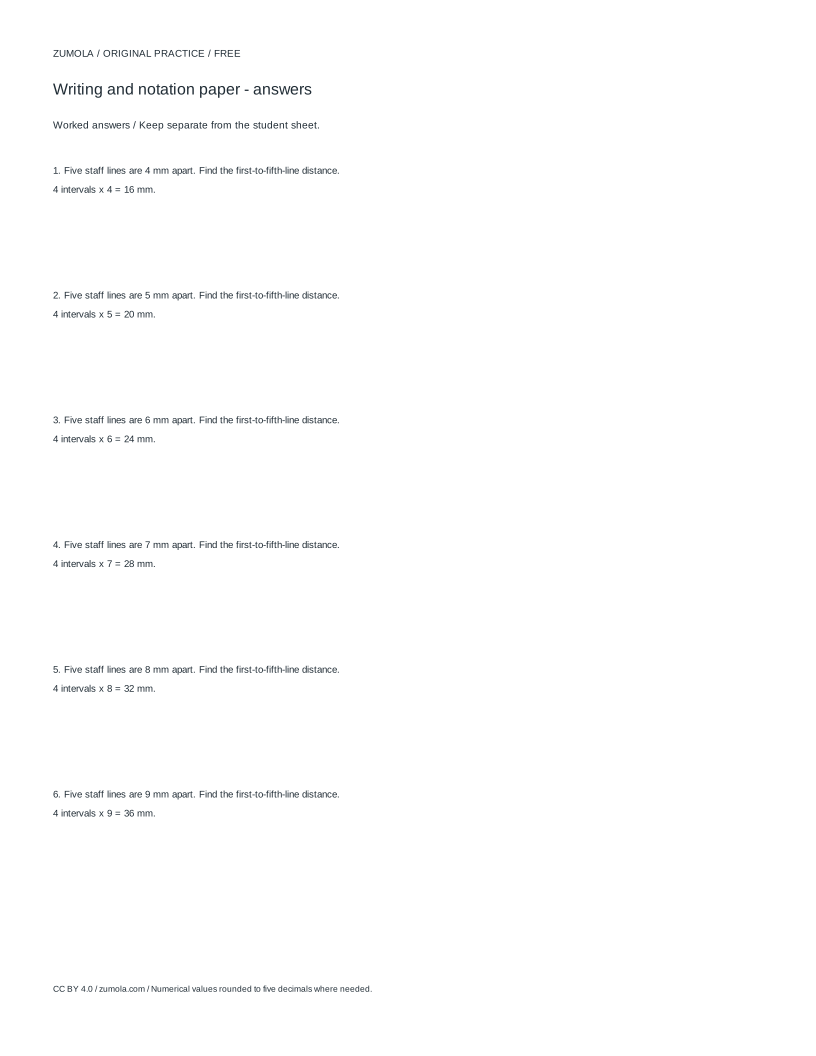
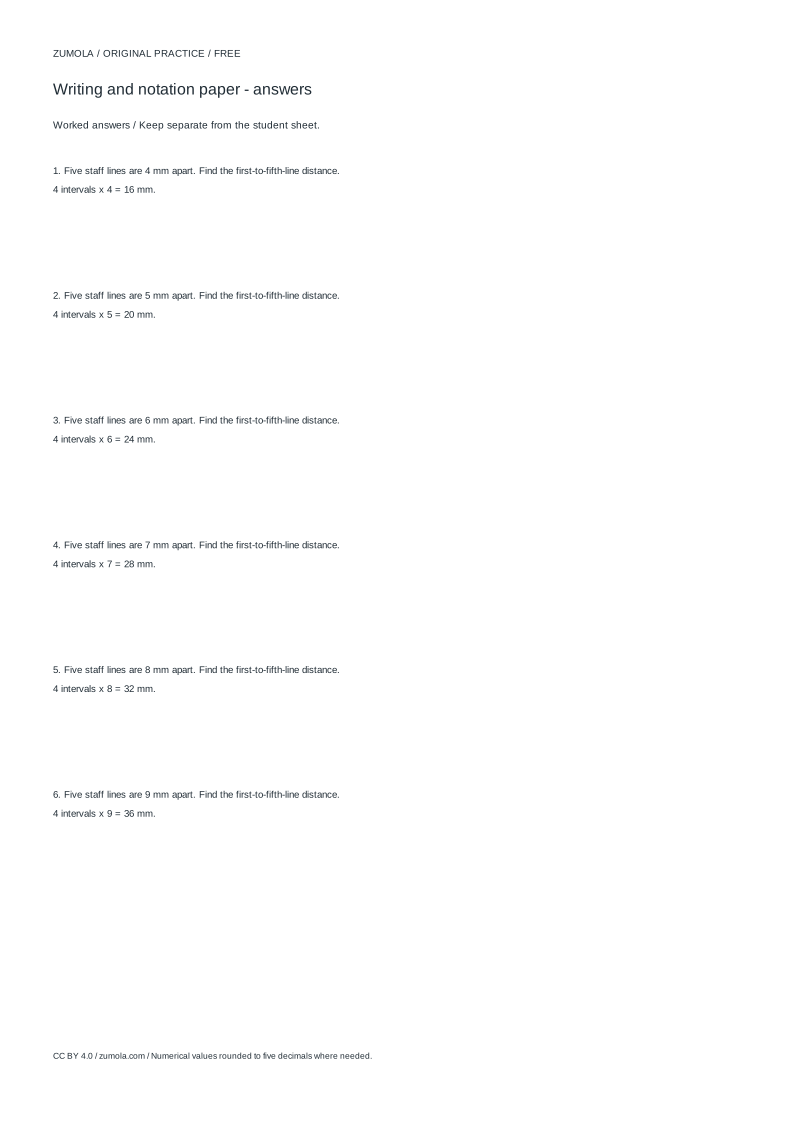
Print at Actual size / 100%. Check the calibration bar before using physical dimensions.
Blank staff paper is a layout problem before it is a music problem. You decide how many staves fit on a page, how far apart they sit, and whether they are grouped into systems for ensemble or study use. This page explains the underlying method for arranging empty five-line staves, how to check spacing and margins on a printed sheet, and how to judge the result with a rubric. It covers blank layouts and original exercises only, not published music.
How a staff page is built from measurements
A staff is five parallel horizontal lines with four equal gaps. The gap between adjacent lines is the unit that controls legibility: if that gap is too small, noteheads and ledger lines crowd; if it is too large, few staves fit. Staff spacing here means the distance from one staff to the next, measured in millimetres, and it must be larger than the line gap so that markings above one staff do not collide with the staff below.
Margins define the printable frame. A margin of 18 mm on each side leaves a clear border for hole punching and for holding the sheet without covering notation. The usable width is the page width minus both side margins; the usable height is the page height minus top and bottom margins. Dividing usable height by the combined height of one staff plus its spacing gives an approximate capacity per page. Treat that number as a planning estimate, then confirm it on the printed sheet.
Grouping changes the reading task. Ungrouped staves suit single-line practice and sketching. Grouped staves, joined by a bracket or a shared left edge, suit parts that are read together, such as two hands or two instruments. Grouping is a layout decision; it does not add notes, clefs or bar lines unless you draw them.
- Choose the line gap first, then set staff spacing clearly larger than that gap.
- Set equal left and right margins so the staff width is symmetric.
- Compute usable width and height from page size minus margins.
- Estimate staves per page from usable height divided by staff height plus spacing.
- Decide grouped or ungrouped layout before printing.
- Print at 100% and check a calibration bar before trusting the measurements.
Checking spacing, baselines and capacity on paper
Screen layout and printed layout can differ. A calibration bar printed at 100% lets you confirm that a stated length prints at that length. If the bar measures short or long, the print dialog is scaling the page, and every spacing figure is wrong by the same factor. Correct the scale setting before judging the layout.
Check the baseline by laying a straight edge along the bottom line of the first staff and comparing it with the last staff. Consistent baselines mean the staves were placed on a regular grid. Check the line gap by counting the four spaces within one staff and confirming they look equal. Check grouping by confirming that brackets or shared edges align vertically and that no staff drifts sideways.
Capacity is a count, not a promise. If your estimate says six staves fit, print one sheet and count what is actually visible inside the margins. Adjust spacing rather than margins when you need more room, because shrinking margins too far removes the handling border.
- Print a calibration bar at 100% and measure it.
- Lay a straight edge along the first and last staff baselines.
- Count the four gaps inside one staff and compare them.
- Confirm grouped staves share a vertical alignment.
- Count visible staves inside the margins and compare with your estimate.
Original exercises you can lay out yourself
Because this page produces blank layouts, the musical content is yours. A useful original exercise is a rhythm-reading drill: draw four blank staves, add a clef of your choice at the left, and place quarter and eighth notes in a short pattern you invent. The layout work is deciding how much vertical space the exercise needs and whether two staves should be grouped for a two-hand pattern.
Another exercise is a spacing study: draw one staff with wide line gaps and one with narrow gaps, then compare which is easier to read at arm's length. This teaches why spacing is a legibility choice rather than a decorative one. Keep all invented patterns simple enough that you can check them by counting beats aloud.
Do not treat staff layout as anatomy or as a clinical diagram. The five lines are a notational grid, not a representation of a hand or a body part. If you draw a hand position beside a staff, label it as a sketch and keep the staff itself as a clean grid.
- Draw four blank staves and add a clef at the left of each.
- Invent a short rhythm using quarter and eighth notes and count the beats.
- Group two staves if the pattern uses two hands.
- Compare a wide-gap and narrow-gap staff for readability.
- Keep any hand sketch separate and labelled as a sketch.
Judging the result with a rubric
There is no single correct blank staff page. Two layouts with different spacing can both be valid for different uses. A rubric makes the judgment explicit: line gaps equal, spacing consistent, margins even, grouping aligned, and capacity matched to the intended task. Score each criterion separately rather than giving one overall impression.
Use the rubric after printing, not before. A layout that looks balanced on screen may show uneven baselines on paper, and a rubric applied to the printed sheet catches that. If a criterion fails, change one setting at a time so you can see which change fixed it.
- Score line-gap equality on the printed sheet.
- Score spacing consistency across all staves.
- Score margin evenness on all four sides.
- Score grouping alignment where groups are used.
- Change one setting and reprint to confirm the fix.
Try this example
A page has usable height 240 mm. One staff is 12 mm tall and staff spacing is 18 mm. Estimate how many staves fit, then state what to check on paper.
Show the worked explanation
Each staff plus its spacing occupies 12 + 18 = 30 mm. Dividing 240 by 30 gives 8. So the estimate is 8 staves. Because the last staff does not need spacing below it, a ninth may fit if the remaining 240 - (8 x 30) = 0 mm allows it; with no remainder, 8 is the safe estimate. Print at 100%, confirm the calibration bar, then count visible staves inside the margins and check that baselines are evenly spaced.
Common mistakes
- Printing with the dialog set to fit-to-page, which scales the layout. Set the print scale to 100% and confirm with a calibration bar before judging spacing.
- Making staff spacing equal to or smaller than the line gap. Set staff spacing clearly larger than the line gap so markings above one staff clear the next.
- Shrinking margins to fit more staves. Keep a handling border and reduce staff spacing or staff count instead.
Check your work
- Line gaps within each staff are equal.
- Staff spacing is consistent and larger than the line gap.
- Left and right margins are equal, and top and bottom margins are even.
- Grouped staves share a vertical alignment at their left edge.
- Printed staves fit inside the margins at 100% scale with a checked calibration bar.
- Capacity matches the intended task, such as single-line practice or grouped two-hand work.
Questions before you start
How many staves fit on one page?
It depends on page size, margins, line gap and staff spacing. Estimate by dividing usable height by staff height plus spacing, then confirm by counting staves on a 100% print.
What is the difference between line gap and staff spacing?
Line gap is the distance between two adjacent lines inside one staff. Staff spacing is the distance from one staff to the next and should be larger so markings do not collide.
Can I use this for published music?
This page covers blank layouts and original exercises. It does not reproduce copyrighted musical works; write or invent your own patterns.