Free original resources
Tree Drawing: Branch Structure and Crown Masses
Learn a reliable tree drawing method: set the trunk and crown envelope, divide branches outward, group foliage into masses, and check overlaps and line weight.
Free resources
Letter & A4
PDF & SVG
Letter & A4
PDF & SVG
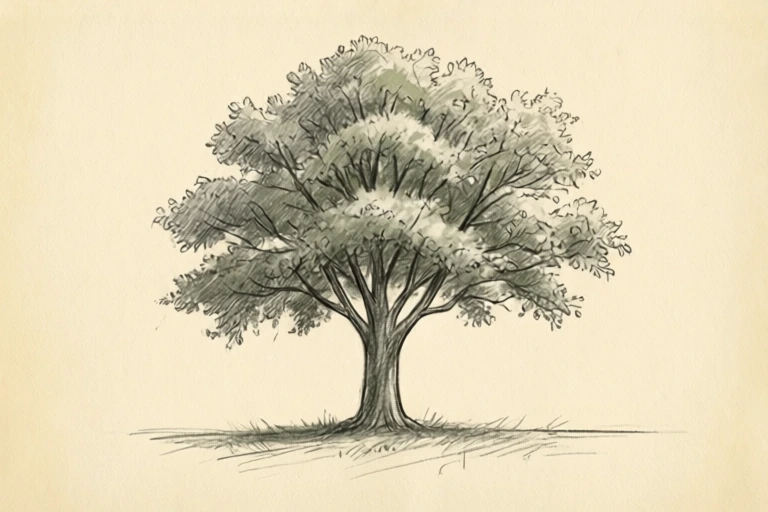
Build the drawing in four stages.
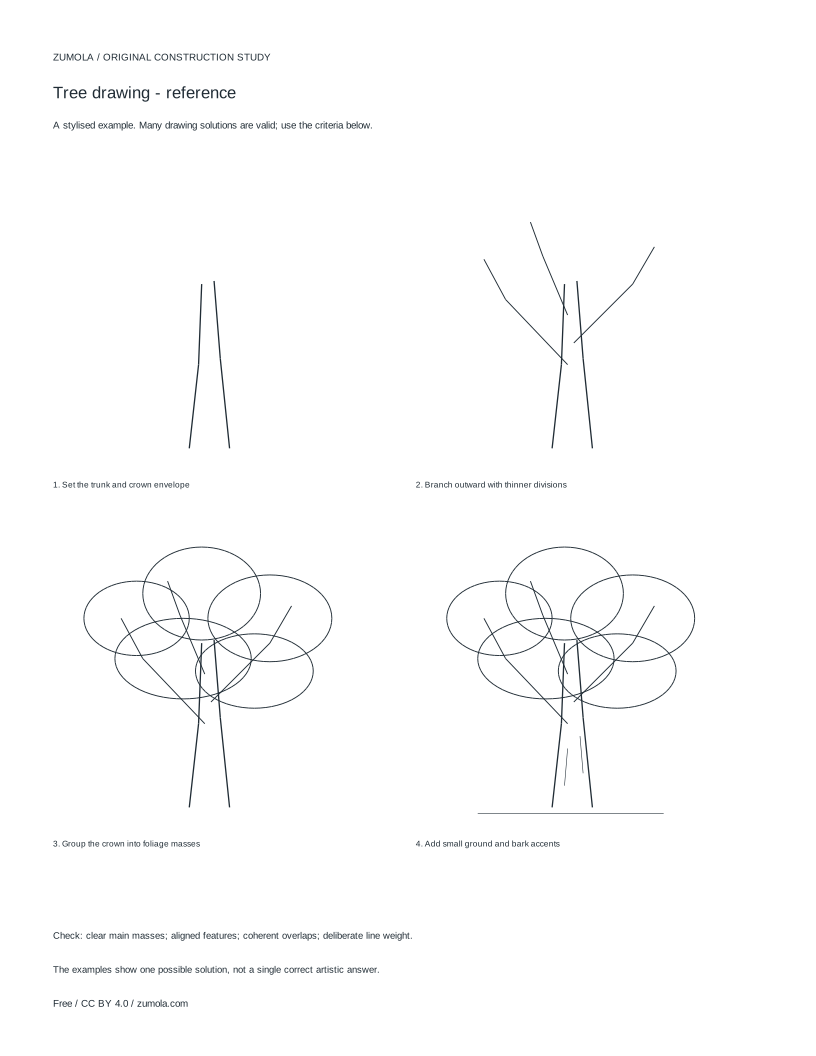
Your free printable kit.
Original reference, student practice and separate worked answers. No account or payment.
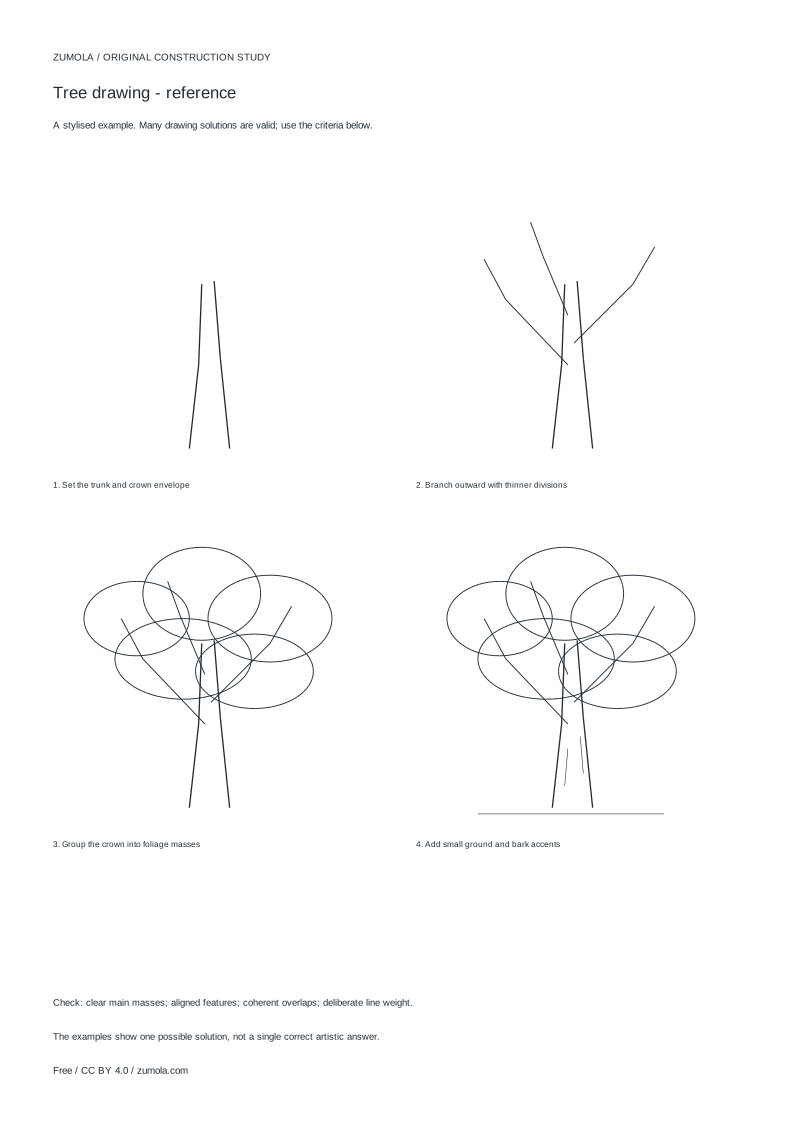
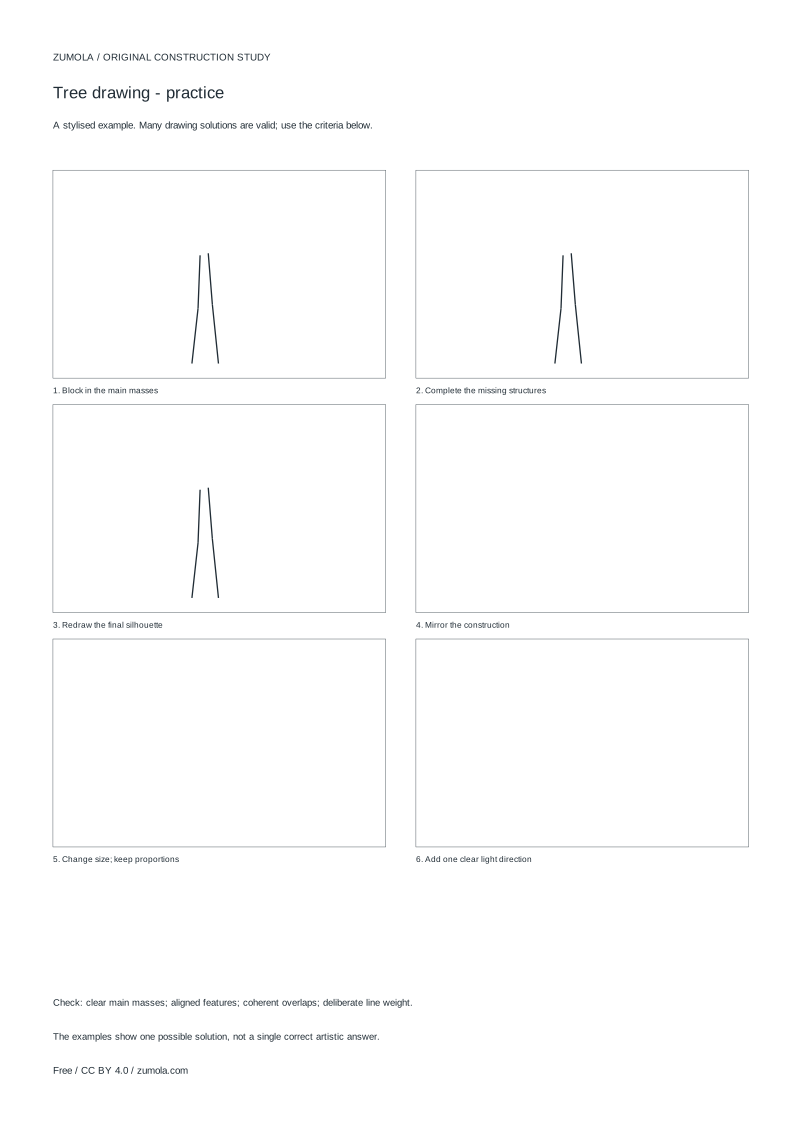
Practice worksheet
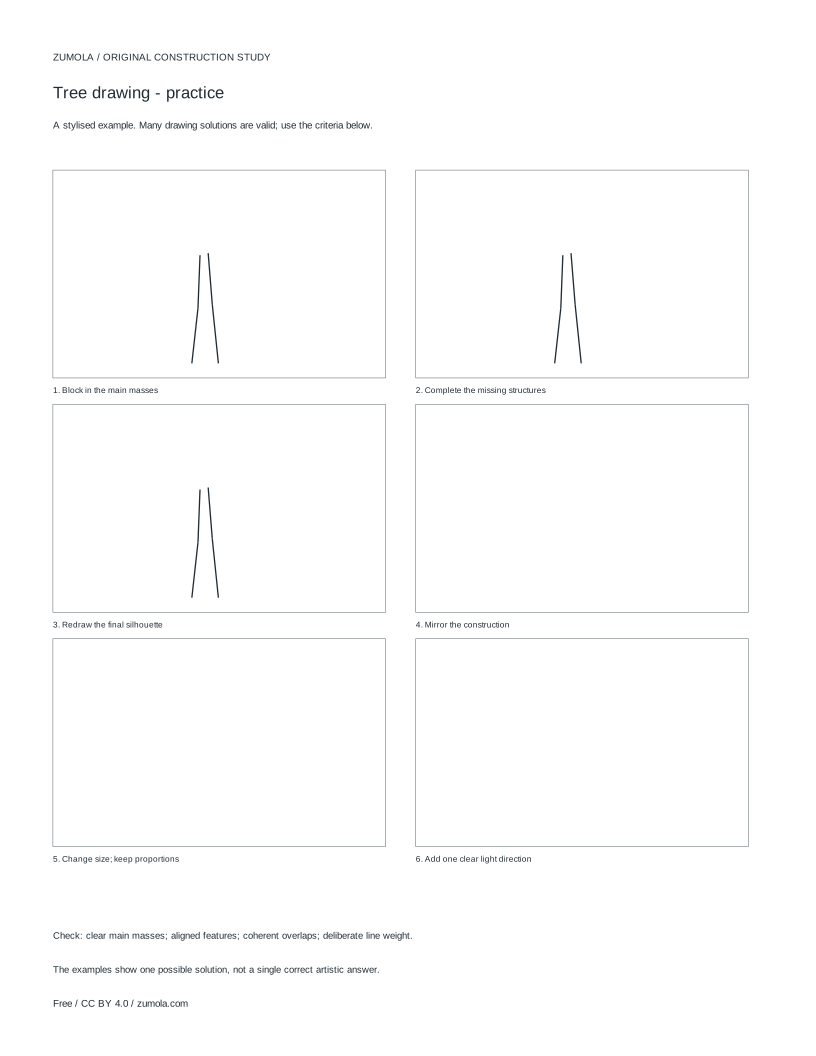
Worked answers / rubric
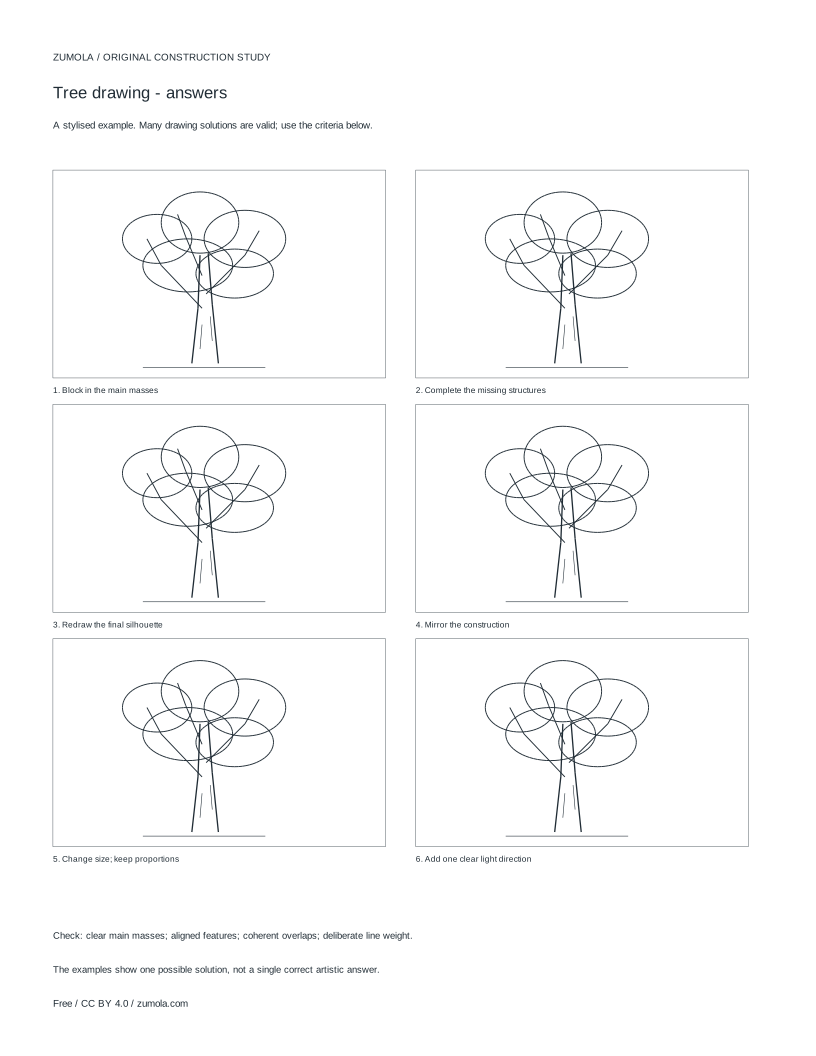
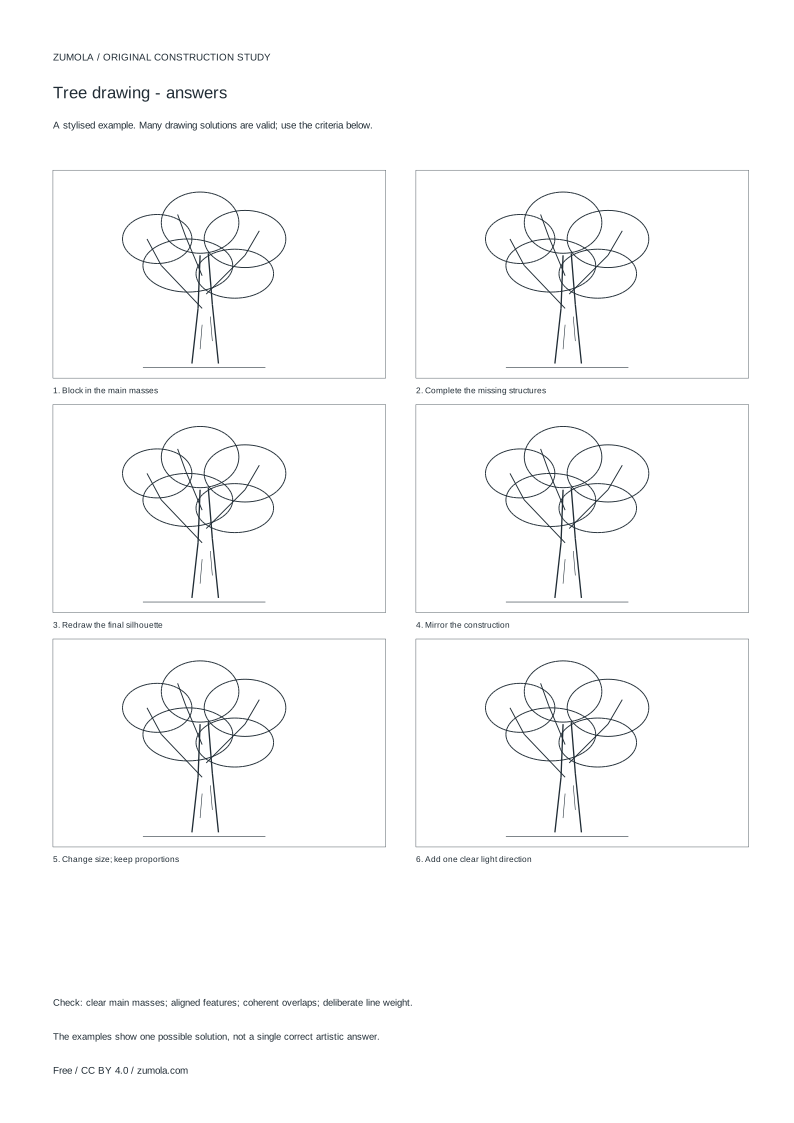
Print at Actual size / 100%. Check the calibration bar before using physical dimensions.
A tree drawing becomes convincing when structure comes before decoration. This guide treats the tree as two linked systems: a trunk that divides into thinner branches, and a crown built from grouped foliage masses rather than scattered leaves. You will work from large shapes to small accents, keeping each stage checkable. The method suits stylised studies, not anatomical or photorealistic instruction, and leaf shapes belong in separate leaf-focused practice.
Start with the trunk and crown envelope
Begin by deciding the overall proportion: how tall the tree is relative to its crown width, and where the trunk meets the ground. Draw a light envelope, a simple closed shape that contains the whole crown, so you can judge the silhouette before adding detail. Inside it, place the trunk as a tapering form rather than two parallel lines; a trunk that narrows slightly toward the top reads as supporting weight.
Mark the ground line and the trunk base clearly. If the tree stands on a slope, the ground line tilts and the trunk base follows it. Keep these first lines faint, because later branches and foliage will overlap them and you will want to adjust the envelope as the structure develops.
- Draw a faint crown envelope showing the widest and tallest extents.
- Place a tapering trunk from the ground line into the lower crown.
- Check the height-to-width proportion before adding any branches.
Divide branches outward with decreasing thickness
A trunk does not sprout many equal limbs at one height. Divide it progressively: a main trunk continues upward while side branches leave at different heights, and each side branch may divide again into thinner ones. Thickness should decrease with each division, so the eye can trace support from the ground outward.
Overlap matters here. Where a nearer branch crosses a farther one, the nearer line stays continuous and the farther line stops at it. Decide which branches sit in front before drawing them, and keep that decision consistent. Avoid drawing every branch to the same length; varied endpoints inside the envelope look more natural than a uniform fan.
- Draw the main trunk continuation first, then add side branches at spaced heights.
- Reduce line thickness at each division so support is readable.
- Choose front and back branches, and break the farther line at each overlap.
Group the crown into foliage masses
Treat foliage as a few large masses, not thousands of individual leaves. Each mass is a soft-edged shape that sits at the end of a branch group. Draw the largest masses first, then smaller ones that overlap their edges. Gaps between masses let branches show through and give the crown depth.
Vary mass size and position so the crown is not a single symmetrical blob. Where a mass sits in front of a branch, its outline interrupts the branch line; where it sits behind, the branch line continues across it. This overlap logic is the main check that your drawing reads as layered rather than flat.
- Sketch two or three large foliage masses at the outer branch ends.
- Add smaller masses that overlap the large ones, leaving some gaps.
- Confirm each mass is clearly in front of or behind nearby branches.
Add ground and bark accents last
Small accents finish the drawing without changing its structure. A few short bark lines following the trunk's taper suggest texture; a light ground shadow under the base anchors the tree. Keep accents sparse and directional, and avoid covering the branch divisions you worked to establish.
Line weight can separate the layers: firmer lines for the trunk and main branches, lighter lines for foliage outlines and accents. Before finishing, step back and compare the main masses, feature placement, overlaps and line weight. Several valid solutions exist, so judge the drawing against those qualities rather than a single correct image.
- Add short bark lines that follow the trunk taper.
- Place a light shadow at the trunk base along the ground line.
- Compare masses, overlaps and line weight, then adjust the weakest area.
Try this example
Draw a stylised tree whose crown is about twice as wide as it is tall, with a trunk one-third of the total height and three main branch divisions.
Show the worked explanation
Set a crown envelope roughly 8 cm wide and 4 cm tall, with the total height about 12 cm. Draw the ground line, then a trunk about 4 cm tall that tapers from 1 cm wide at the base to 0.6 cm near the crown. Continue the trunk upward and add three side branches at different heights, each thinner than the trunk and each dividing once into a thinner limb. Choose the left branch as nearest and break the farther branch lines where they cross it. Group the crown into three large foliage masses, one overlapping another, leaving a gap that shows a branch. Finish with short bark lines following the taper and a light shadow at the base. Check that the crown width is about twice its height and that every overlap has a clear front and back.
Common mistakes
- Drawing foliage as many separate small leaves before the branch structure is settled. Block two or three large foliage masses first, then add only a few leaf hints at the edges.
- Making every branch the same thickness and length. Reduce thickness at each division and vary branch endpoints inside the crown envelope.
- Letting overlapping lines cross without a front-and-back decision. Choose which branch or mass is nearer, keep its line continuous, and stop the farther line at the overlap.
Check your work
- Crown envelope has a deliberate height-to-width proportion.
- Trunk tapers and visually supports the crown.
- Branches divide progressively with decreasing thickness.
- Each overlap shows a clear front and back through line continuity.
- Foliage is grouped into a few masses rather than scattered leaves.
- Ground and bark accents are sparse and follow the structure.
- Line weight distinguishes trunk, branches and foliage outlines.
Questions before you start
How do I keep a tree drawing from looking flat?
Decide overlaps deliberately. Nearer branches and foliage masses keep continuous outlines, while farther lines stop where they meet them. Gaps between masses also reveal branches and create depth.
Should I draw individual leaves on the crown?
Use grouped foliage masses as the main structure and add only a few leaf hints at edges. Detailed leaf shapes are a separate study and are not needed to make the tree read correctly.
What proportion should a tree drawing use?
There is no fixed rule. Choose a height-to-width ratio for the crown envelope, keep the trunk tapering, and check that the trunk visually supports the crown you have drawn.