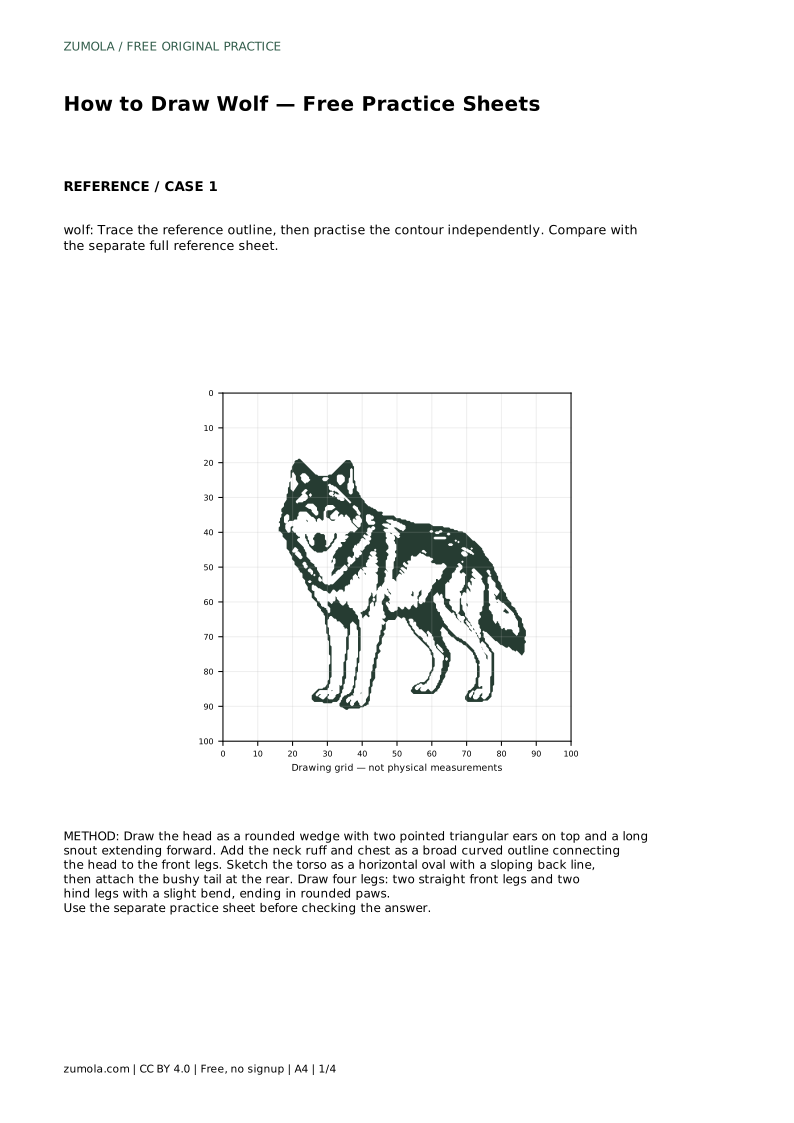
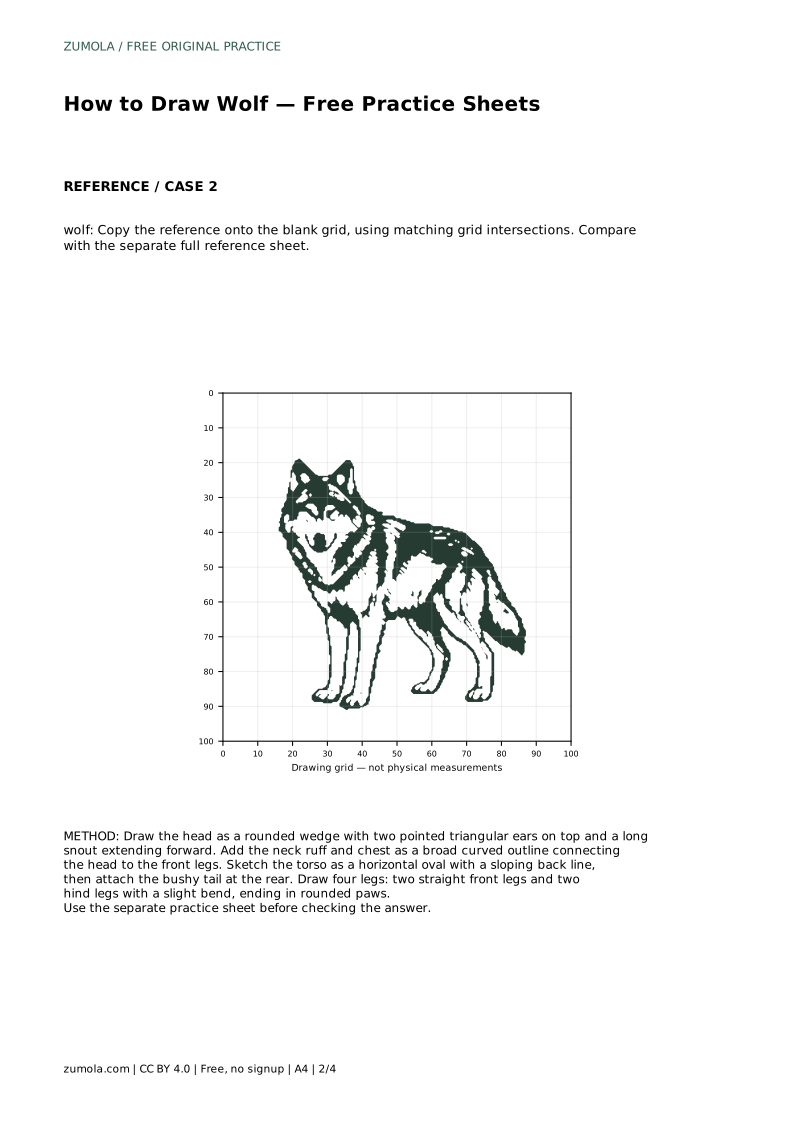
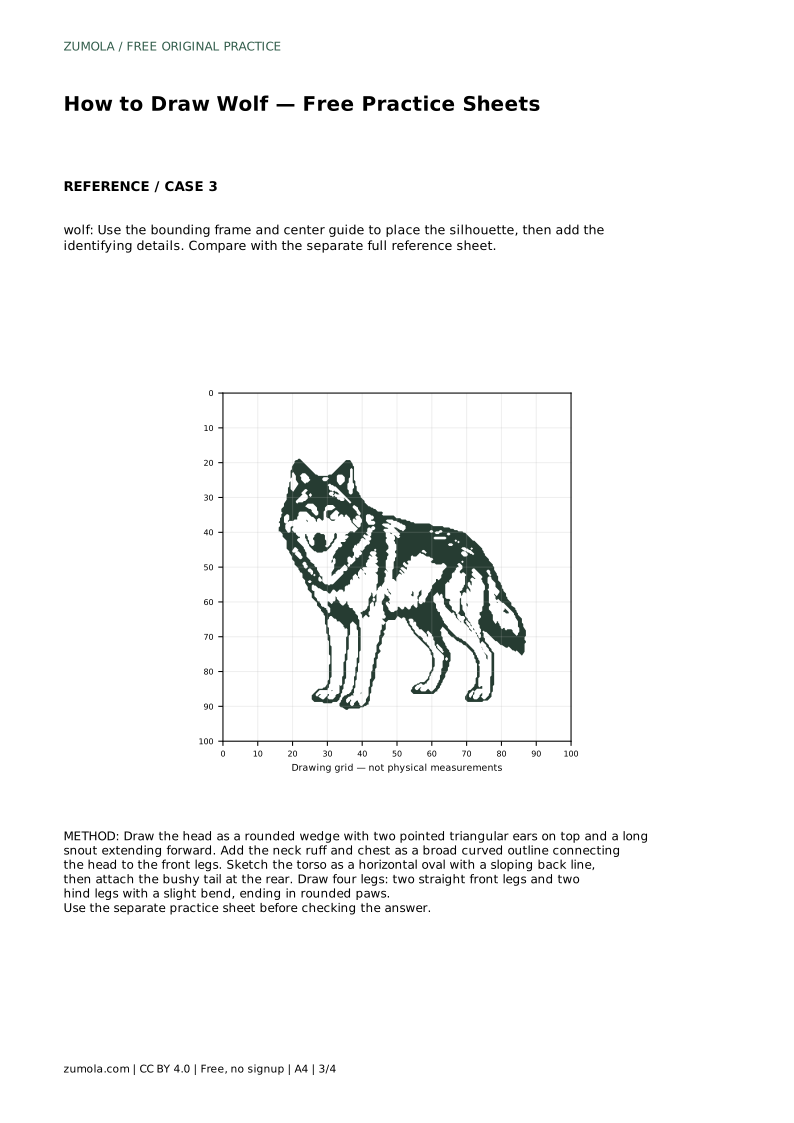
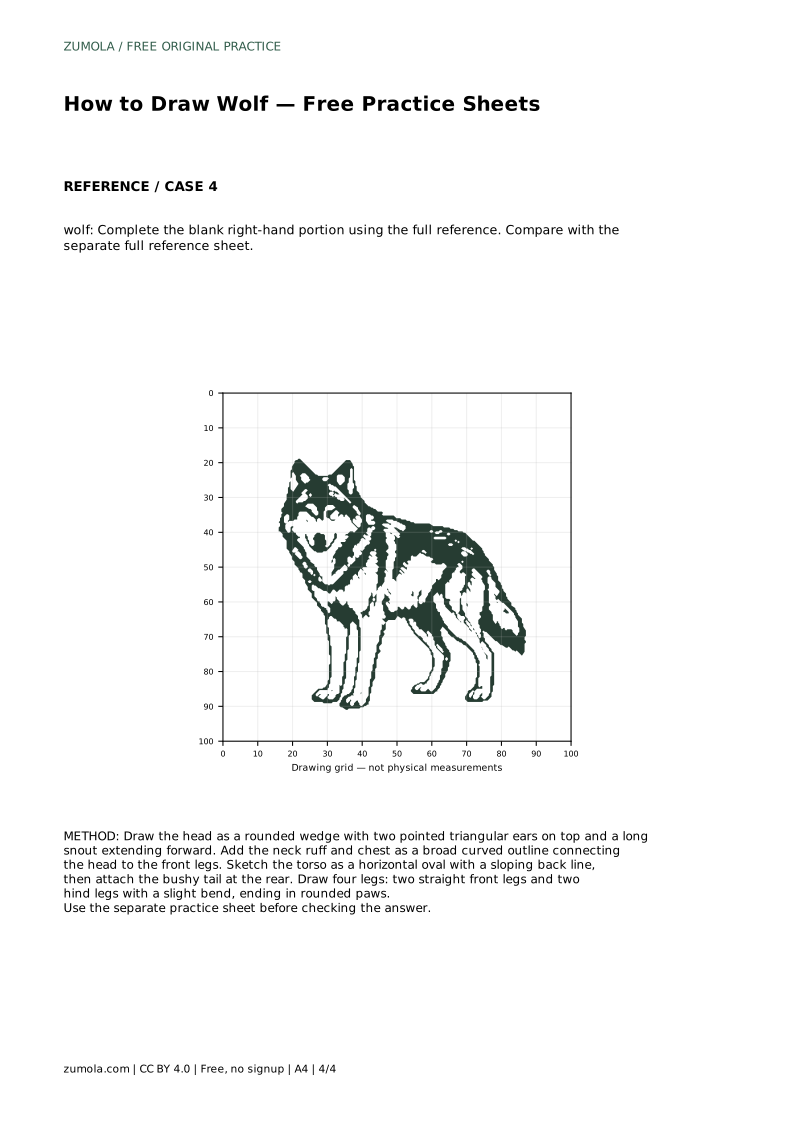
Reference diagrams
LETTER · Download PDF
A4 · Download PDF
Free original resources
Learn to draw a howling wolf by tracing an outline, then working independently. Build pointed ears, a tapered snout, a neck ruff, a sloping back, and a bushy tail.
Four original cases, with reference diagrams, practice sheets and worked answers. Everything is free; no signup required.
LETTER · Download PDF
A4 · Download PDF
LETTER · Download PDF
A4 · Download PDF
LETTER · Download PDF
A4 · Download PDF
Use A4 or US Letter to match your printer. Use the stated values and conditions to solve each exercise; diagrams are not physical measuring rulers.
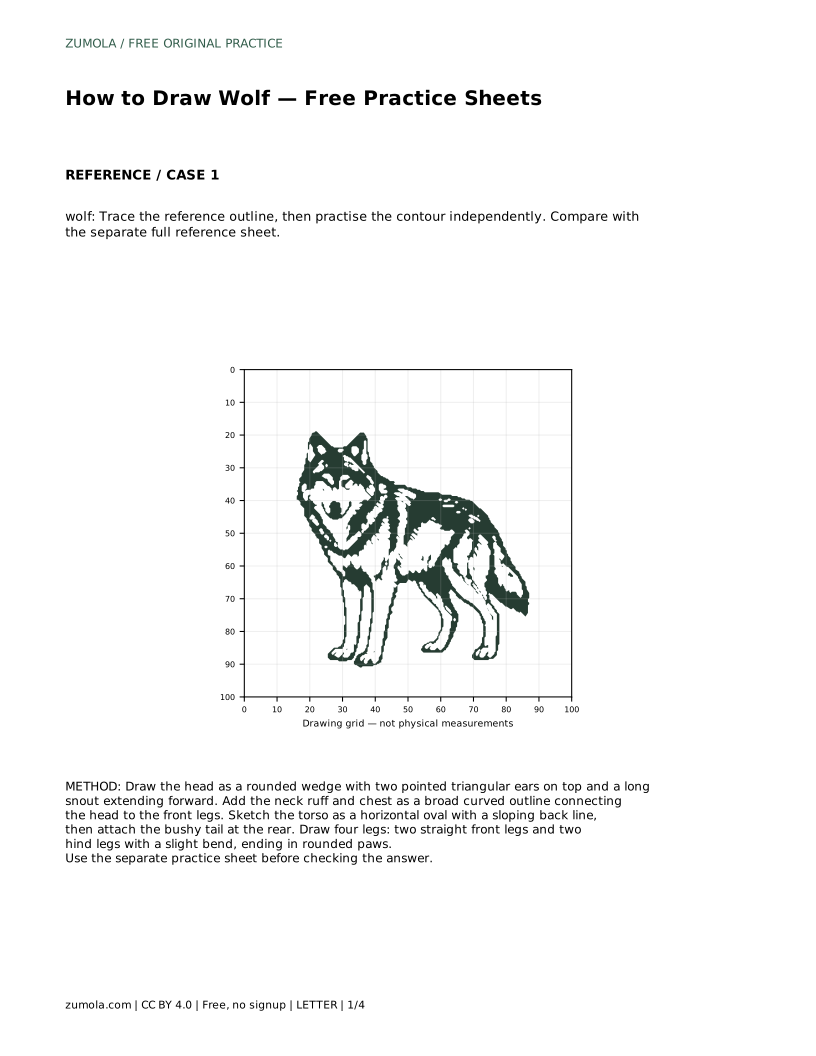
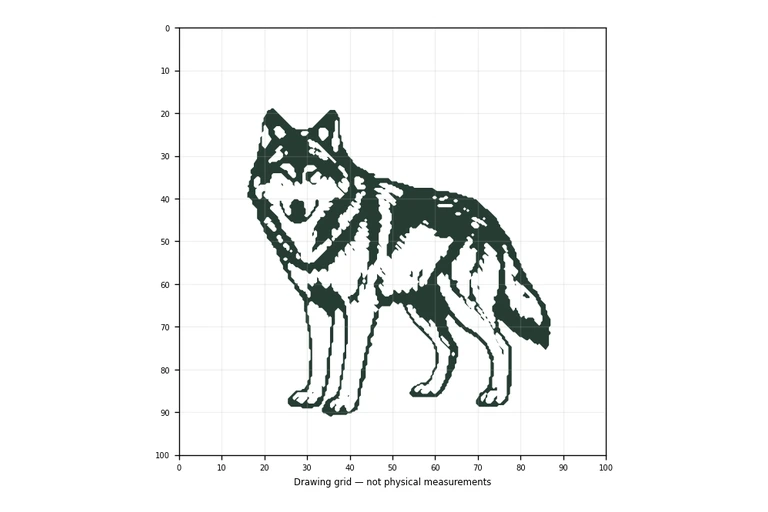
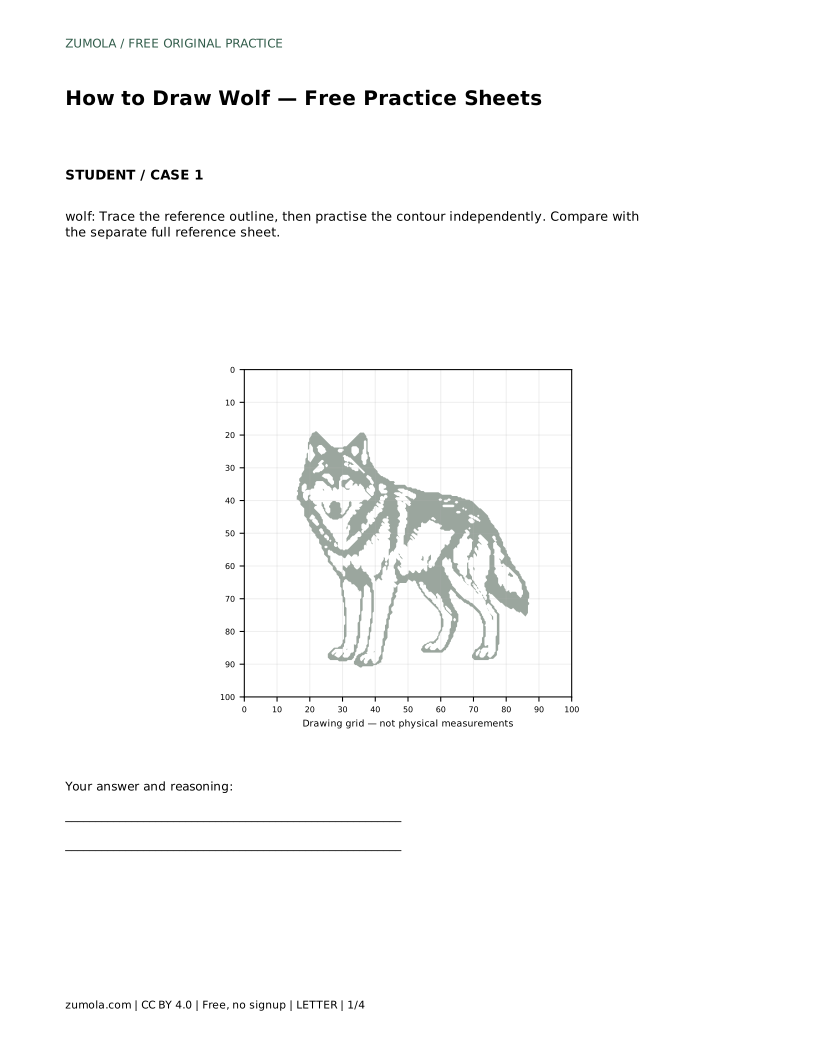
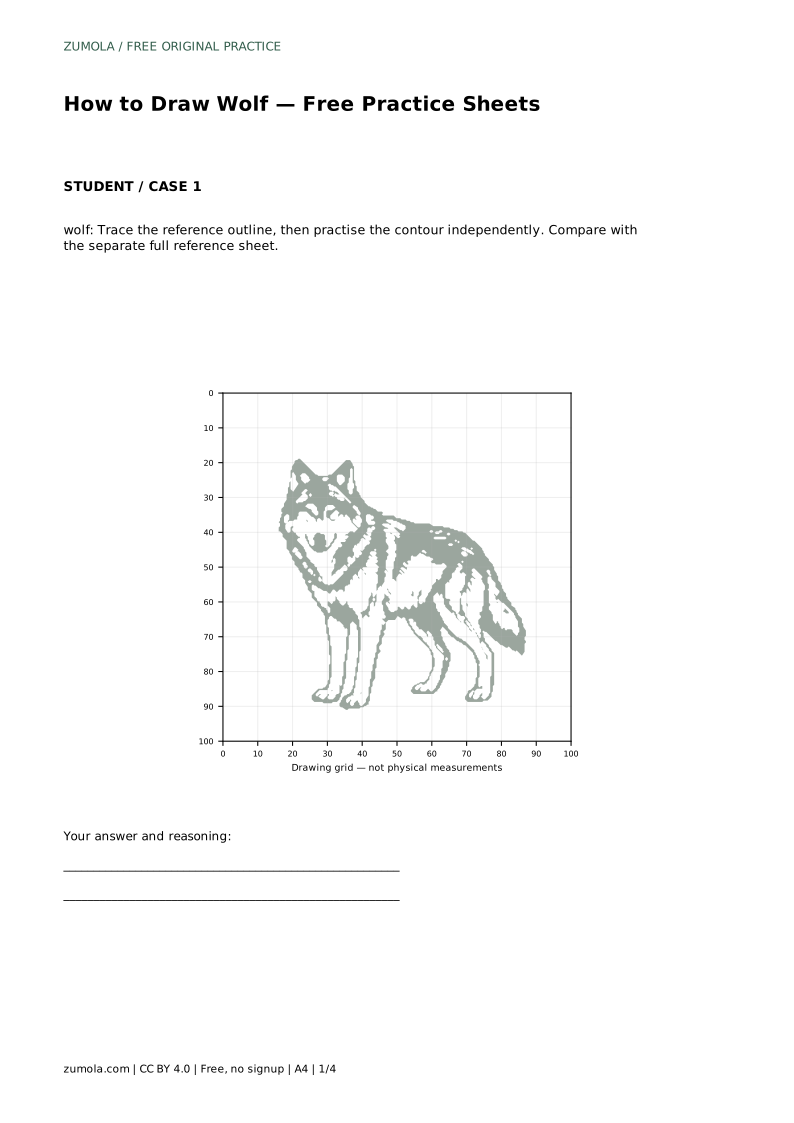
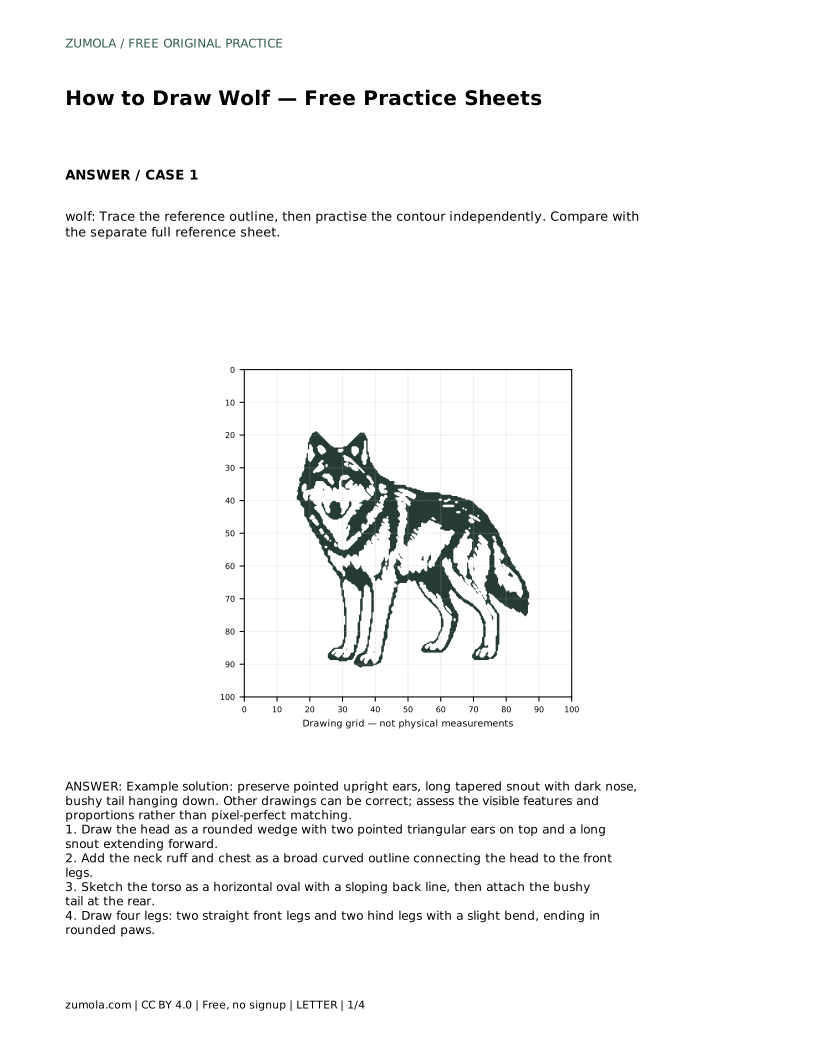
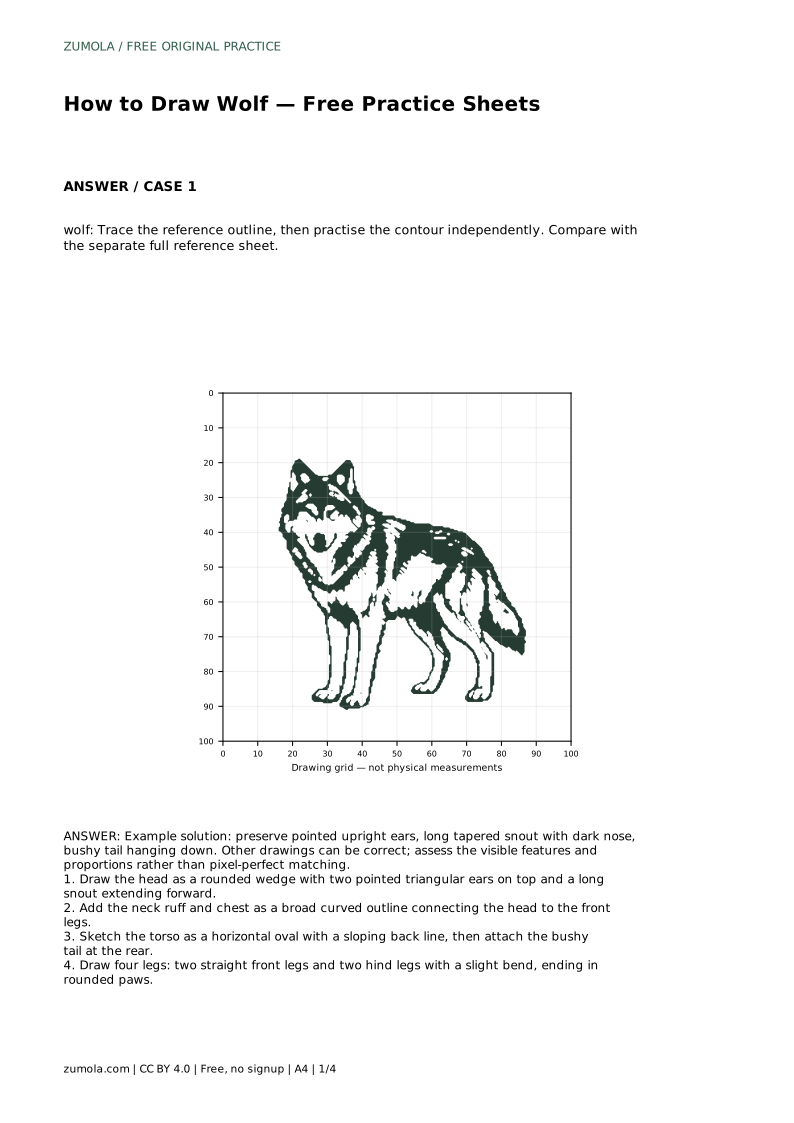
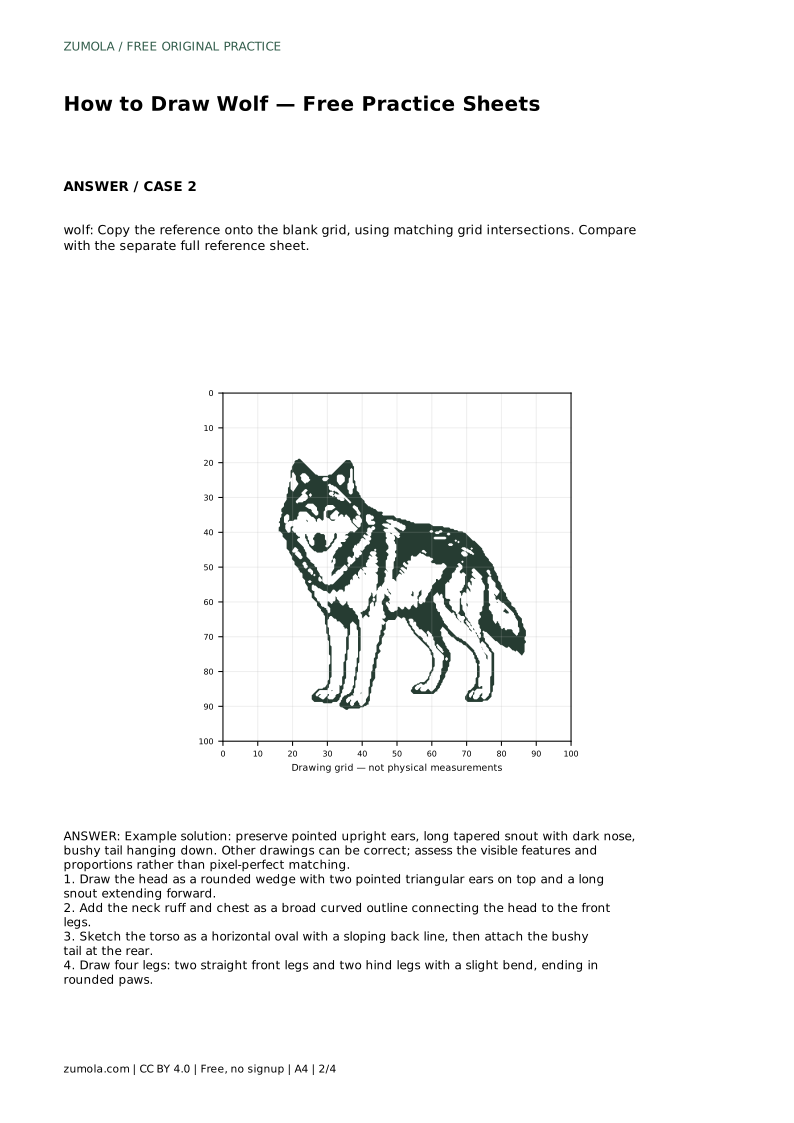
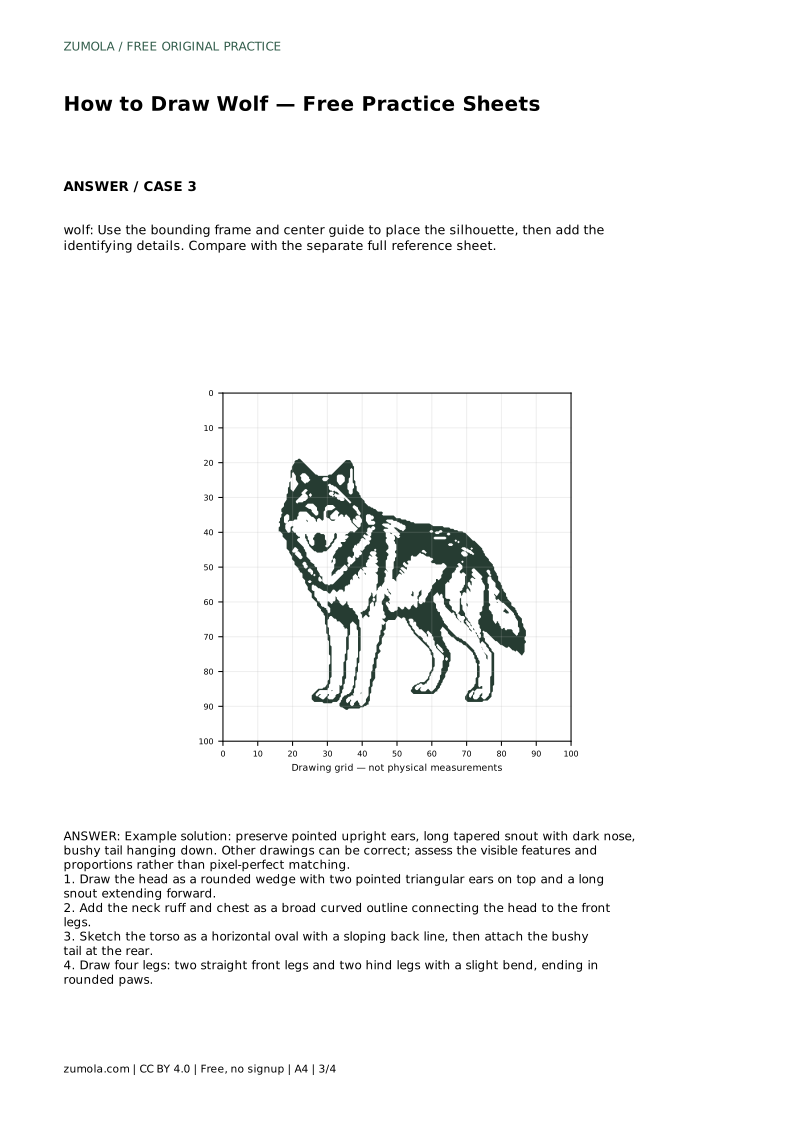
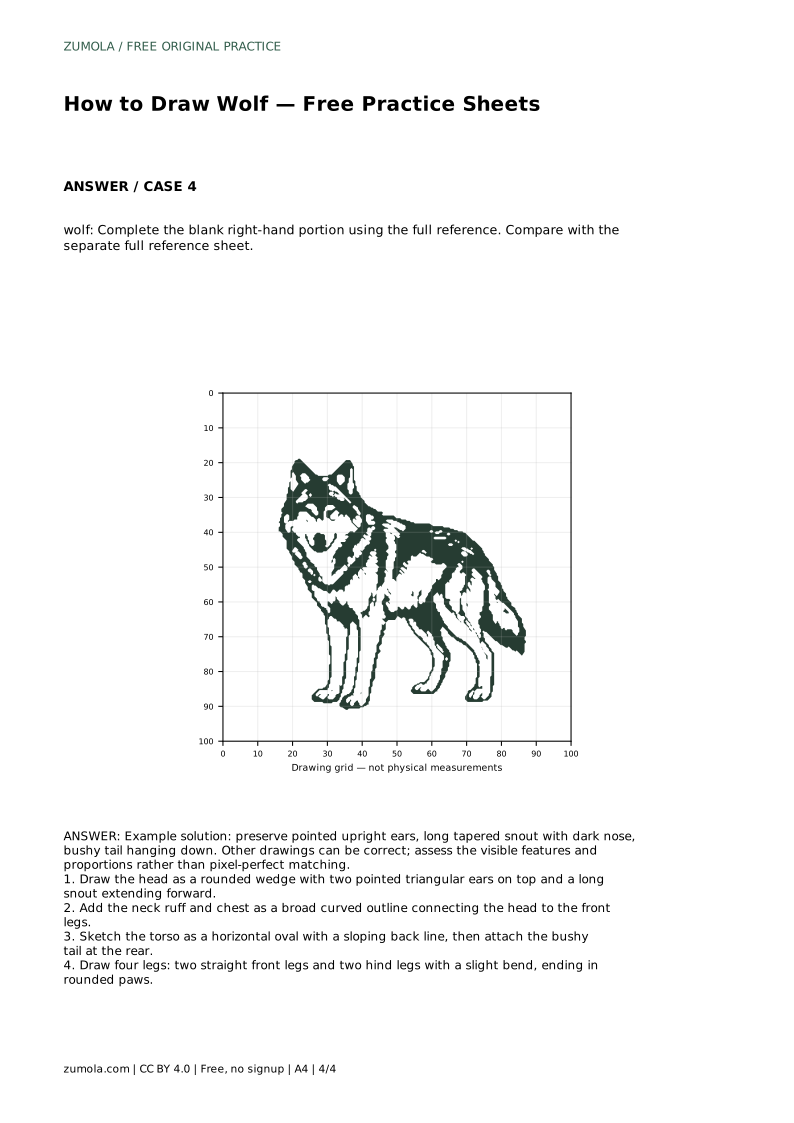
A wolf howling drawing depends on a few clear shapes: a rounded wedge head, two pointed upright ears, a long tapered snout, a broad neck ruff, a horizontal oval torso with a sloping back, and a bushy tail hanging down. This page explains how to trace a reference outline first, then practise the same contour independently. Compare your finished drawing with the separate full reference sheet and judge the visible features and proportions rather than expecting a pixel-perfect match.
Begin by drawing the head as a rounded wedge. The wedge is wider at the back and narrows toward the front, which gives the skull a natural taper. Place two pointed triangular ears on top, keeping them upright and clearly separated. Pointed upright ears are one of the strongest identifying features of a wolf, so make the triangles deliberate rather than rounded.
From the front of the wedge, extend a long tapered snout. The snout should narrow gradually and end with a dark nose. Keep the snout length in proportion to the head: too short and the face looks like a different animal; too long and the head loses its wedge shape. Check that the nose sits at the forward tip of the taper.
Connect the head to the body with a broad curved outline. This is the neck ruff and chest, and it should feel wider than the neck alone. The curve runs from below the head down toward the front legs, giving the wolf a full chest and a sense of fur volume.
Keep the ruff symmetrical enough to read clearly, but allow slight variation. A howling wolf often tilts the head upward, so the ruff may sit slightly differently on each side. The important thing is that the chest outline connects smoothly to the front legs without a sudden break.
Sketch the torso as a horizontal oval with a sloping back line. The slope runs from the shoulders down toward the rear, which helps the body read as a wolf rather than a generic oval. Attach a bushy tail at the rear, hanging down. A hanging bushy tail is a useful identifying feature, so give it volume rather than drawing a thin line.
Draw four legs: two straight front legs and two hind legs with a slight bend, ending in rounded paws. Keep the front legs vertical and the hind legs angled slightly to suggest the hock. Rounded paws finish each leg cleanly.
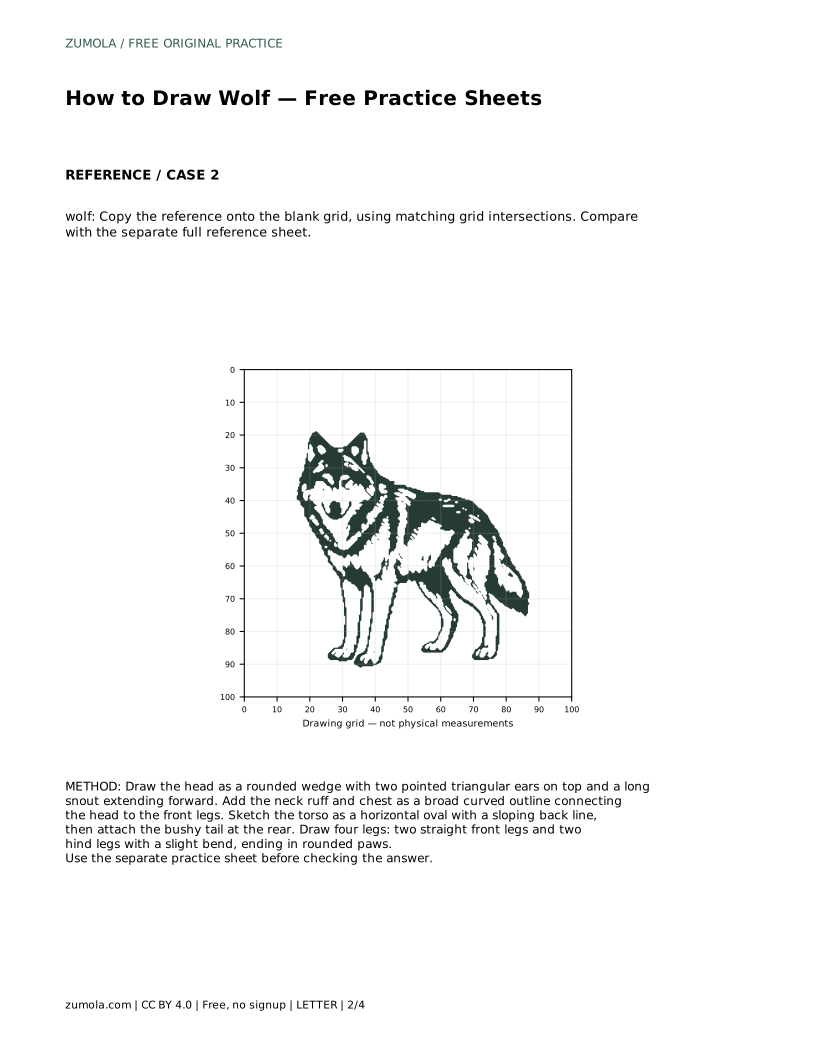
Trace the reference outline first to learn the contour. Then cover or set aside the reference and draw the same contour independently. Compare your independent drawing with the separate full reference sheet. Other drawings can be correct, so assess the visible features and proportions rather than pixel-perfect matching.
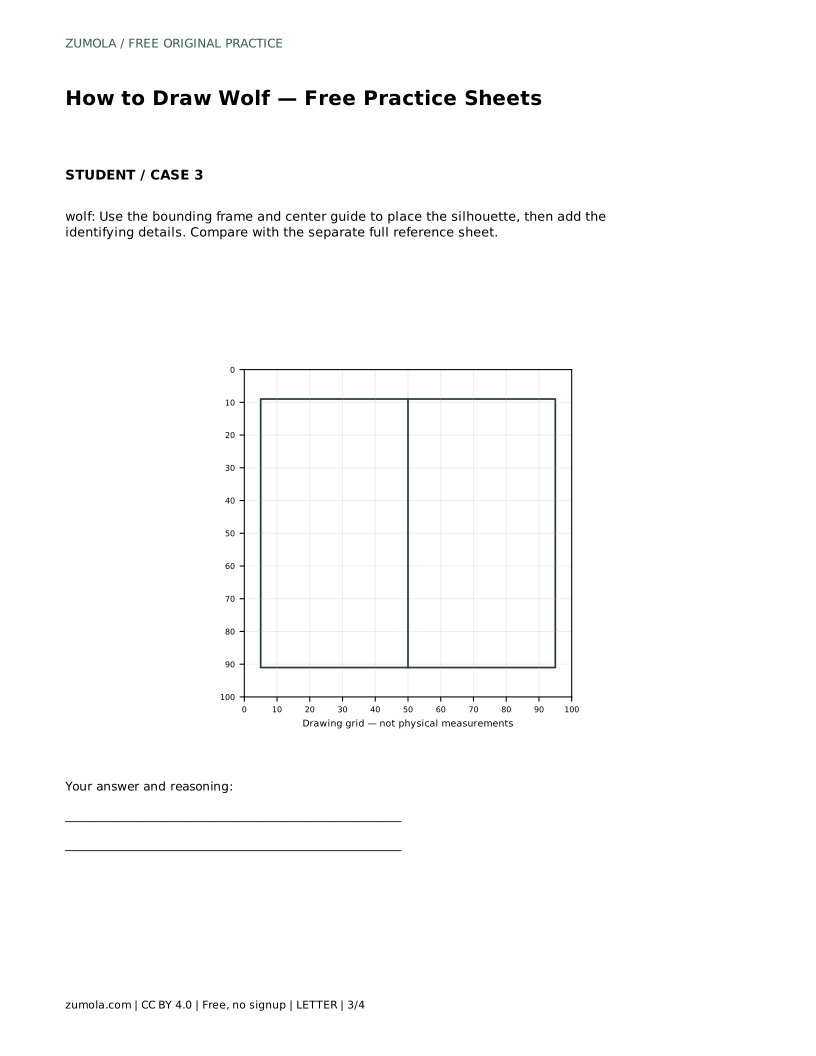
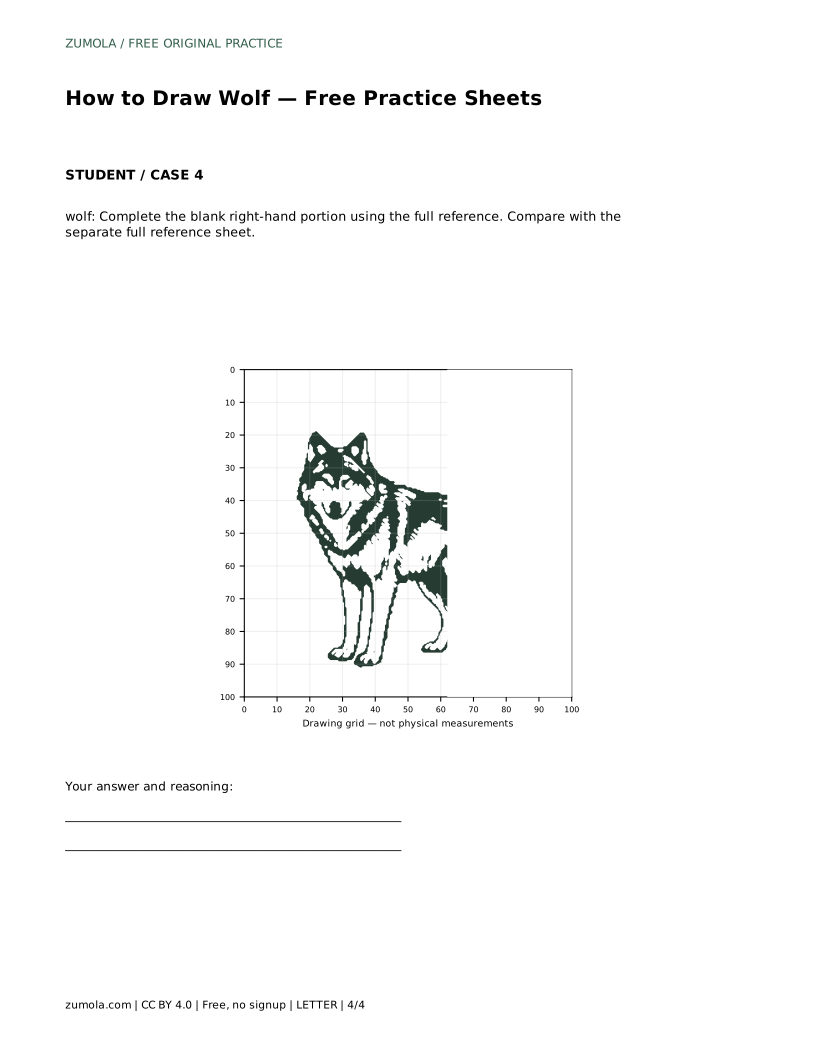
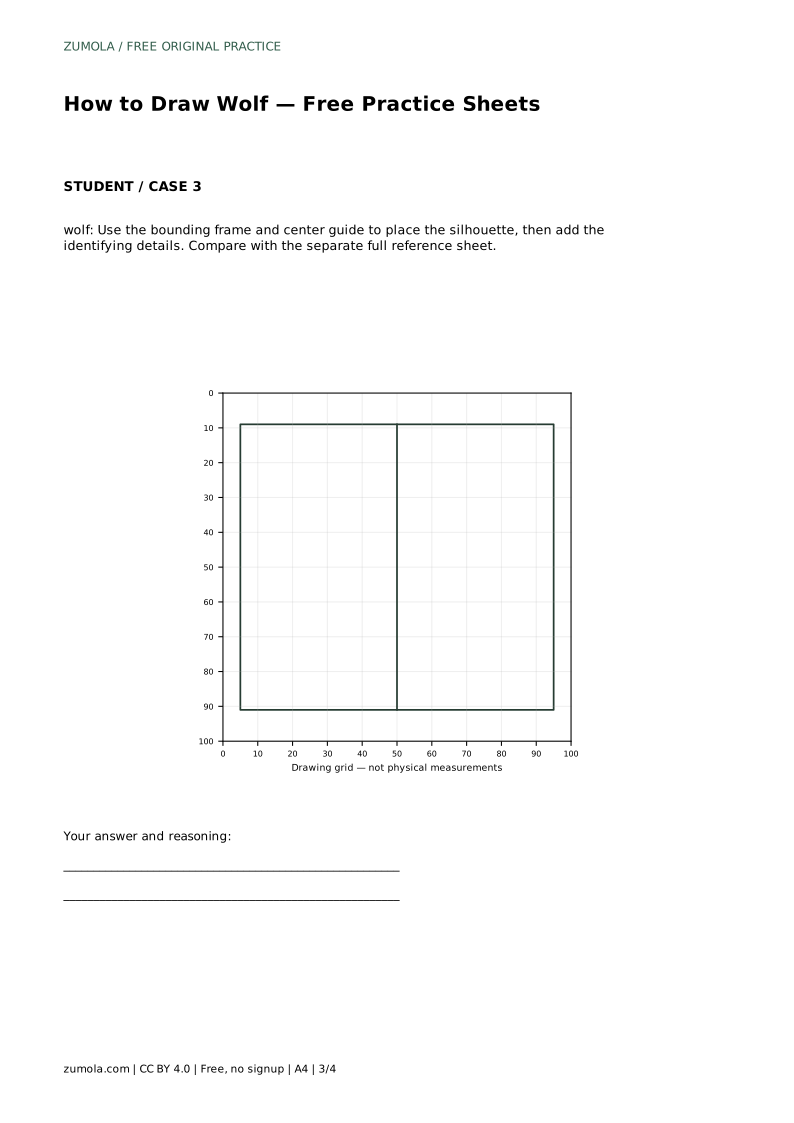
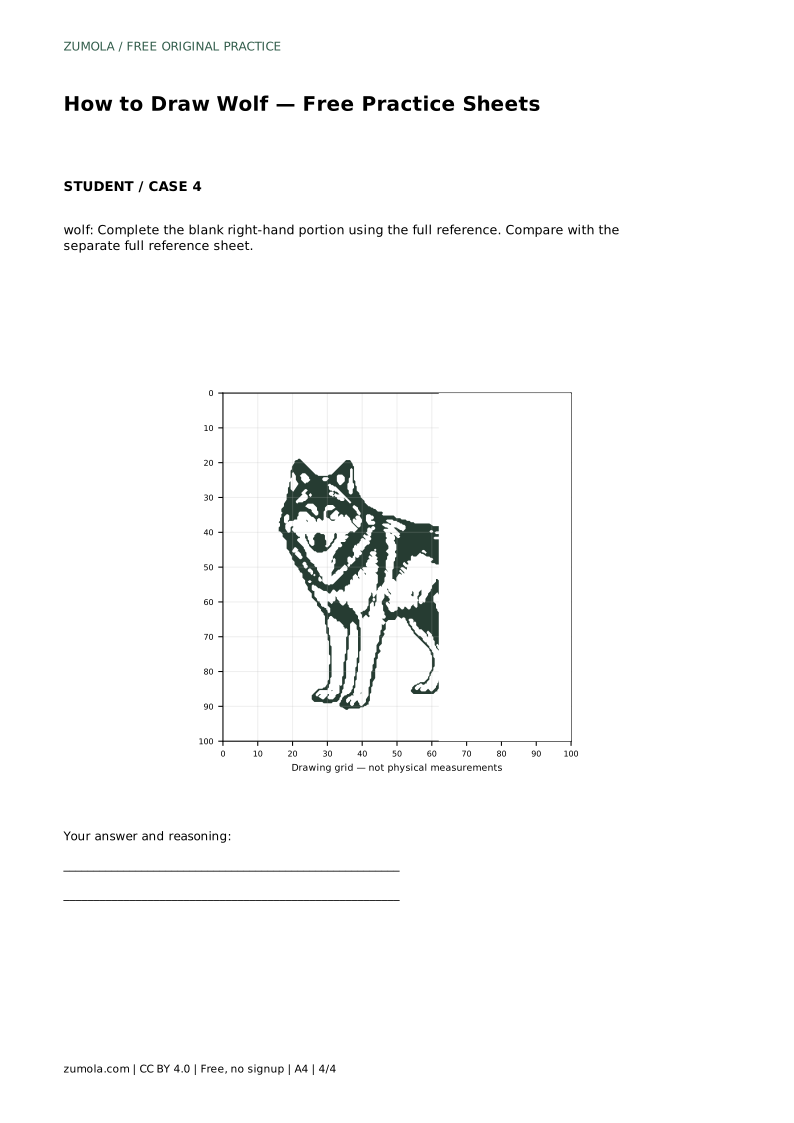
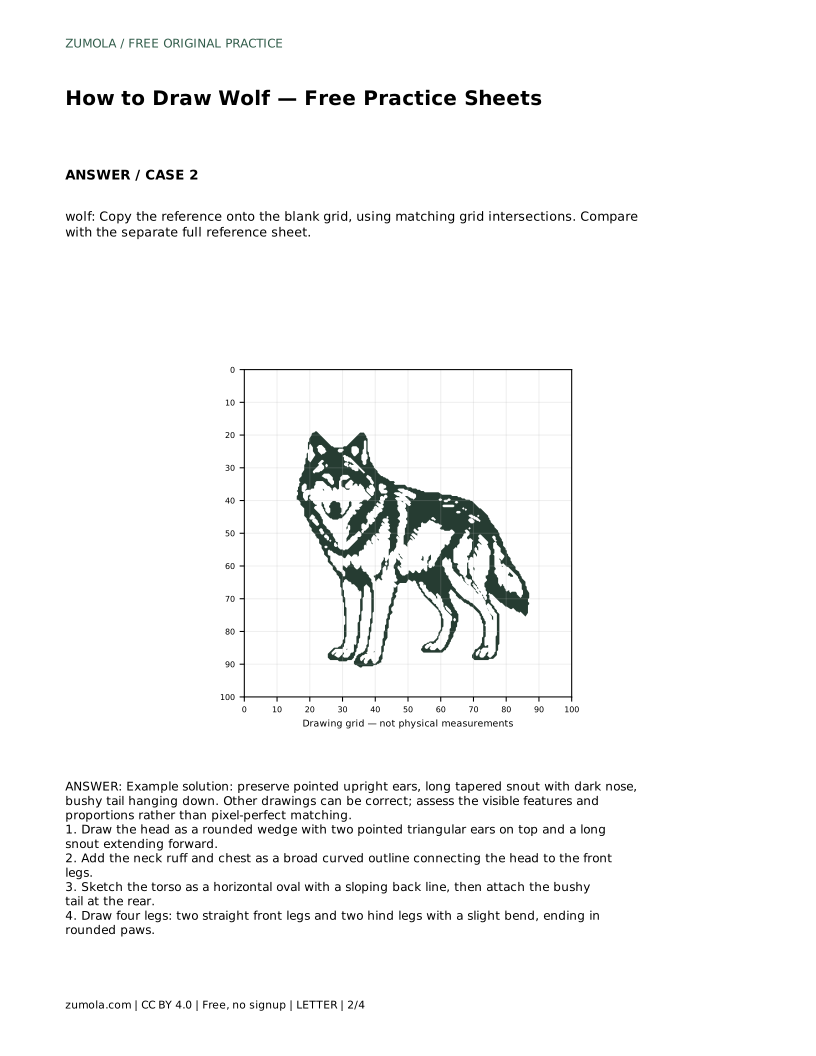
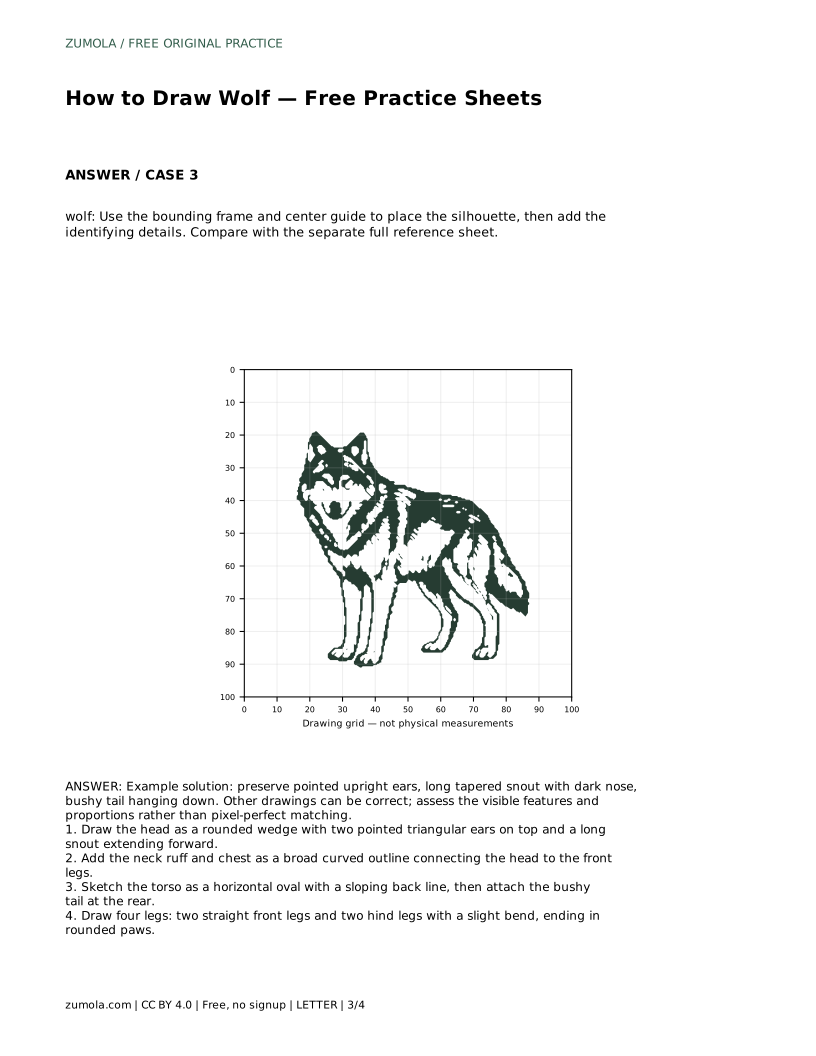
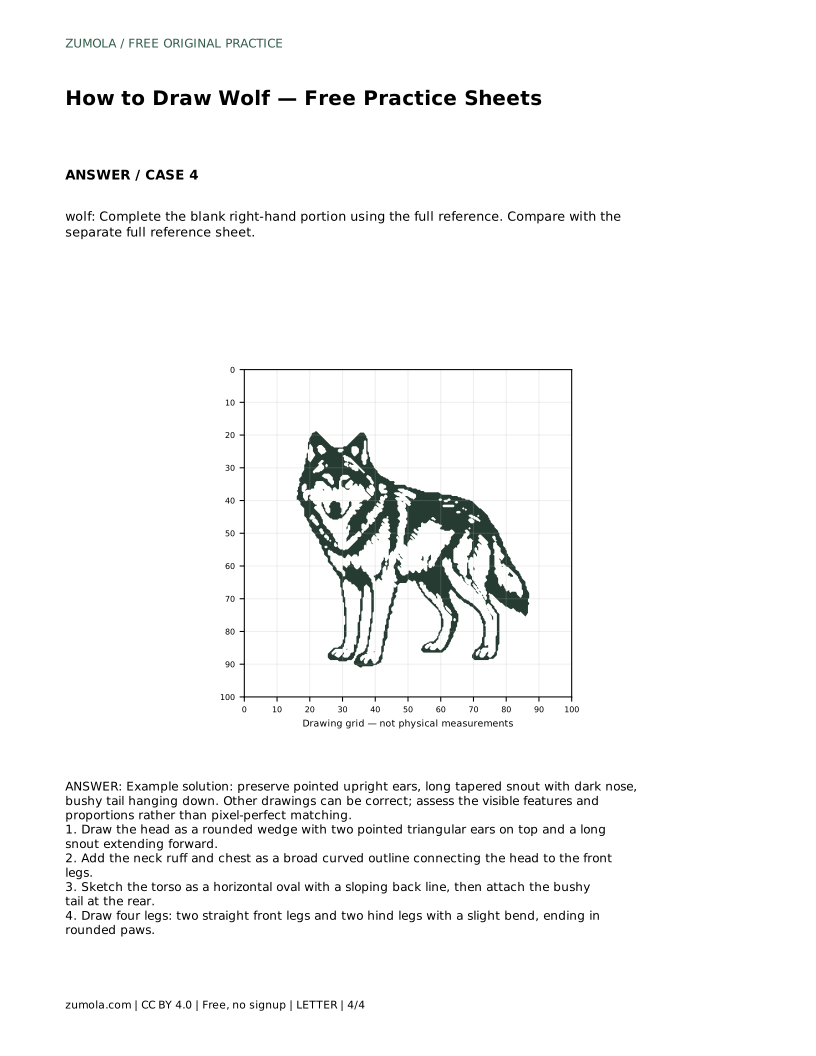
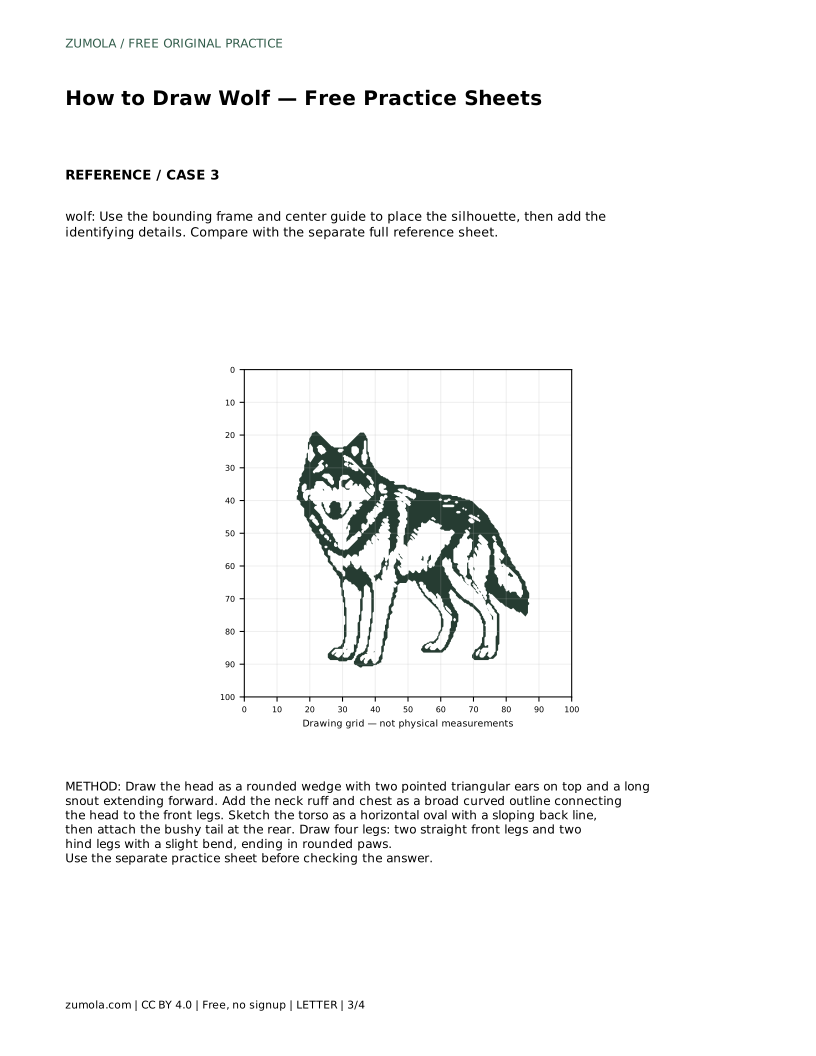
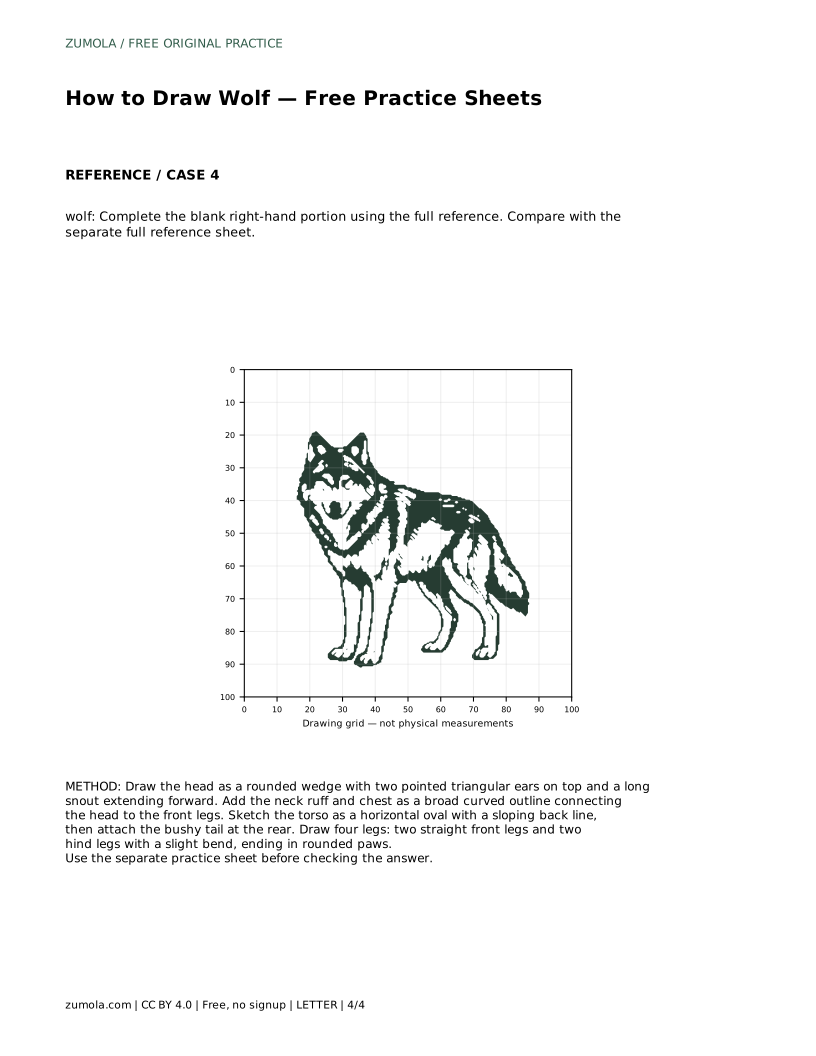
Use the grid, bounding frame, or center guide versions to practise placement. Each version asks you to preserve the same identifying features: pointed upright ears, a long tapered snout with a dark nose, and a bushy tail hanging down.
wolf: Trace the reference outline, then practise the contour independently. Compare with the separate full reference sheet.
Example solution: preserve pointed upright ears, long tapered snout with dark nose, bushy tail hanging down. Other drawings can be correct; assess the visible features and proportions rather than pixel-perfect matching. Draw the head as a rounded wedge with two pointed triangular ears on top and a long snout extending forward. Add the neck ruff and chest as a broad curved outline connecting the head to the front legs. Sketch the torso as a horizontal oval with a sloping back line, then attach the bushy tail at the rear. Draw four legs: two straight front legs and two hind legs with a slight bend, ending in rounded paws.
No. Other drawings can be correct. Assess the visible features and proportions rather than pixel-perfect matching.
Pointed upright ears, a long tapered snout with a dark nose, and a bushy tail hanging down.
Trace the reference outline first, then practise the contour independently and compare with the separate full reference sheet.
All drawing practice · Free coordinate paper
Original resources · CC BY 4.0 · Free for personal and classroom use with attribution.