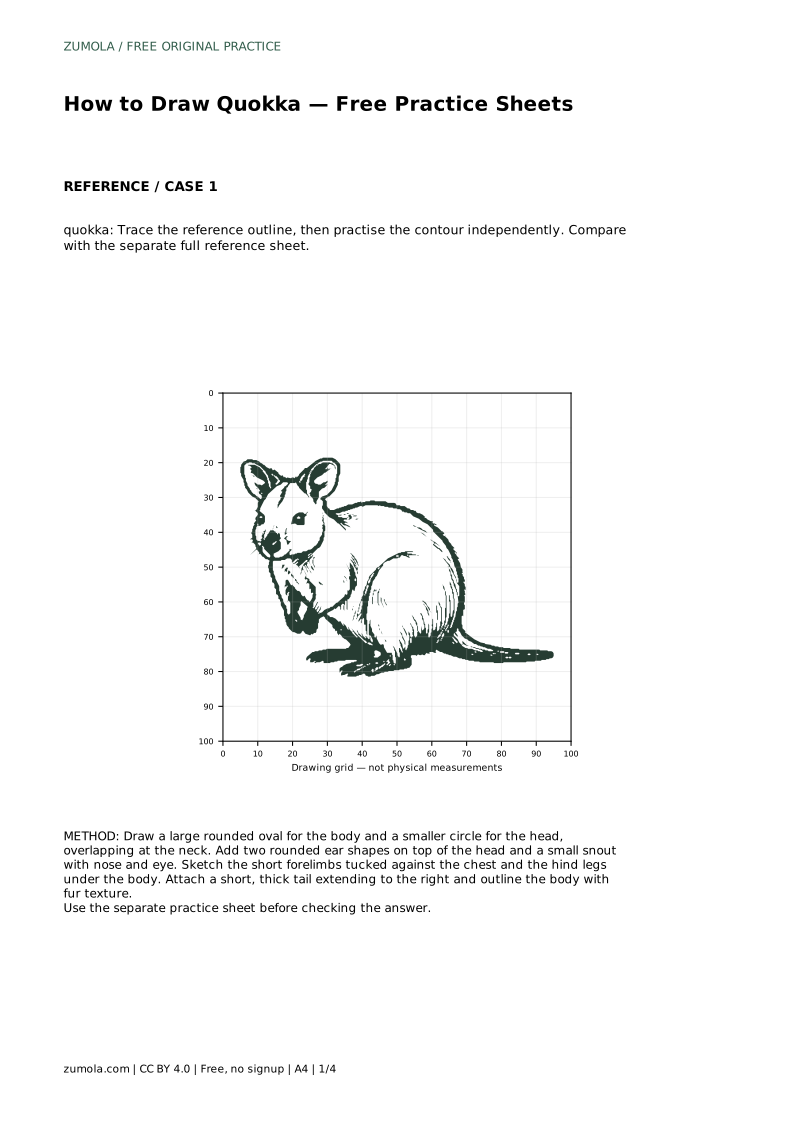
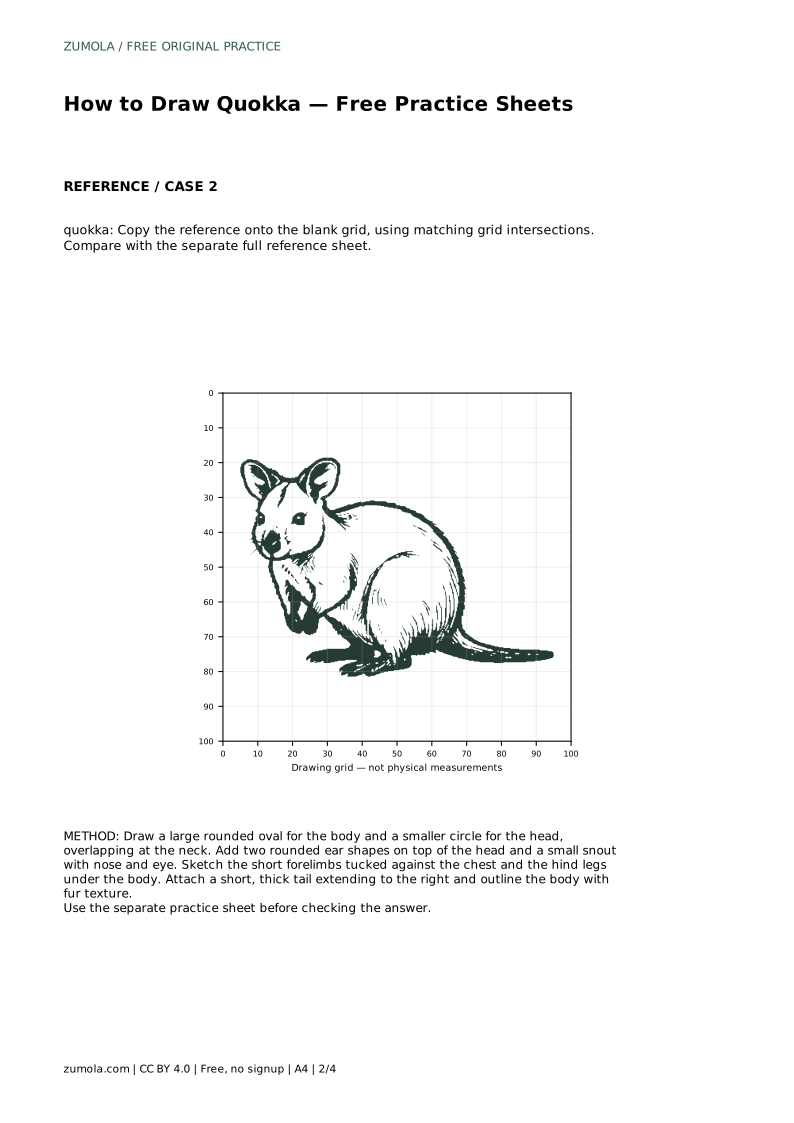
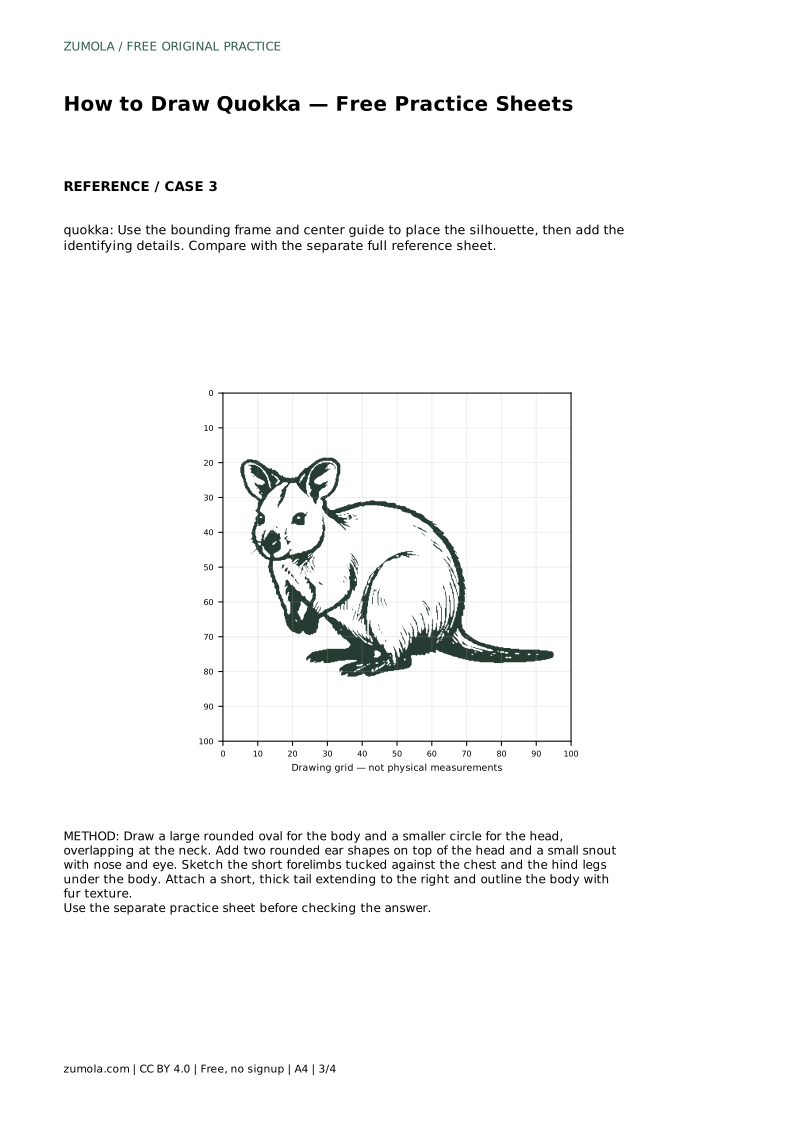
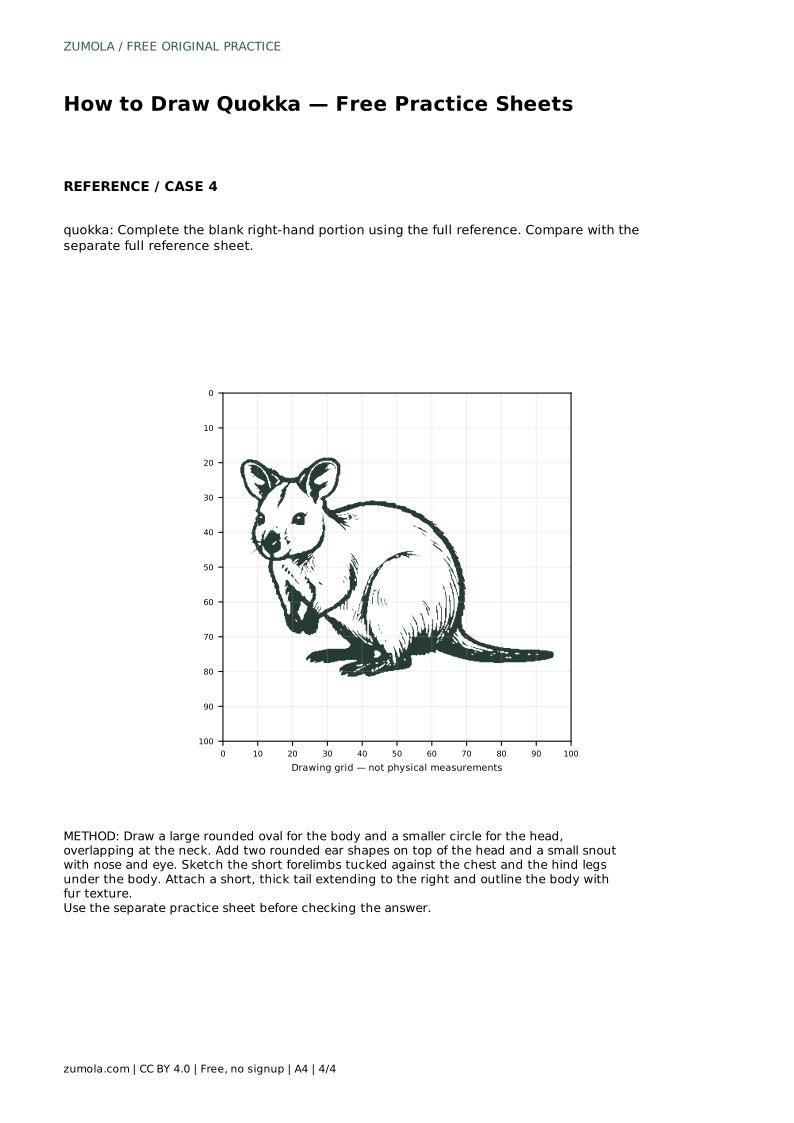
Reference diagrams
LETTER · Download PDF
A4 · Download PDF
Free original resources
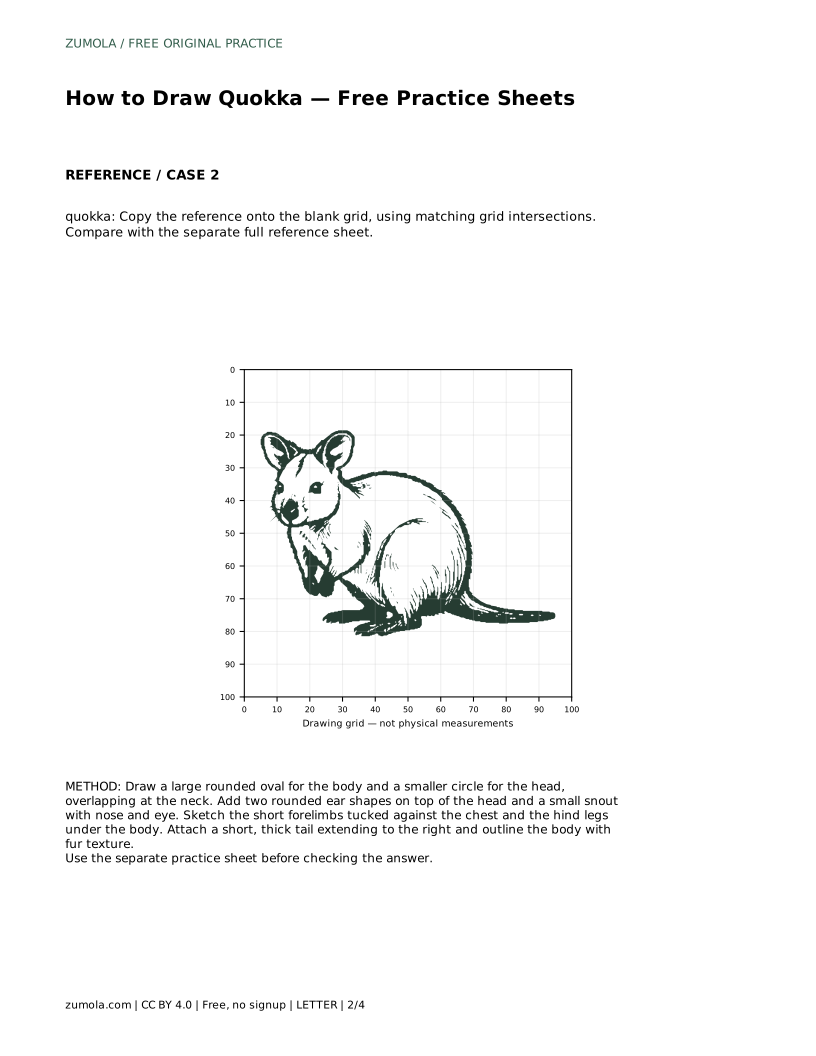
Learn to draw a quokka by tracing its outline, copying a gridded reference, and completing a partial drawing. Focus on rounded ears, a stocky body, and a short tail.
Four original cases, with reference diagrams, practice sheets and worked answers. Everything is free; no signup required.
LETTER · Download PDF
A4 · Download PDF
LETTER · Download PDF
A4 · Download PDF
LETTER · Download PDF
A4 · Download PDF
Use A4 or US Letter to match your printer. Use the stated values and conditions to solve each exercise; diagrams are not physical measuring rulers.
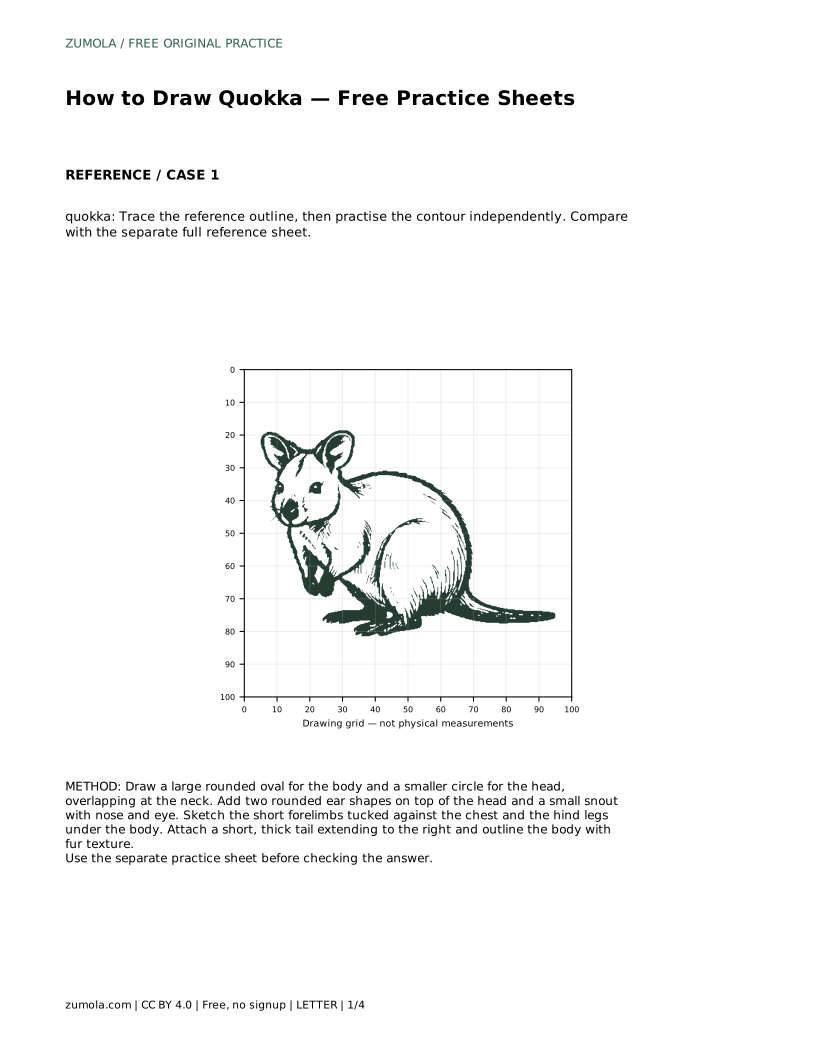
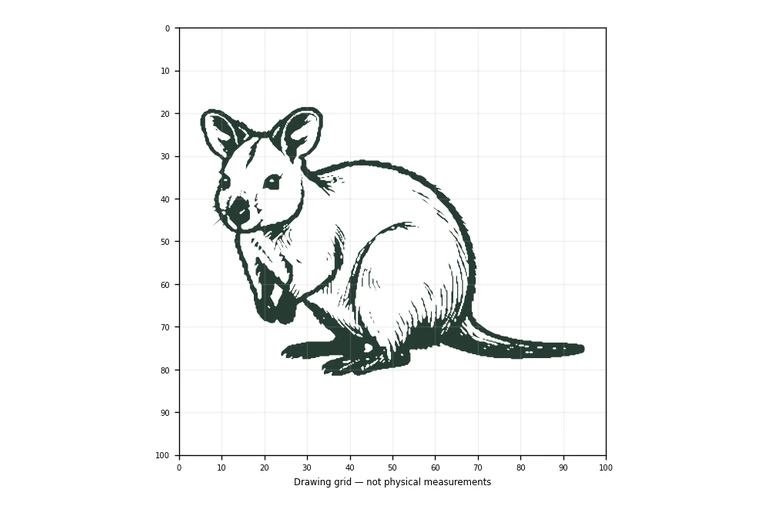
A quokka drawing is easy to recognise when you get a few shapes right: a rounded head, two soft ears, a compact body, tucked front paws, and a short thick tail. This page explains how to practise those features using tracing, grid copying, and partial-outline completion. Each method trains a different skill, and each drawing can be checked against a separate full reference sheet rather than judged as an exact match.
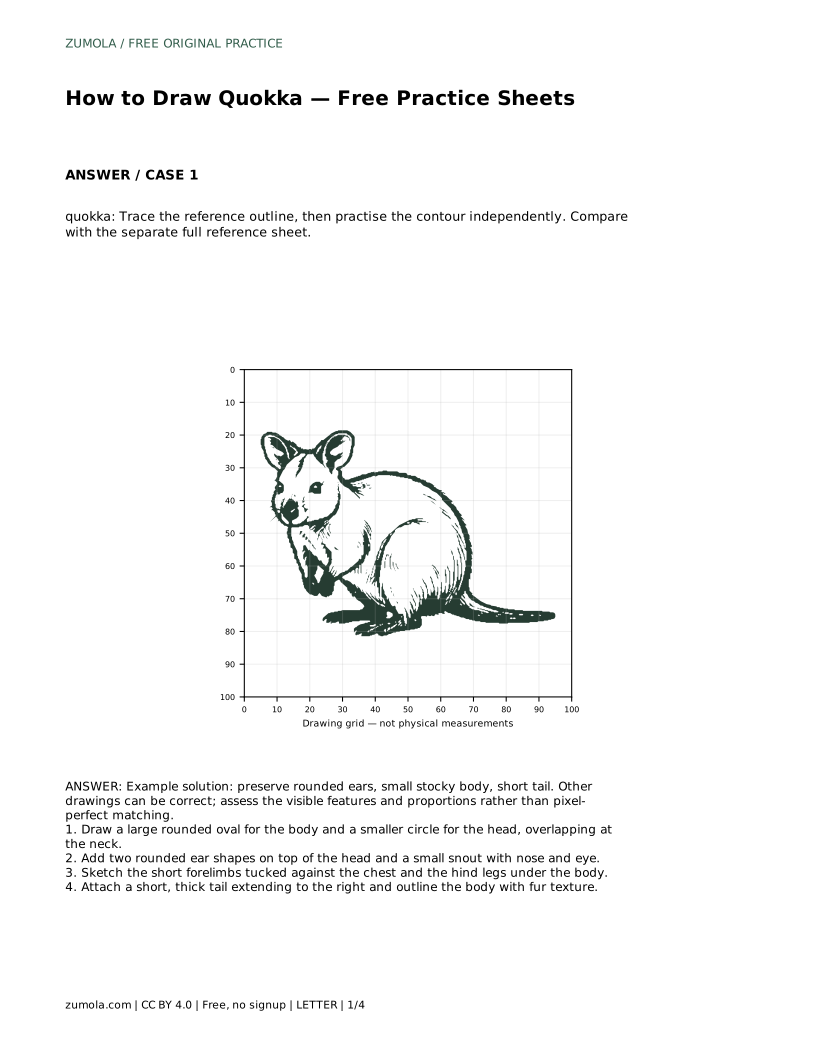
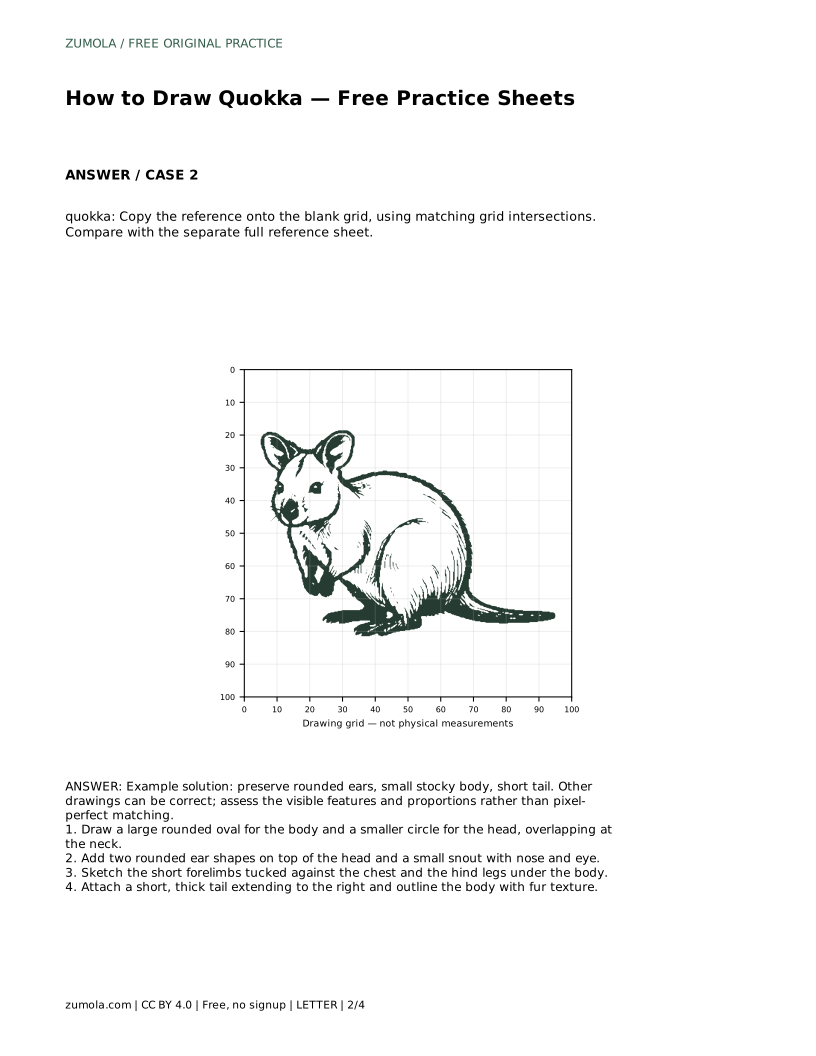
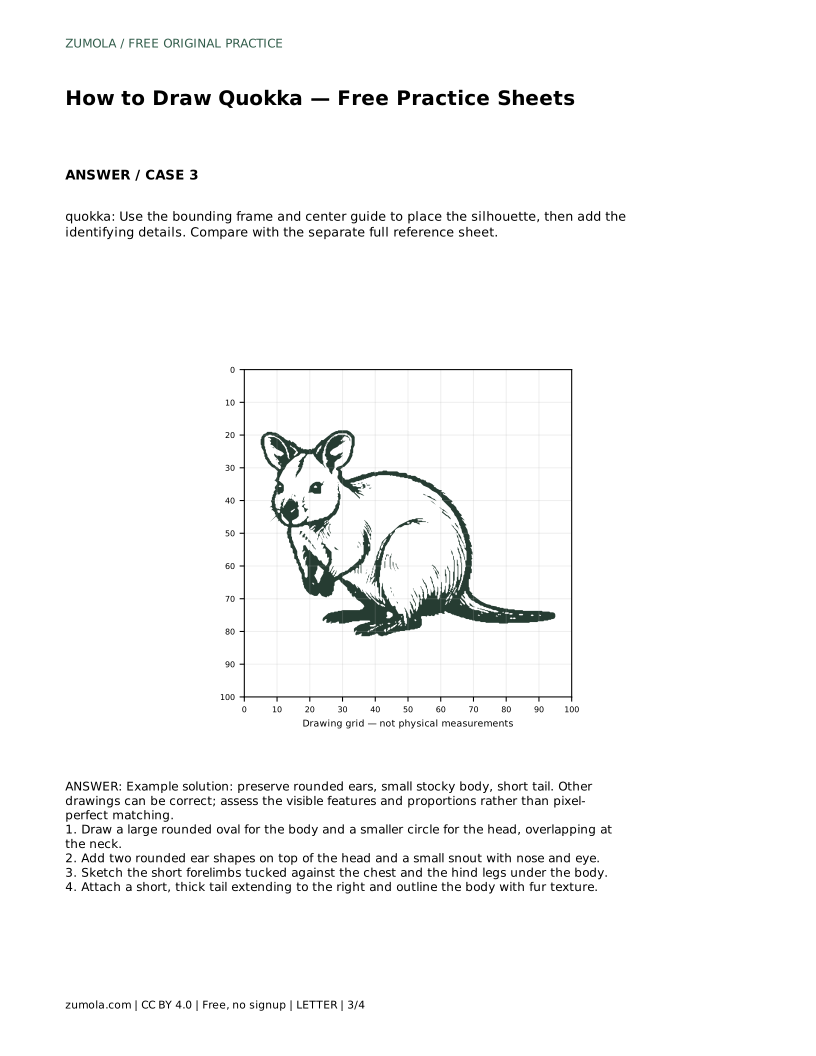
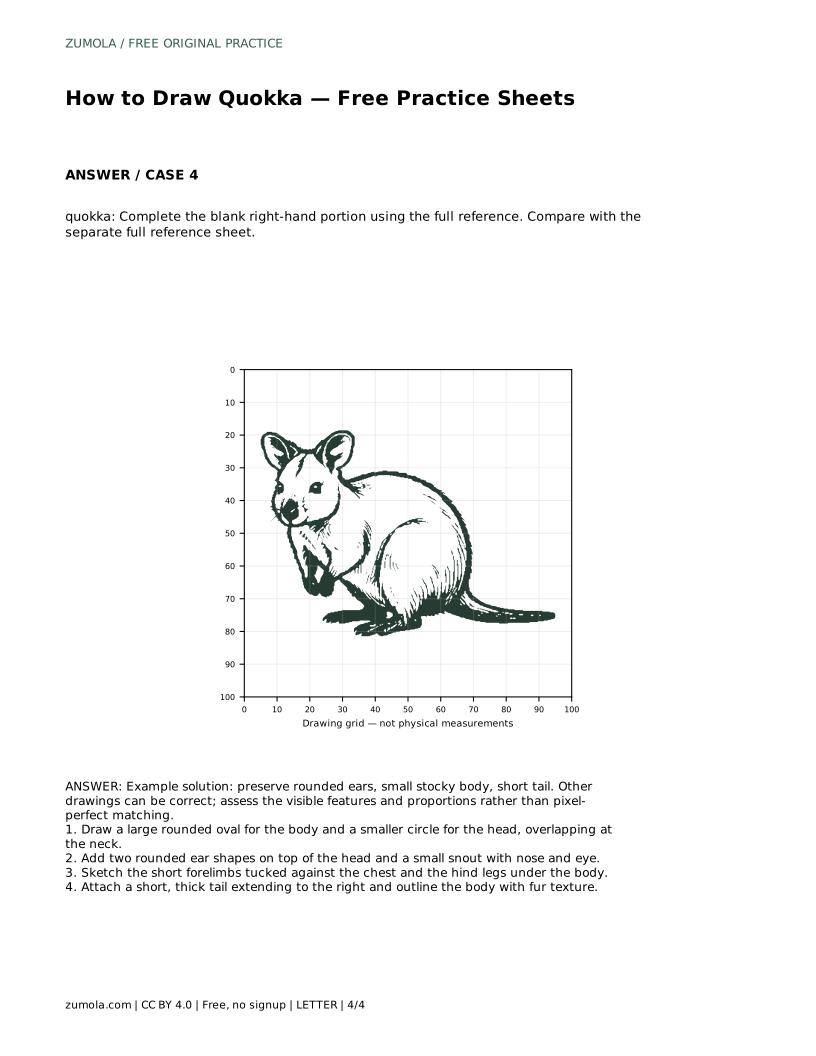
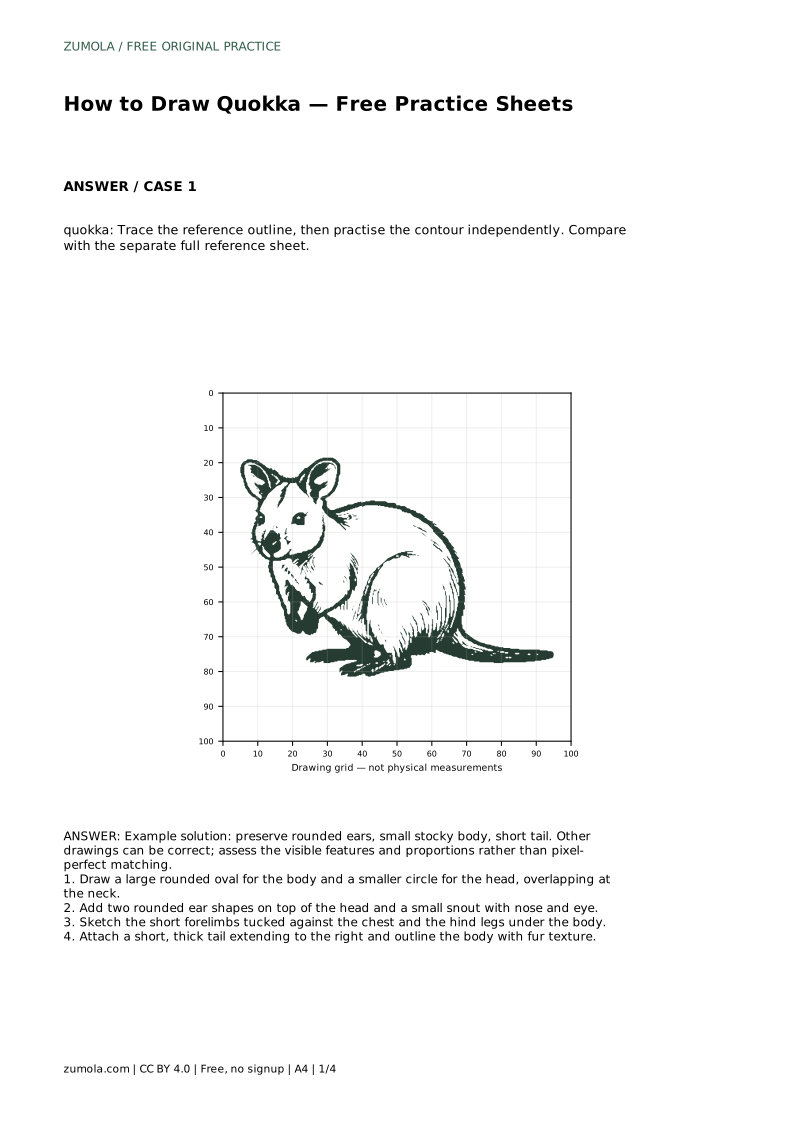
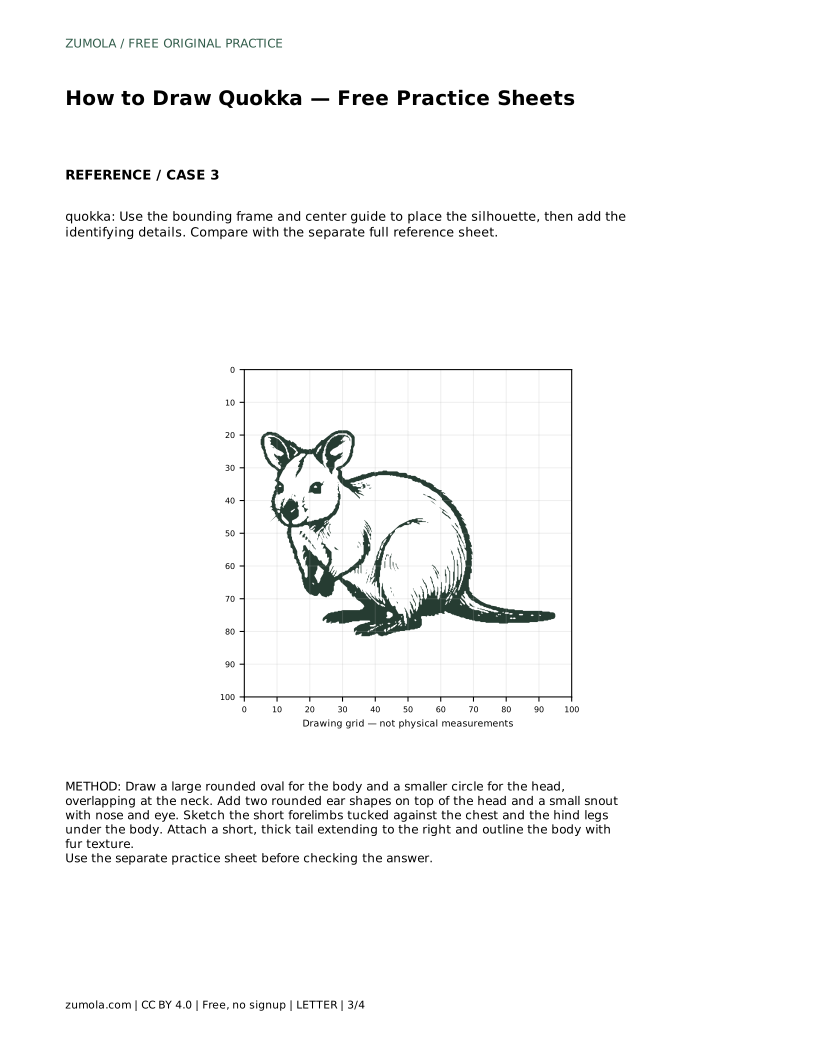
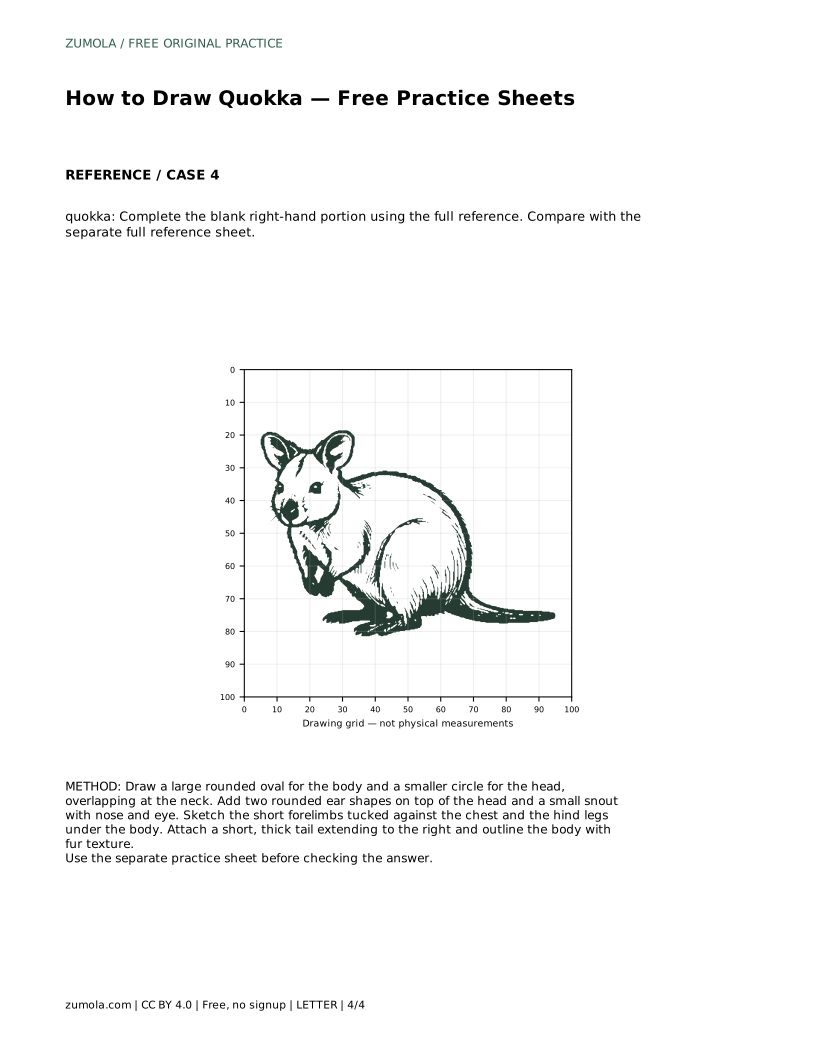
Before you trace or copy anything, look at the reference and name the parts that make the animal a quokka. The head is a rounded circle, not a pointed wedge. The ears are small and rounded on top. The body is a large rounded oval, low and stocky. The front limbs are short and held close to the chest, and the tail is short and thick rather than long and thin.
These features matter more than any single line. A drawing with a long tail or tall, pointed ears will stop reading as a quokka even if the outline is neat. Keep the proportions simple: the head is smaller than the body, and the body sits close to the ground.
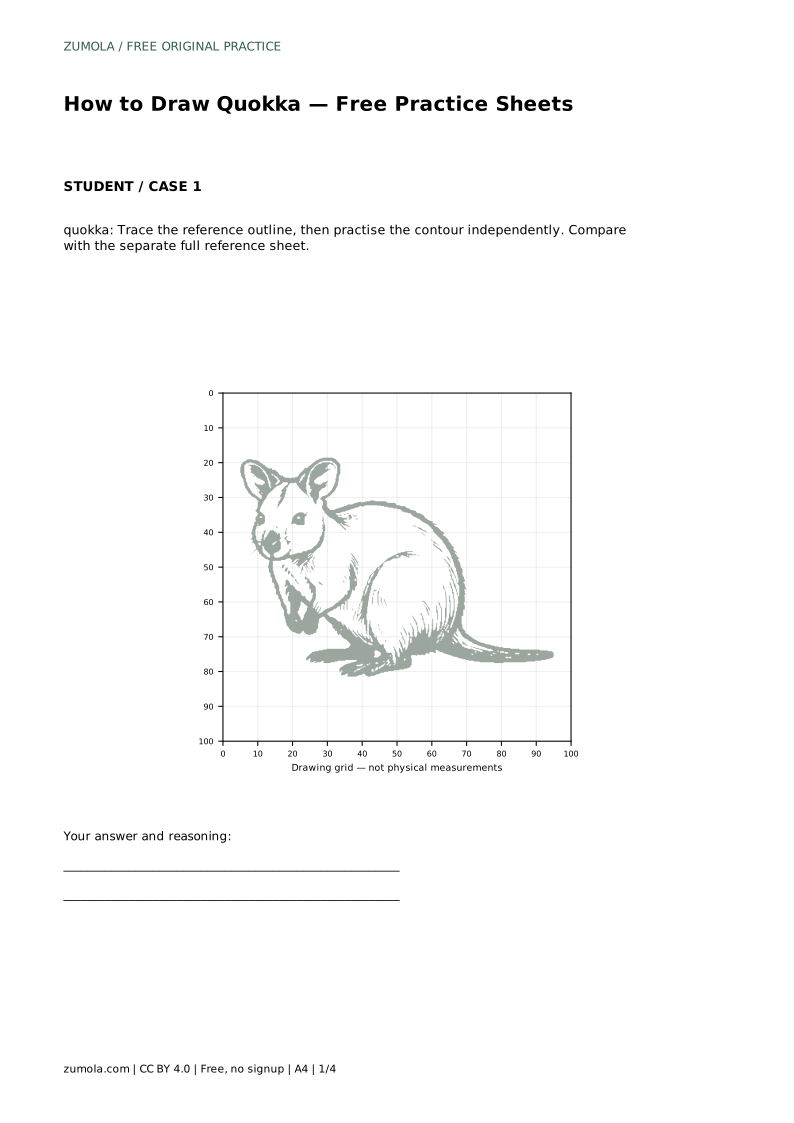
Tracing is a warm-up, not the final goal. Place your paper over the reference outline and follow the contour slowly, noticing where the head meets the body and how the ears sit on top. Say the shape names quietly as you trace so your hand connects to the structure.
Then move to a blank sheet and draw the same contour from memory. Compare your independent drawing with the separate full reference sheet. Differences are useful information: if your tail came out too long, redraw it shorter; if the ears look pointed, round them. The aim is to preserve the visible features and proportions, not to match every pixel.
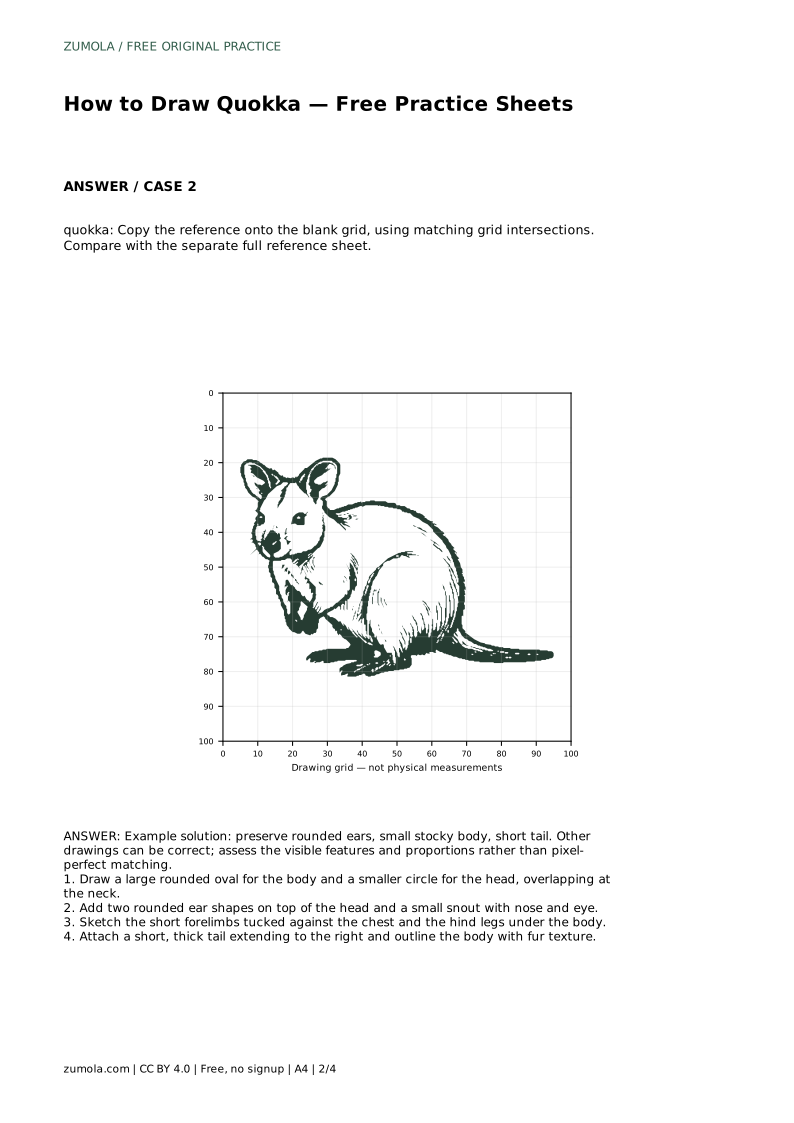
A grid helps you judge position and size. Copy the reference onto the blank grid by matching grid intersections: if the top of the head sits two squares from the top edge in the reference, place it two squares down on your blank grid. Work square by square rather than drawing the whole outline at once.
Use the grid for placement, then remove it mentally. The finished drawing should still have the rounded ears, stocky body, and short tail. A grid copy that is perfectly aligned but has a long tail is not a better quokka drawing.
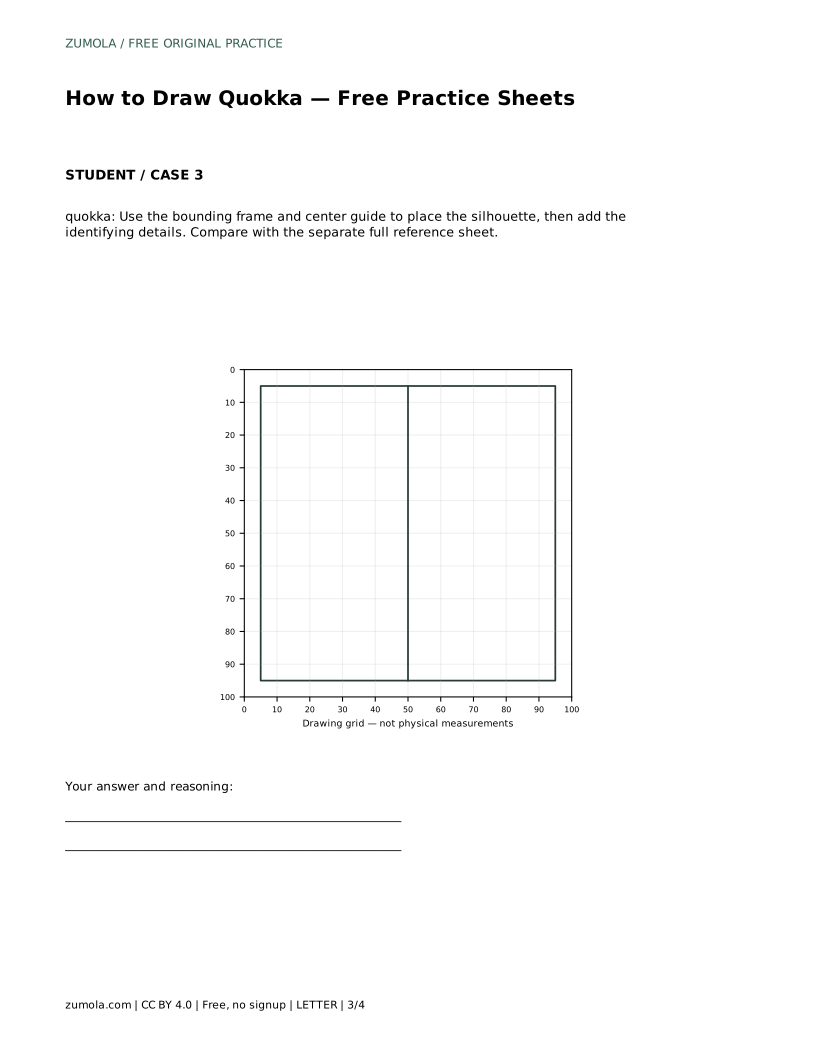
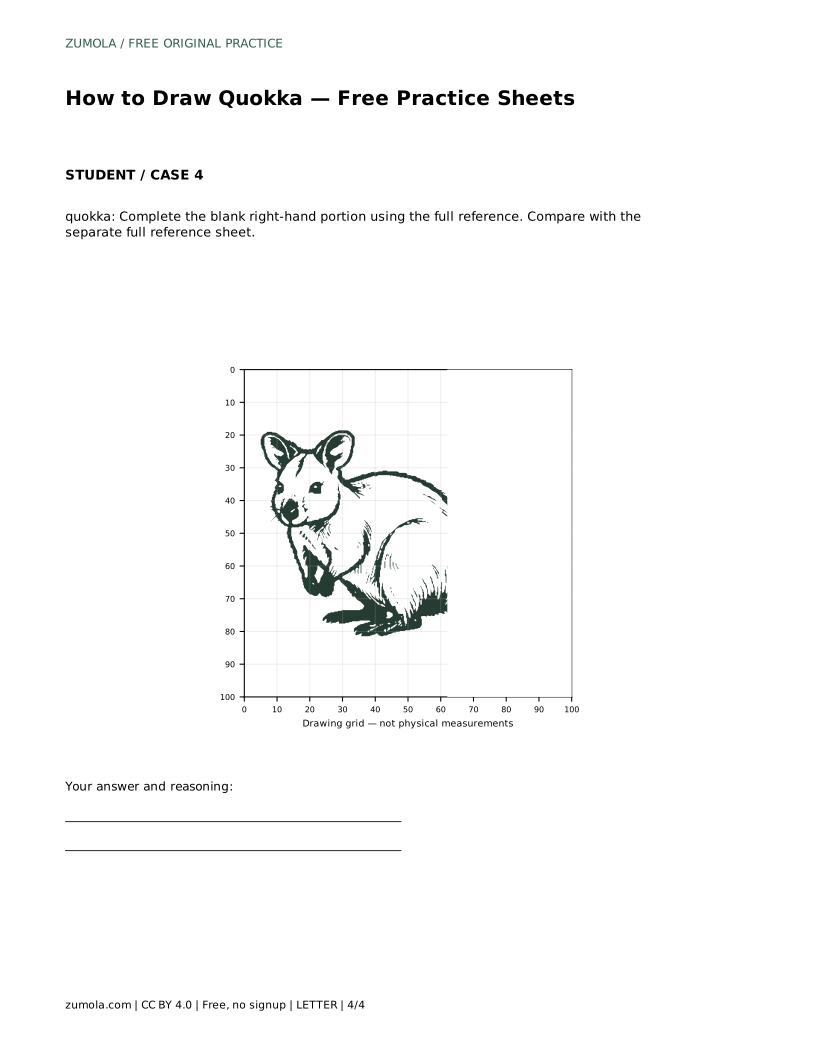
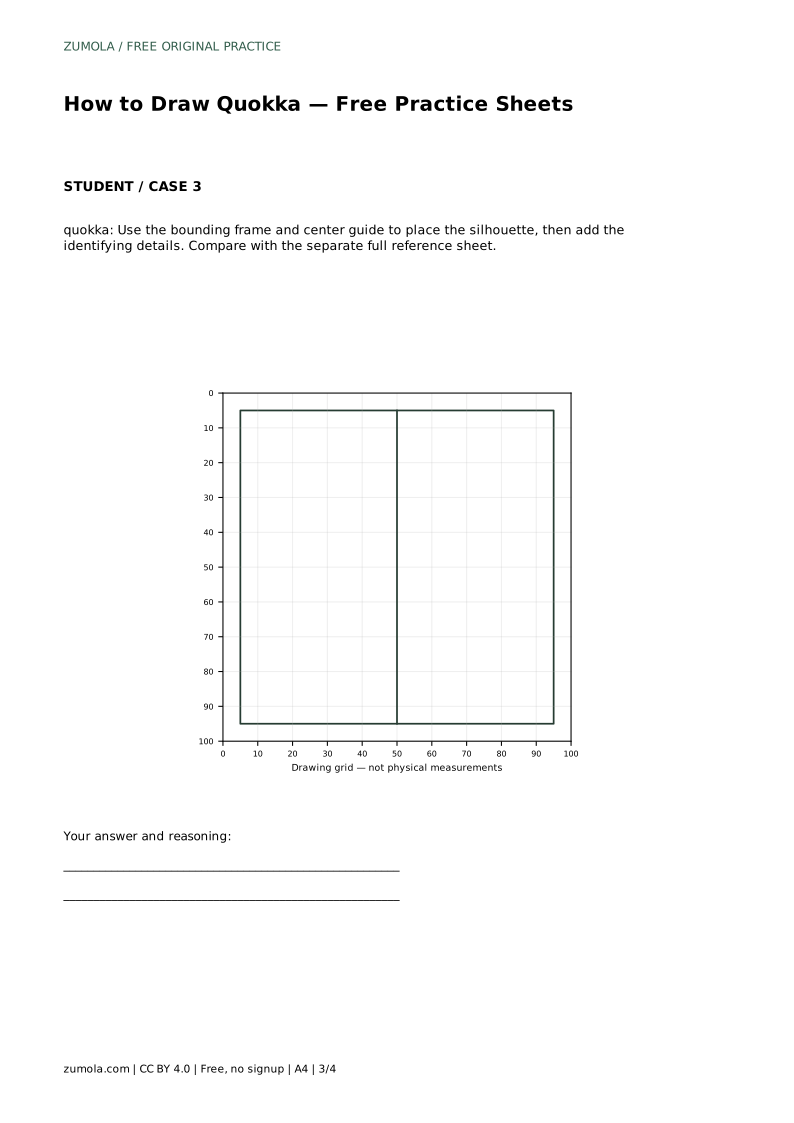
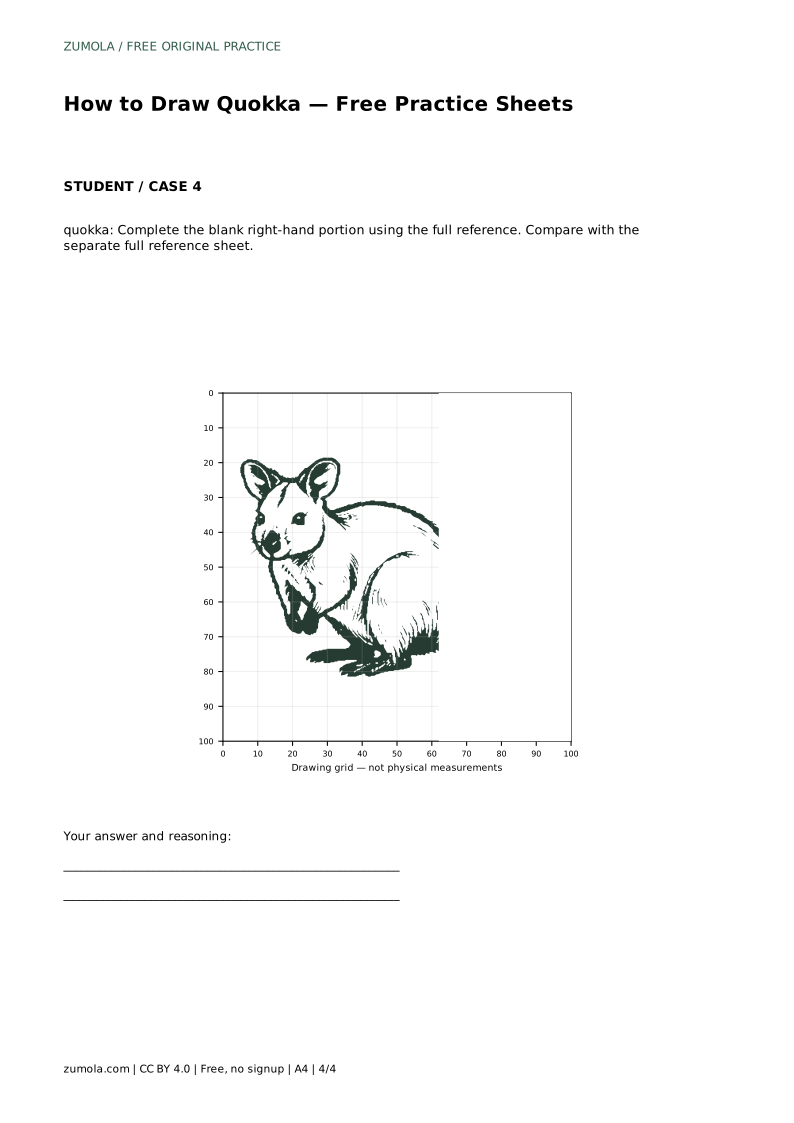
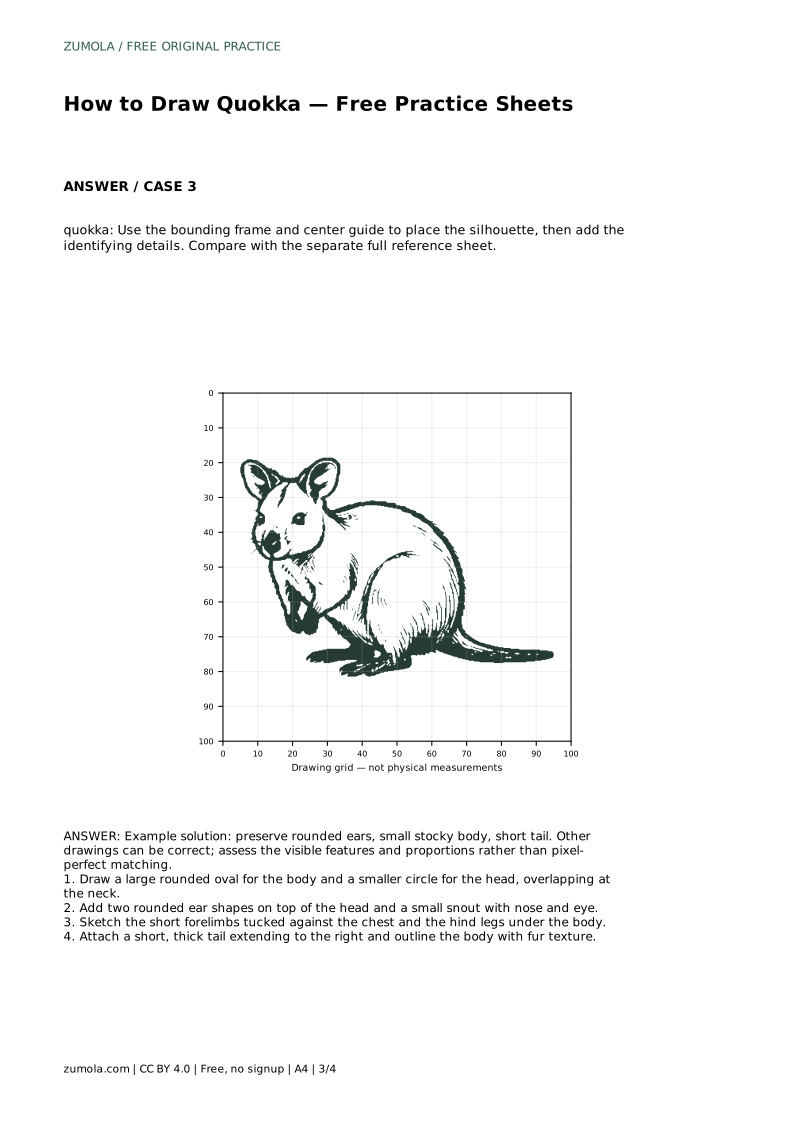
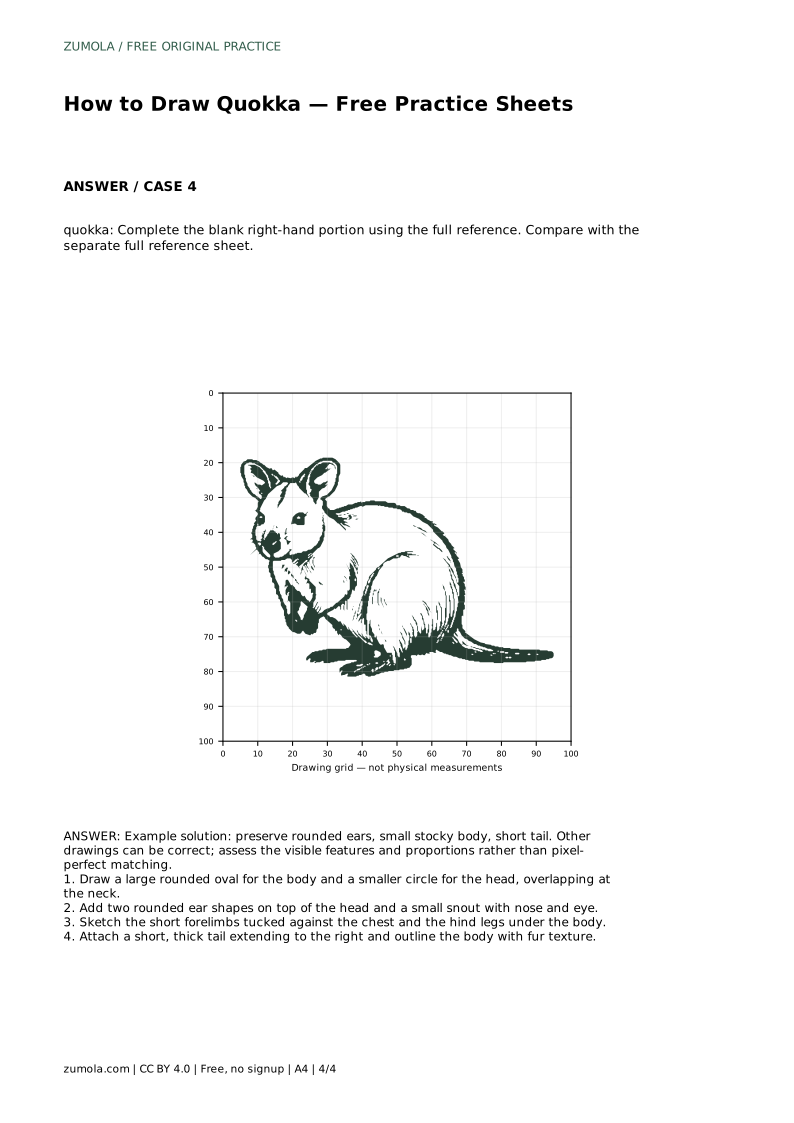
When only part of the reference is shown, use the visible side to infer the missing side. The bounding frame and center guide help you keep the silhouette balanced. Place the body first, then the head, then the ears and tail. Add the eye, nose, and paw lines last so they sit correctly on the body.
Because art has multiple valid outcomes, judge your drawing with a rubric instead of hunting for one exact answer. Ask whether the ears are rounded, the body is stocky, the front limbs are tucked, and the tail is short and thick. If two of those fail, redraw those parts before adding fur texture.
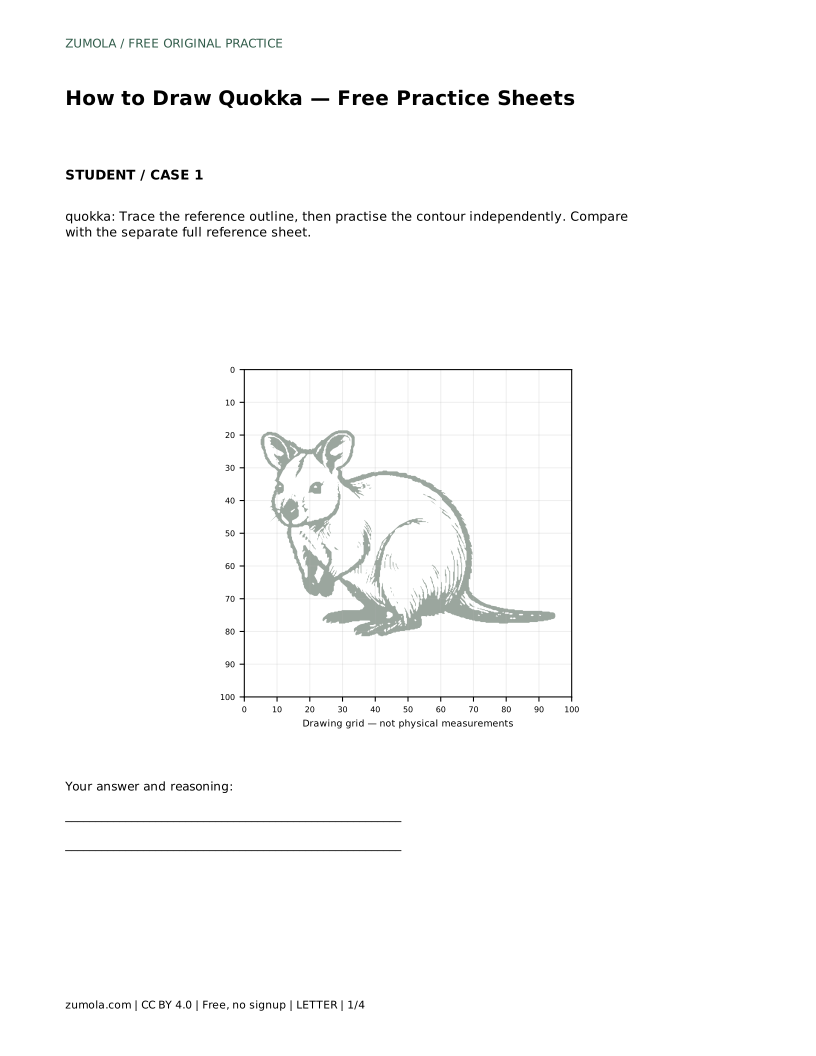
quokka: Trace the reference outline, then practise the contour independently. Compare with the separate full reference sheet.
Example solution: preserve rounded ears, small stocky body, short tail. Other drawings can be correct; assess the visible features and proportions rather than pixel-perfect matching. Draw a large rounded oval for the body and a smaller circle for the head, overlapping at the neck. Add two rounded ear shapes on top of the head and a small snout with nose and eye. Sketch the short forelimbs tucked against the chest and the hind legs under the body. Attach a short, thick tail extending to the right and outline the body with fur texture.
No. Preserve the rounded ears, small stocky body, and short tail. Other drawings can be correct, so assess the visible features and proportions rather than pixel-perfect matching.
Trace the outline once to learn the contour, then draw it independently on blank paper and compare with the full reference sheet.
Use intersections only to place landmarks like the nose, ear tops, and tail tip, then join them into a smooth outline.
All drawing practice · Free coordinate paper
Original resources · CC BY 4.0 · Free for personal and classroom use with attribution.