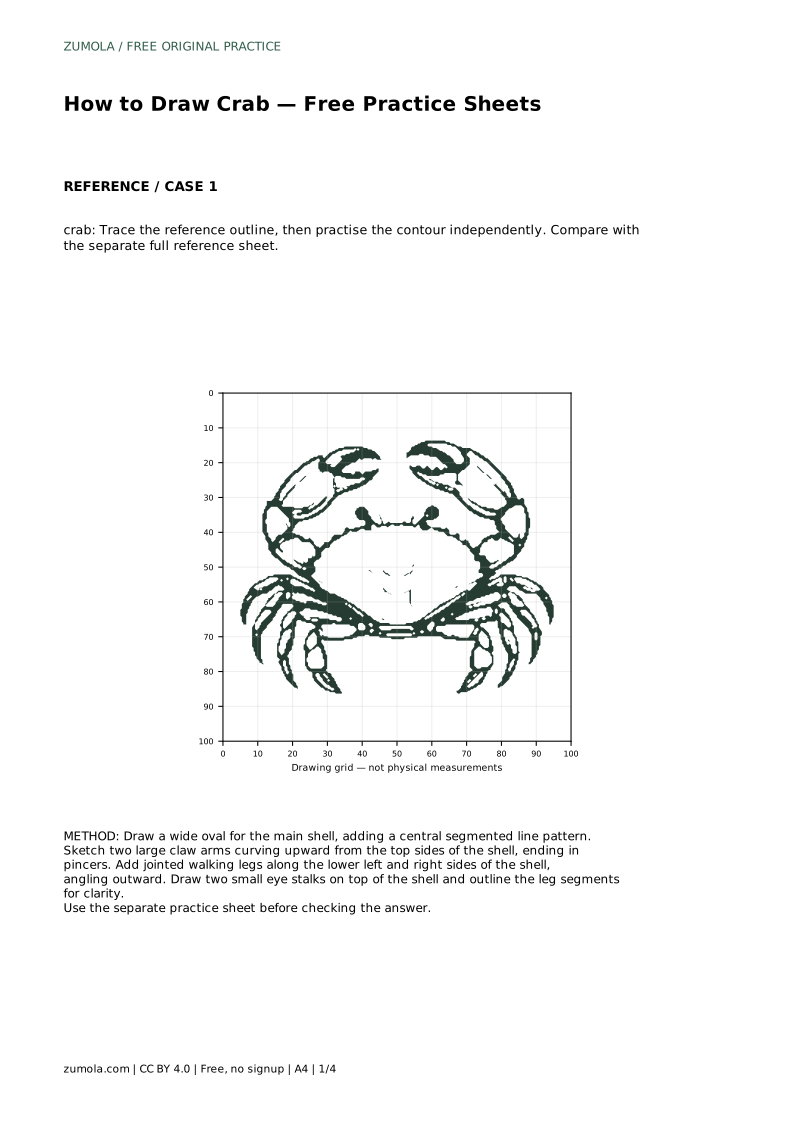
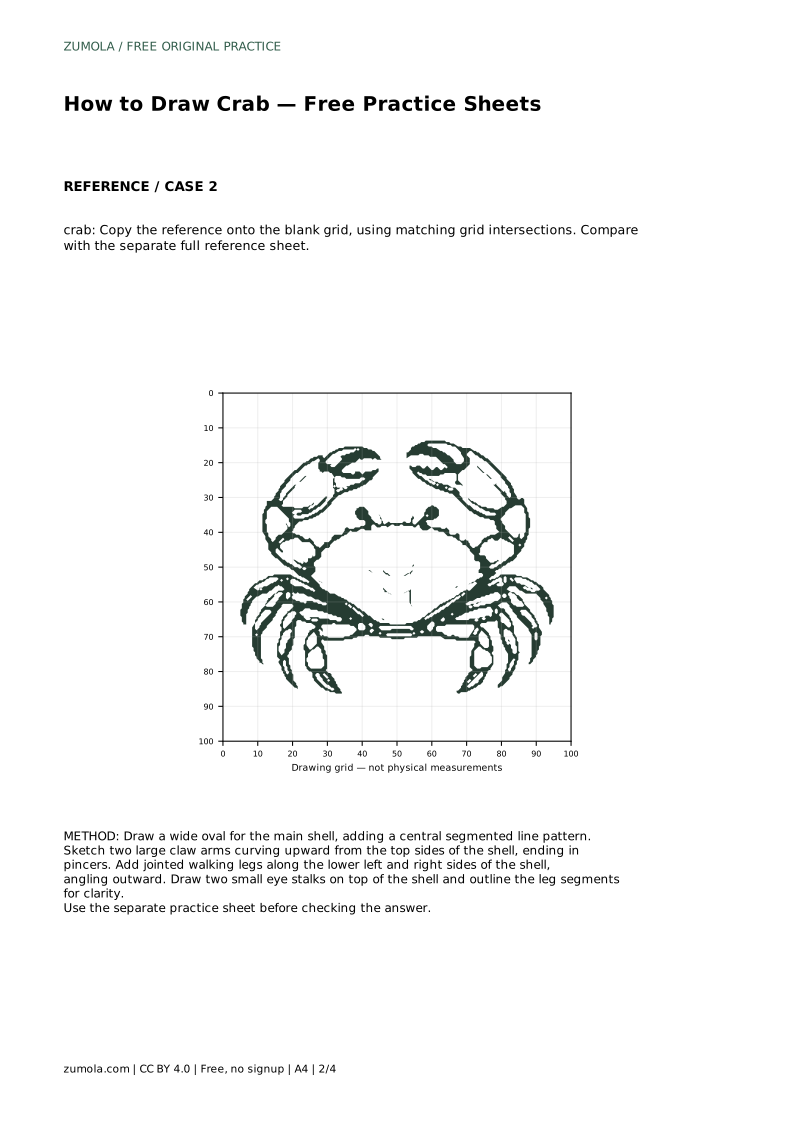
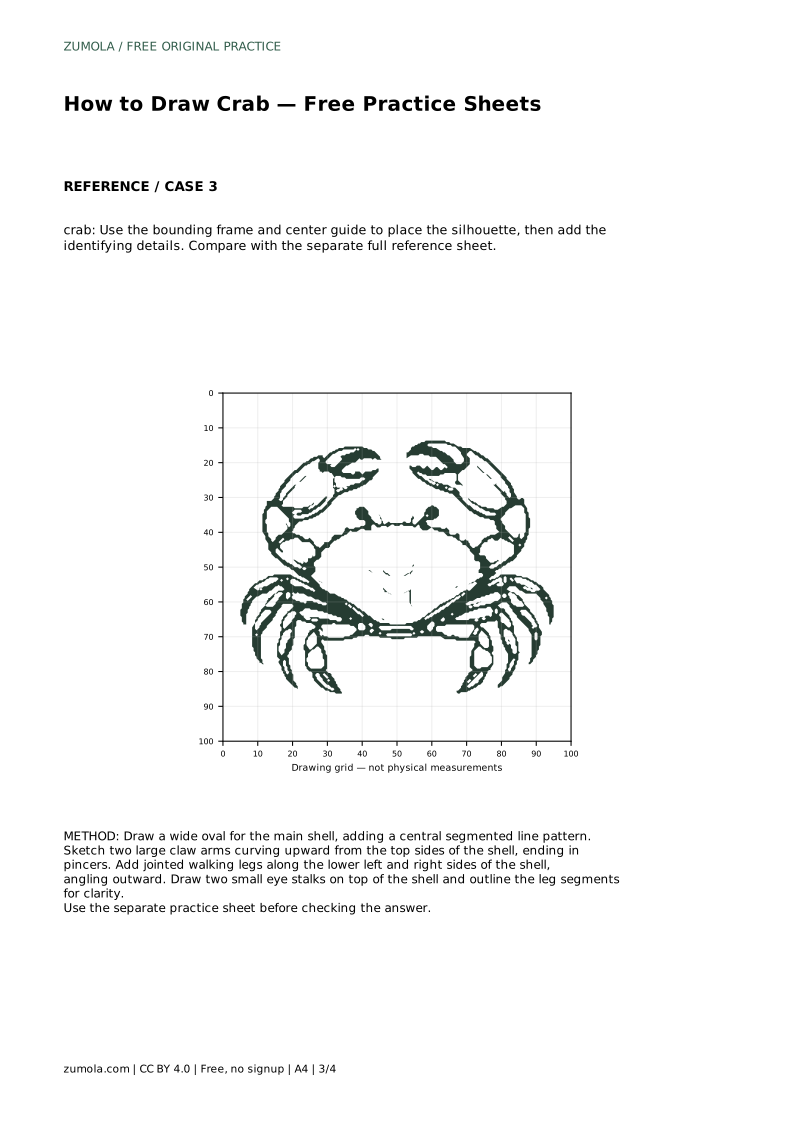
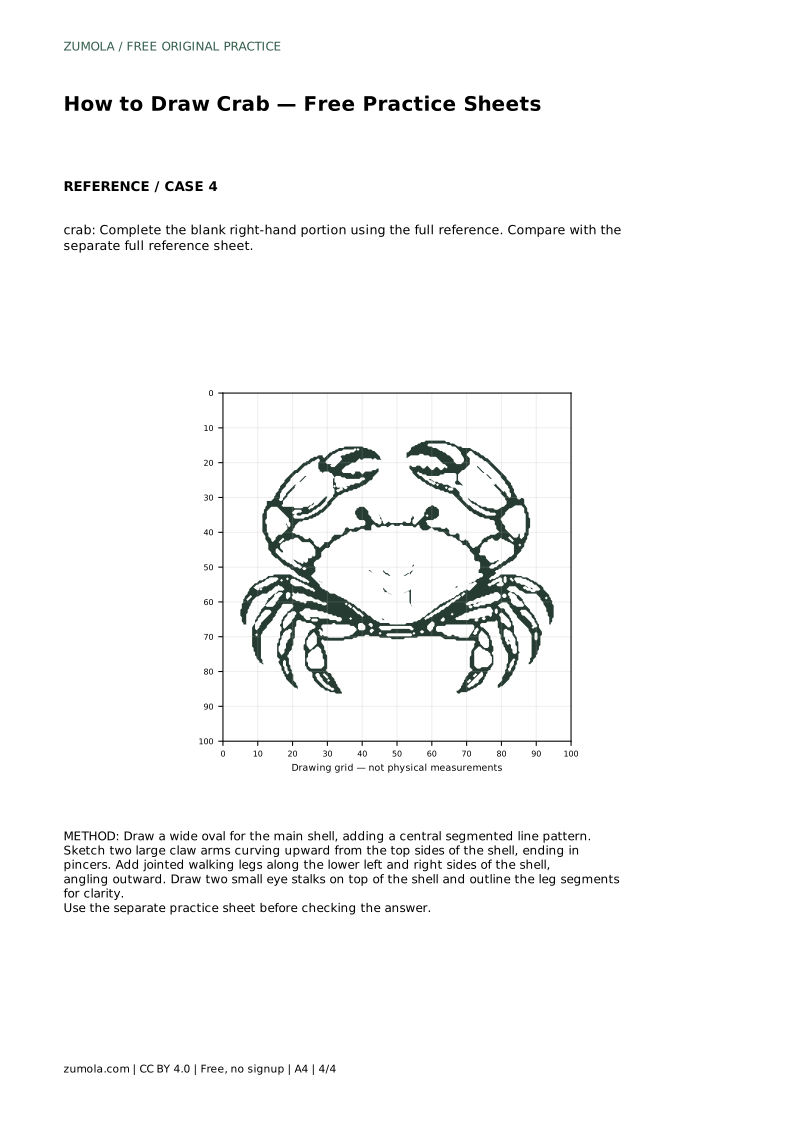
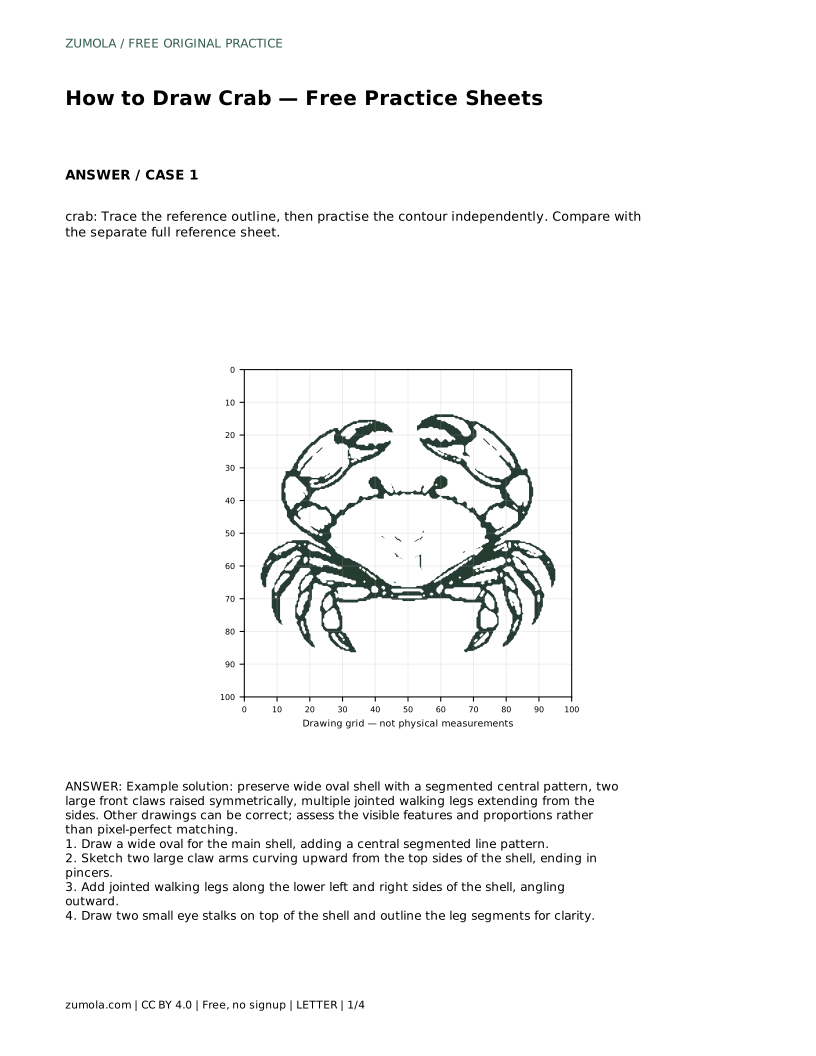
Reference diagrams
LETTER · Download PDF
A4 · Download PDF
Free original resources
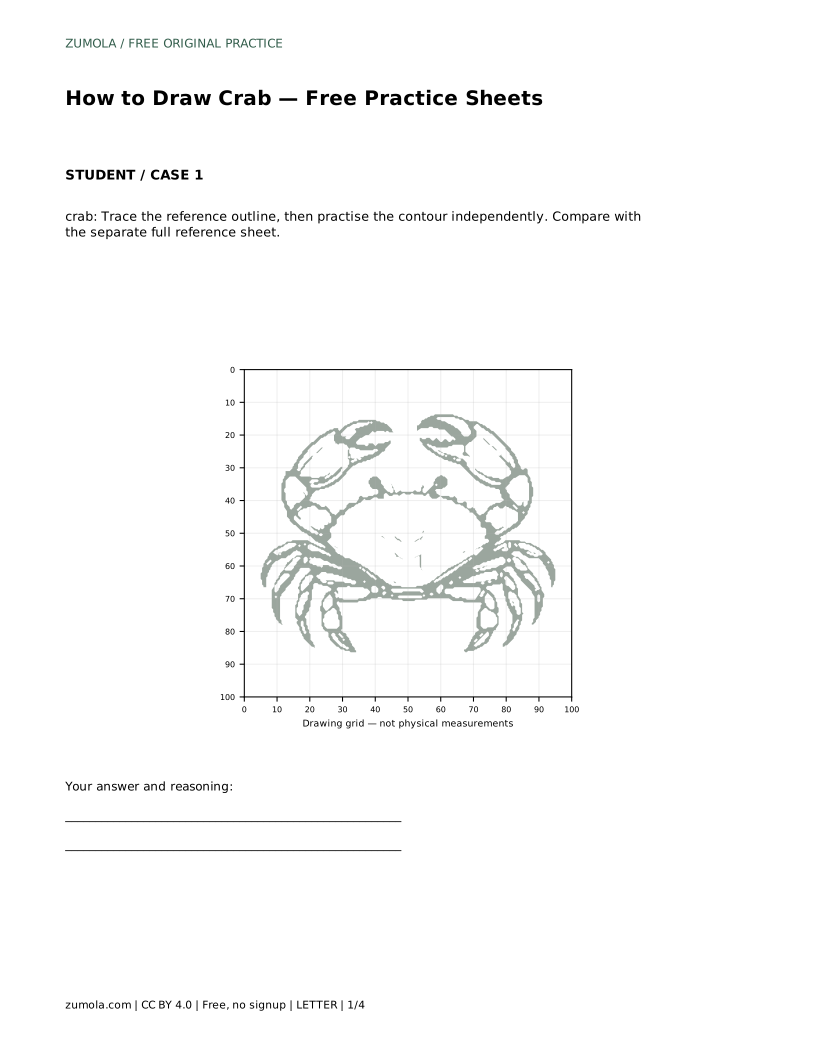
Learn to draw a cute crab by building a wide oval shell, raised claws, jointed legs, and eye stalks. Free practice sheets support tracing, grids, and guided placement.
Four original cases, with reference diagrams, practice sheets and worked answers. Everything is free; no signup required.
LETTER · Download PDF
A4 · Download PDF
LETTER · Download PDF
A4 · Download PDF
LETTER · Download PDF
A4 · Download PDF
Use A4 or US Letter to match your printer. Use the stated values and conditions to solve each exercise; diagrams are not physical measuring rulers.
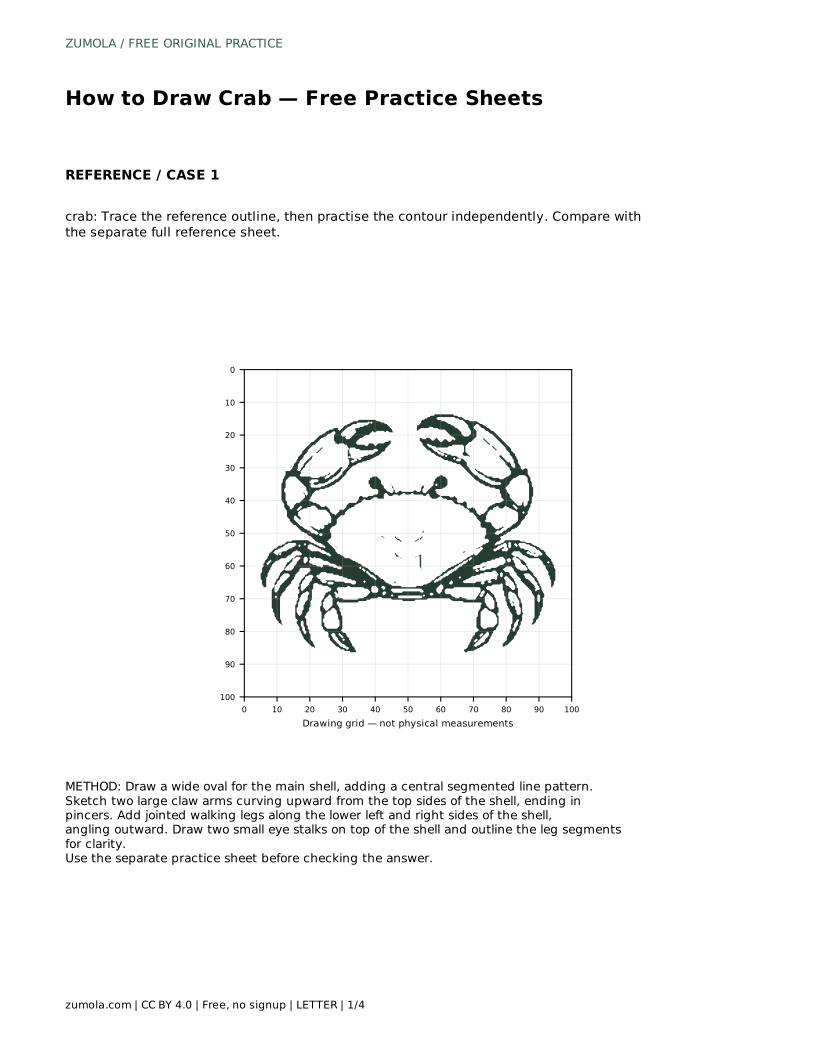
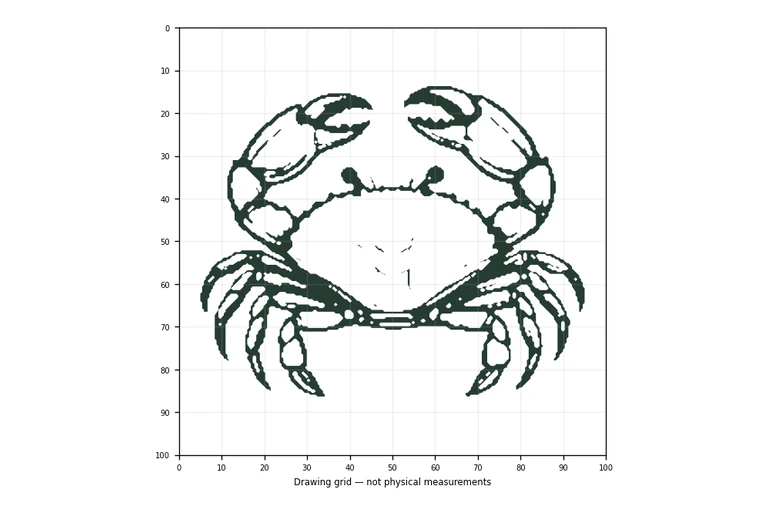
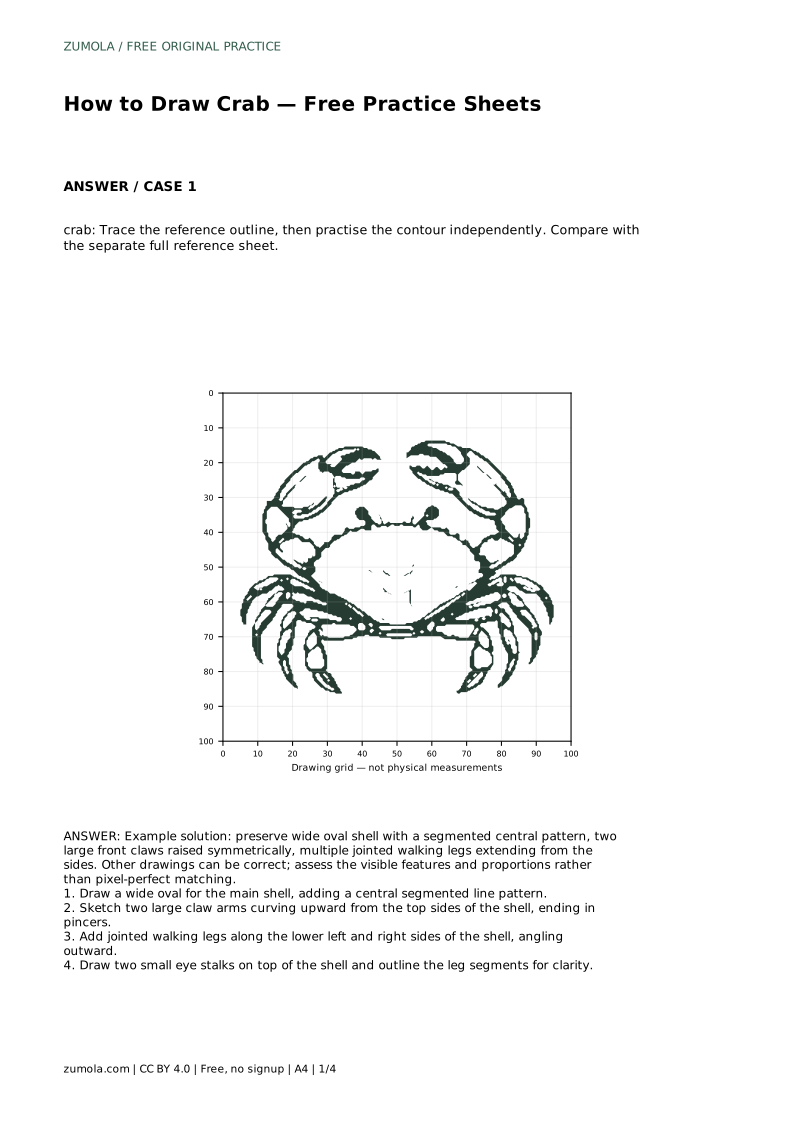
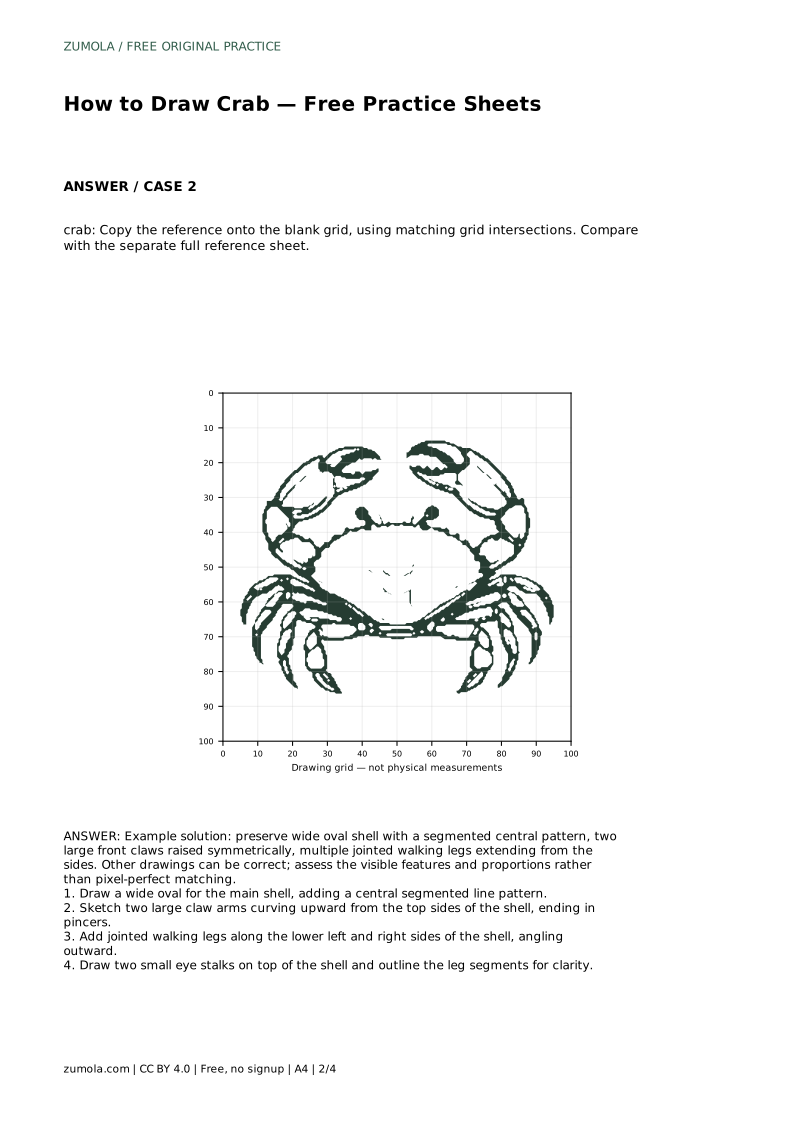
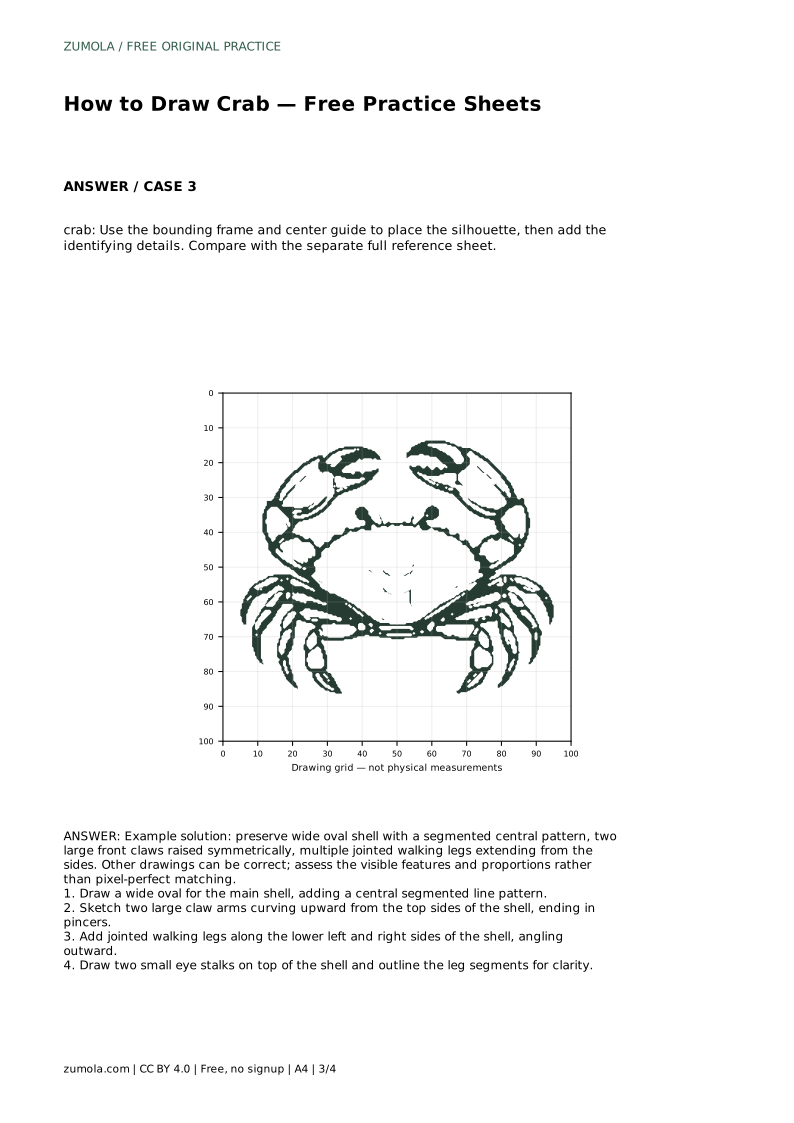
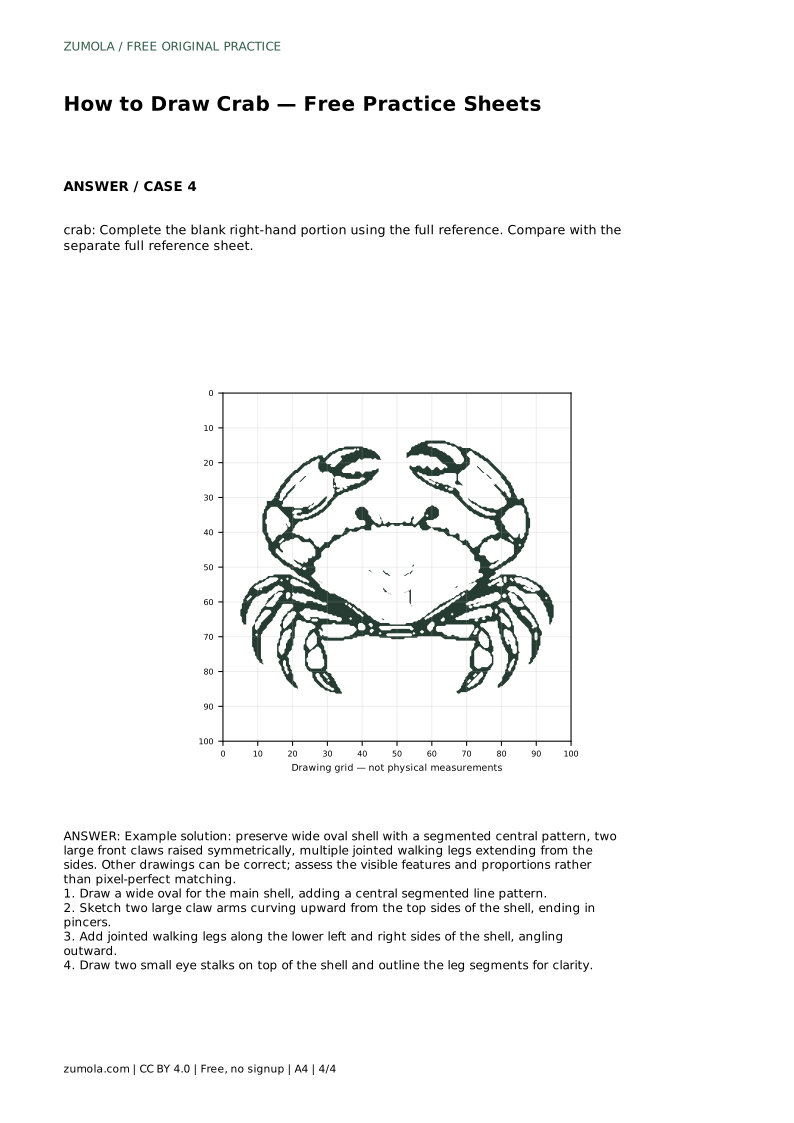
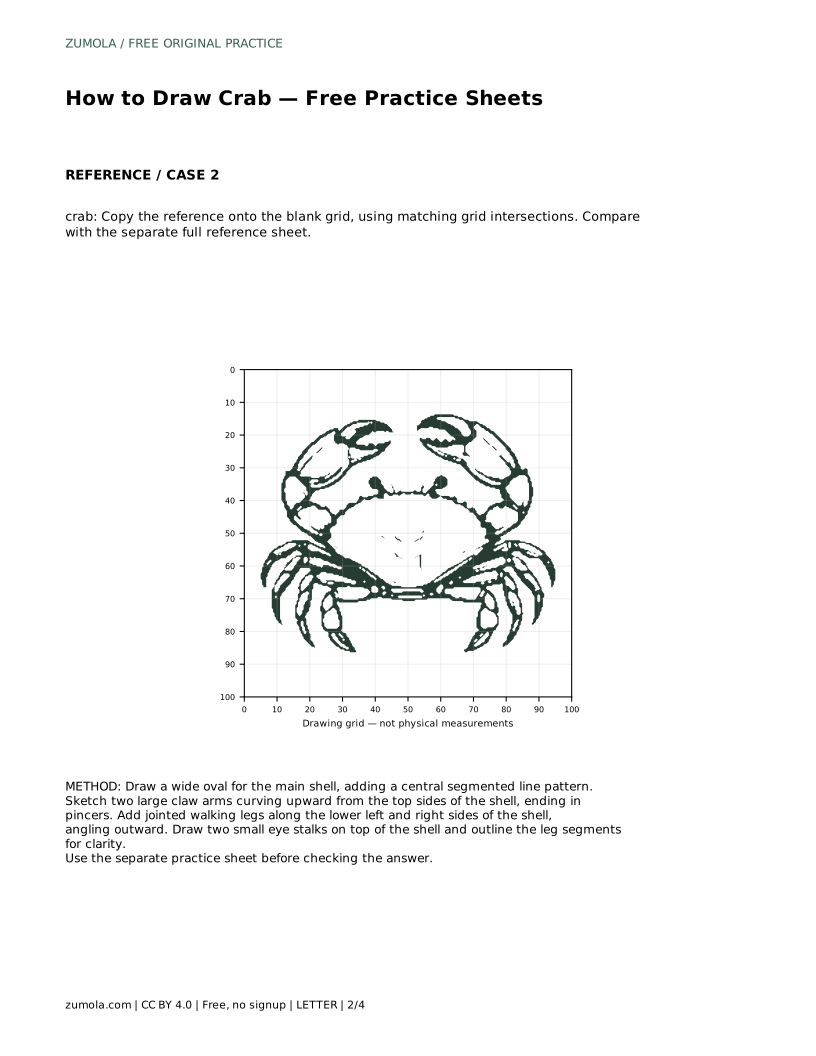
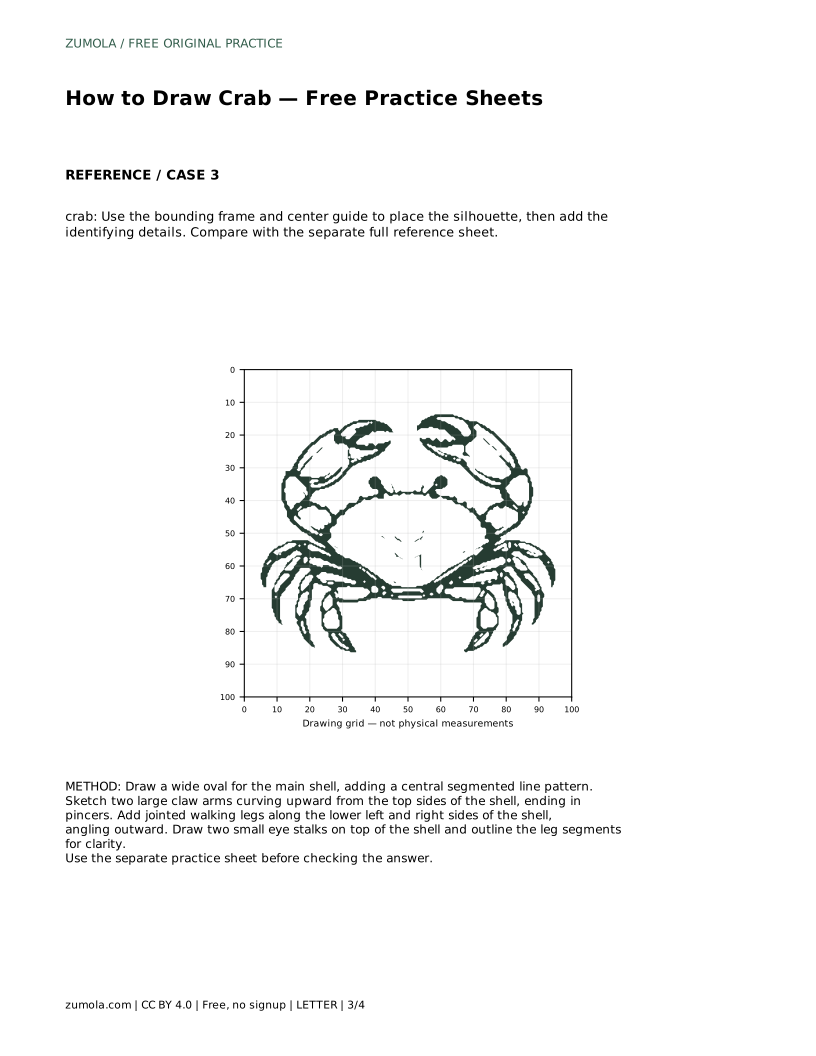
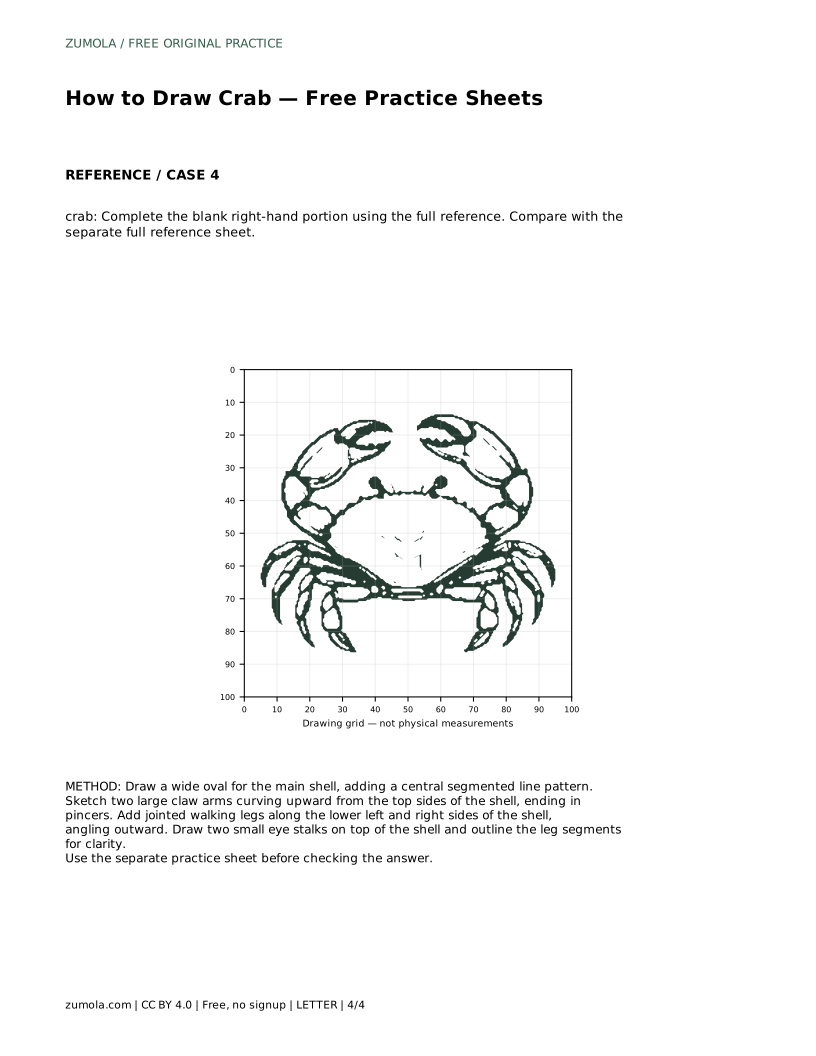
A cute crab drawing depends on a few clear shapes: a wide oval shell, two raised claw arms, several jointed walking legs, and small eye stalks. This page explains how to build those parts in order, then how to practise them with tracing, grid, frame, and partial-reference sheets. The goal is not a pixel-perfect copy. Different drawings can be correct when the visible features and proportions hold together.
Start with the shell because it controls the whole silhouette. A crab shell is wider than it is tall, so draw a wide oval rather than a circle. Keep the top and bottom curves gentle. Inside the shell, add a segmented central pattern: a short line or narrow band running front to back, with a few cross-lines suggesting plates. This pattern helps the shell read as a crab rather than a plain oval.
Next, place the two large front claws. They rise from the upper sides of the shell, curve upward, and end in pincers. For a cute drawing, keep the two claw arms roughly symmetrical in size and height. Then add the walking legs along the lower left and right sides, angling outward. Each leg should show at least one joint so it reads as jointed rather than as a straight spoke. Finish with two small eye stalks on top of the shell.
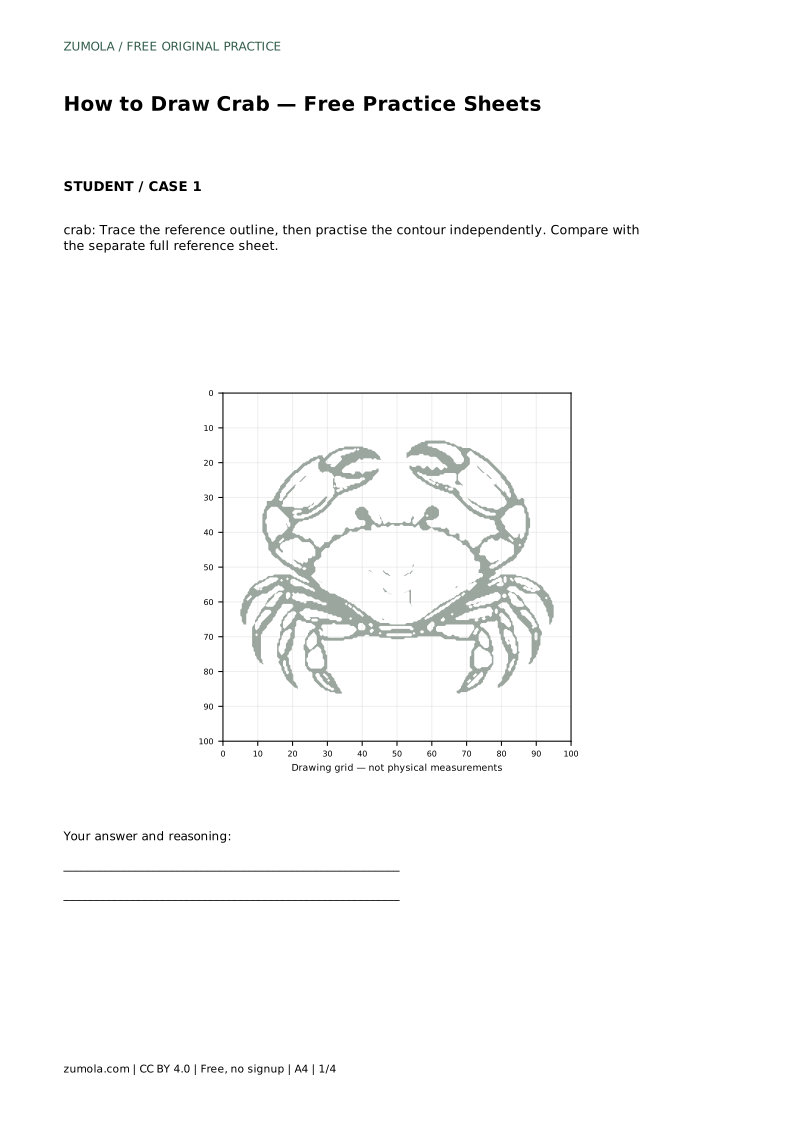
Tracing sheets help you learn the order of construction: shell first, claws second, legs third, eye stalks last. Trace the reference outline once, then cover it and draw the contour independently. Compare your free drawing with the separate full reference sheet, not with your traced line.
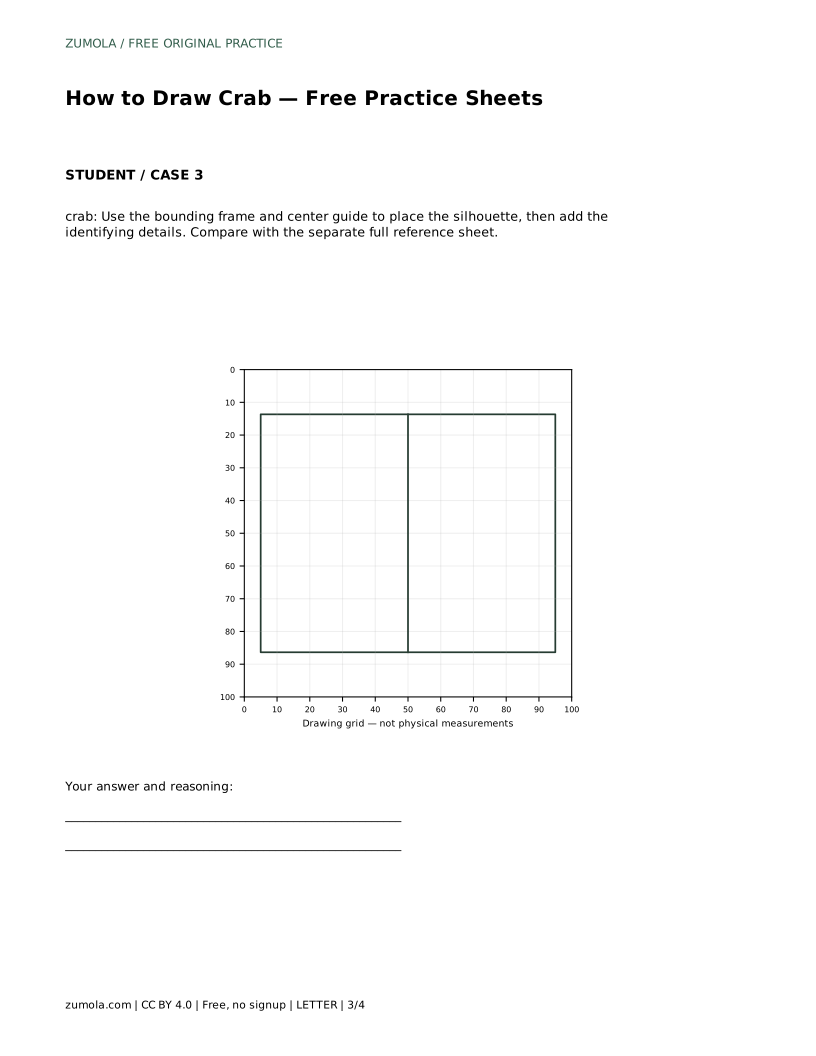
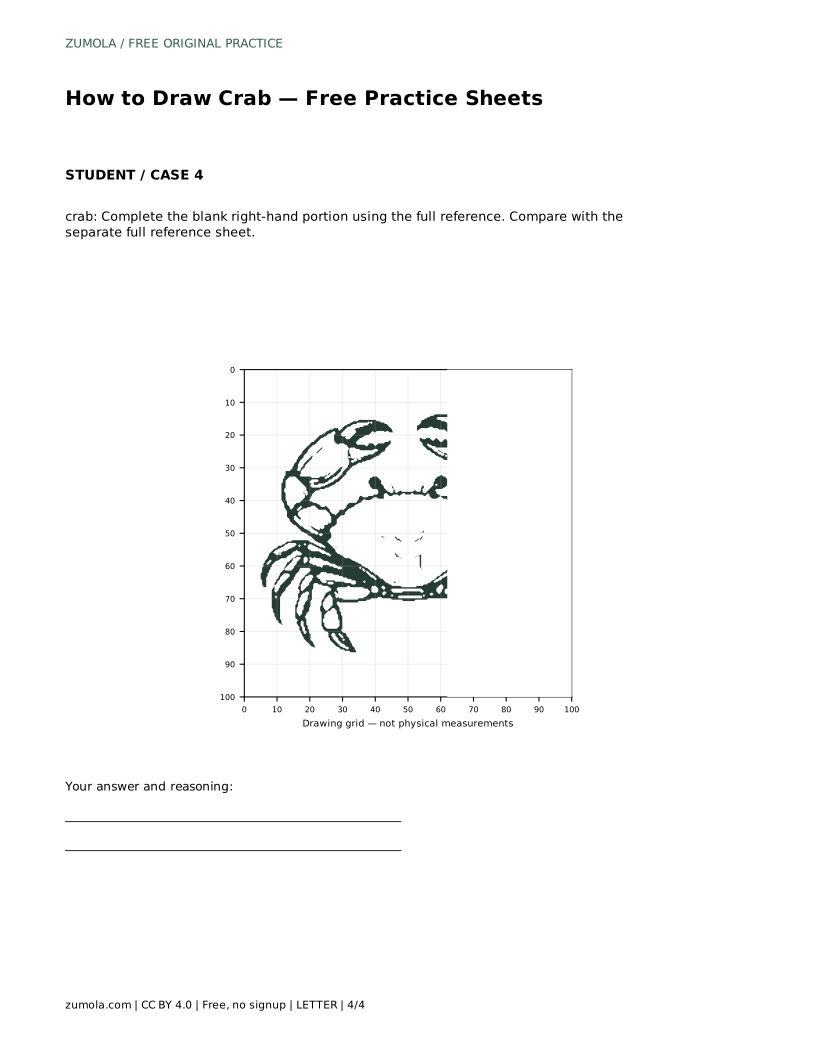
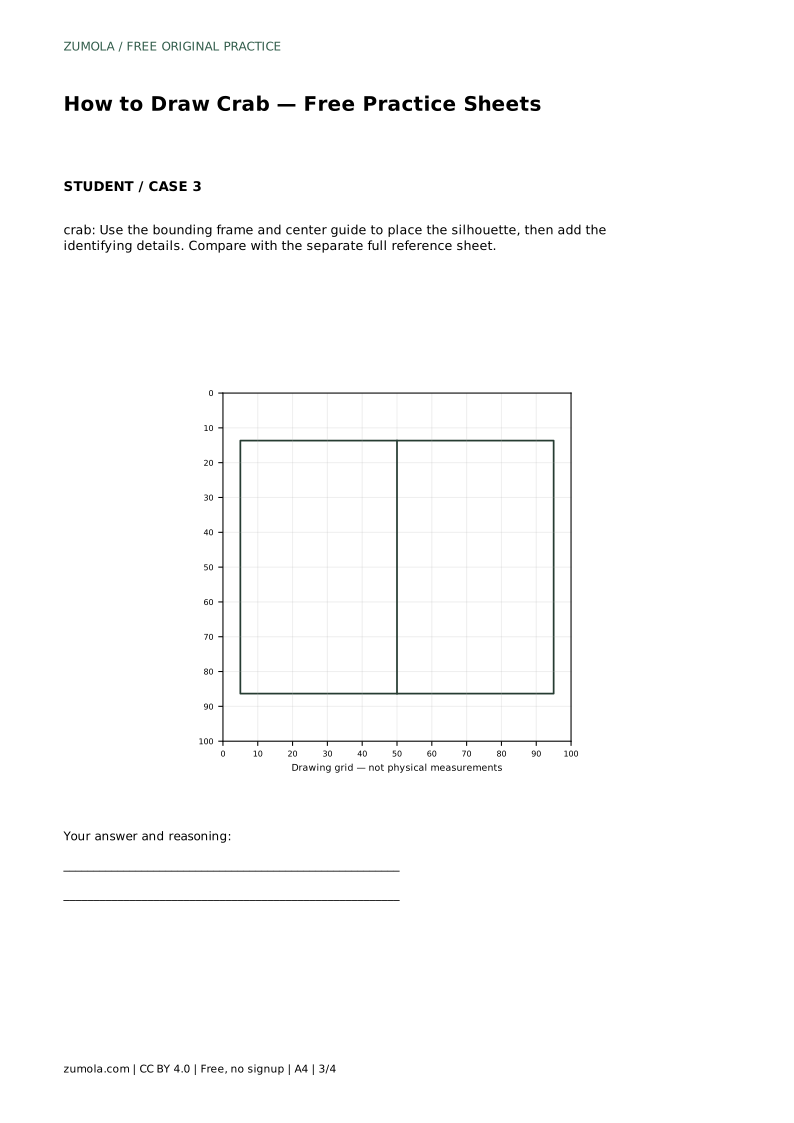
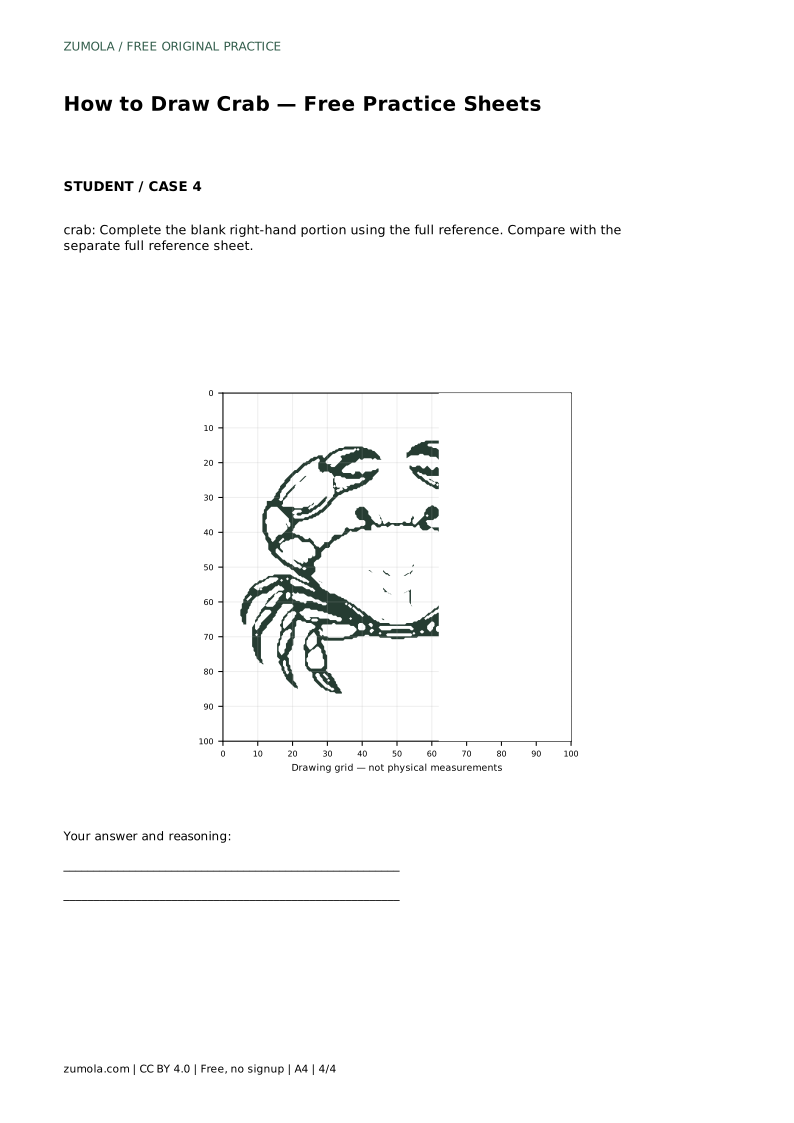
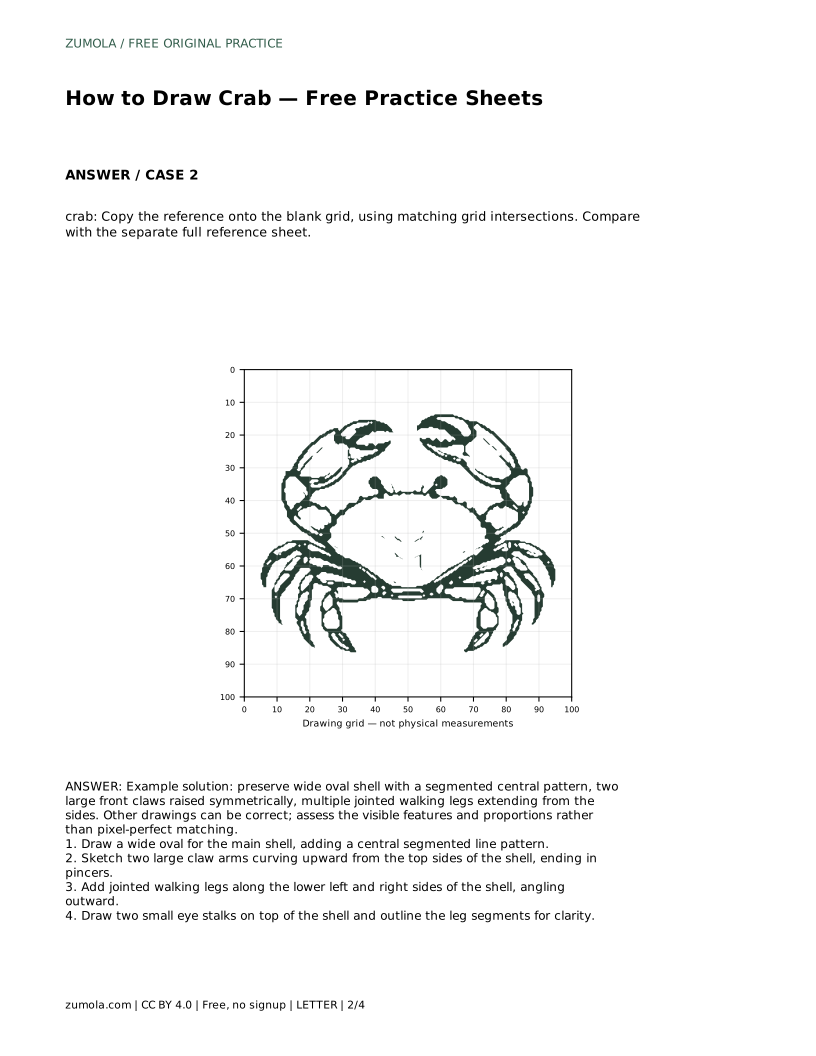
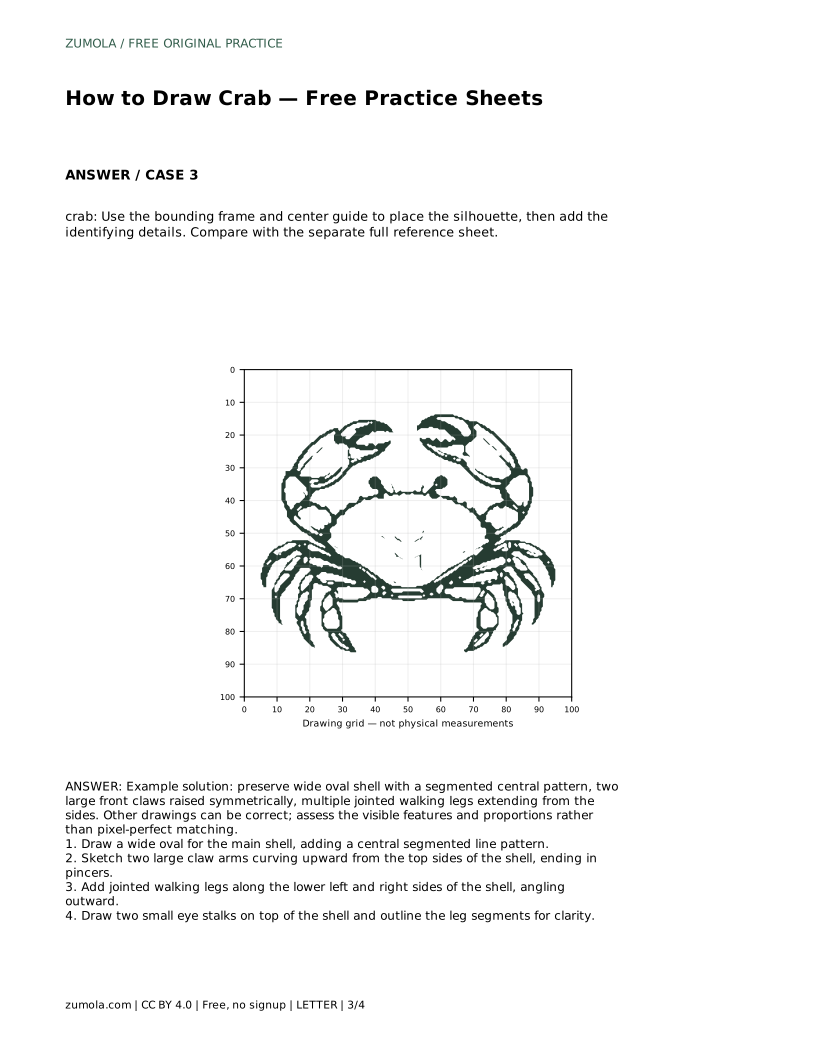
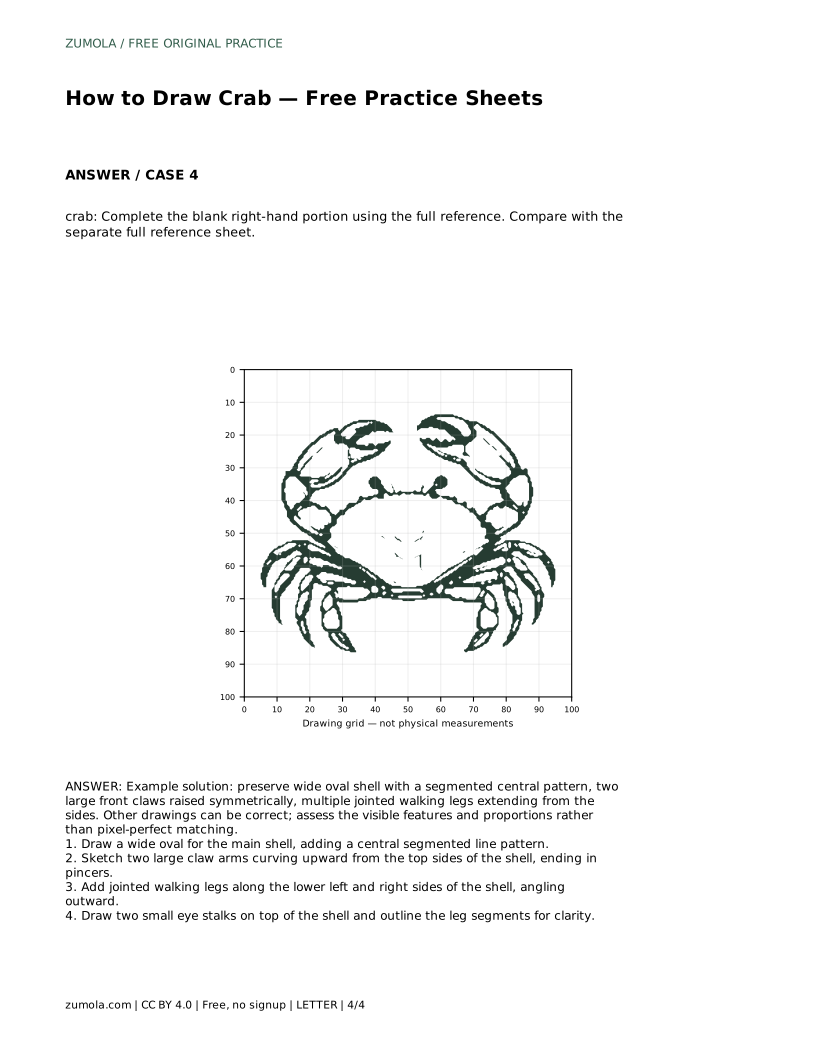
Grid sheets train placement. Copy the reference onto the blank grid by matching where each feature crosses grid intersections. The shell should occupy the same relative width, and the claw tips should sit at comparable heights. Frame-and-center-guide sheets help you position the silhouette before adding details. Partial-reference sheets give you one side and ask you to complete the other, which tests whether you understand the symmetry of the claws and the spacing of the legs.
Compare the shell width to the total height of the drawing. In a cute crab, the shell usually dominates, and the claws add height above it. If the claws are taller than the shell is wide, the drawing may look unbalanced. Check that the walking legs are shorter than the claw arms and that they spread outward rather than hanging straight down.
Symmetry matters most for the two front claws. Measure their heights against each other and against the shell's center line. Small differences are fine and can make the drawing feel hand-drawn, but one claw should not be twice the size of the other unless you intend that. Eye stalks should sit close together on top of the shell, not at the outer edges.
Because art has multiple valid outcomes, judge the drawing by visible features rather than by exact matching. A correct crab drawing shows a wide oval shell, a segmented central pattern, two raised claw arms with pincers, multiple jointed walking legs extending from the sides, and two eye stalks on top. Proportions should be plausible: the shell is the largest shape, and the claws are prominent but not overwhelming.
Use the rubric below to review your own sheet or a learner's sheet. If a feature is missing, return to the construction step that creates it rather than patching the outline. This keeps the drawing coherent and makes the practice sheet useful as a learning tool.
crab: Trace the reference outline, then practise the contour independently. Compare with the separate full reference sheet.
Example solution: preserve wide oval shell with a segmented central pattern, two large front claws raised symmetrically, multiple jointed walking legs extending from the sides. Other drawings can be correct; assess the visible features and proportions rather than pixel-perfect matching. Draw a wide oval for the main shell, adding a central segmented line pattern. Sketch two large claw arms curving upward from the top sides of the shell, ending in pincers. Add jointed walking legs along the lower left and right sides of the shell, angling outward. Draw two small eye stalks on top of the shell and outline the leg segments for clarity.
No. Other drawings can be correct. Assess the visible features and proportions rather than pixel-perfect matching.
Draw the wide oval shell first, then the claw arms, then the walking legs, and finally the eye stalks.
Show multiple jointed walking legs extending from the lower left and right sides. The exact count can vary, but each leg should show a joint and angle outward.
All drawing practice · Free coordinate paper
Original resources · CC BY 4.0 · Free for personal and classroom use with attribution.