Reference diagrams
LETTER · Download PDF
A4 · Download PDF
Free original resources
Learn to draw a monarch butterfly by building a symmetrical four-wing silhouette, then adding black borders, radiating veins and white edge spots.
Four original cases, with reference diagrams, practice sheets and worked answers. Everything is free; no signup required.
LETTER · Download PDF
A4 · Download PDF
LETTER · Download PDF
A4 · Download PDF
LETTER · Download PDF
A4 · Download PDF
Use A4 or US Letter to match your printer. Use the stated values and conditions to solve each exercise; diagrams are not physical measuring rulers.
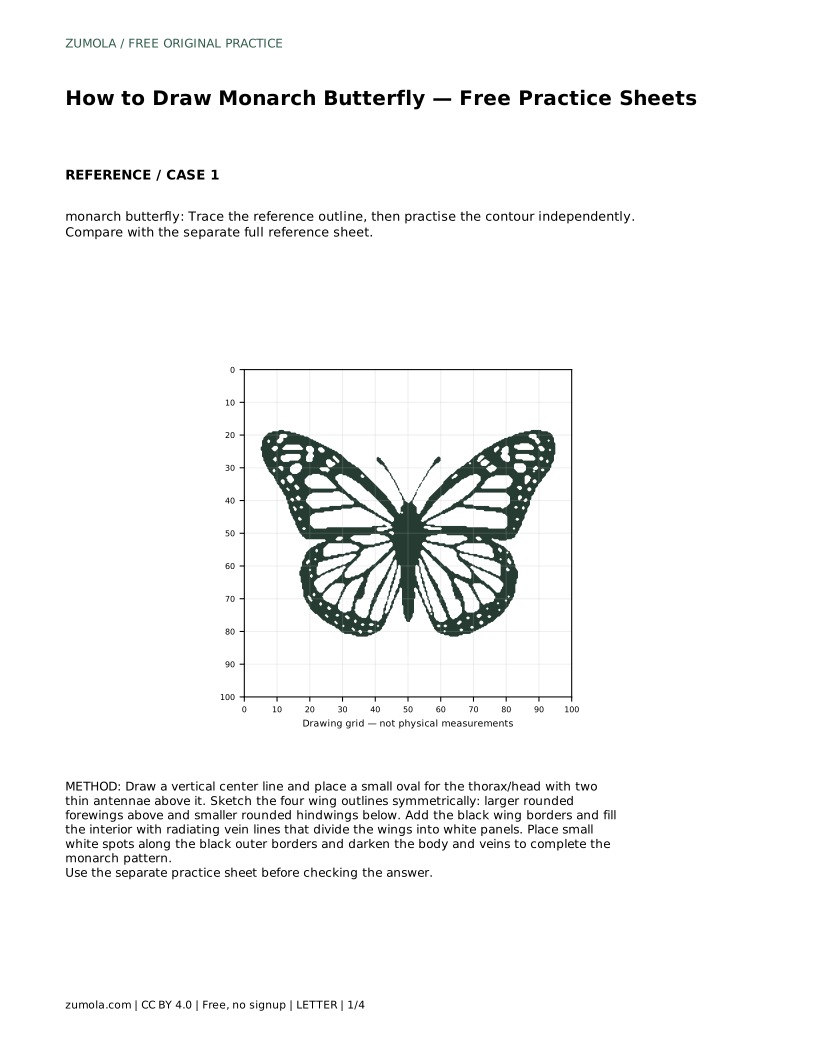
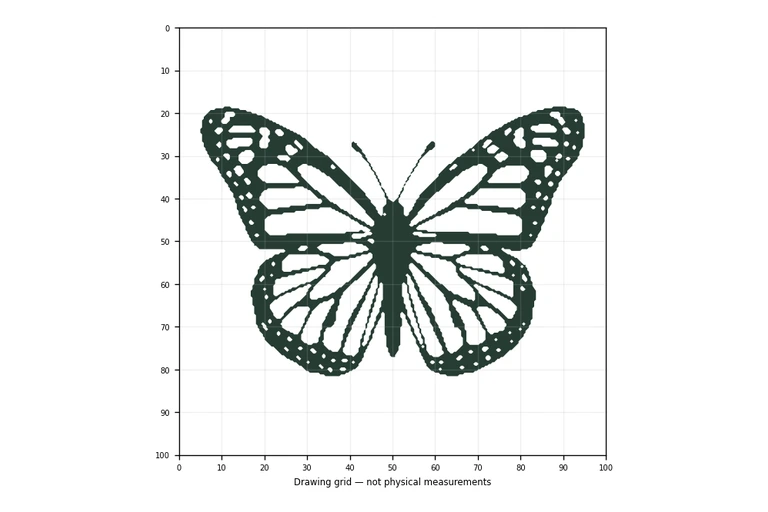
A monarch drawing is easiest to control when you build it in layers: body and antennae first, then the four-wing silhouette, then the black pattern that makes the species recognizable. This page explains the order of construction and the features to check as you work. The practice sheets give you a reference outline, a grid copy task, a bounding-frame task and a half-completed drawing, so you can move from tracing to independent drawing.
Begin with a vertical center line. Place a small oval for the head and thorax on that line, with two thin antennae rising above it. The abdomen extends below the thorax as a narrow shape. Keep the body small relative to the wings; a monarch's wings dominate the drawing.
Next, sketch four wing outlines symmetrically around the center line. The forewings sit above and are larger and more rounded at the tip. The hindwings sit below and are smaller and rounder. Work on both sides at once, checking that matching points sit at equal distances from the center line. Symmetry is a proportion check, not a demand for pixel-perfect matching.
Once the silhouette is settled, add the black wing borders. These run along the outer edge of each wing and are widest at the tips. Inside the border, draw vein lines that radiate outward from the body toward the wing edge, dividing the wing into white panels. Veins should follow the wing's direction rather than crossing at random angles.
Finally, place small white spots along the black outer borders. Spots are most visible on the dark margins, so leave them as unshaded gaps or erase small dots after darkening. Darken the body and veins last so the white panels stay clean. The pattern is the identifying feature: black borders, white spots and radiating veins across white panels.
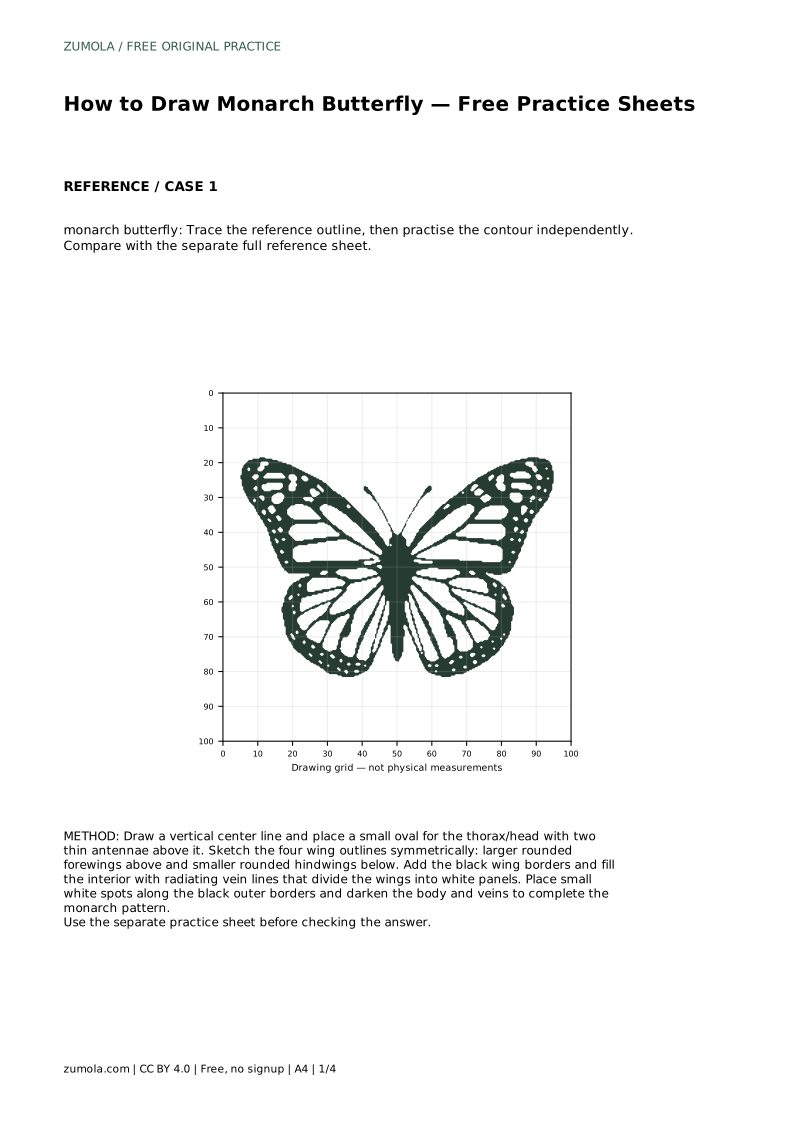
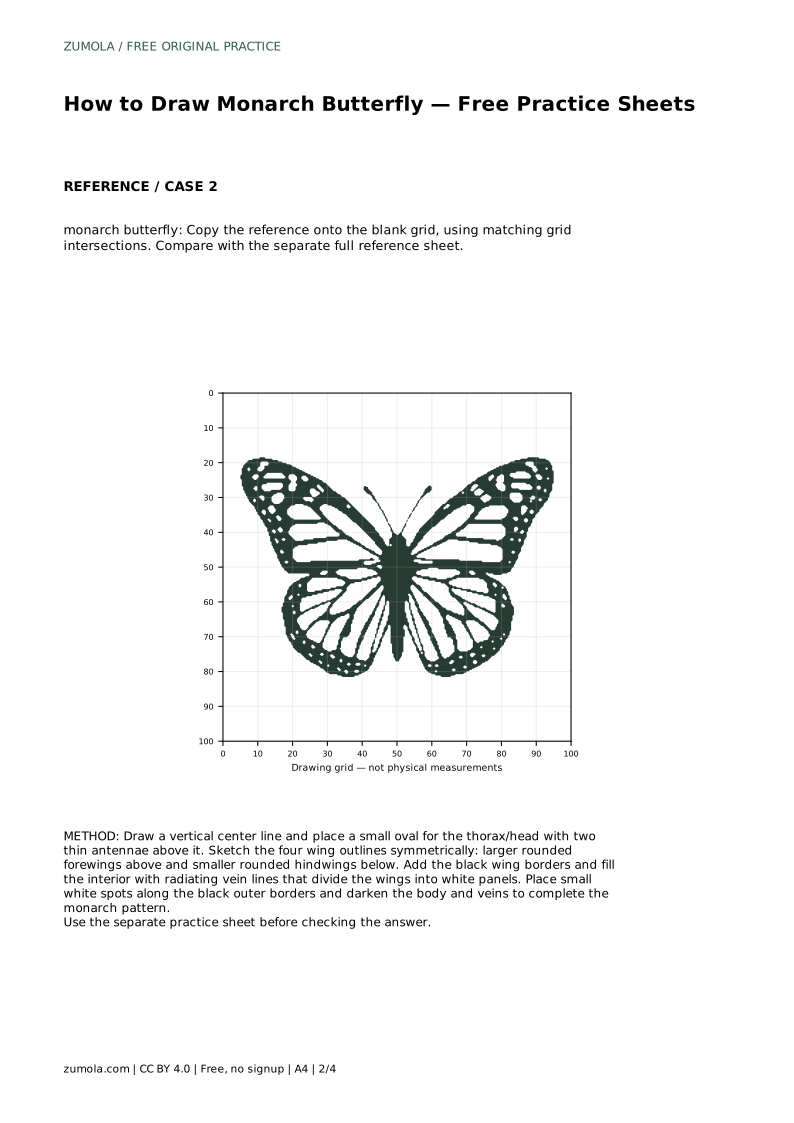
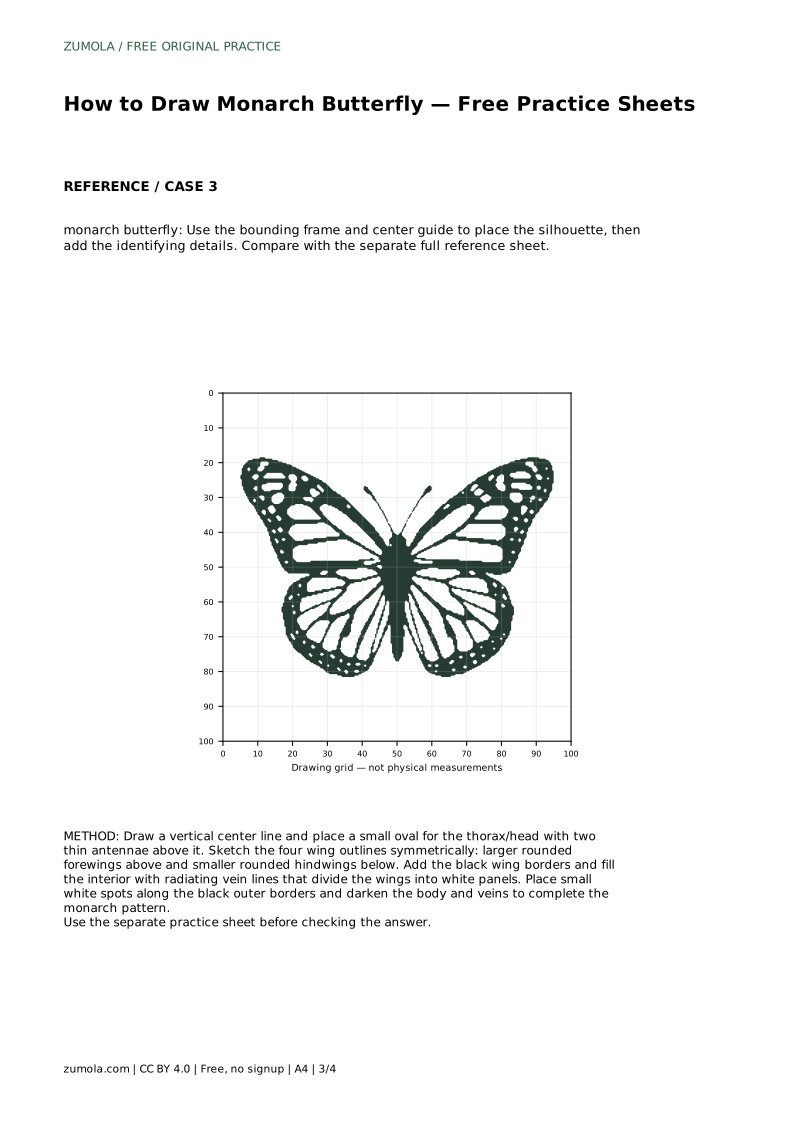
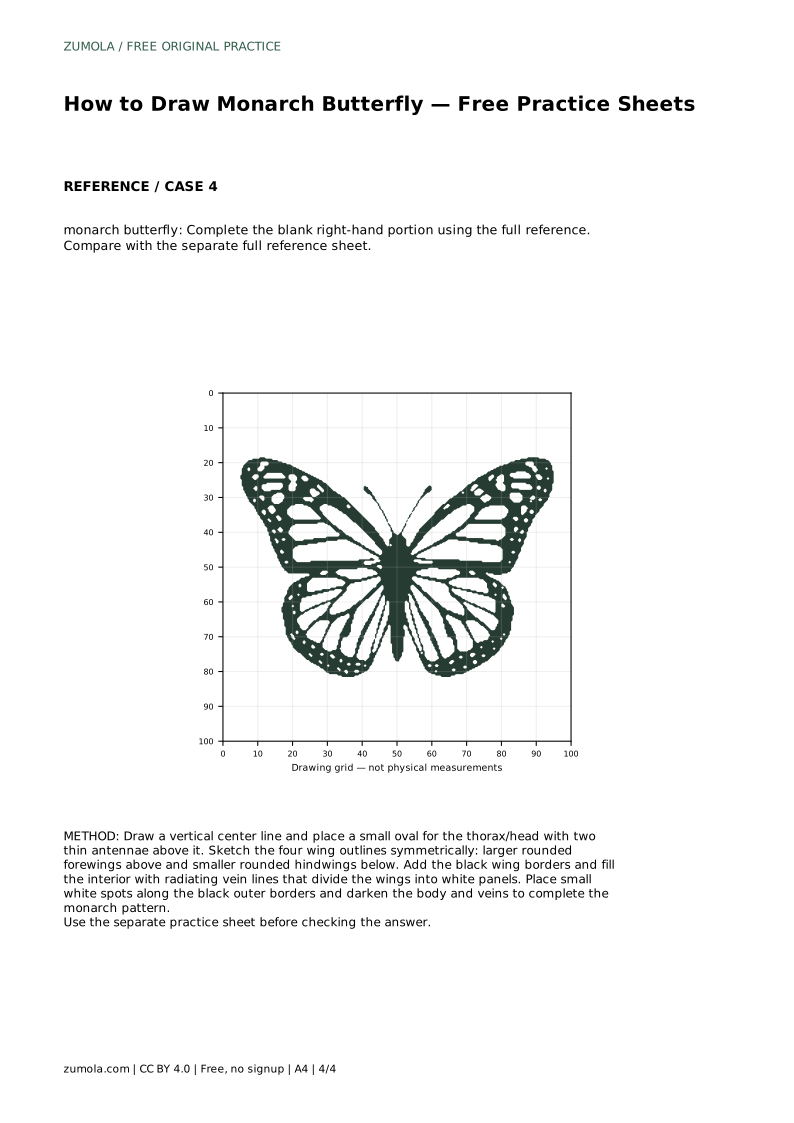
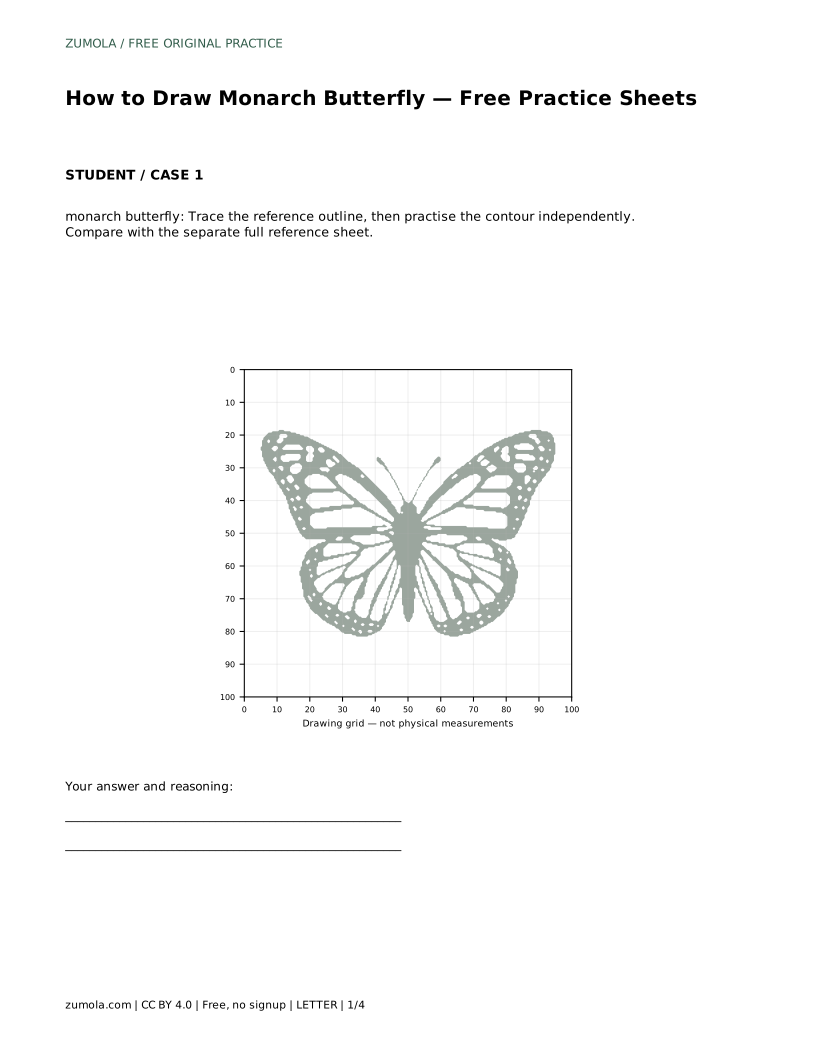
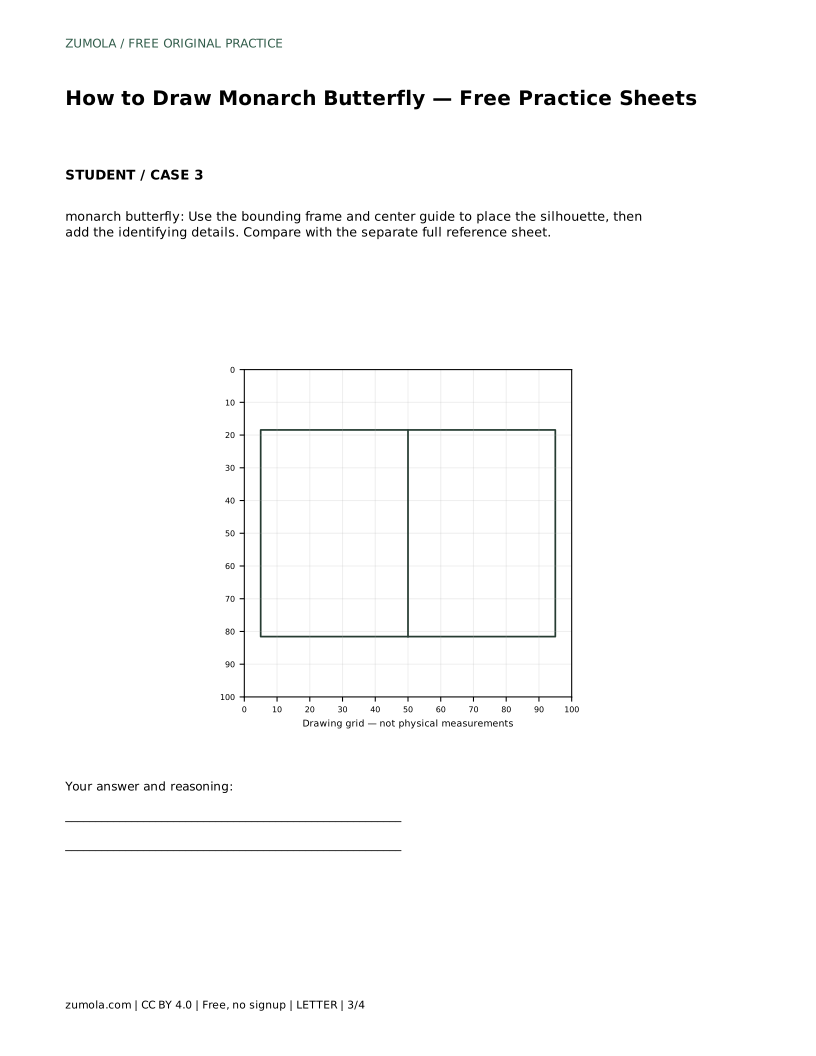
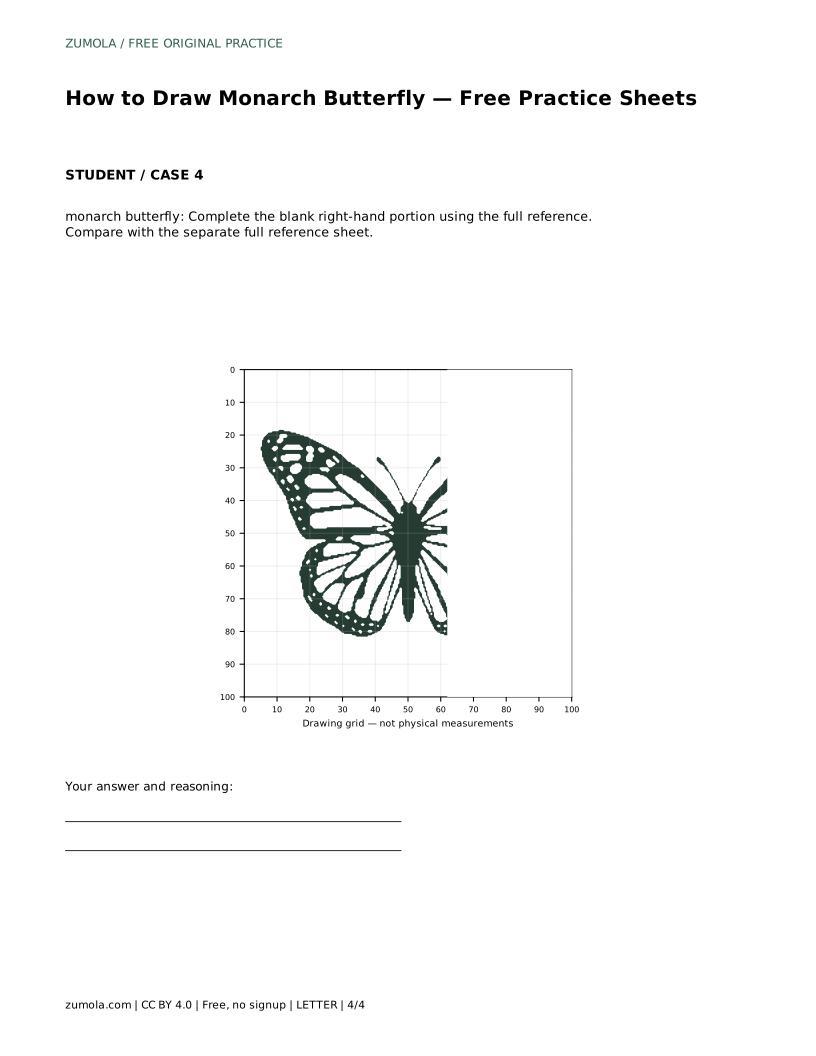
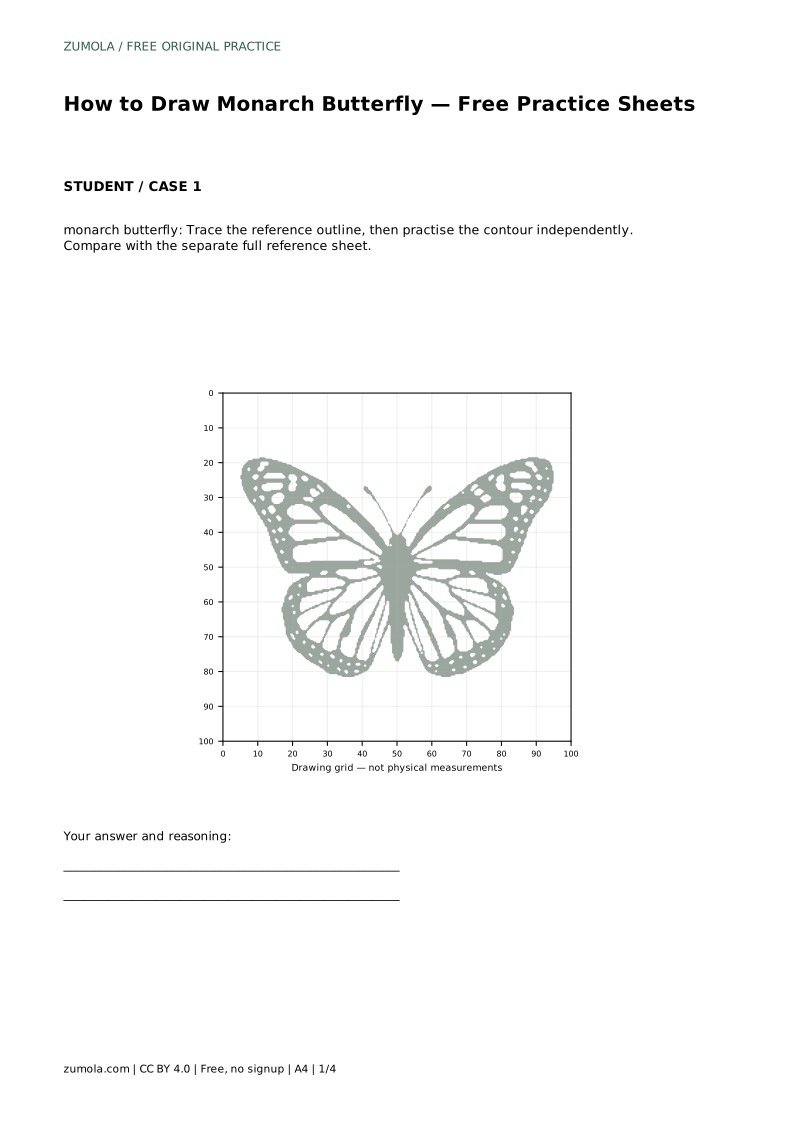
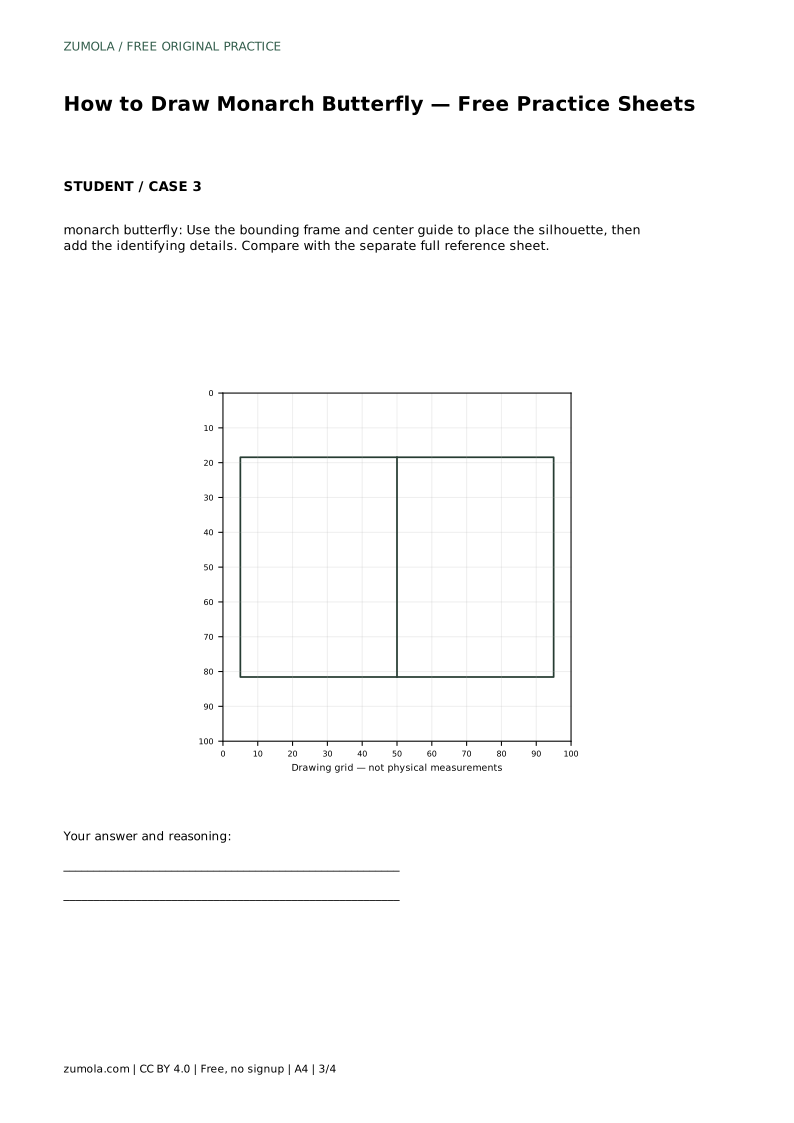
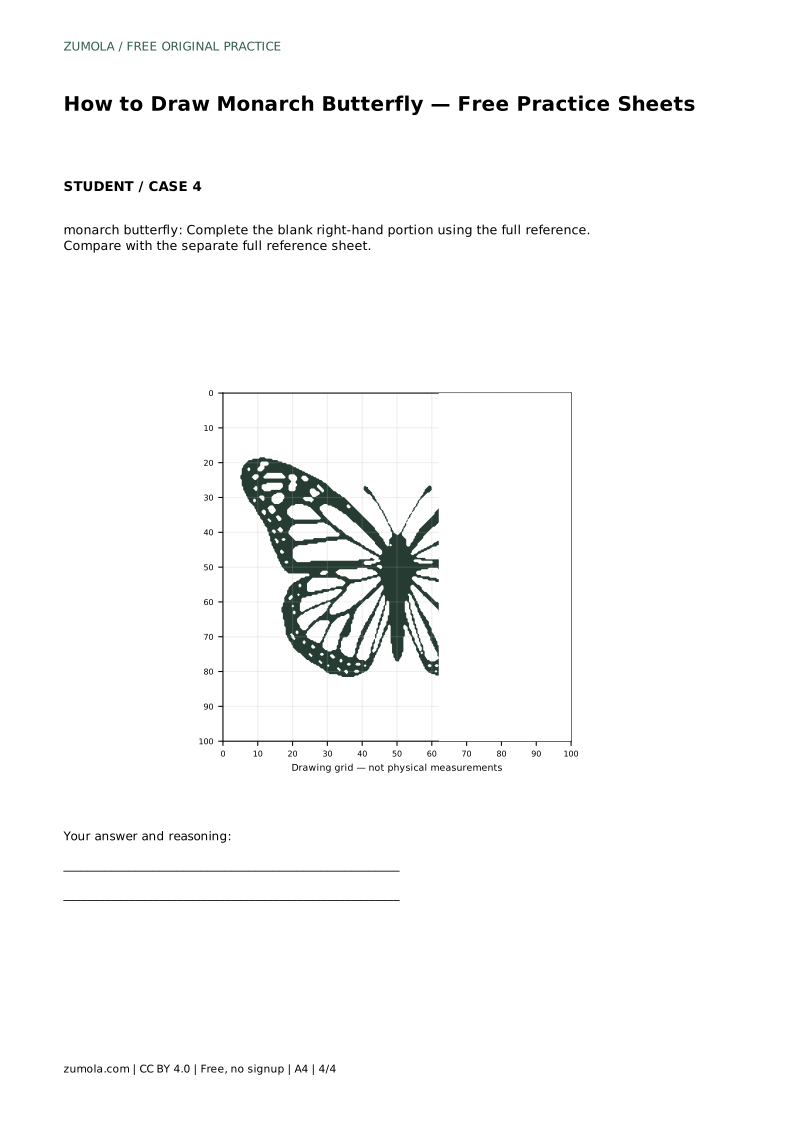
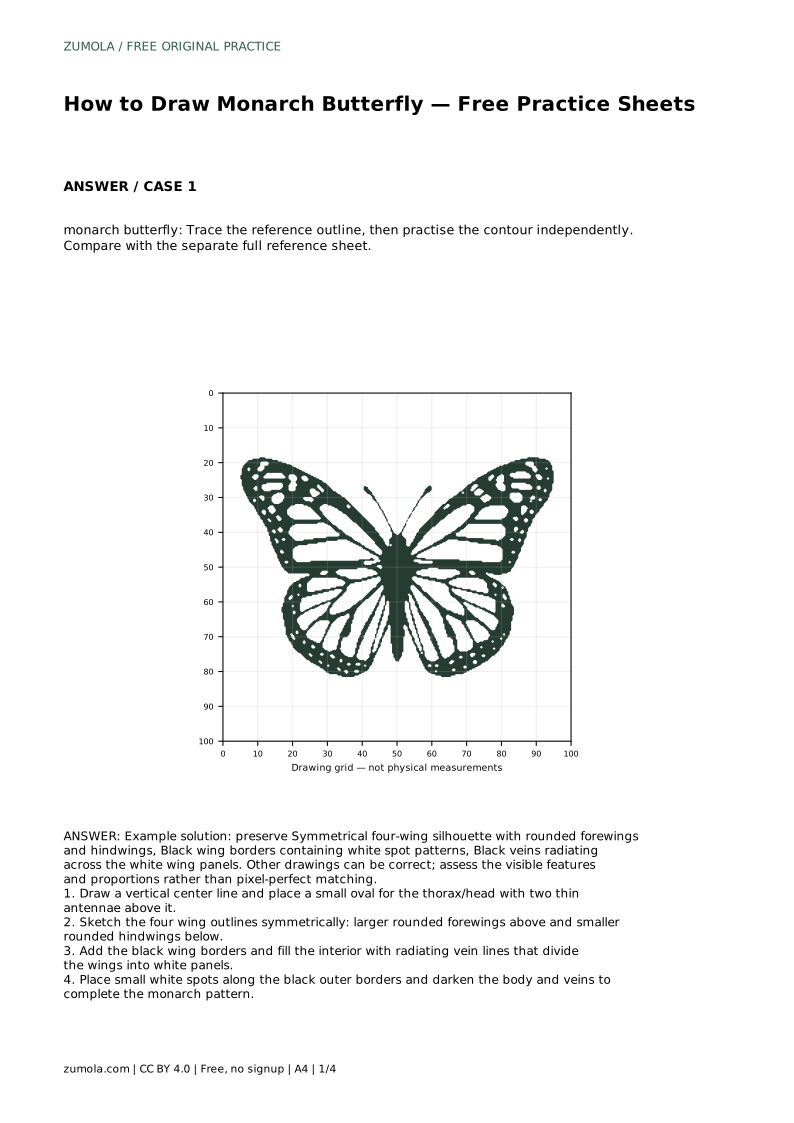
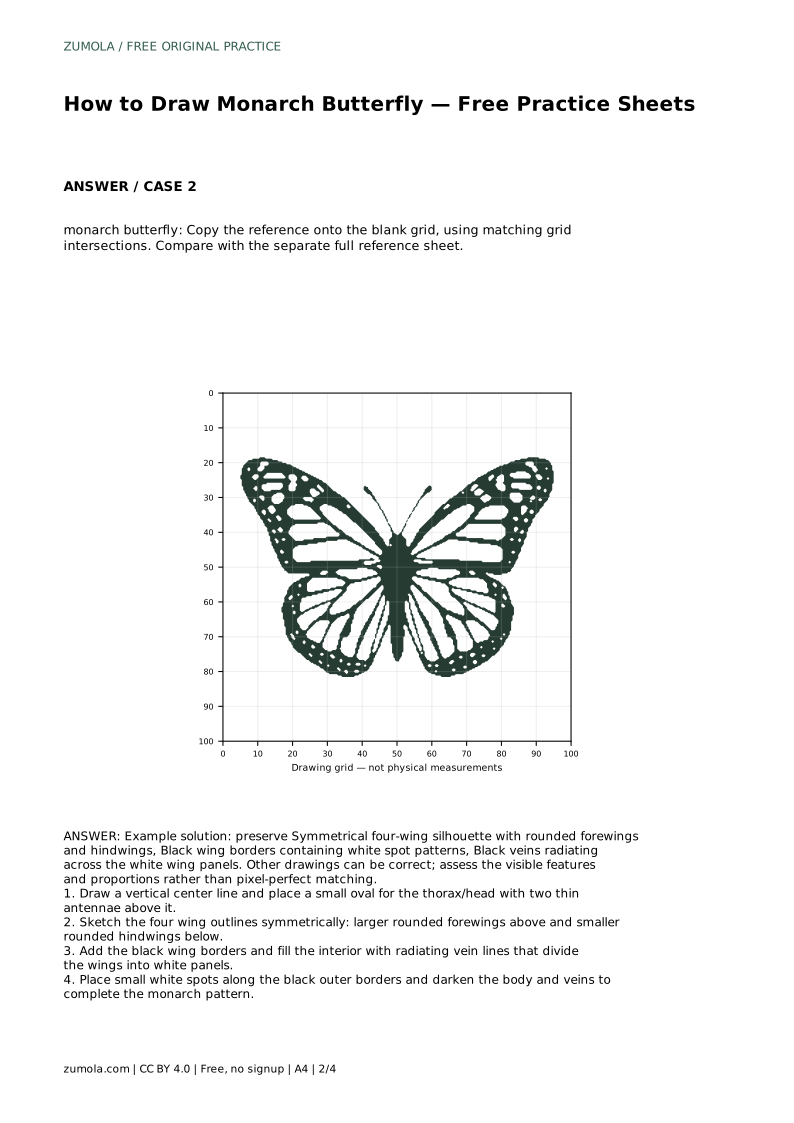
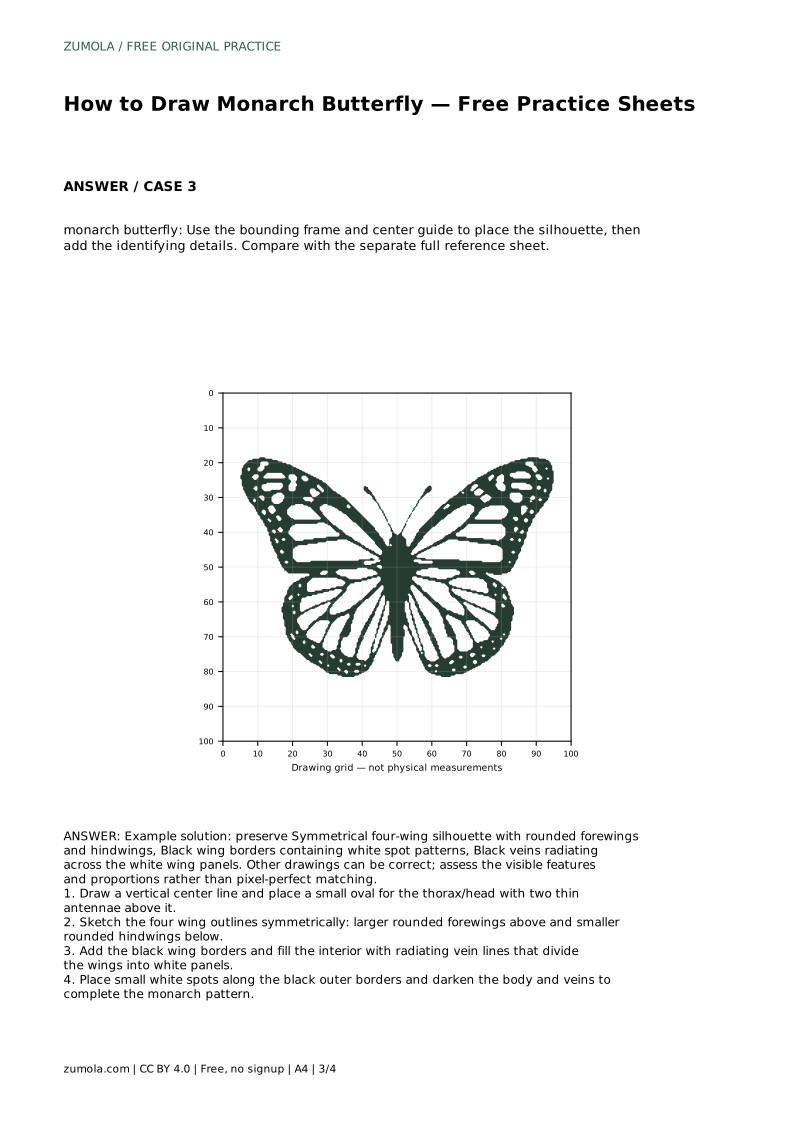
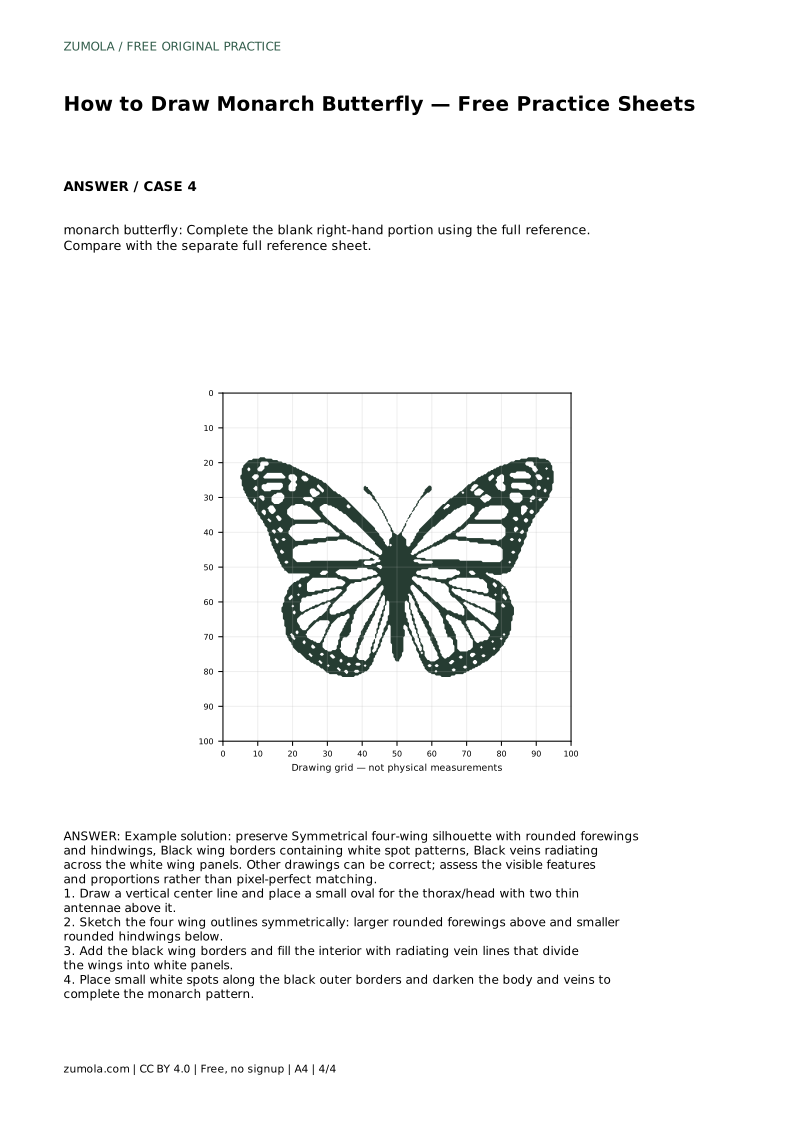
The trace sheet asks you to follow the reference outline, then repeat the contour on your own before comparing with the separate full reference sheet. The grid sheet asks you to copy the reference onto a blank grid using matching intersections, which trains placement rather than memory. The bounding-frame sheet gives you a center guide for positioning the silhouette before adding details. The half-completed sheet asks you to finish the blank right-hand portion using the full reference, which tests whether you can mirror the left side accurately.
In every case, compare your drawing with the reference by checking visible features and proportions, not by matching every pixel. Different line weights, spot counts and vein spacing can all be correct.
Review the silhouette first: four wings, rounded forewings above, rounded hindwings below, and a small body on the center line. Then check the pattern: black borders present, veins radiating outward, white spots along the dark margins. If the wings look uneven, redraw the outline before adding more pattern detail. If the pattern looks crowded, reduce the number of veins rather than thickening them.
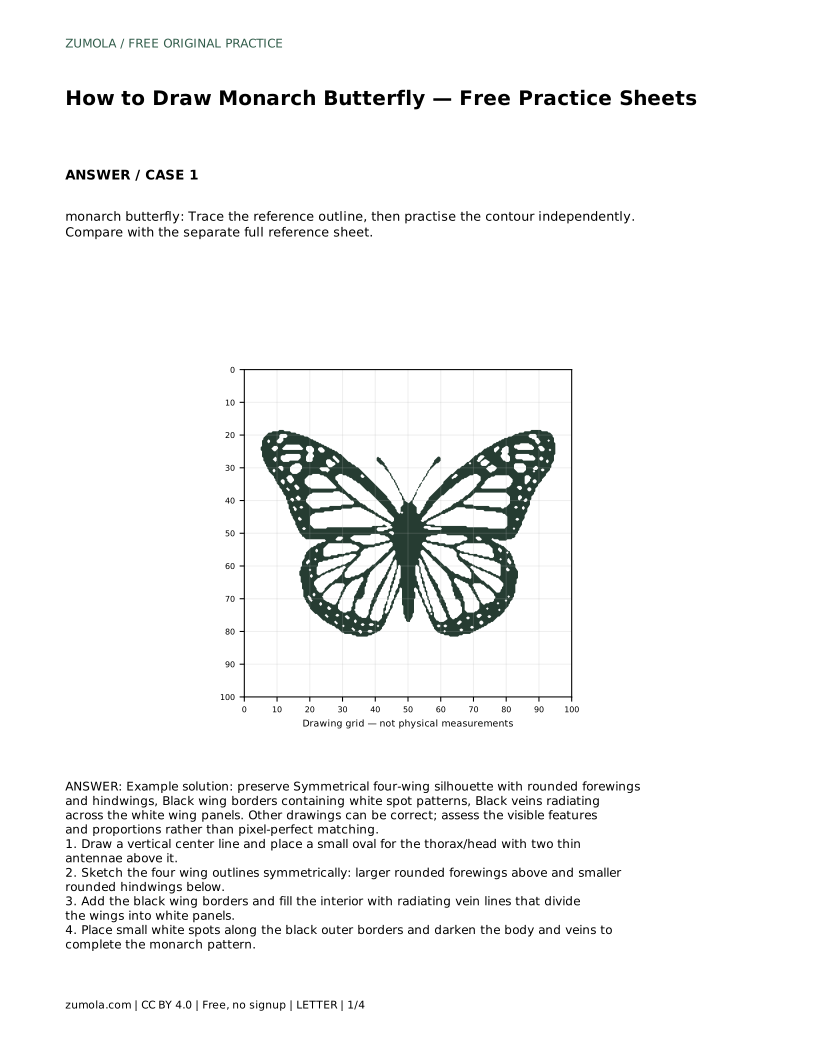
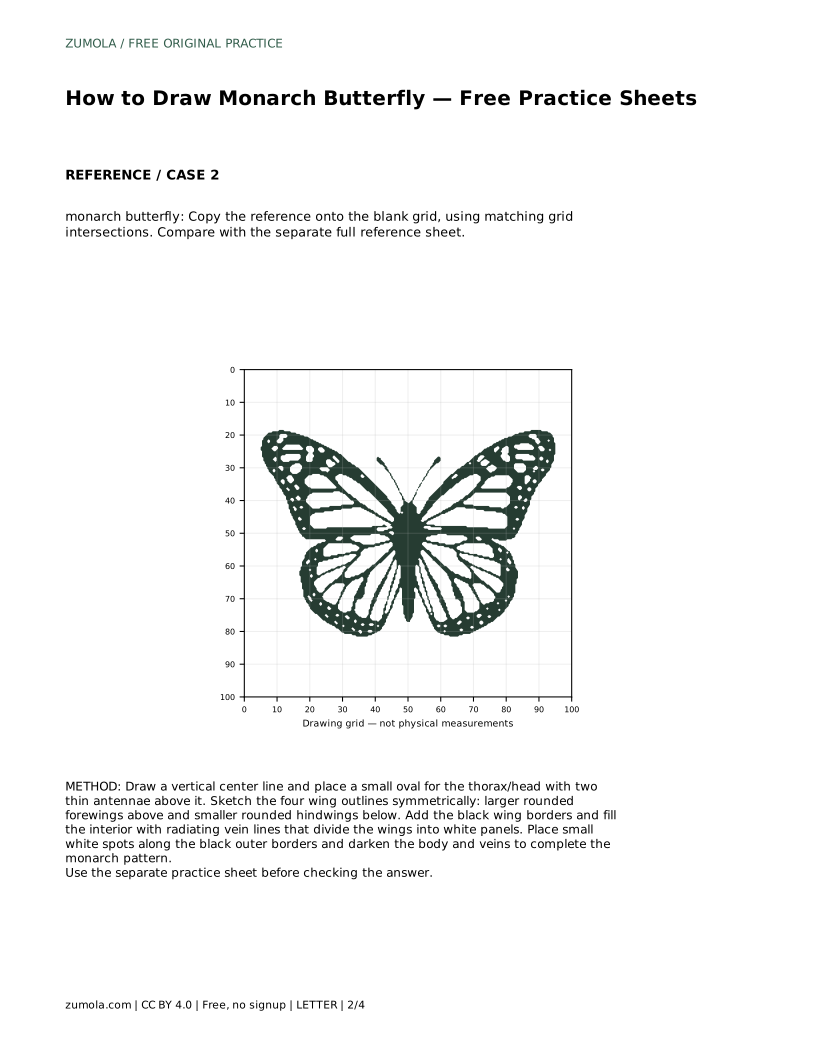
monarch butterfly: Trace the reference outline, then practise the contour independently. Compare with the separate full reference sheet.
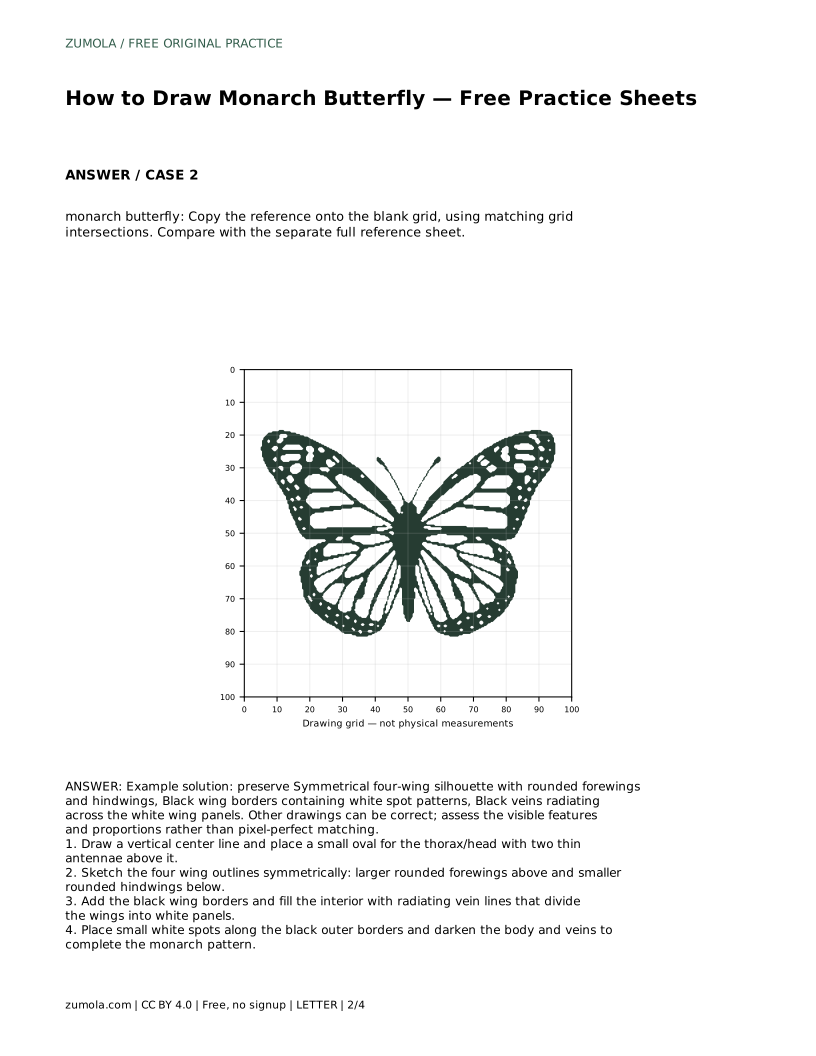
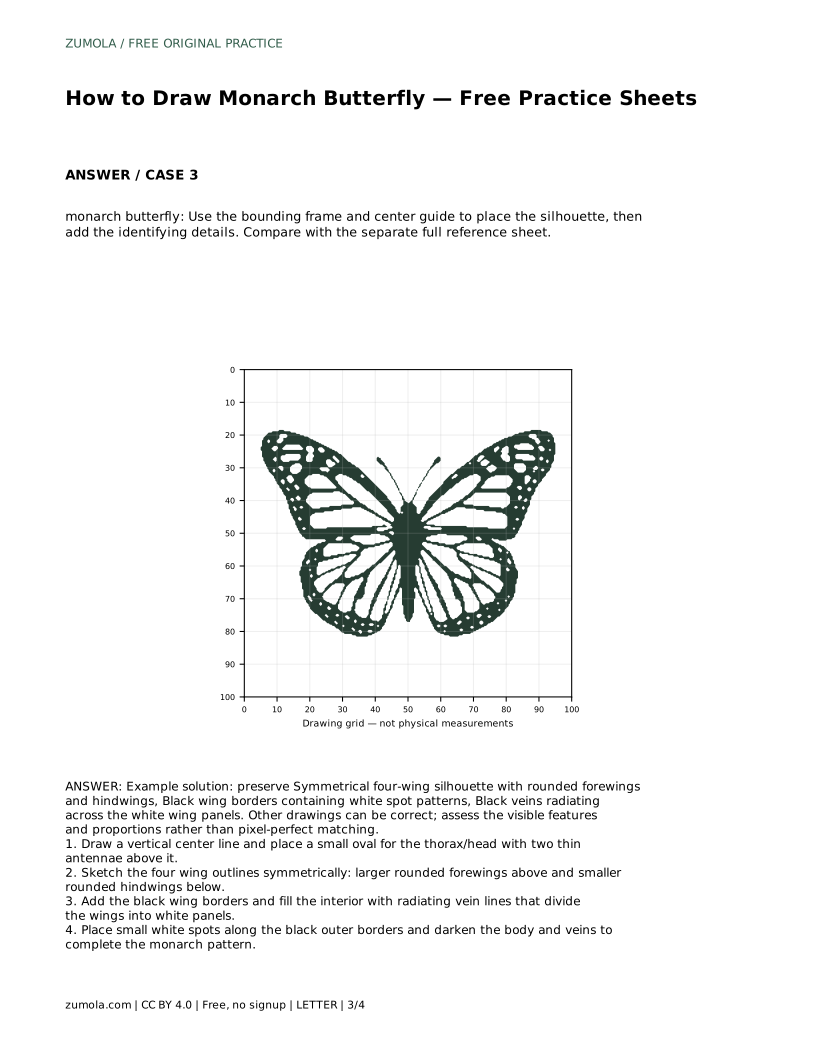
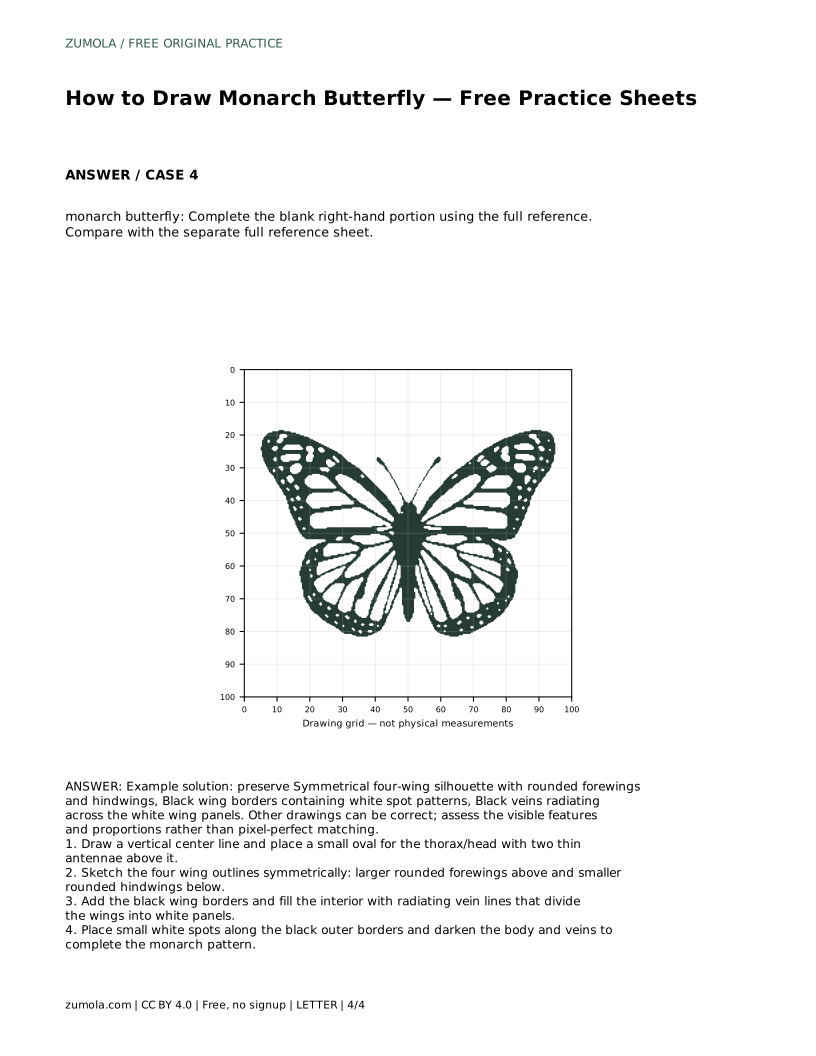
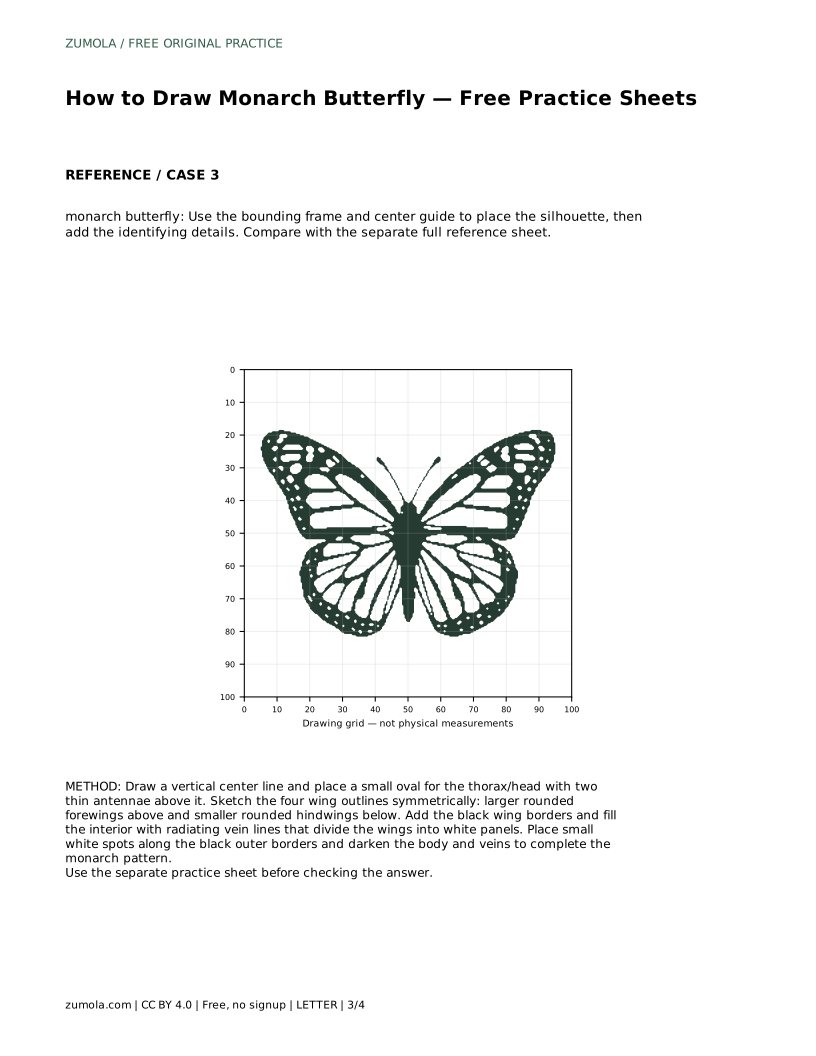
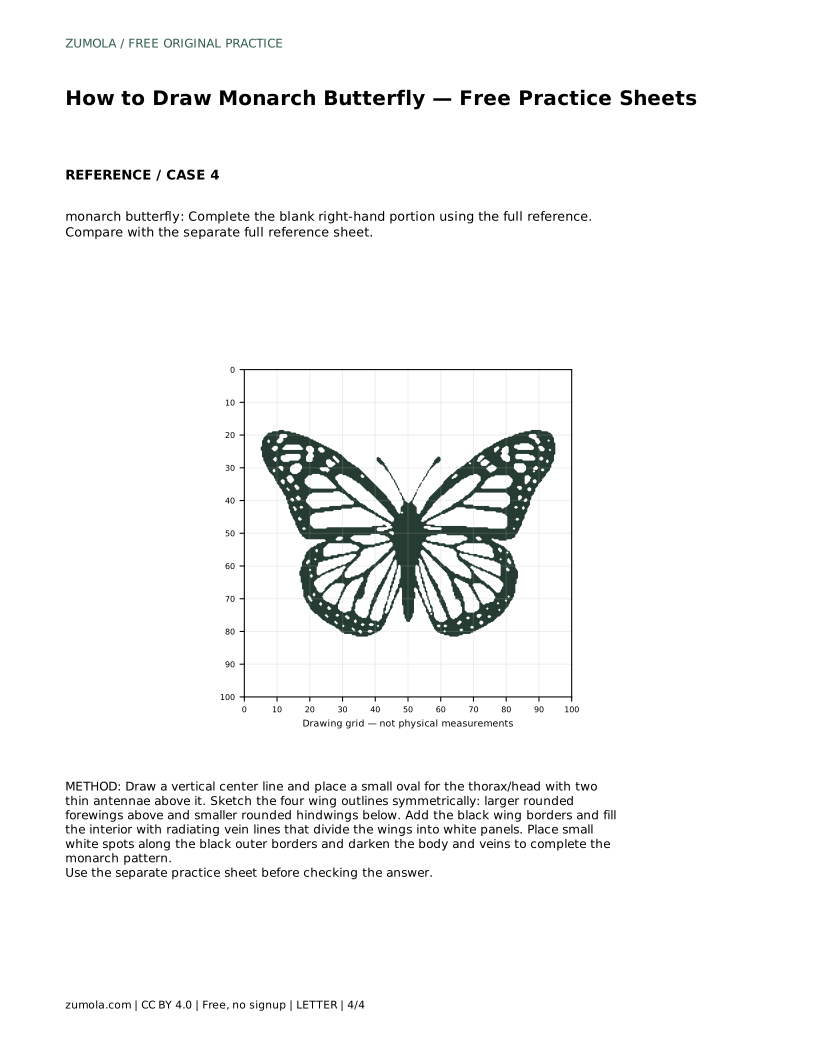
Example solution: preserve Symmetrical four-wing silhouette with rounded forewings and hindwings, Black wing borders containing white spot patterns, Black veins radiating across the white wing panels. Other drawings can be correct; assess the visible features and proportions rather than pixel-perfect matching. Draw a vertical center line and place a small oval for the thorax/head with two thin antennae above it. Sketch the four wing outlines symmetrically: larger rounded forewings above and smaller rounded hindwings below. Add the black wing borders and fill the interior with radiating vein lines that divide the wings into white panels. Place small white spots along the black outer borders and darken the body and veins to complete the monarch pattern.
Aim for balanced symmetry around the center line, but small differences in line weight or spot placement are acceptable. Check proportions and visible features rather than exact mirroring.
The symmetrical four-wing silhouette with rounded forewings and hindwings, black wing borders containing white spots, and black veins radiating across white wing panels.
Yes. The grid sheet trains placement using matching intersections, while the trace sheet trains contour control. Either order works, and both should be compared with the separate full reference sheet.
All drawing practice · Free coordinate paper
Original resources · CC BY 4.0 · Free for personal and classroom use with attribution.