Reference diagrams
LETTER · Download PDF
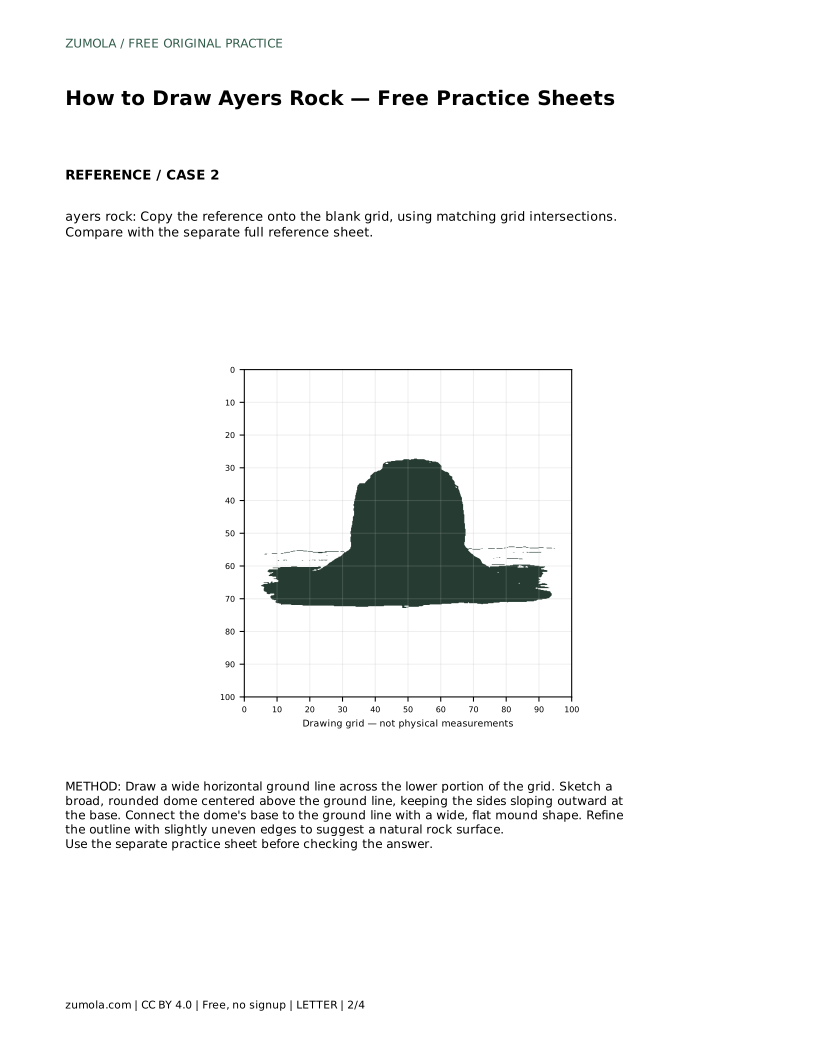
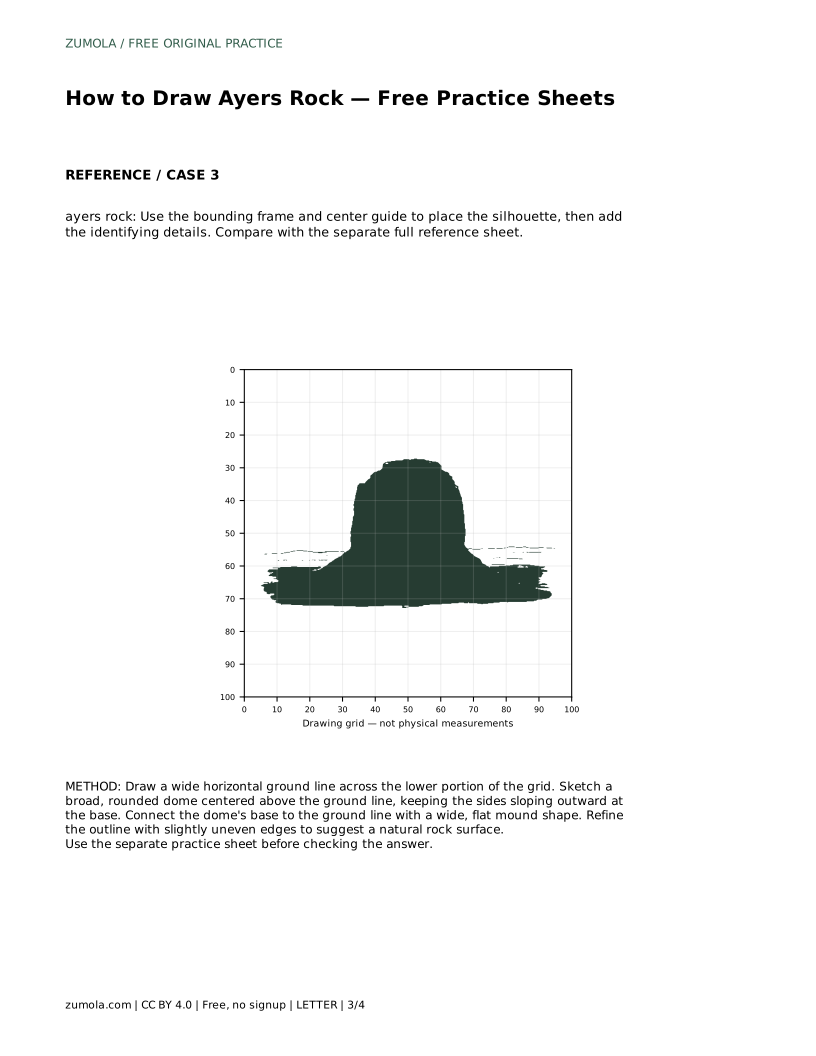
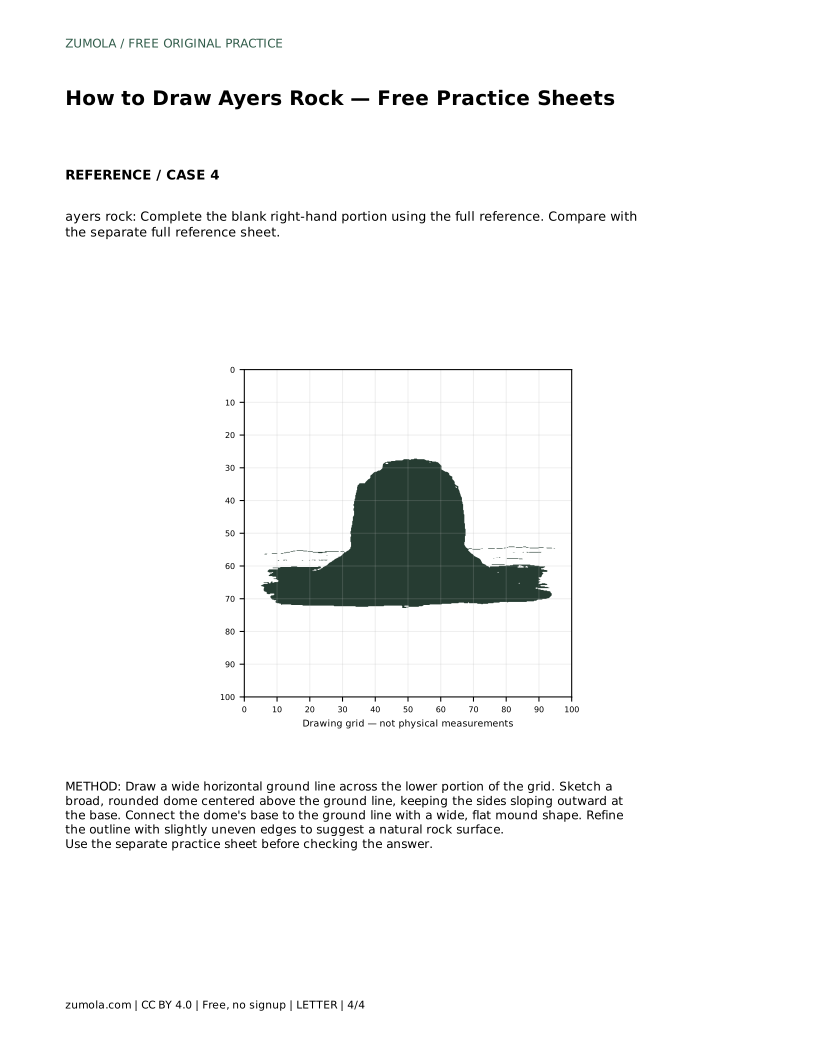
A4 · Download PDF
Free original resources
Learn to draw Ayers Rock by building a wide ground line, a rounded dome, and a sloping base. Free practice sheets support tracing, grid copying, and independent work.
Four original cases, with reference diagrams, practice sheets and worked answers. Everything is free; no signup required.
LETTER · Download PDF
A4 · Download PDF
LETTER · Download PDF
A4 · Download PDF
LETTER · Download PDF
A4 · Download PDF
Use A4 or US Letter to match your printer. Use the stated values and conditions to solve each exercise; diagrams are not physical measuring rulers.
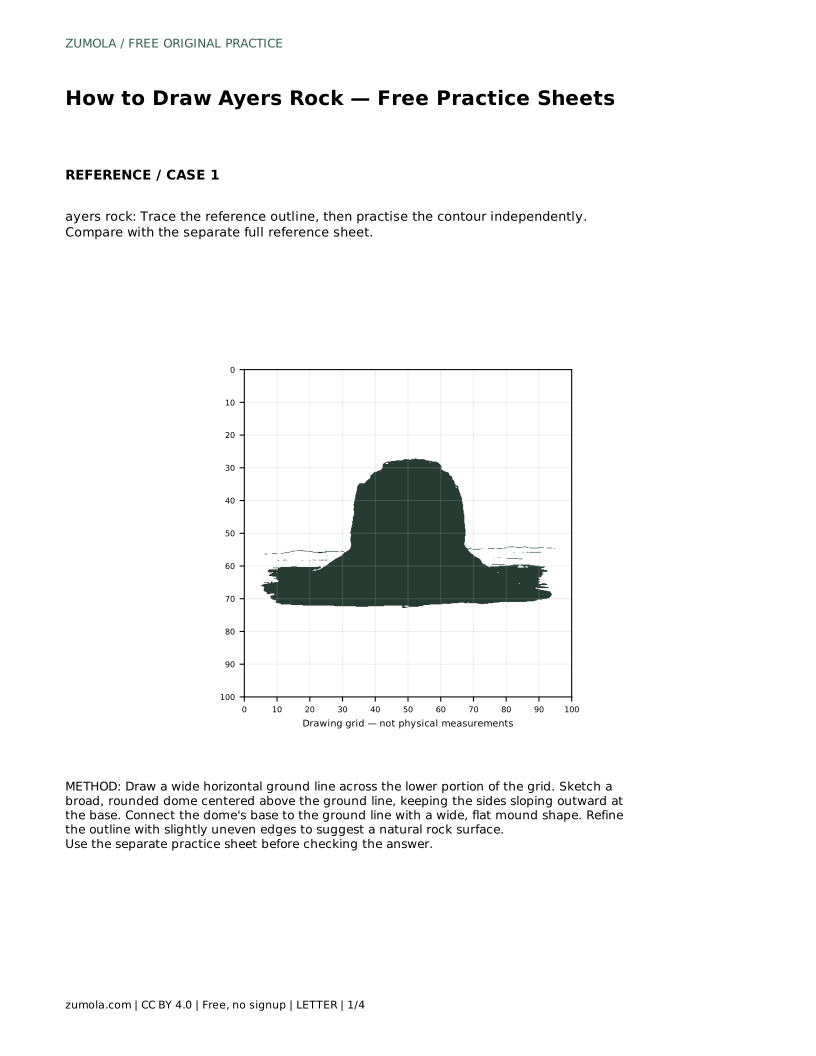
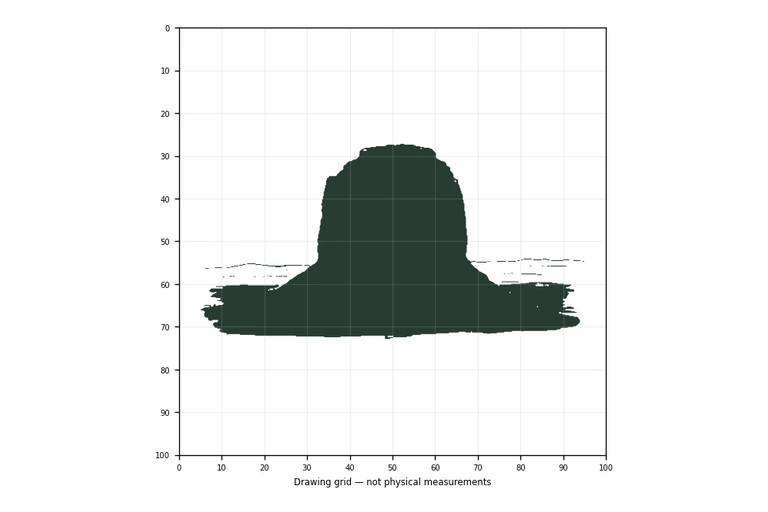
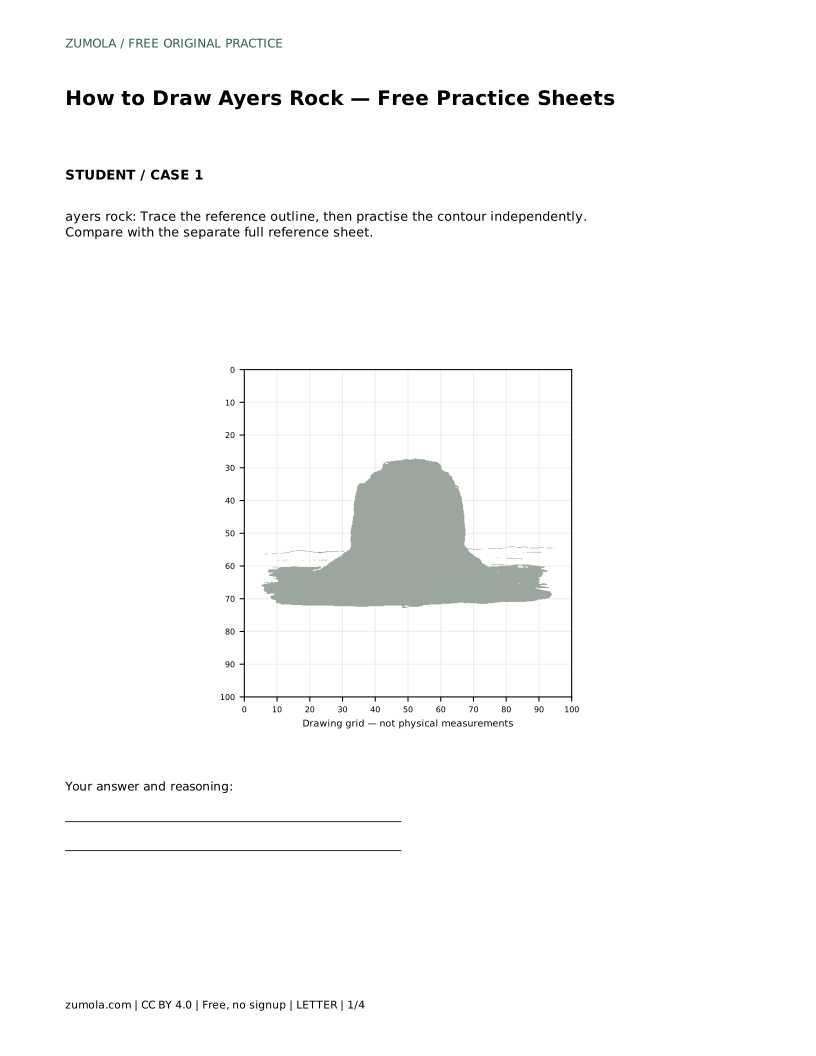
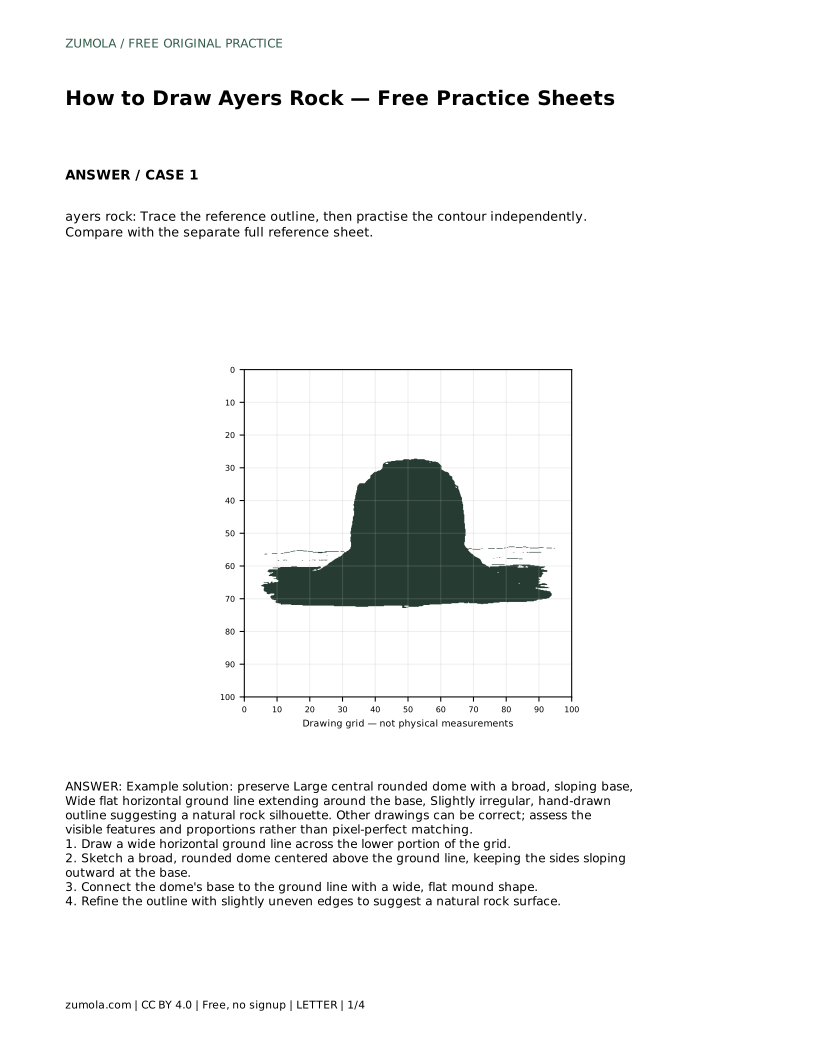
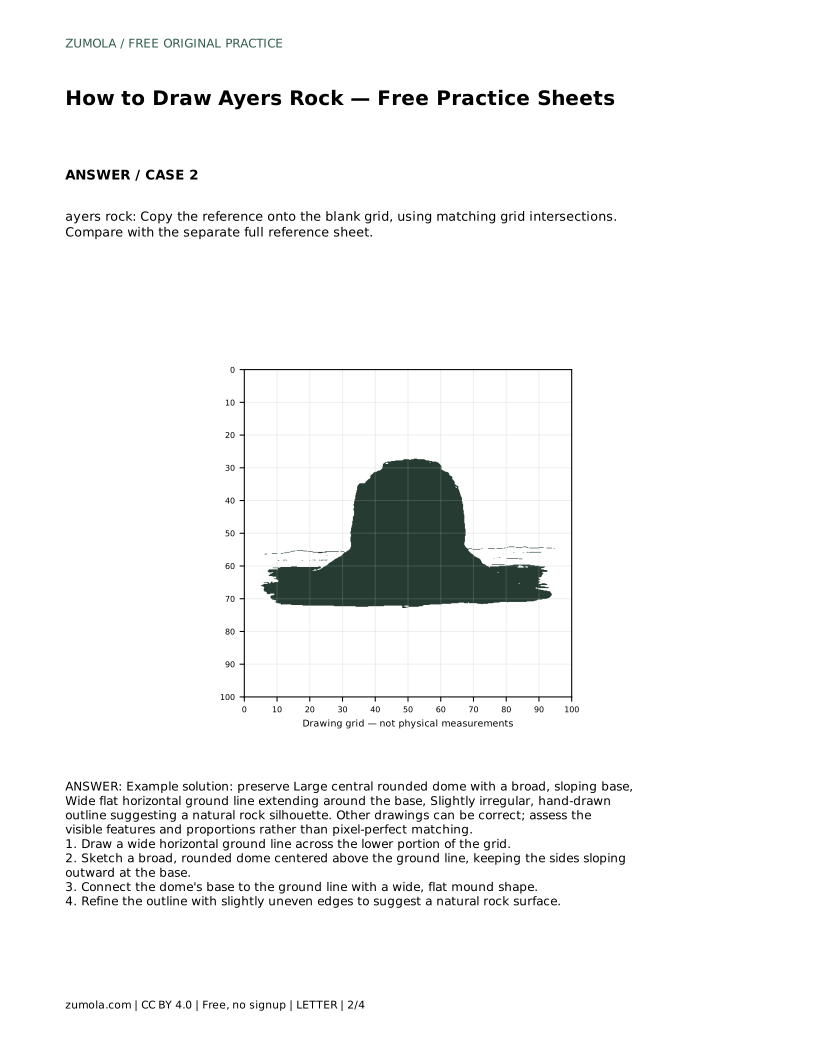
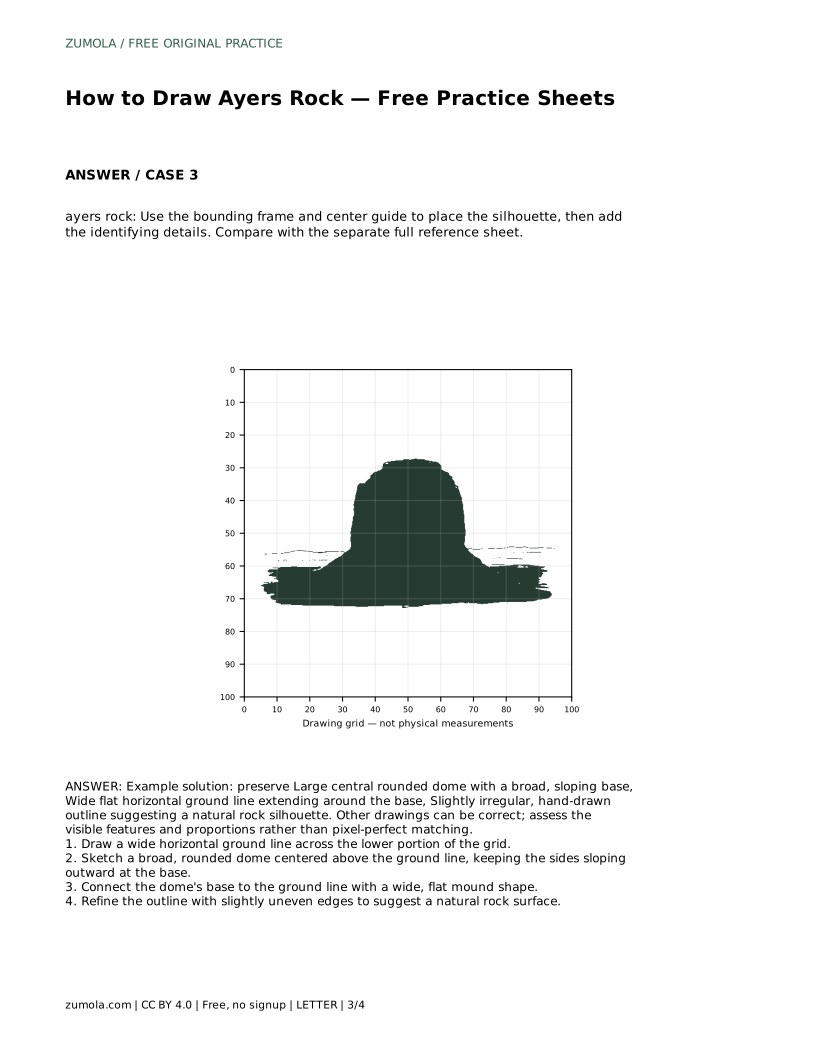
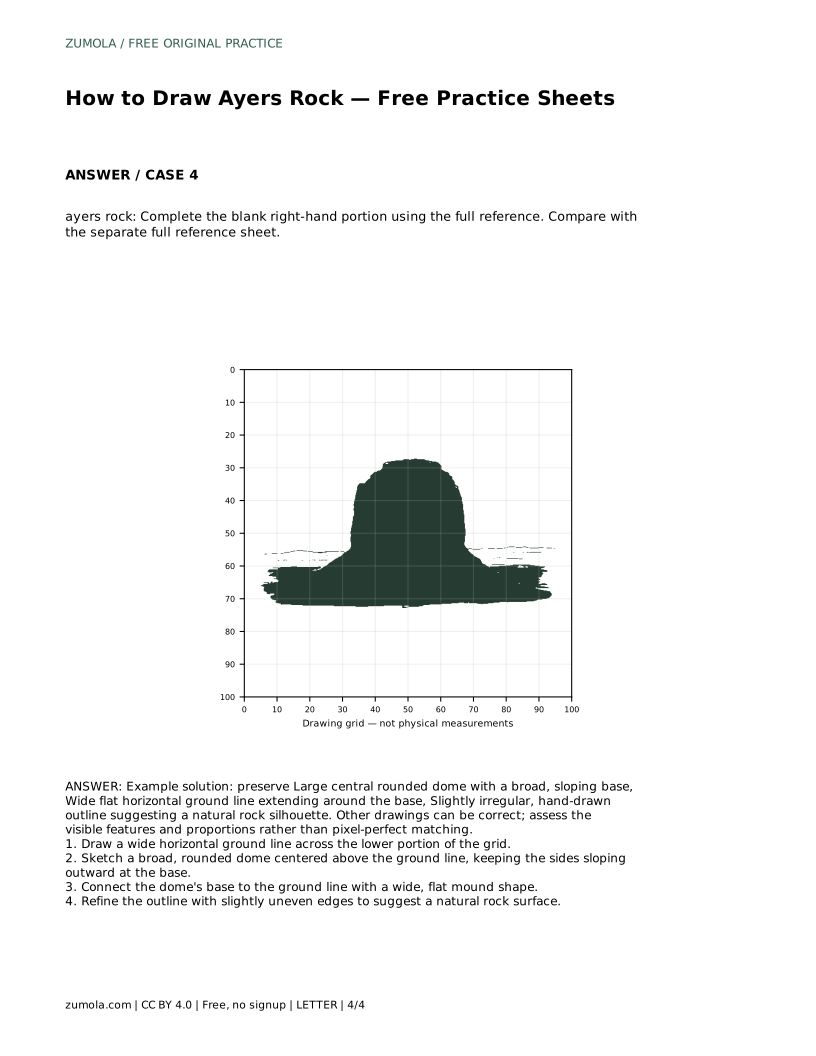
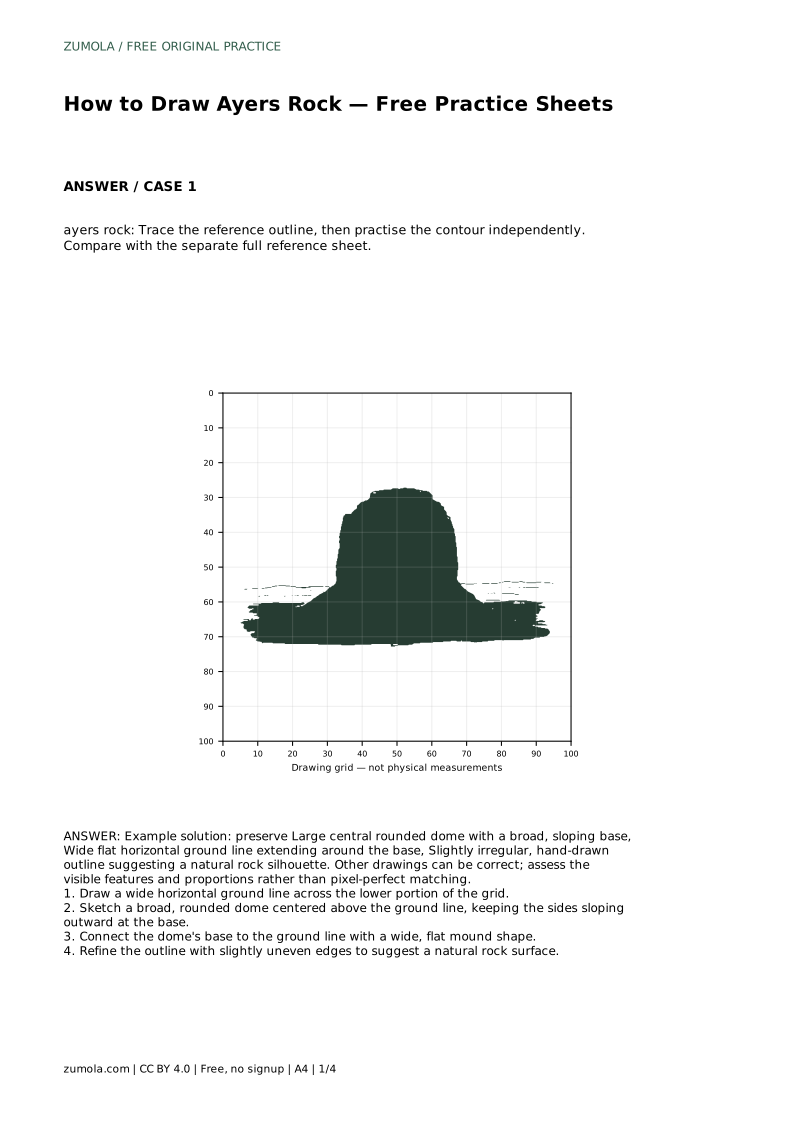
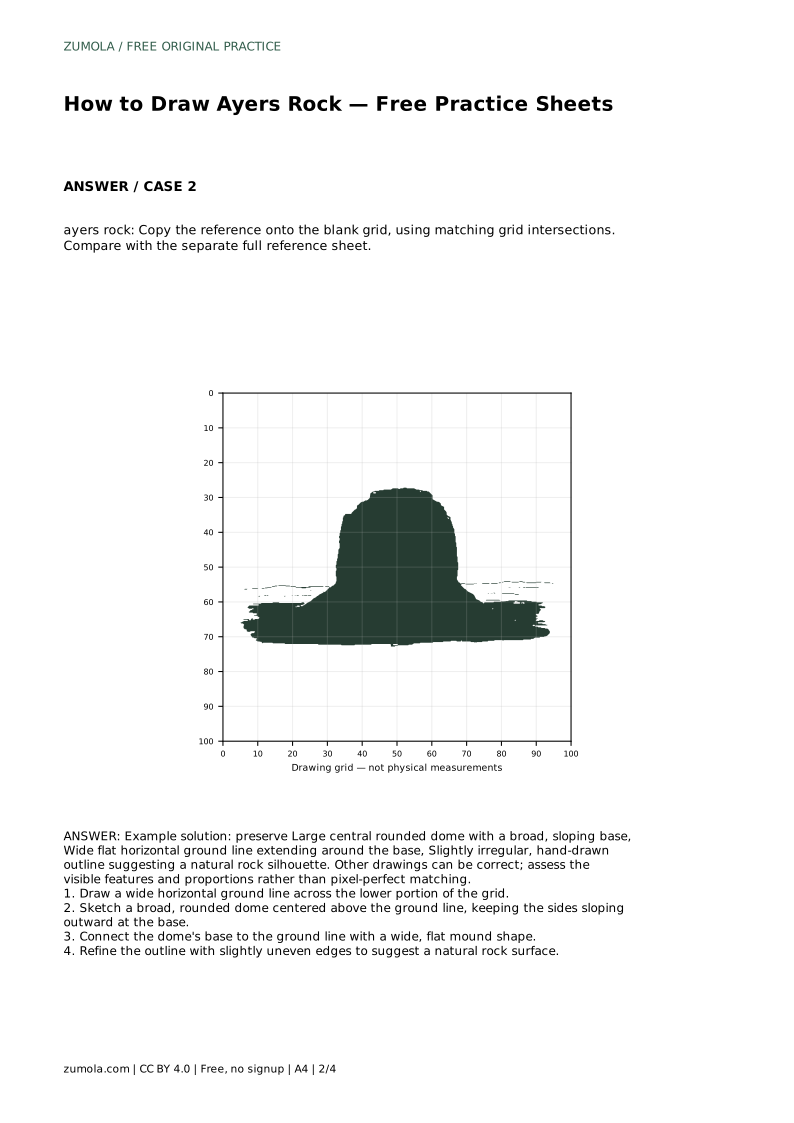
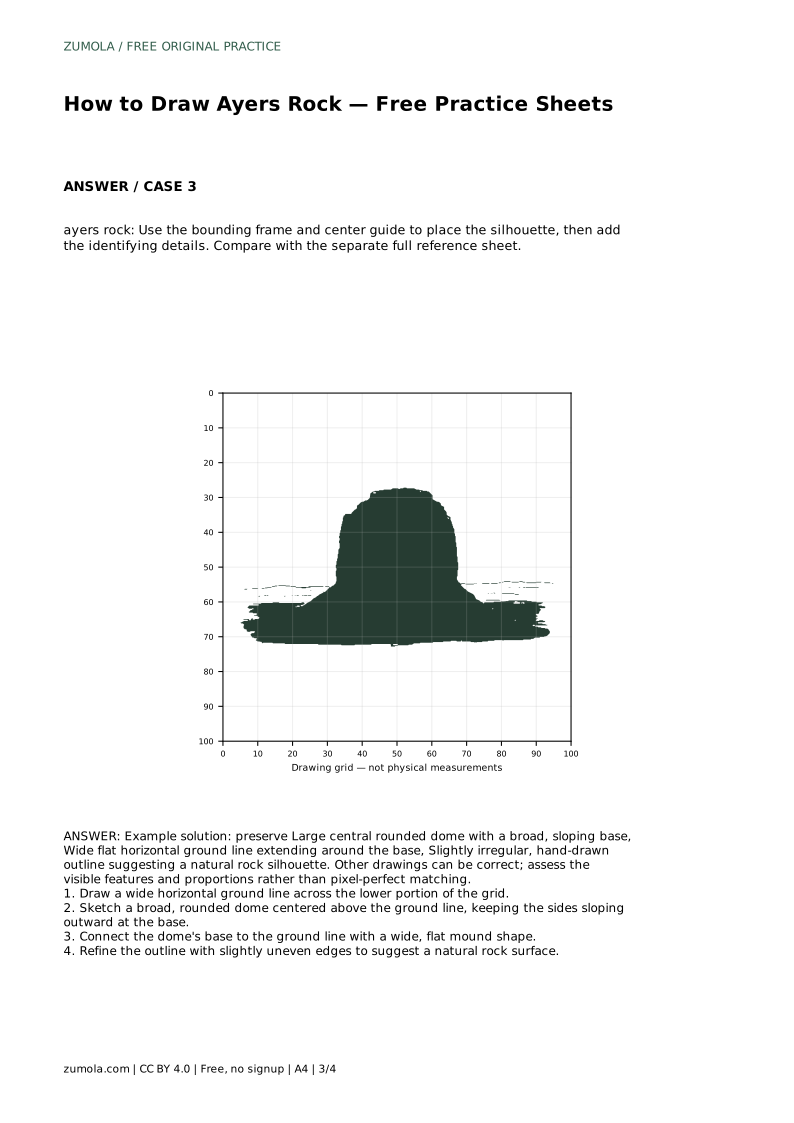
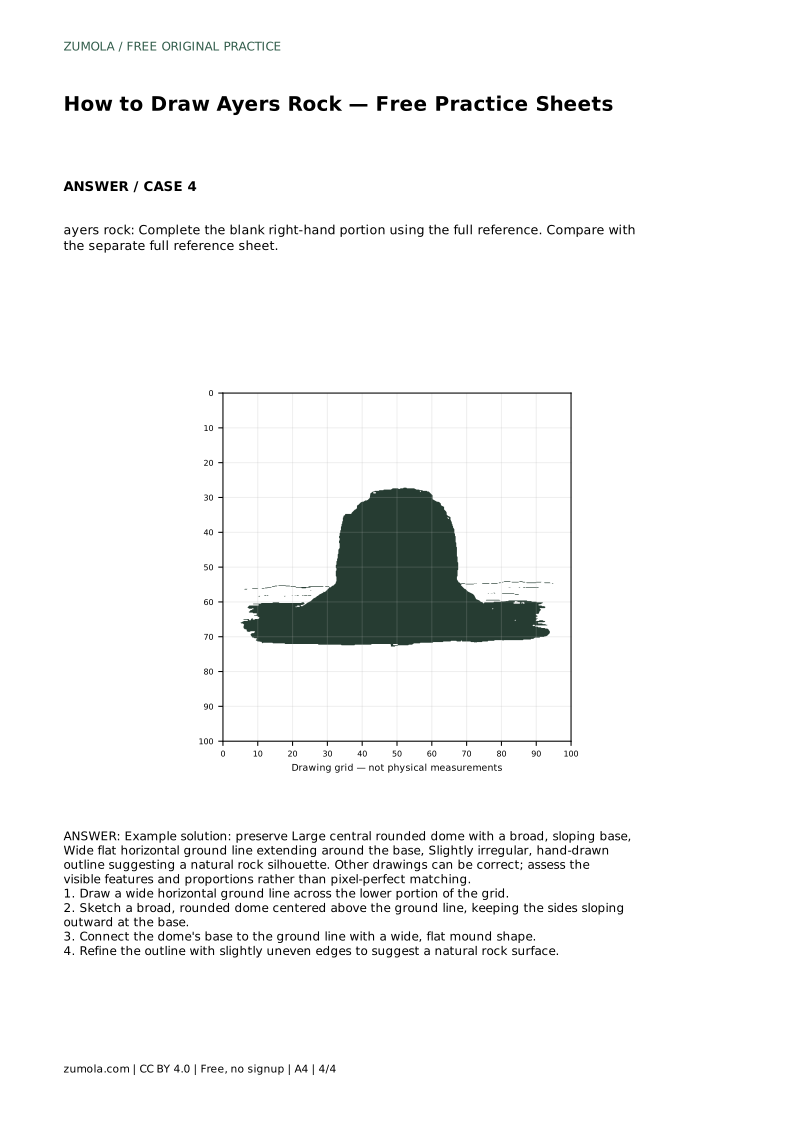
Drawing Ayers Rock is mostly a problem of proportion: a broad, rounded dome sits above a wide, flat ground line, and the base slopes outward to meet it. This page explains how to build that silhouette step by step, then how to use the practice sheets to trace, copy, or complete the shape independently. The goal is a recognizable rock form with natural, slightly uneven edges, not a pixel-perfect match.
Begin by placing a wide horizontal ground line across the lower portion of your page or grid. This line anchors the drawing and makes the rock feel grounded rather than floating. Keep it long enough that the rock can spread outward at its base without running off the edge.
Above the ground line, sketch a broad, rounded dome centered on the page. The sides should slope gently outward as they descend, so the dome is wider at the bottom than at the top. Think of a flattened hill rather than a tall peak; the height should be modest compared with the width.
Join the bottom of the dome to the ground line with a wide, flat mound shape. This connection is what gives the rock its characteristic low, spreading profile. Check that the left and right sides reach the ground at roughly similar distances from the center, adjusting if one side looks cramped.
Once the overall silhouette is in place, refine the outline with slightly uneven edges. Small variations suggest a natural rock surface without changing the basic shape. Keep the changes gentle; large jagged spikes would misrepresent the rounded form you are building.
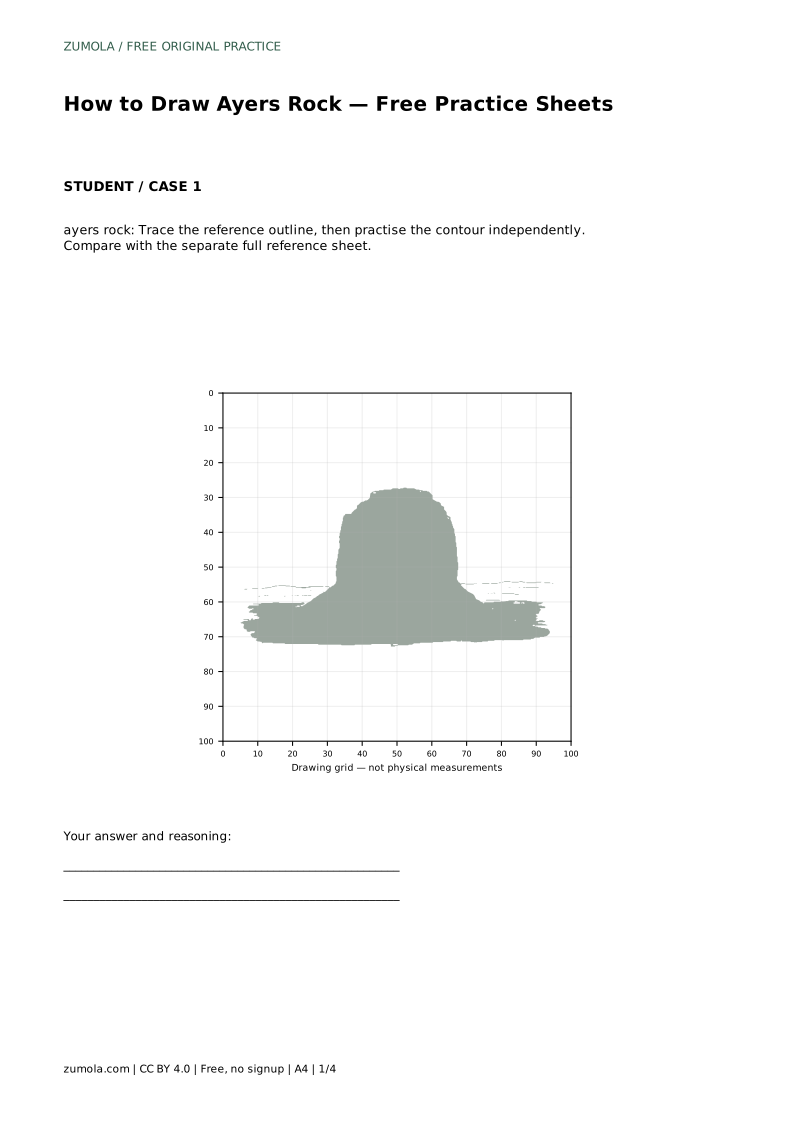
The tracing sheet lets you follow the reference outline first, then practise the contour independently on the same page. Compare your result with the separate full reference sheet rather than judging it in isolation.
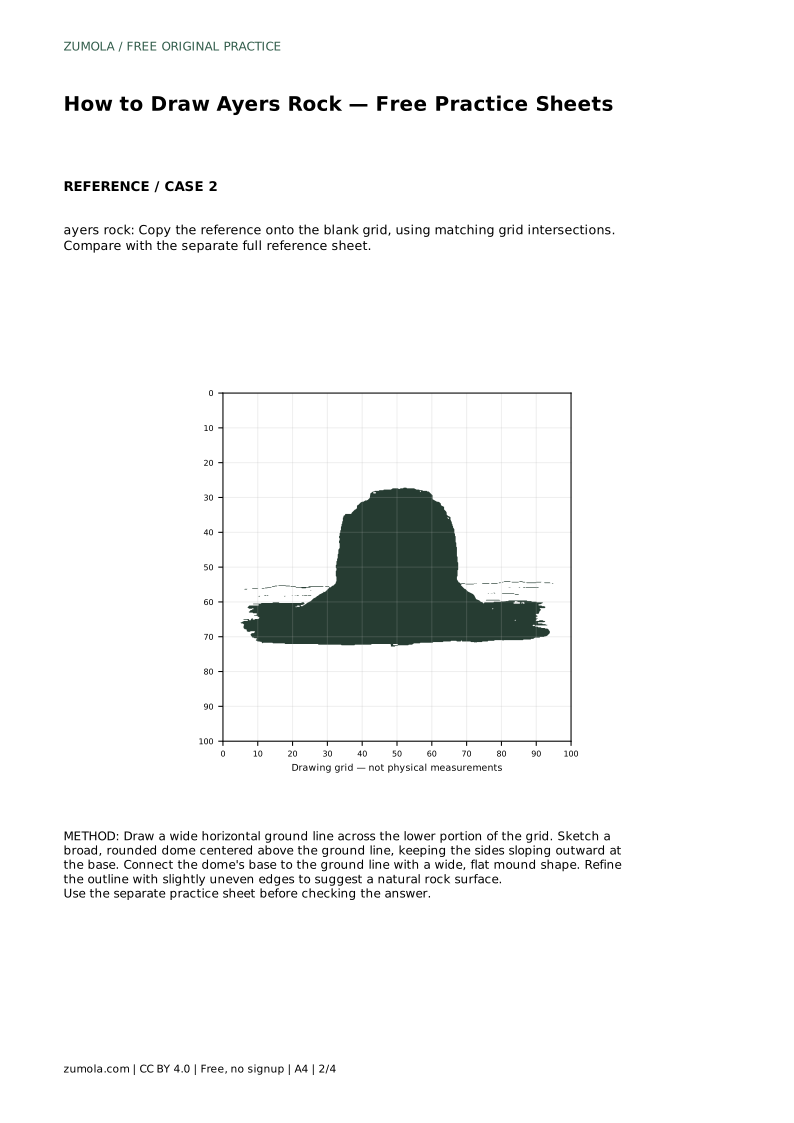
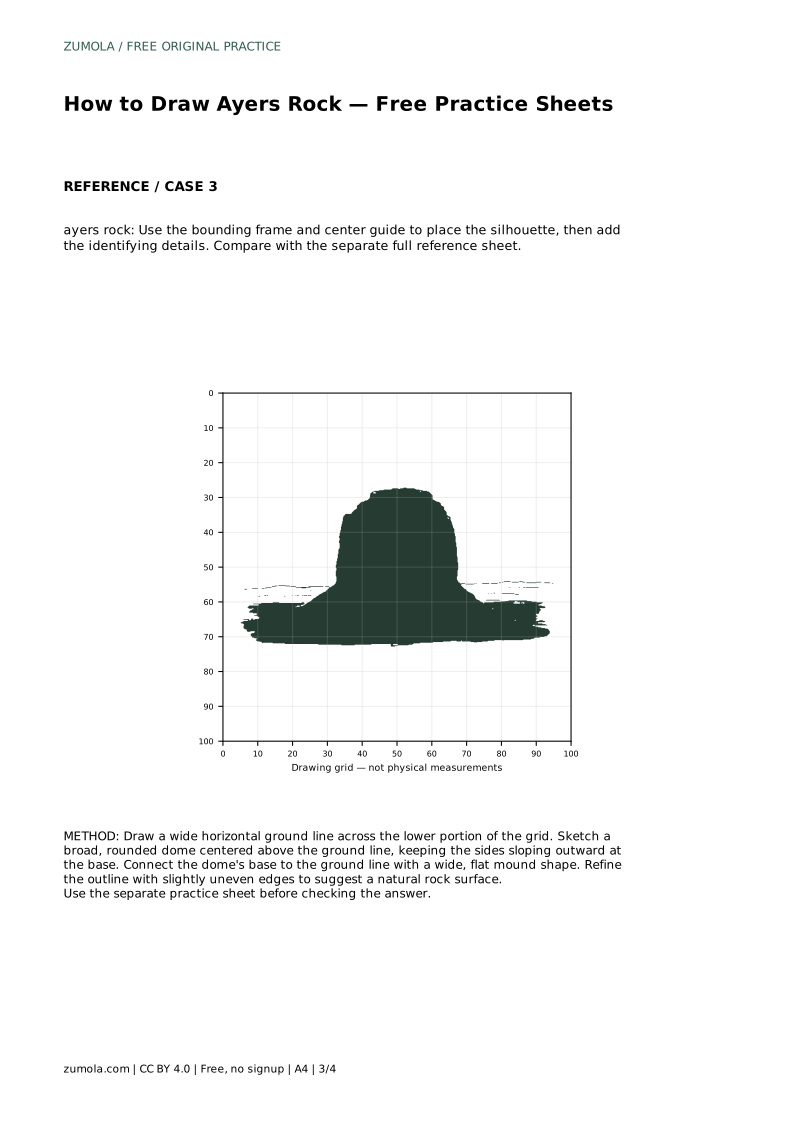
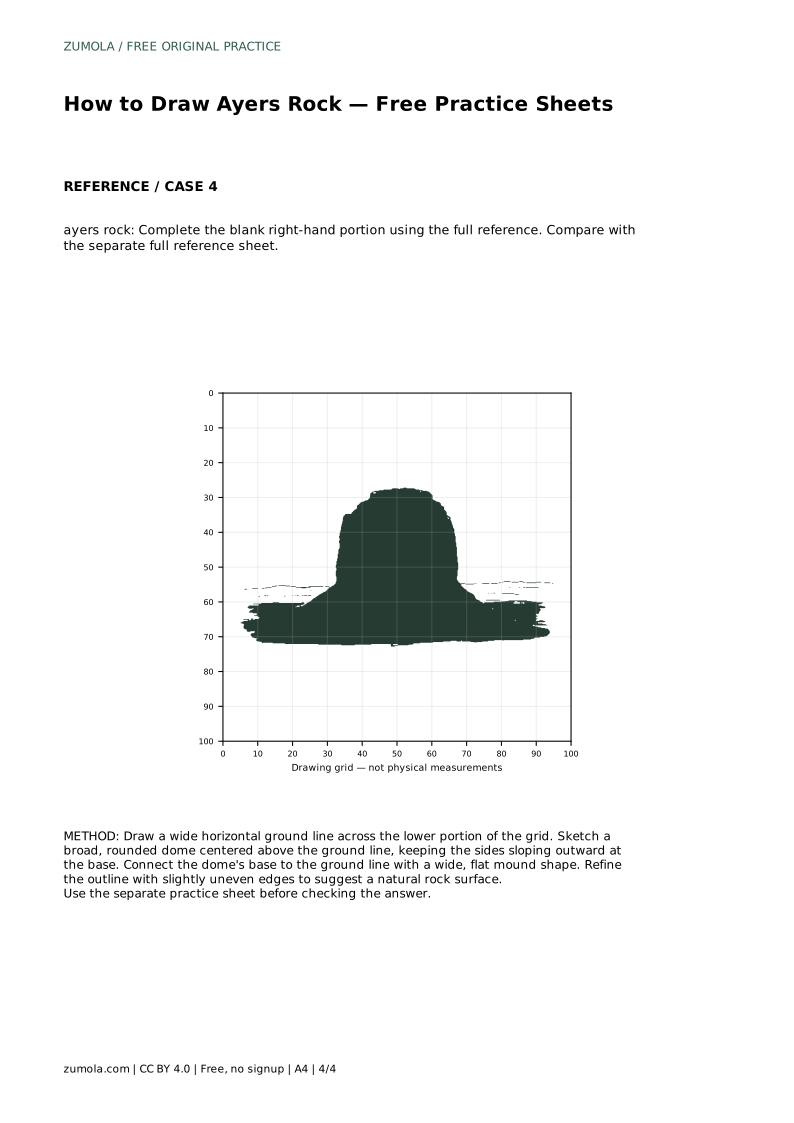
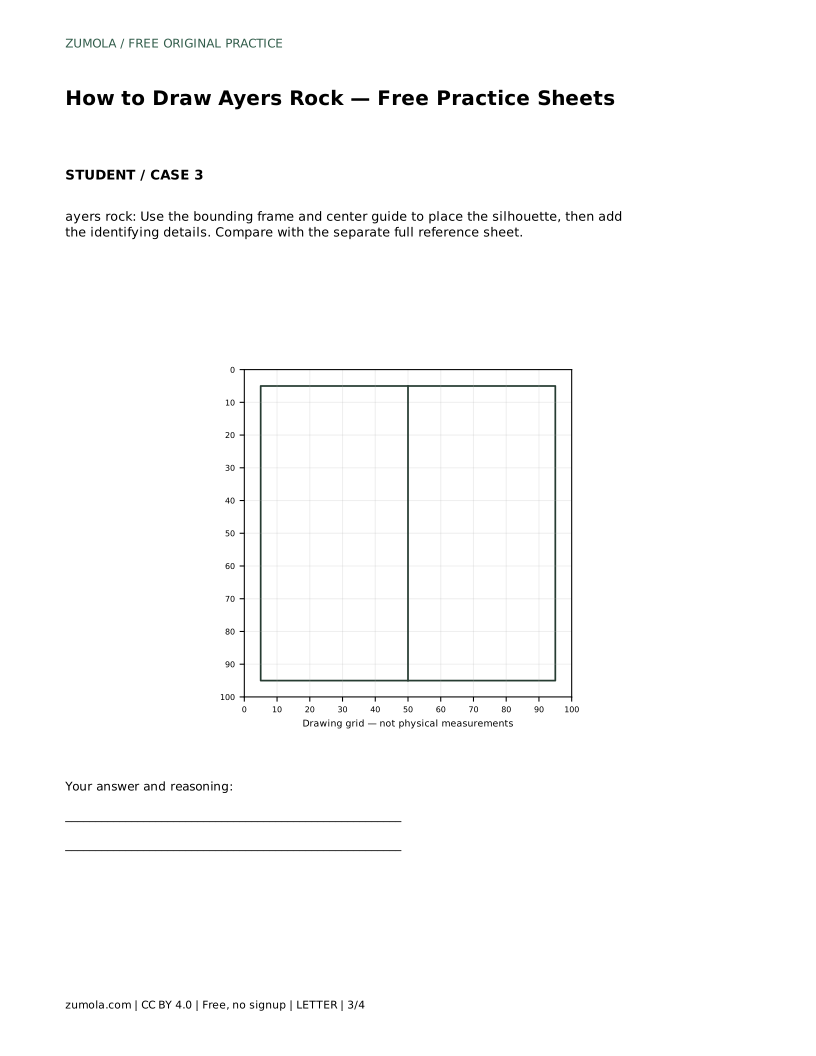
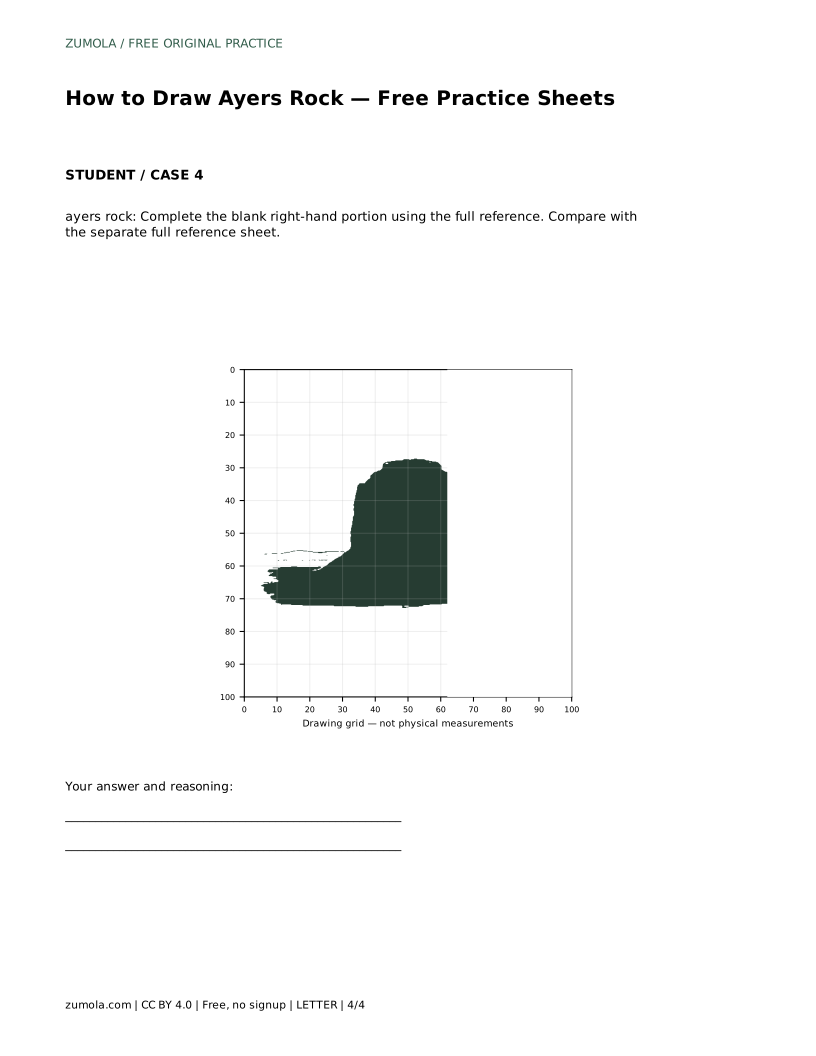
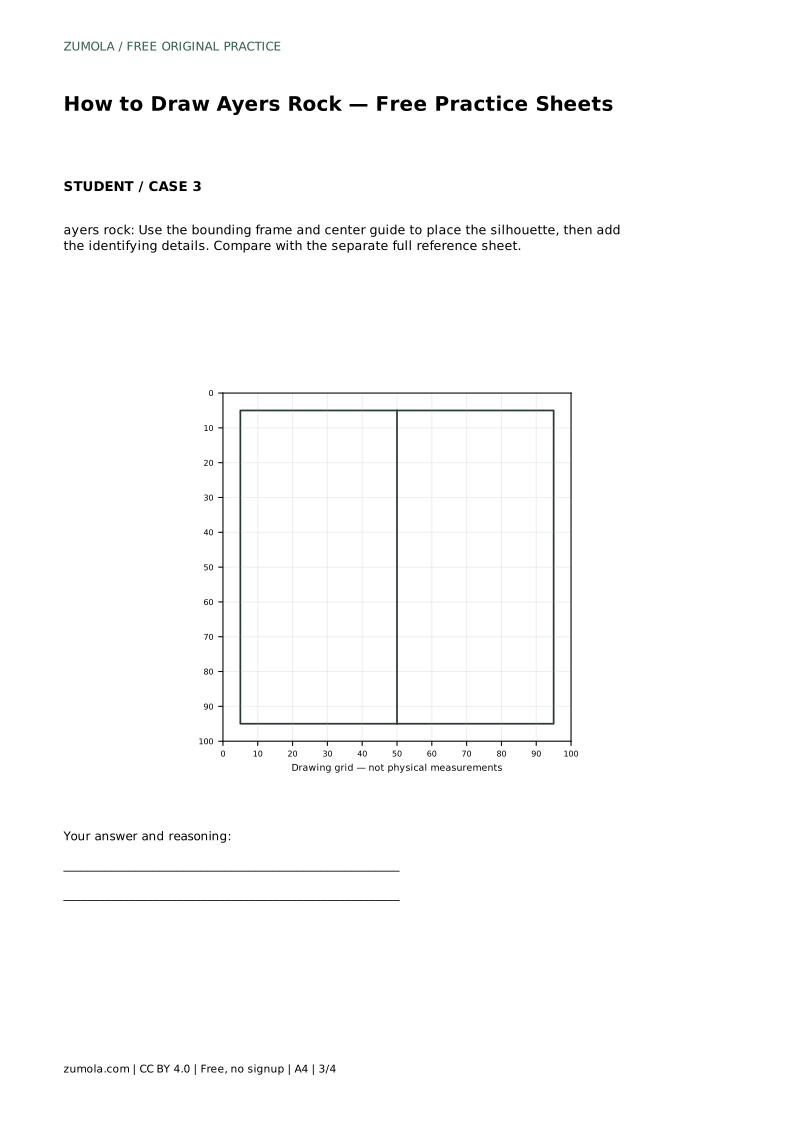
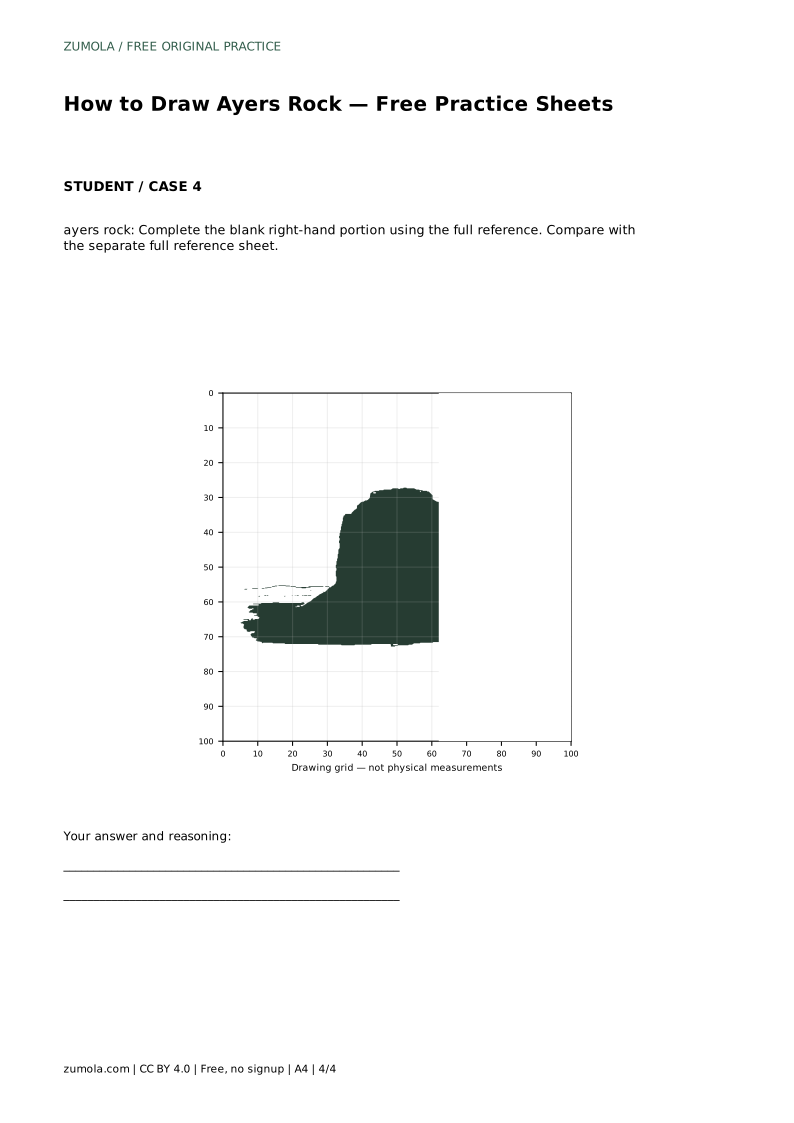
The blank grid sheet asks you to copy the reference using matching grid intersections. Use the intersections to judge where the dome begins to curve and where the base meets the ground line. The bounding frame and center guide sheet helps you place the silhouette before adding identifying details. The partial sheet gives you the left portion and asks you to complete the blank right-hand portion from the full reference.
Across all sheets, assess visible features and proportions rather than exact matching. Different drawings can be correct.
A useful check is to look at the drawing from a short distance. The dome should read as large, central, and rounded, with a broad sloping base and a wide flat ground line. If the dome looks narrow or tall, widen it. If the base looks pinched, spread it outward toward the ground line.
Remember that this is an artistic construction, not a clinical or geological diagram. The aim is a clear, recognizable silhouette with natural variation, and several valid outcomes exist.
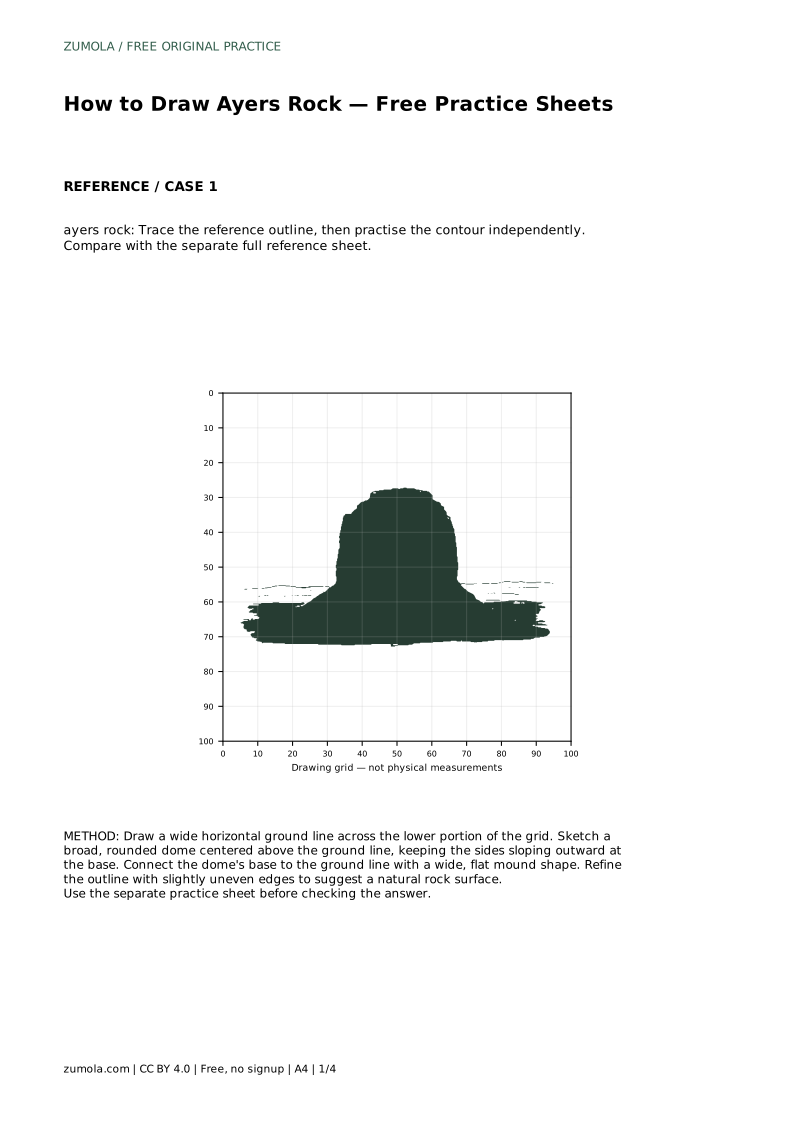
ayers rock: Trace the reference outline, then practise the contour independently. Compare with the separate full reference sheet.
Example solution: preserve Large central rounded dome with a broad, sloping base, Wide flat horizontal ground line extending around the base, Slightly irregular, hand-drawn outline suggesting a natural rock silhouette. Other drawings can be correct; assess the visible features and proportions rather than pixel-perfect matching. Draw a wide horizontal ground line across the lower portion of the grid. Sketch a broad, rounded dome centered above the ground line, keeping the sides sloping outward at the base. Connect the dome's base to the ground line with a wide, flat mound shape. Refine the outline with slightly uneven edges to suggest a natural rock surface.
No. Assess the visible features and proportions, such as the broad dome, sloping base, and wide ground line. Other drawings can be correct.
Start with the tracing sheet to learn the contour, then move to the grid or bounding frame sheet for independent placement.
Wide enough that the base can spread outward on both sides without reaching the page edge.
All drawing practice · Free coordinate paper
Original resources · CC BY 4.0 · Free for personal and classroom use with attribution.