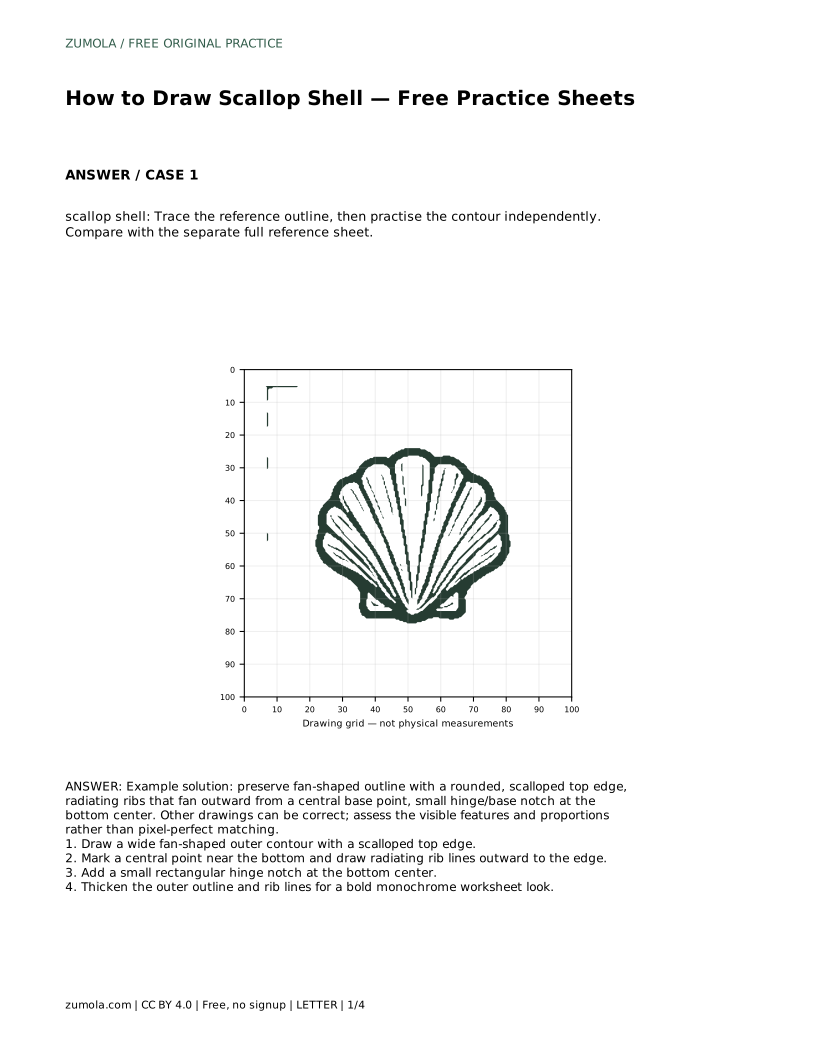
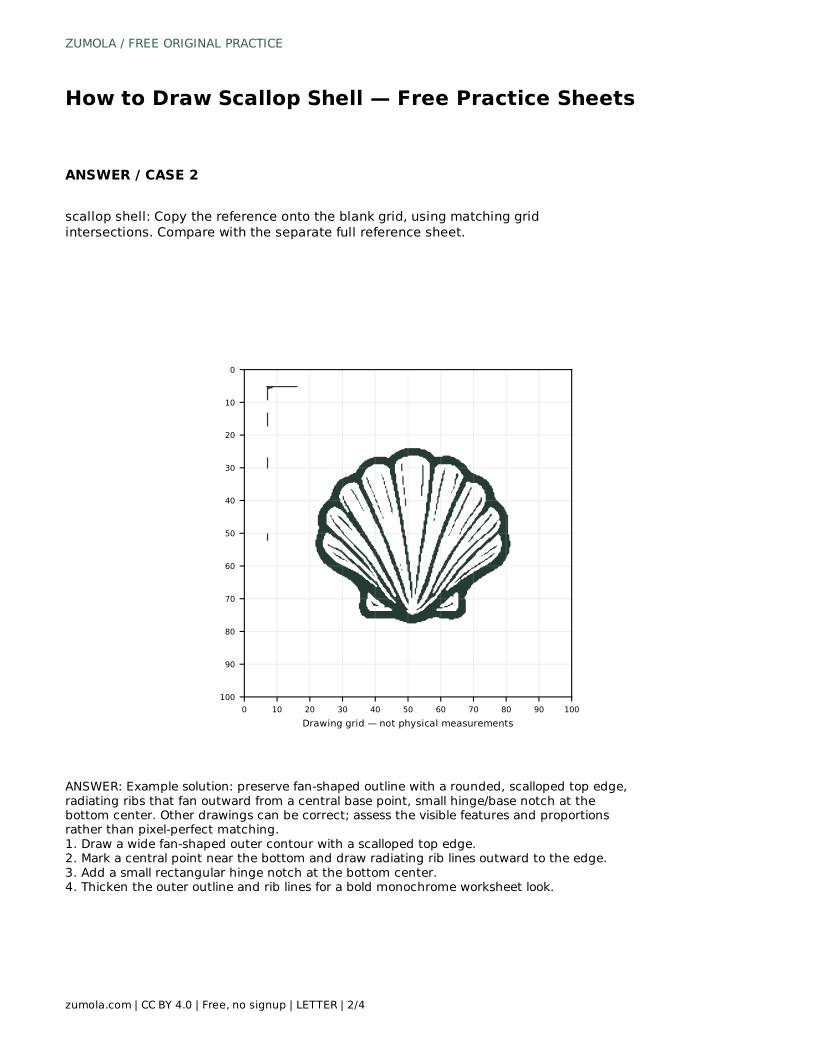
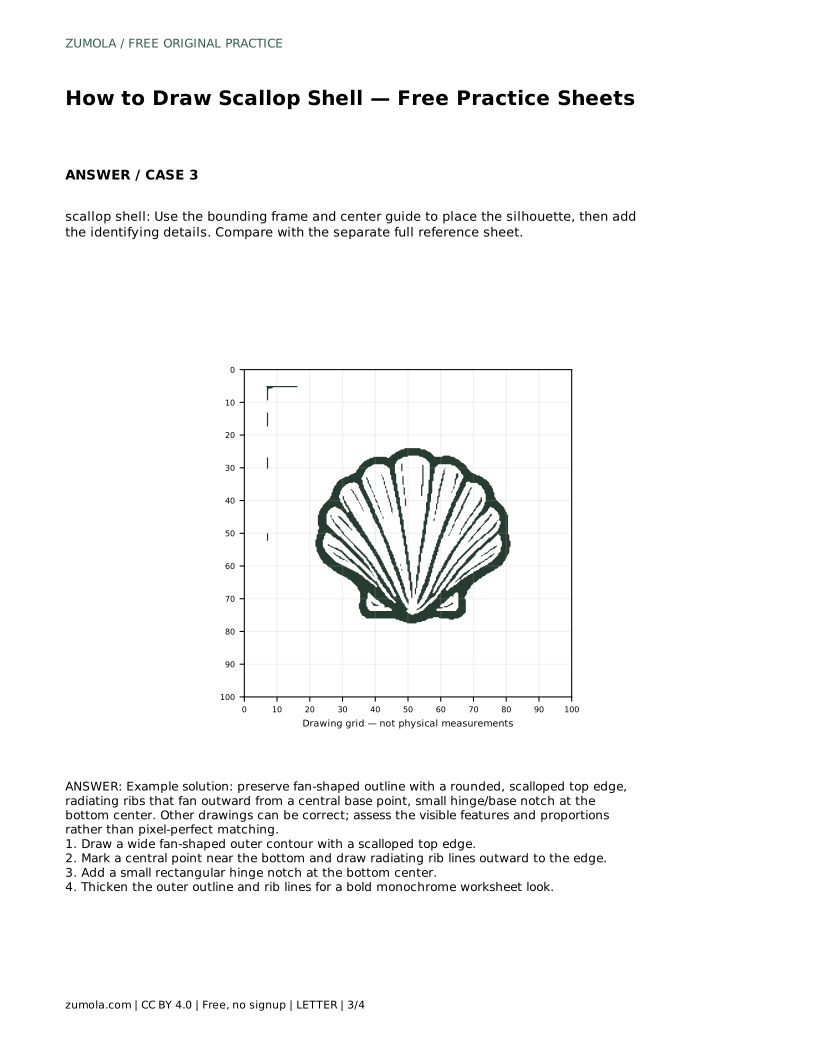
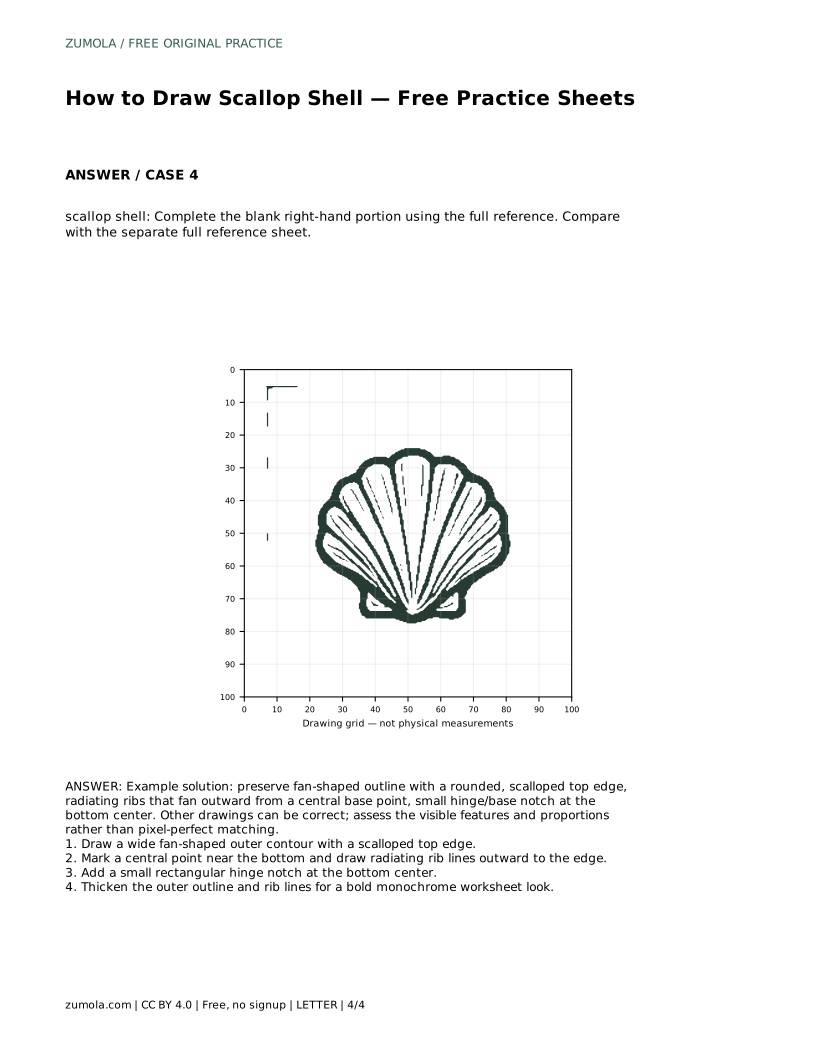
Reference diagrams
LETTER · Download PDF
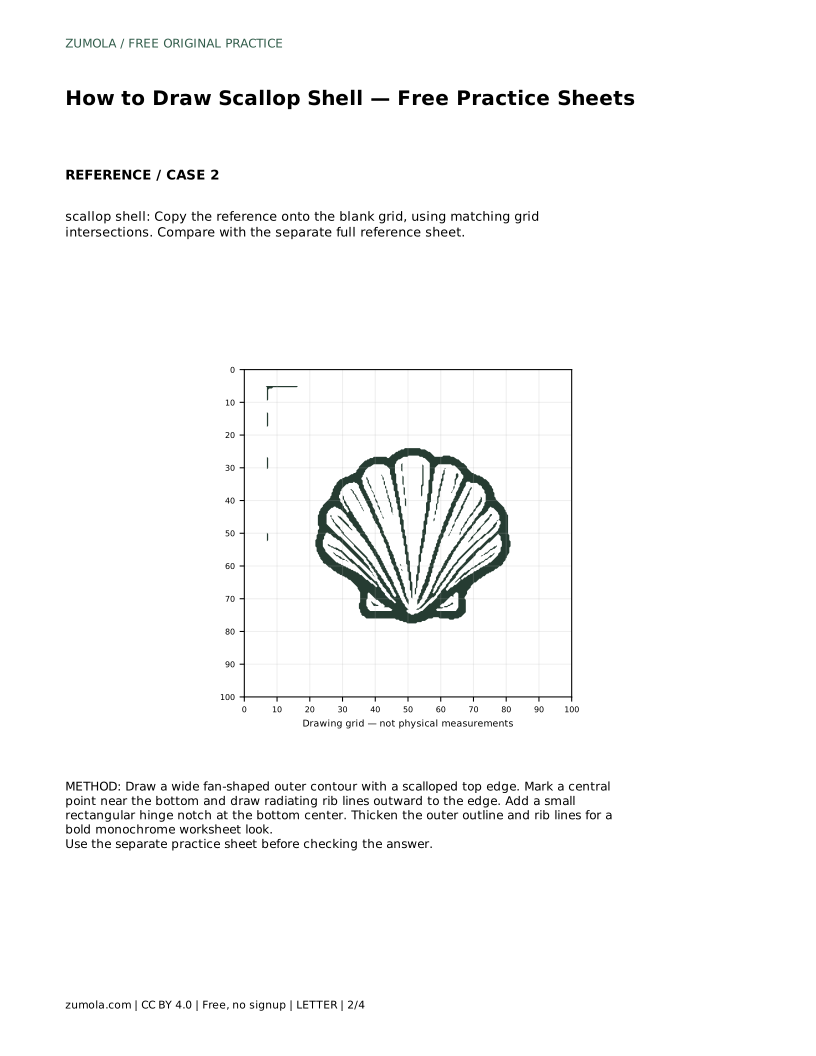
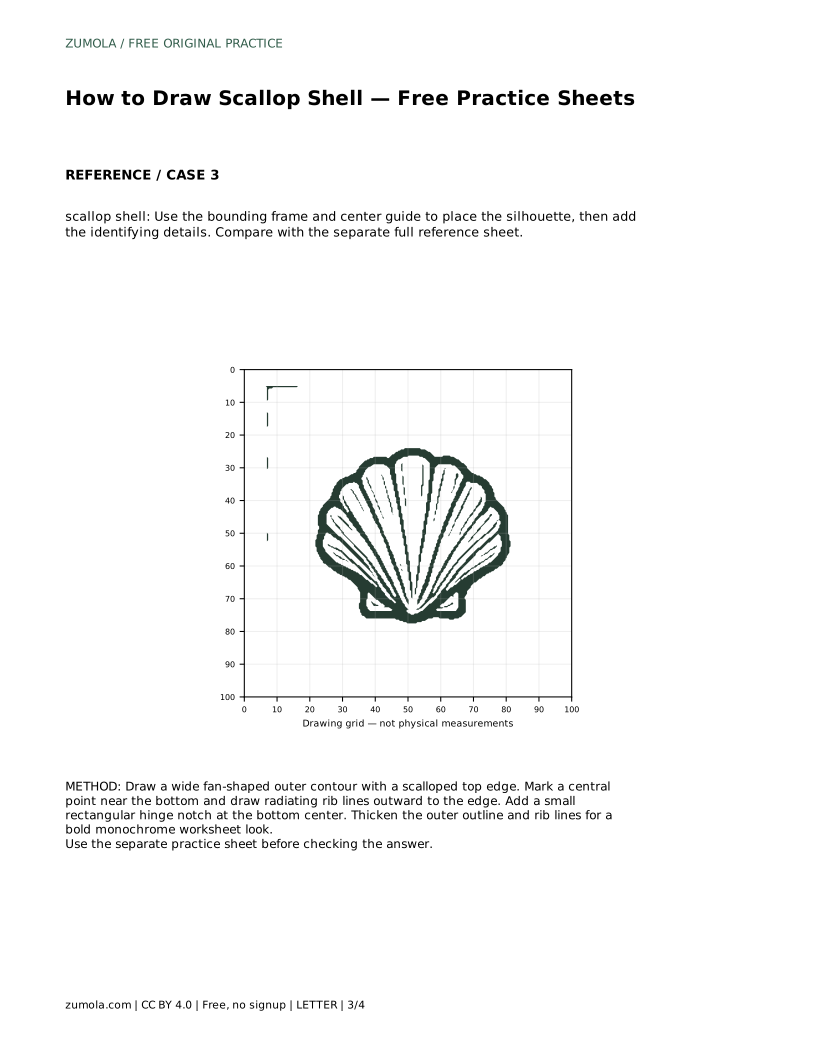
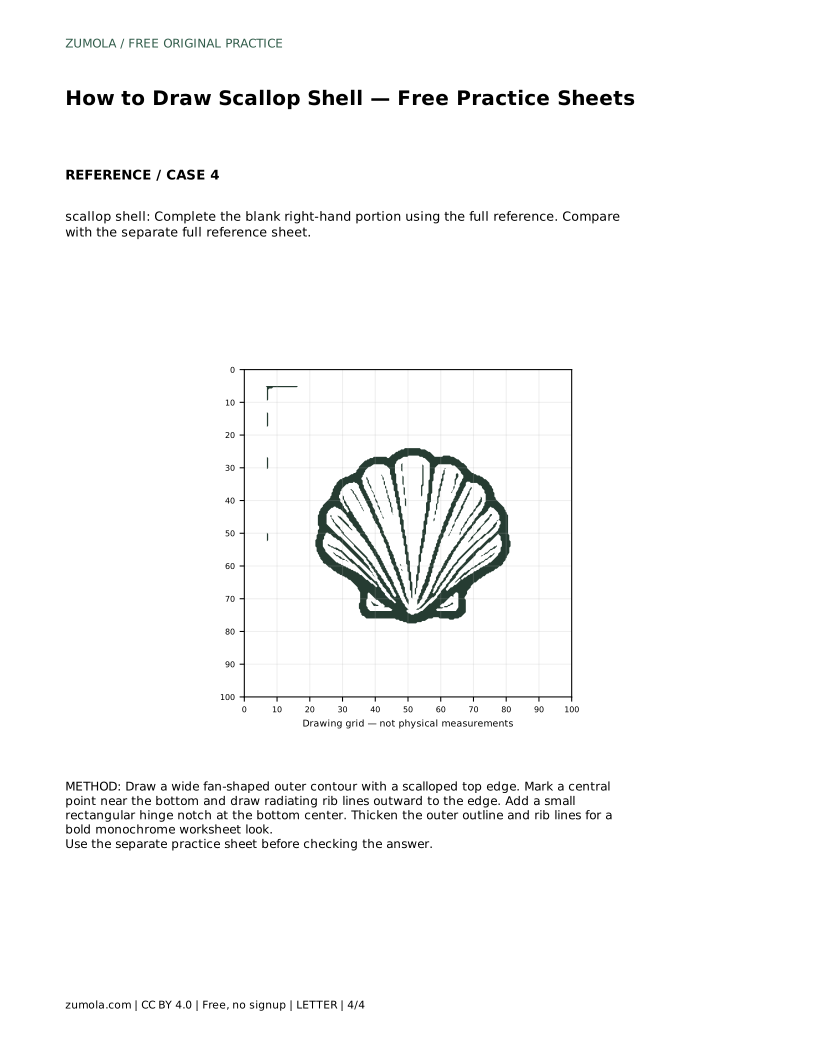
A4 · Download PDF
Free original resources
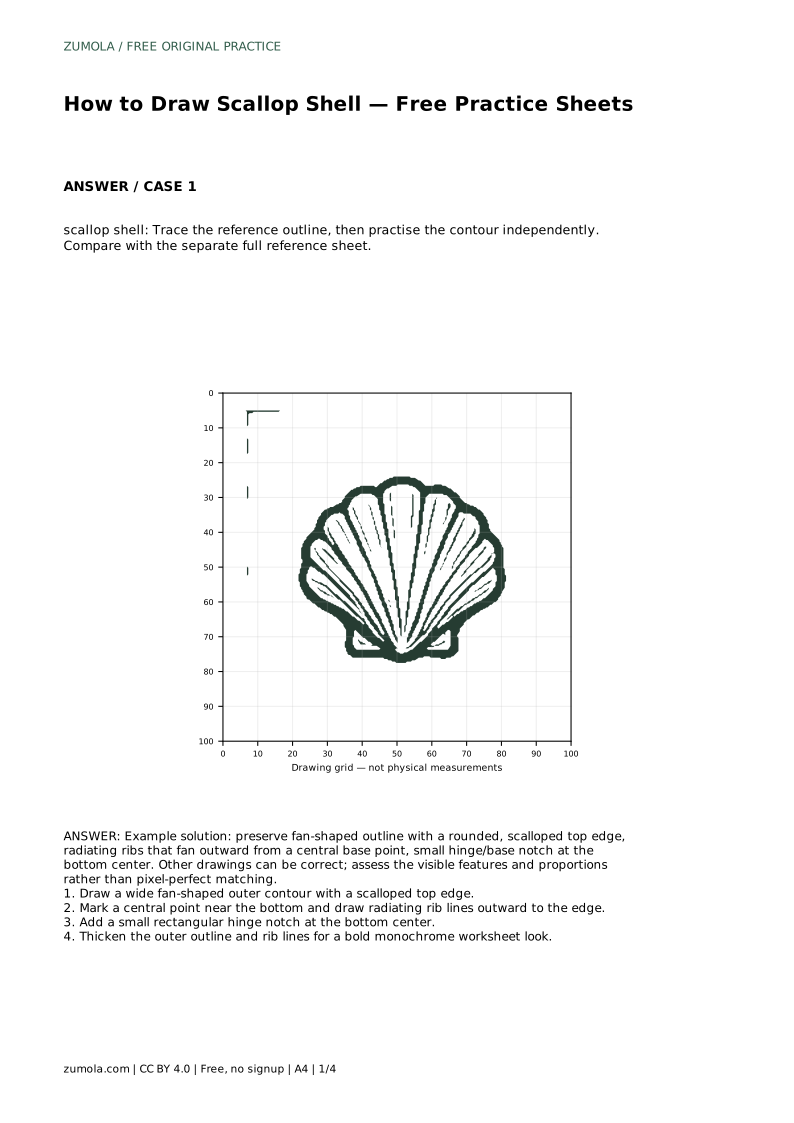
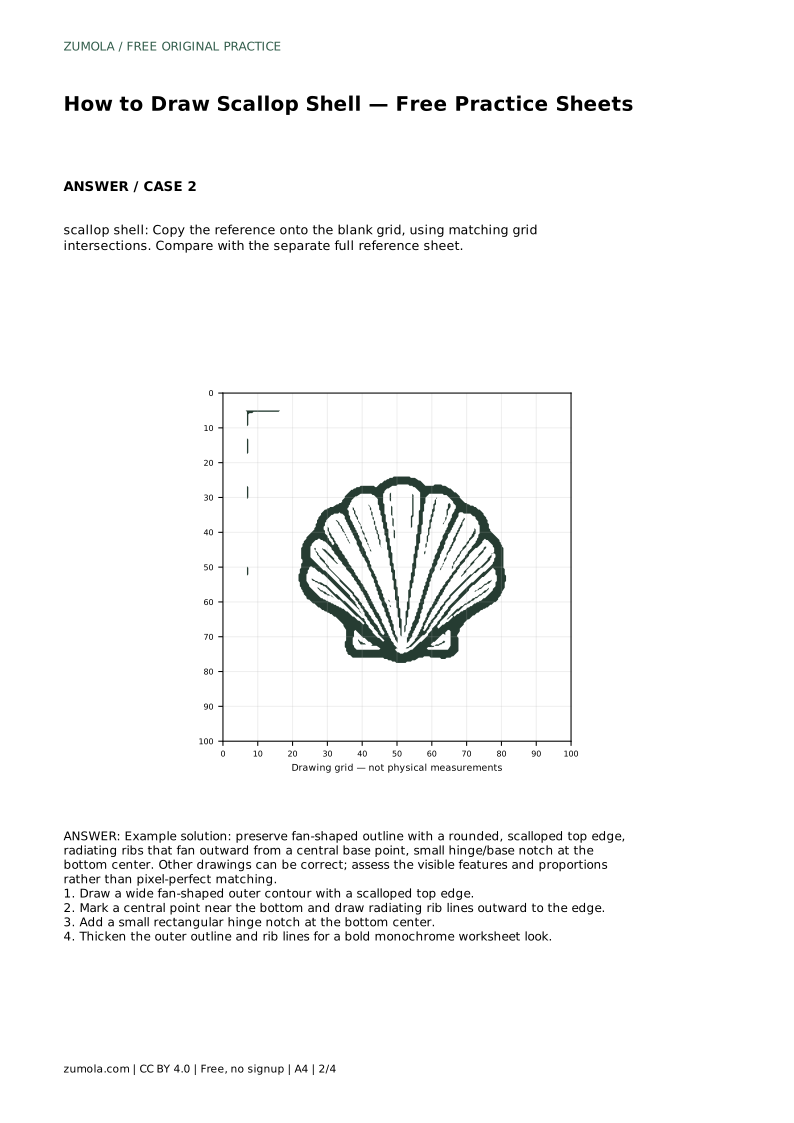
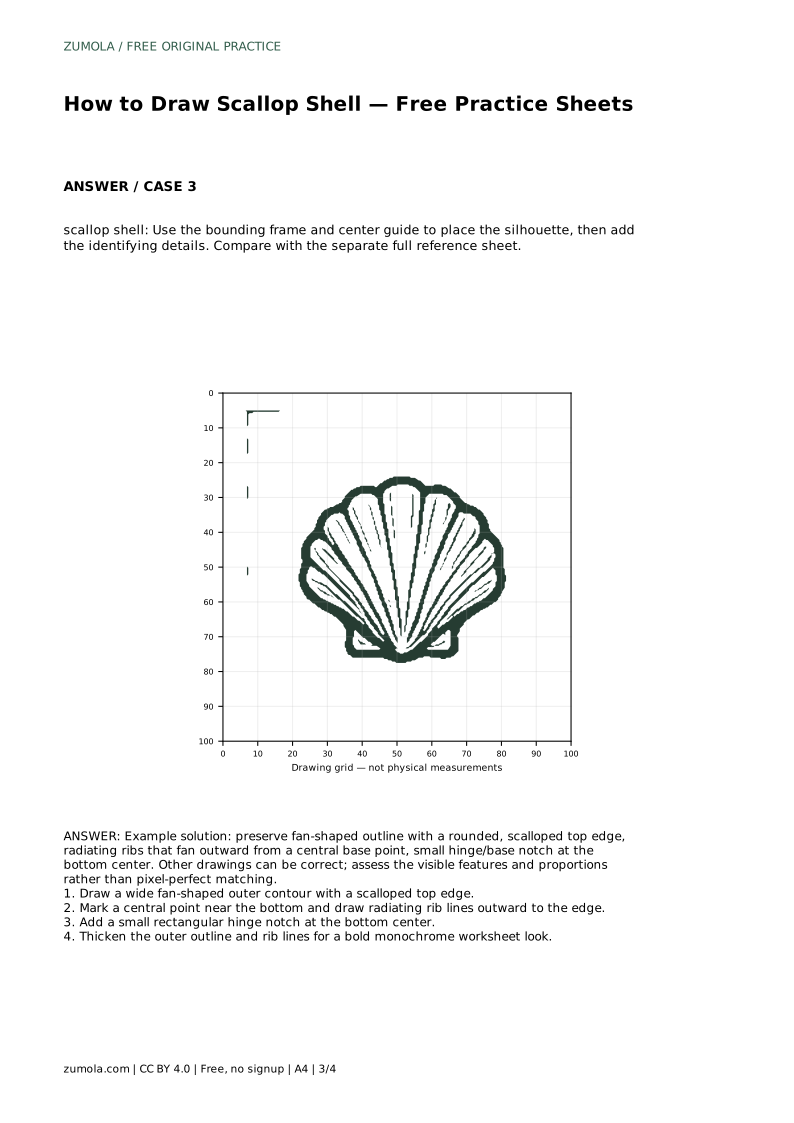
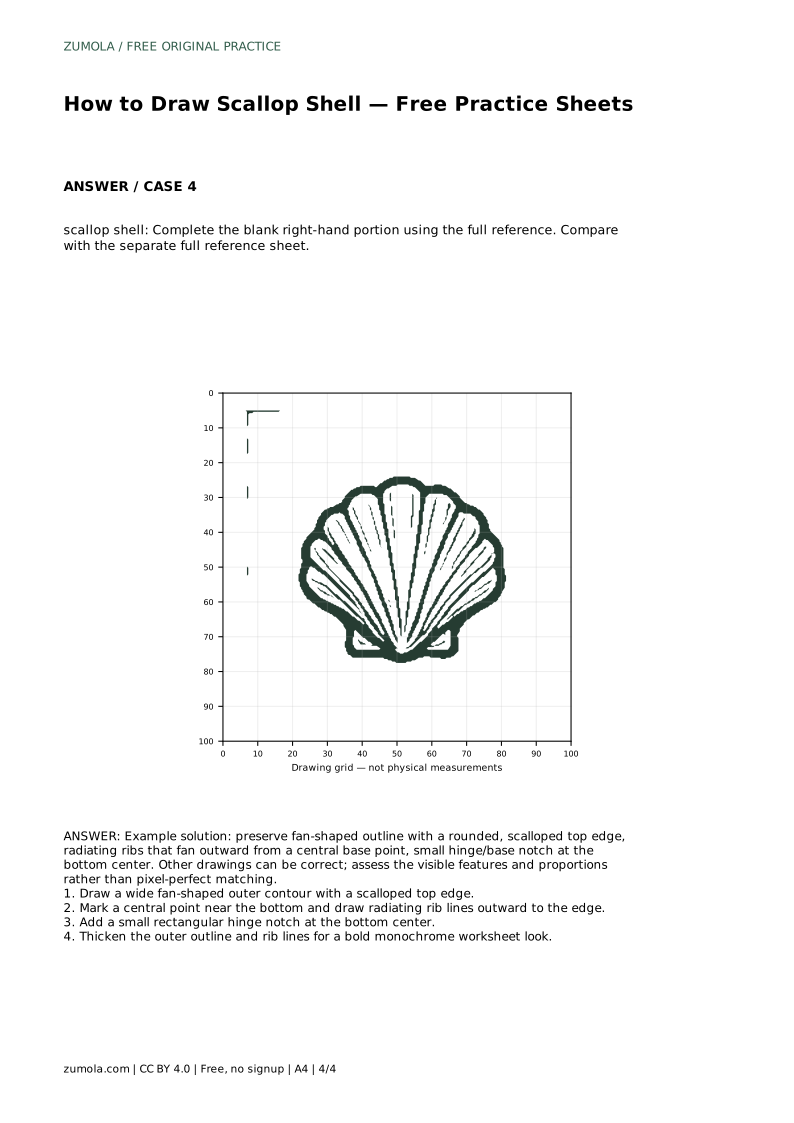
Learn to draw a scallop shell with a fan-shaped outline, scalloped top edge, radiating ribs, and a hinge notch. Free printable practice sheets support each step.
Four original cases, with reference diagrams, practice sheets and worked answers. Everything is free; no signup required.
LETTER · Download PDF
A4 · Download PDF
LETTER · Download PDF
A4 · Download PDF
LETTER · Download PDF
A4 · Download PDF
Use A4 or US Letter to match your printer. Use the stated values and conditions to solve each exercise; diagrams are not physical measuring rulers.
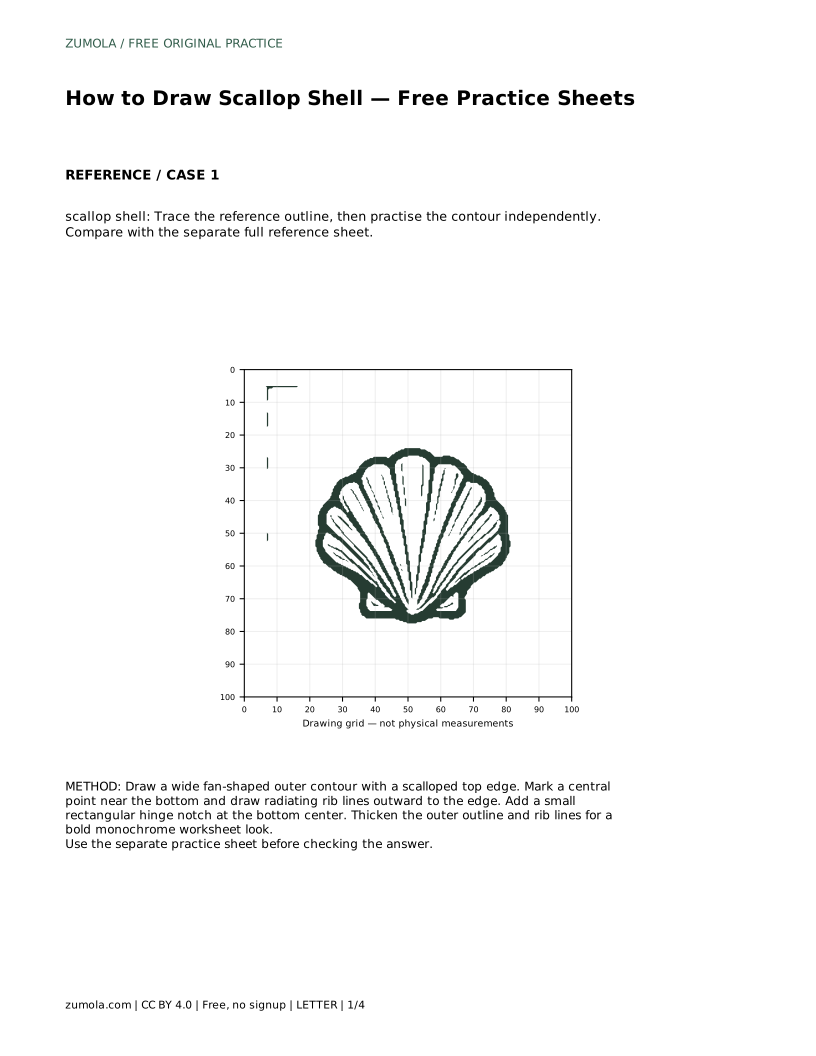
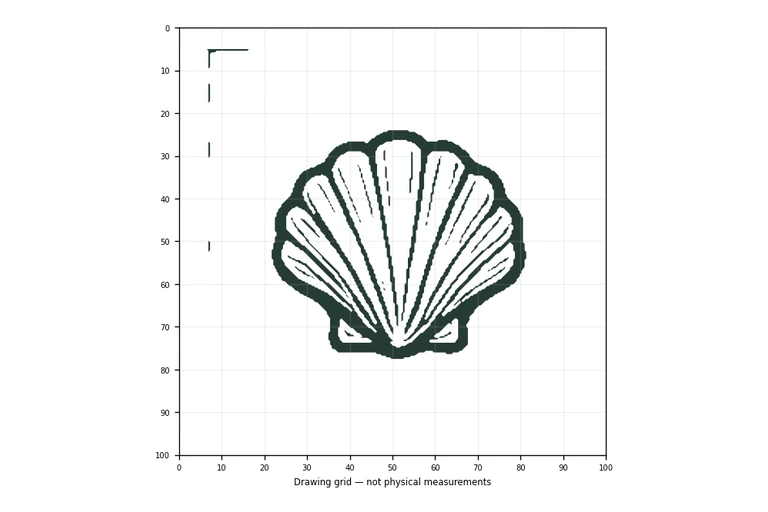
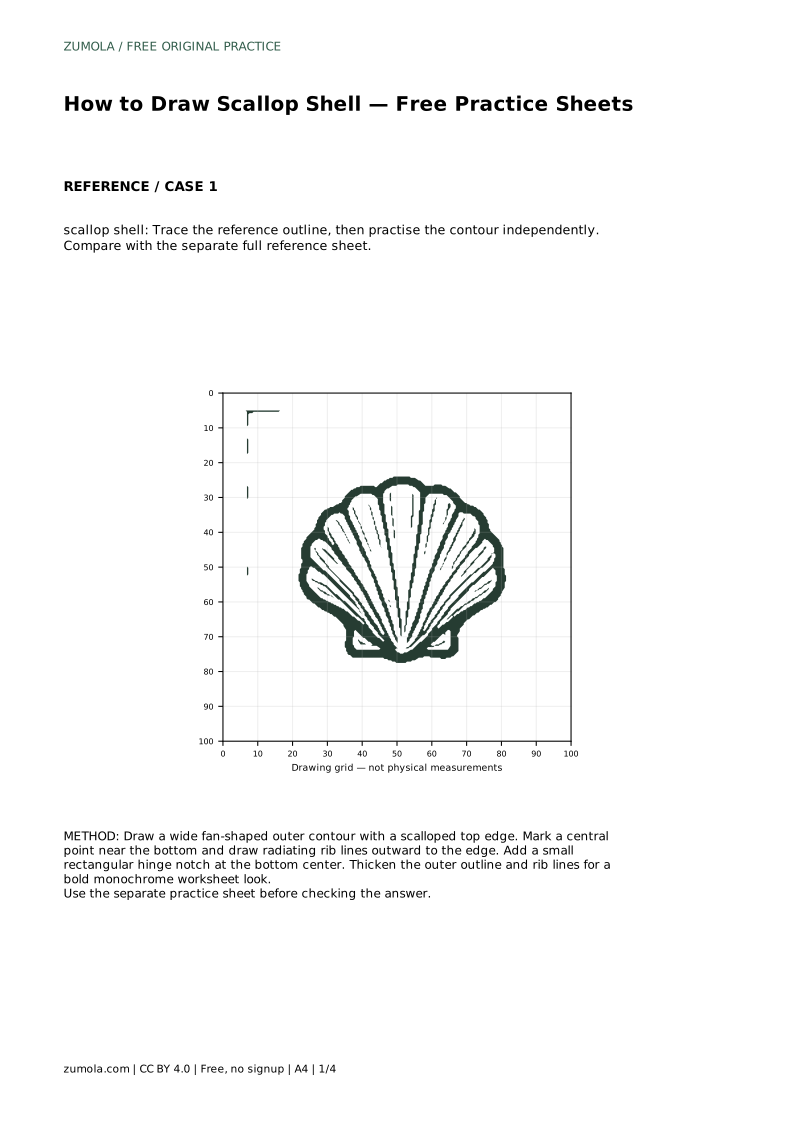
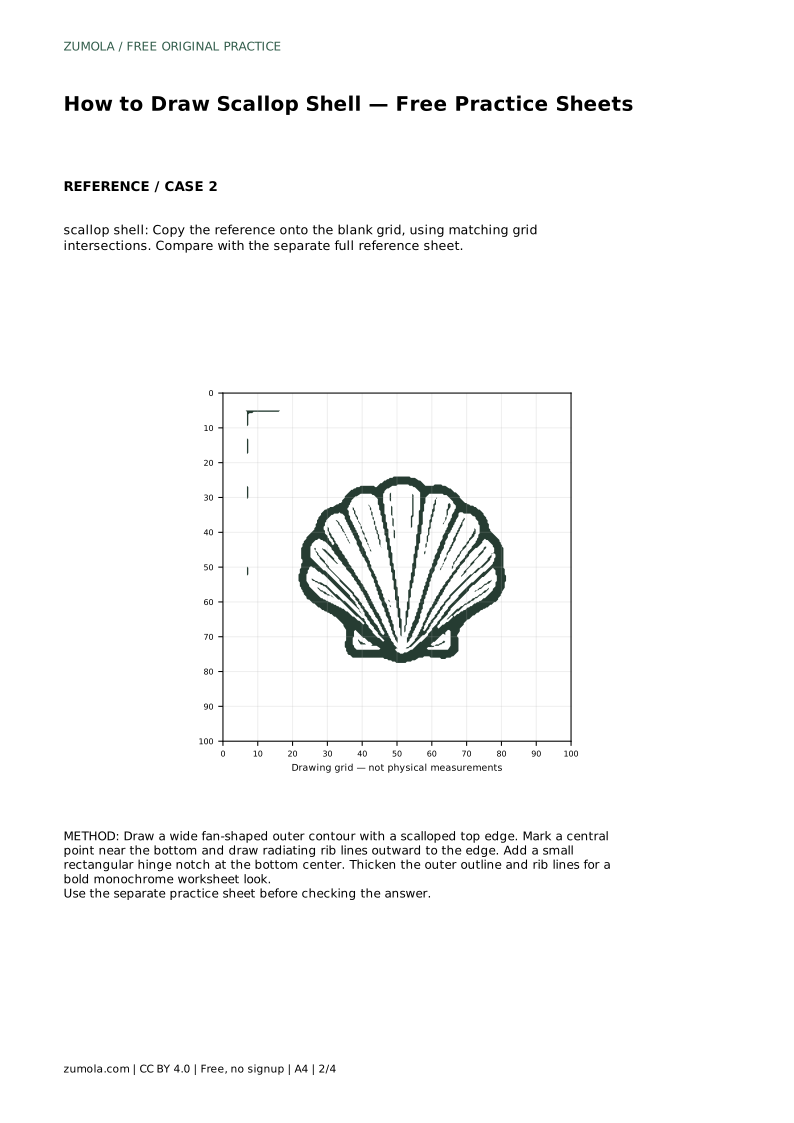
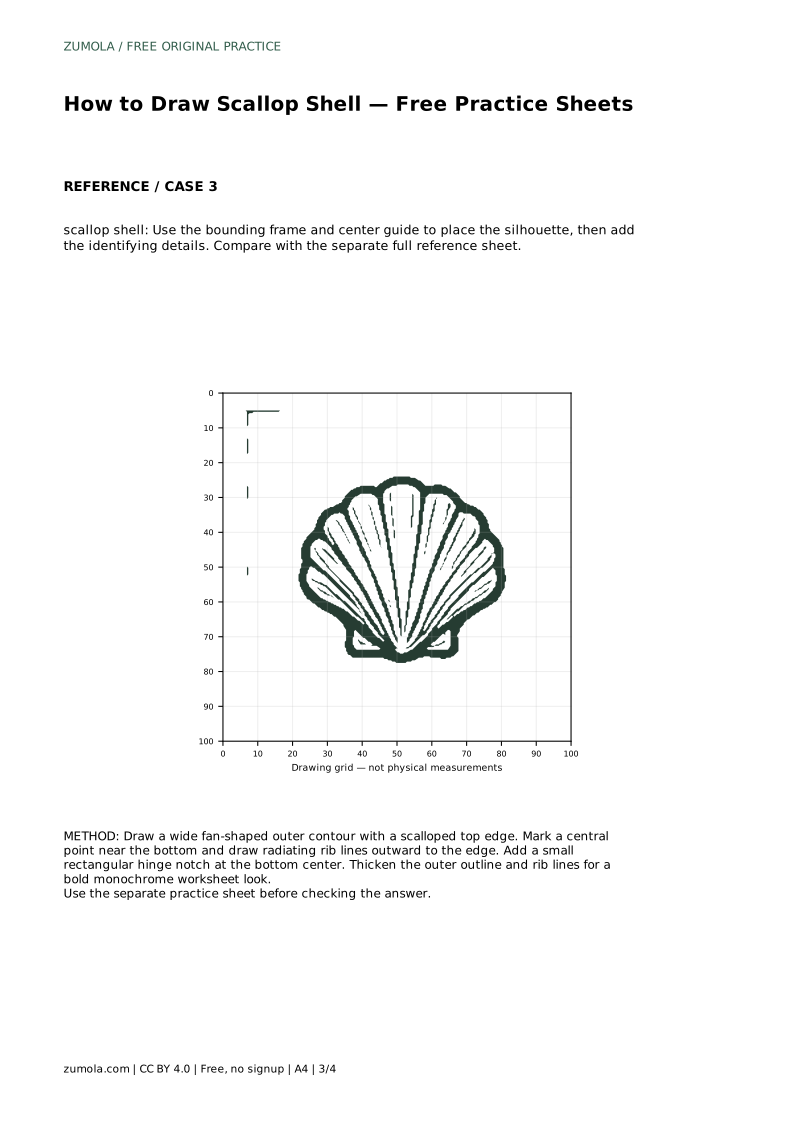
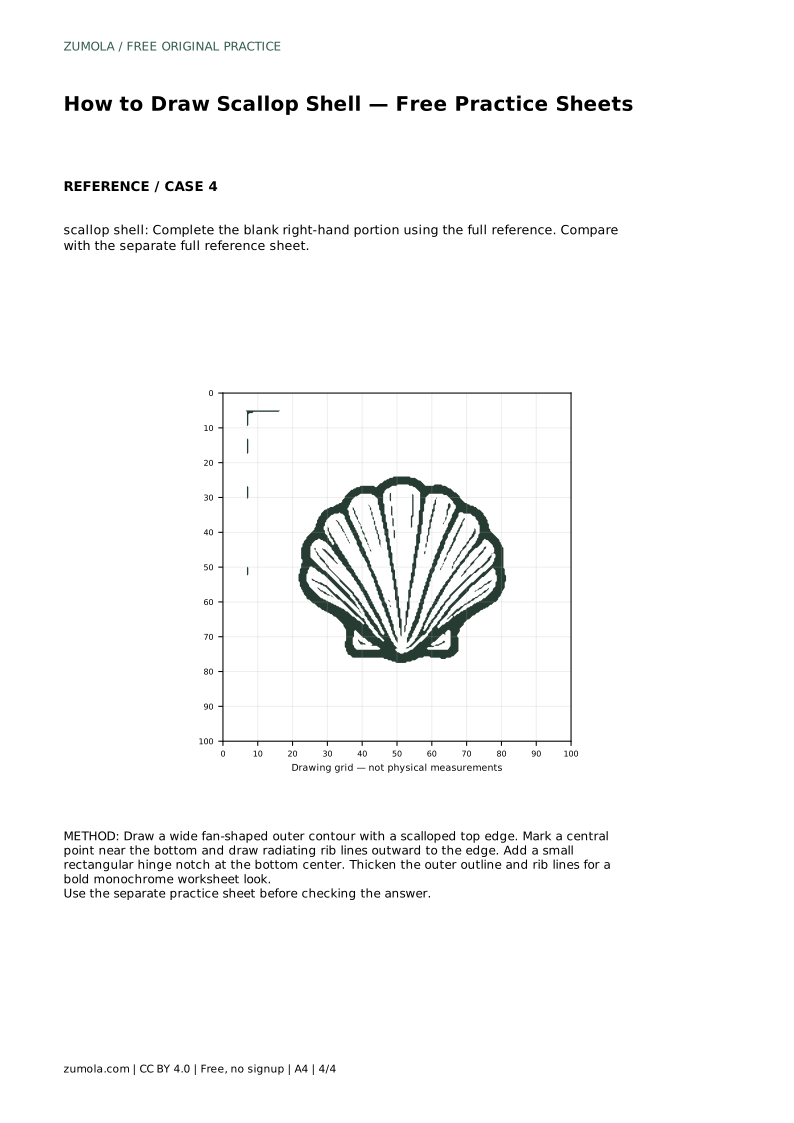
A scallop shell is easy to recognise once you notice its three key features: a wide fan-shaped outline, a rounded top edge divided into small scallops, and ribs that radiate outward from a point near the bottom. This page explains how to build those features in order, then how to use the free practice sheets to trace, copy, and complete the drawing independently. The goal is a clear, bold monochrome shell, not a pixel-perfect copy.
Begin by picturing the shell as a fan or a broad triangle with a rounded top. The bottom is narrow and sits near the centre of your page; the top spreads wide. Lightly draw this overall shape first, keeping the sides gently curved rather than straight. A common error is making the shell too tall and narrow, which loses the fan character. Check that the width at the top is clearly greater than the height from base to top edge.
Once the broad shape is in place, shape the top edge into a series of small rounded bumps, called scallops. Keep the bumps similar in size and evenly spaced so the edge reads as one continuous wavy line. Do not press hard yet; this is a guide you may adjust.
Mark a single point near the bottom centre of the shell. From this point, draw lines that fan outward toward the scalloped edge, spreading like spokes. Each rib should aim roughly at the dip between two scallops or at the centre of a bump, and the spacing between ribs should stay fairly even. Ribs that cross or bunch together make the shell look tangled.
Ribs are the feature that most clearly says scallop, so give them a consistent direction. They should widen slightly as they travel outward, which helps the shell look rounded rather than flat.
At the bottom centre, add a small rectangular notch or tab. This is the hinge area where the two halves of a real shell meet. Keep it small relative to the fan; an oversized notch changes the proportions. Place it directly below the central point so the ribs appear to gather around it.
Finally, thicken the outer contour and the rib lines for a bold monochrome worksheet look. Erase or lighten the first guide lines so only the confident outline remains. Compare your finished drawing with the separate full reference sheet and judge the visible features and proportions rather than exact matching.
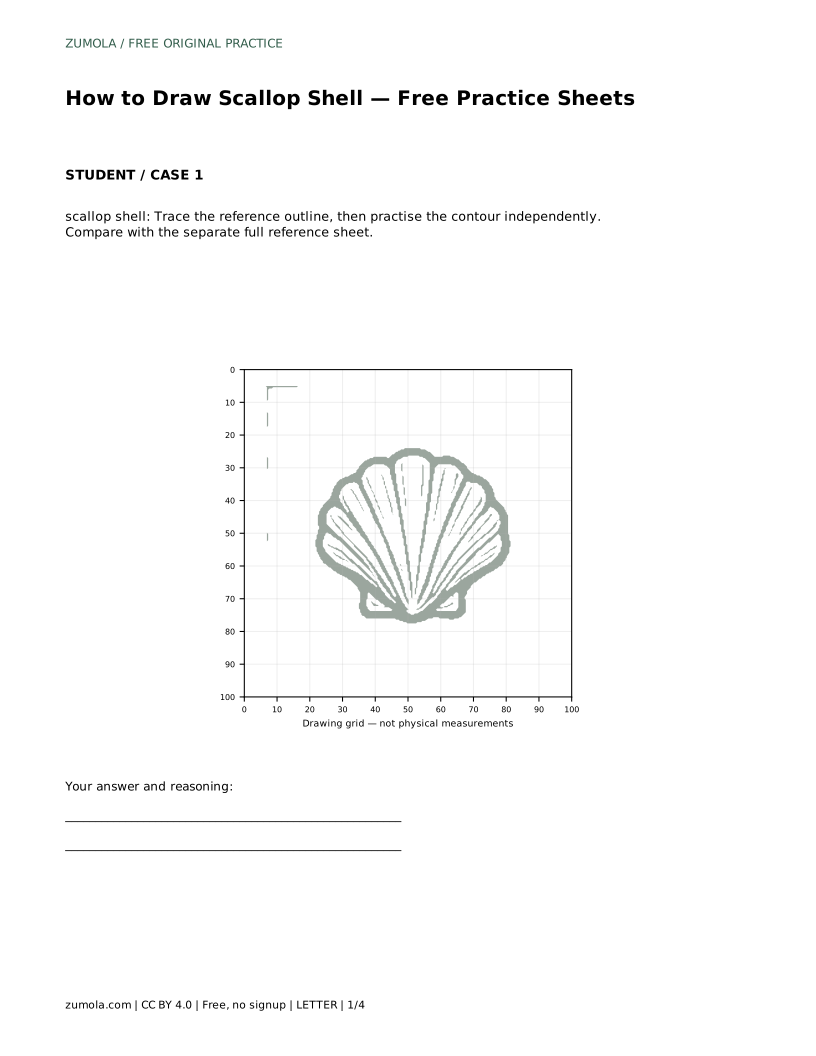
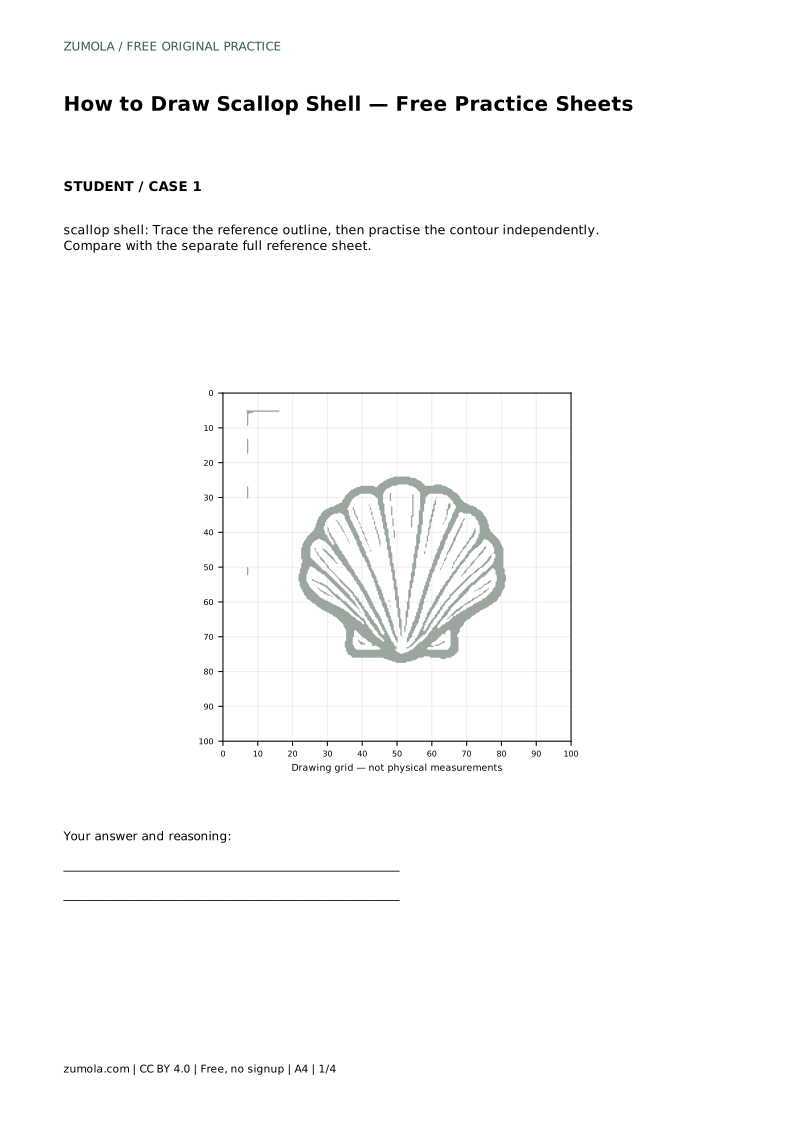
scallop shell: Trace the reference outline, then practise the contour independently. Compare with the separate full reference sheet.
Example solution: preserve fan-shaped outline with a rounded, scalloped top edge, radiating ribs that fan outward from a central base point, small hinge/base notch at the bottom center. Other drawings can be correct; assess the visible features and proportions rather than pixel-perfect matching. Draw a wide fan-shaped outer contour with a scalloped top edge. Mark a central point near the bottom and draw radiating rib lines outward to the edge. Add a small rectangular hinge notch at the bottom center. Thicken the outer outline and rib lines for a bold monochrome worksheet look.
No. Several drawings can be correct. Check that the fan outline, scalloped top edge, radiating ribs, and small hinge notch are all present and in sensible proportion.
Draw the fan outline first as a light guide, then add ribs from the central base point, then finish the hinge notch and bold outline.
There is no fixed number for a drawing. Choose an even count that fills the fan without crowding, and keep the spacing consistent.
All drawing practice · Free coordinate paper
Original resources · CC BY 4.0 · Free for personal and classroom use with attribution.