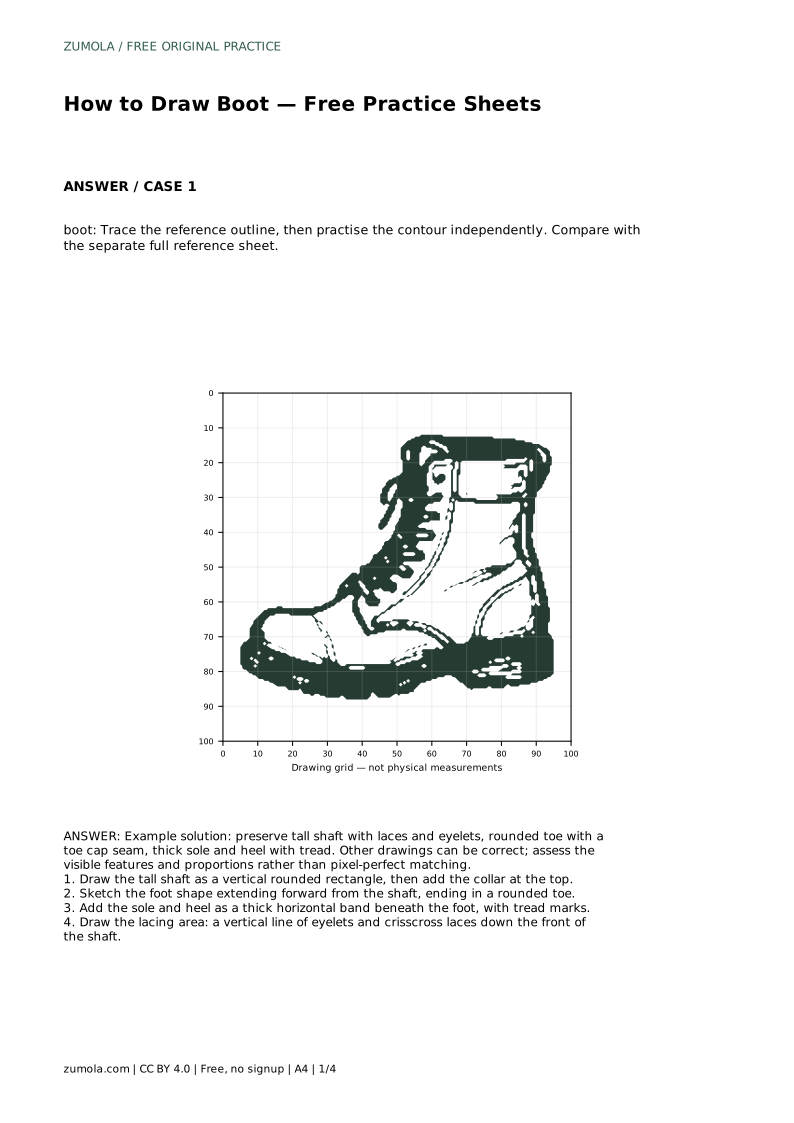
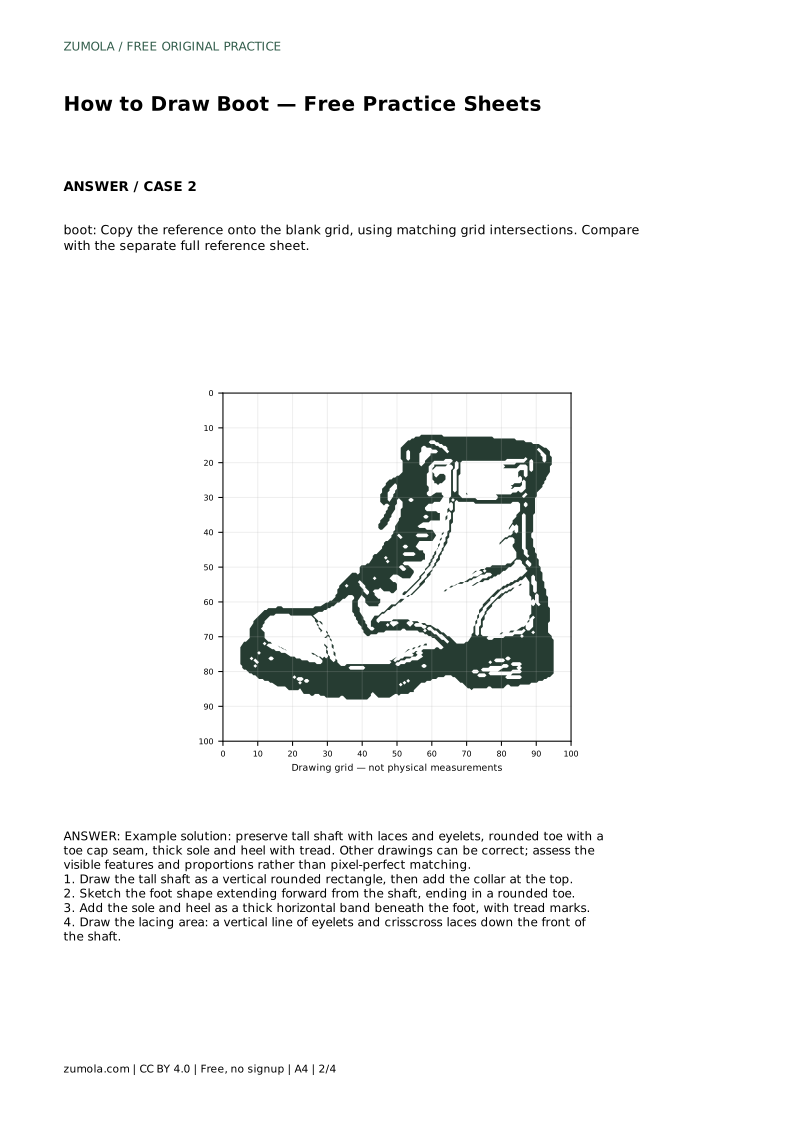
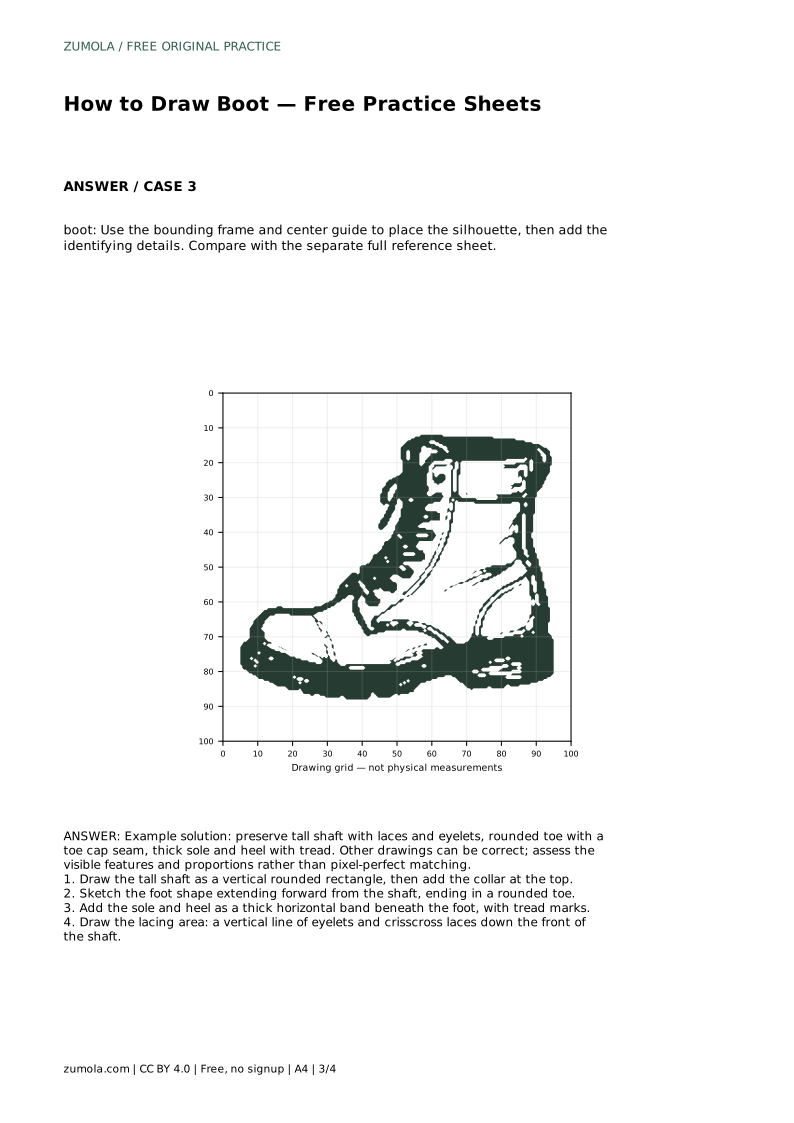
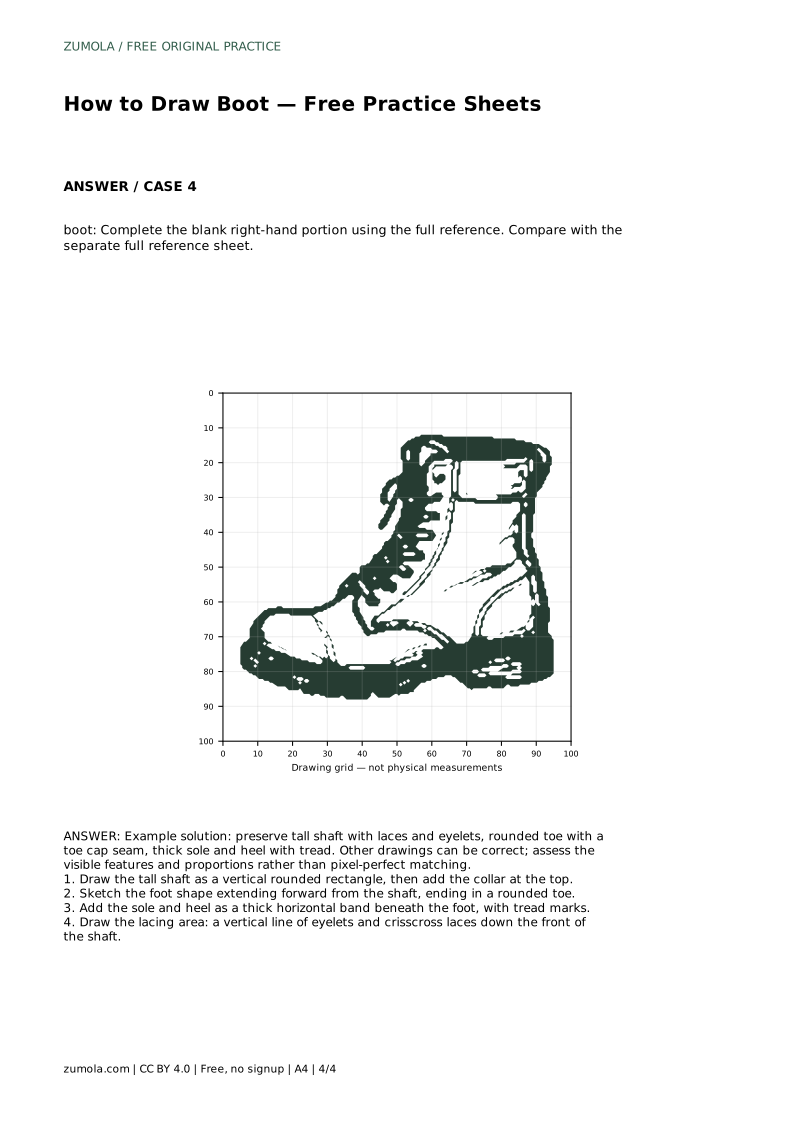
Reference diagrams
LETTER · Download PDF
A4 · Download PDF
Free original resources
Learn to draw a boot by building the shaft, foot, sole, and lacing in order. Free printable practice sheets support tracing, grids, and guided placement.
Four original cases, with reference diagrams, practice sheets and worked answers. Everything is free; no signup required.
LETTER · Download PDF
A4 · Download PDF
LETTER · Download PDF
A4 · Download PDF
LETTER · Download PDF
A4 · Download PDF
Use A4 or US Letter to match your printer. Use the stated values and conditions to solve each exercise; diagrams are not physical measuring rulers.
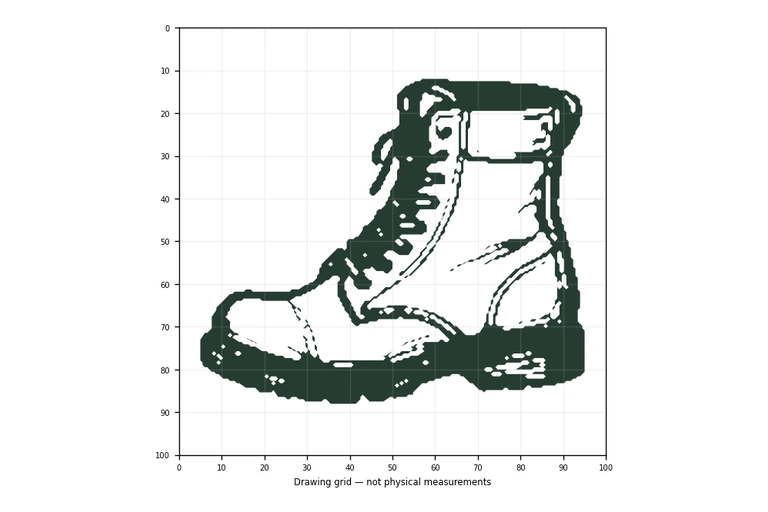
A boot is easier to draw when you treat it as a stack of simple shapes rather than one complicated outline. Start with the tall shaft, attach the foot, then add the sole and heel before placing laces and seams. The practice sheets let you trace a reference, copy it onto a grid, or place the silhouette using a frame and center guide. Each method trains the same core skill: keeping proportions believable while including the features that make a boot recognizable.
Begin with the biggest masses. The shaft is a tall, vertical rounded rectangle; the foot extends forward from its base and ends in a rounded toe. Beneath both, the sole and heel form a thick horizontal band. Only after these proportions look right should you add the collar, toe cap seam, eyelets, laces, and tread marks. Working large-to-small prevents detail from hiding a weak silhouette.
Keep the boot's geometry explicit. The shaft rises above the ankle, the foot projects forward at roughly a right angle to the shaft, and the sole sits flat beneath the foot. A heel adds height at the back. If the shaft leans or the toe points oddly, check those relationships before adding laces.
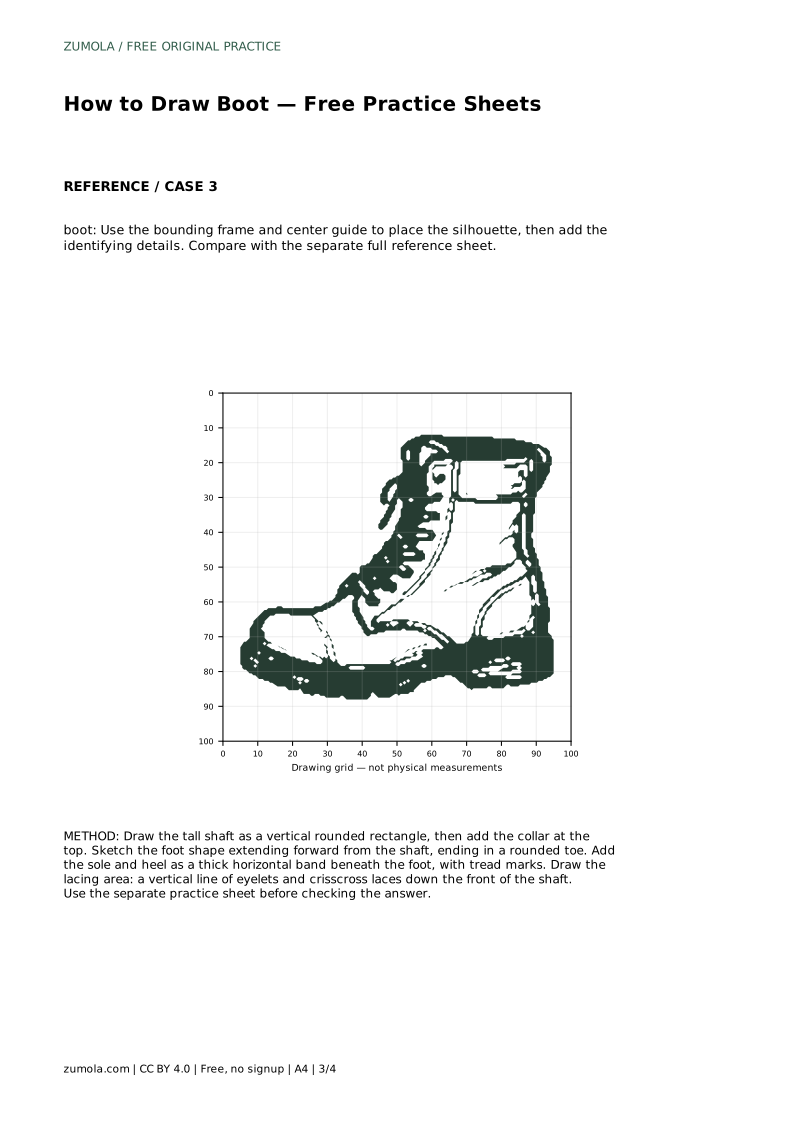
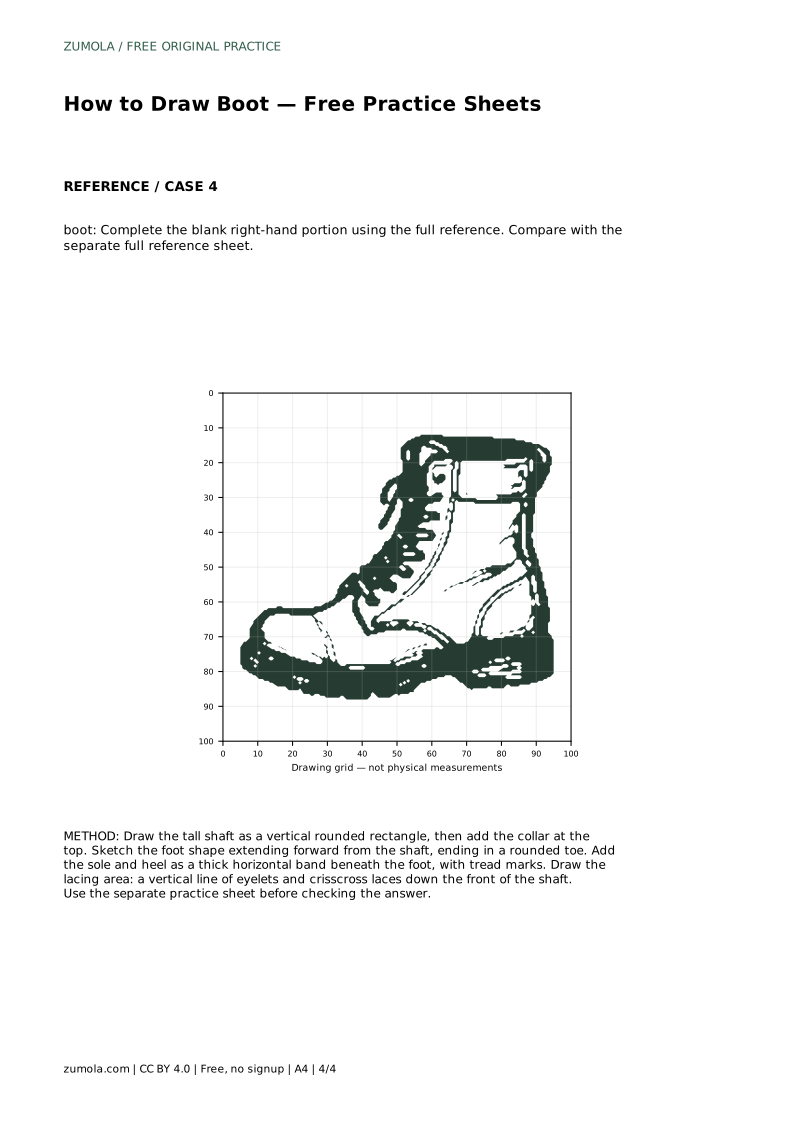
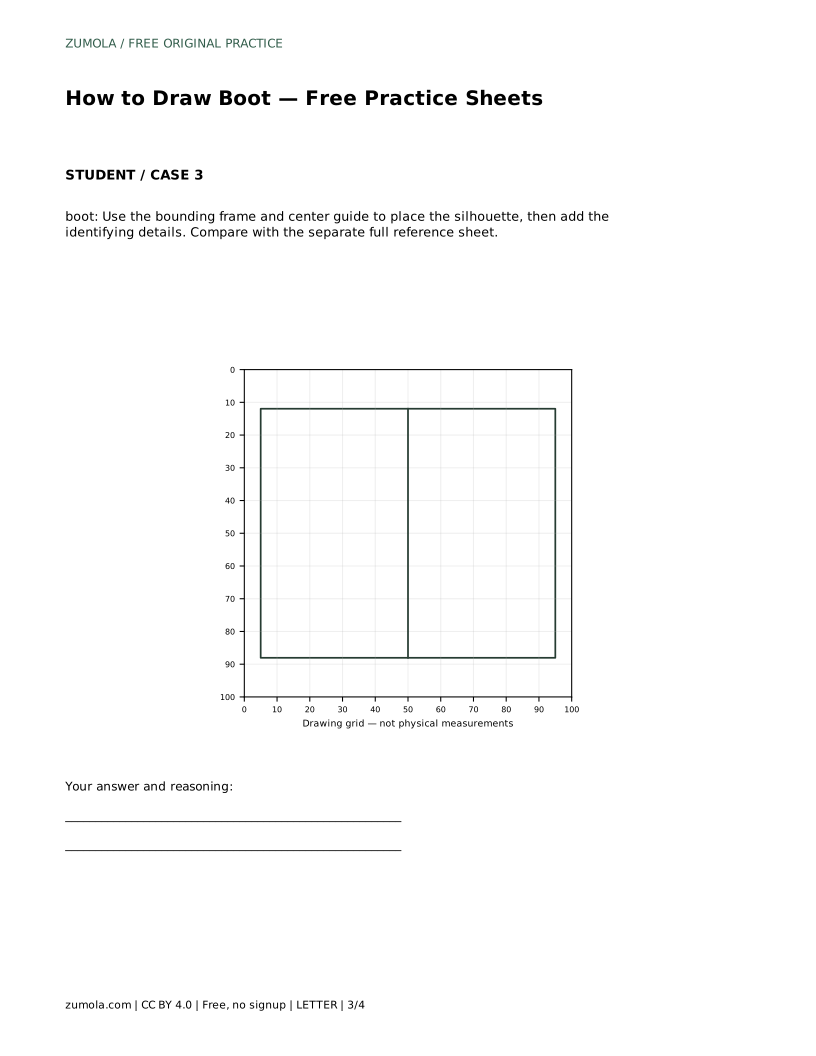
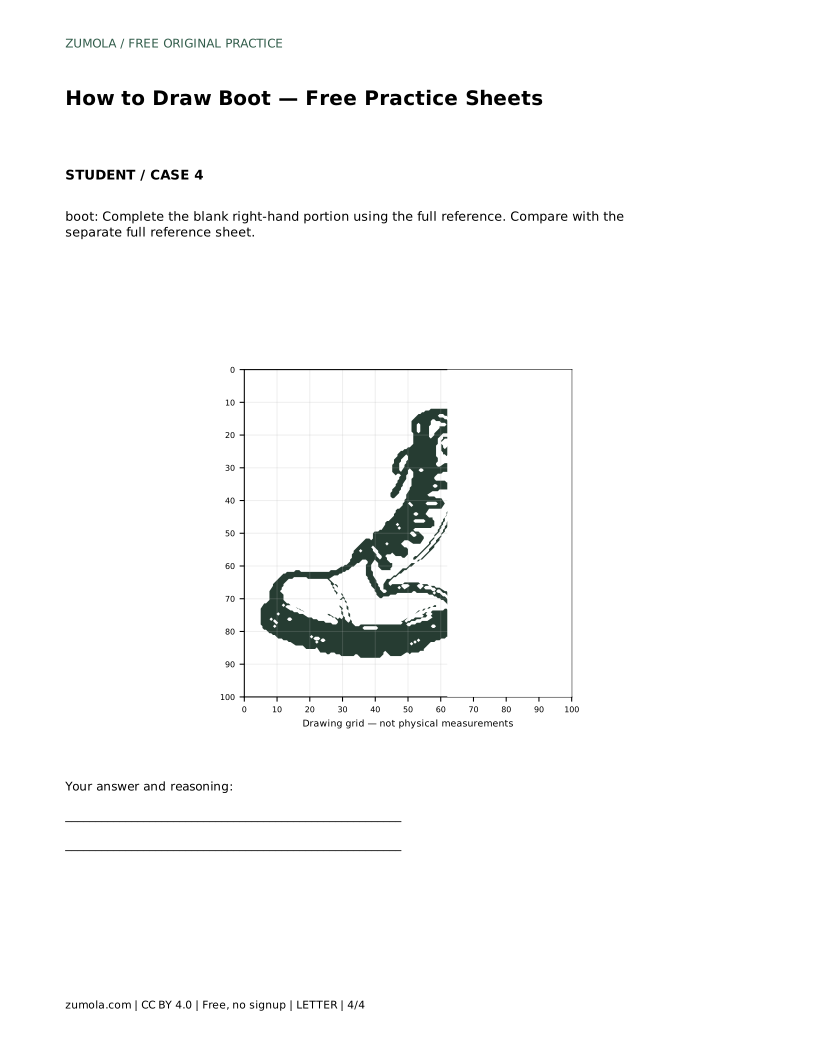
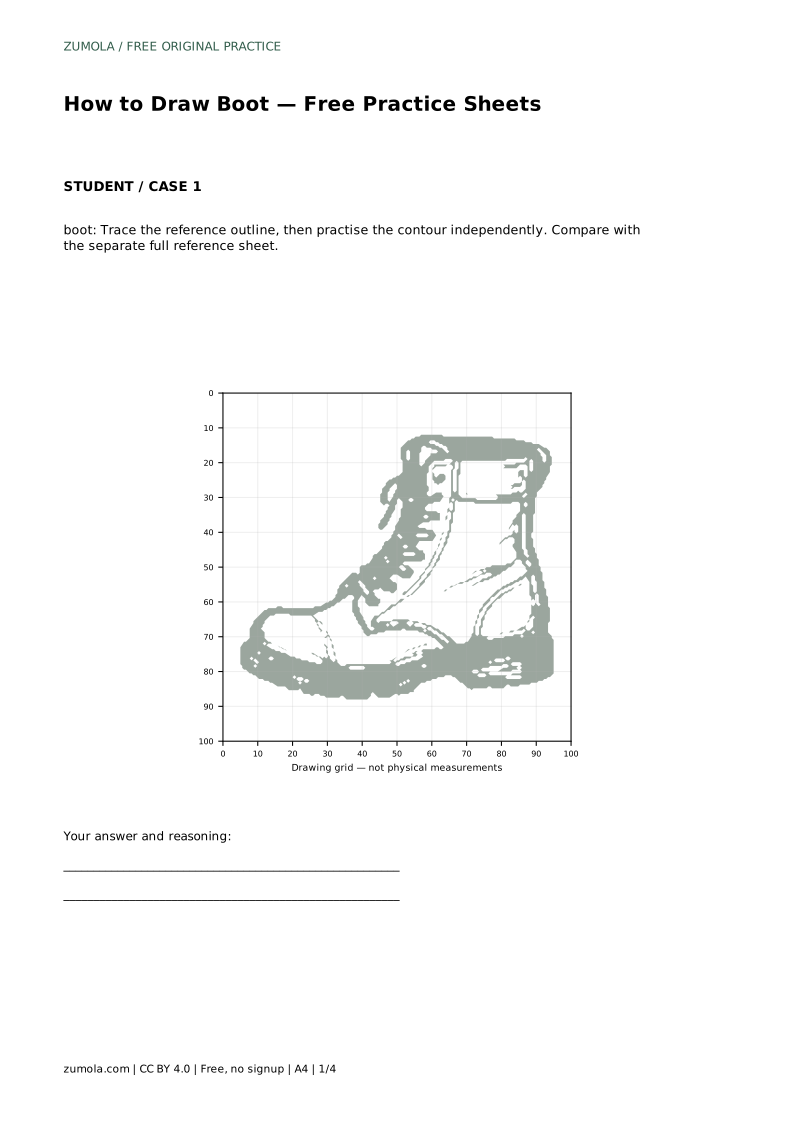
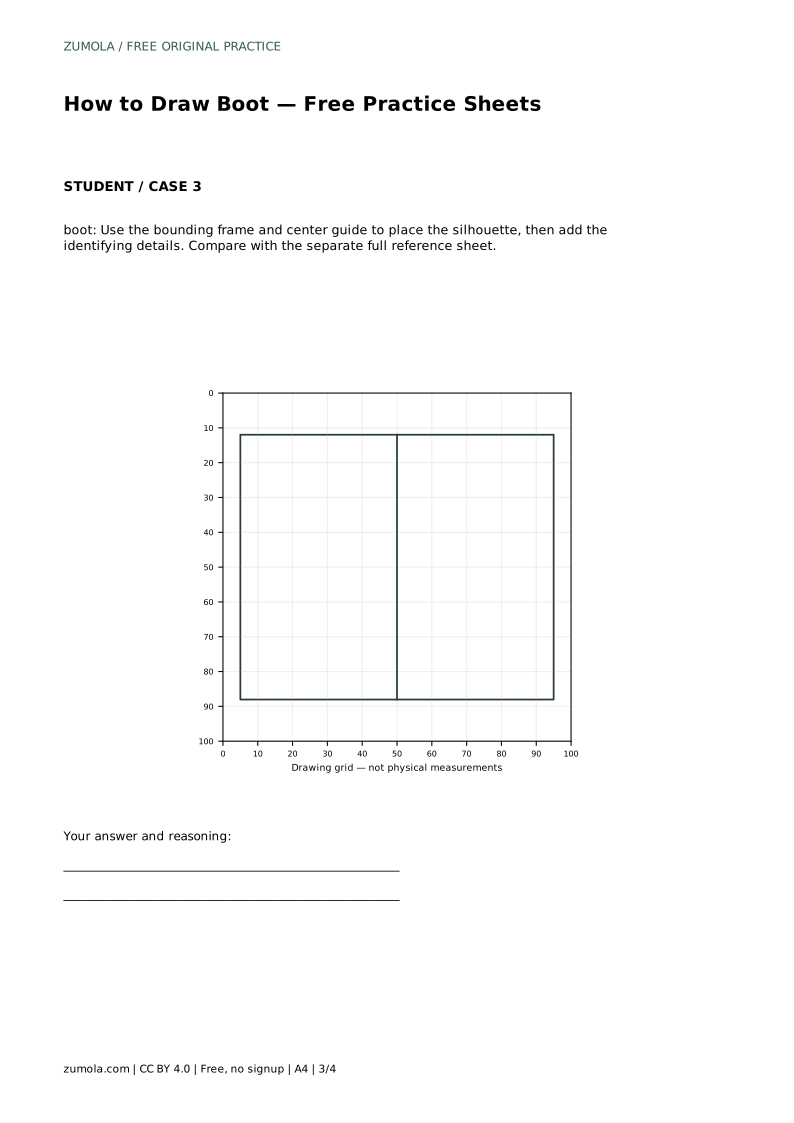
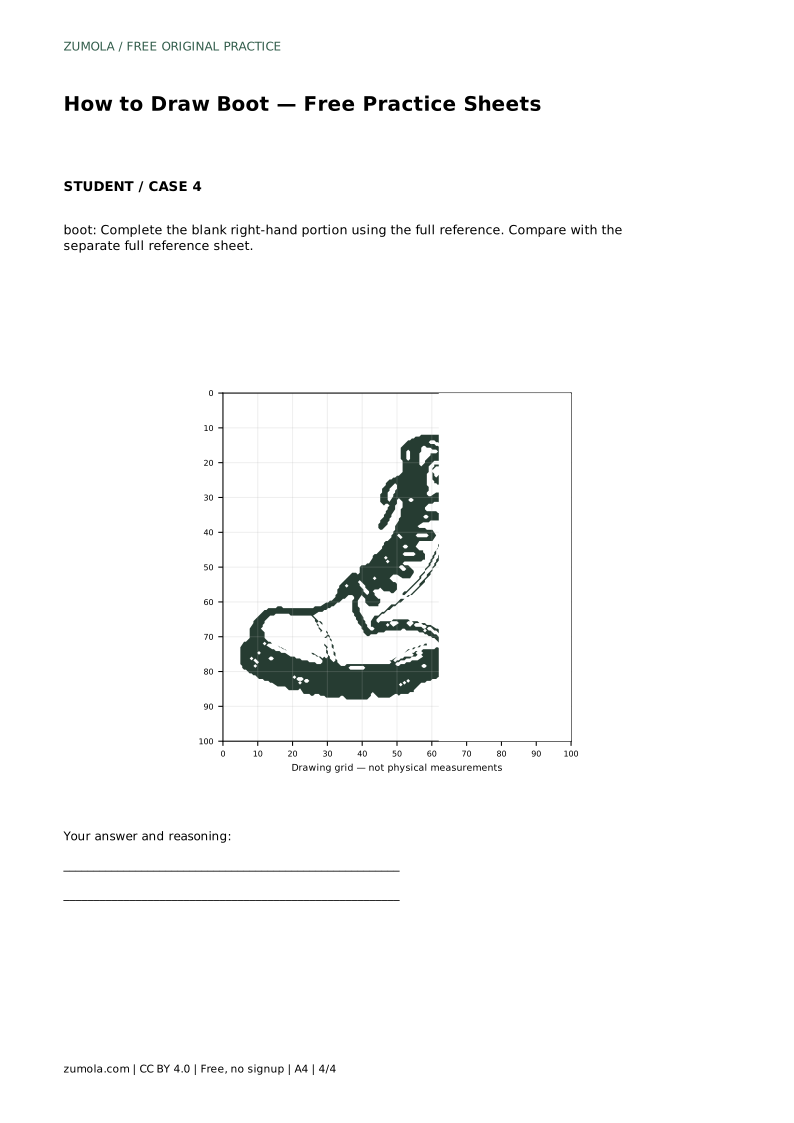
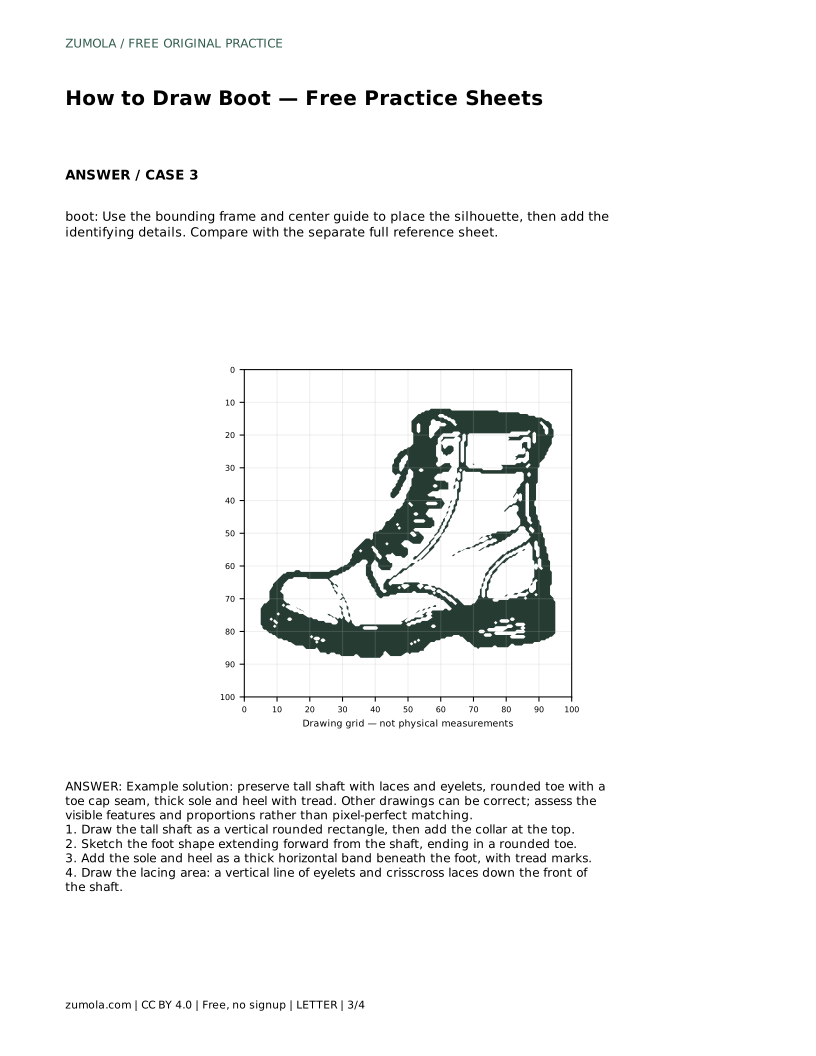
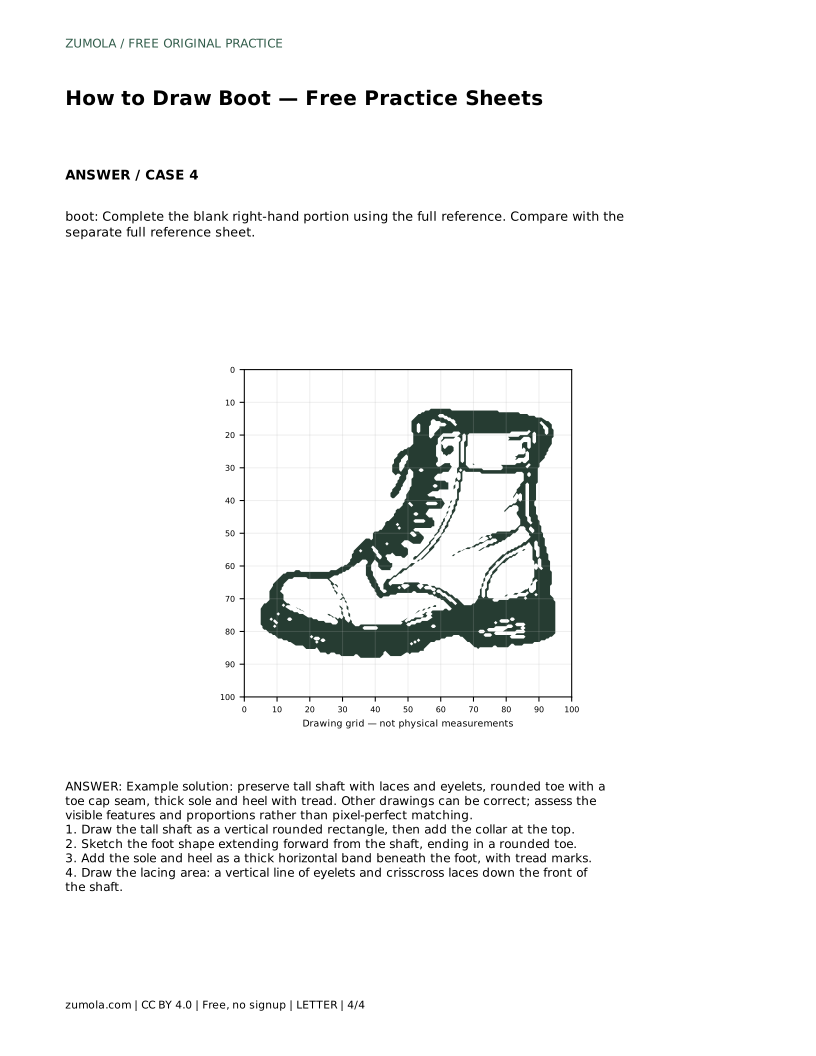
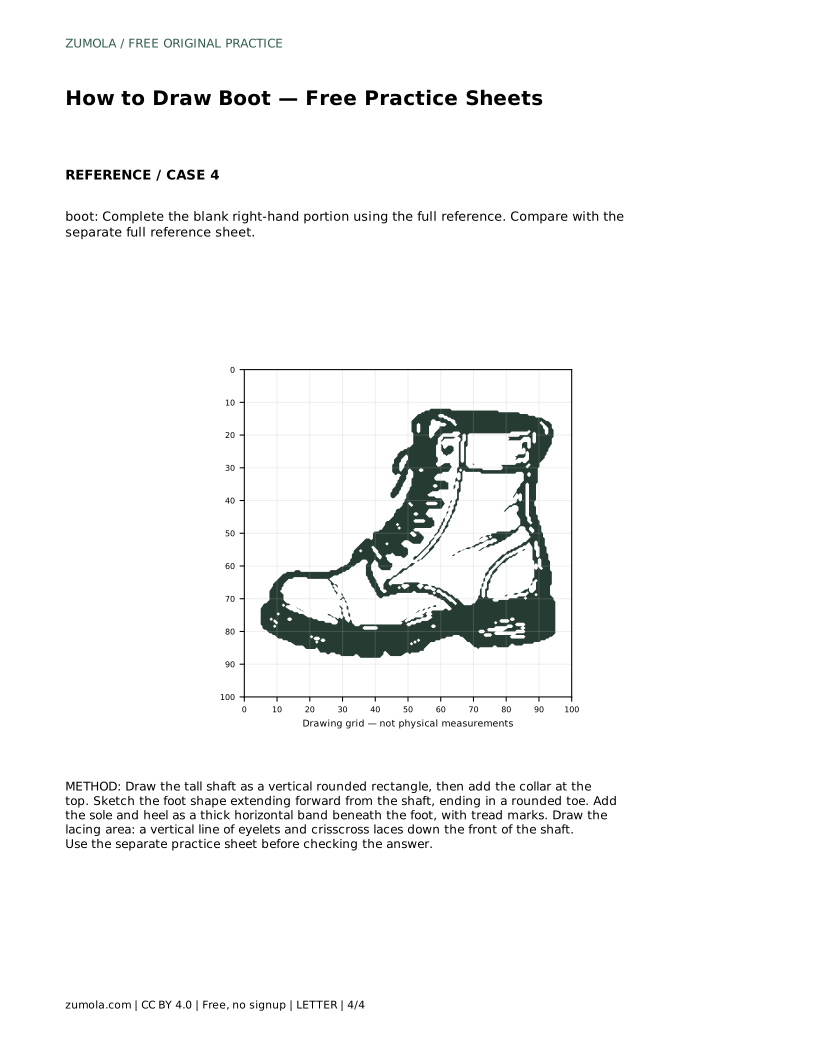
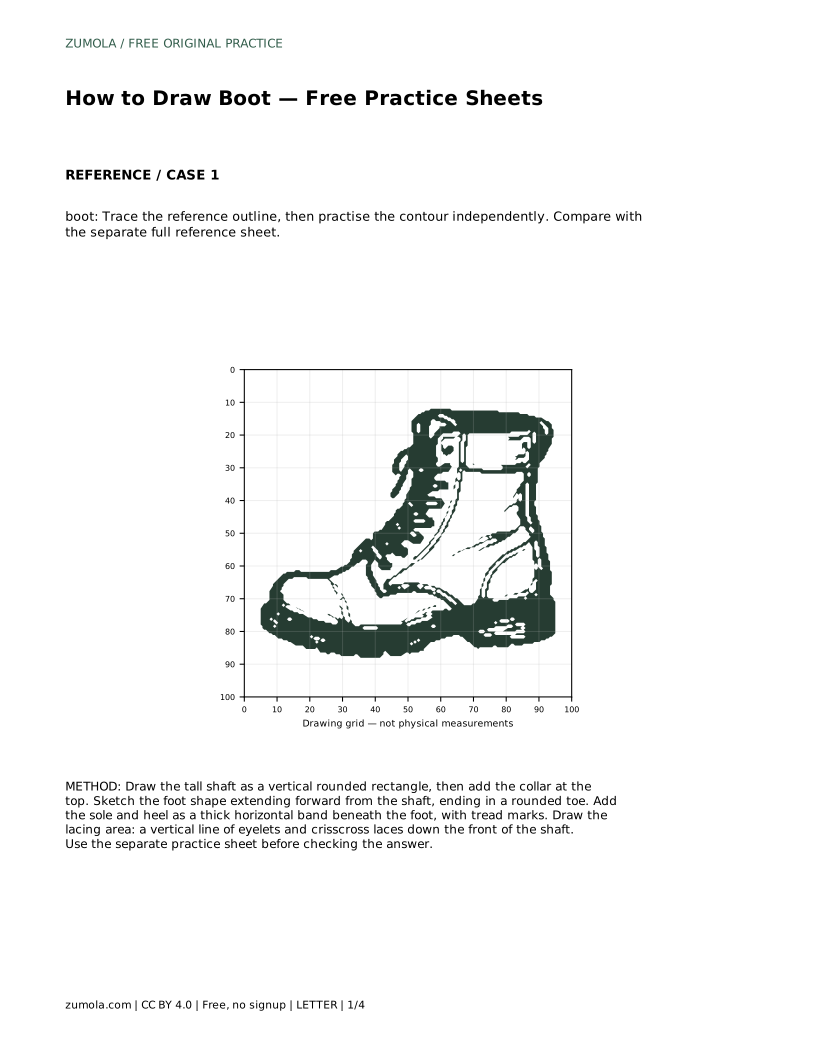
Tracing builds familiarity with the contour, but it can become passive. After tracing the reference outline, cover it and redraw the contour from memory, then compare with the separate full reference sheet. The grid version asks you to match intersections, which trains placement and scale. The bounding frame and center guide version helps you position the silhouette before adding identifying details. The partial-reference version asks you to complete the blank right-hand portion using the full reference.
Each sheet targets a slightly different skill, so choose one purpose per session. Do not rush to laces and tread before the shaft, foot, and sole are placed. A clean silhouette with modest detail reads better than busy detail on a distorted shape.
A convincing boot preserves a tall shaft, a rounded toe with a toe cap seam, a thick sole and heel with tread, and a lacing area with eyelets and crisscross laces. Proportions matter: the shaft should be clearly taller than the foot is long in a typical tall boot, and the sole should look substantial rather than paper-thin. Compare your drawing with the reference at arm's length to spot mismatches.
Art has multiple valid outcomes. A drawing can differ from the reference and still be correct if the visible features and proportions hold together. Assess structure and feature placement rather than pixel-perfect matching.
Most boot drawings fail at the joints: where the shaft meets the foot, where the foot meets the sole, and where the lacing sits. Strengthen those transitions and the rest becomes easier. Keep your pencil light until the silhouette is settled, then darken the final lines.
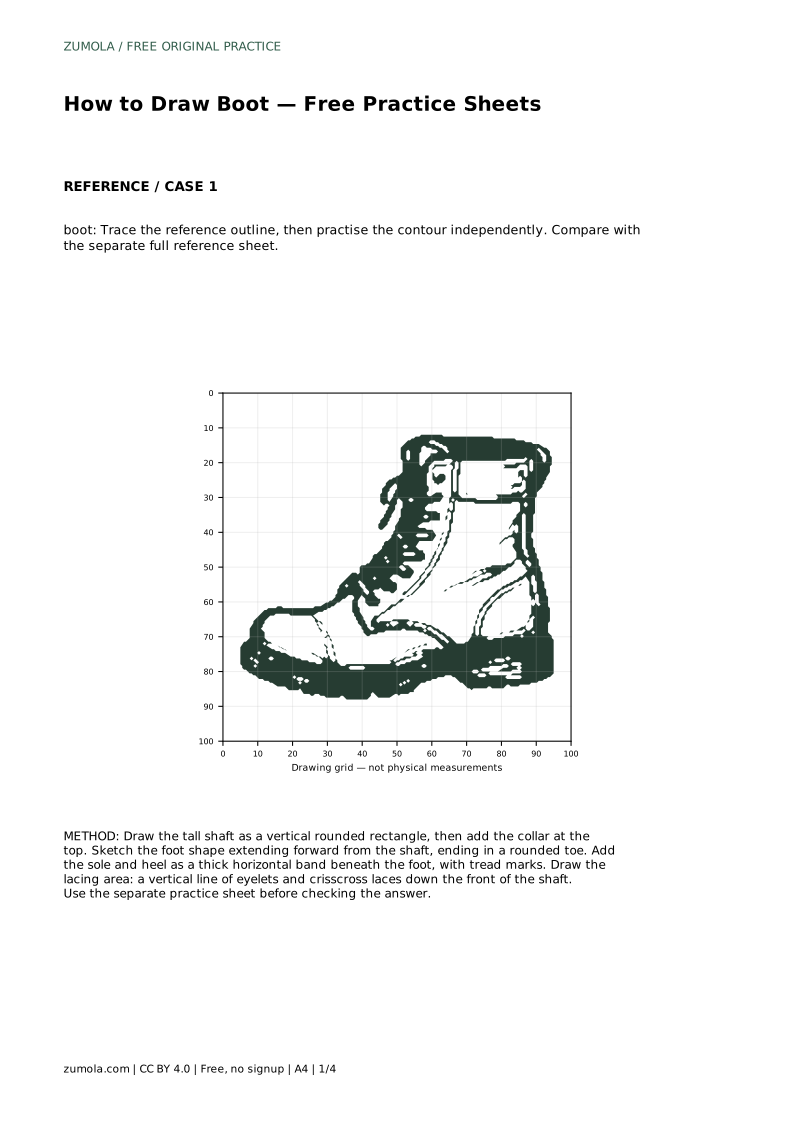
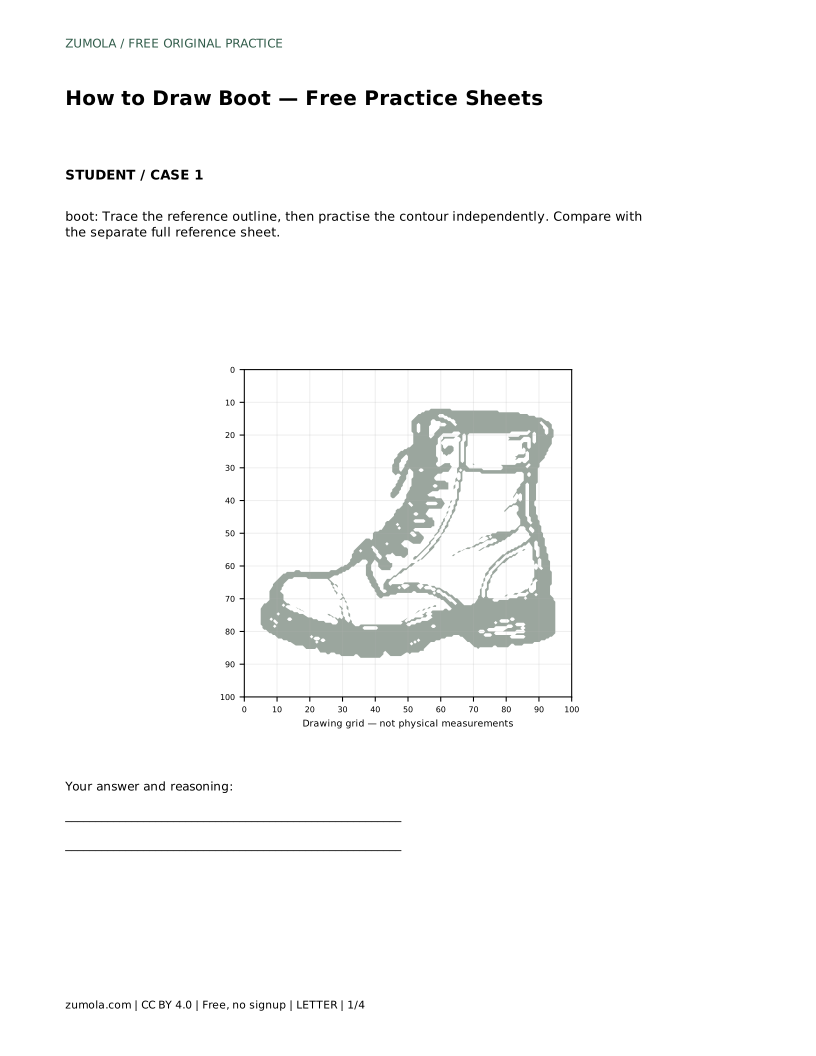
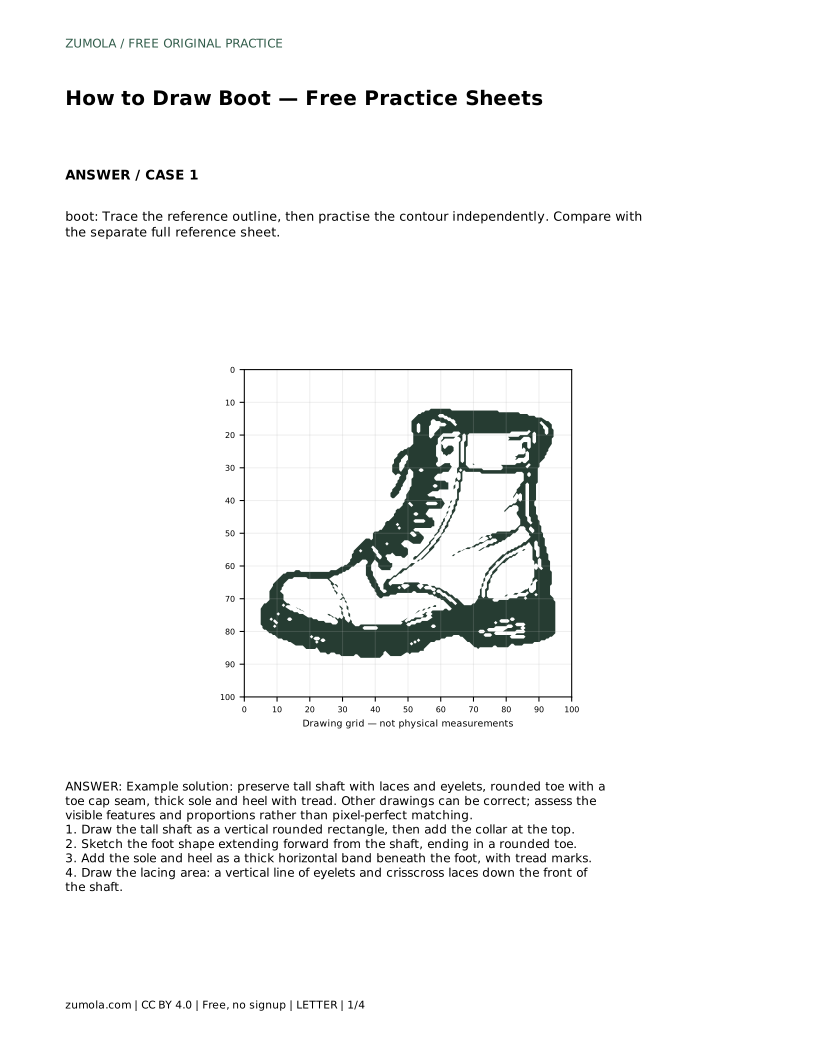
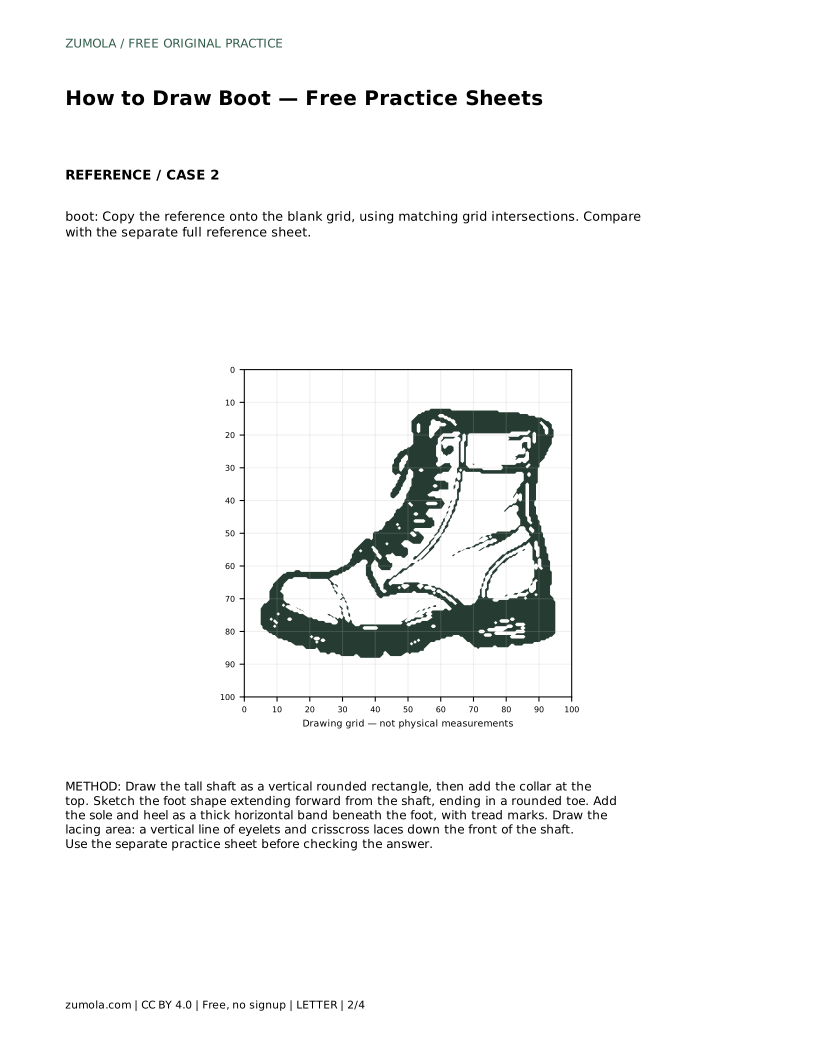
boot: Trace the reference outline, then practise the contour independently. Compare with the separate full reference sheet.
Example solution: preserve tall shaft with laces and eyelets, rounded toe with a toe cap seam, thick sole and heel with tread. Other drawings can be correct; assess the visible features and proportions rather than pixel-perfect matching. Draw the tall shaft as a vertical rounded rectangle, then add the collar at the top. Sketch the foot shape extending forward from the shaft, ending in a rounded toe. Add the sole and heel as a thick horizontal band beneath the foot, with tread marks. Draw the lacing area: a vertical line of eyelets and crisscross laces down the front of the shaft.
No. Other drawings can be correct. Assess the visible features and proportions rather than pixel-perfect matching.
Shaft, then foot and rounded toe, then sole and heel with tread, then the lacing area with eyelets and crisscross laces.
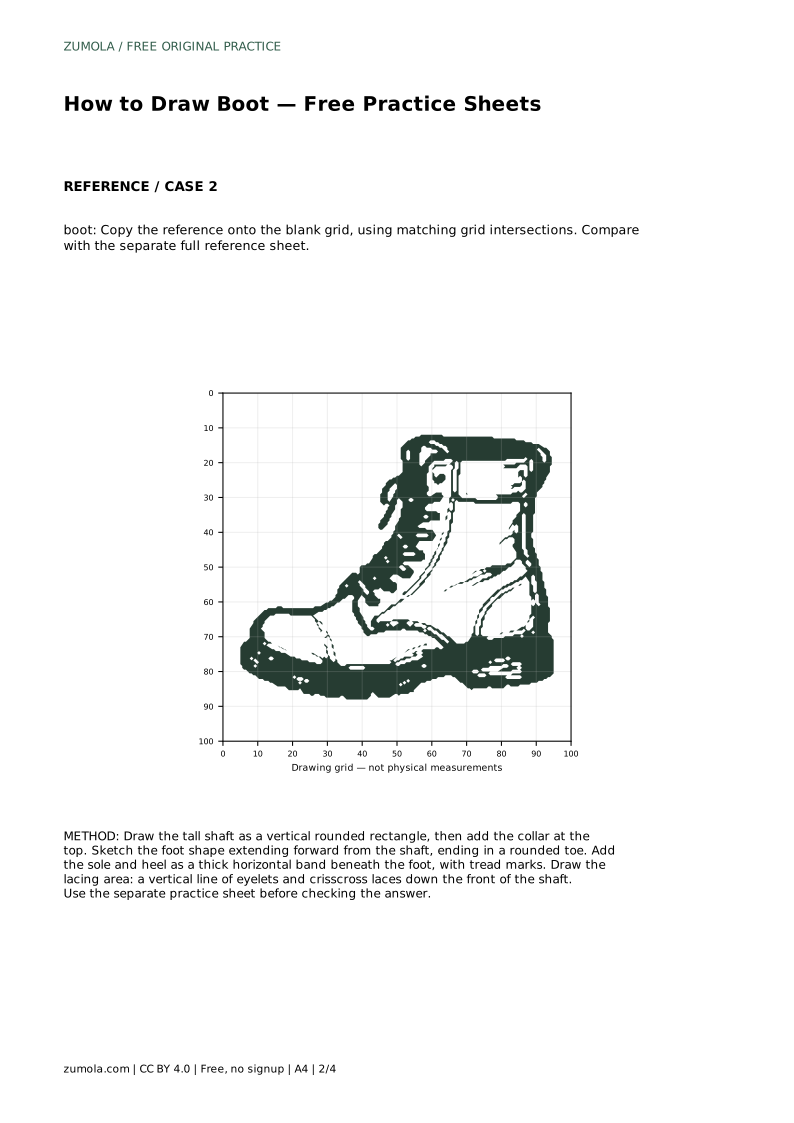
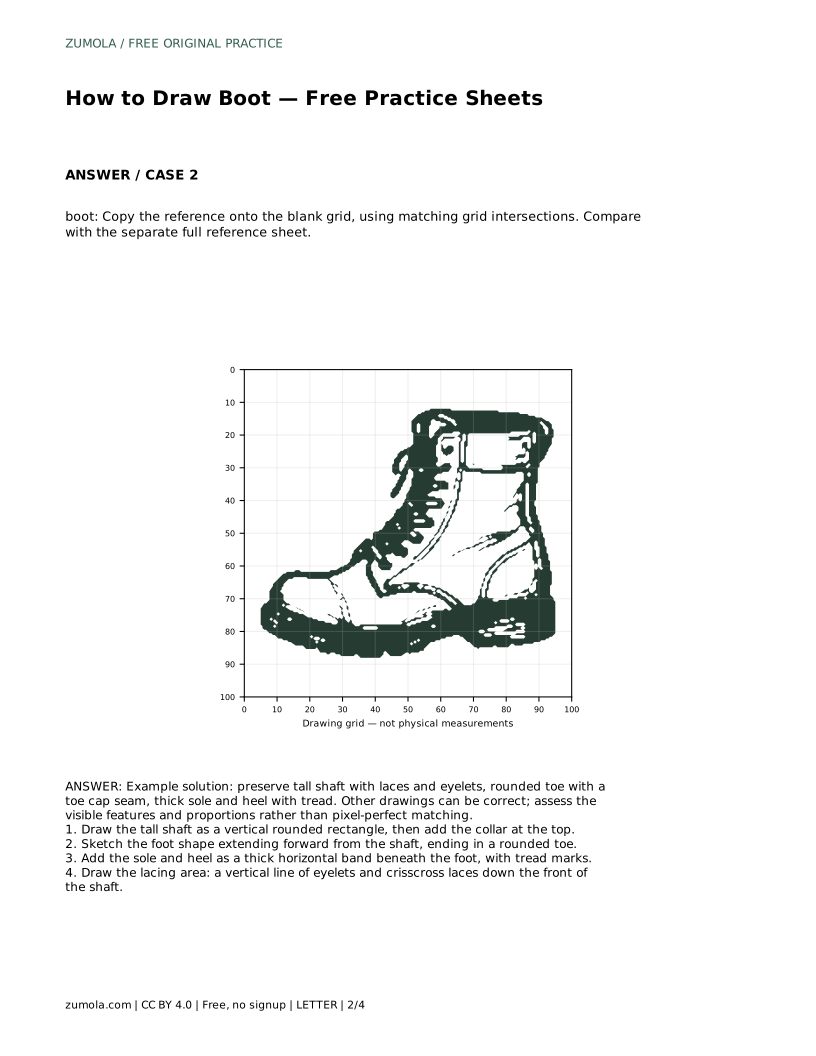
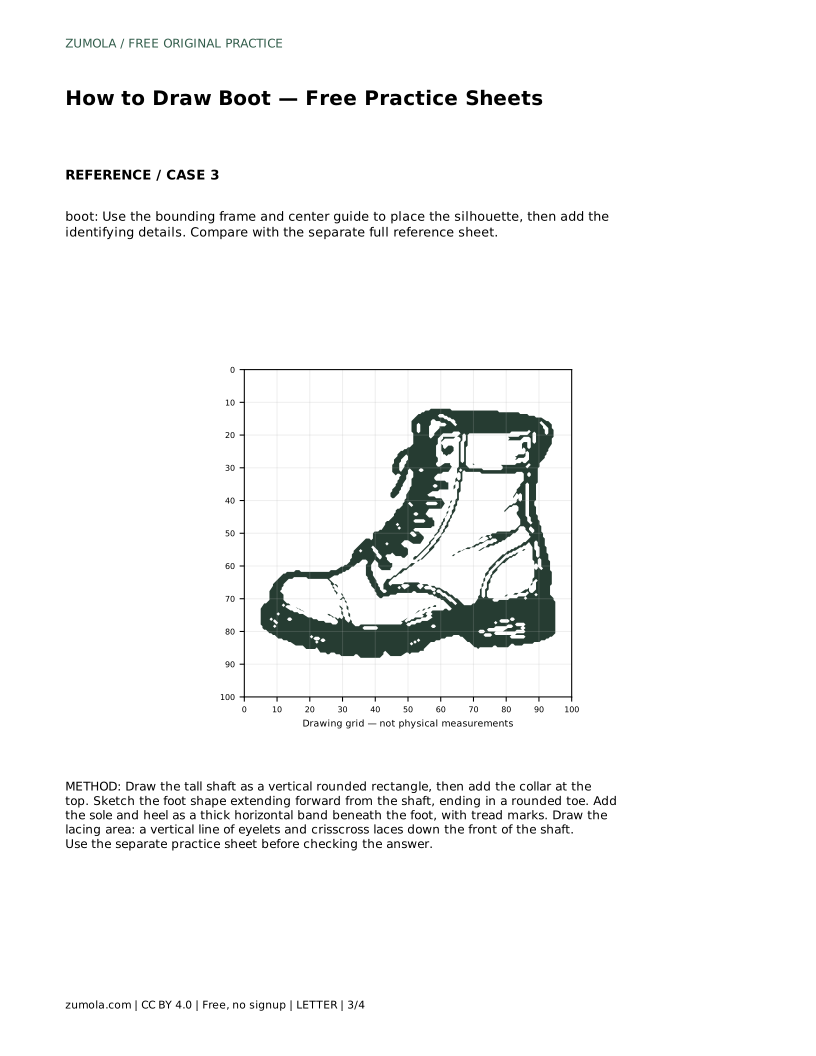
Match key points to grid intersections before connecting them, so placement and scale stay consistent with the reference.
All drawing practice · Free coordinate paper
Original resources · CC BY 4.0 · Free for personal and classroom use with attribution.