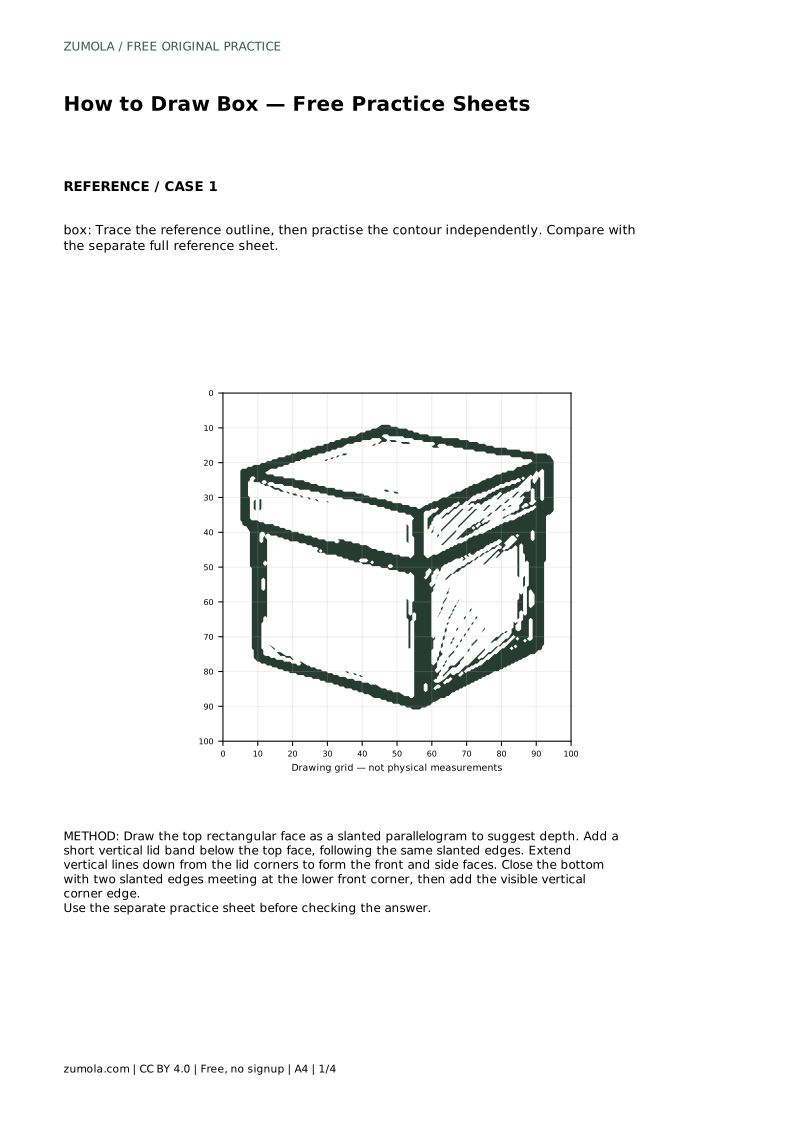
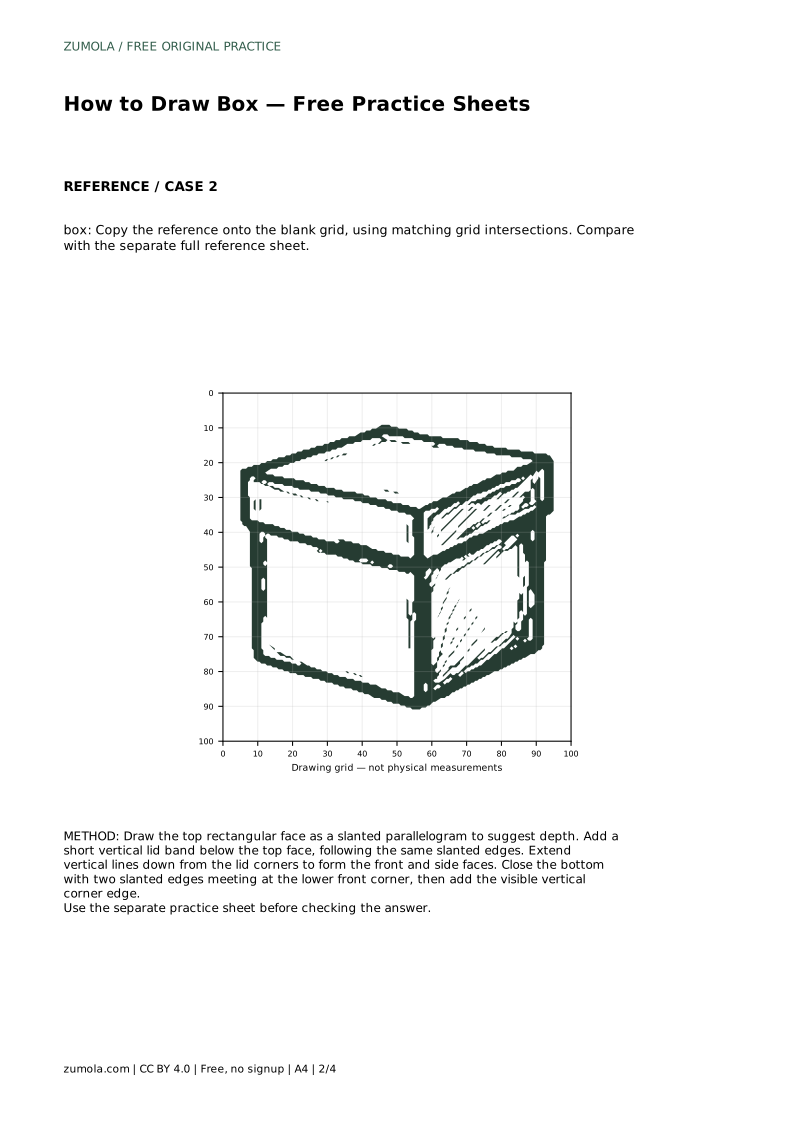
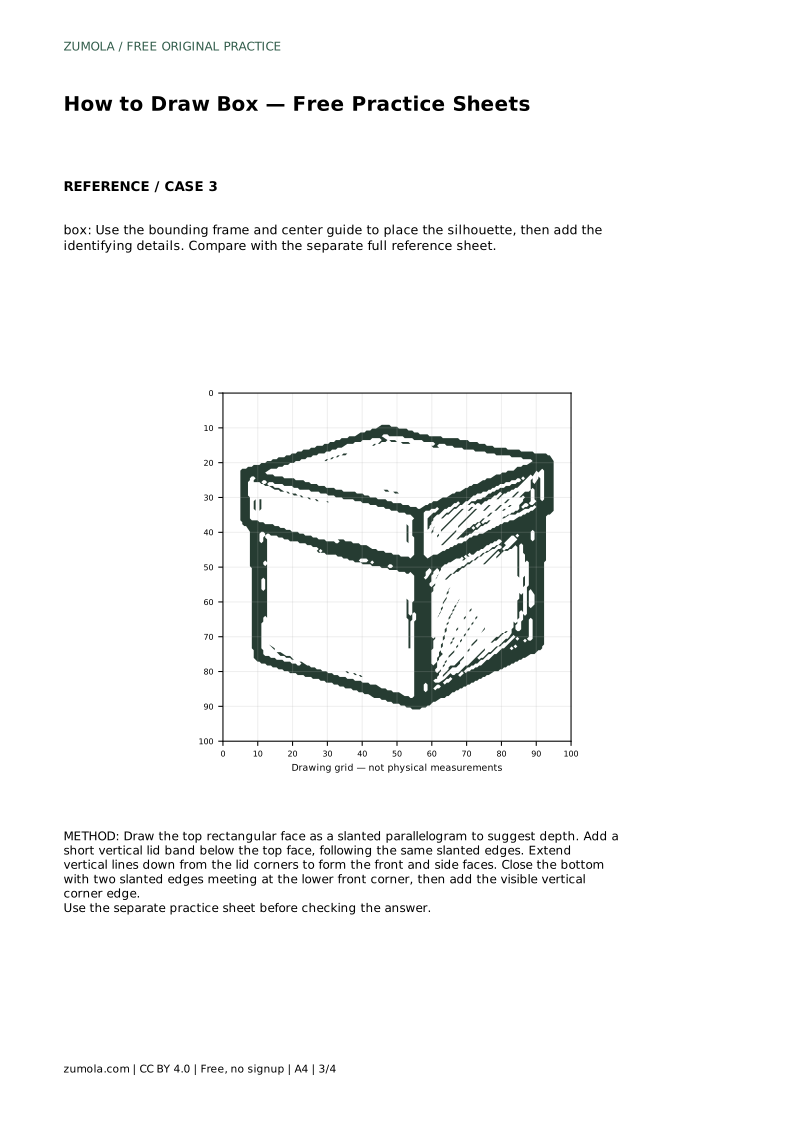
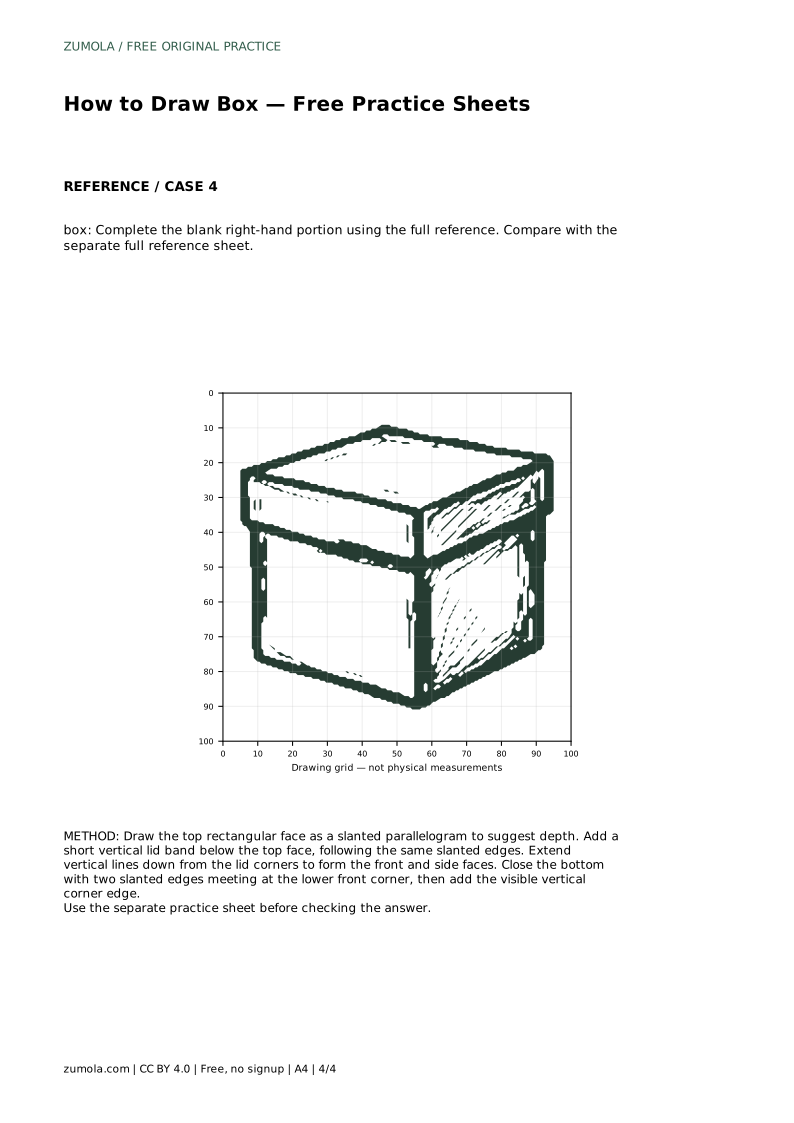
Reference diagrams
LETTER · Download PDF
A4 · Download PDF
Free original resources
Learn to draw a simple box with a slanted top face, lid band, and vertical corner edges. Free printable practice sheets support tracing, grids, and guided copying.
Four original cases, with reference diagrams, practice sheets and worked answers. Everything is free; no signup required.
LETTER · Download PDF
A4 · Download PDF
LETTER · Download PDF
A4 · Download PDF
LETTER · Download PDF
A4 · Download PDF
Use A4 or US Letter to match your printer. Use the stated values and conditions to solve each exercise; diagrams are not physical measuring rulers.
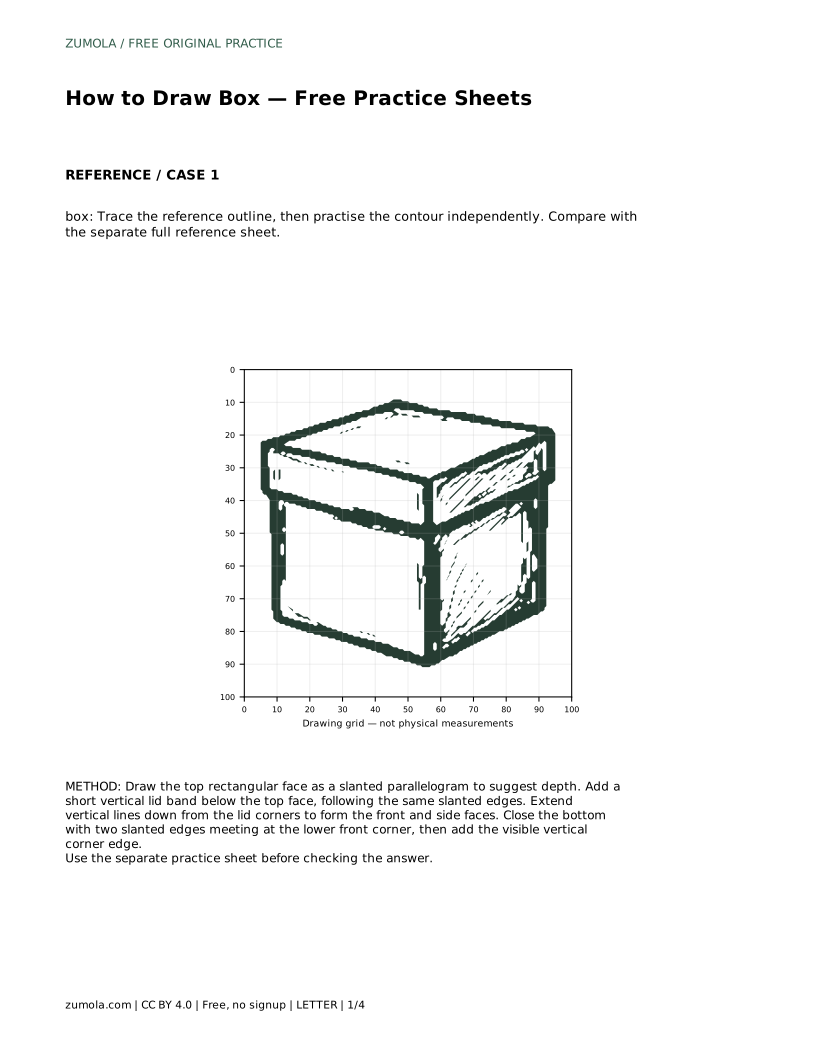
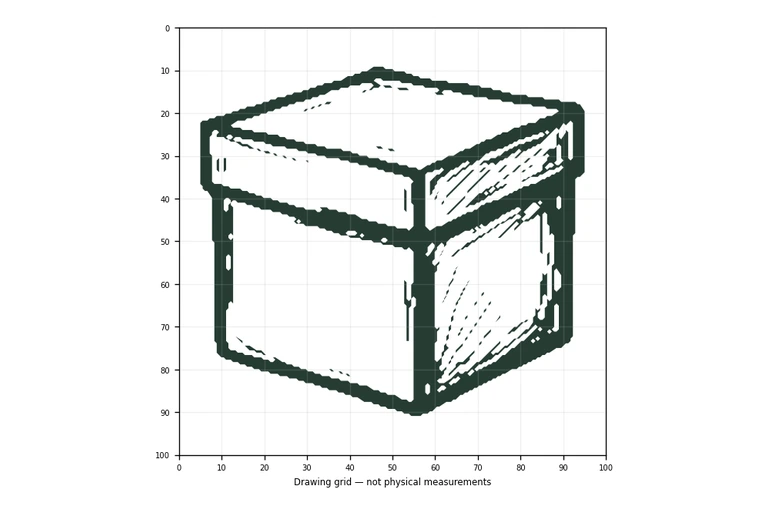
Drawing a box is a good first lesson in showing depth on flat paper. The trick is not to draw a square and call it done; you need a top face that slants back, a short lid band, and vertical edges that meet at a visible corner. This guide explains the order of construction and how to use the practice sheets to build the same shape with growing independence.
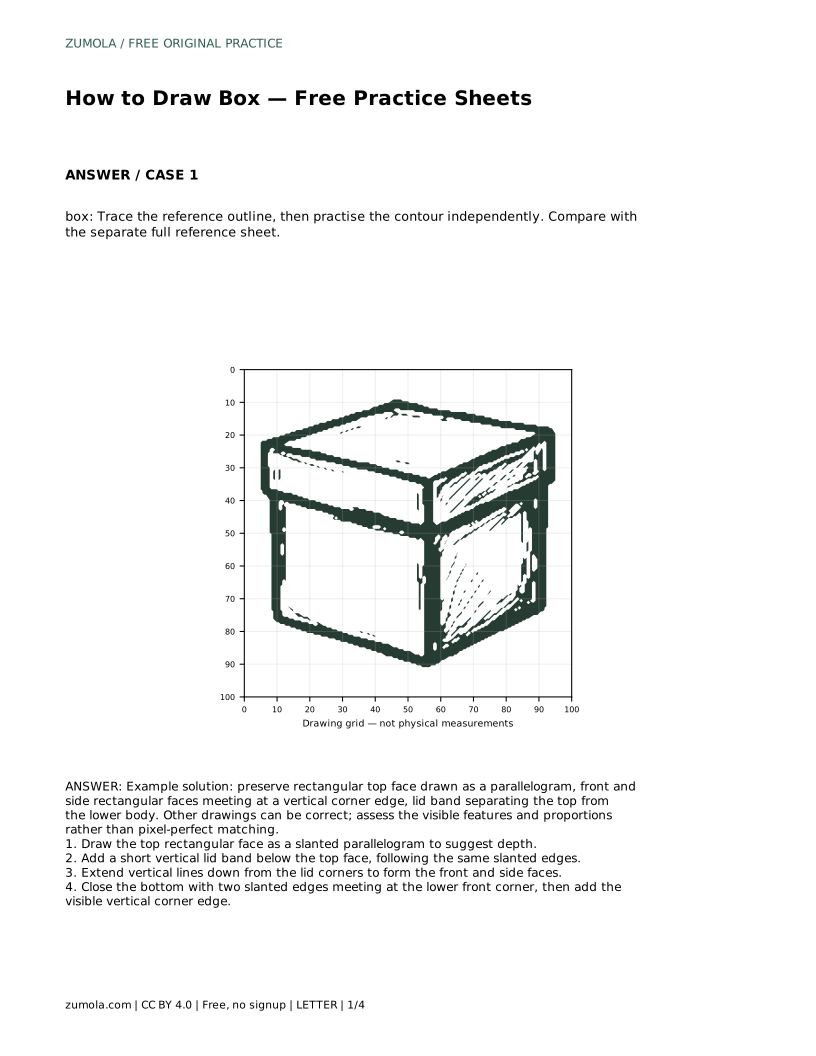
A box seen from slightly above shows three visible faces: the top, the front, and one side. Begin with the top face because it sets the direction of depth. Draw it as a parallelogram, a four-sided shape with opposite sides parallel, rather than a flat square. The two side edges slant back at the same angle, and the front and back edges stay parallel to each other.
Keep the slant gentle at first. A steep slant makes the box look tall and narrow; a shallow slant makes it look wide and low. Either can be correct, but the two slanted edges must match so the top reads as a rectangle in perspective.
The lid band is a narrow strip just below the top face. It separates the lid from the lower body and gives the box a believable proportion. Draw its lower edge parallel to the top face edges, then extend vertical lines downward from the lid corners. These verticals form the front and side faces.
The front face is a rectangle in the drawing, and the side face is a narrower rectangle. They meet at one vertical corner edge, which should run straight down from the nearest lid corner. Close the bottom with two slanted edges that meet at the lower front corner, matching the slant of the top face.
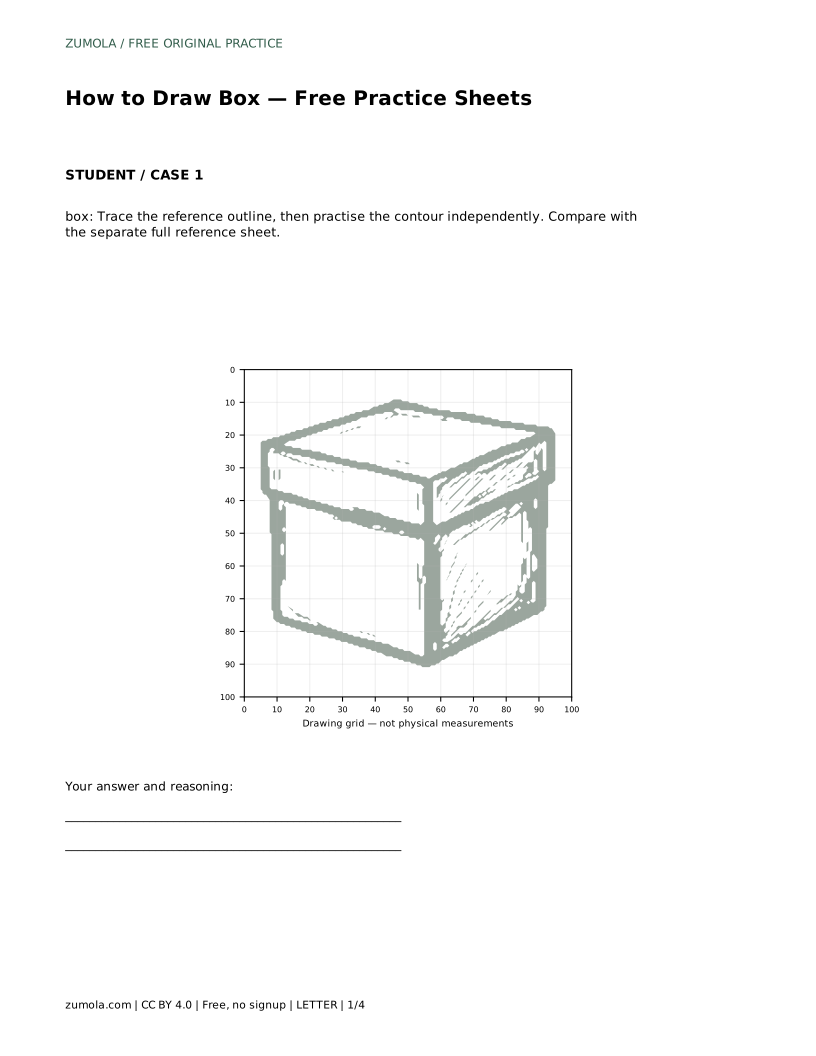
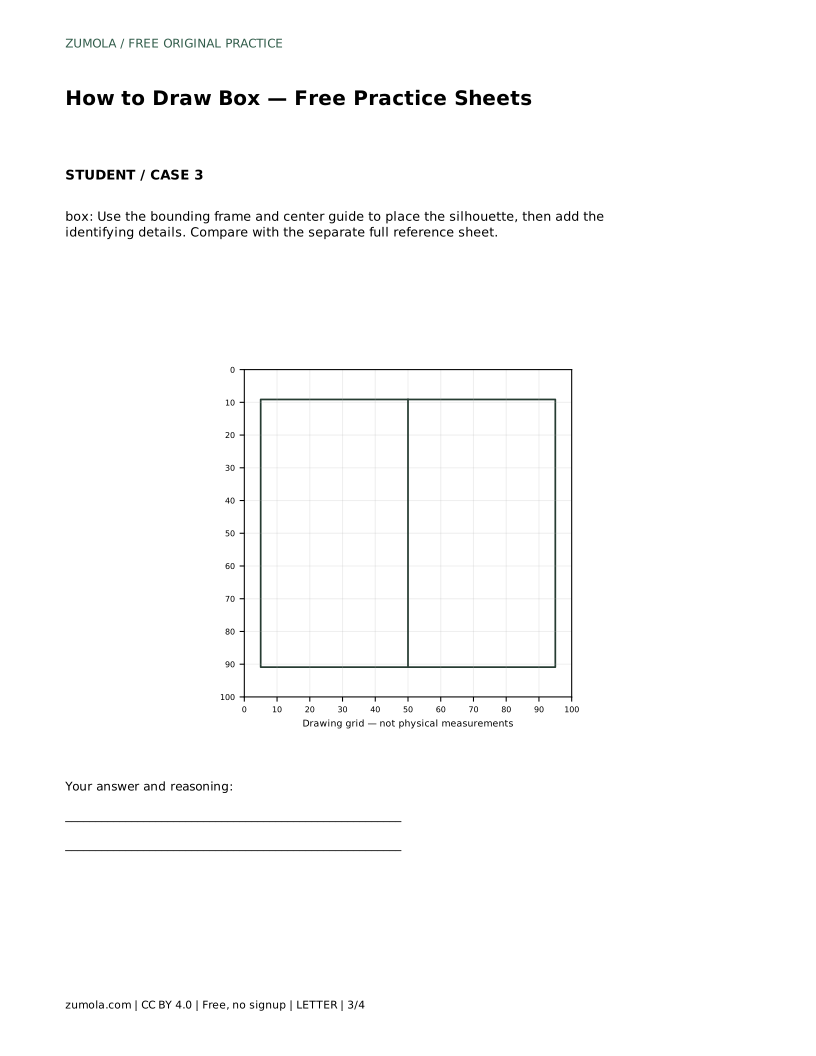
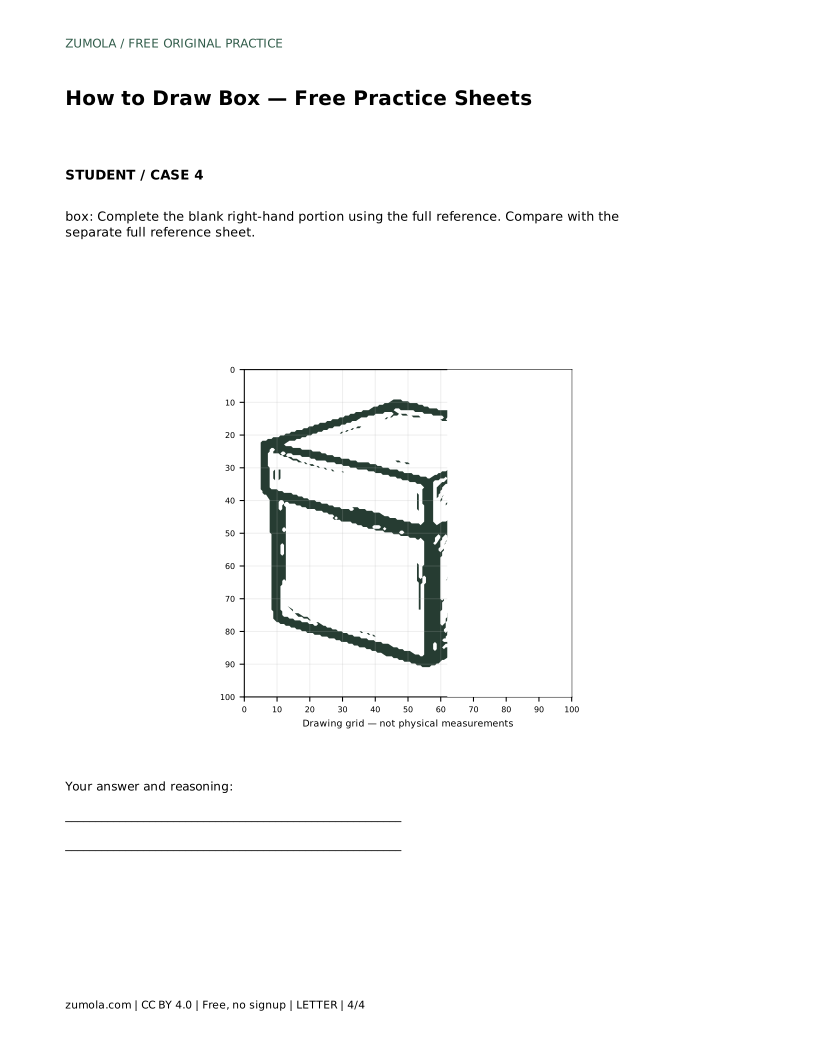
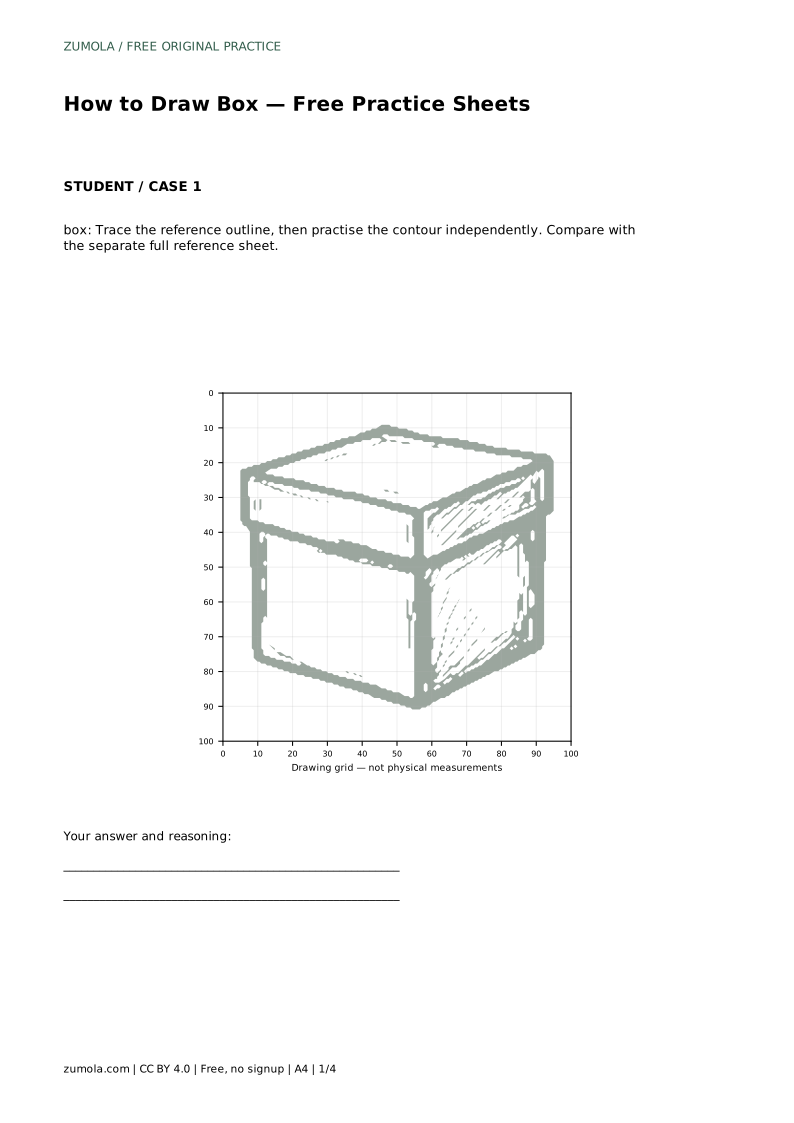
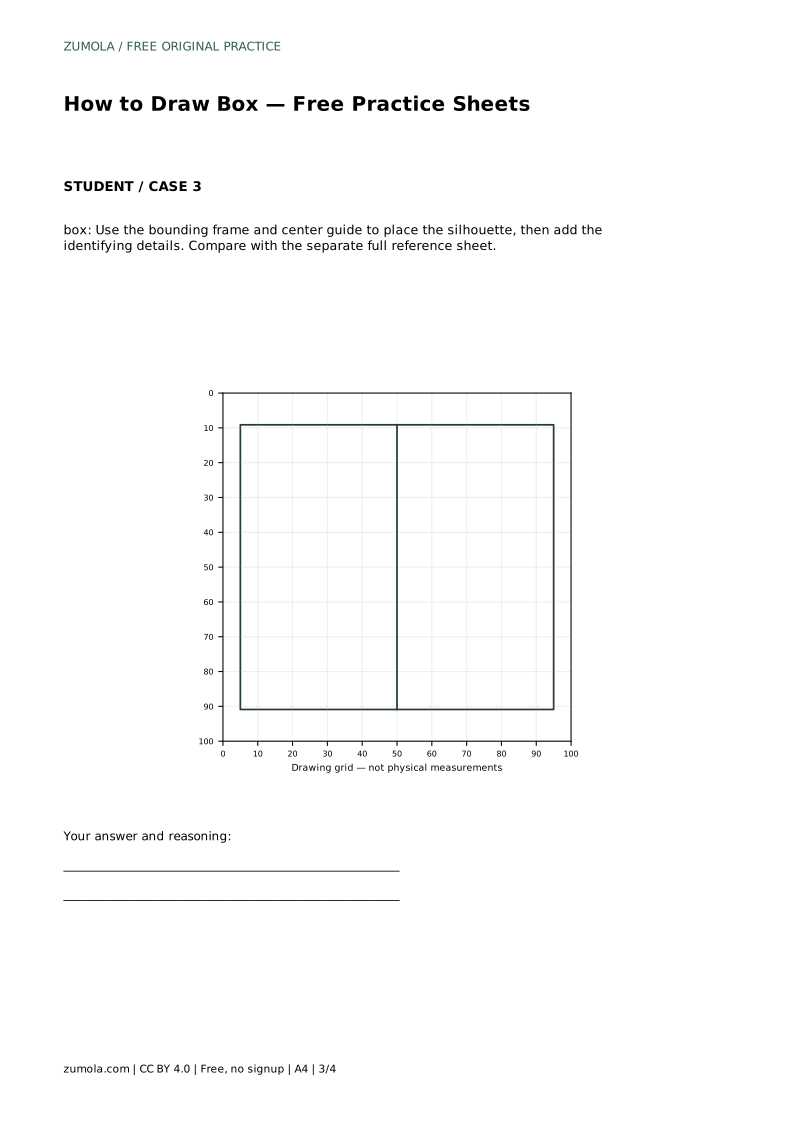
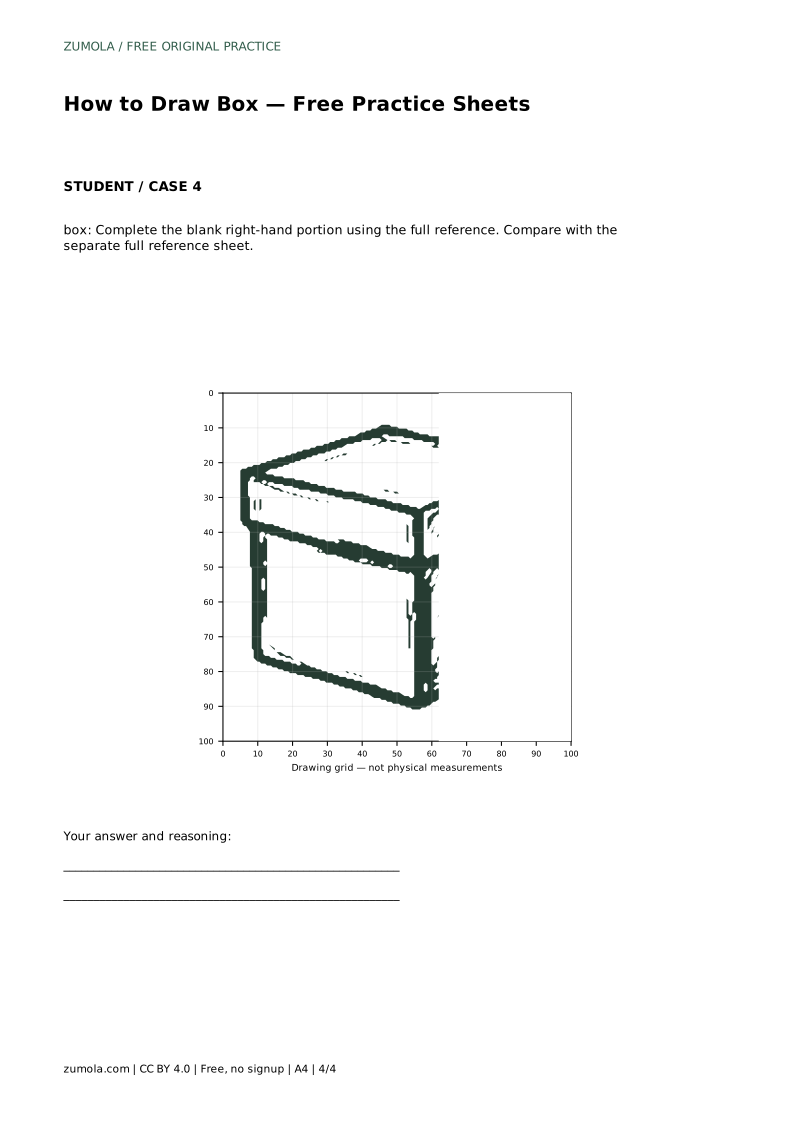
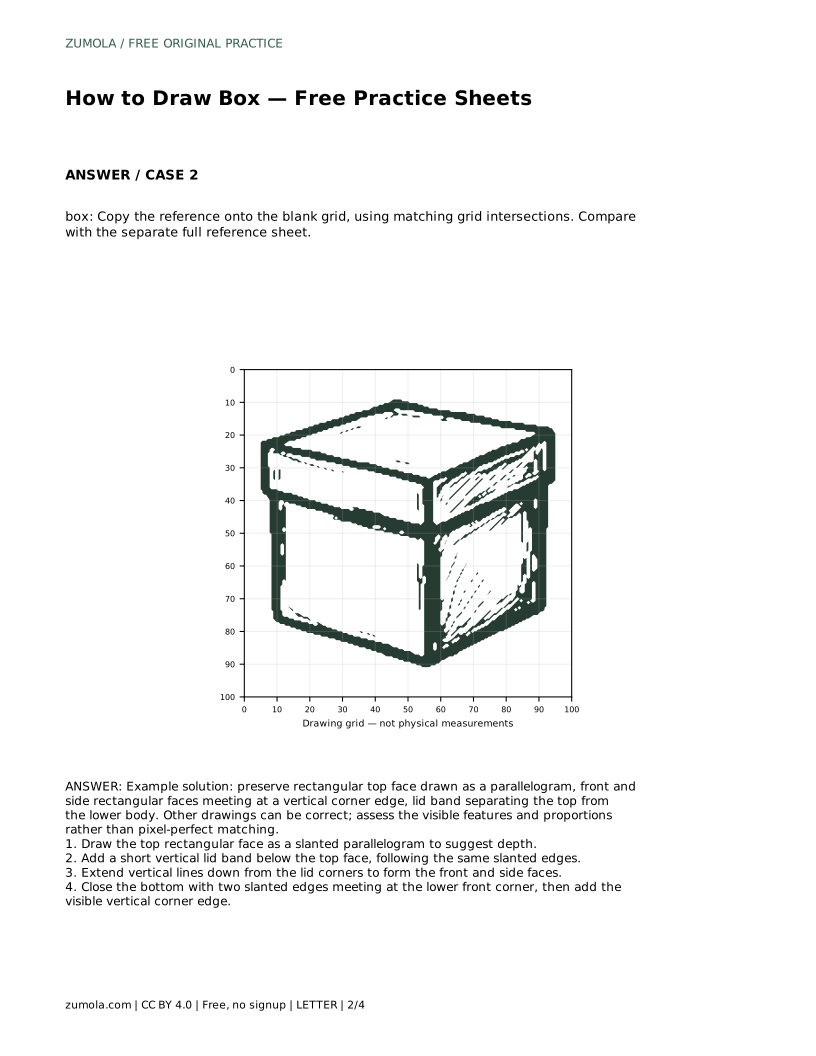
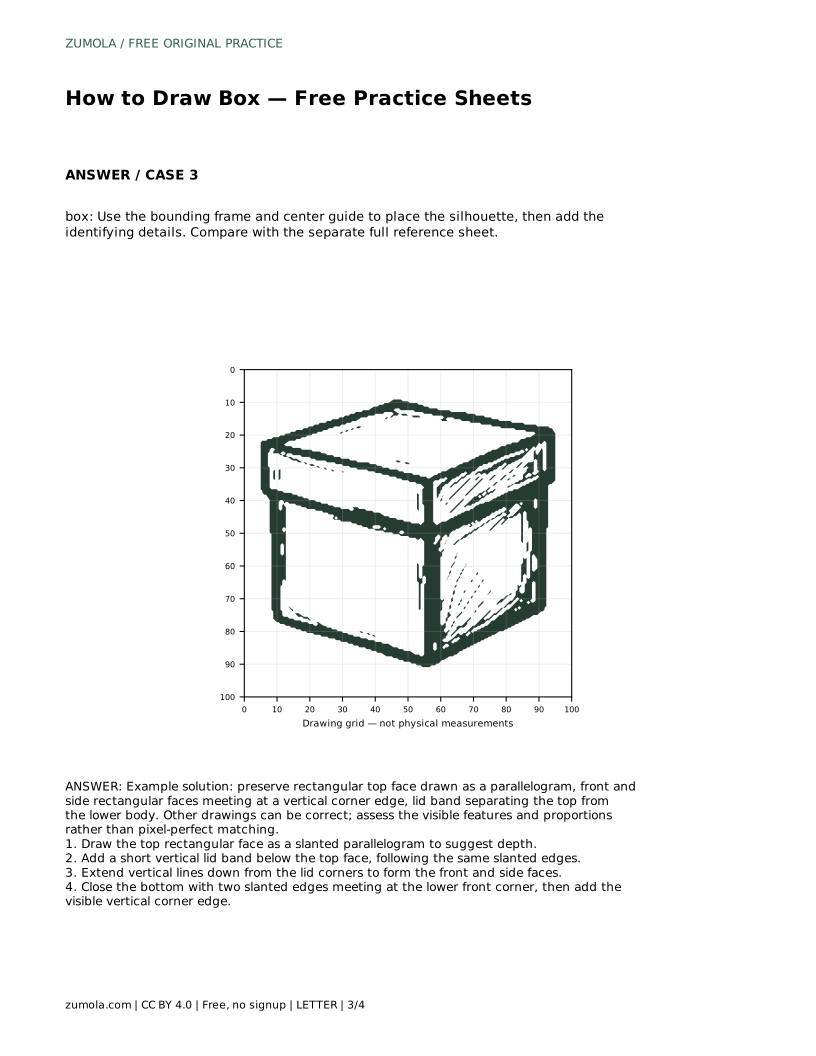
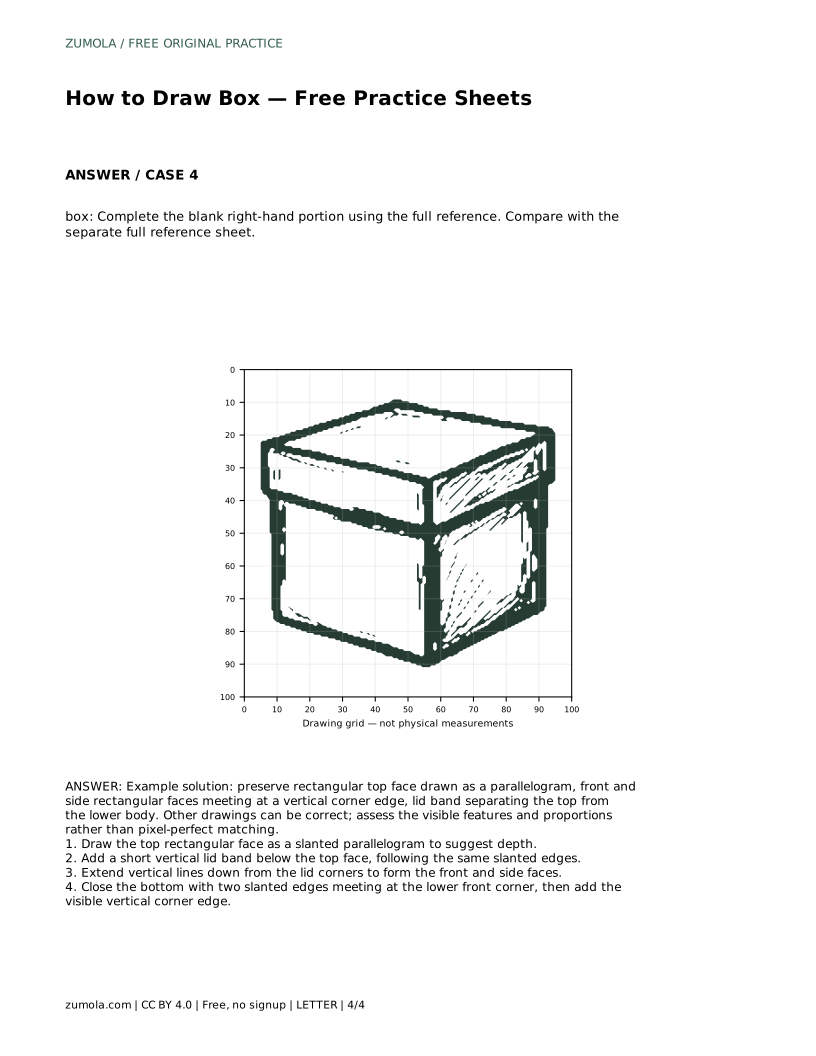
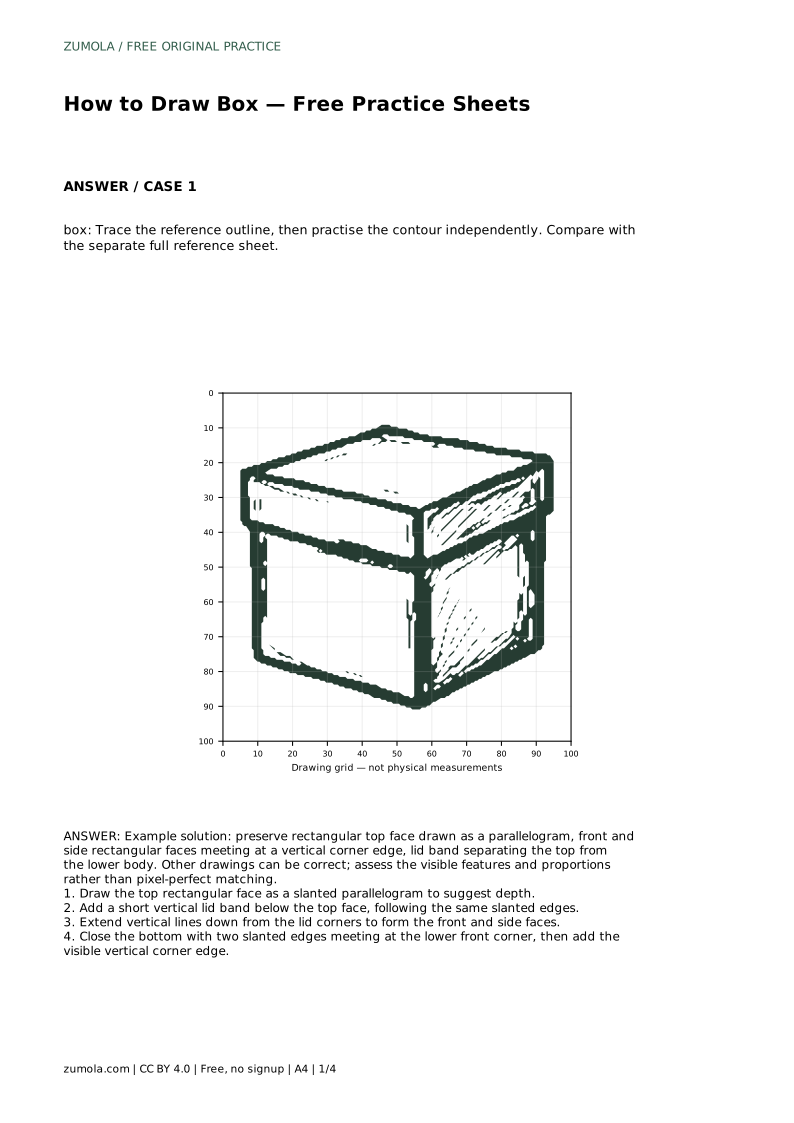
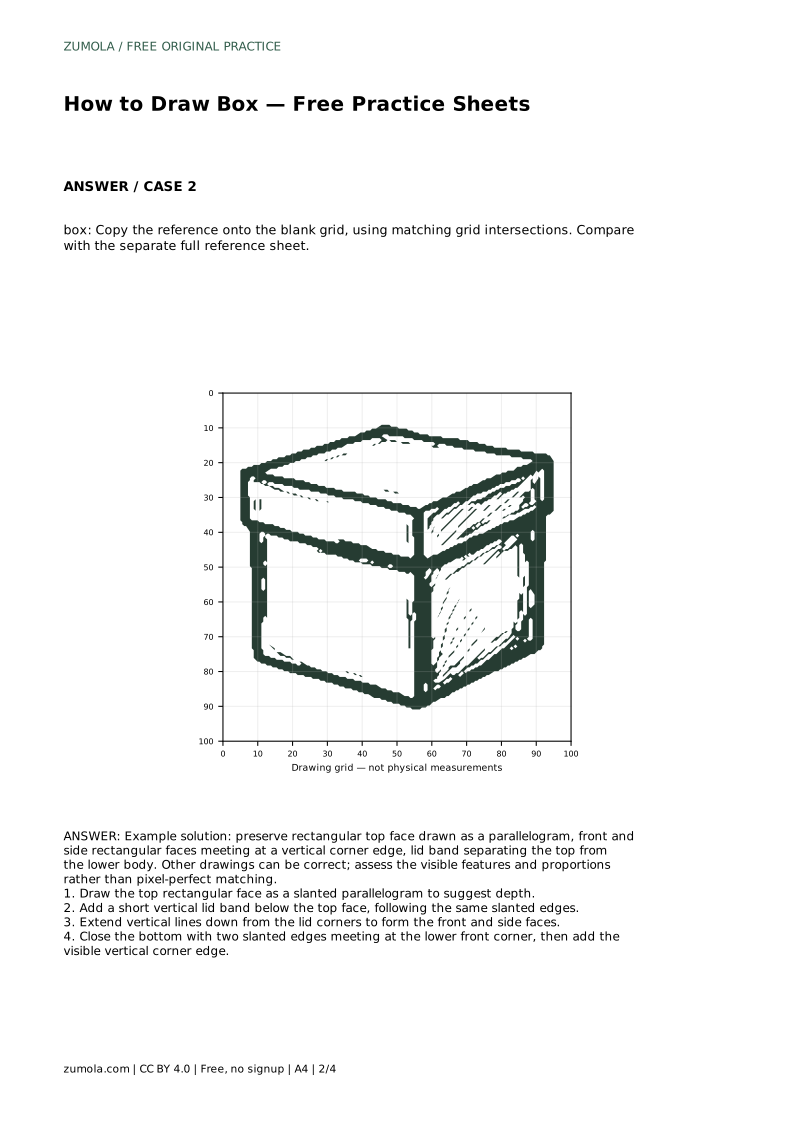
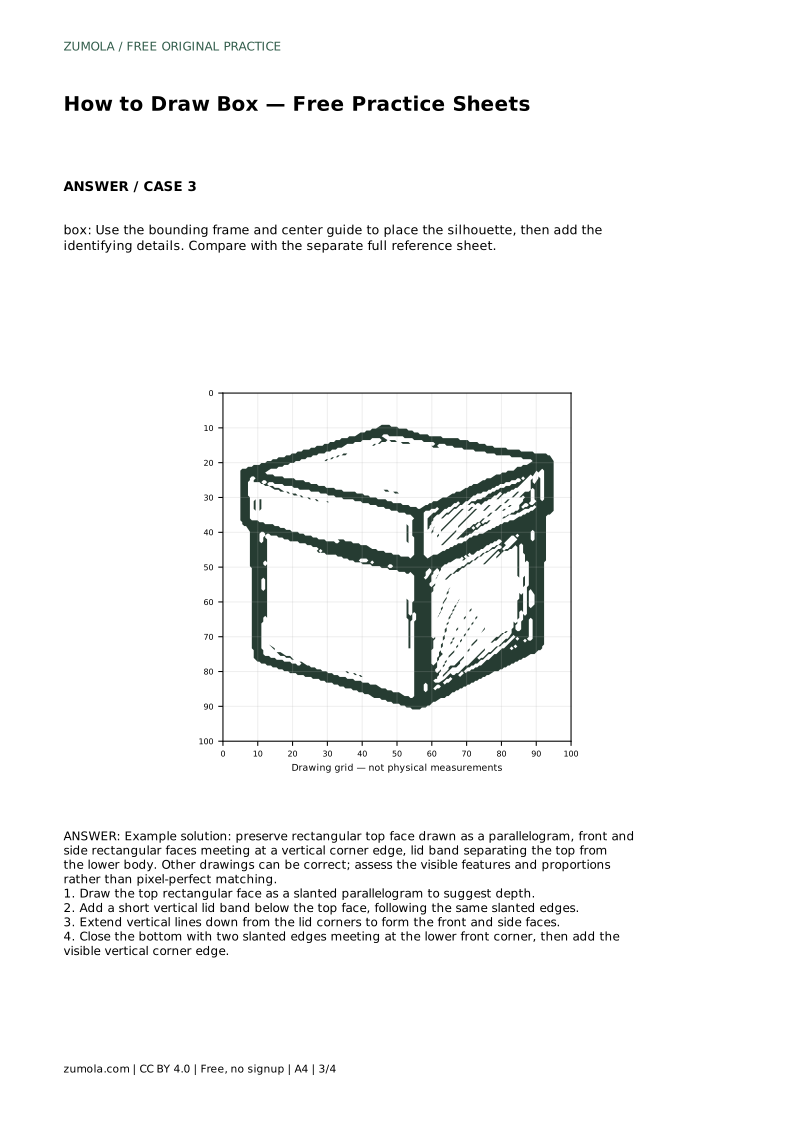
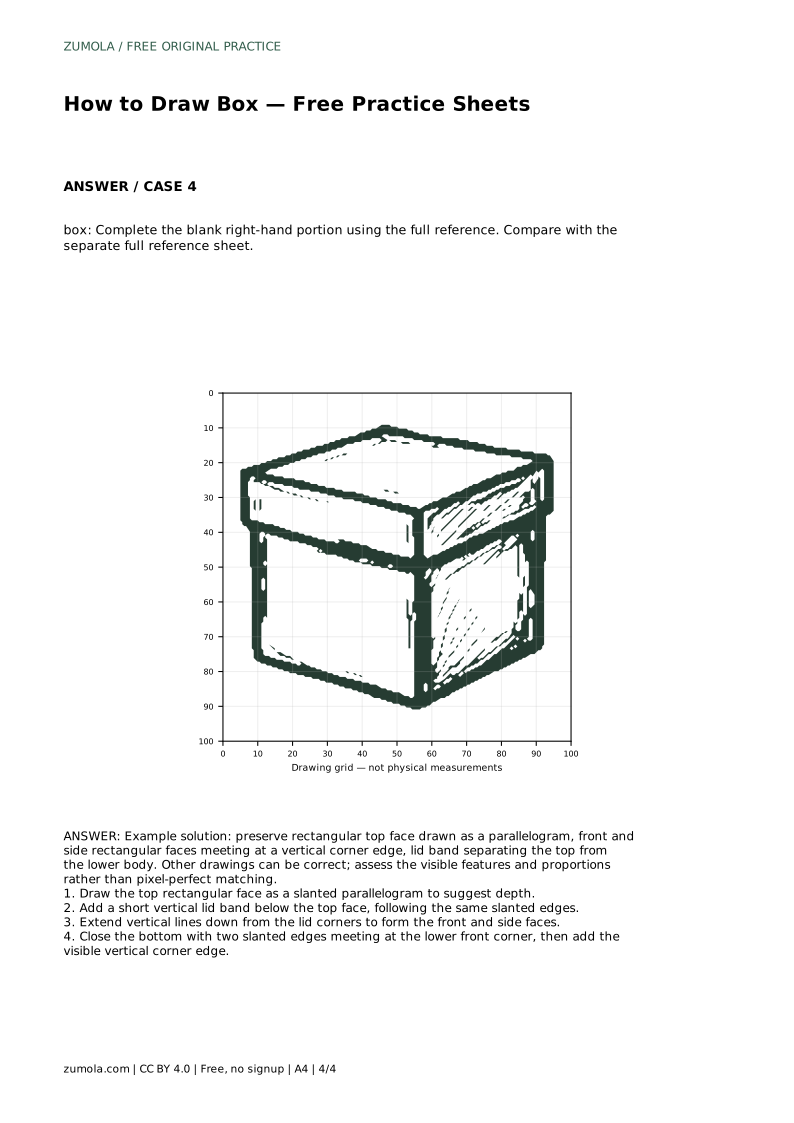
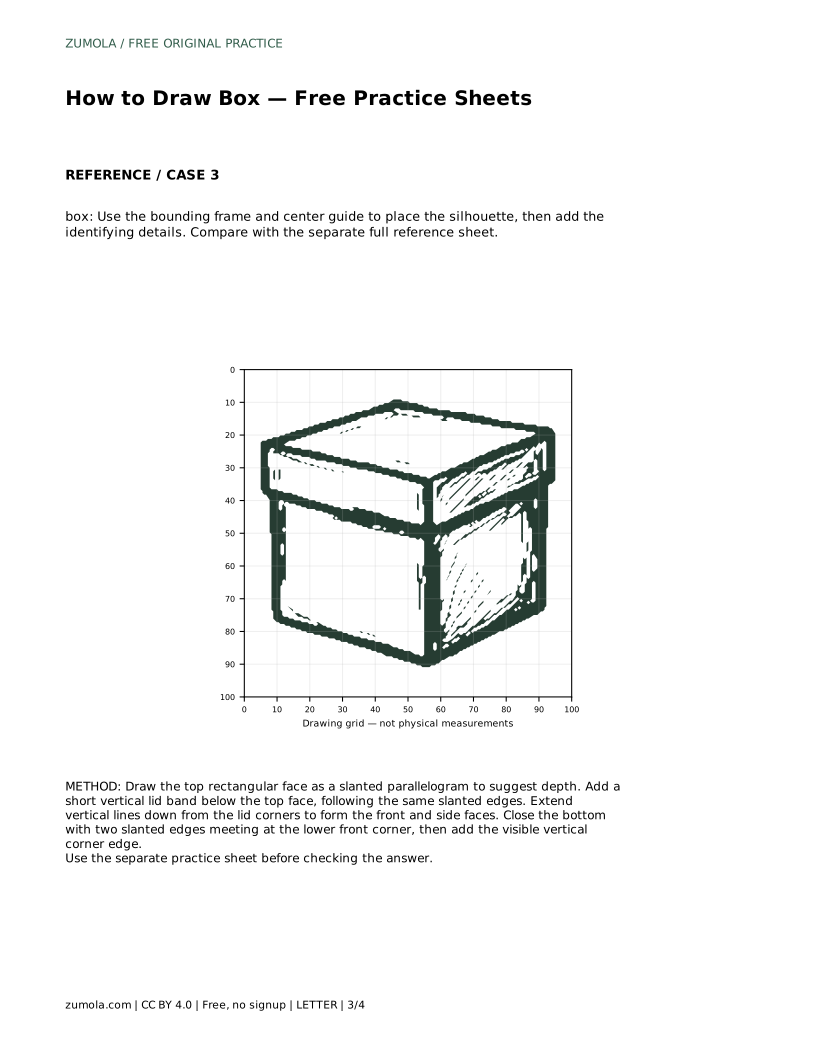
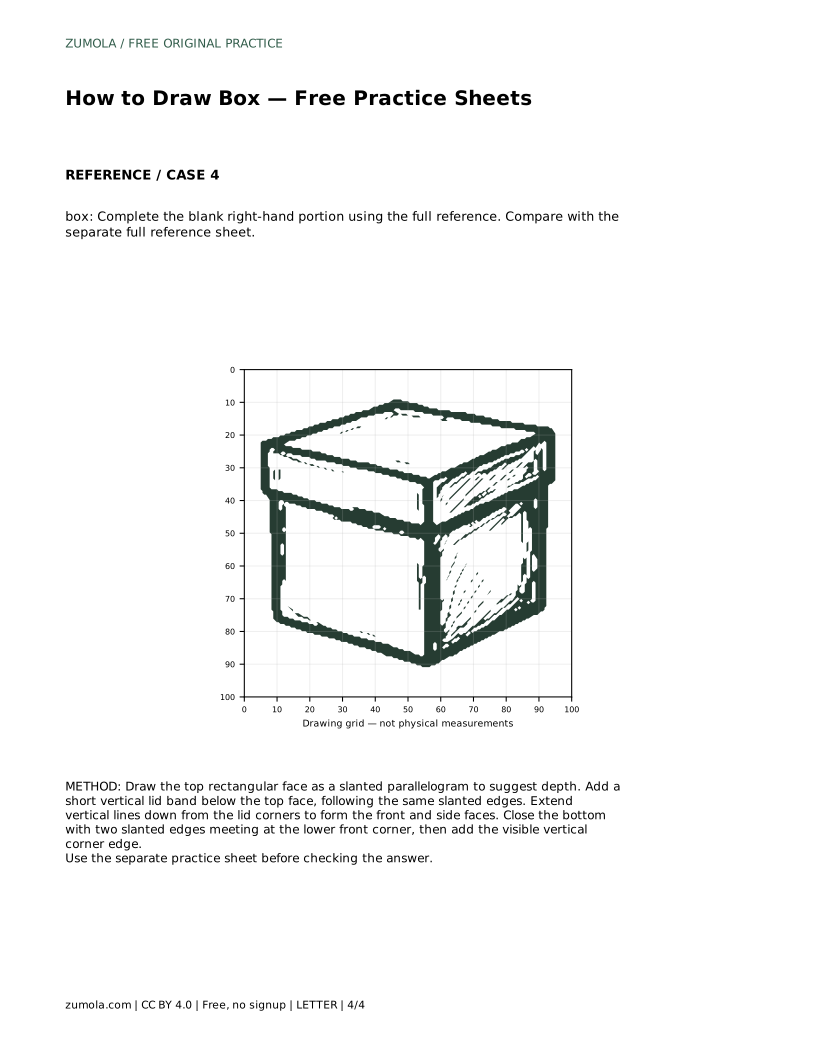
The sheets offer different levels of support. On the tracing sheet, follow the reference outline first, then try the contour independently and compare with the separate full reference sheet. On the grid sheet, copy the reference onto the blank grid using matching grid intersections. On the frame sheet, use the bounding frame and center guide to place the silhouette before adding details. On the partial sheet, complete the blank right-hand portion using the full reference.
Each sheet asks for the same visible features, but the support changes. Move to a less supported sheet when your lines stay parallel and the lid band keeps an even width.
There is no single correct drawing of a box. Different slants and proportions can all read as a box. Judge the visible features instead: a parallelogram top, a lid band, two lower faces meeting at a vertical corner edge, and bottom edges that match the top slant. Use the rubric below to guide your check rather than chasing a pixel-perfect match.
Most beginner boxes fail in one of three places: the top face is drawn as a flat square, the lid band is uneven, or the vertical edges lean instead of running straight down. Correcting these three habits makes the drawing read clearly as a box.
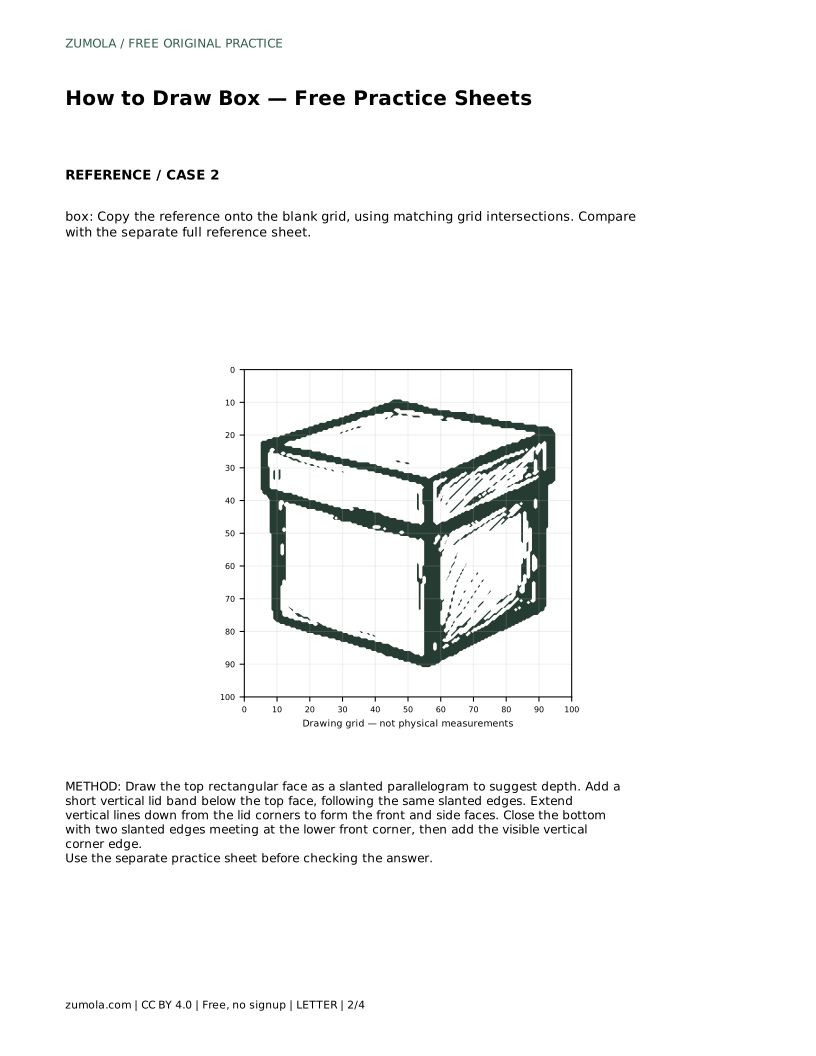
box: Trace the reference outline, then practise the contour independently. Compare with the separate full reference sheet.
Example solution: preserve rectangular top face drawn as a parallelogram, front and side rectangular faces meeting at a vertical corner edge, lid band separating the top from the lower body. Other drawings can be correct; assess the visible features and proportions rather than pixel-perfect matching. Draw the top rectangular face as a slanted parallelogram to suggest depth. Add a short vertical lid band below the top face, following the same slanted edges. Extend vertical lines down from the lid corners to form the front and side faces. Close the bottom with two slanted edges meeting at the lower front corner, then add the visible vertical corner edge.
No. A simple box drawing shows only the visible faces: top, front, and one side. Hidden edges are optional and not needed for the practice sheets.
Yes. The same order works if the side face is on the left instead of the right. Keep the top as a parallelogram and the verticals straight.
Check the visible features: a slanted top face, an even lid band, two lower faces meeting at a vertical corner edge, and bottom edges matching the top slant.
All drawing practice · Free coordinate paper
Original resources · CC BY 4.0 · Free for personal and classroom use with attribution.