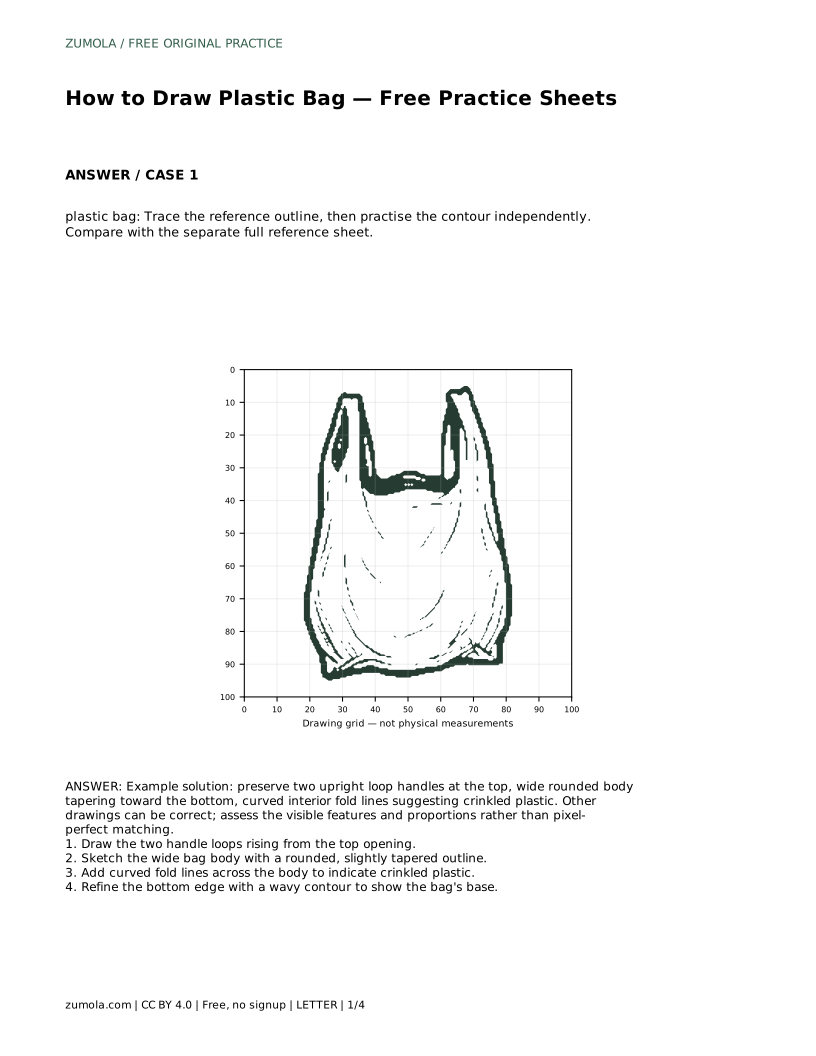
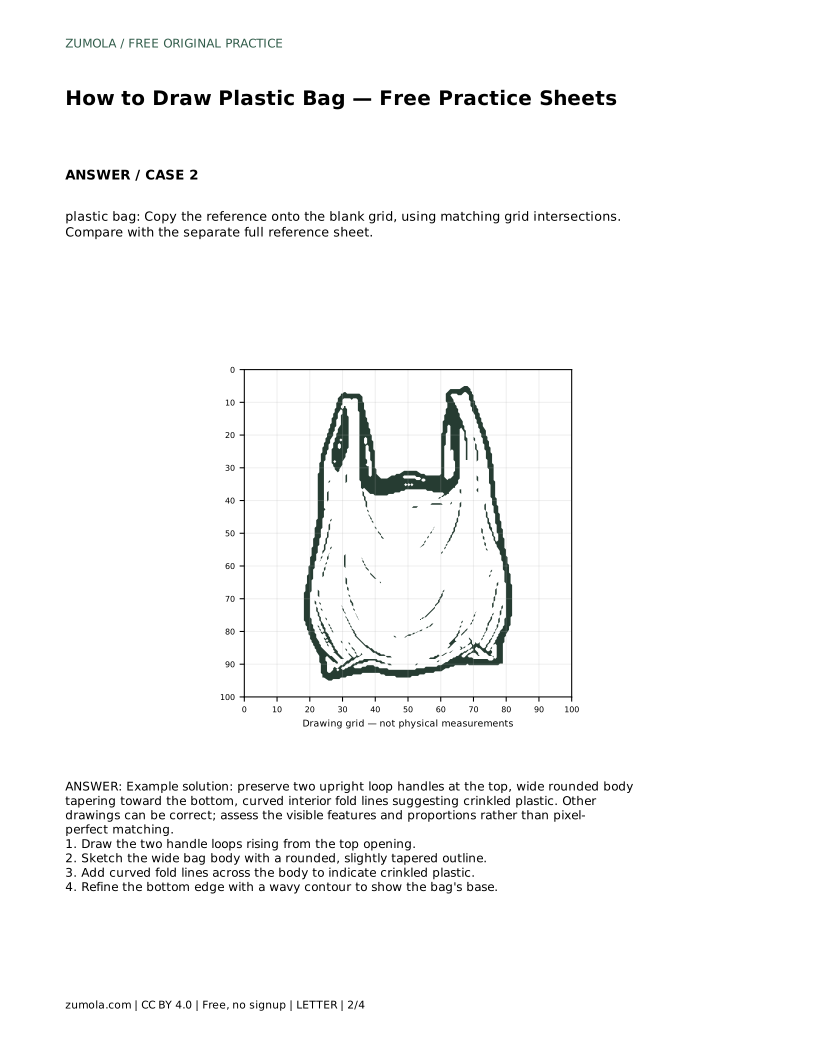
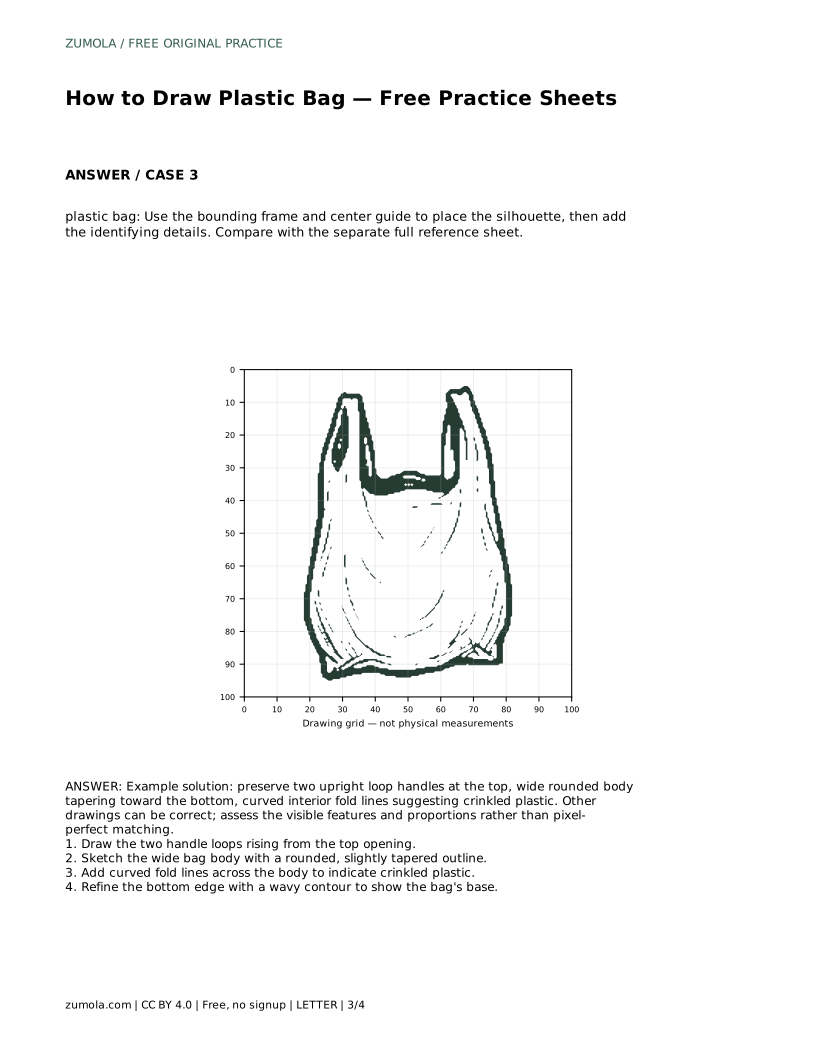
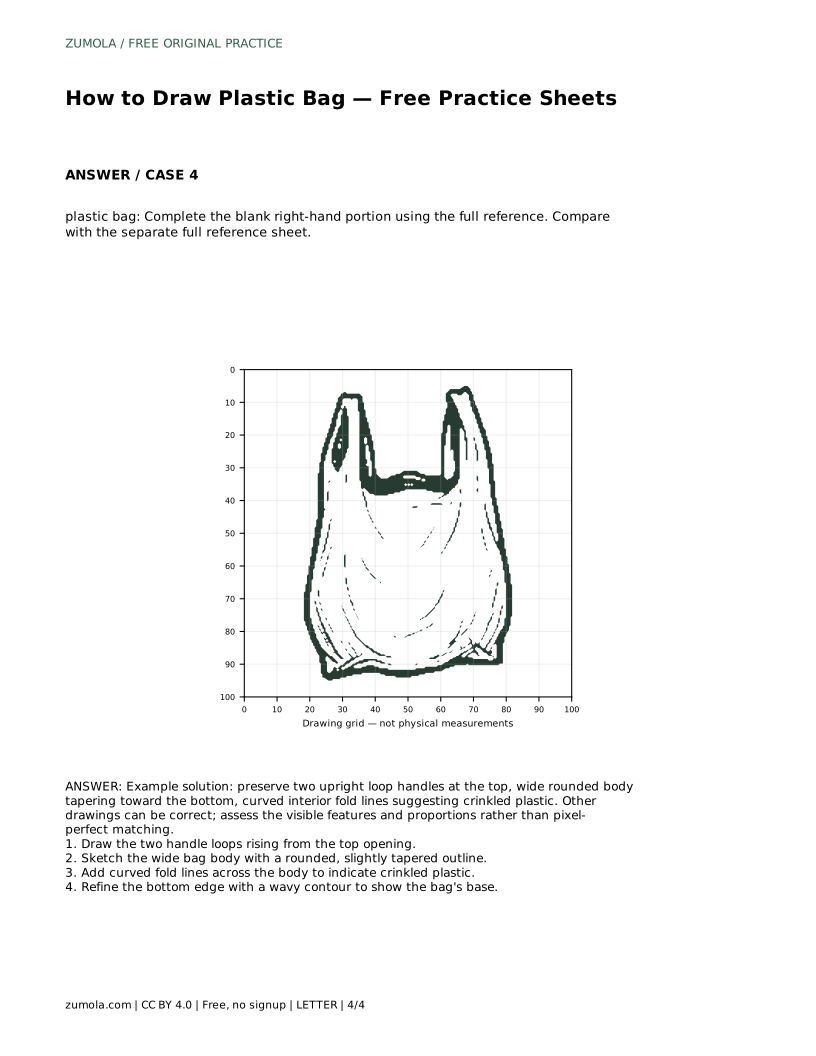
Reference diagrams
LETTER · Download PDF
A4 · Download PDF
Free original resources
Learn to draw a plastic bag with easy step-by-step guidance. Free practice sheets help you trace, grid, and complete the crinkled bag outline.
Four original cases, with reference diagrams, practice sheets and worked answers. Everything is free; no signup required.
LETTER · Download PDF
A4 · Download PDF
LETTER · Download PDF
A4 · Download PDF
LETTER · Download PDF
A4 · Download PDF
Use A4 or US Letter to match your printer. Use the stated values and conditions to solve each exercise; diagrams are not physical measuring rulers.
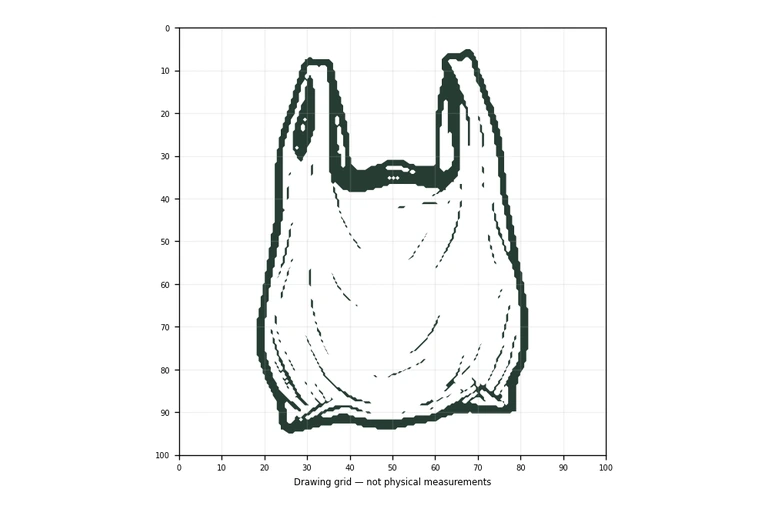
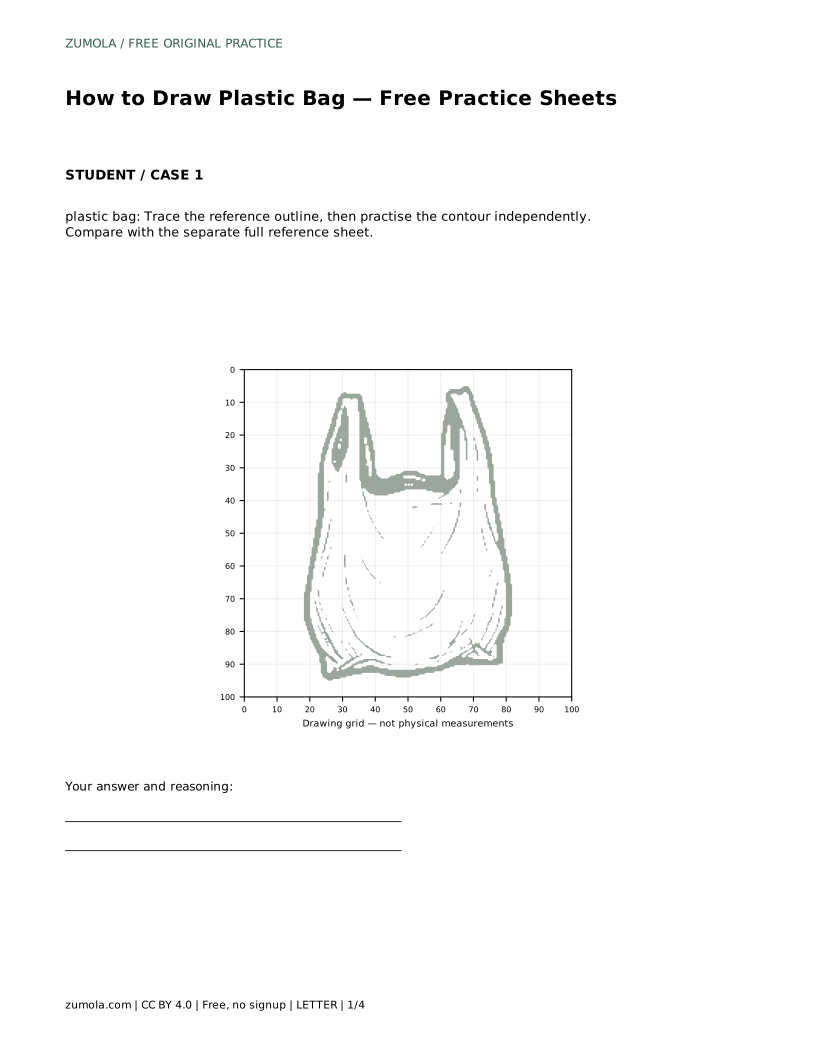
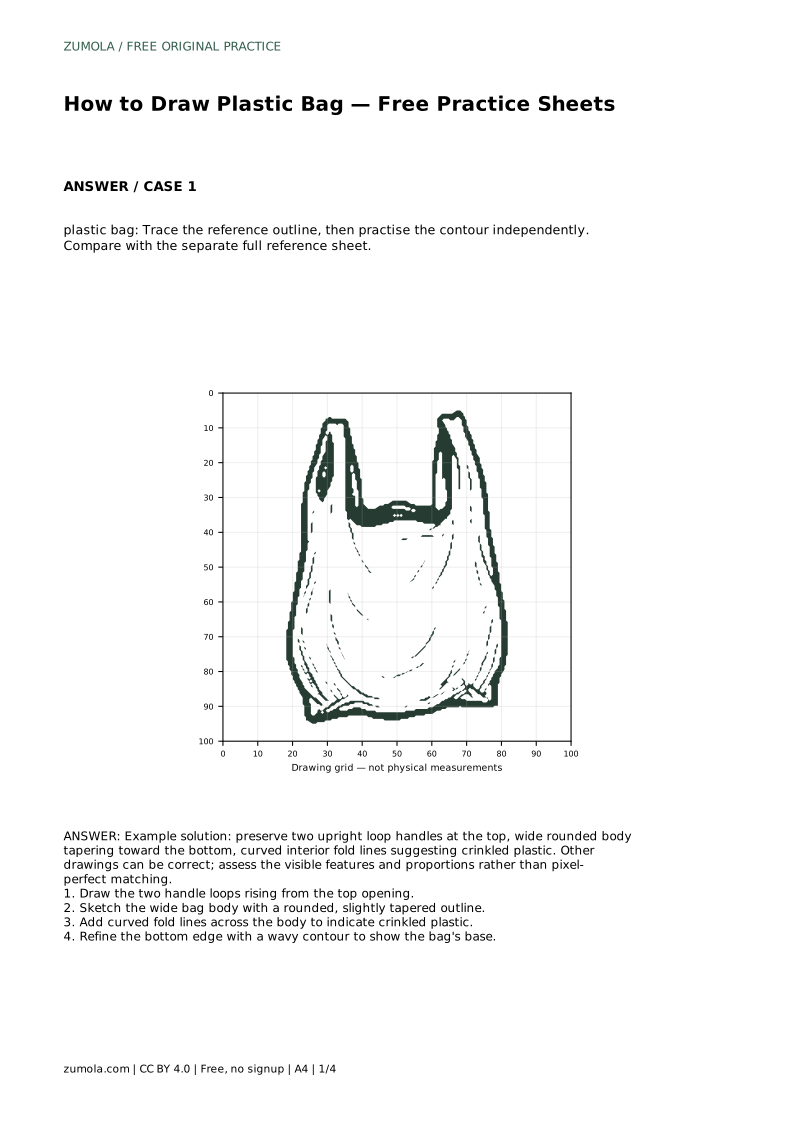
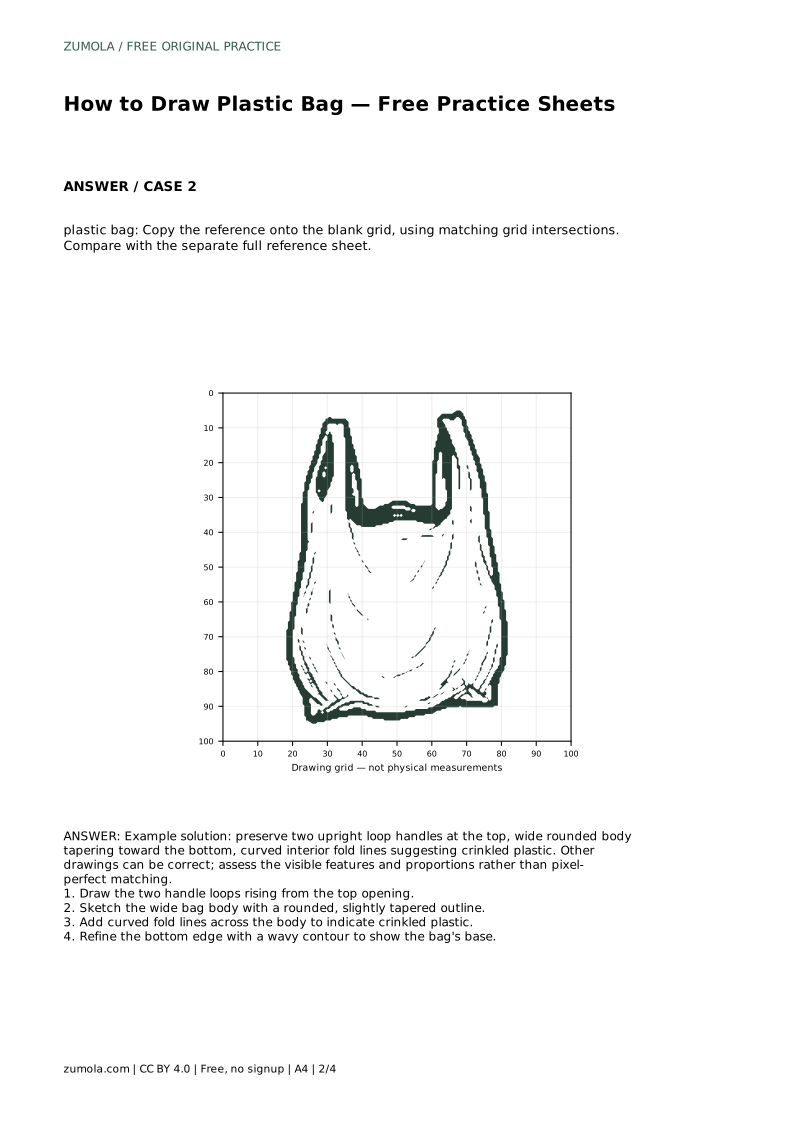
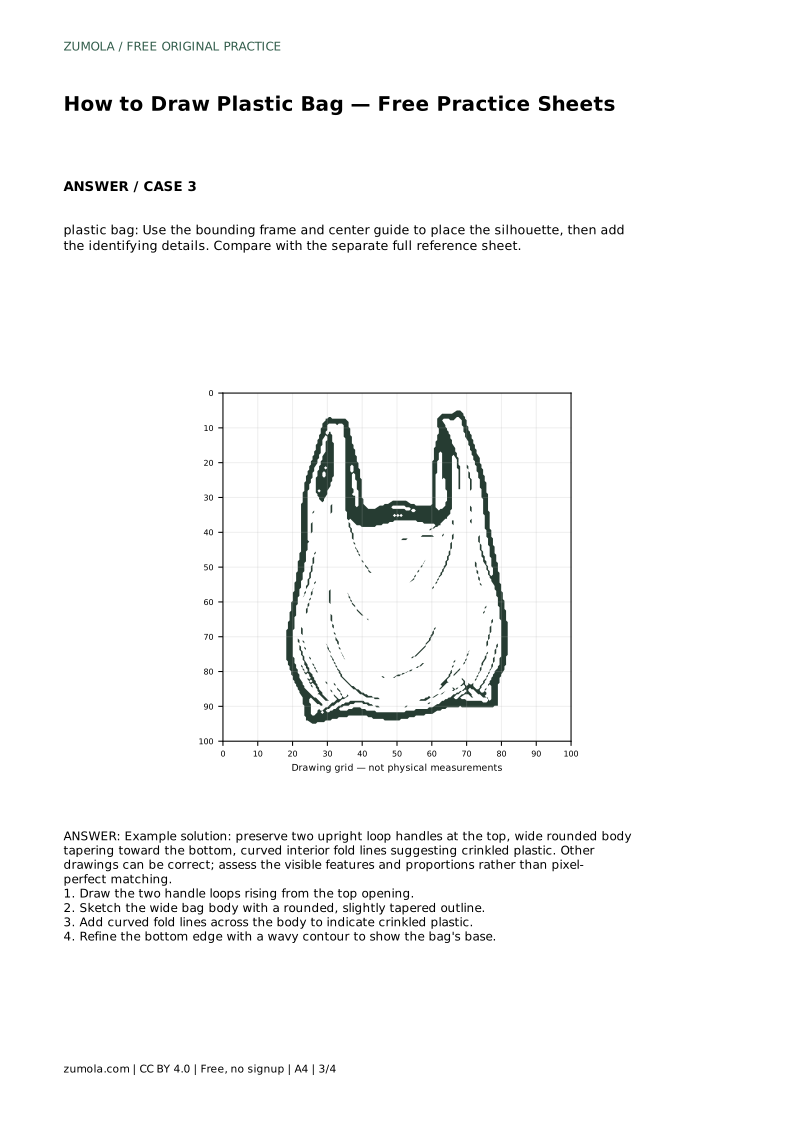
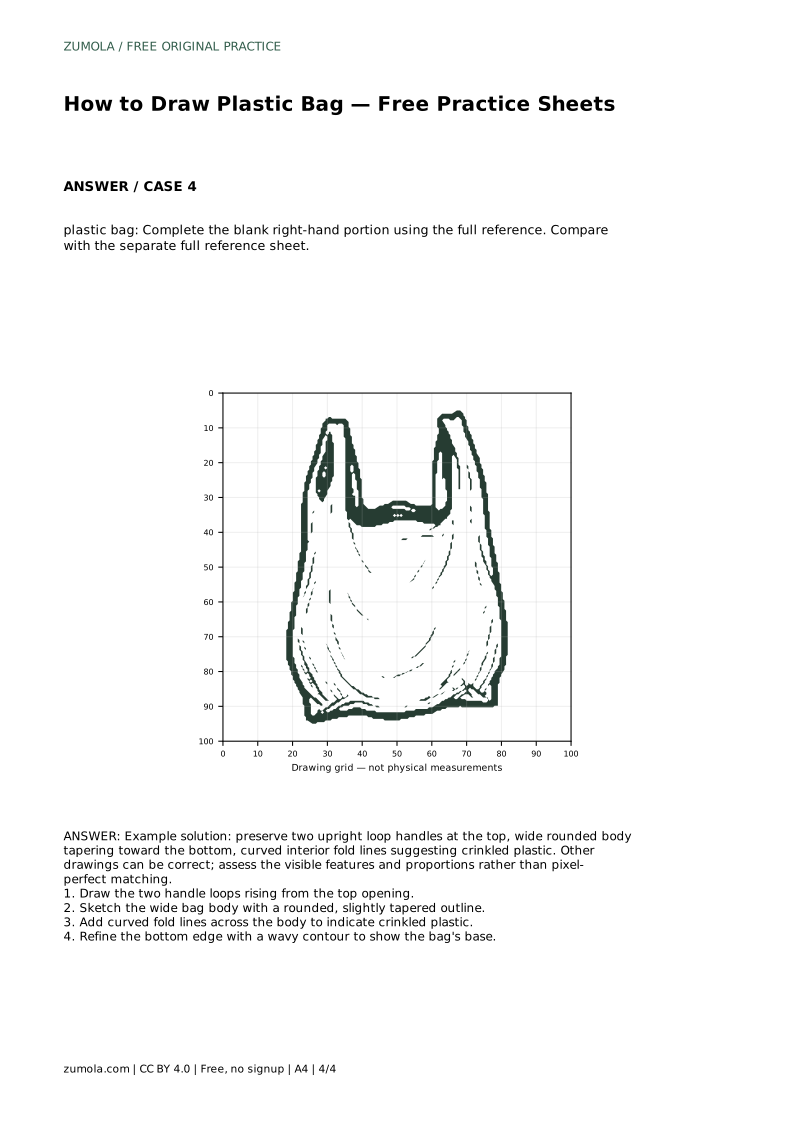
Drawing a plastic bag is a useful exercise in observing soft, crinkled forms and translating them into clear contour lines. This page explains how to capture the two upright loop handles, the wide rounded body that tapers toward the bottom, and the curved fold lines that suggest thin plastic. You can apply these steps to the free practice sheets, which include tracing, grid, and partial-completion formats. The goal is not a pixel-perfect copy but a drawing that preserves the bag's identifying features and proportions.
Begin by placing the two loop handles at the top of your page. They rise from the bag's opening and should be upright, with a gentle curve rather than sharp corners. The handles are usually the narrowest part of the drawing, so keep them proportionate to the body below. Next, sketch the main body as a wide, rounded shape that tapers slightly toward the bottom. Avoid making the sides perfectly straight; a plastic bag bulges and softens where it holds air or contents. Use light pencil strokes so you can adjust the outline as you compare it with the reference sheet.
Plastic bags rarely have smooth surfaces. Curved interior fold lines across the body suggest the thin material creasing and catching light. Draw these lines as soft arcs that follow the bag's volume, not as straight scratches. A few well-placed folds are more convincing than many random lines. For the bottom edge, use a wavy contour to show how the bag's base rests or crumples. The base should feel slightly irregular, because plastic does not hold a rigid shape. Keep the fold lines inside the body outline and avoid crossing the handles unless the reference shows a crease there.
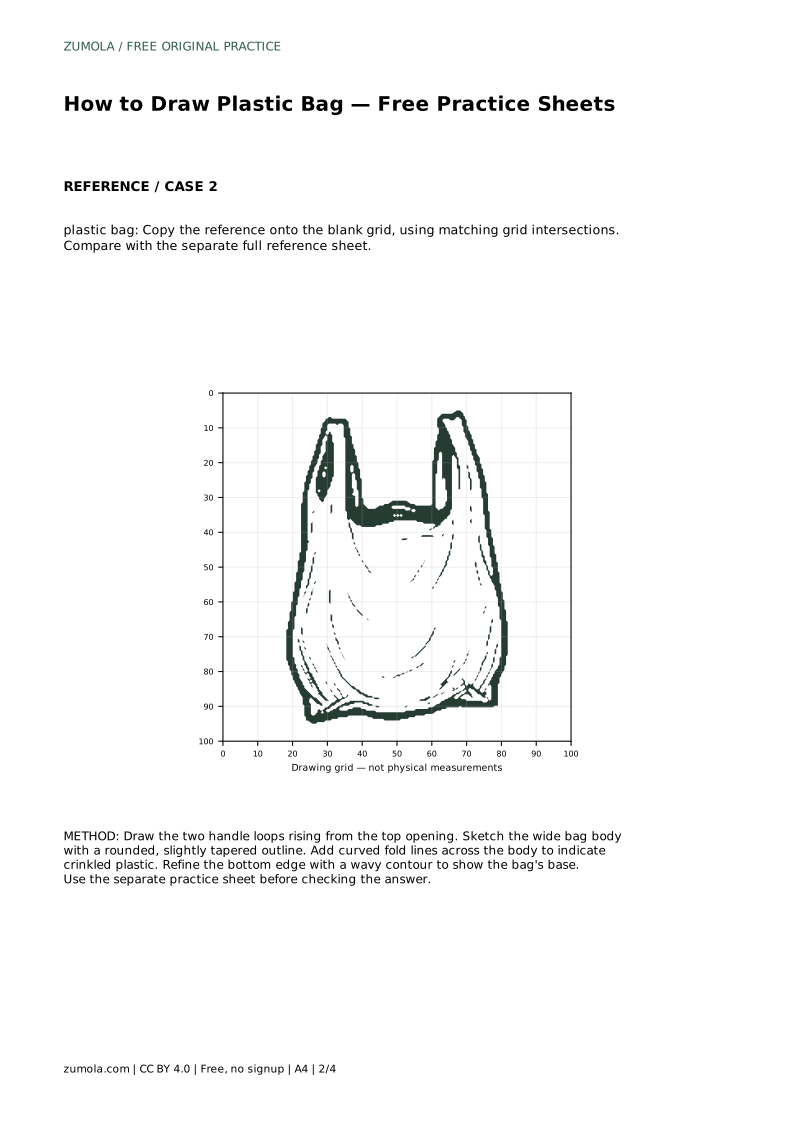
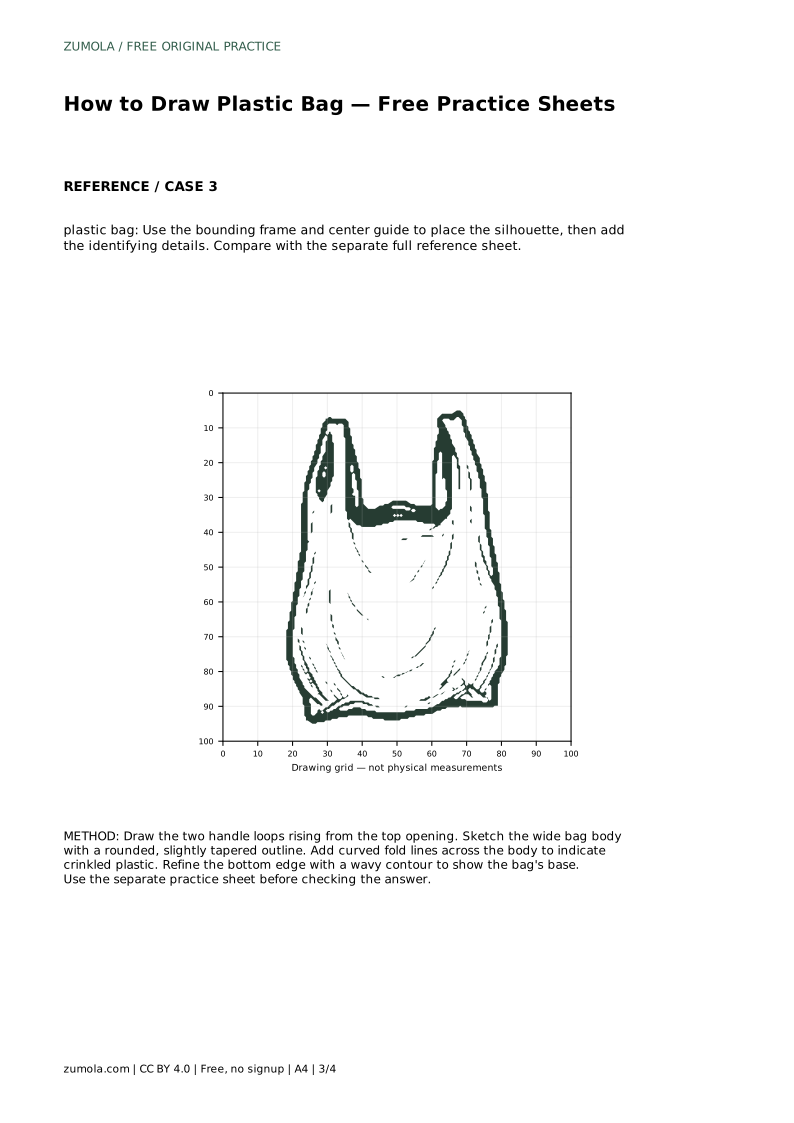
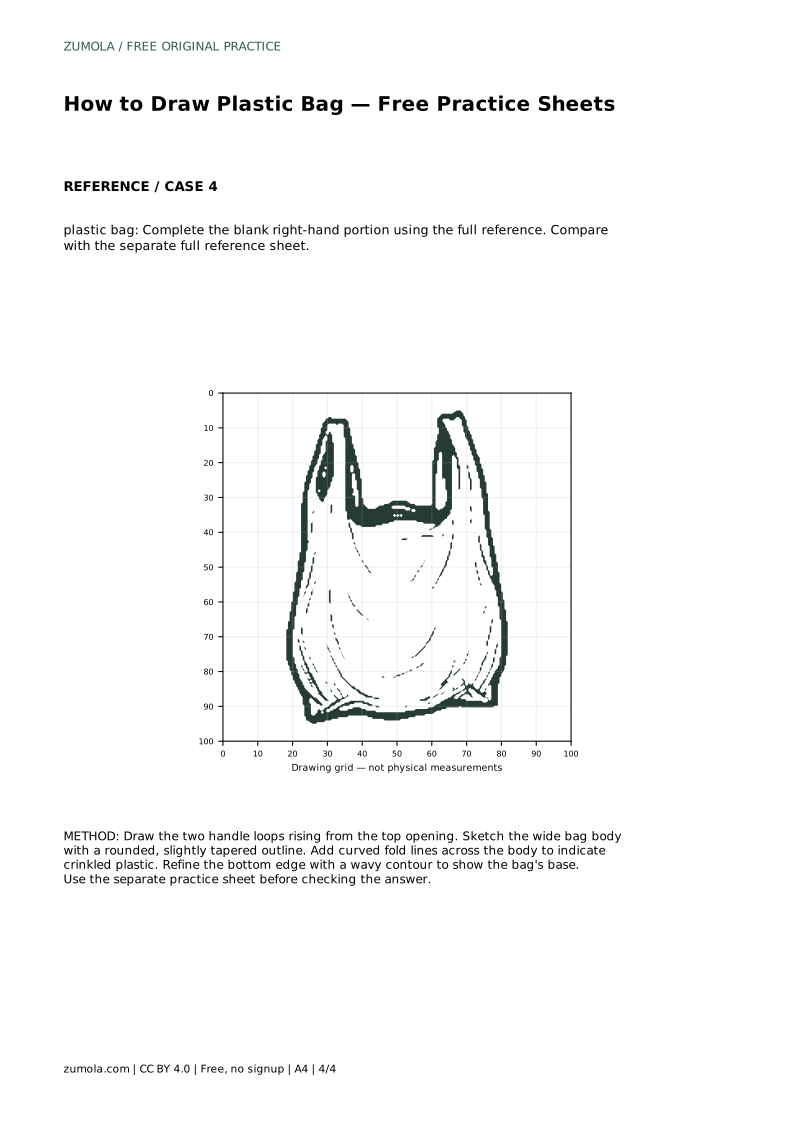
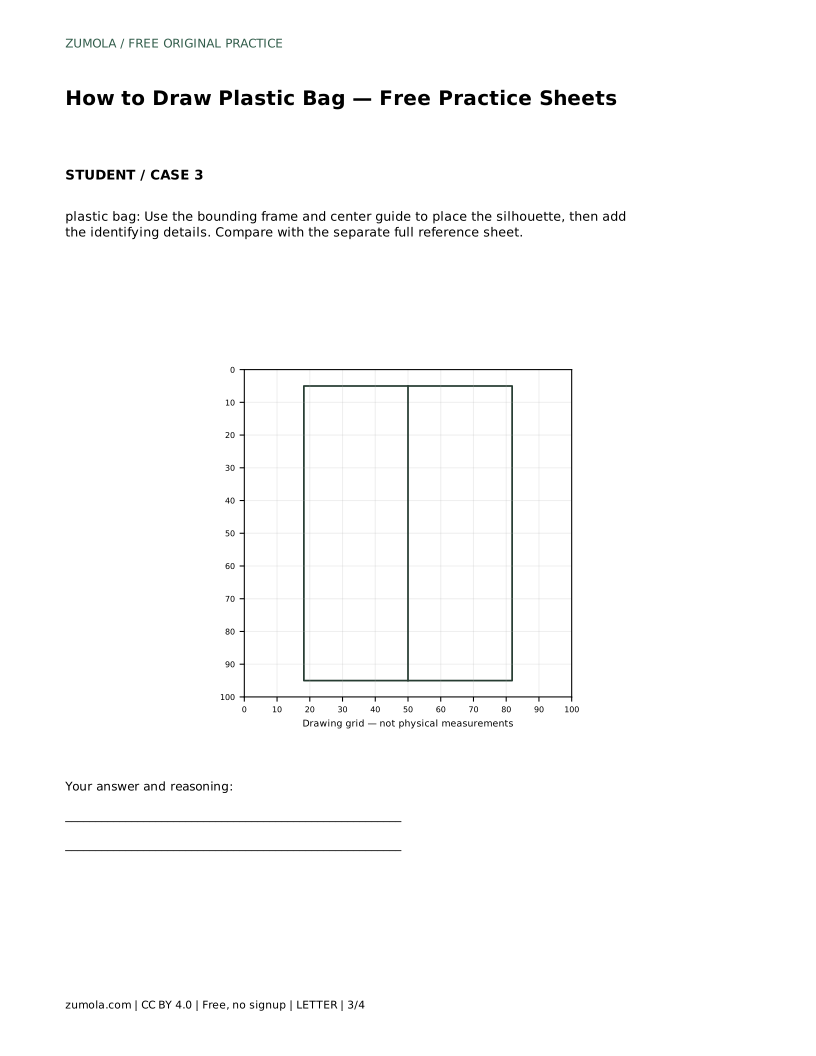
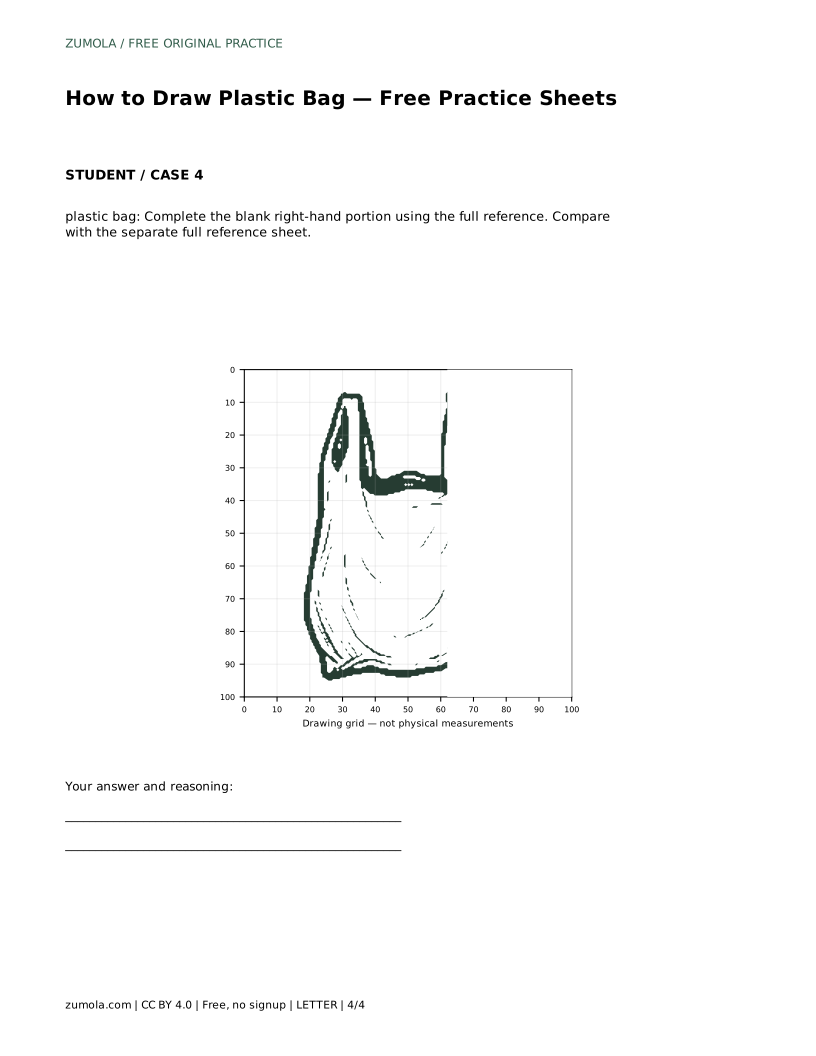
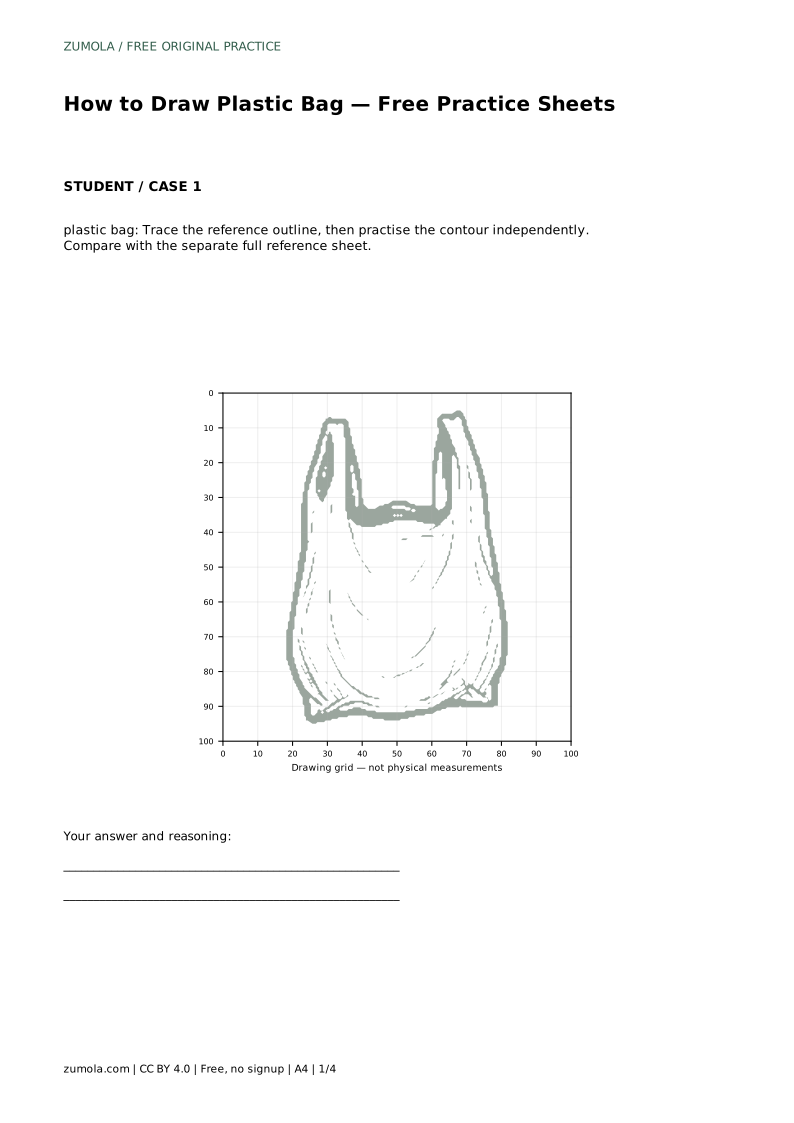
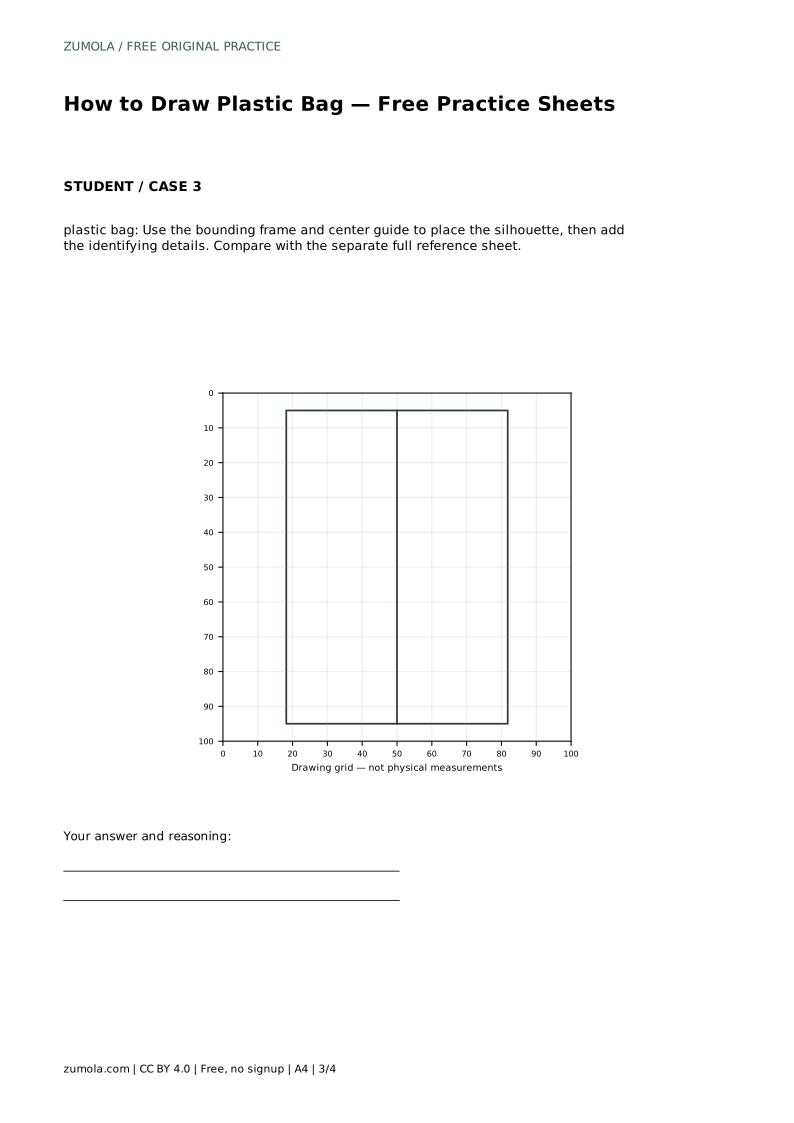
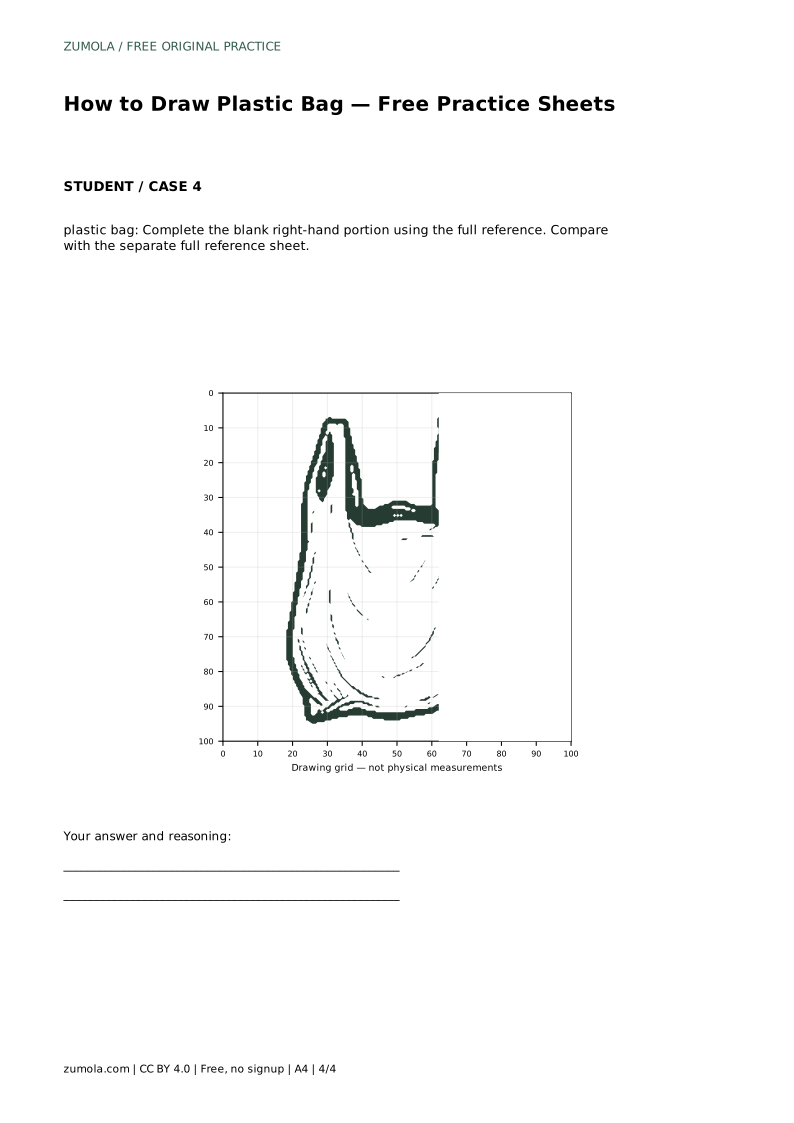
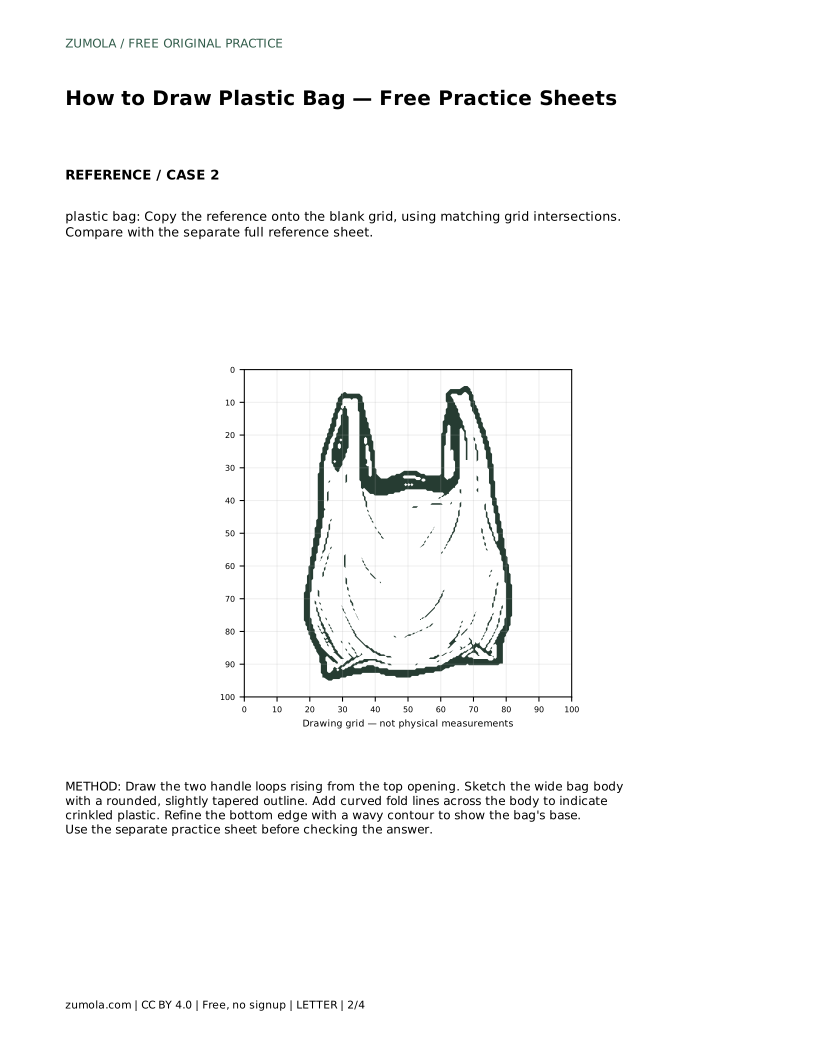
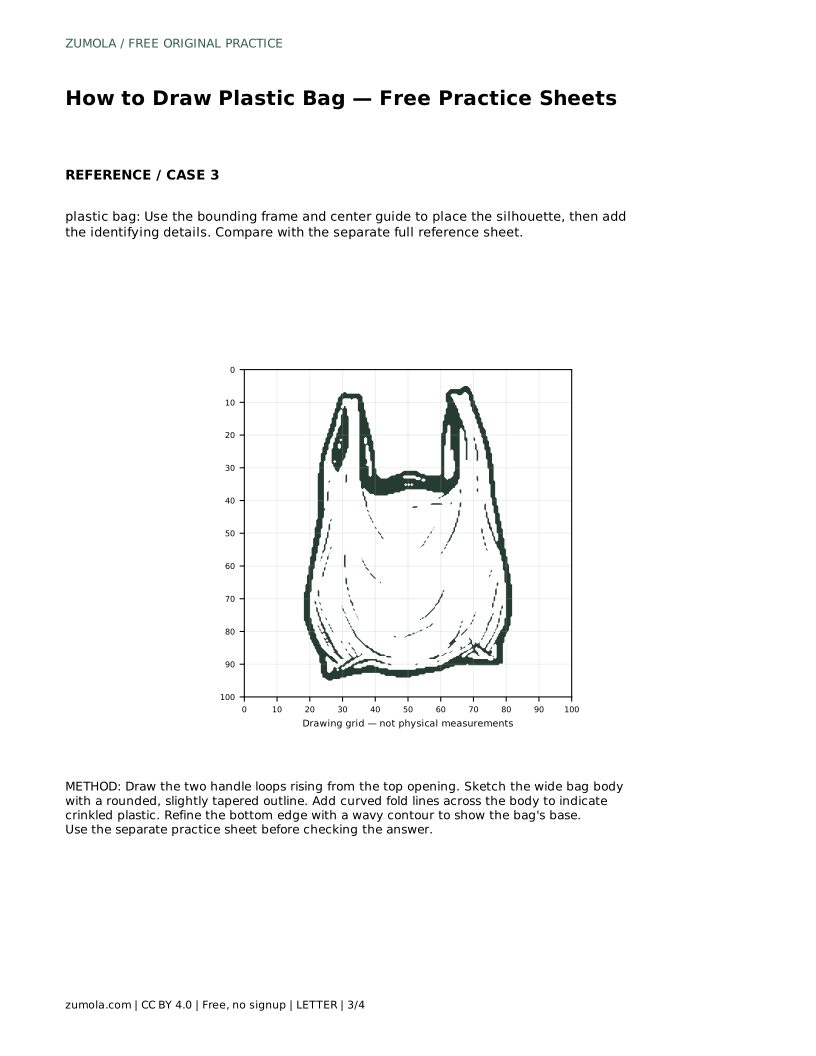
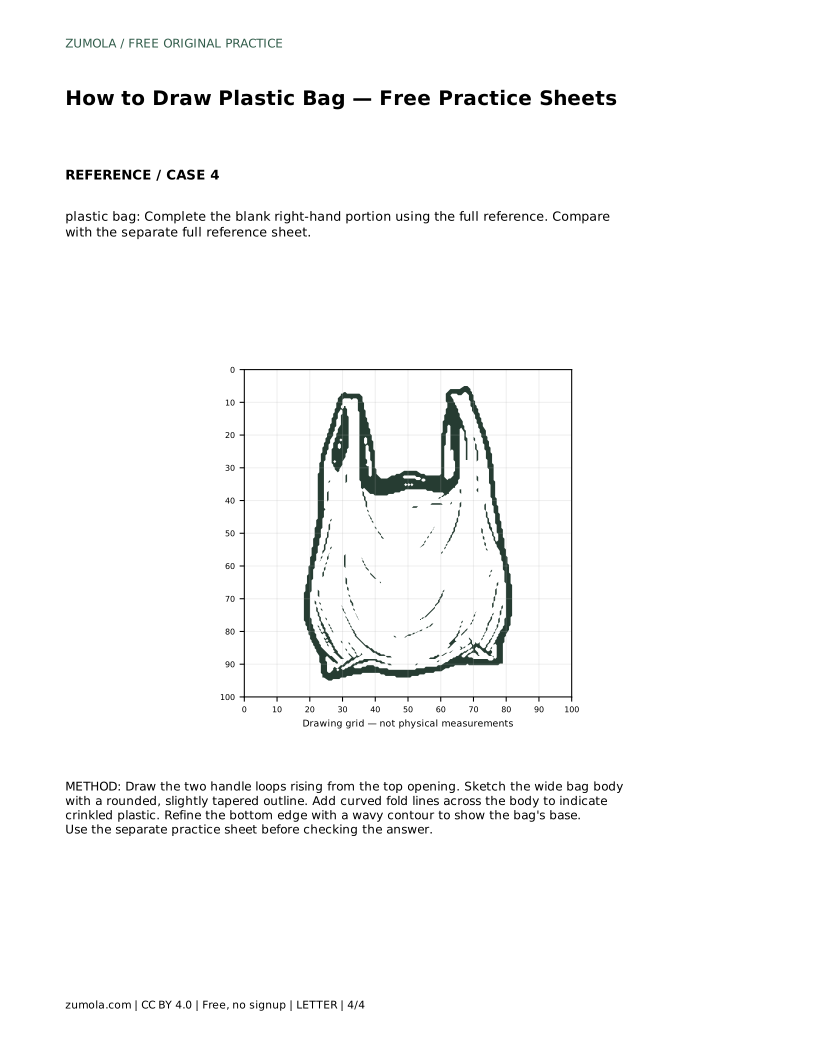
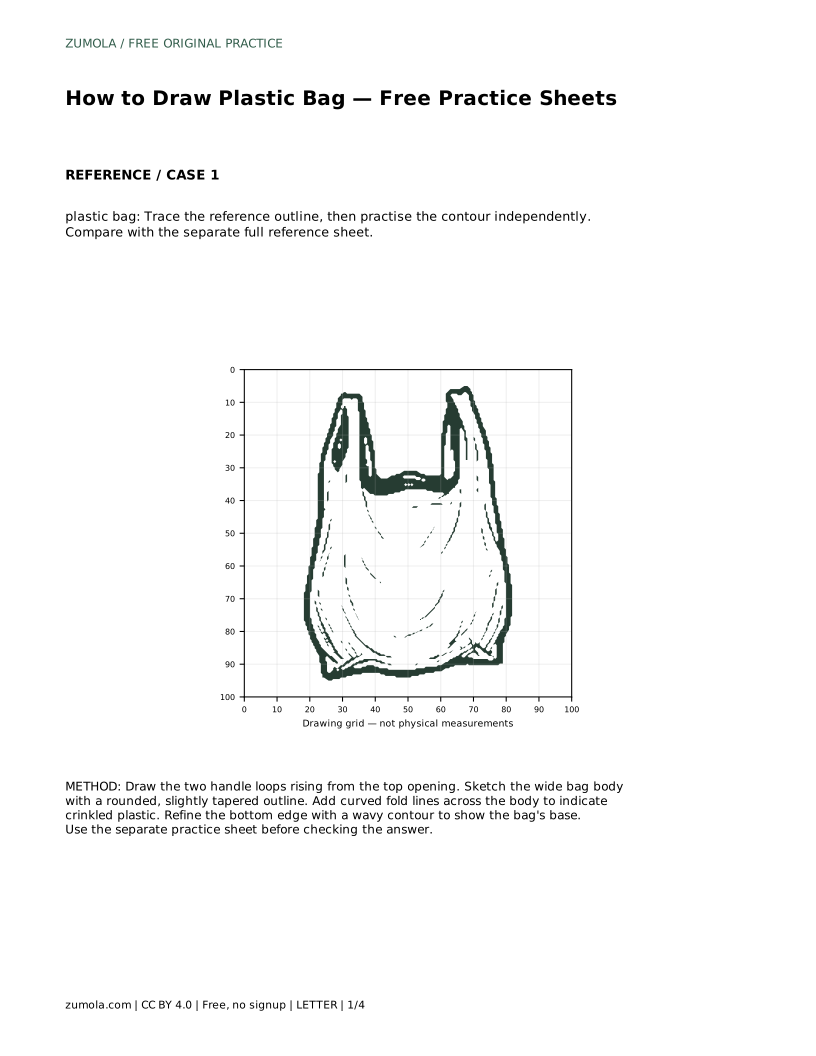
The tracing sheet asks you to follow the reference outline first, then practise the contour independently. Use tracing to learn where the handles, body, and folds sit relative to one another, then cover the reference and redraw from observation. The grid sheet helps you copy the reference onto a blank grid by matching intersections; this trains proportion and placement. The bounding-frame sheet gives you a center guide to position the silhouette before adding details. The partial-completion sheet asks you to finish the blank right-hand portion using the full reference. In every format, compare your drawing with the separate full reference sheet and assess the visible features rather than exact pixel matching.
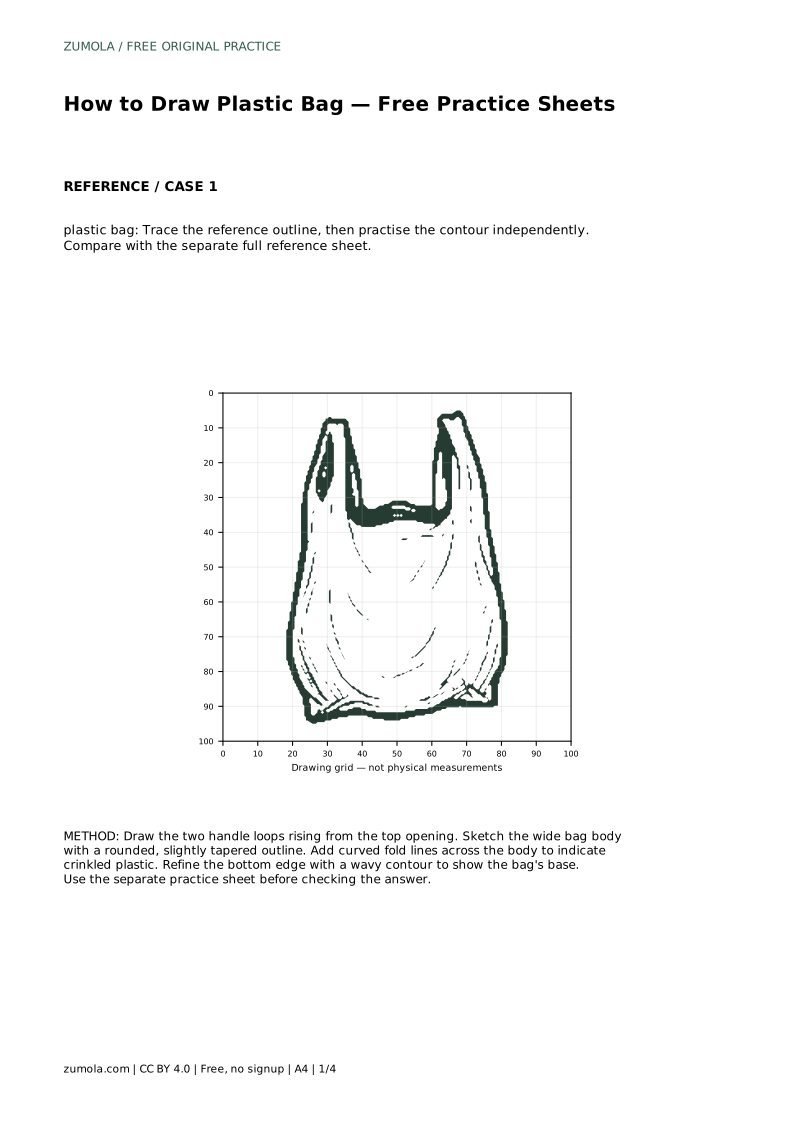
plastic bag: Trace the reference outline, then practise the contour independently. Compare with the separate full reference sheet.
Example solution: preserve two upright loop handles at the top, wide rounded body tapering toward the bottom, curved interior fold lines suggesting crinkled plastic. Other drawings can be correct; assess the visible features and proportions rather than pixel-perfect matching. Draw the two handle loops rising from the top opening. Sketch the wide bag body with a rounded, slightly tapered outline. Add curved fold lines across the body to indicate crinkled plastic. Refine the bottom edge with a wavy contour to show the bag's base.
No. A few curved fold lines are enough to suggest crinkled plastic. Focus on the handles, overall silhouette, and a wavy base rather than many small creases.
Compare the visible features: two upright loop handles, a wide rounded body tapering toward the bottom, curved interior fold lines, and a wavy bottom edge. Other drawings can be correct if these features and proportions are preserved.
The tracing sheet lets you follow the reference outline directly, then practise independently. The grid sheet asks you to copy the reference onto a blank grid by matching intersections, which trains proportion and placement.
All drawing practice · Free coordinate paper
Original resources · CC BY 4.0 · Free for personal and classroom use with attribution.