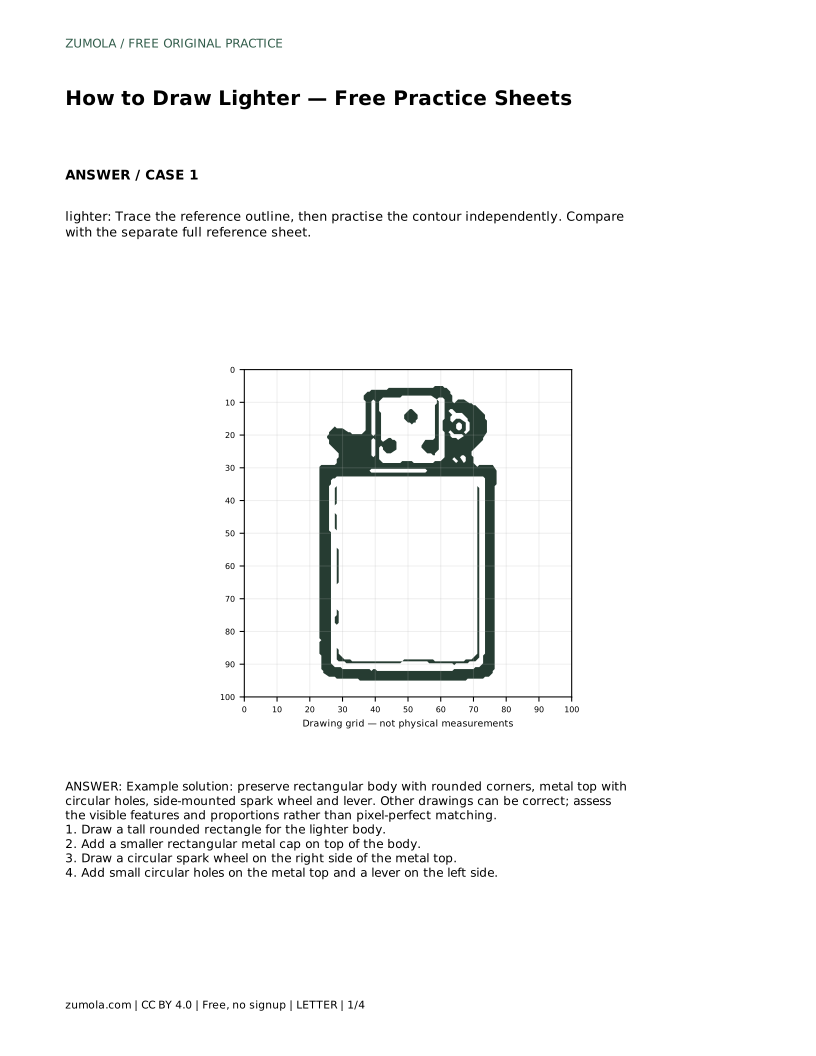
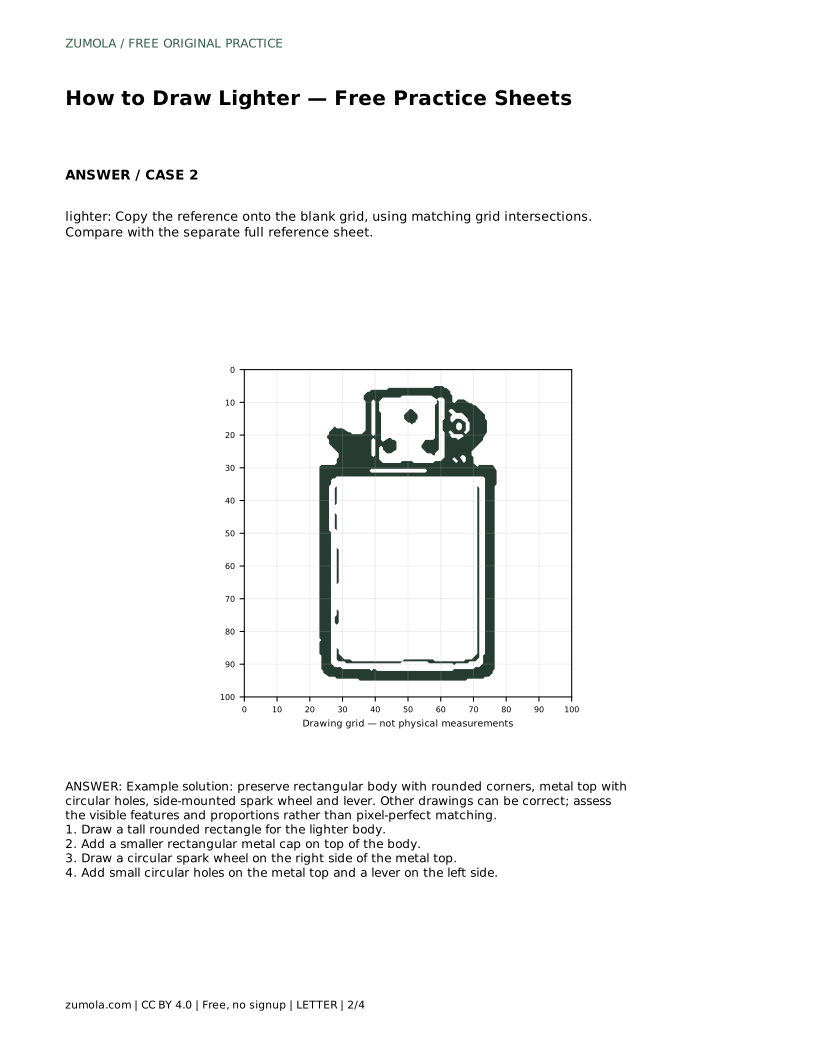
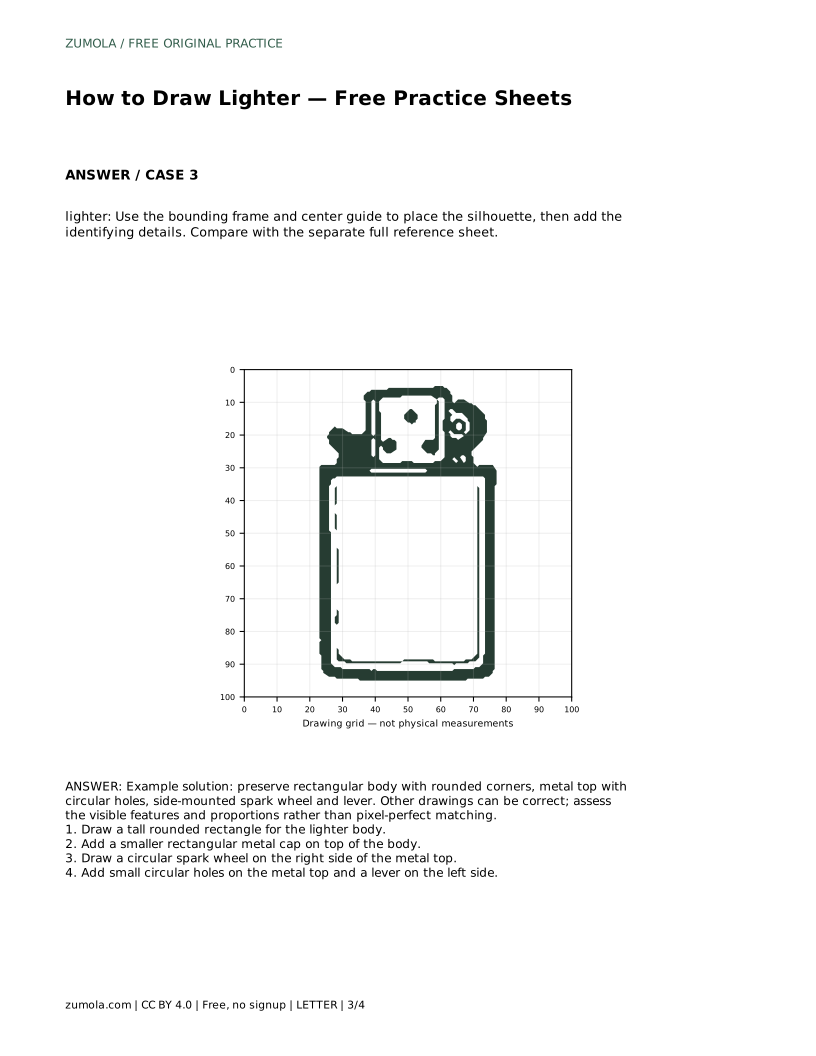
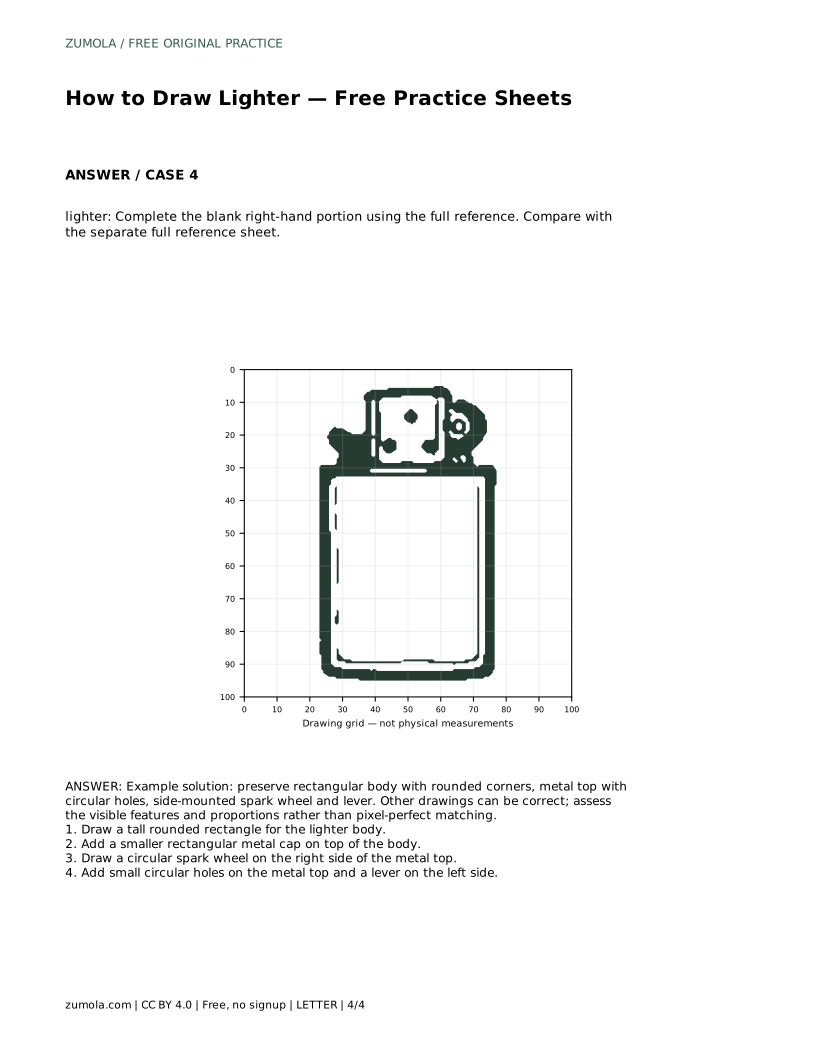
Reference diagrams
LETTER · Download PDF
A4 · Download PDF
Free original resources
Learn to draw a bic-style lighter by building the rounded body, metal cap, spark wheel, holes and lever, then check proportions with a clear rubric.
Four original cases, with reference diagrams, practice sheets and worked answers. Everything is free; no signup required.
LETTER · Download PDF
A4 · Download PDF
LETTER · Download PDF
A4 · Download PDF
LETTER · Download PDF
A4 · Download PDF
Use A4 or US Letter to match your printer. Use the stated values and conditions to solve each exercise; diagrams are not physical measuring rulers.
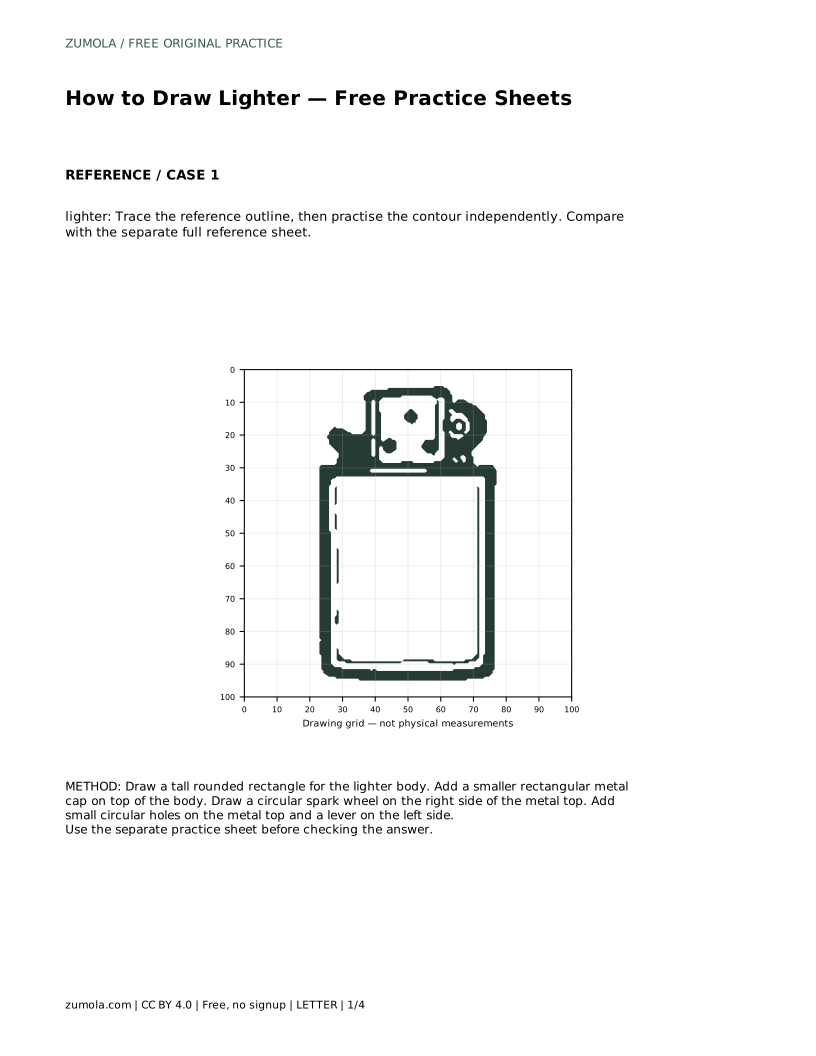
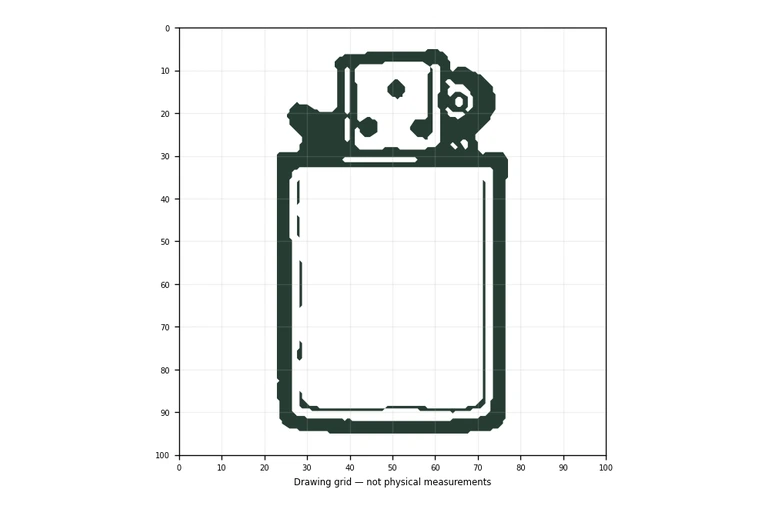
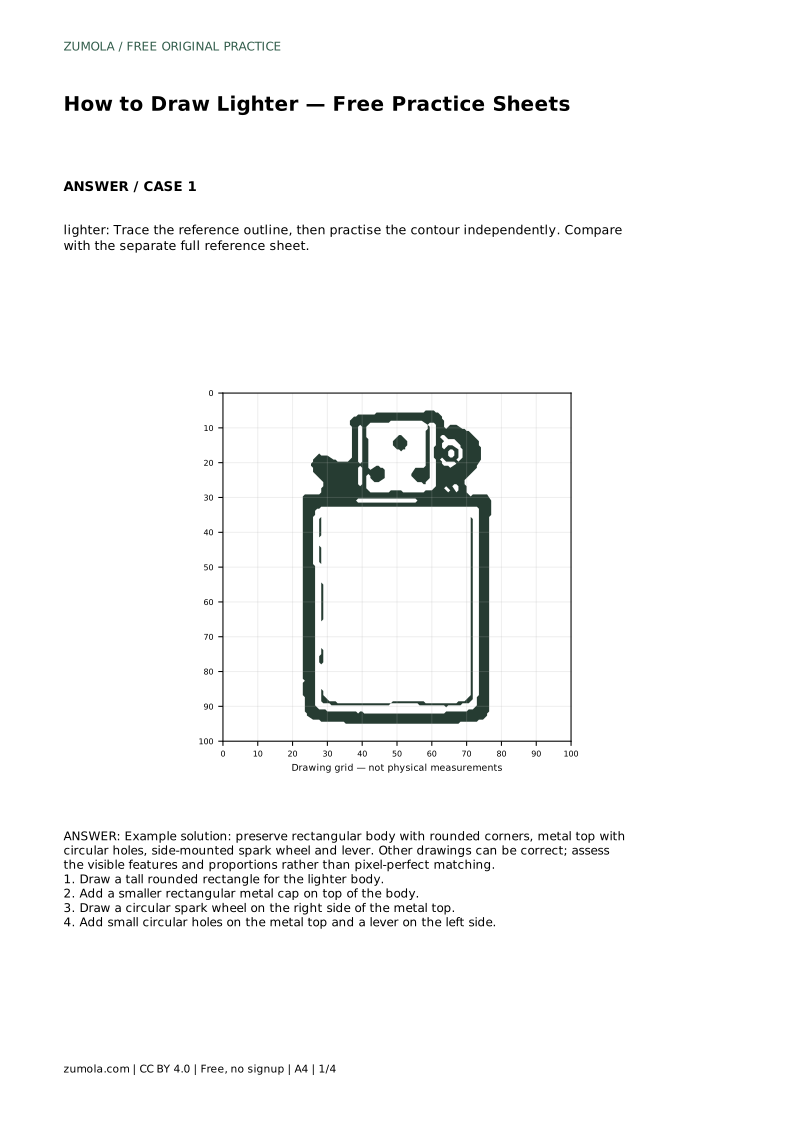
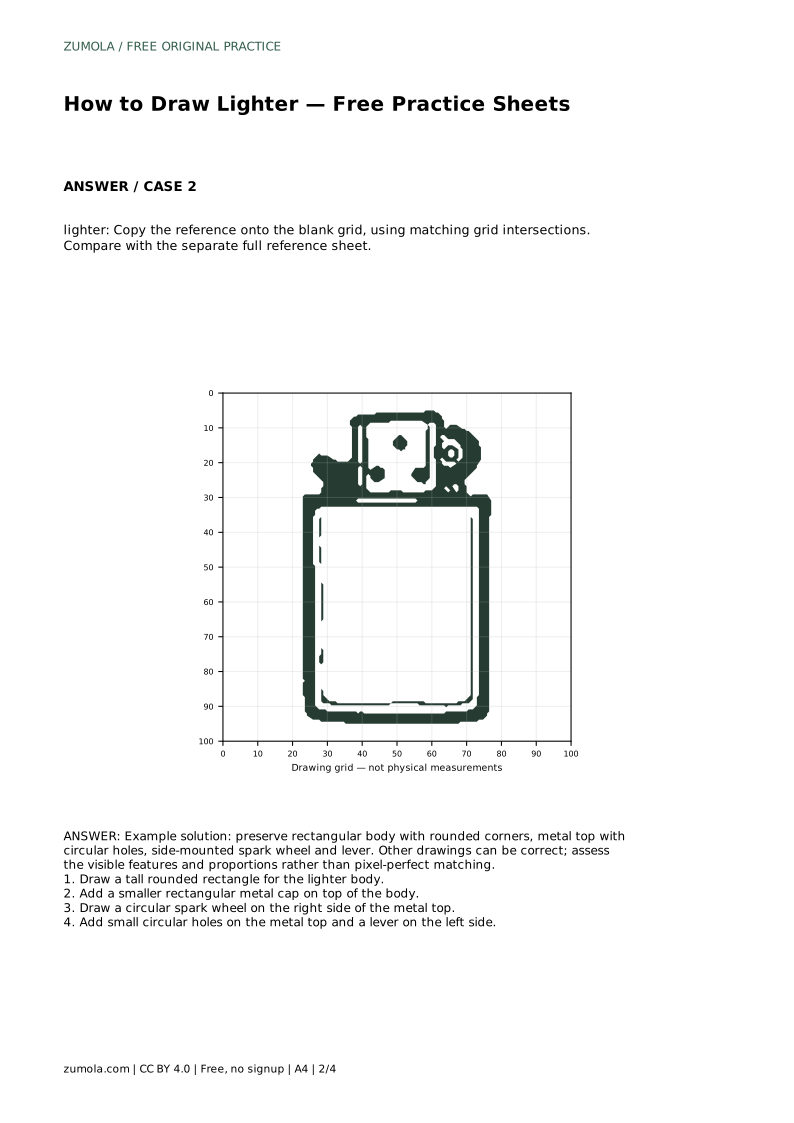
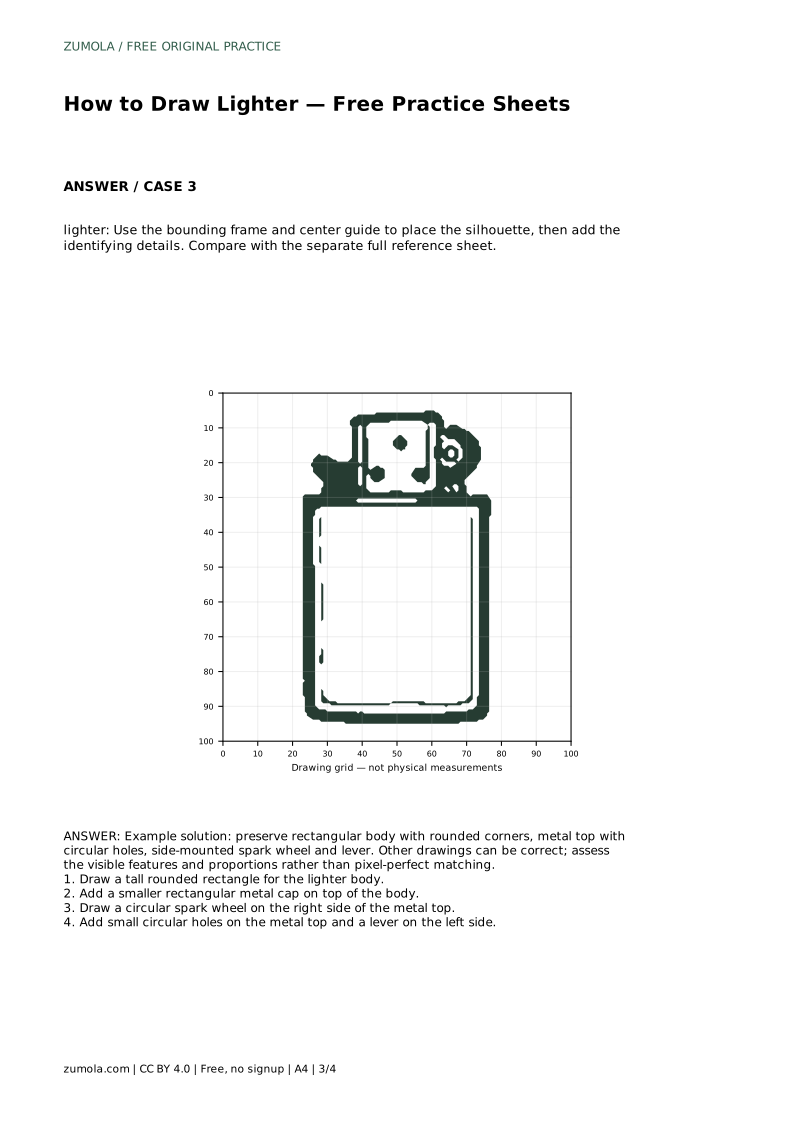
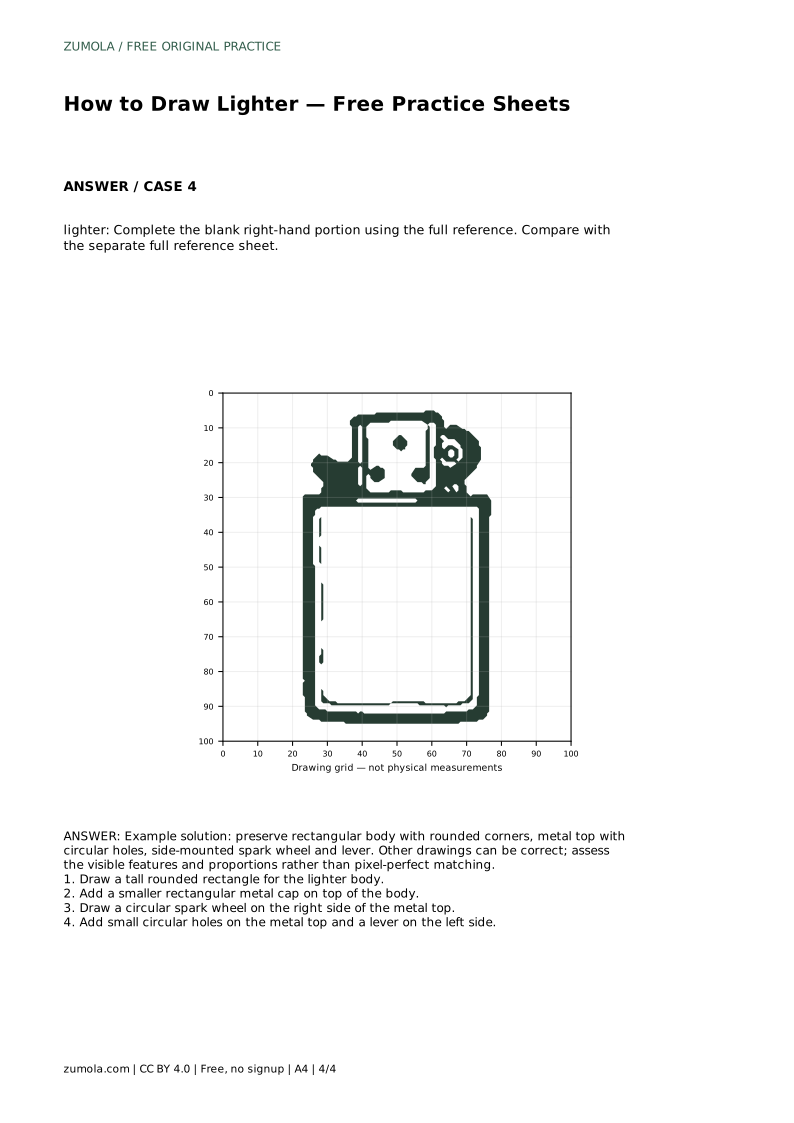
A pocket lighter is a good subject for learning to see structure before detail. Its shape is mostly a tall rounded rectangle, topped by a smaller metal cap with a spark wheel, small holes and a lever. This page explains how to draw that form step by step and how to use the practice sheets to compare your contour, grid placement and completed details against a separate full reference.
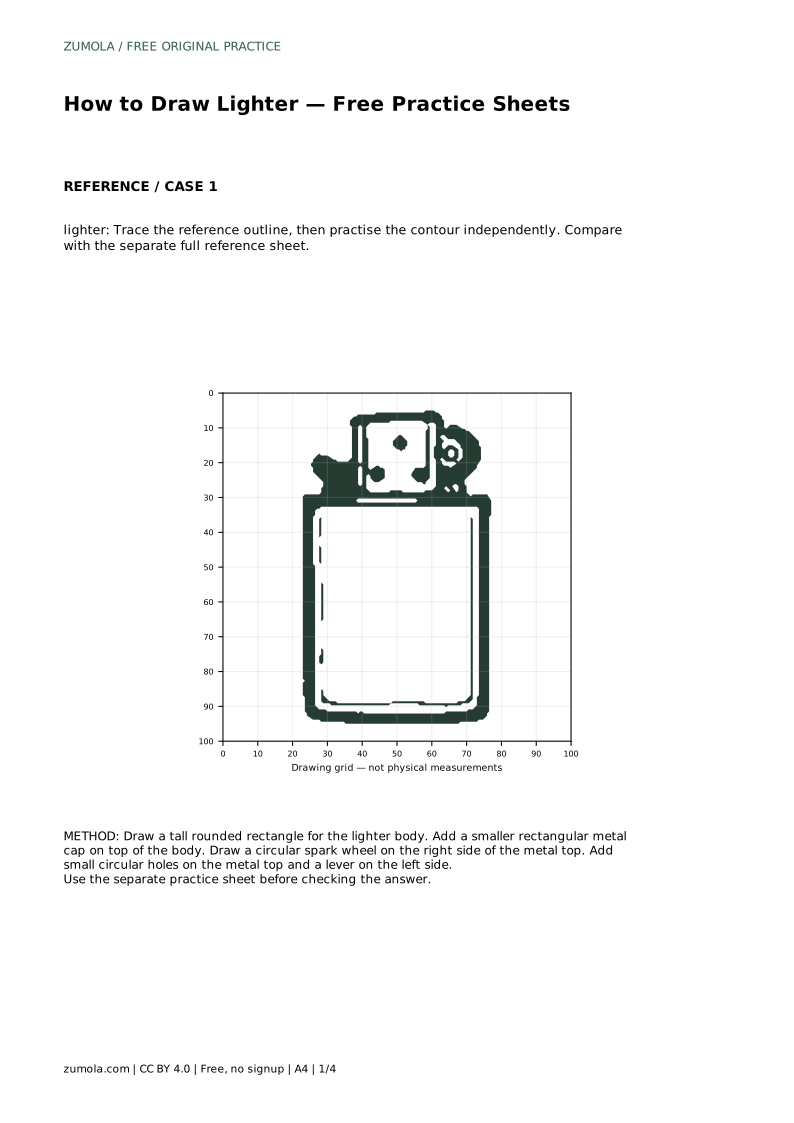
Begin by treating the lighter as two stacked shapes rather than one complicated object. The body is a tall rectangle with rounded corners; the metal top is a shorter rectangle sitting directly on it. Keep the body's sides close to vertical and its top and bottom edges close to horizontal, so the lighter reads as a solid object rather than a leaning box.
Draw the body lightly first. If the body is too narrow, the metal top will look oversized; if it is too wide, the lighter will look like a squat box. Compare the height of the body with the height of the metal cap: the cap is noticeably shorter. Only after both rectangles sit correctly should you add the smaller features.
The metal top carries the identifying details. Place a circular spark wheel on the right side of the metal top, sitting partly above the cap edge so it looks like a wheel rather than a flat dot. Add small circular holes across the metal top, keeping them roughly even in size. On the left side, draw the lever as a small angled shape that connects to the cap.
These details should stay small relative to the body. A common error is drawing the wheel too large, which makes the lighter look like a toy. Keep the circles clean and the lever simple; the goal is a readable silhouette, not a mechanical diagram.
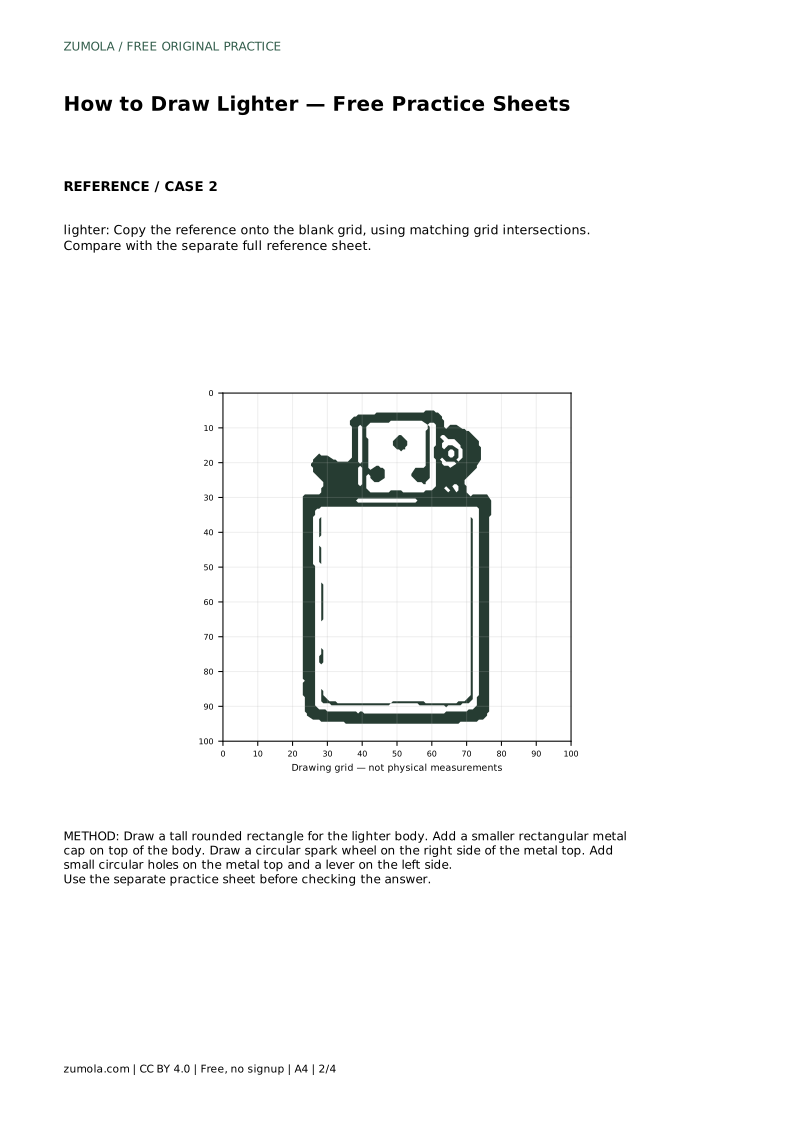
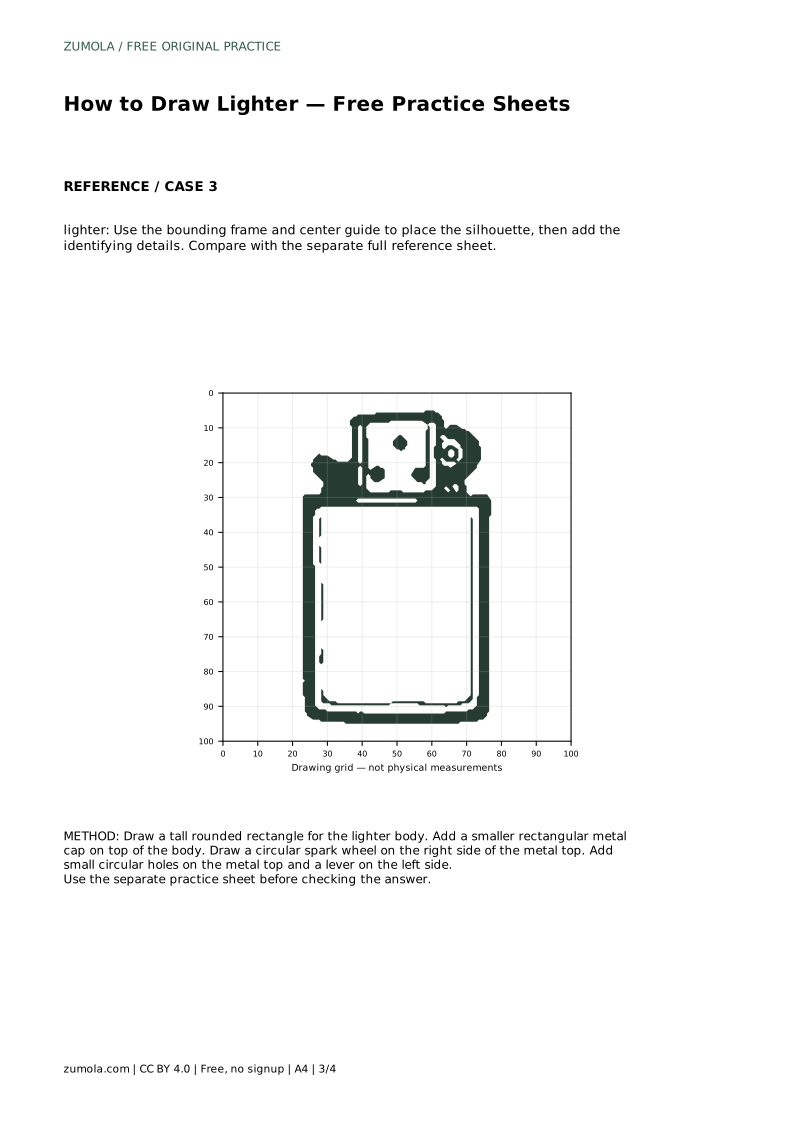
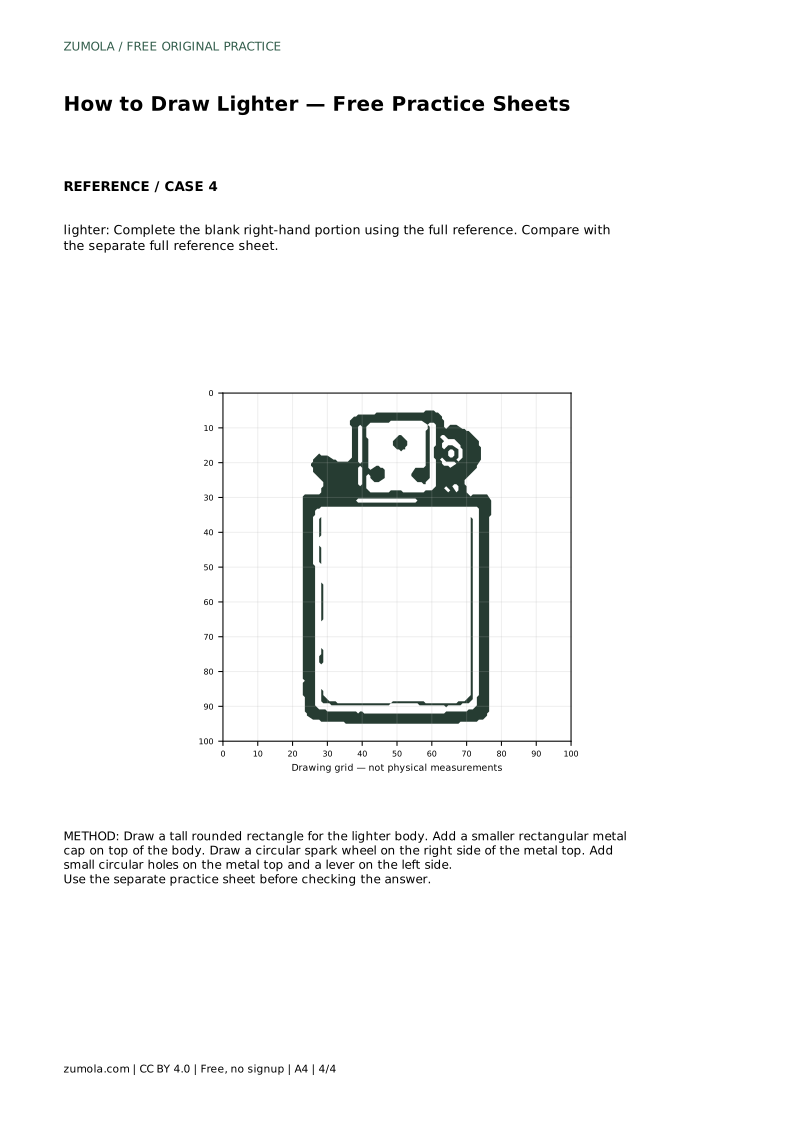
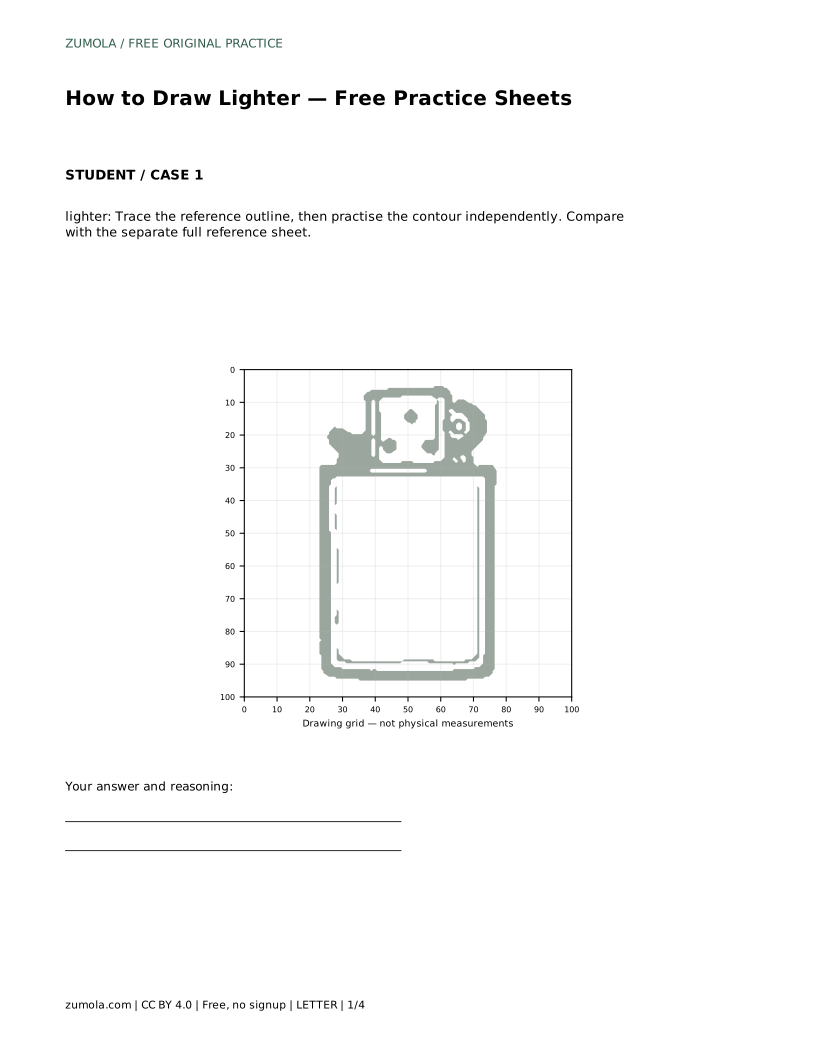
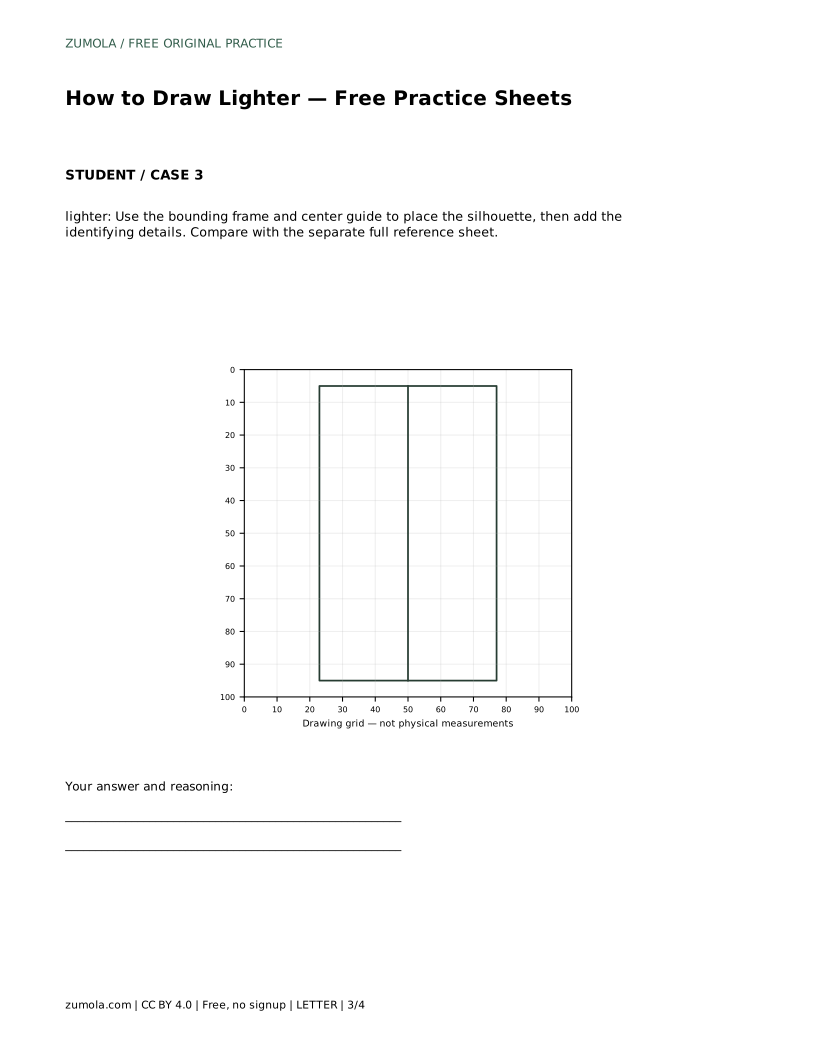
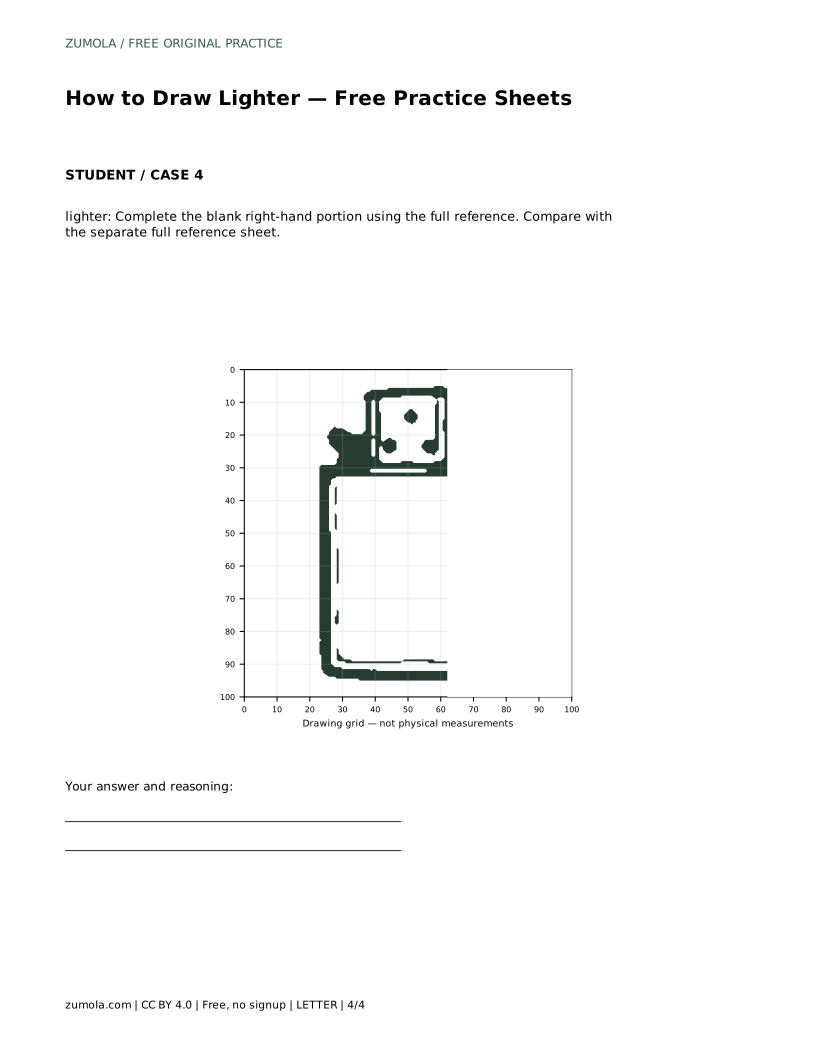
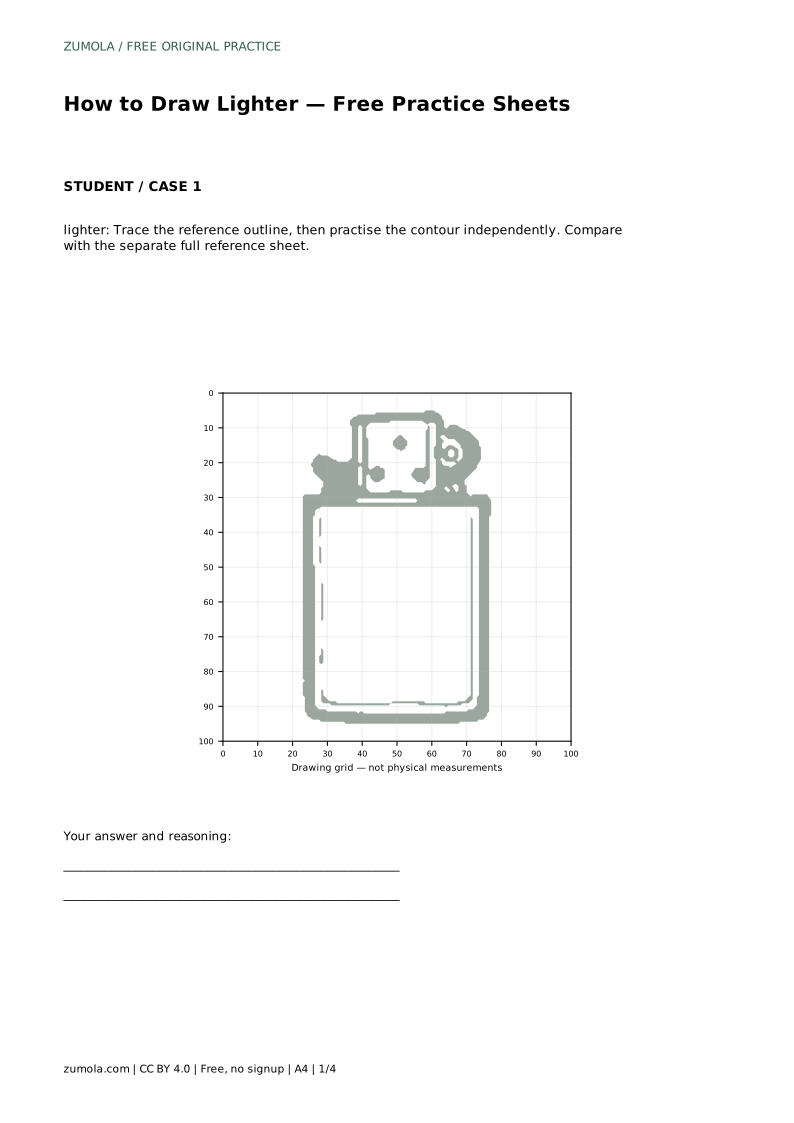
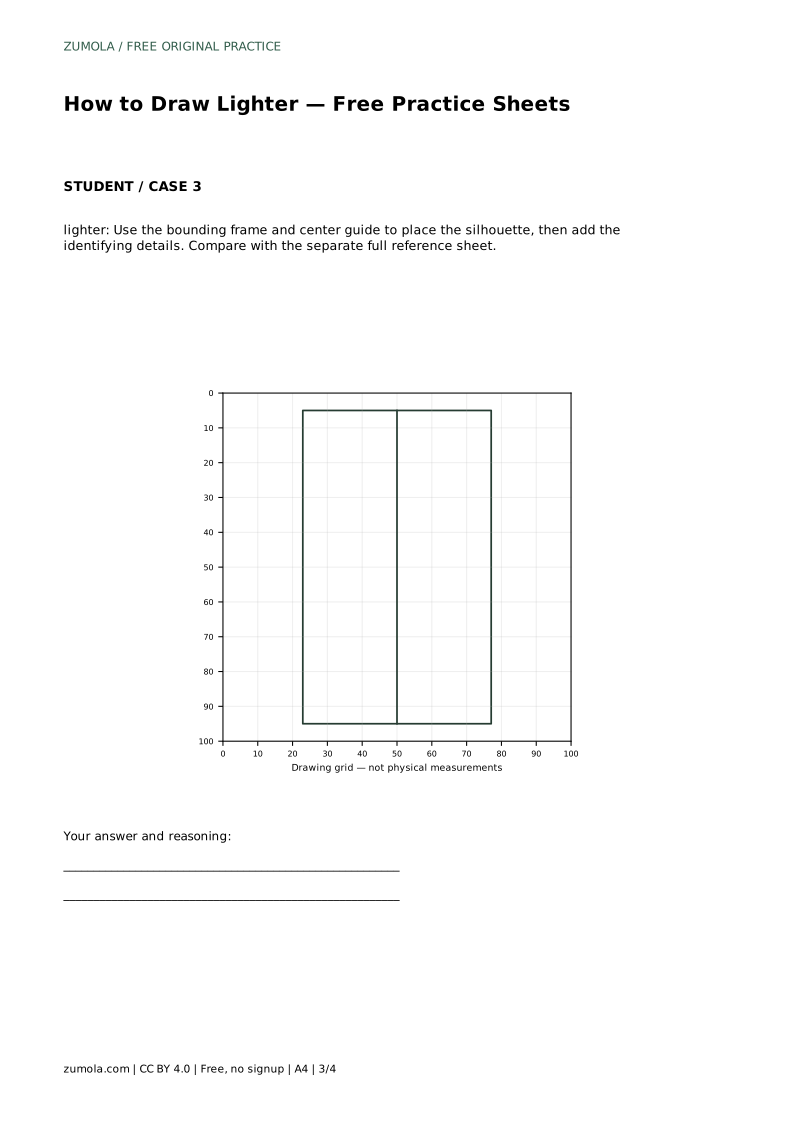
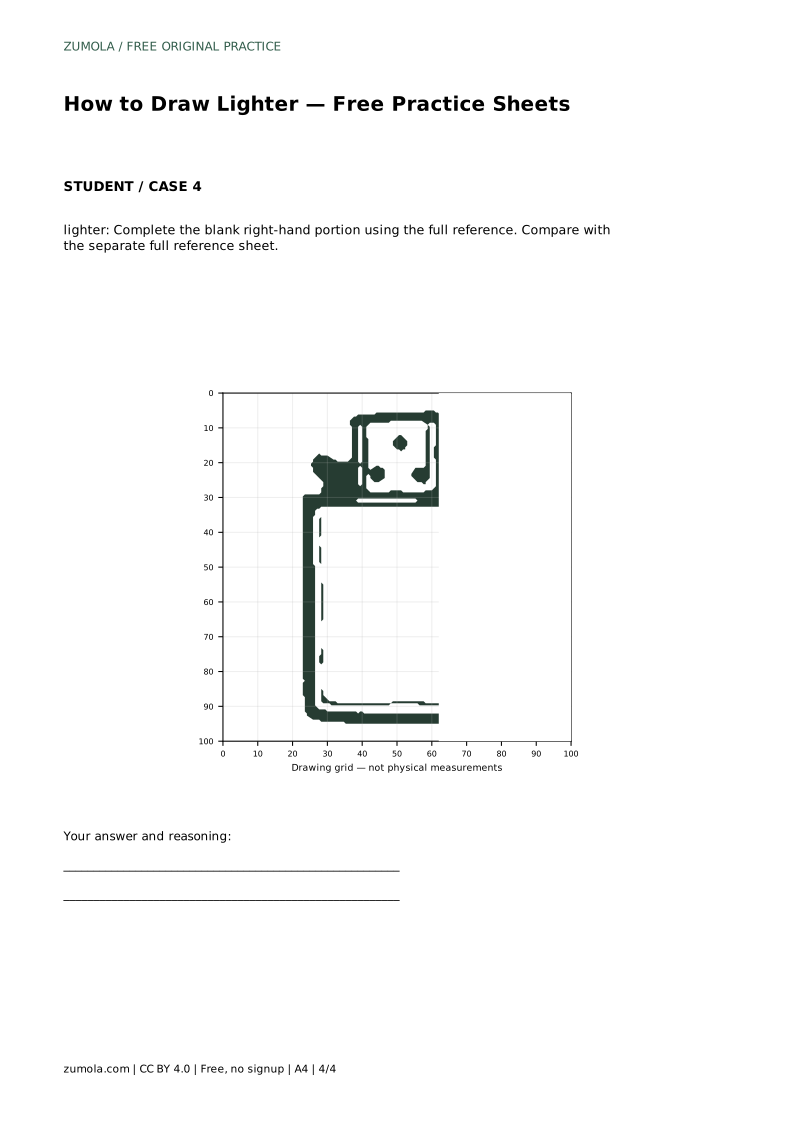
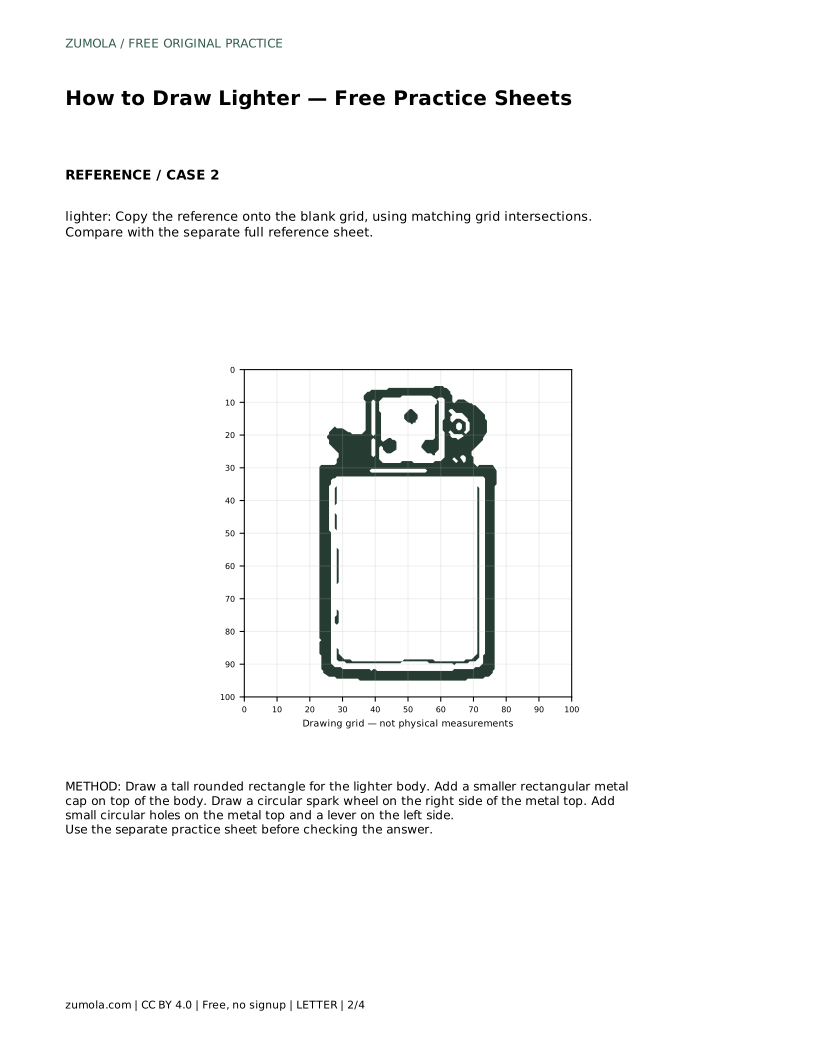
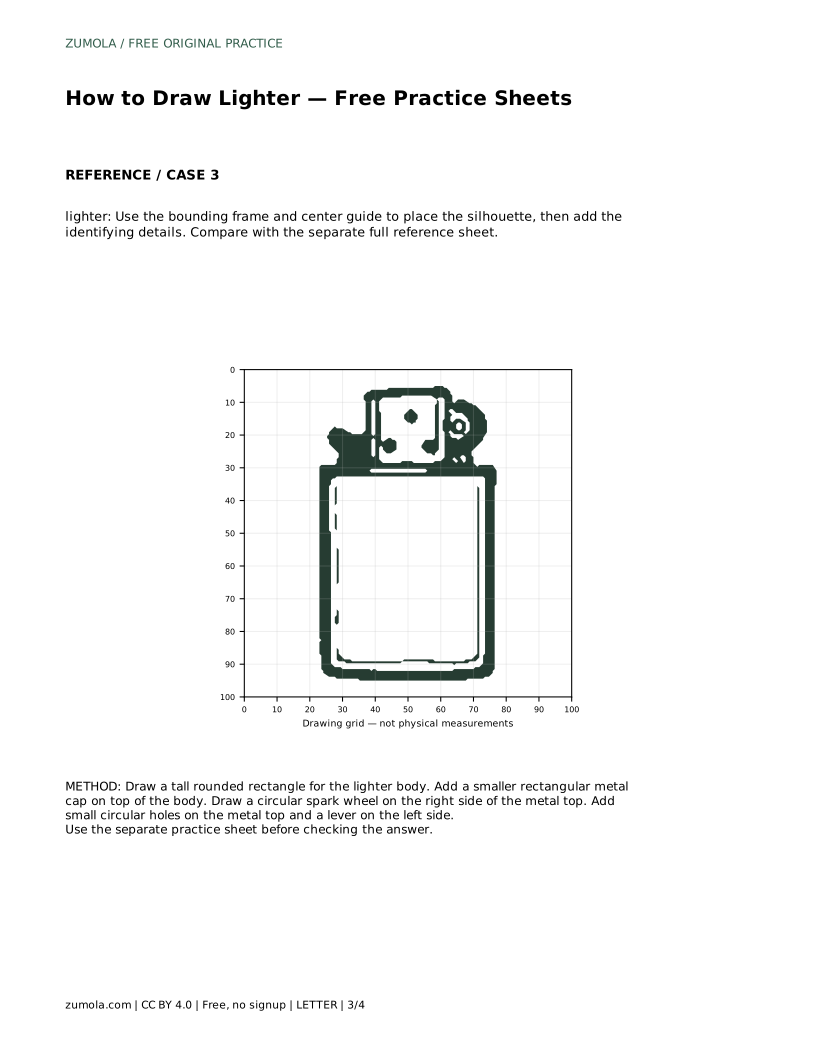
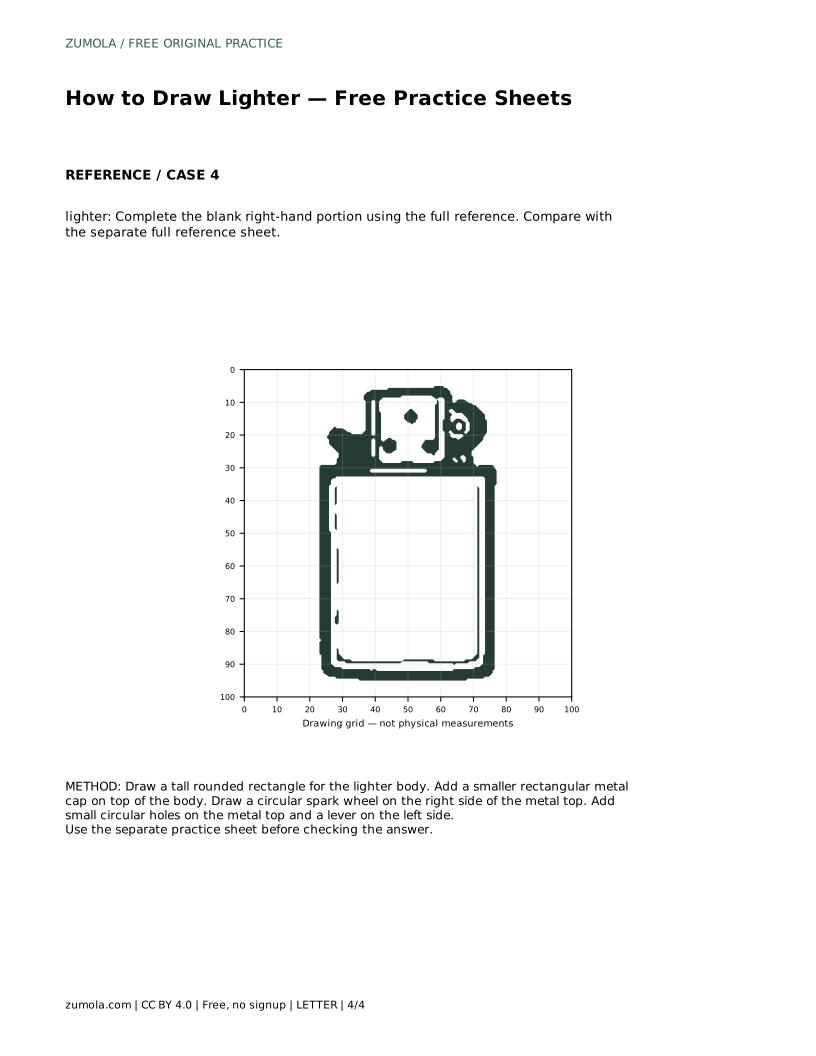
The sheets offer different ways to practise the same subject. One asks you to trace the reference outline, then draw the contour independently and compare with the separate full reference sheet. Another asks you to copy the reference onto a blank grid using matching grid intersections. A third uses a bounding frame and center guide to place the silhouette before adding details. A fourth gives a blank right-hand portion to complete from the full reference.
Each method trains a different skill: tracing builds familiarity, the grid builds proportion, the frame builds placement, and the partial sheet builds recall. Because drawings can vary, judge your work by whether the body, cap, wheel, holes and lever are present and correctly proportioned, not by pixel-perfect matching.
Use a simple rubric rather than looking for an exact answer. Check that the body is a tall rounded rectangle, the cap is shorter and centered, the wheel is circular and on the right, the holes are small and even, and the lever is on the left. Then check relative sizes: the cap should be clearly shorter than the body, and the wheel should not dominate the top.
If something looks wrong, adjust one feature at a time. Redrawing the whole lighter repeatedly hides which proportion caused the problem.
lighter: Trace the reference outline, then practise the contour independently. Compare with the separate full reference sheet.
Example solution: preserve rectangular body with rounded corners, metal top with circular holes, side-mounted spark wheel and lever. Other drawings can be correct; assess the visible features and proportions rather than pixel-perfect matching. Draw a tall rounded rectangle for the lighter body. Add a smaller rectangular metal cap on top of the body. Draw a circular spark wheel on the right side of the metal top. Add small circular holes on the metal top and a lever on the left side.
No. Other drawings can be correct. Assess the visible features and proportions rather than pixel-perfect matching.
Start with the tracing sheet to learn the outline, then try the grid or frame sheet to practise placement without tracing.
Check the body and cap proportions first, because the wheel, holes and lever depend on the cap being the right size.
All drawing practice · Free coordinate paper
Original resources · CC BY 4.0 · Free for personal and classroom use with attribution.