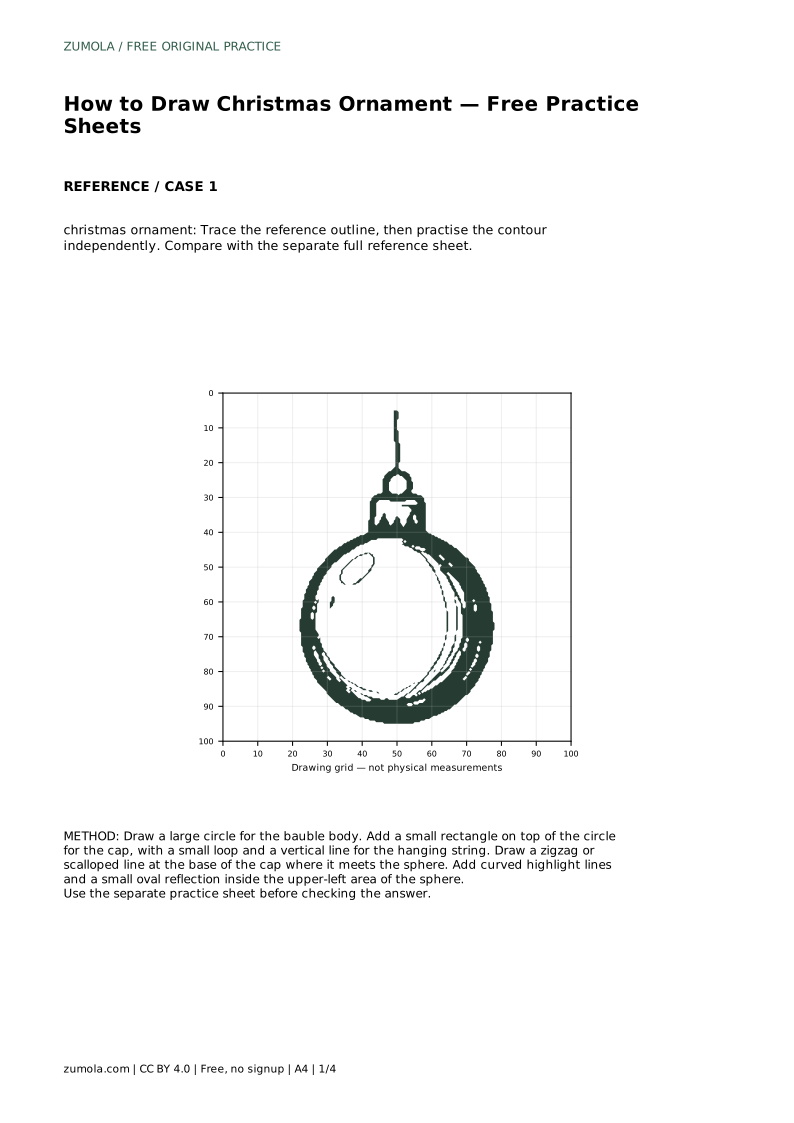
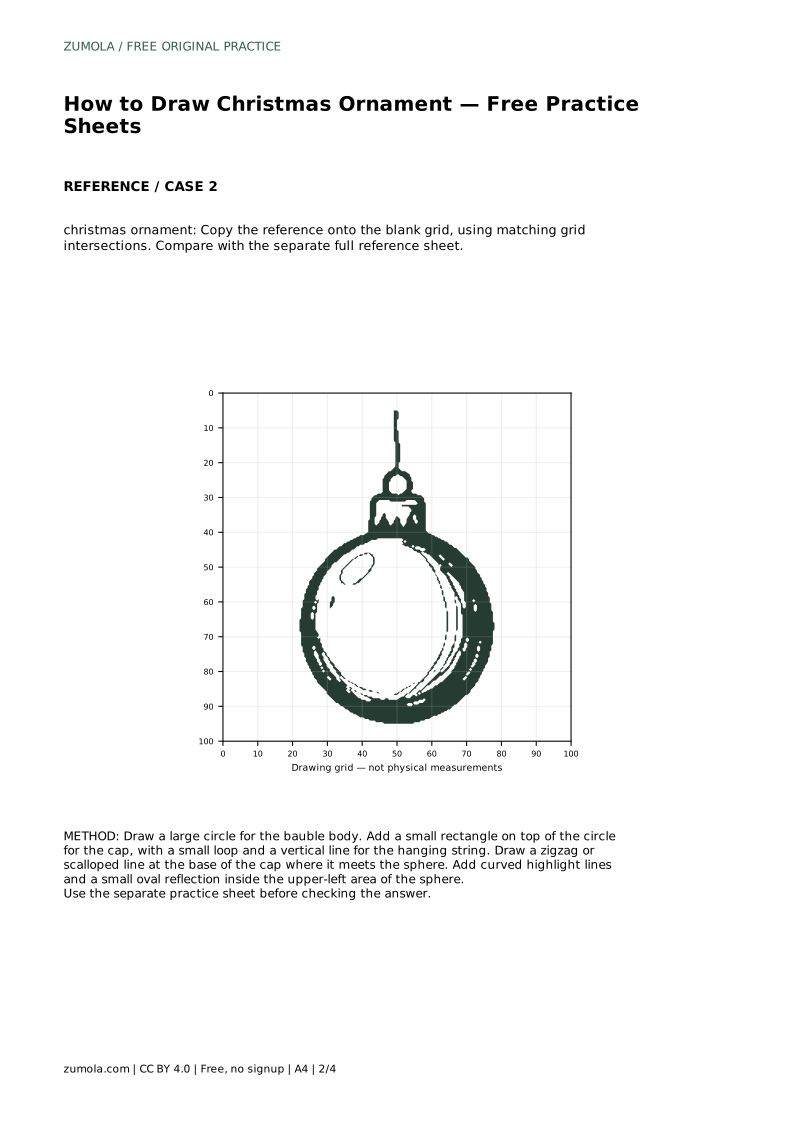
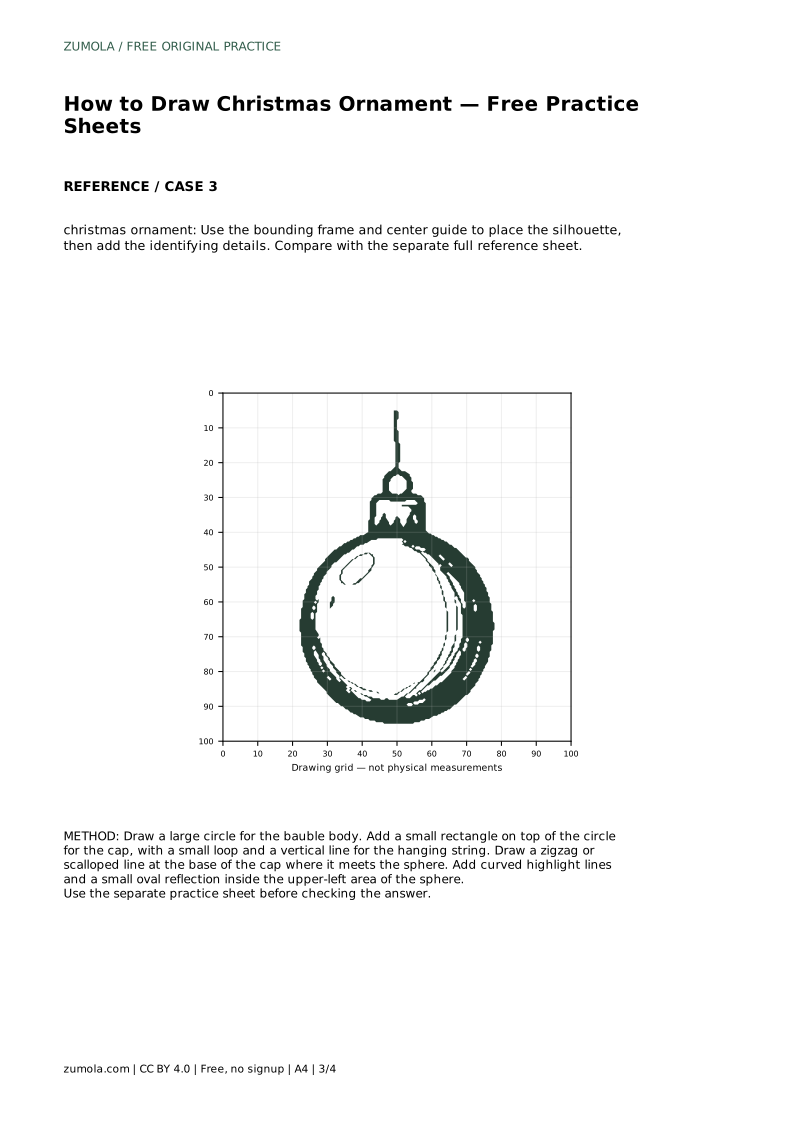
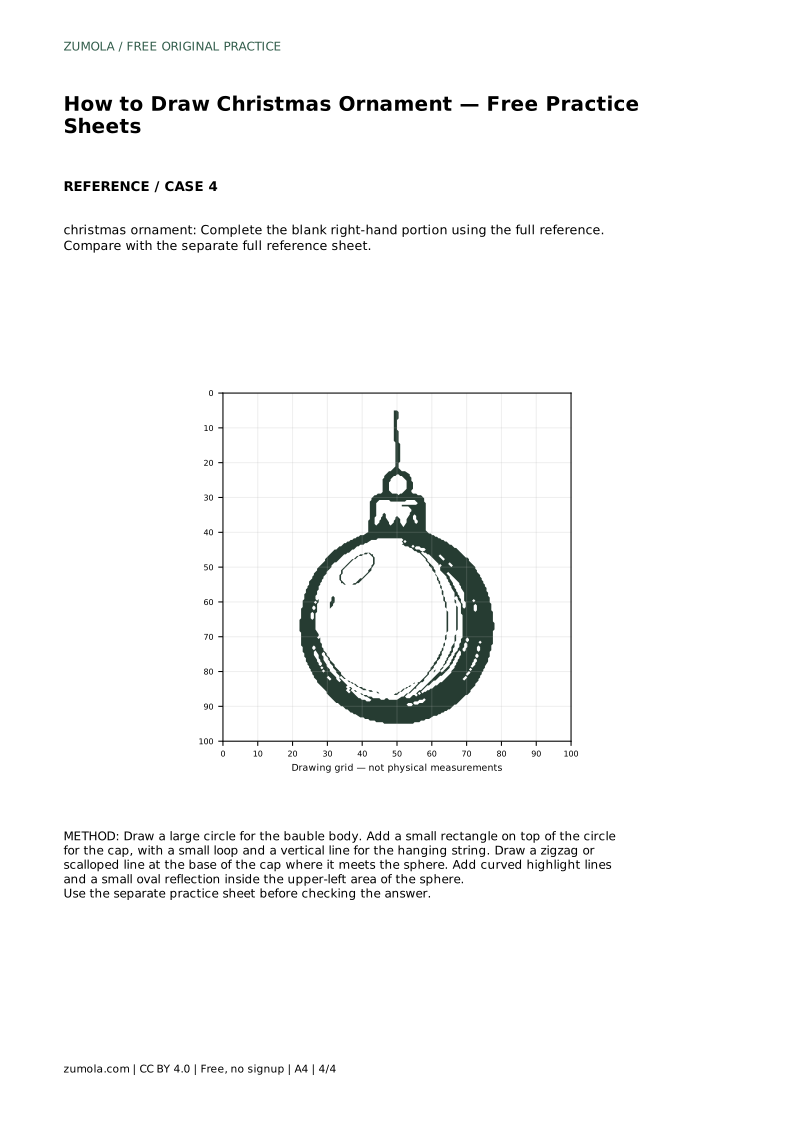
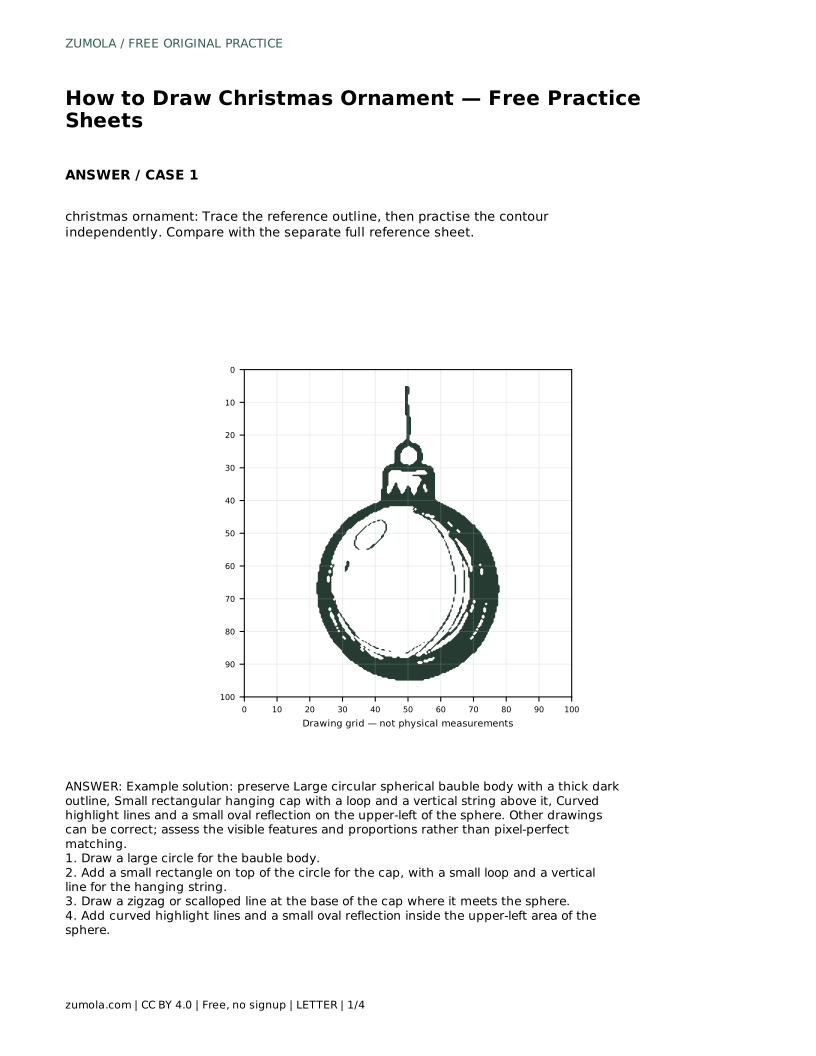
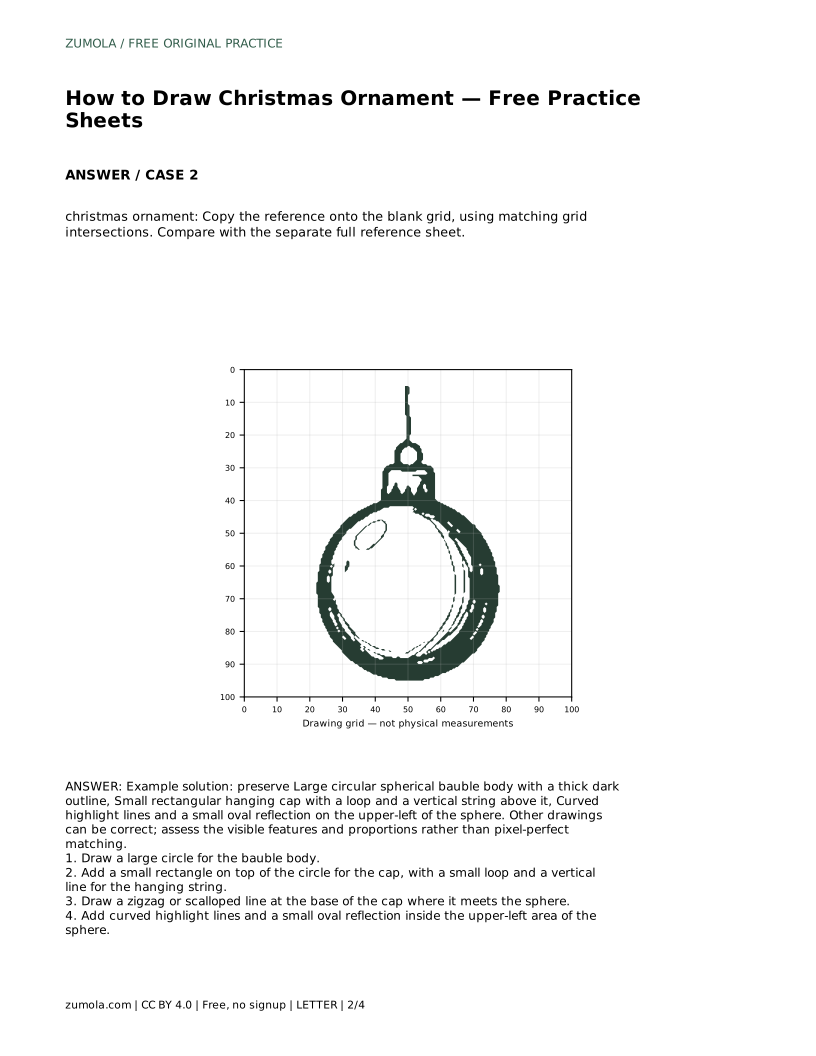
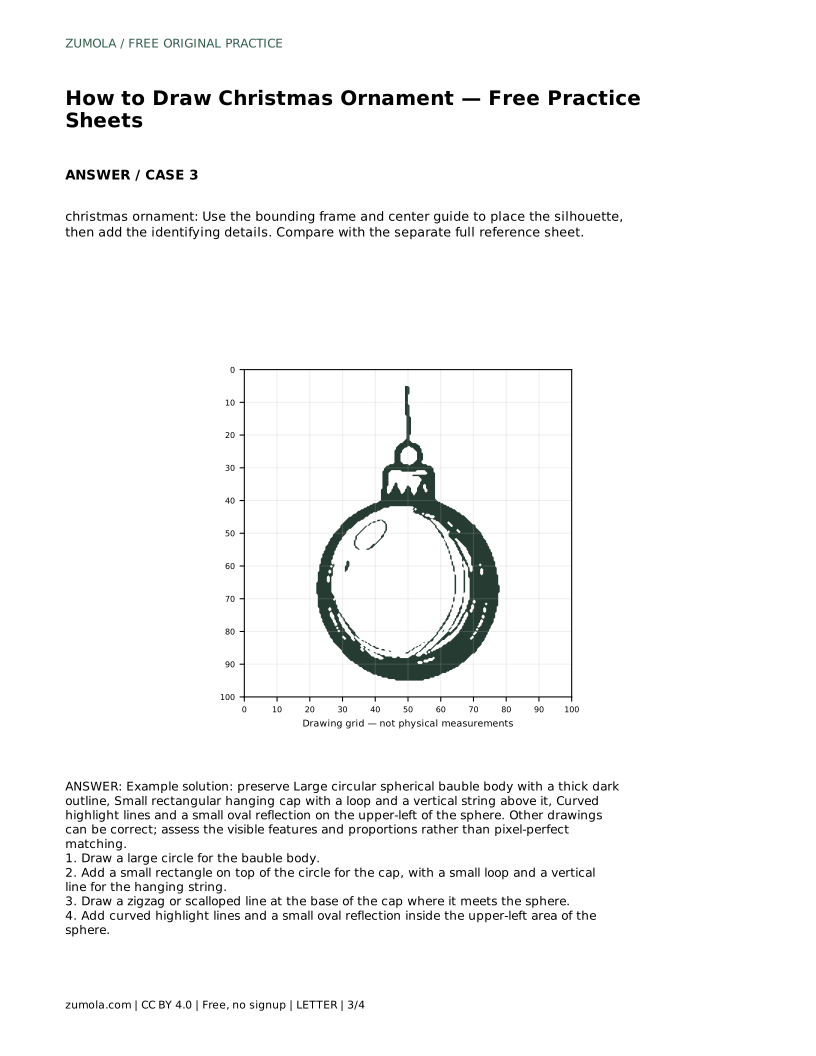
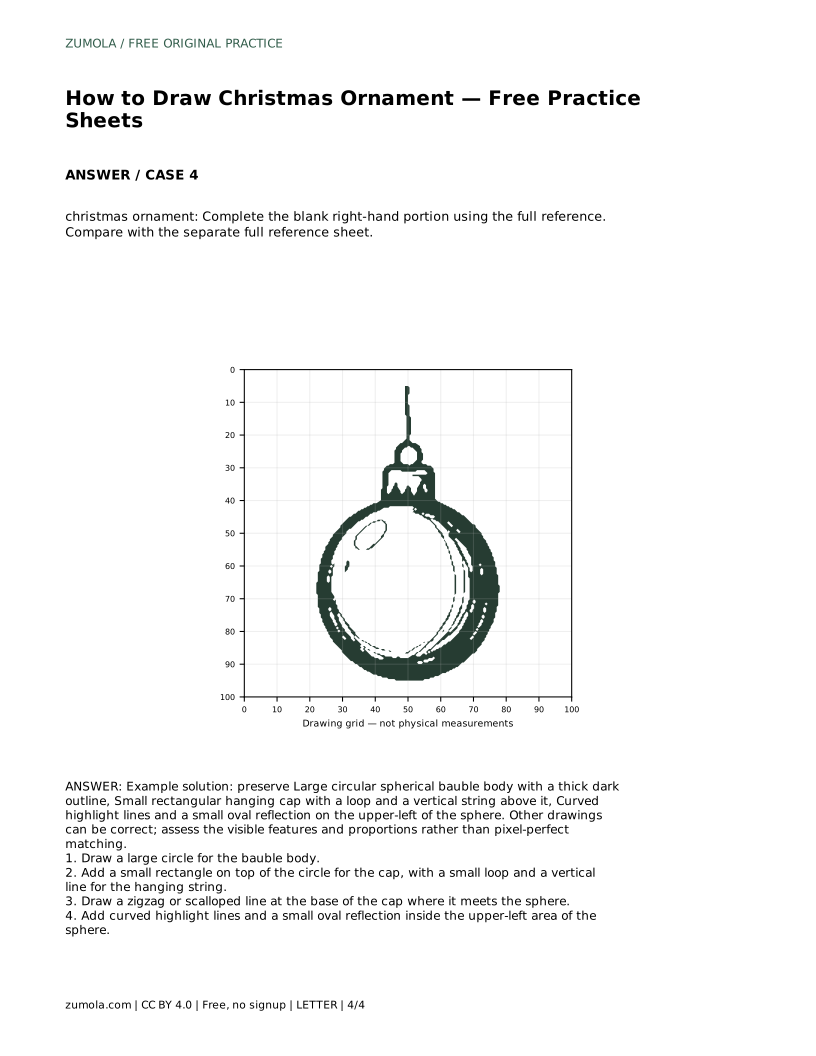
Reference diagrams
LETTER · Download PDF
A4 · Download PDF
Free original resources
Learn to draw a round Christmas bauble with a cap, loop, string, and highlights. Trace, grid, and complete-the-drawing practice build contour control.
Four original cases, with reference diagrams, practice sheets and worked answers. Everything is free; no signup required.
LETTER · Download PDF
A4 · Download PDF
LETTER · Download PDF
A4 · Download PDF
LETTER · Download PDF
A4 · Download PDF
Use A4 or US Letter to match your printer. Use the stated values and conditions to solve each exercise; diagrams are not physical measuring rulers.
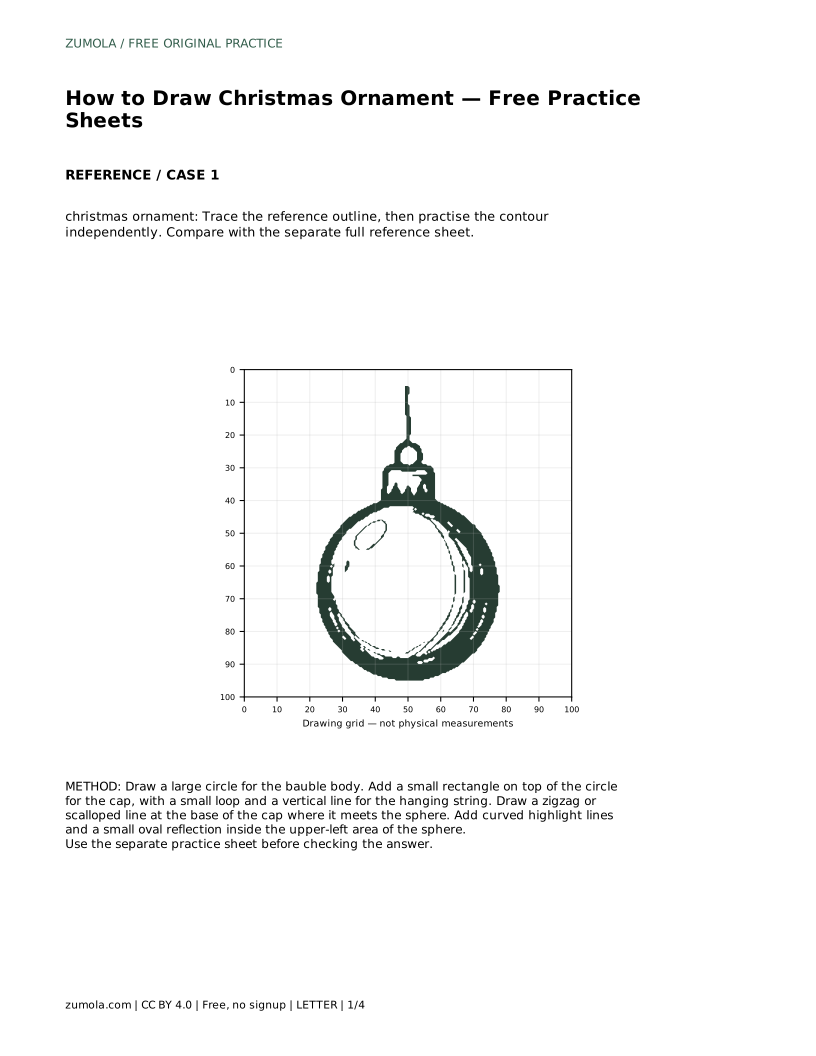
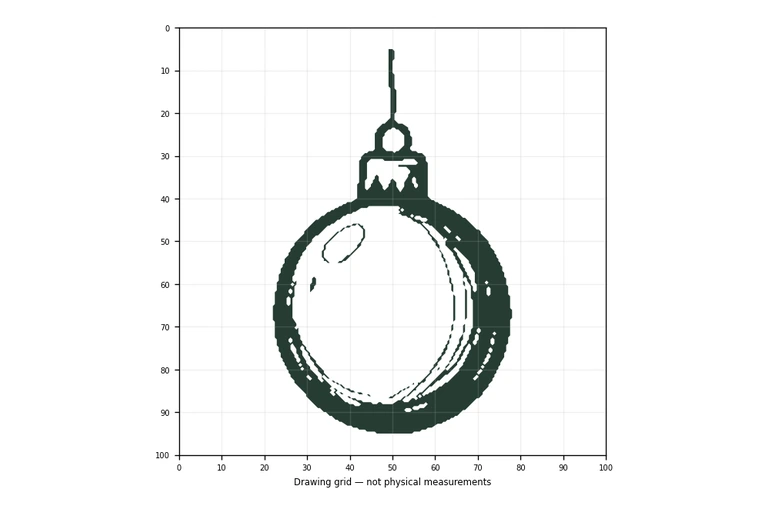
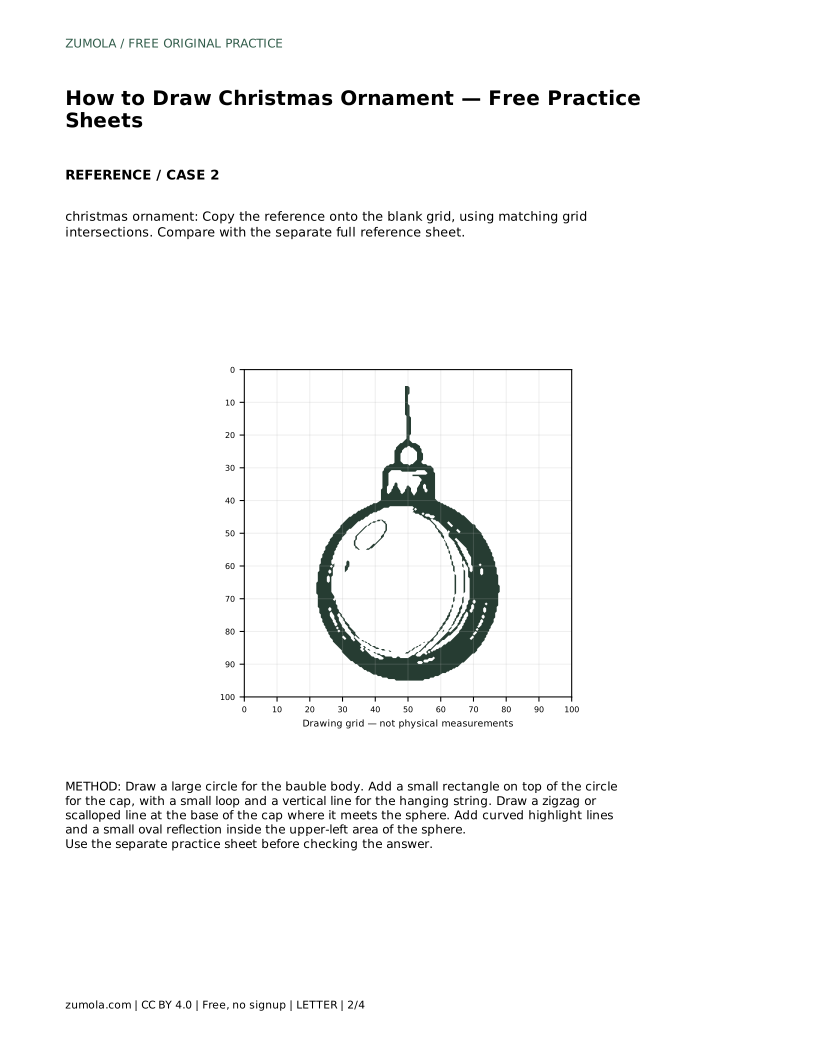
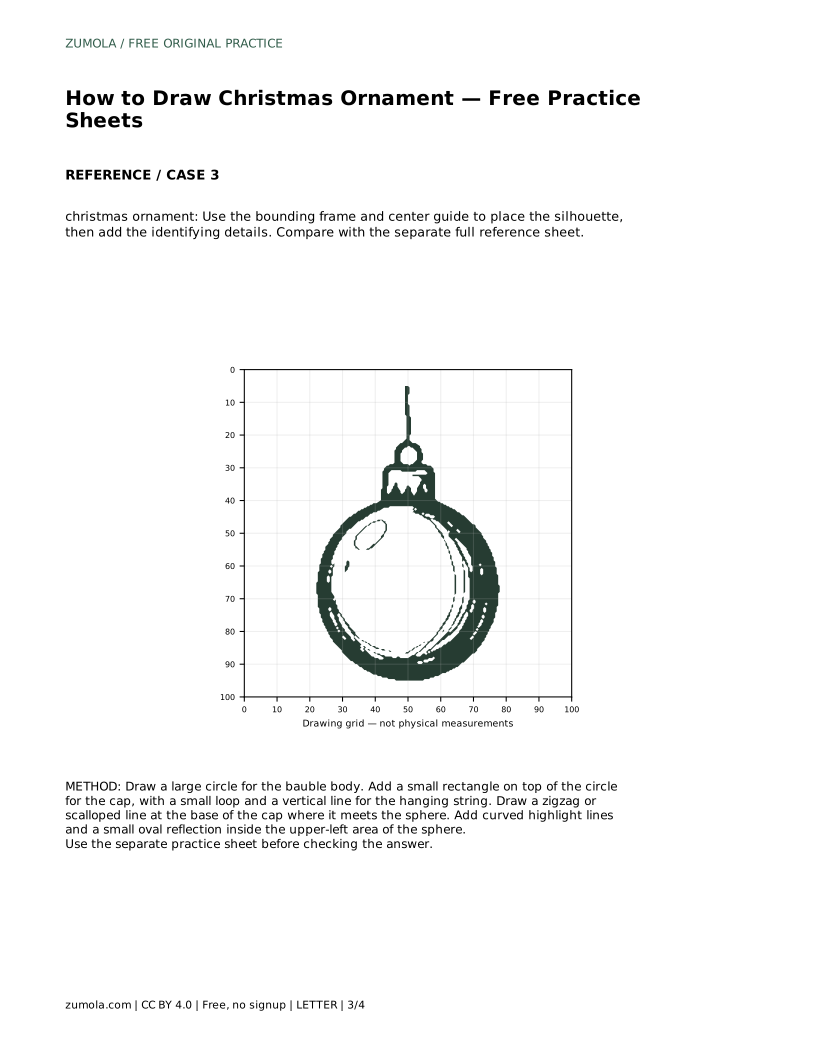
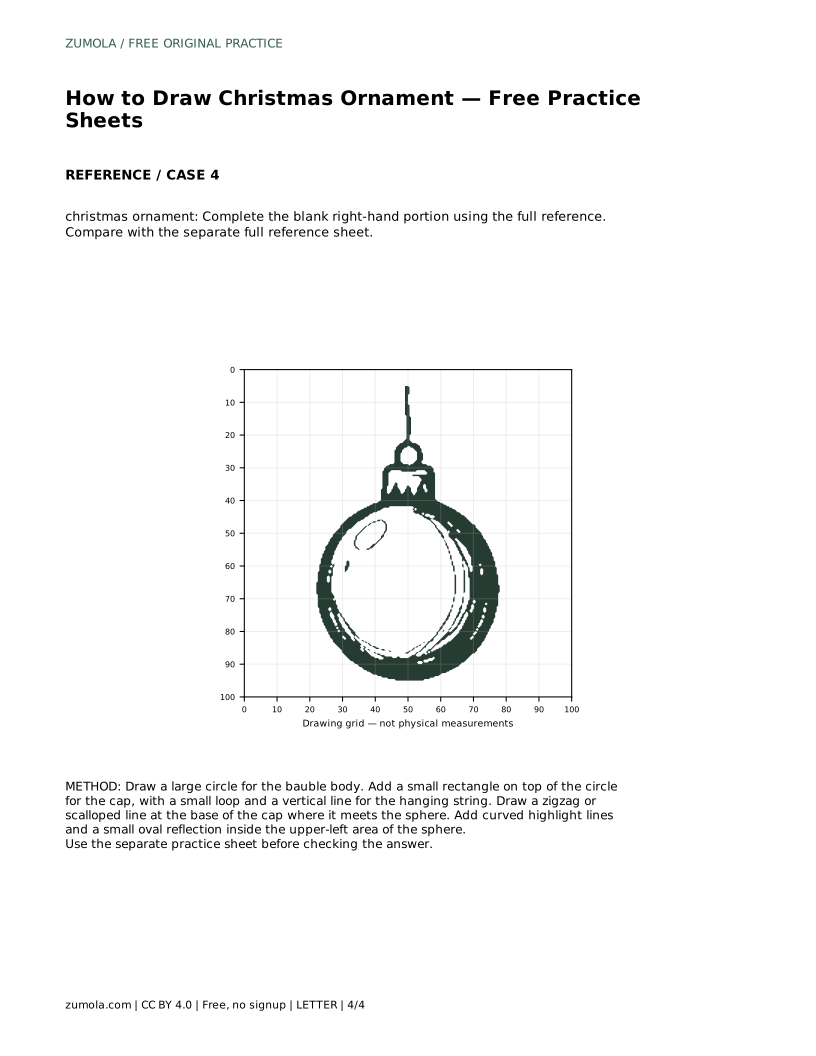
A Christmas ornament is a forgiving subject for drawing practice because its main shape is a simple circle, yet it still asks you to place small details carefully. This page explains how to build a round bauble from its body outward: the sphere, the hanging cap, the loop and string, the decorative band, and the curved highlights that suggest a shiny surface. The practice sheets let you trace, copy onto a grid, or complete a partial drawing, then compare your work with a separate full reference.
Begin with the largest shape, because everything else is positioned relative to it. Draw a large circle for the bauble body. Keep the outline thick and dark so the silhouette reads clearly. A circle drawn freehand rarely looks perfectly round, so turn the paper slightly as you draw, or sketch lightly first and firm up the line once the shape closes.
Next, add a small rectangle on top of the circle for the cap. The cap should sit centered on the top of the sphere, not off to one side. Above the cap, draw a small loop, then a short vertical line for the hanging string. The loop and string are narrow compared with the body, so keep them modest in size; if they grow too wide, the ornament stops looking like something that hangs from a tree.
Where the cap meets the sphere, draw a zigzag or scalloped line. This band separates the metal cap from the glass body and gives the ornament a finished edge. Keep the zigzag even in height; uneven points are fine as a style choice, but they should look deliberate rather than accidental.
Highlights are what make a flat circle look like a shiny sphere. Add curved highlight lines inside the upper-left area of the sphere, following the curve of the outer edge rather than running straight across. Place a small oval reflection near those lines. Keeping all highlights on the same side suggests one light source, which is more convincing than scattering bright marks around the whole body.
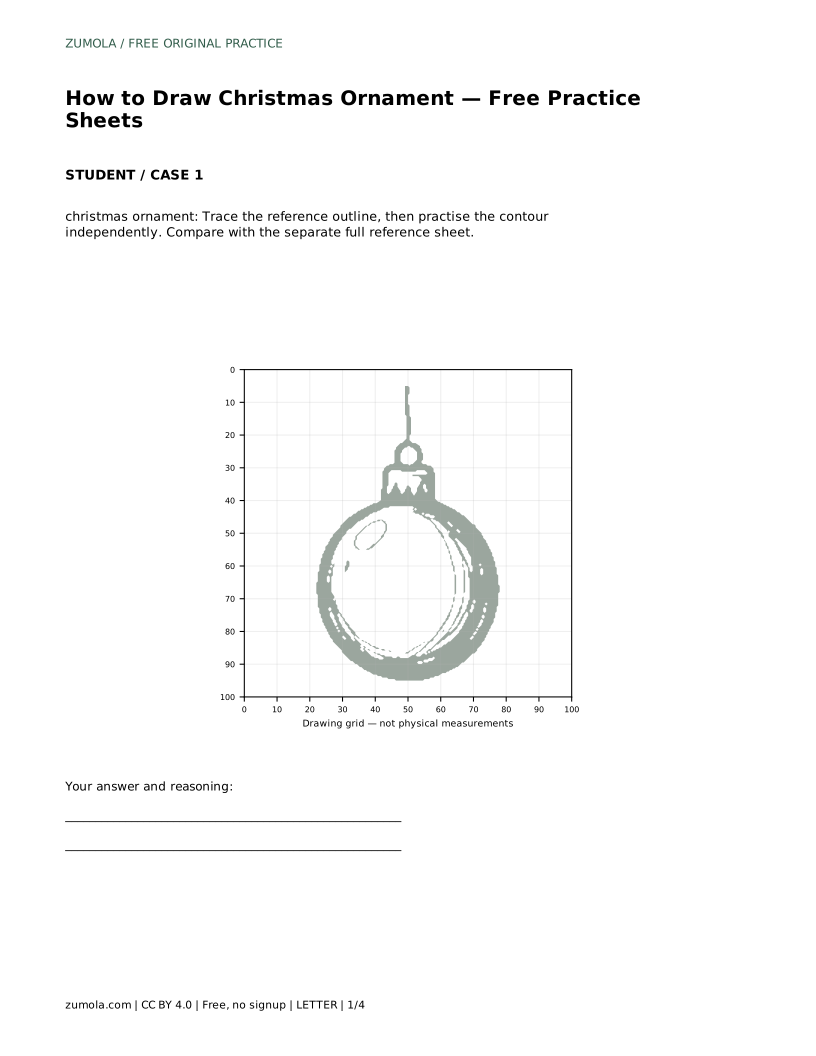
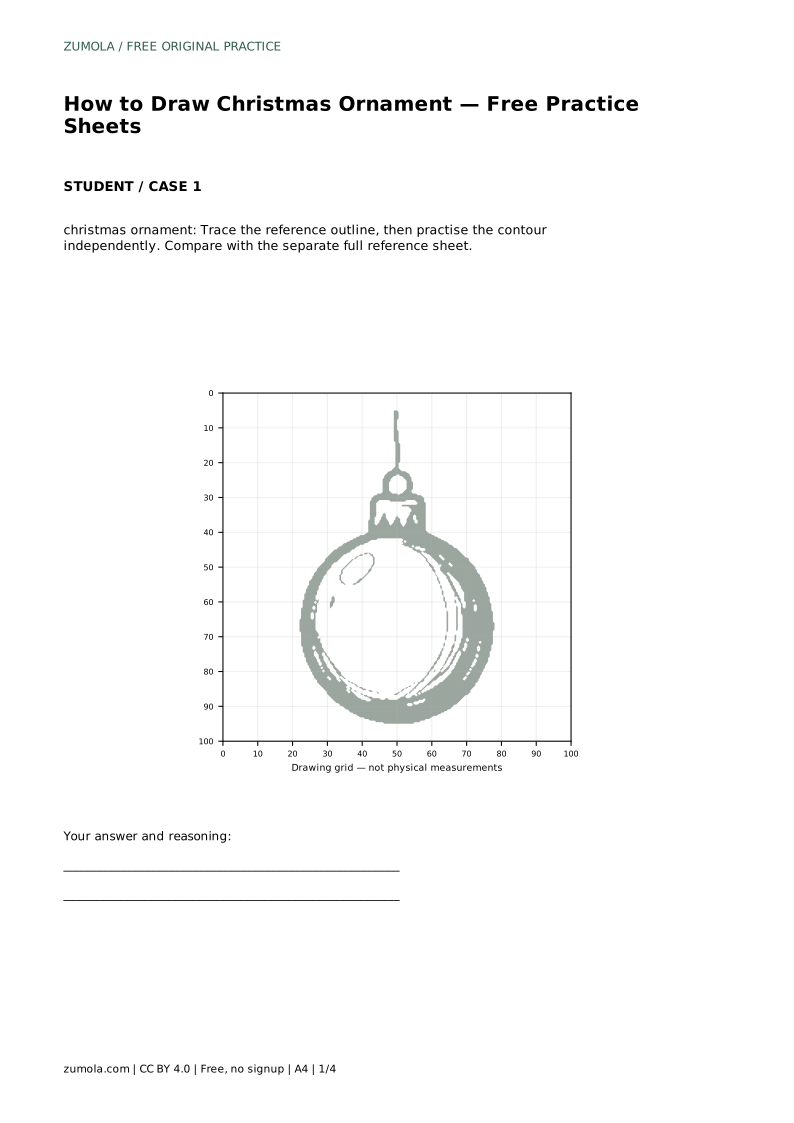
The trace sheet asks you to follow the reference outline first, then practise the contour independently. Tracing builds the habit of a closed, confident outline; the independent pass shows whether you can reproduce it without support. Compare your finished drawing with the separate full reference sheet rather than with the traced copy.
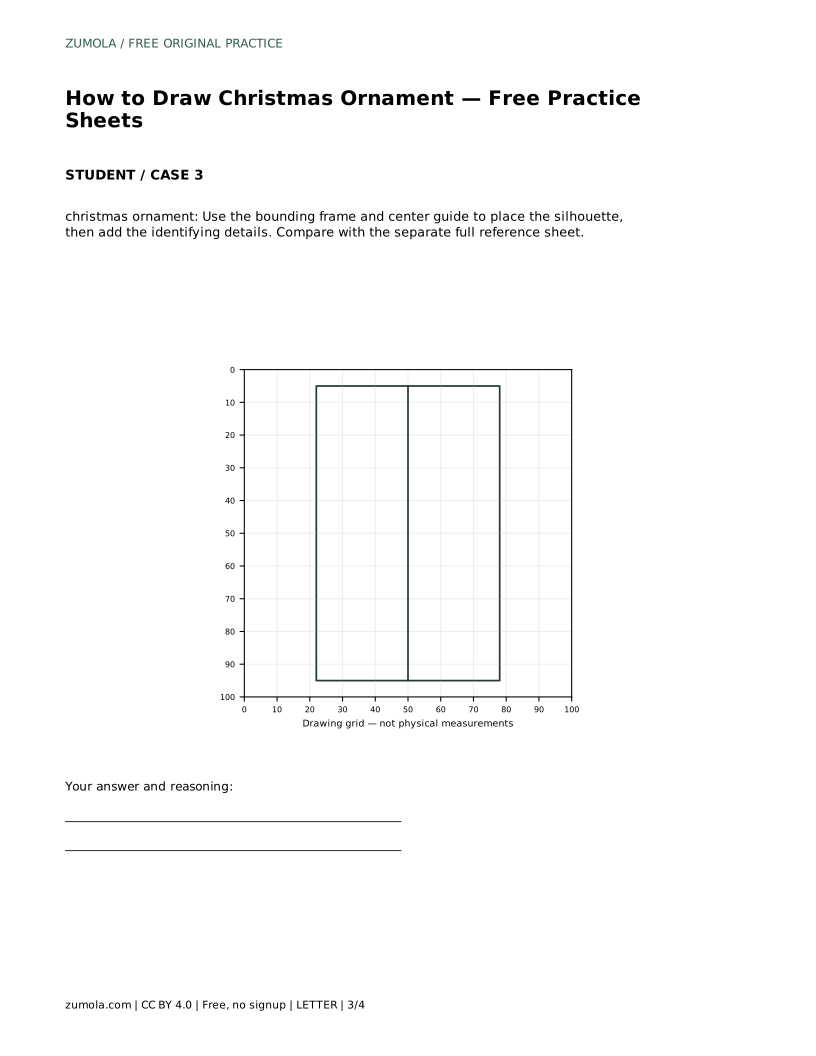
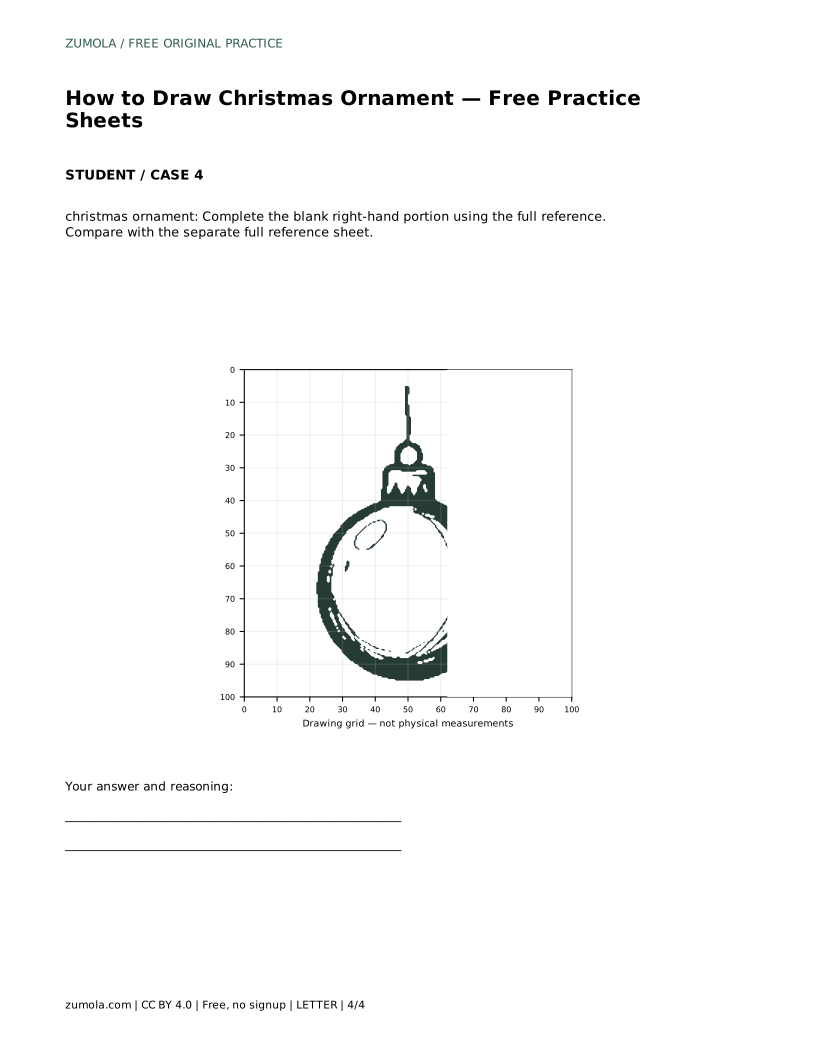
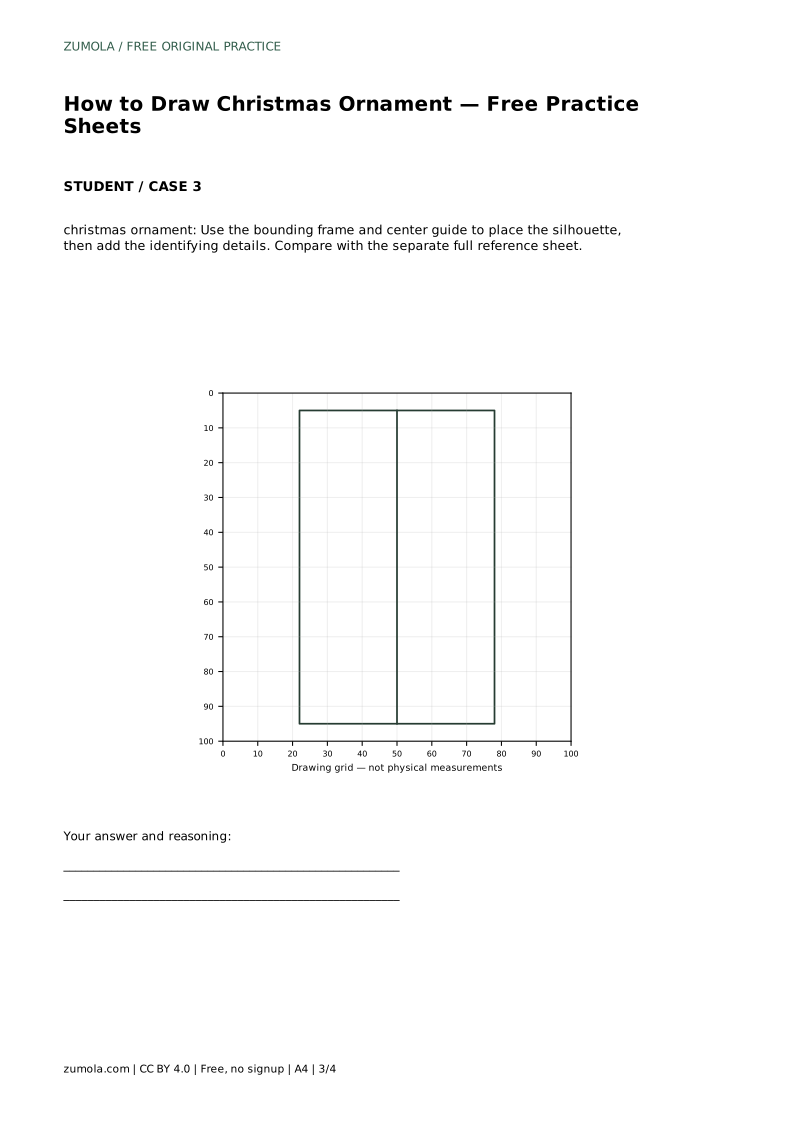
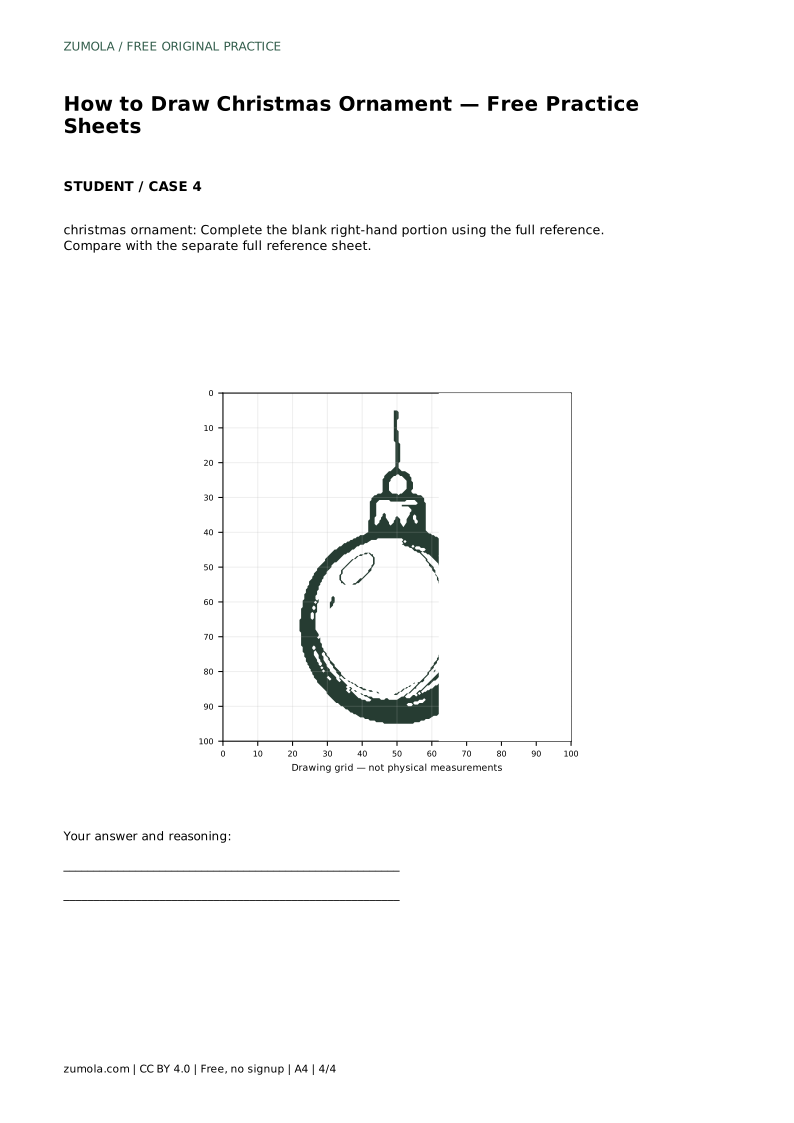
The grid sheet asks you to copy the reference onto a blank grid using matching grid intersections. Use the intersections to judge where the circle's edge, the cap, and the highlights fall. The bounding-frame sheet gives you a frame and center guide to place the silhouette before adding details. The complete-the-drawing sheet gives you the left portion and asks you to finish the blank right-hand portion using the full reference. In every format, the goal is the same set of visible features and sensible proportions, not a pixel-perfect match.
There is no single correct ornament drawing. Different line weights, highlight shapes, and cap styles can all be valid. What matters is whether the main features are present and whether the proportions hold together: a large round body, a small centered cap, a loop and string above it, a band at the cap's base, and highlights grouped on one side. Use the rubric below to assess your own sheet honestly.
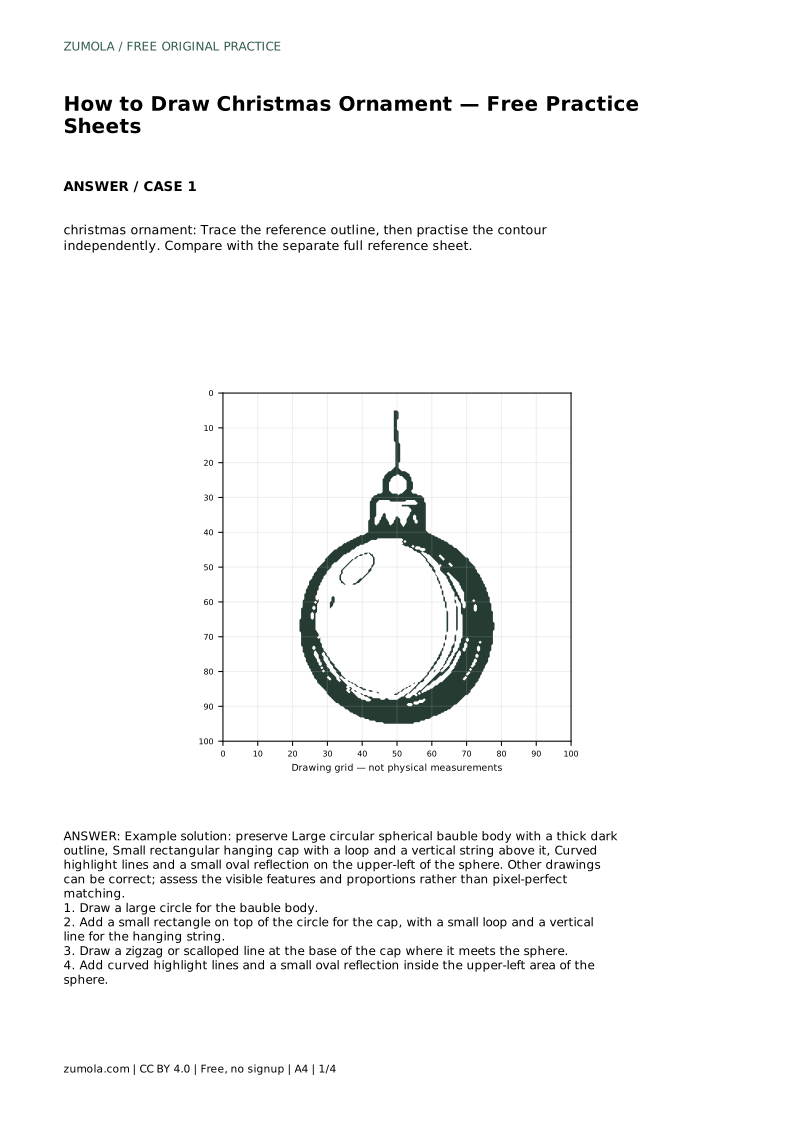
christmas ornament: Trace the reference outline, then practise the contour independently. Compare with the separate full reference sheet.
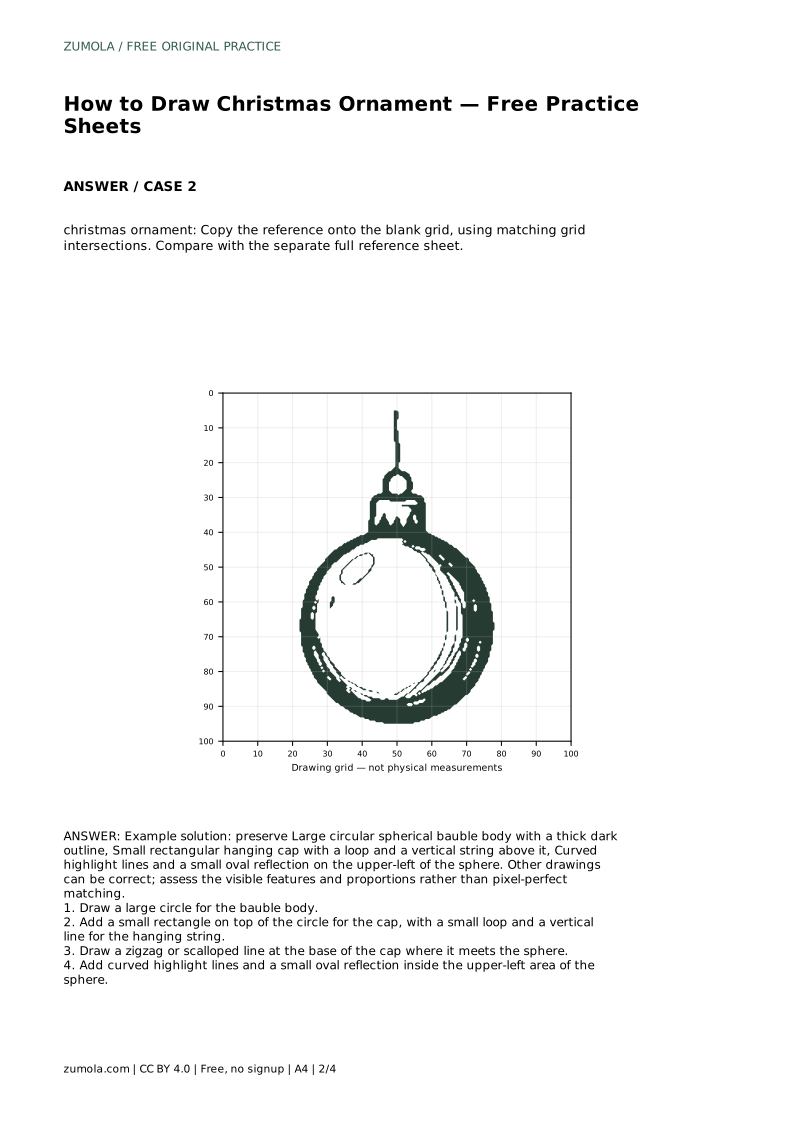
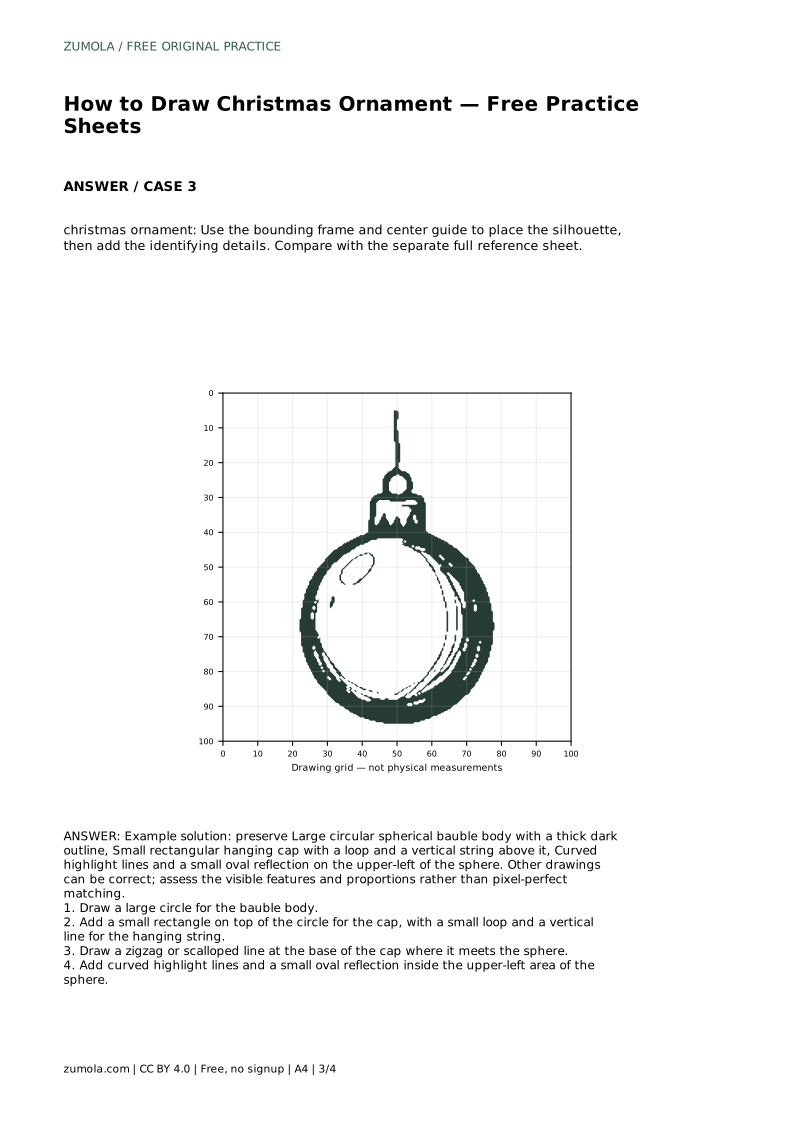
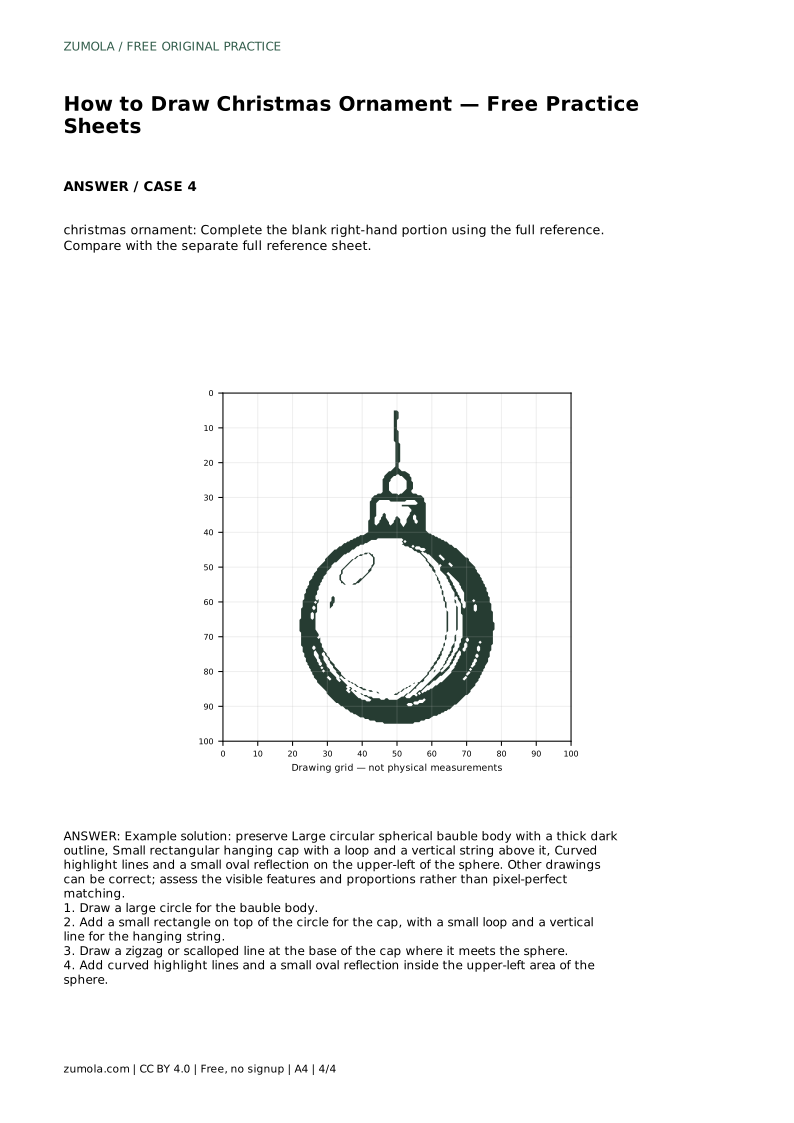
Example solution: preserve Large circular spherical bauble body with a thick dark outline, Small rectangular hanging cap with a loop and a vertical string above it, Curved highlight lines and a small oval reflection on the upper-left of the sphere. Other drawings can be correct; assess the visible features and proportions rather than pixel-perfect matching. Draw a large circle for the bauble body. Add a small rectangle on top of the circle for the cap, with a small loop and a vertical line for the hanging string. Draw a zigzag or scalloped line at the base of the cap where it meets the sphere. Add curved highlight lines and a small oval reflection inside the upper-left area of the sphere.
No. A slightly irregular circle still reads as a bauble if the cap, loop, string, band, and highlights are placed sensibly. Aim for a closed, confident outline rather than a mechanically perfect curve.
The upper-left is used in the reference, but any consistent side works. What matters is that the curved lines and the small oval reflection sit together, suggesting a single light source.
Compare visible features and proportions with the full reference: body size, cap position, band height, and highlight placement. Use the rubric criteria rather than expecting a pixel-for-pixel match.
All drawing practice · Free coordinate paper
Original resources · CC BY 4.0 · Free for personal and classroom use with attribution.