Reference diagrams
LETTER · Download PDF
A4 · Download PDF
Free original resources
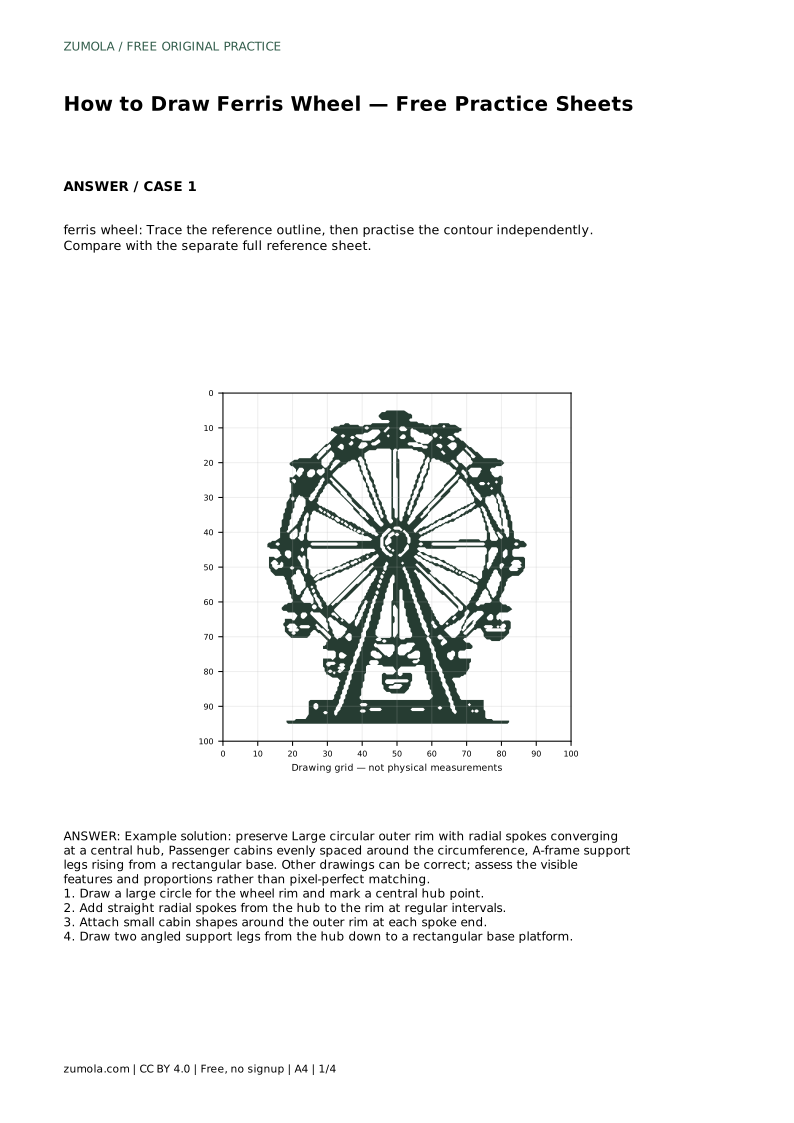
Learn to draw a ferris wheel with a circular rim, radial spokes, evenly spaced cabins, and A-frame supports. Includes tracing, grid, and partial-reference practice.
Four original cases, with reference diagrams, practice sheets and worked answers. Everything is free; no signup required.
LETTER · Download PDF
A4 · Download PDF
LETTER · Download PDF
A4 · Download PDF
LETTER · Download PDF
A4 · Download PDF
Use A4 or US Letter to match your printer. Use the stated values and conditions to solve each exercise; diagrams are not physical measuring rulers.
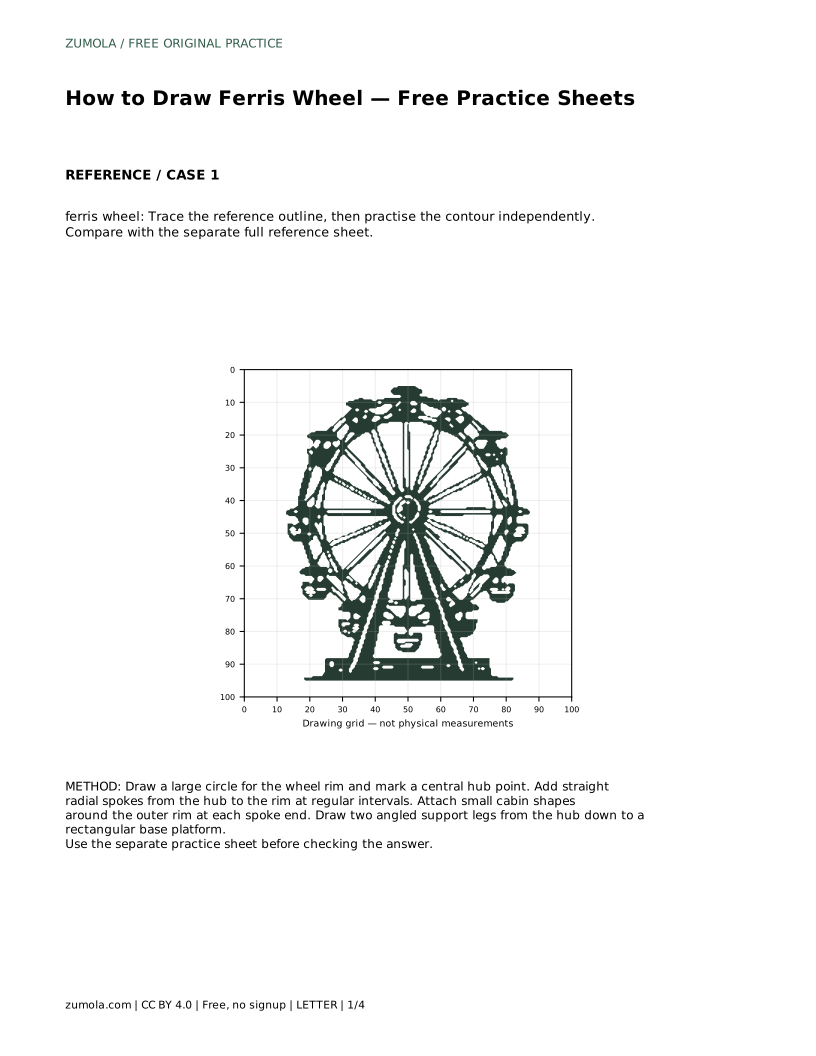
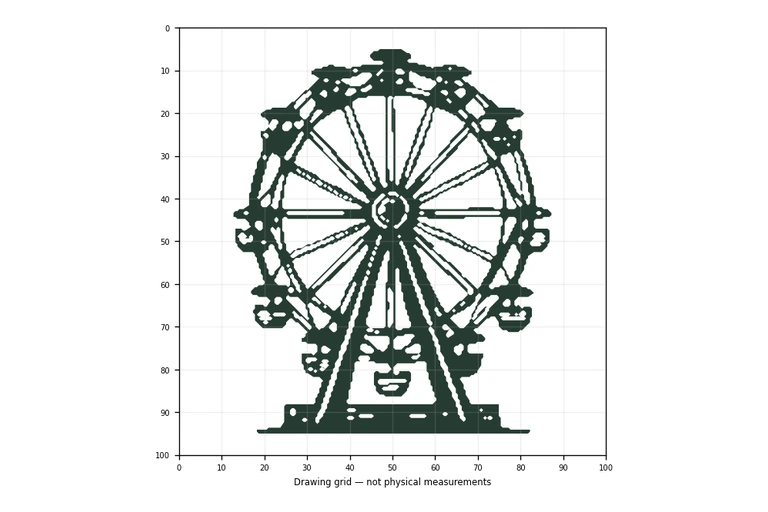
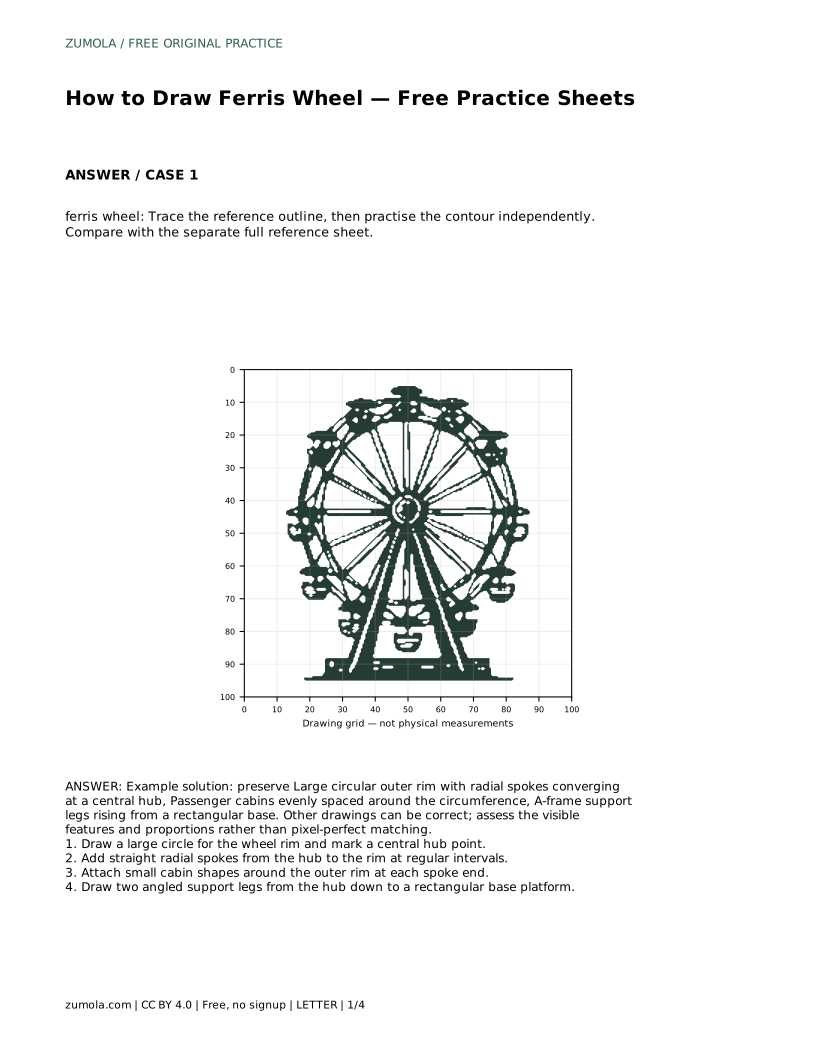
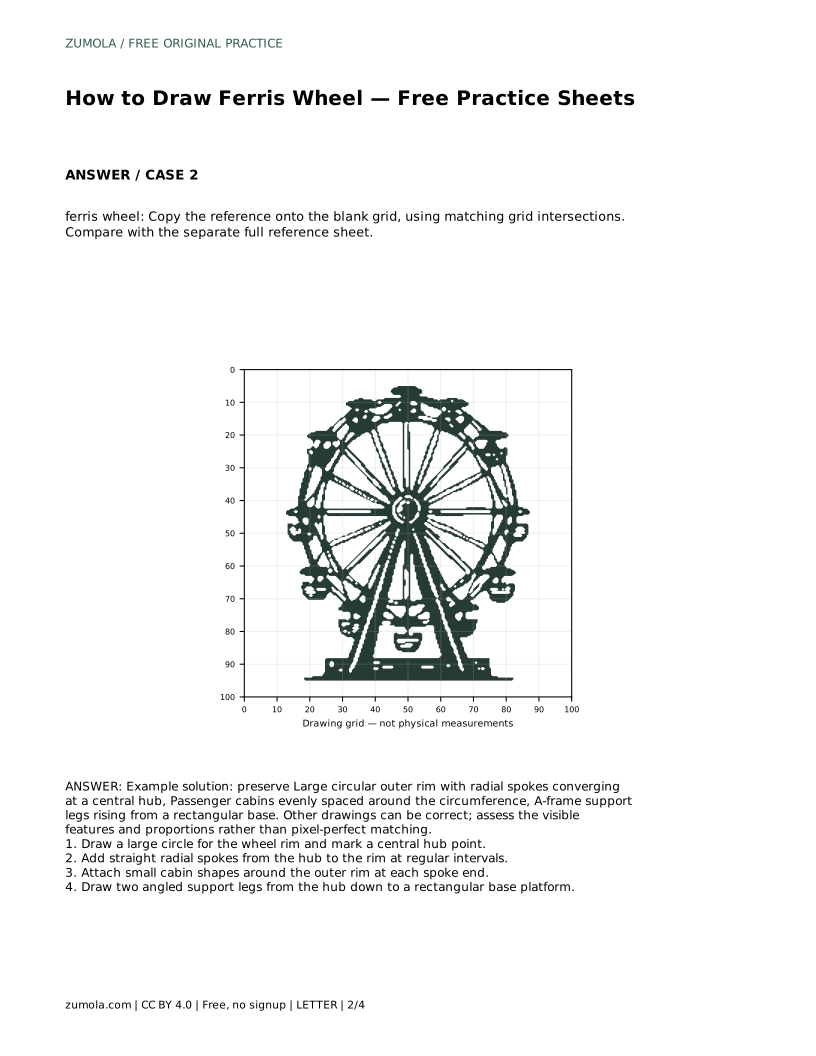
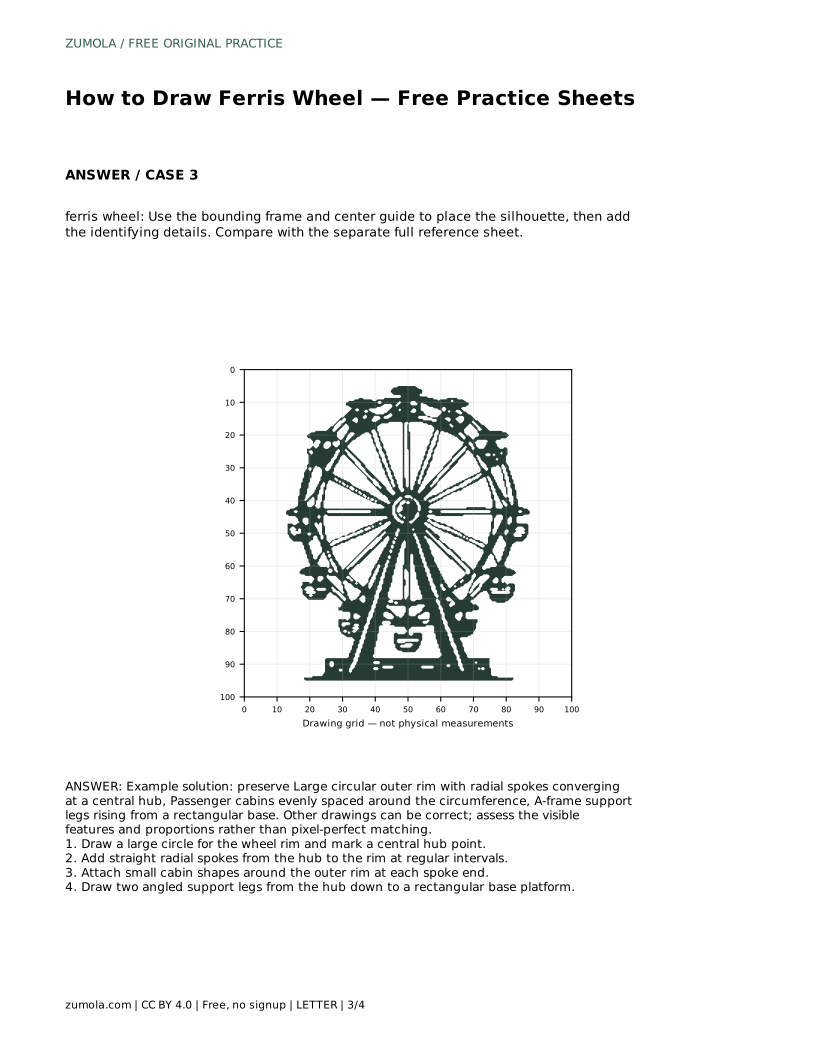
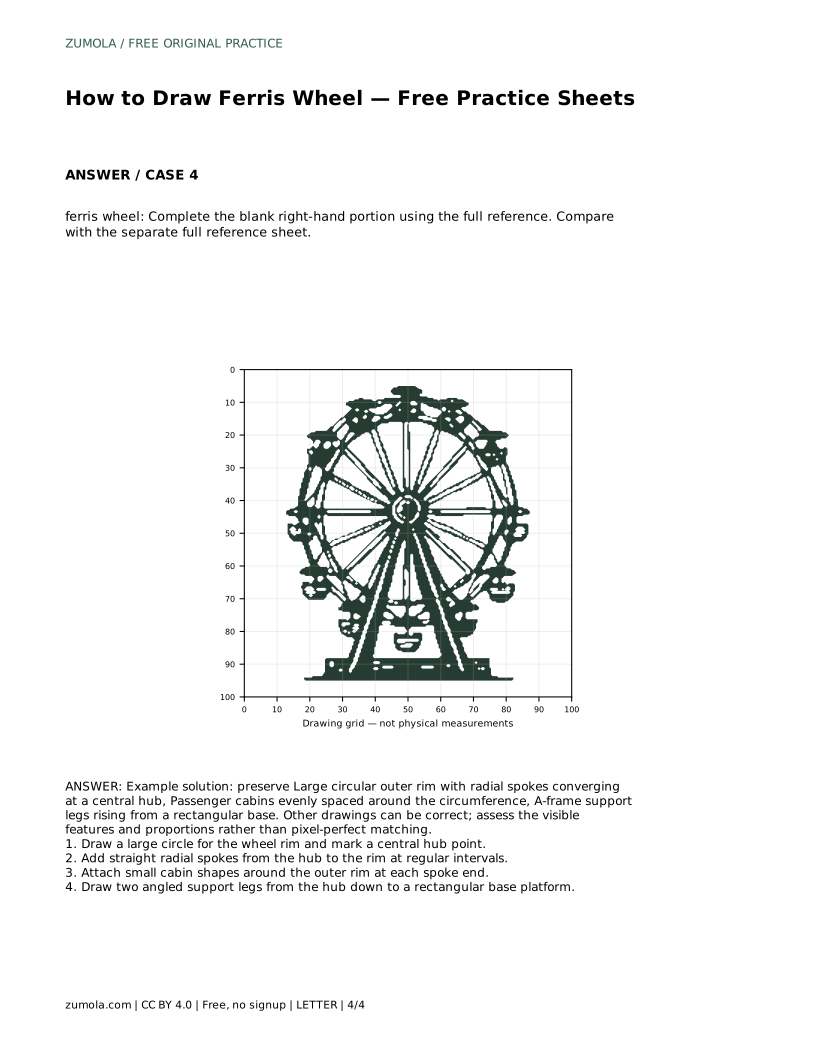
A ferris wheel is mostly a set of simple shapes held together by one strong idea: everything on the wheel relates to a single center point. This page shows you how to build that structure step by step, then how to use tracing, grid, and partial-reference sheets to practise it. The goal is not a pixel-perfect copy. Different drawings can be correct when the main features and proportions are visible and consistent.
Start with the large circular outer rim. Mark a central hub point before adding anything else, because every spoke will aim at that point. Draw straight radial spokes from the hub to the rim at regular intervals. Regular spacing matters more than an exact count; pick a number you can repeat around the circle, such as eight or twelve, and keep the gaps even.
At each spoke end, attach a small cabin shape around the outer rim. Cabins should sit on the circumference rather than float inside or outside it. Keep their size consistent so the wheel reads as balanced. Finally, draw two angled support legs from the hub down to a rectangular base platform. The legs form an A-frame, and the base should look wide enough to hold the wheel steady.
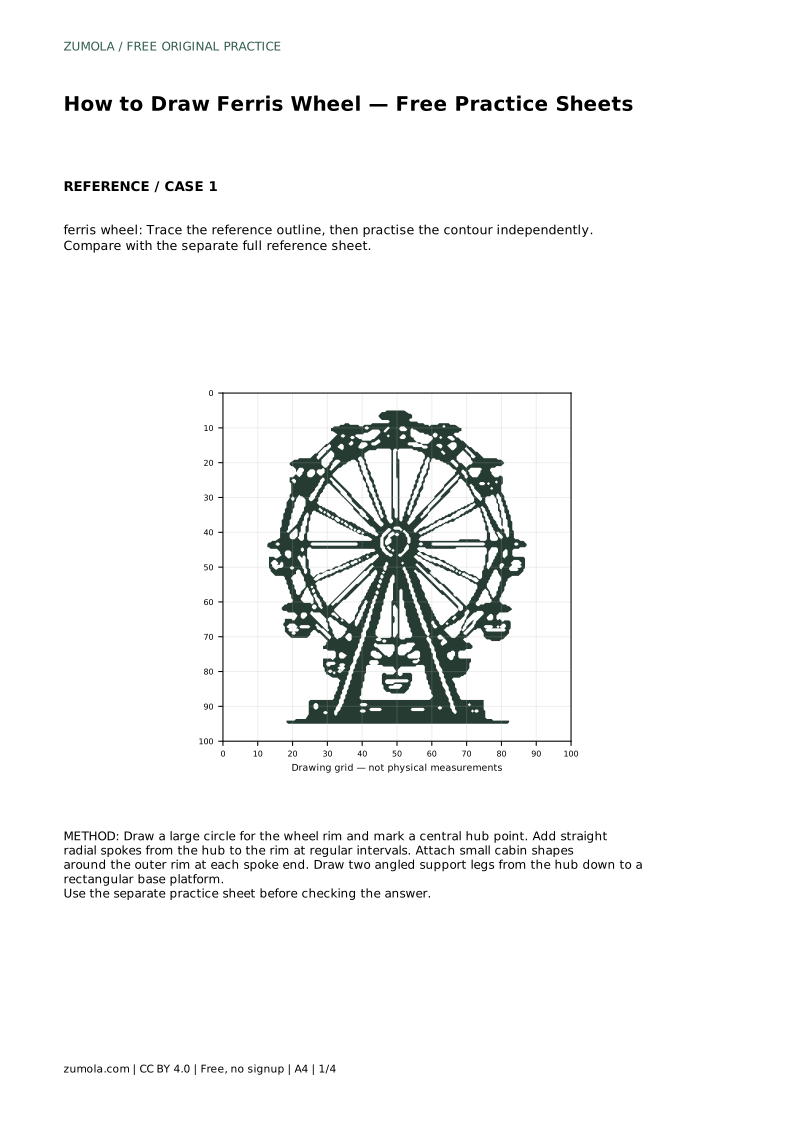
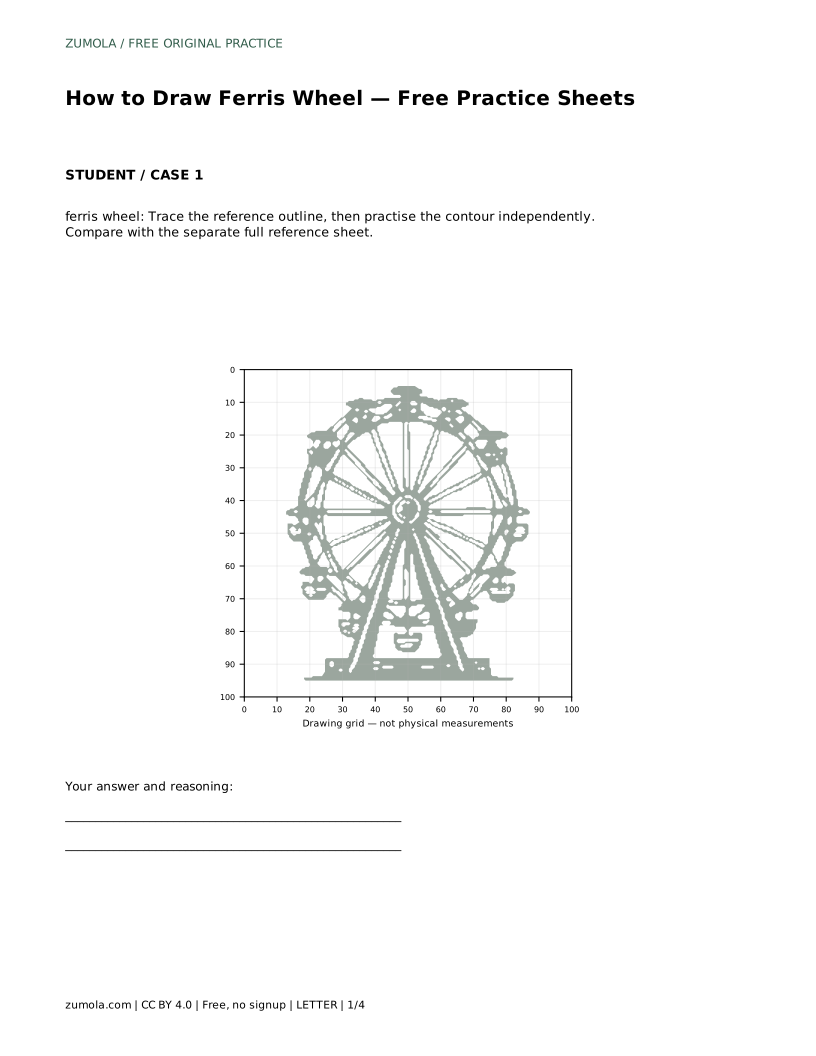
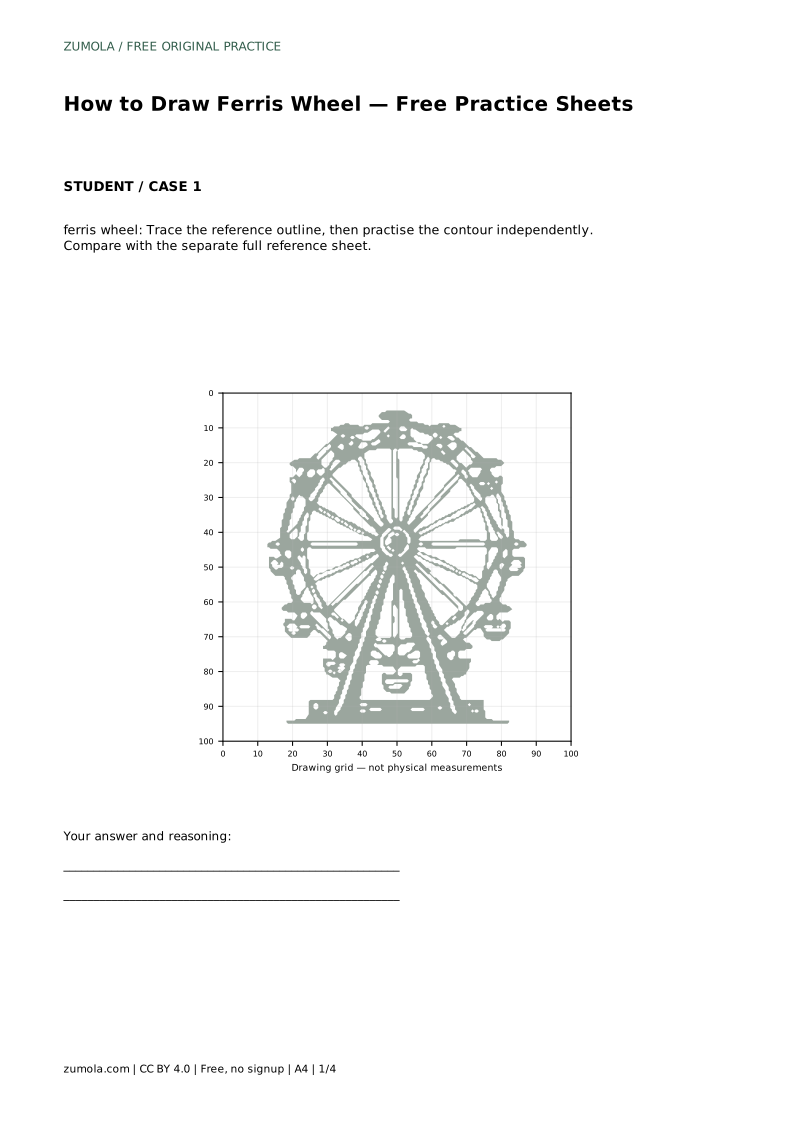
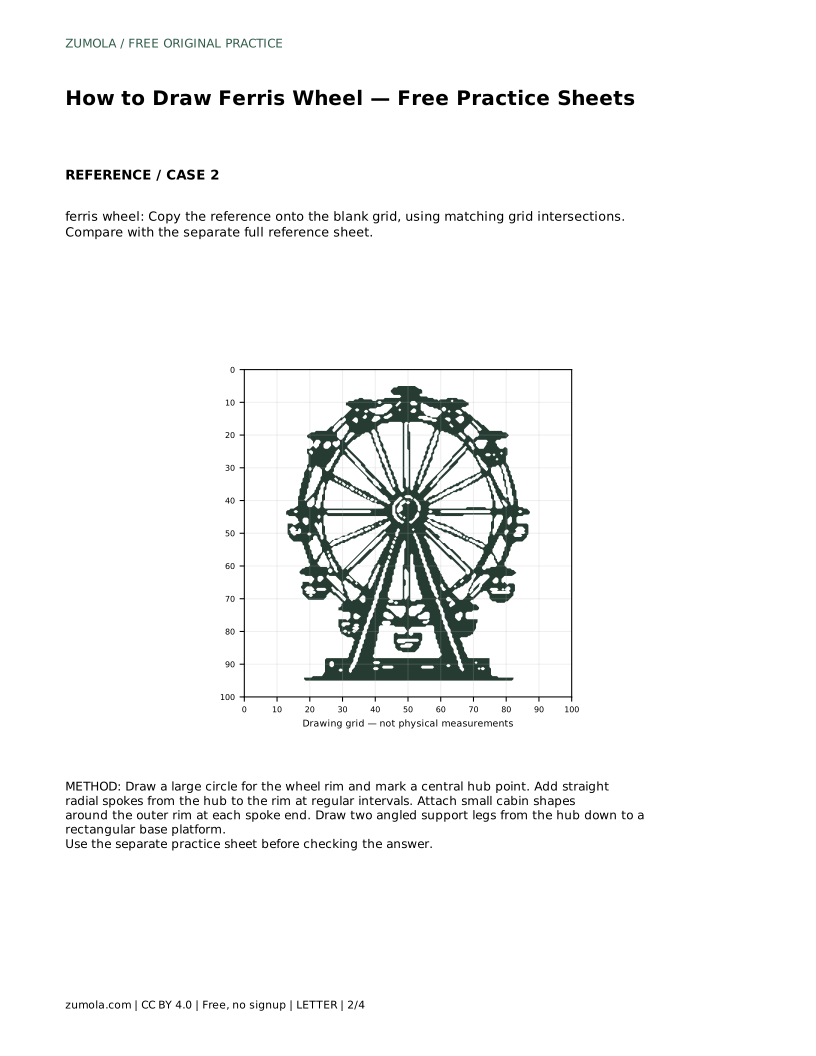
The tracing sheet asks you to follow the reference outline first, then practise the contour independently. Tracing teaches hand movement and proportion; the independent pass shows what you can reproduce without help. Compare your result with the separate full reference sheet afterward.
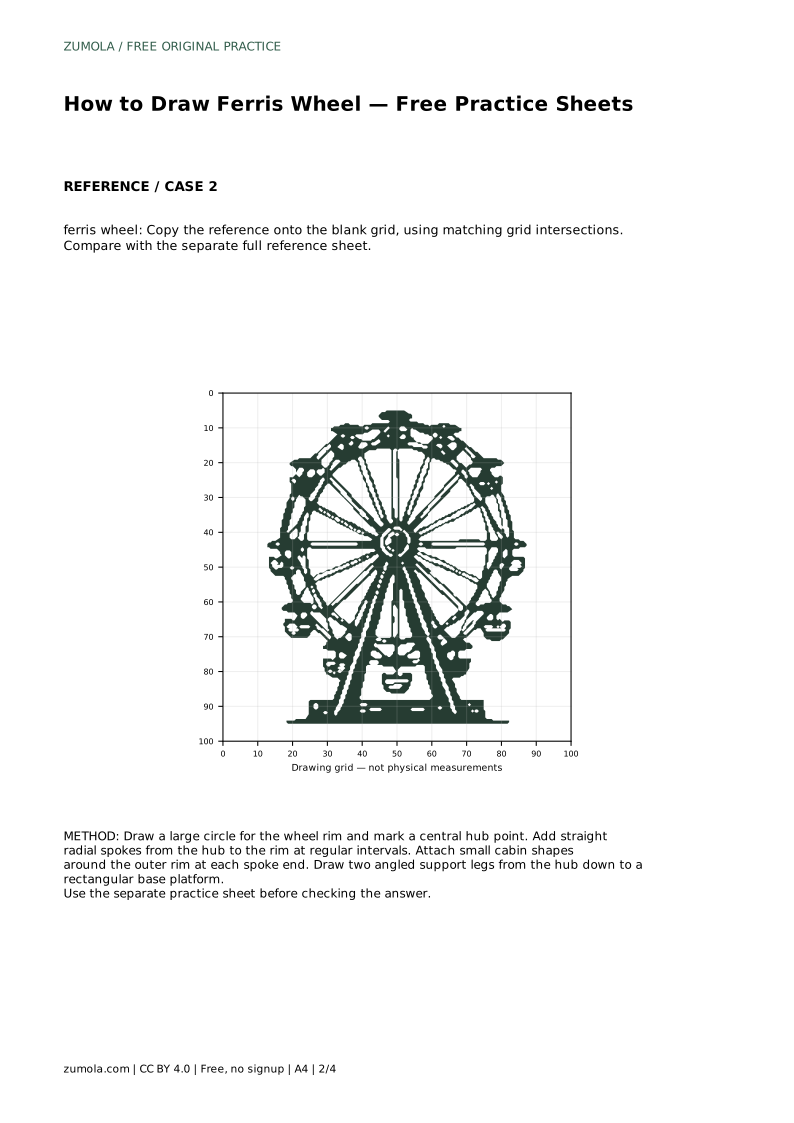
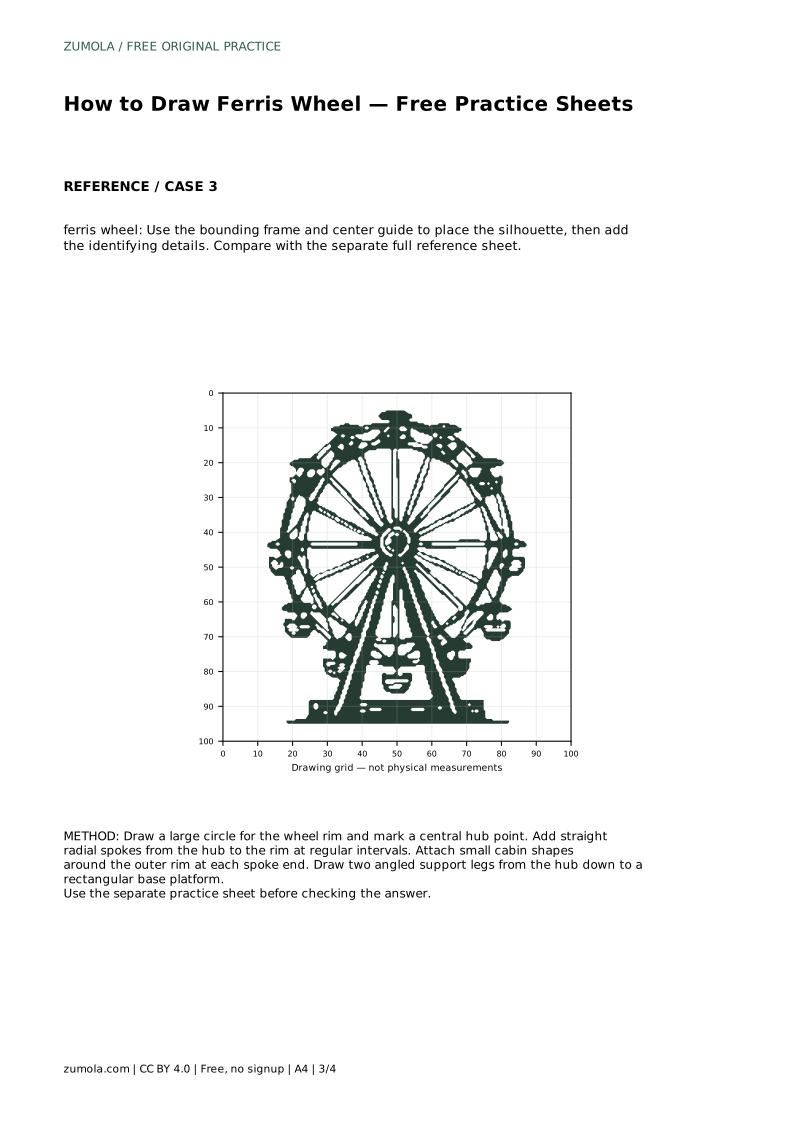
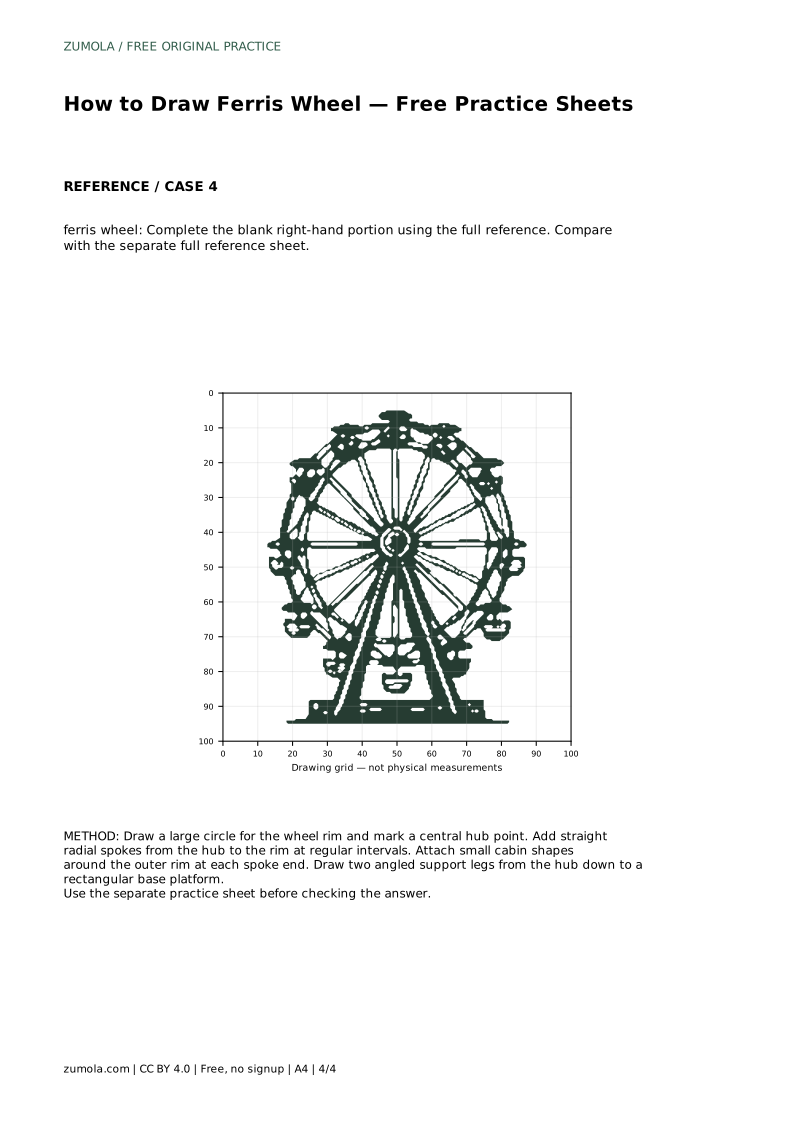
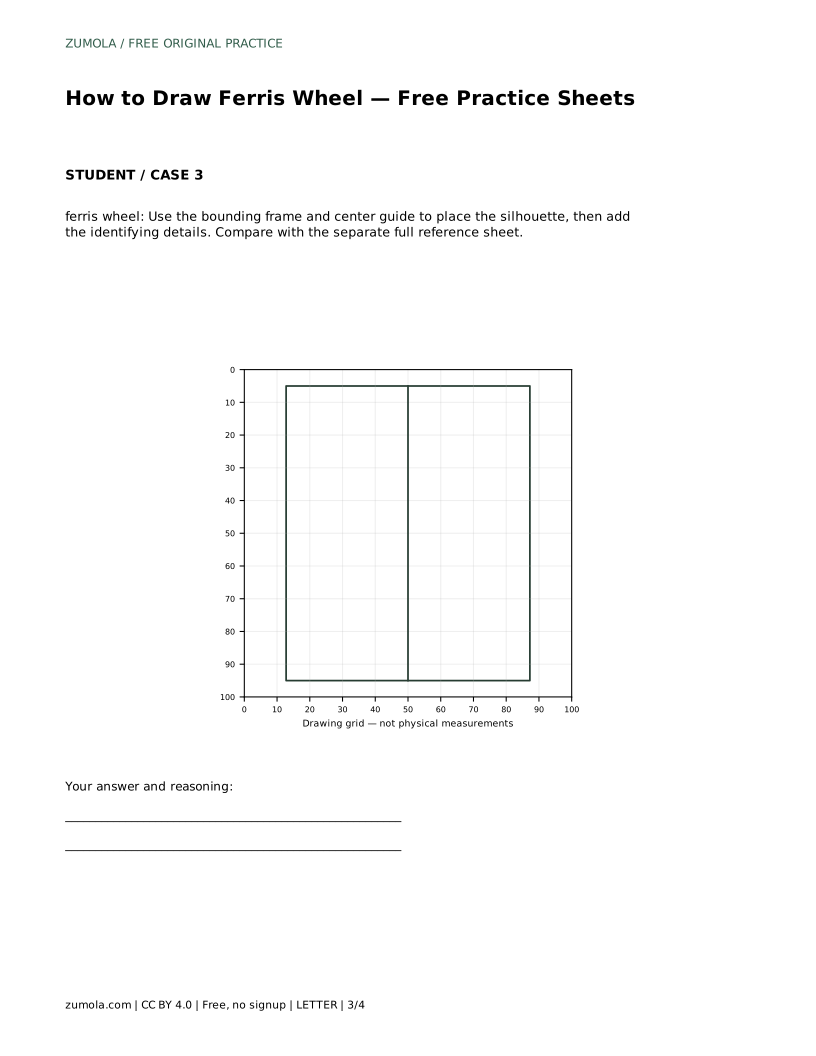
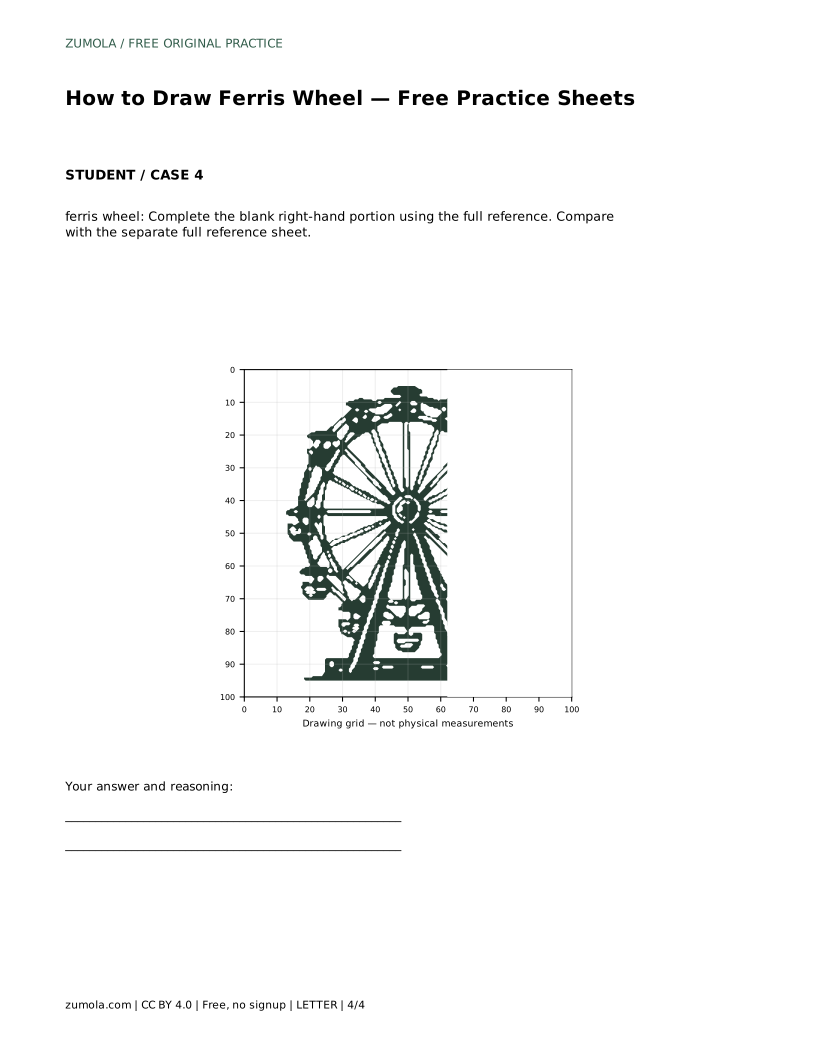
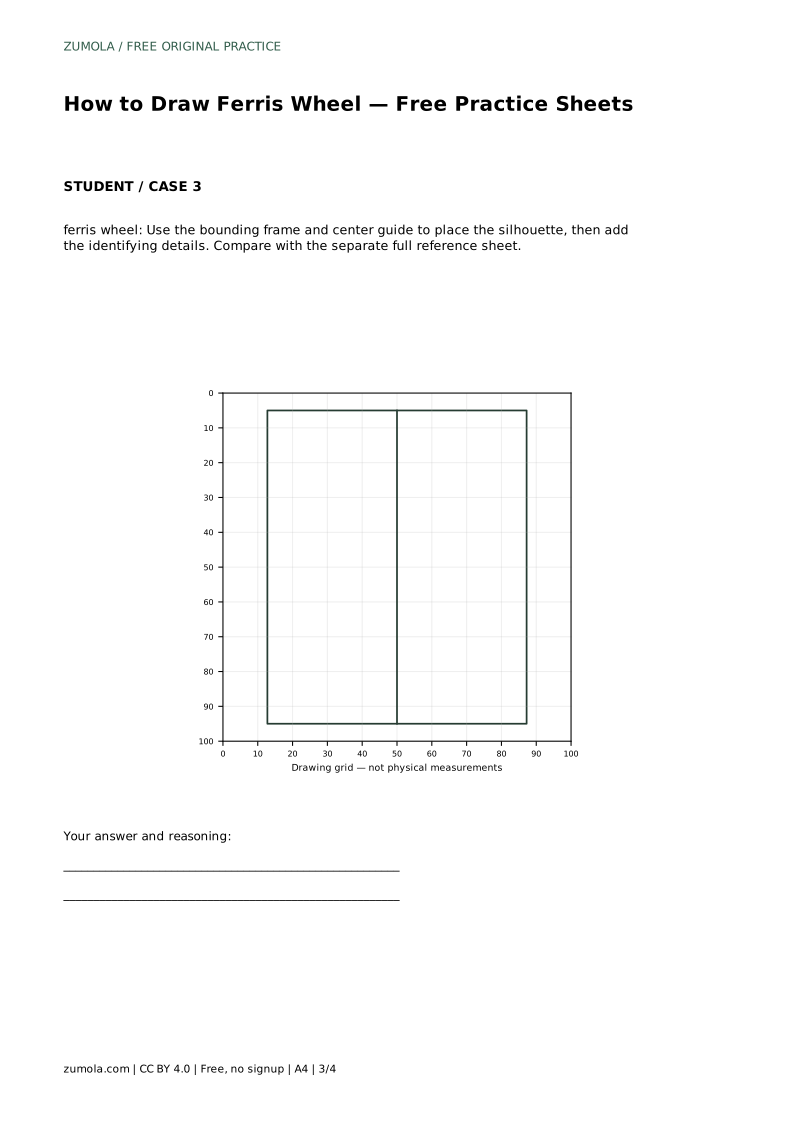
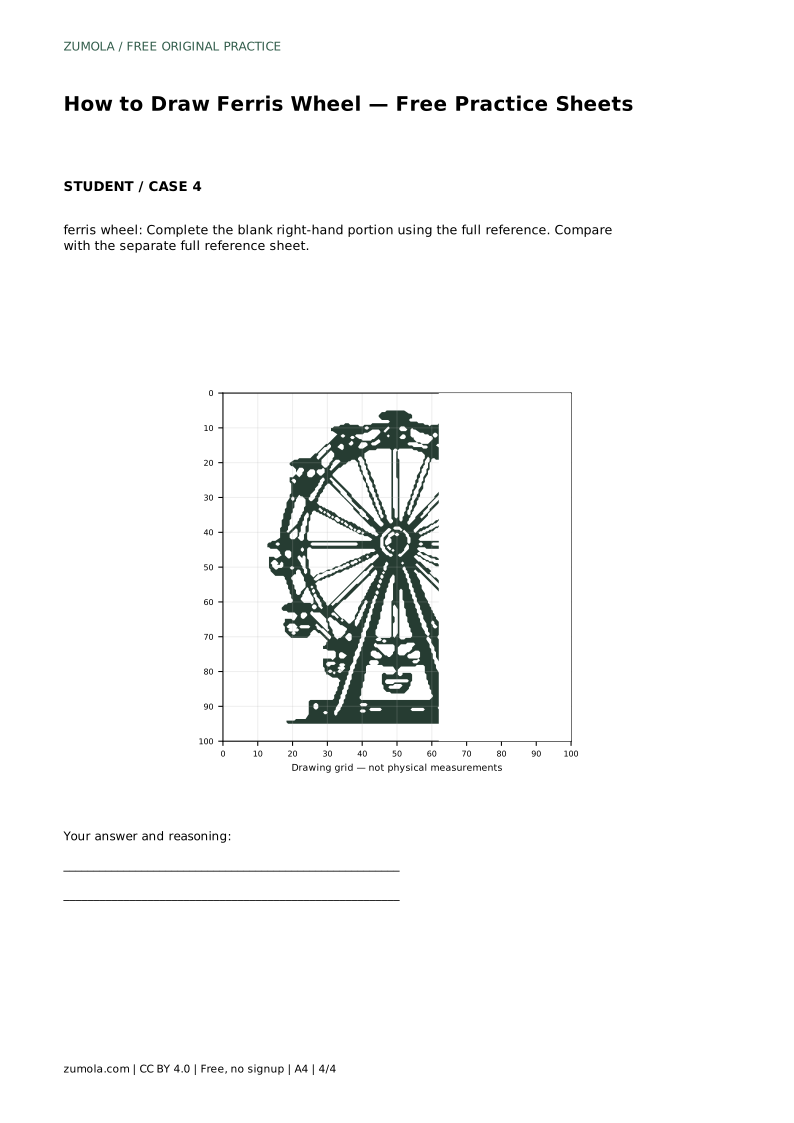
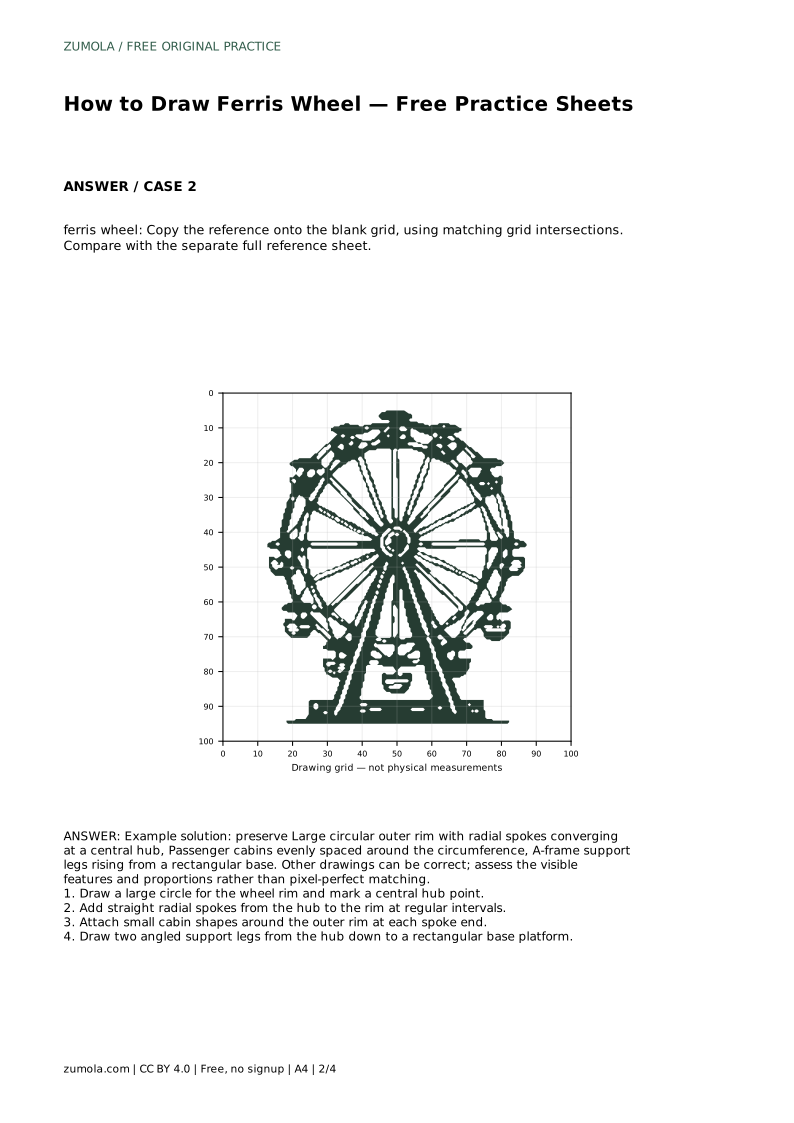
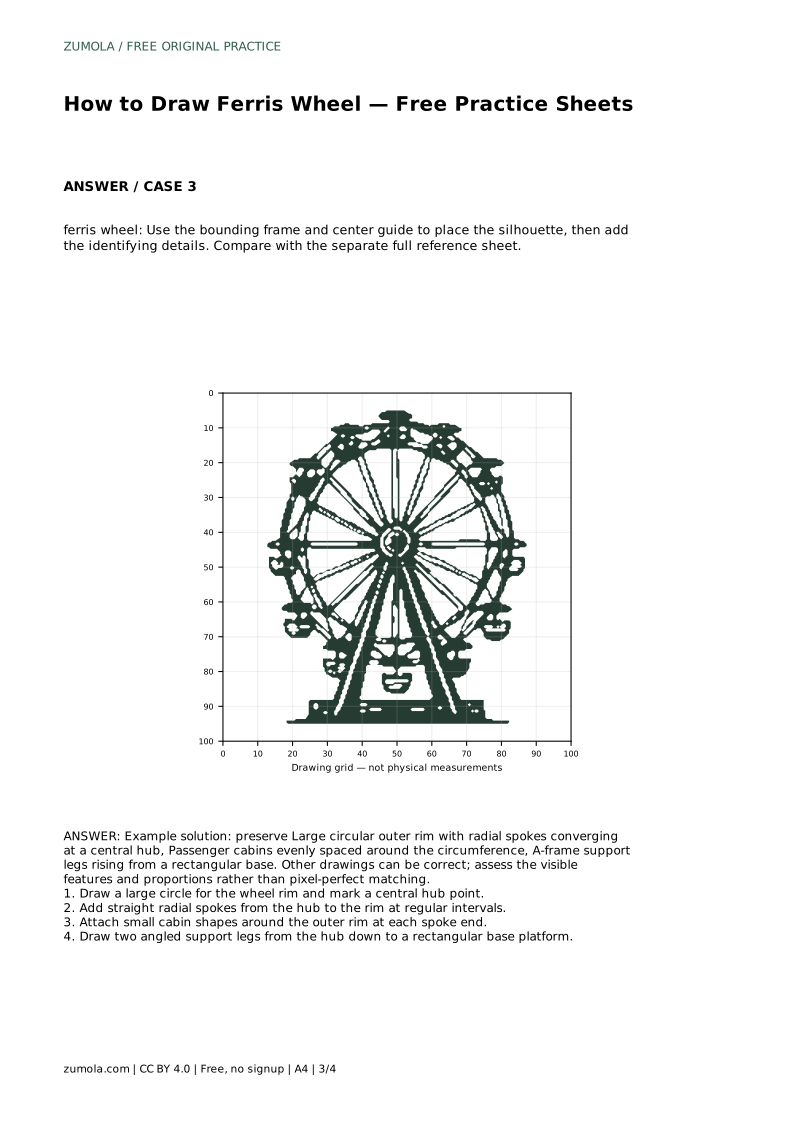
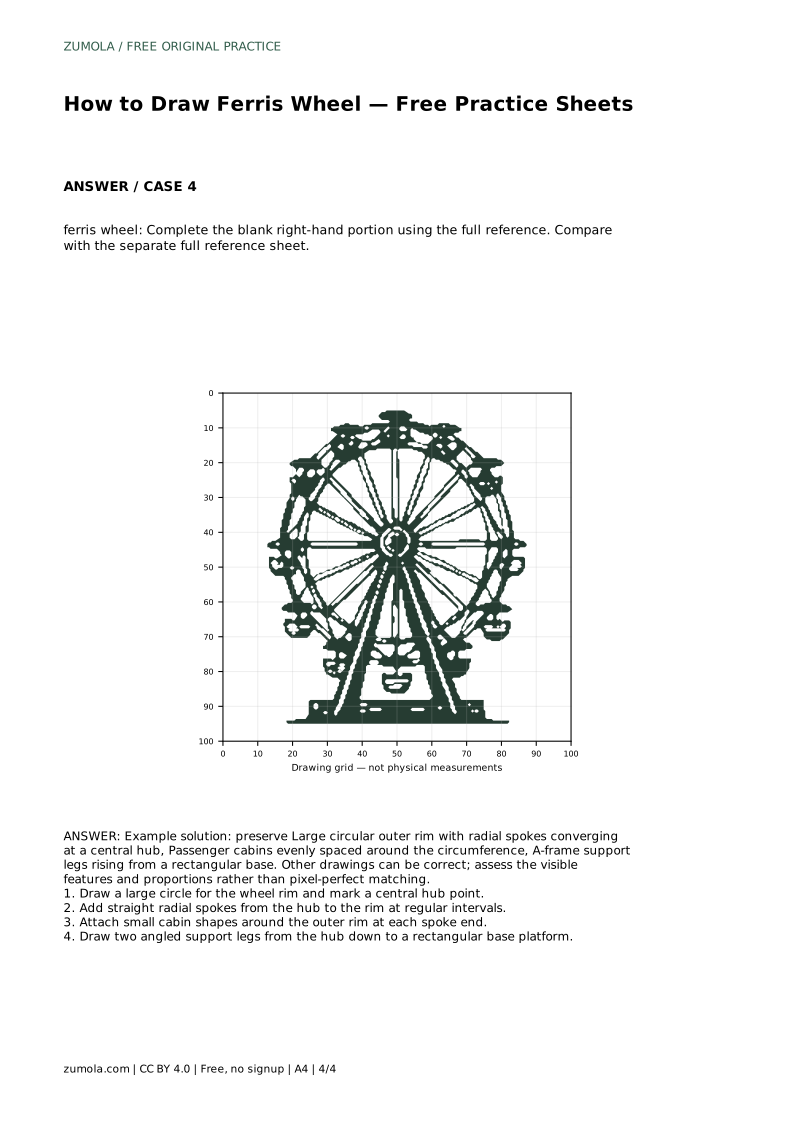
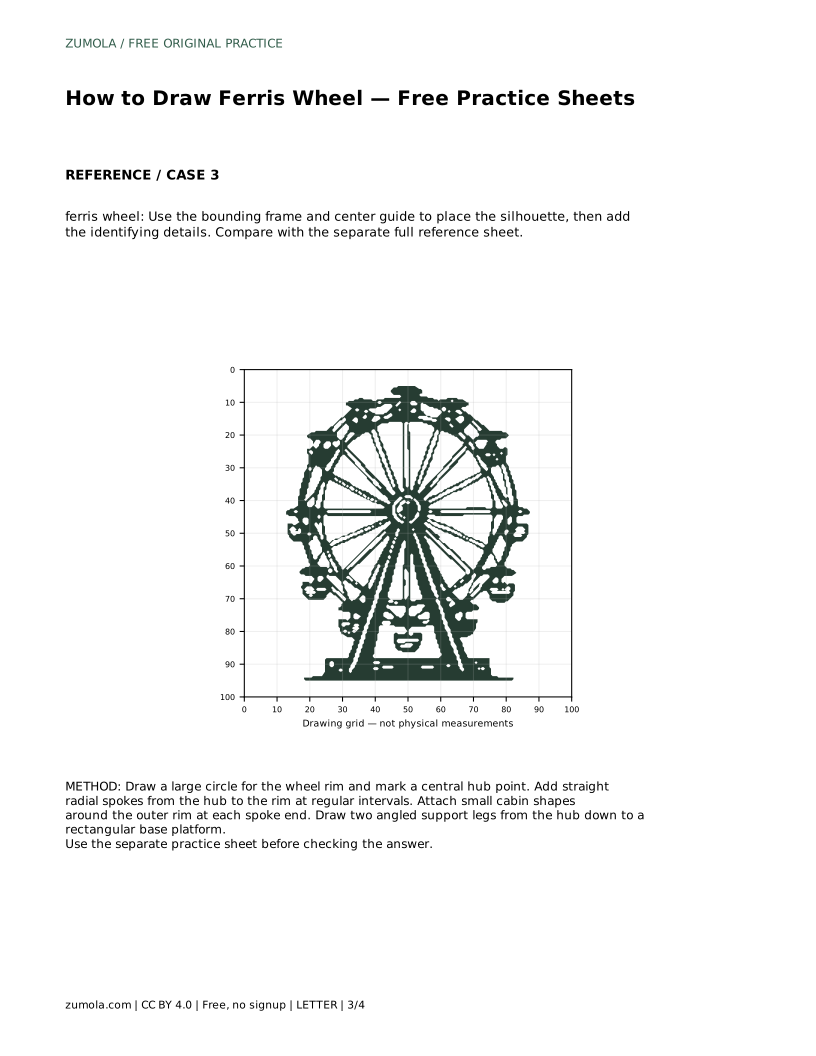
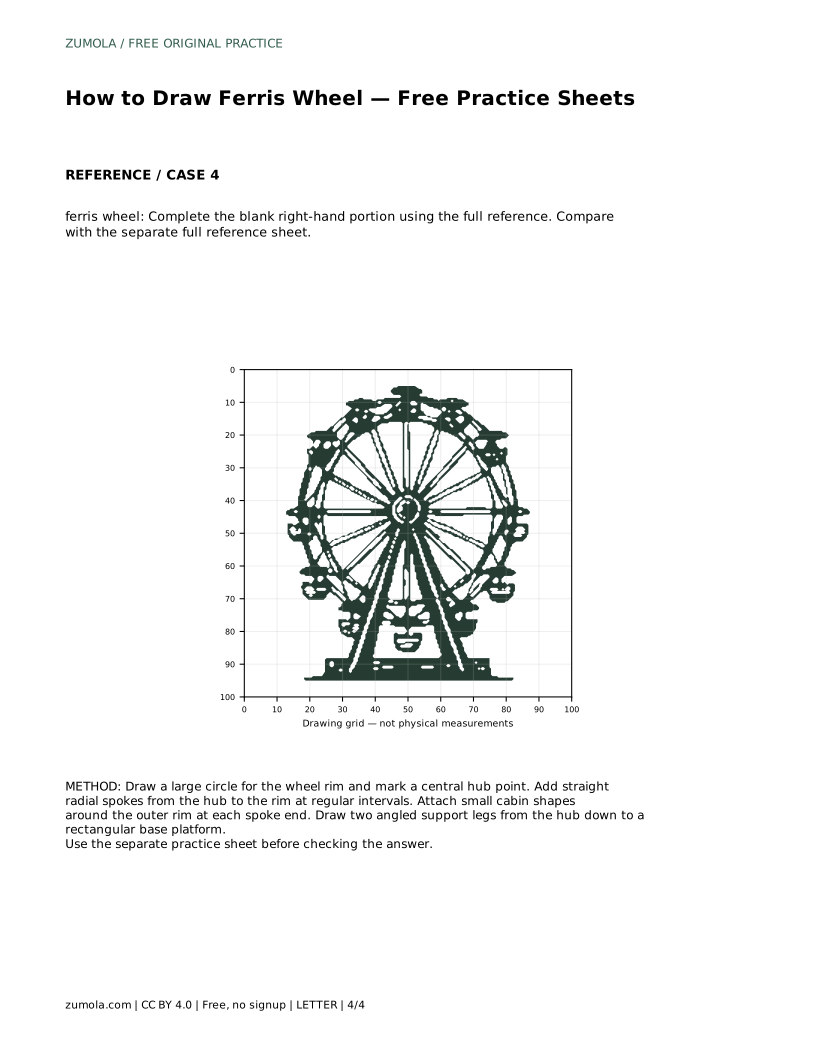
The blank-grid sheet asks you to copy the reference onto matching grid intersections. Use the grid to judge where the rim, hub, spokes, cabins, and base sit relative to one another. The bounding-frame sheet gives you a center guide so you can place the silhouette before adding identifying details. The partial sheet leaves the right-hand portion blank; complete it using the full reference, keeping the spacing and size of cabins consistent with the visible left side.
A common problem is a rim that looks oval or a hub that drifts off center. Check the distance from the hub to the rim in several directions; those distances should be roughly equal. Spokes should meet at the hub without crossing past it, and cabins should be spaced evenly around the rim.
The support legs should meet near the hub and spread toward the base. If the base is too narrow, the wheel looks unstable; if the legs are too steep, the A-frame shape is lost. Compare your drawing with the reference at arm's length so you see the overall structure rather than small marks.
Because art has multiple valid outcomes, judge the visible features and proportions rather than exact matching. A drawing can differ in line style or cabin shape and still be correct. Use the rubric below to review your work and decide what to practise next.
ferris wheel: Trace the reference outline, then practise the contour independently. Compare with the separate full reference sheet.
Example solution: preserve Large circular outer rim with radial spokes converging at a central hub, Passenger cabins evenly spaced around the circumference, A-frame support legs rising from a rectangular base. Other drawings can be correct; assess the visible features and proportions rather than pixel-perfect matching. Draw a large circle for the wheel rim and mark a central hub point. Add straight radial spokes from the hub to the rim at regular intervals. Attach small cabin shapes around the outer rim at each spoke end. Draw two angled support legs from the hub down to a rectangular base platform.
No. Choose a number you can space evenly around the circle, such as eight or twelve, and keep the gaps regular.
Yes. Other drawings can be correct; assess the visible features and proportions rather than pixel-perfect matching.
Practise the circular rim and central hub, then add evenly spaced spokes before attaching cabins and supports.
All drawing practice · Free coordinate paper
Original resources · CC BY 4.0 · Free for personal and classroom use with attribution.