Reference diagrams
LETTER · Download PDF
A4 · Download PDF
Free original resources
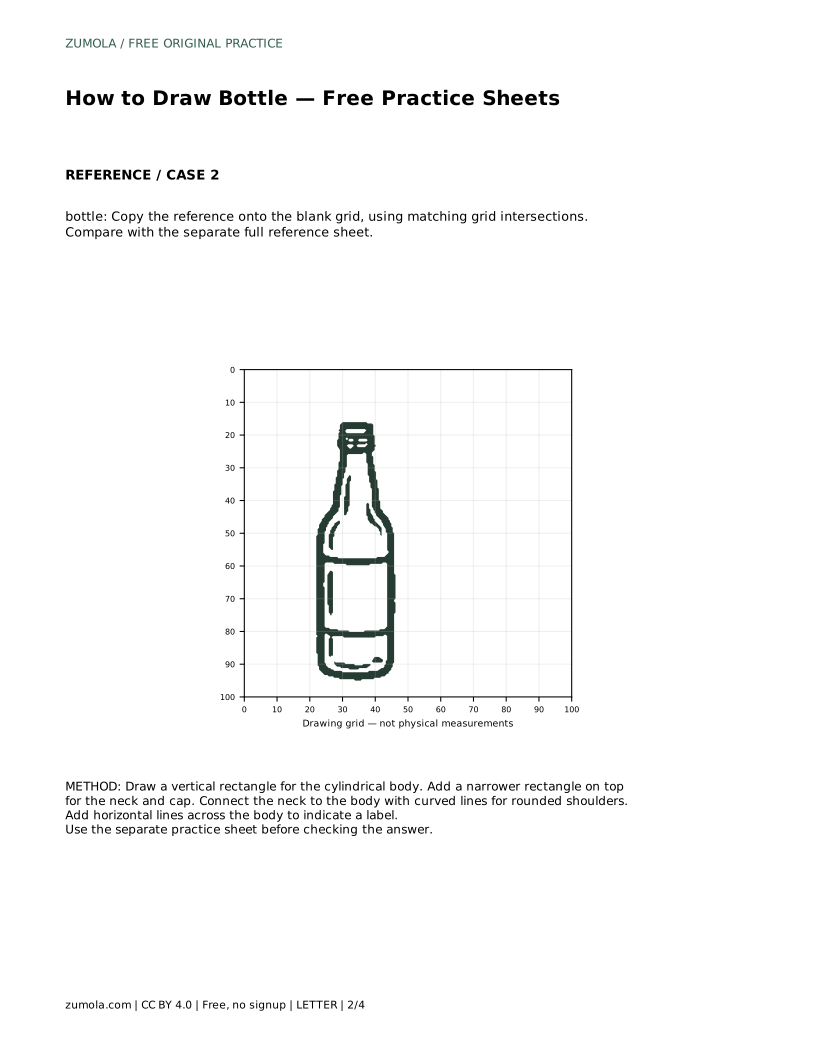
Learn to draw a bottle by tracing its outline, then working independently. Build the body, neck, cap, shoulders, and label band with clear proportions.
Four original cases, with reference diagrams, practice sheets and worked answers. Everything is free; no signup required.
LETTER · Download PDF
A4 · Download PDF
LETTER · Download PDF
A4 · Download PDF
LETTER · Download PDF
A4 · Download PDF
Use A4 or US Letter to match your printer. Use the stated values and conditions to solve each exercise; diagrams are not physical measuring rulers.
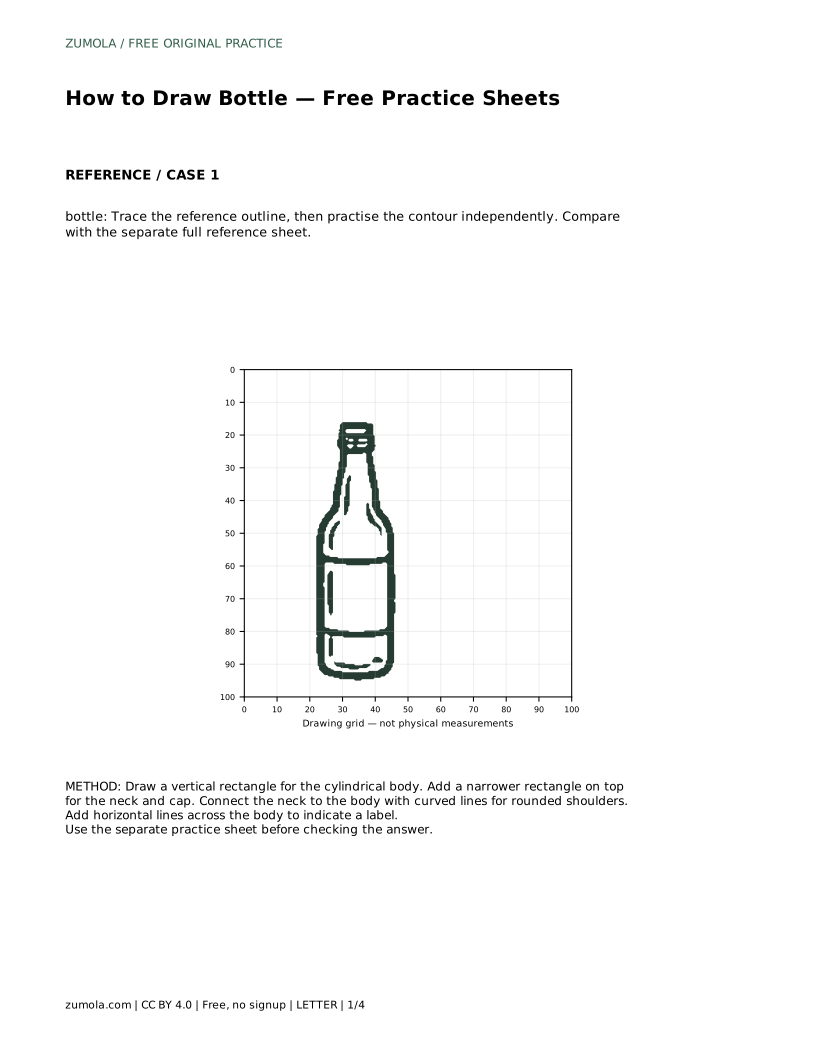
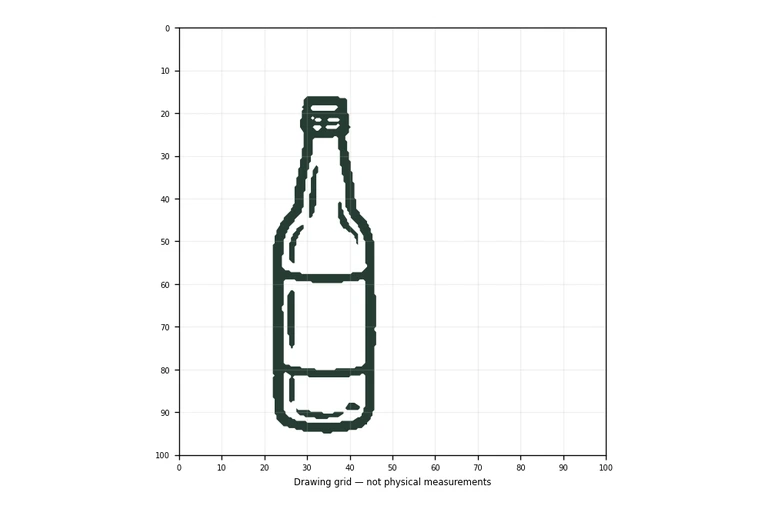
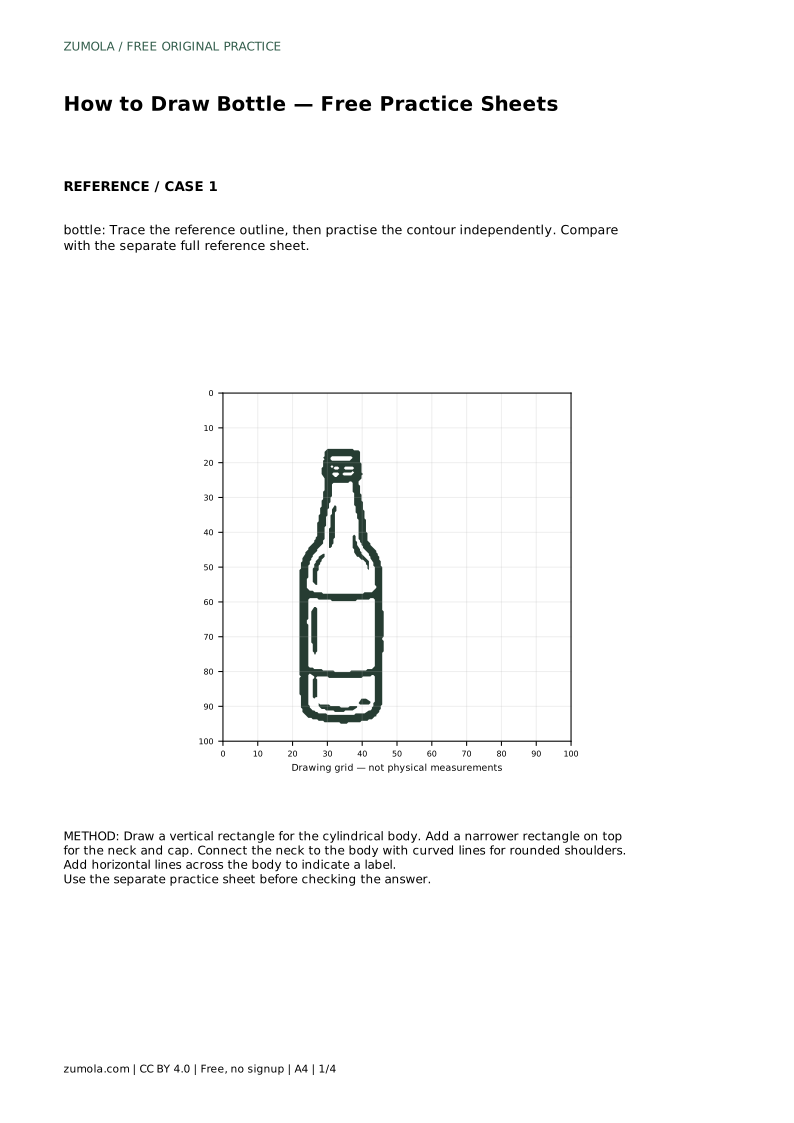
A bottle is a good subject for learning to see structure before detail. Its silhouette combines straight sides, a narrow neck, and curved shoulders, so you can build it from simple shapes and then refine the contour. This page explains a tracing-then-independent method: first follow a reference outline, then draw the same bottle without tracing, and finally compare your work with a separate full reference sheet. The goal is to notice the features that make a bottle recognizable, not to match every pixel.
Begin by treating the bottle as two stacked rectangles. The lower rectangle is the cylindrical body; the upper, narrower rectangle is the neck and cap. Keep the body wider than the neck, and leave the neck roughly centered above the body. These proportions matter more than exact measurements, because a bottle reads clearly when the neck is distinctly narrower than the body.
Next, connect the neck to the body with curved lines. These curves form the rounded shoulders. Draw them as smooth transitions rather than sharp corners, and keep the left and right shoulders similar in height so the bottle does not look tilted. If your first curves are uneven, redraw them lightly before committing to a darker line.
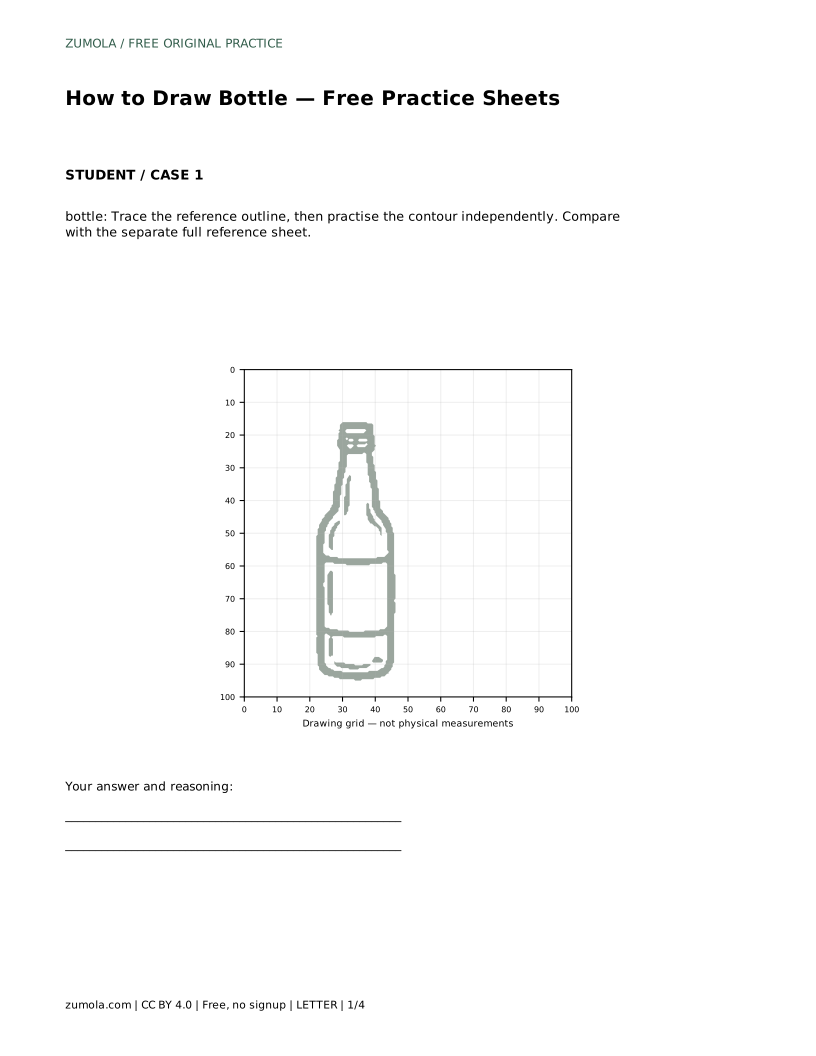
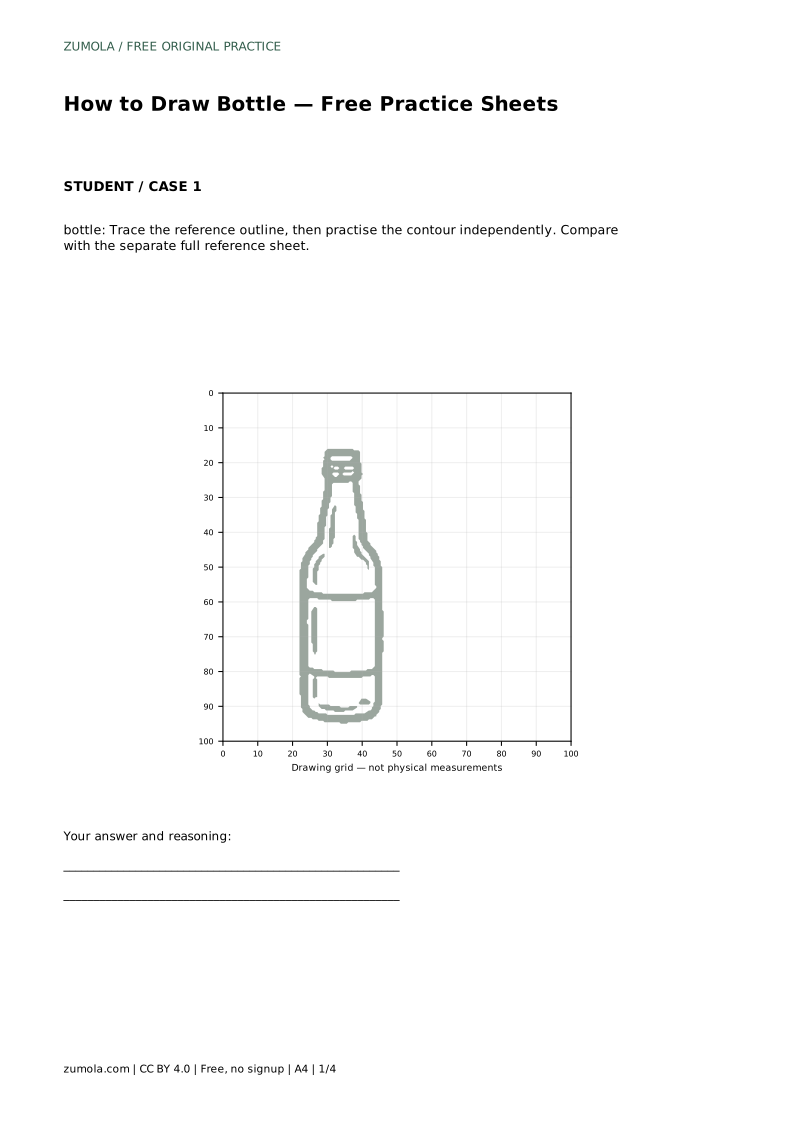
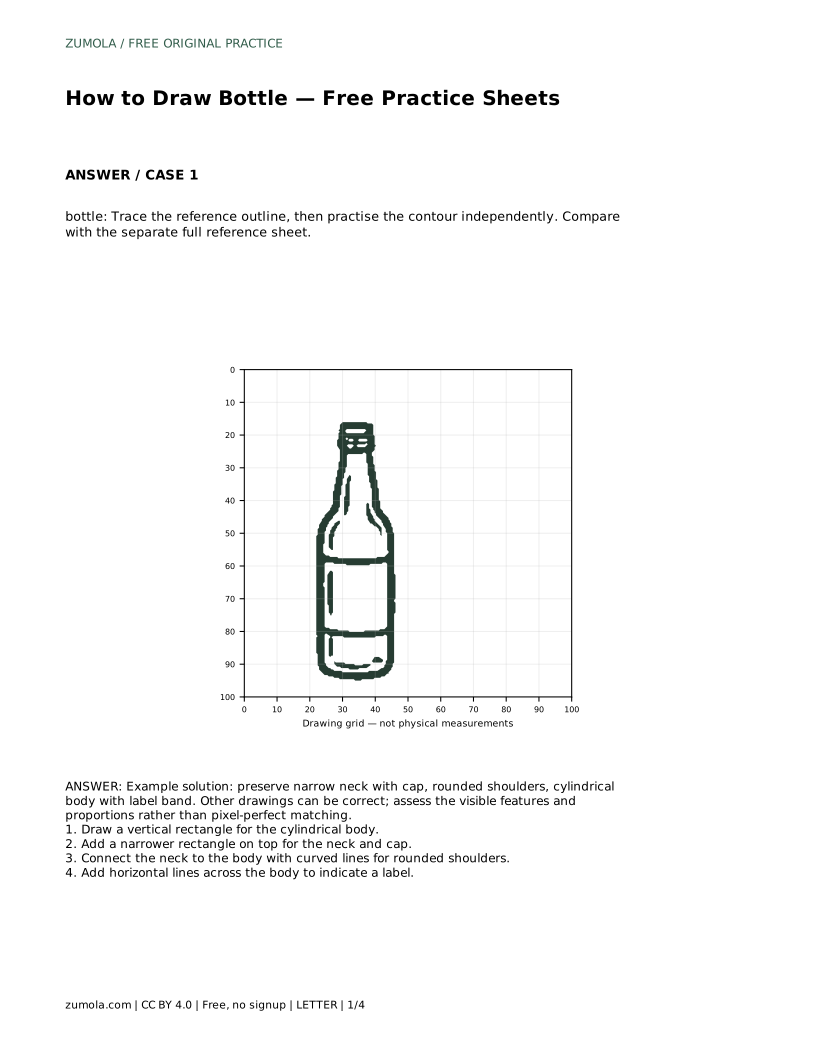
Tracing helps you learn the path of the contour, but it does not build recall on its own. Use the reference outline to trace the bottle once, paying attention to where the shoulders curve and how the cap sits on the neck. Then set the traced version aside and draw the same bottle on blank paper without tracing.
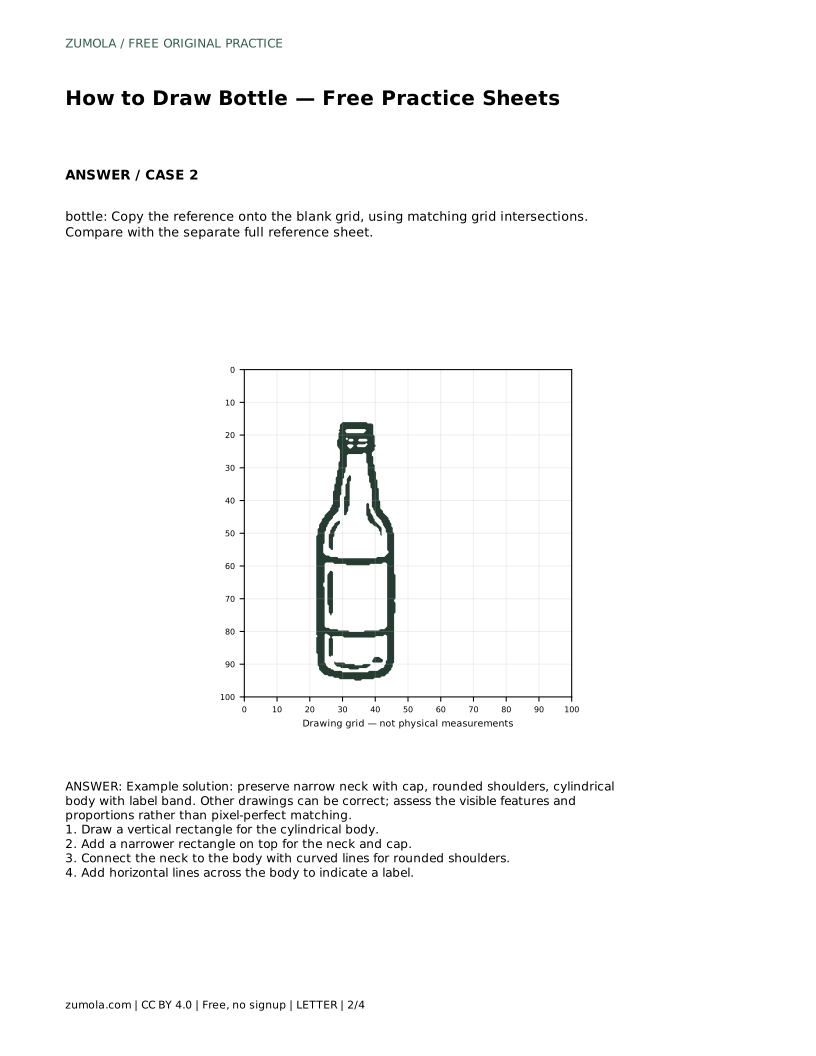
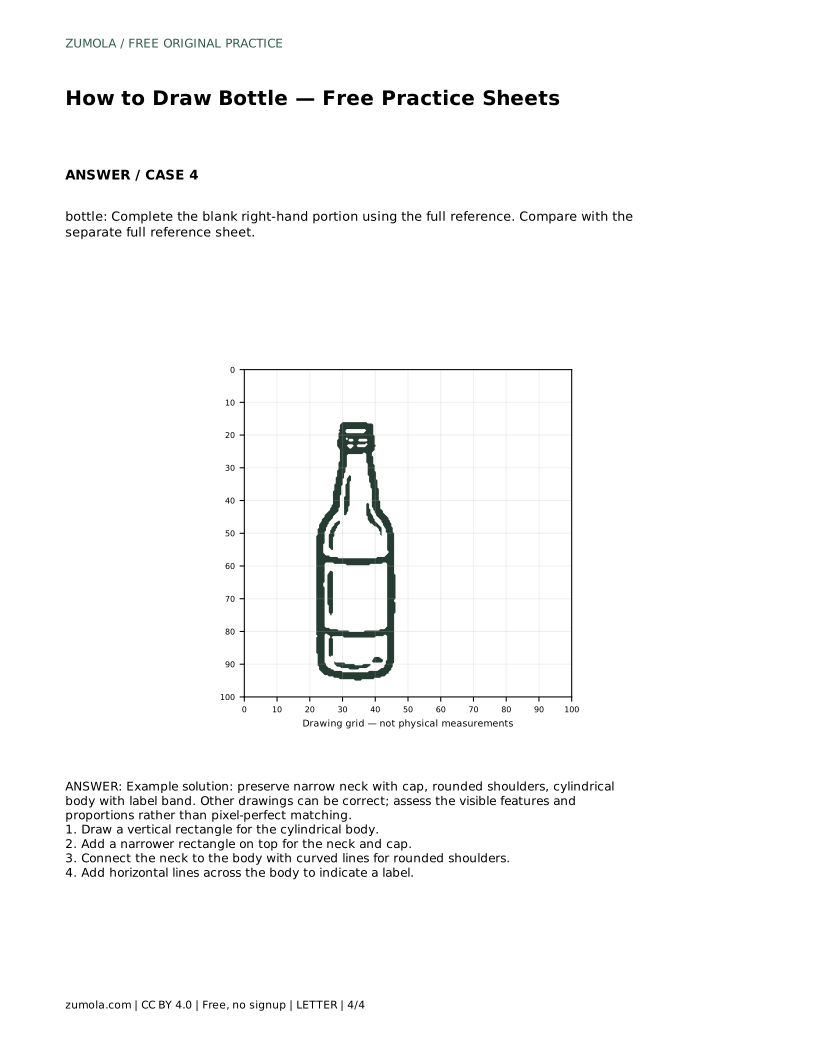
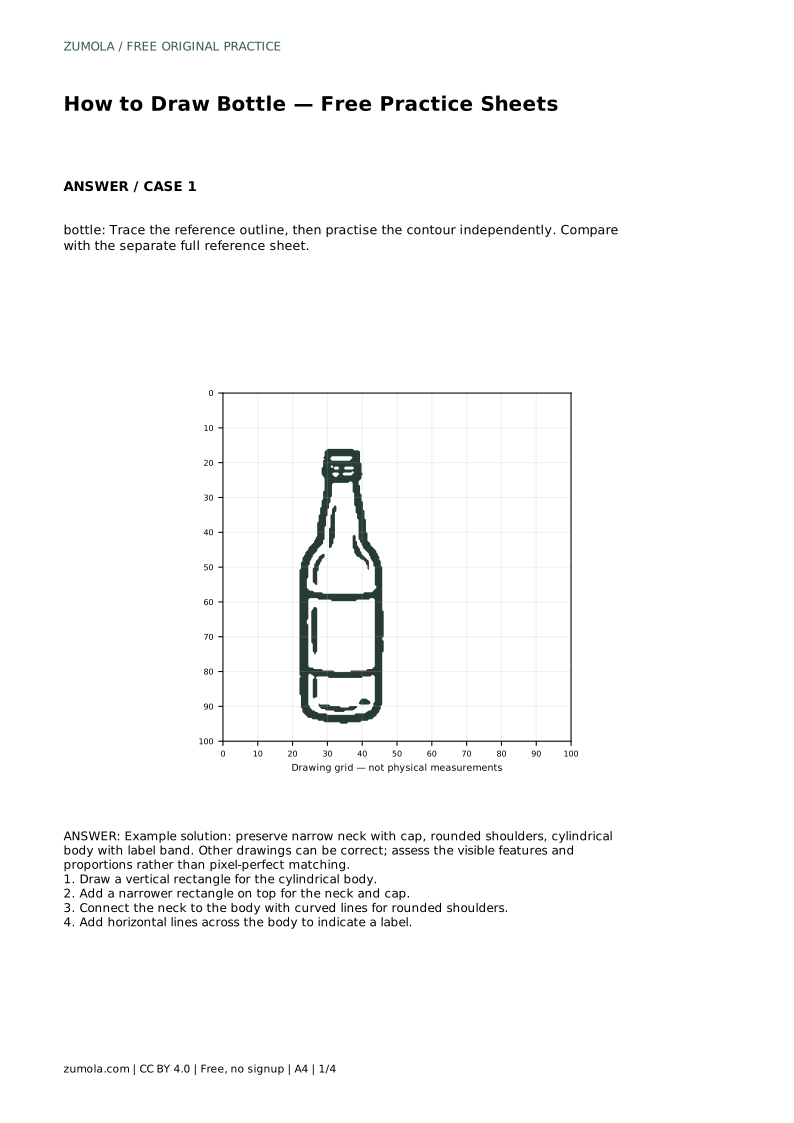
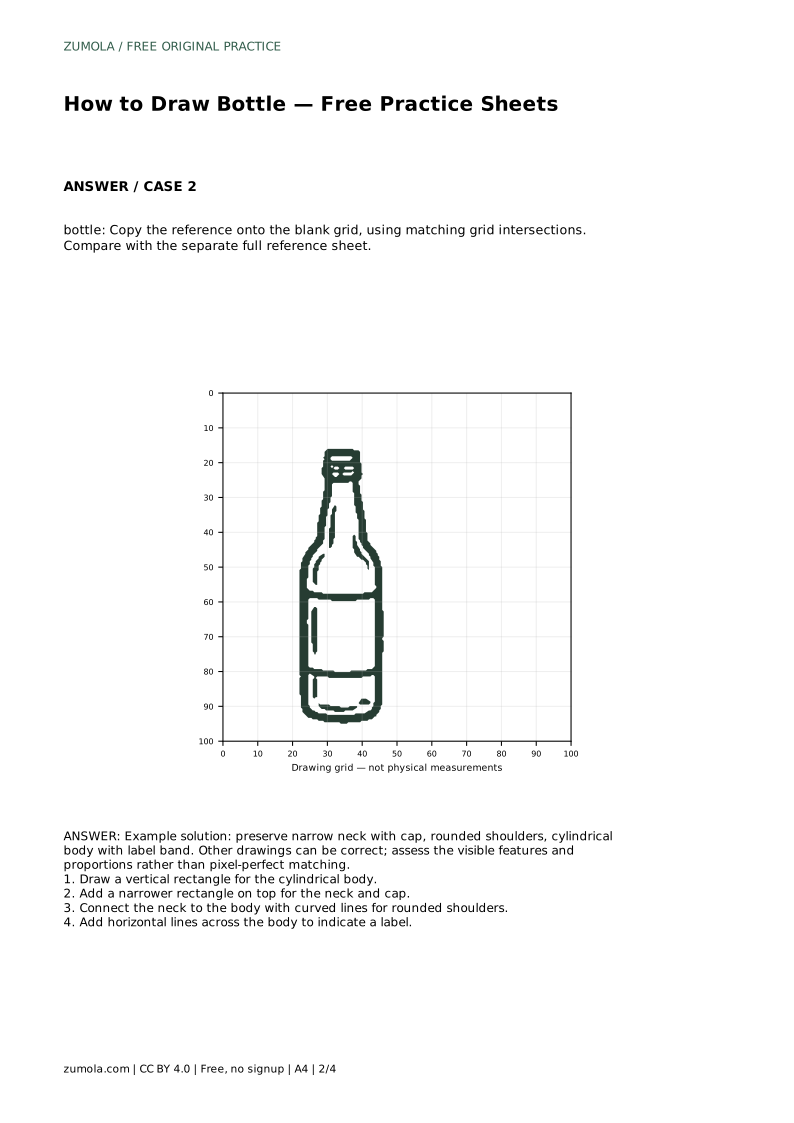
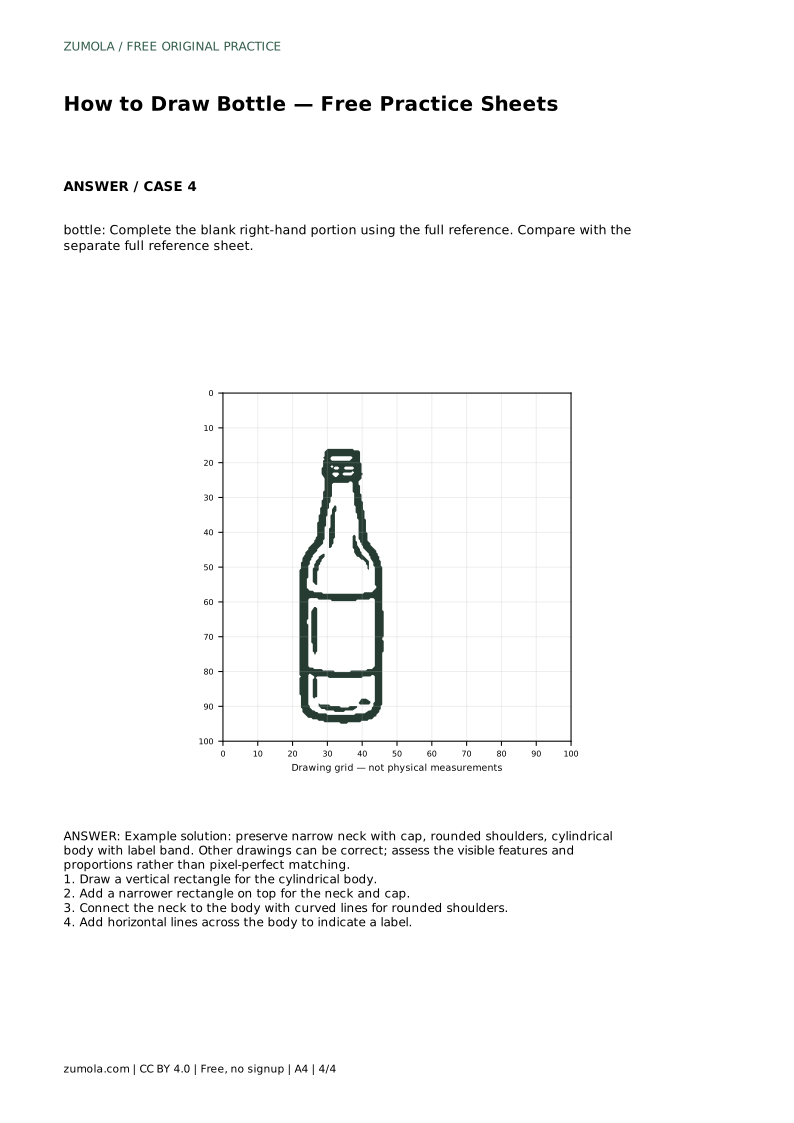
When you compare your independent drawing with the separate full reference sheet, check the visible features: a narrow neck with a cap, rounded shoulders, a cylindrical body, and a label band. Other drawings can be correct. Assess the features and proportions rather than pixel-perfect matching, since a bottle can be drawn at different sizes and angles and still be accurate.
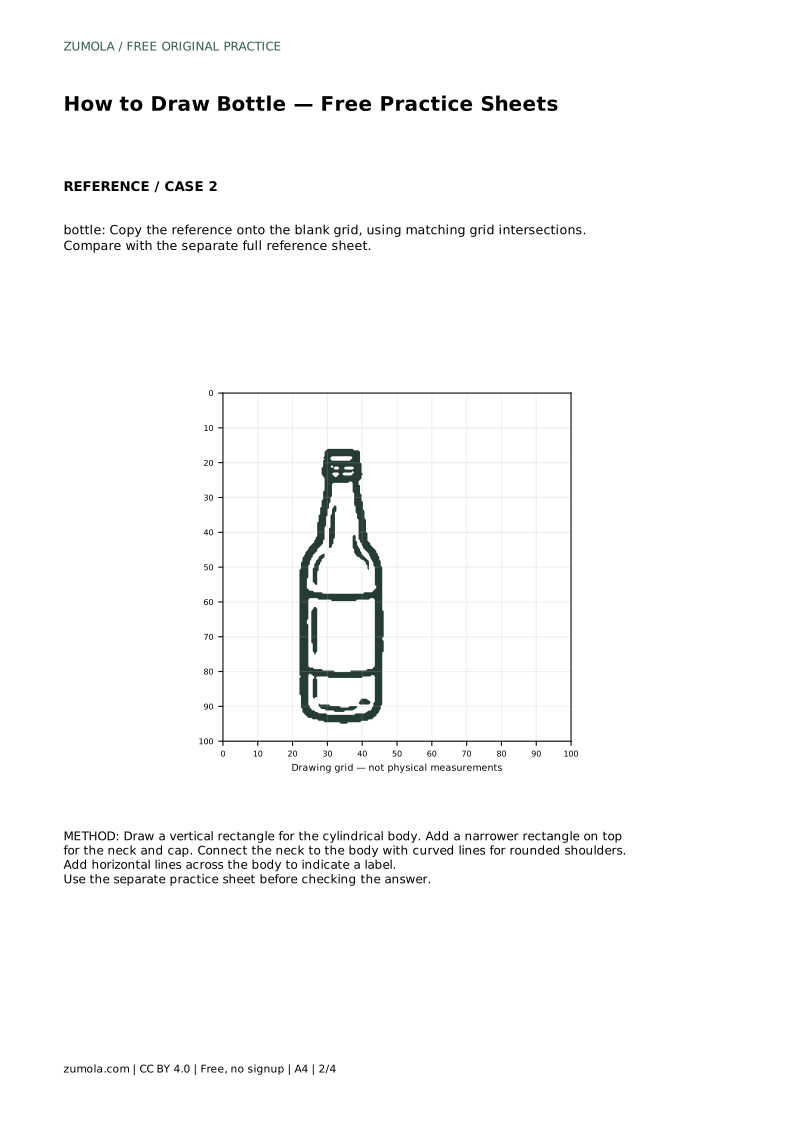
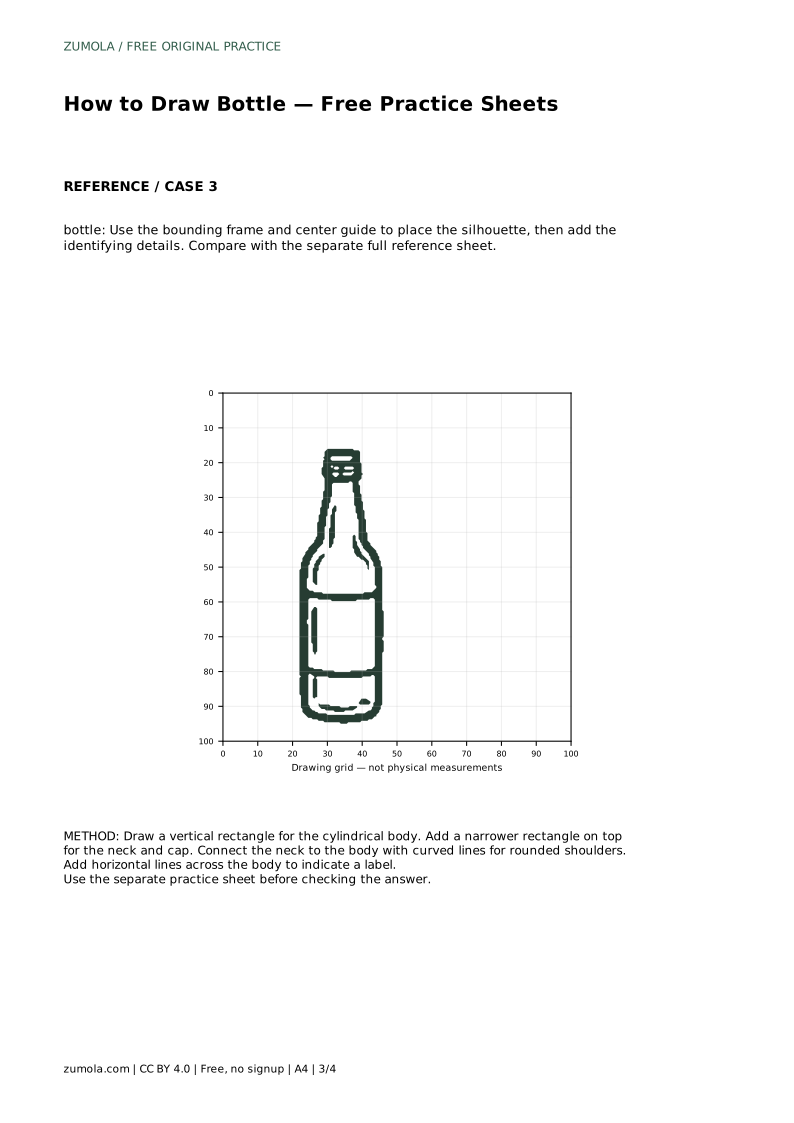
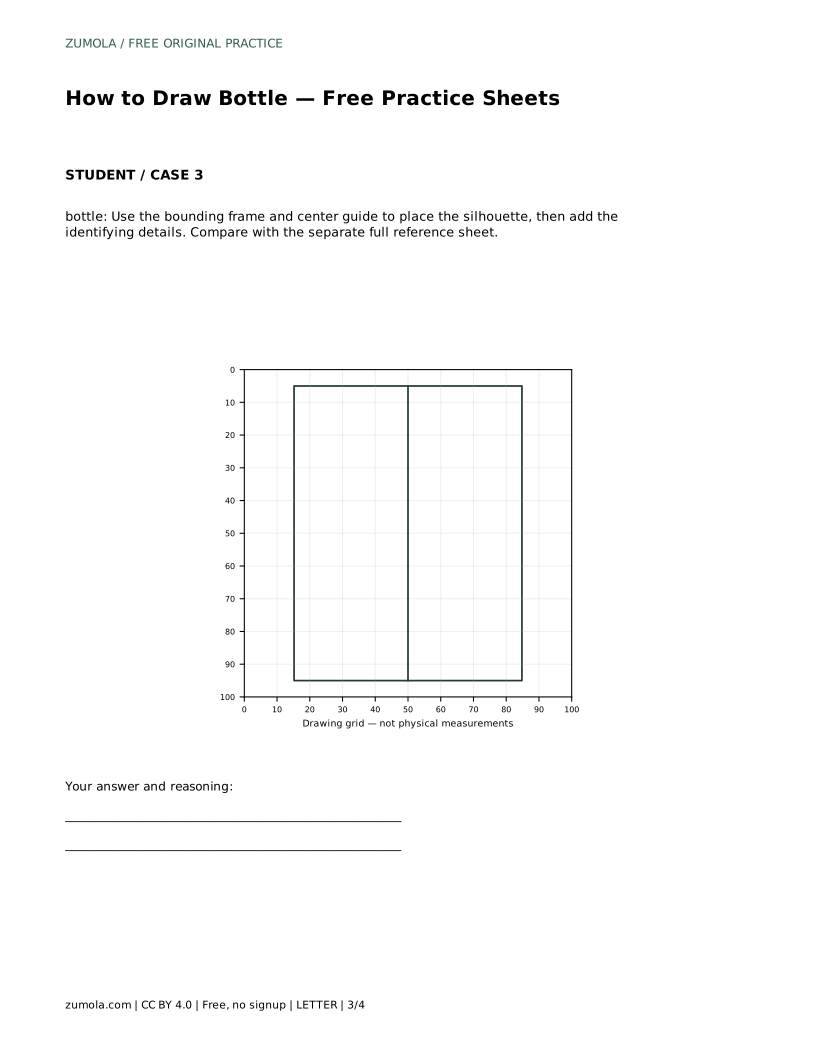
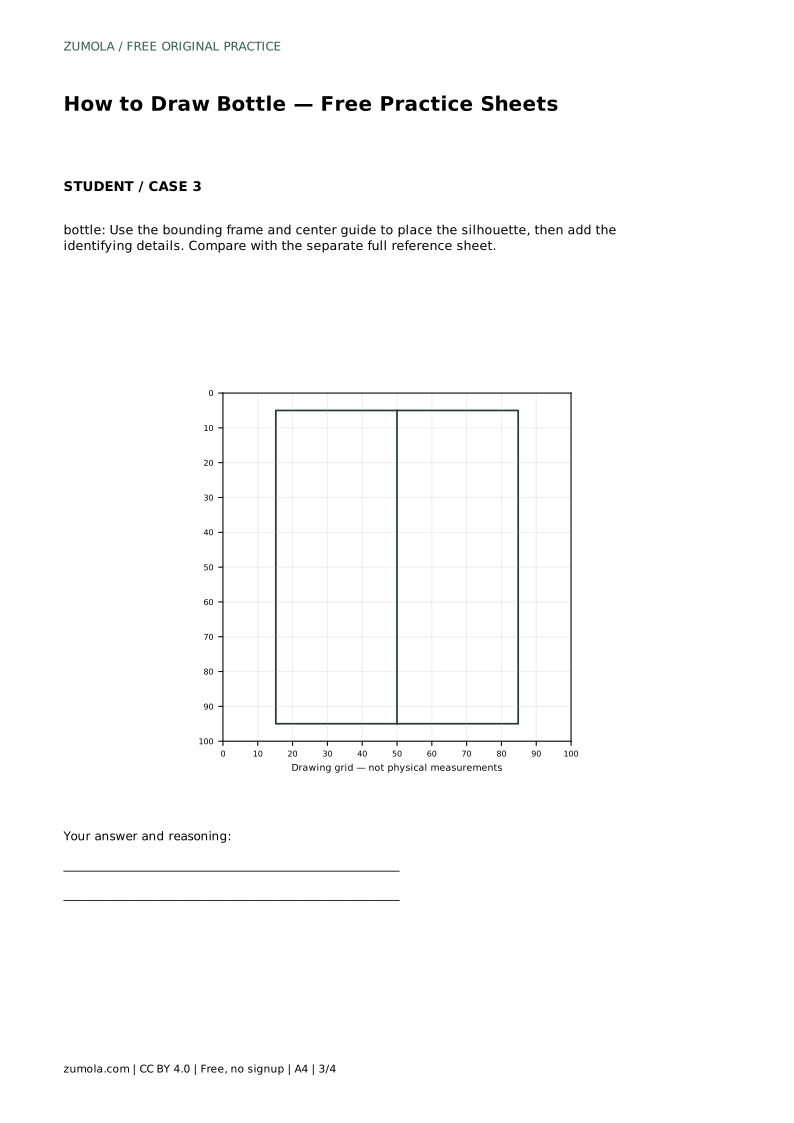
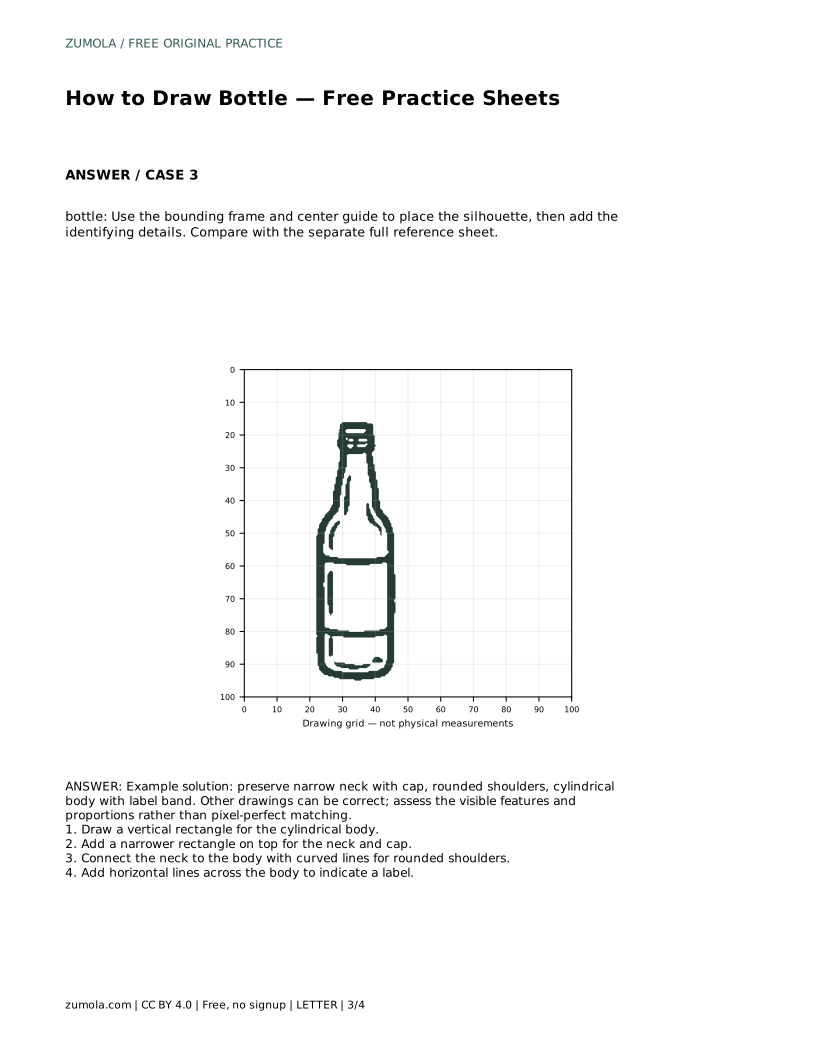
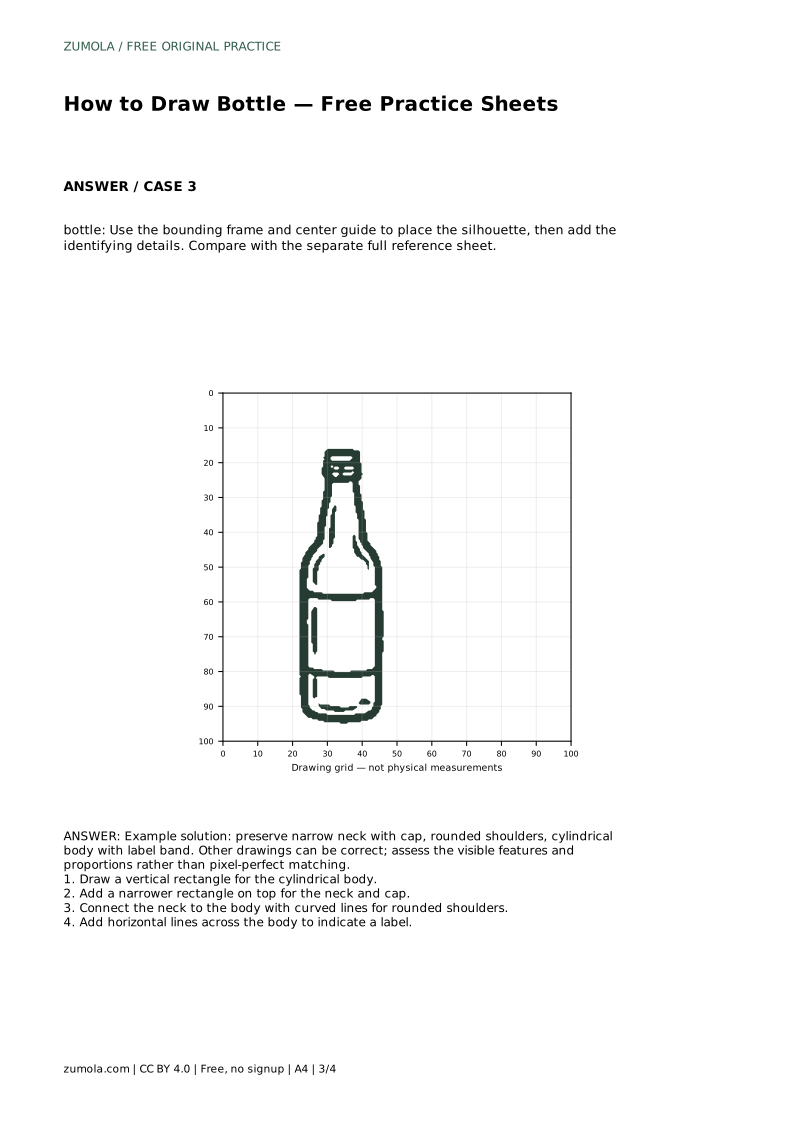
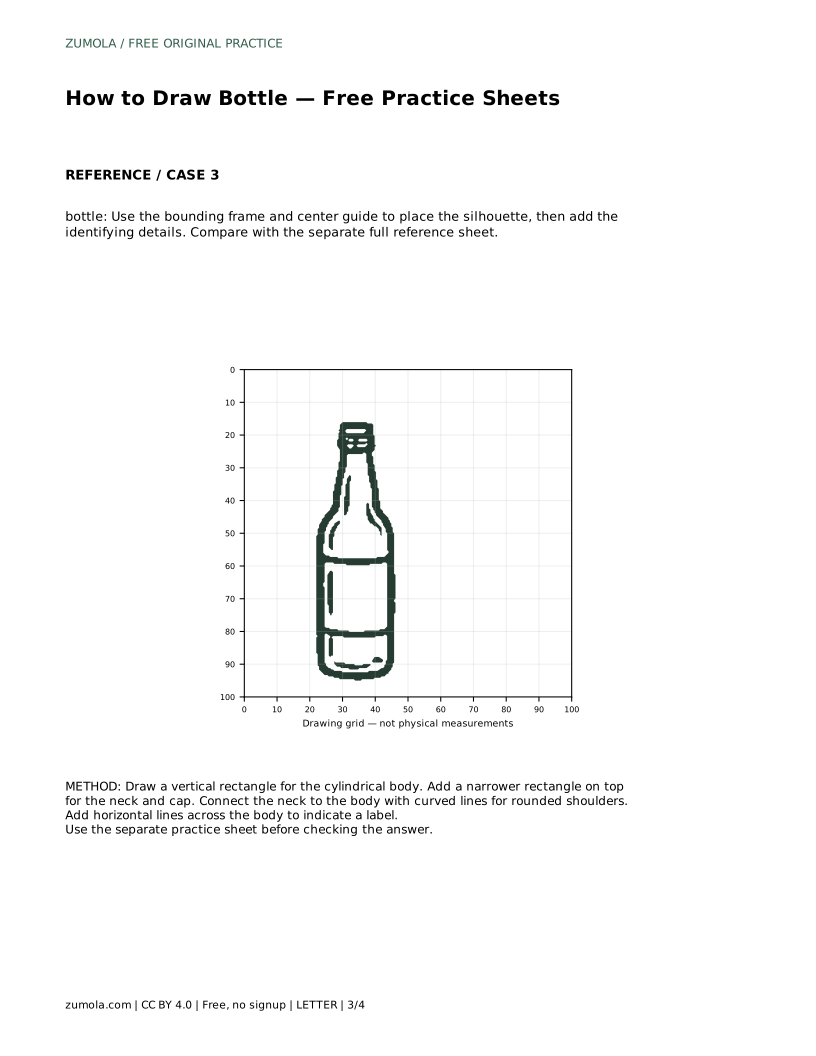
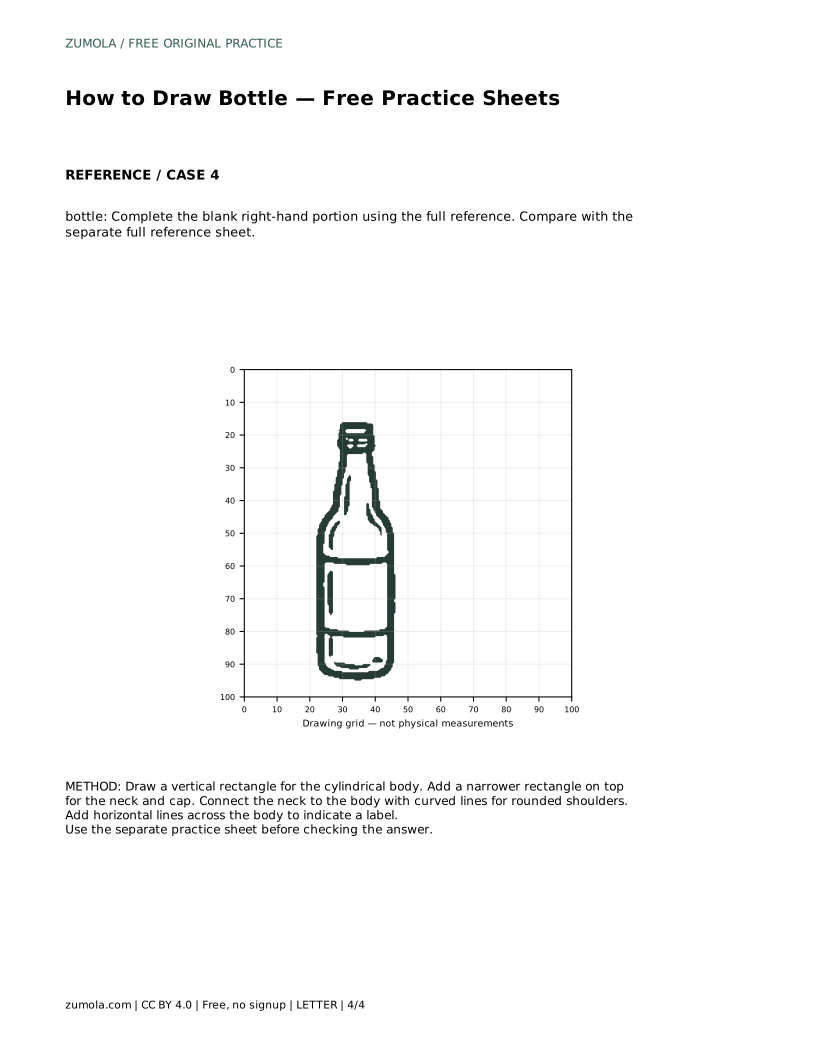
A grid or bounding frame helps you place the silhouette before adding details. With a grid, copy the bottle onto the blank grid by matching grid intersections: locate where the body edges, neck, and cap fall relative to the lines. With a bounding frame and center guide, use the frame to set the overall height and width, and the center guide to keep the bottle upright and balanced.
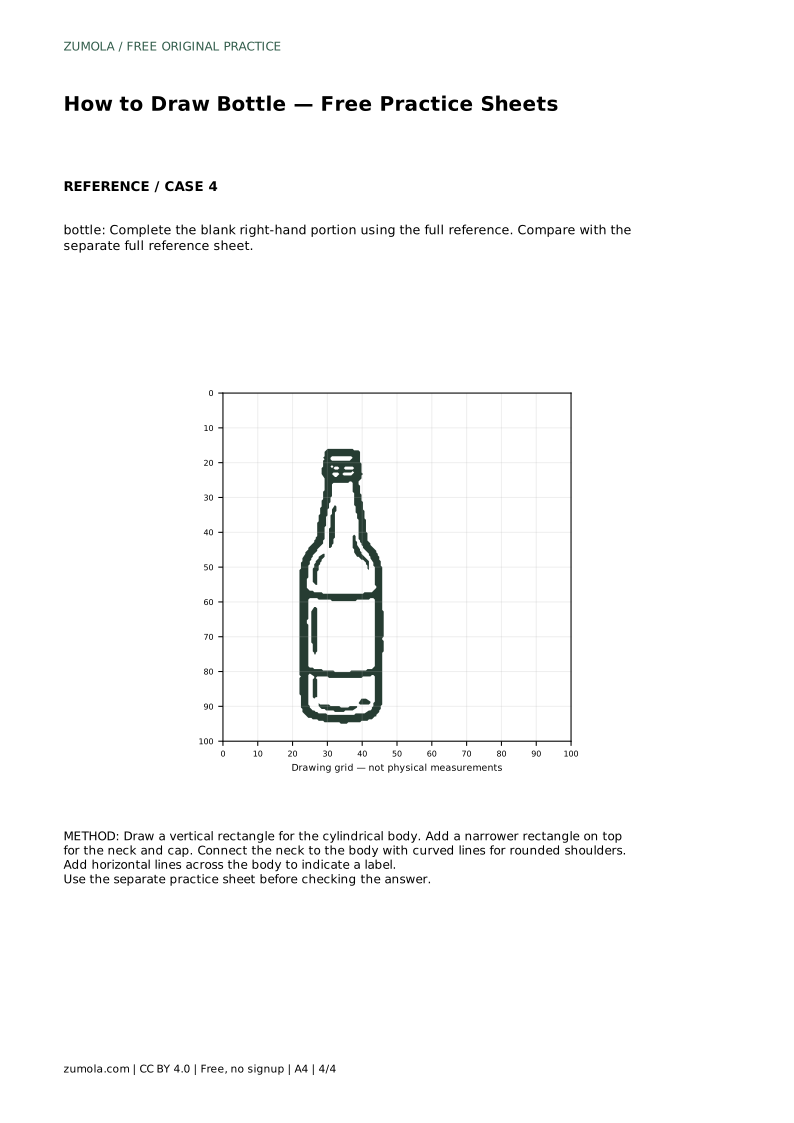
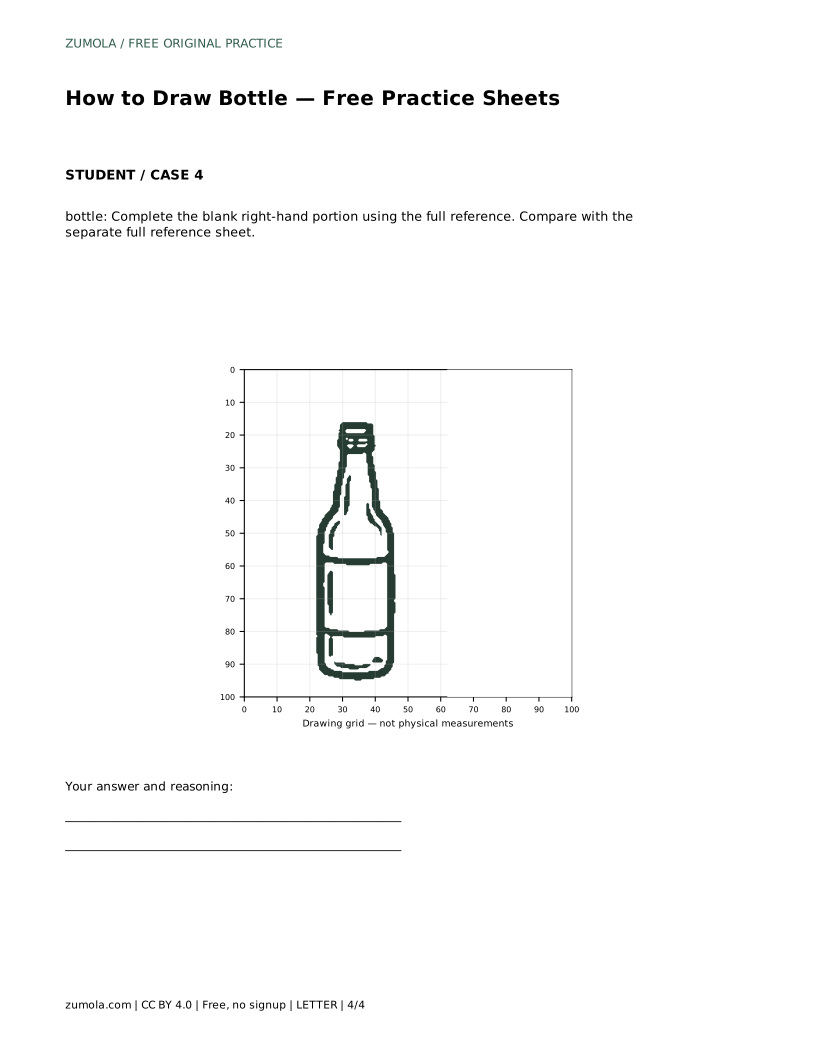
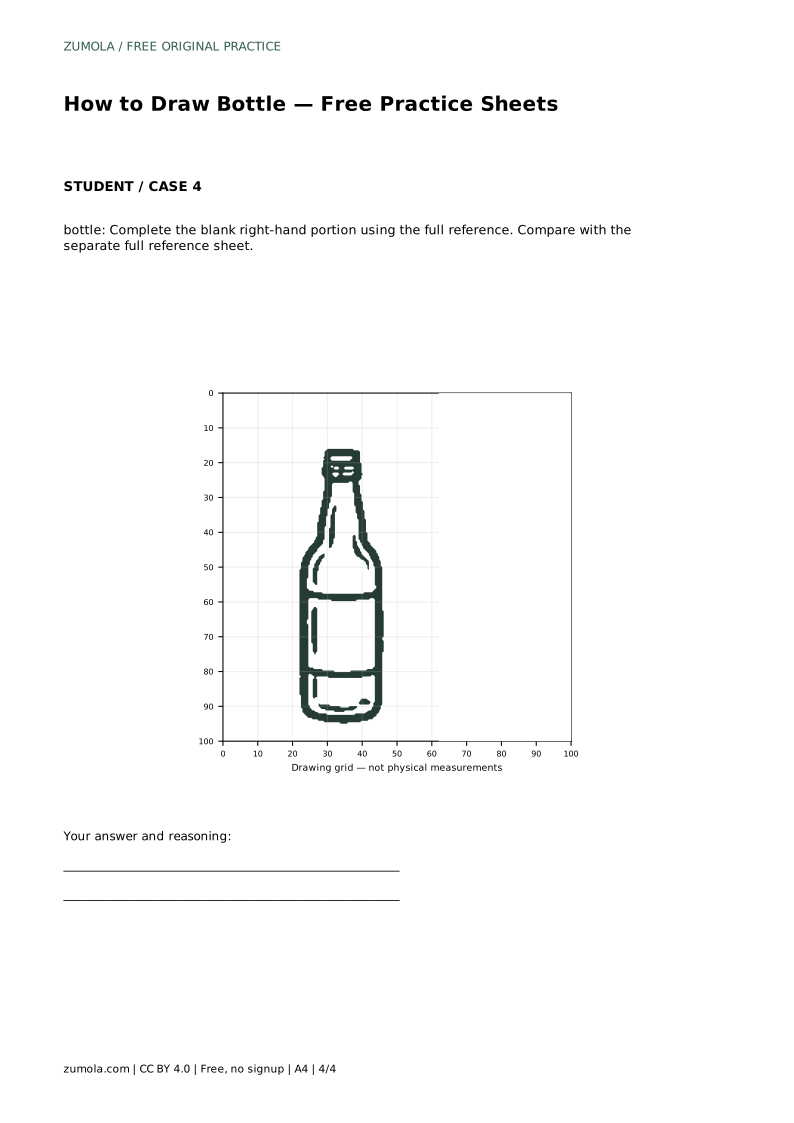
After the silhouette is placed, add the identifying details: the cap line, the shoulder curves, and the horizontal lines that indicate a label band. Keep these details consistent with the silhouette you have already drawn. If you are completing a blank portion of a sheet, use the full reference to judge where the missing contour should continue.
Before finishing, step back and compare the main proportions. The neck should be clearly narrower than the body, the cap should sit at the top of the neck, and the shoulders should curve rather than form right angles. The label band should cross the body horizontally and stay within the body edges.
Line quality is secondary to structure. A clean, simple contour with correct proportions will read as a bottle more reliably than a detailed drawing with a distorted silhouette. Erase construction lines only after the final contour is stable, and keep the drawing light until you are satisfied with the shape.
bottle: Trace the reference outline, then practise the contour independently. Compare with the separate full reference sheet.
Example solution: preserve narrow neck with cap, rounded shoulders, cylindrical body with label band. Other drawings can be correct; assess the visible features and proportions rather than pixel-perfect matching. Draw a vertical rectangle for the cylindrical body. Add a narrower rectangle on top for the neck and cap. Connect the neck to the body with curved lines for rounded shoulders. Add horizontal lines across the body to indicate a label.
No. Other drawings can be correct. Assess the visible features and proportions rather than pixel-perfect matching.
A narrow neck with a cap, rounded shoulders, a cylindrical body, and a label band are the key visible features.
Tracing teaches the contour path; drawing independently afterward builds recall and lets you compare your proportions with the reference.
All drawing practice · Free coordinate paper
Original resources · CC BY 4.0 · Free for personal and classroom use with attribution.