Reference diagrams
LETTER · Download PDF
A4 · Download PDF
Free original resources
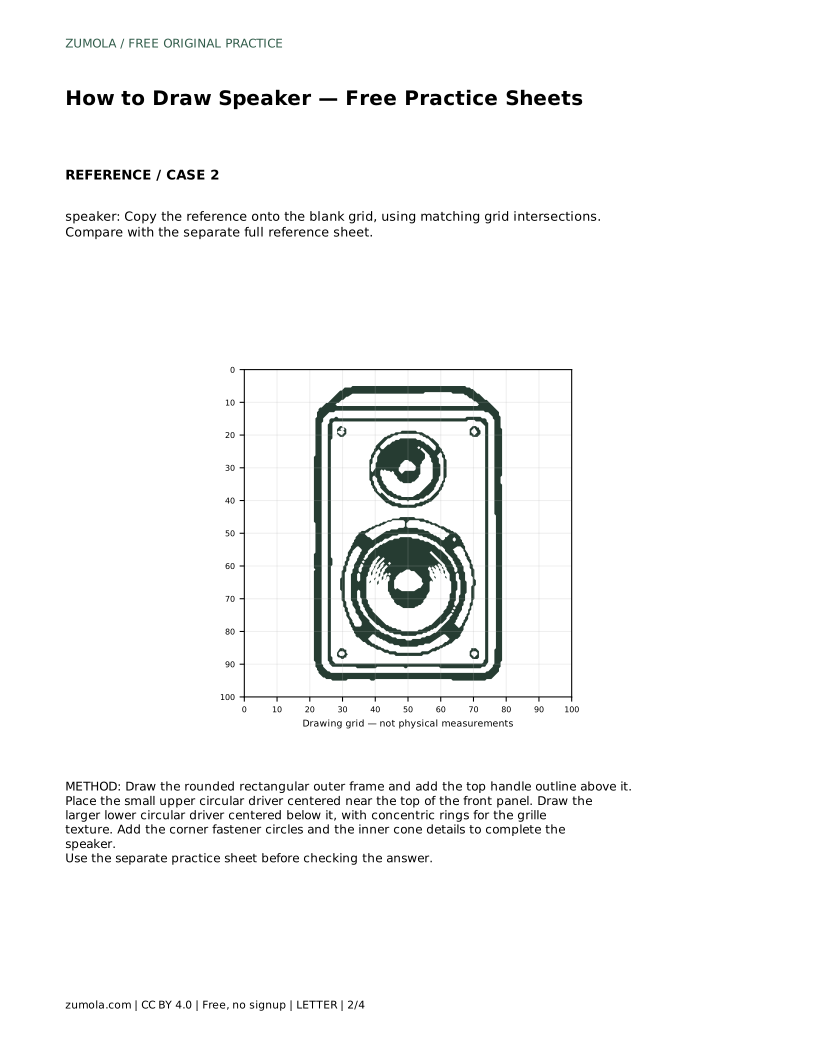
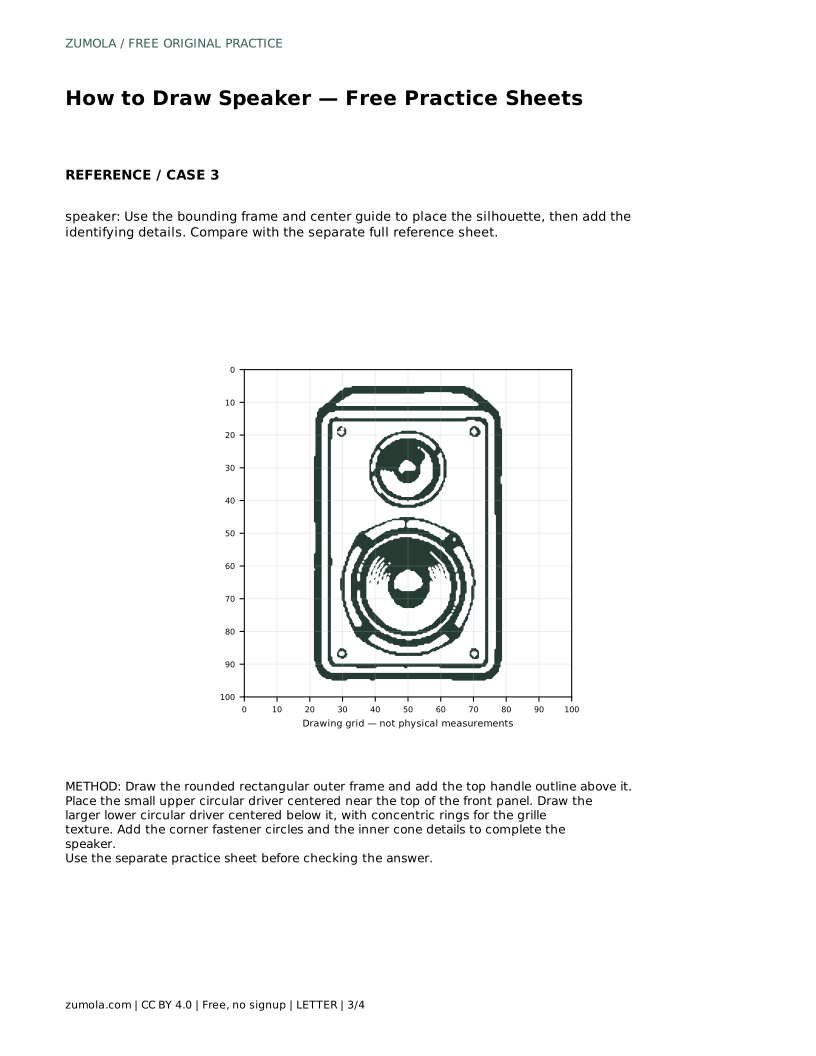
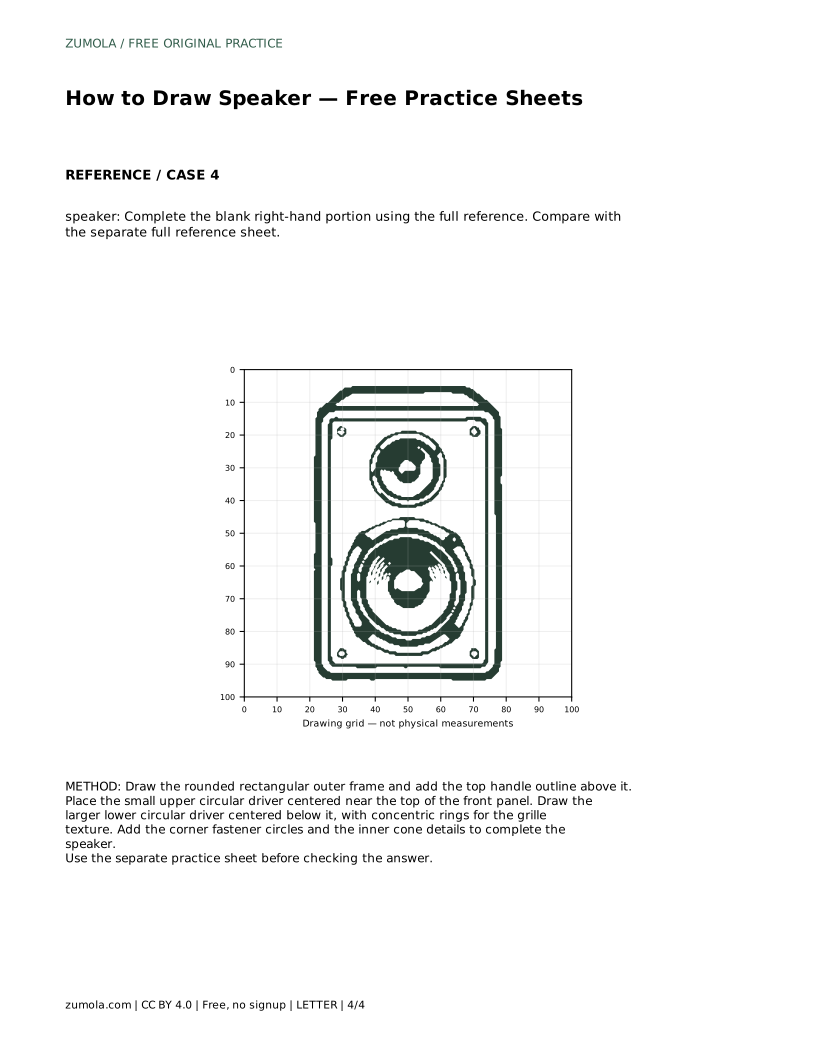
Learn to draw a speaker by building its rounded frame, handle, two driver cones, grille rings, and corner fasteners, then check proportions with a clear rubric.
Four original cases, with reference diagrams, practice sheets and worked answers. Everything is free; no signup required.
LETTER · Download PDF
A4 · Download PDF
LETTER · Download PDF
A4 · Download PDF
LETTER · Download PDF
A4 · Download PDF
Use A4 or US Letter to match your printer. Use the stated values and conditions to solve each exercise; diagrams are not physical measuring rulers.
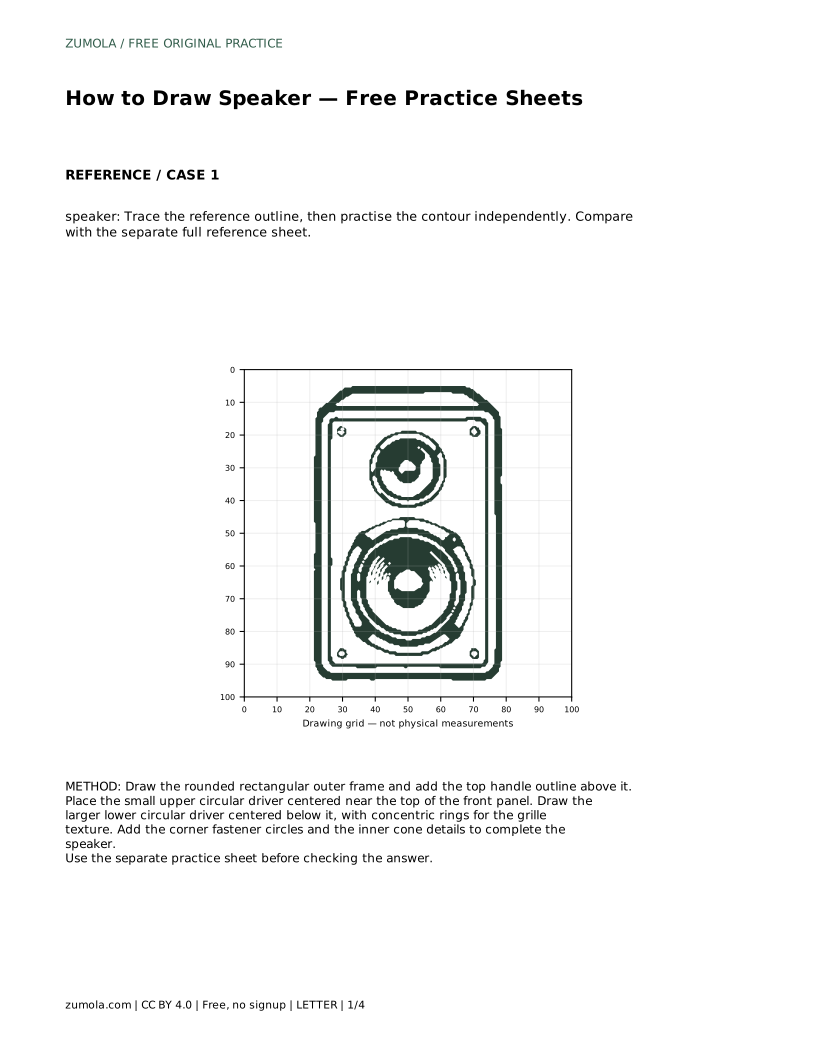
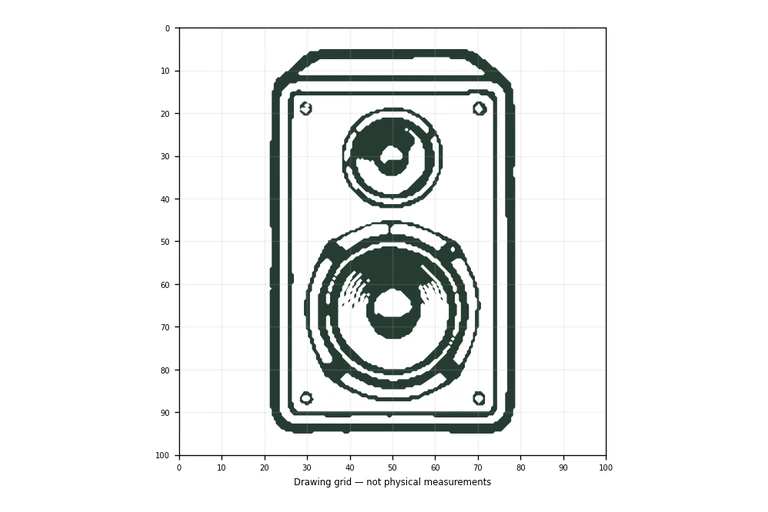
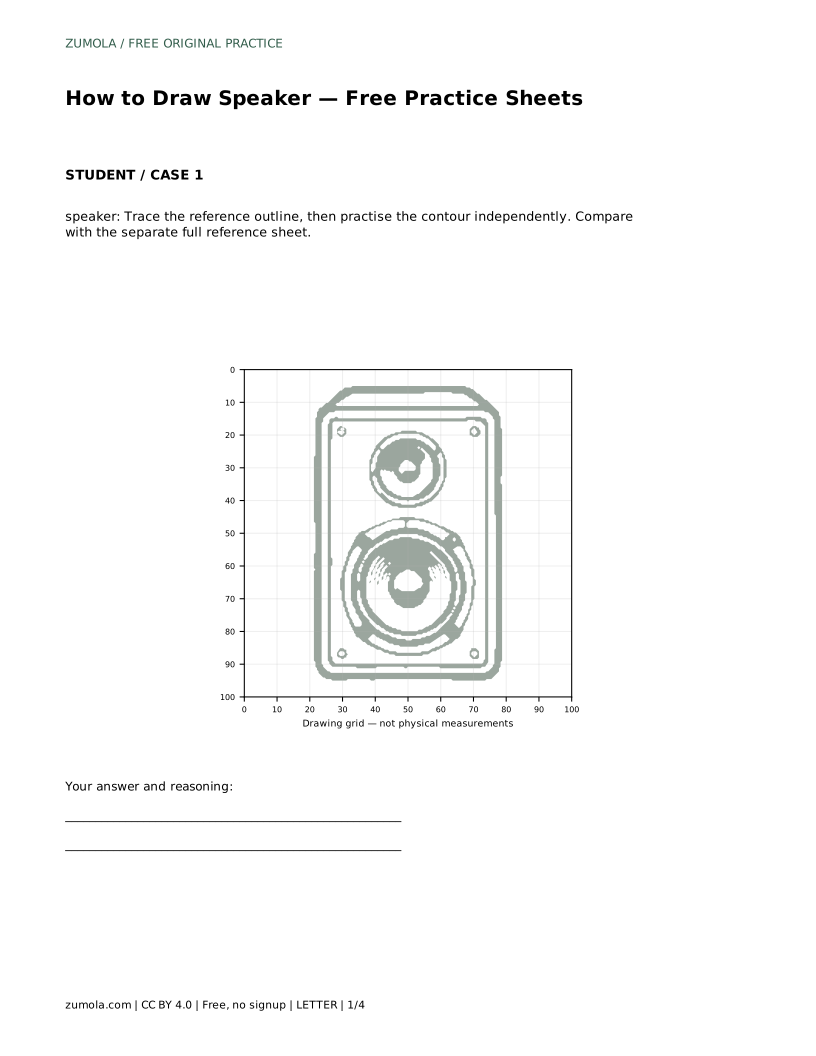
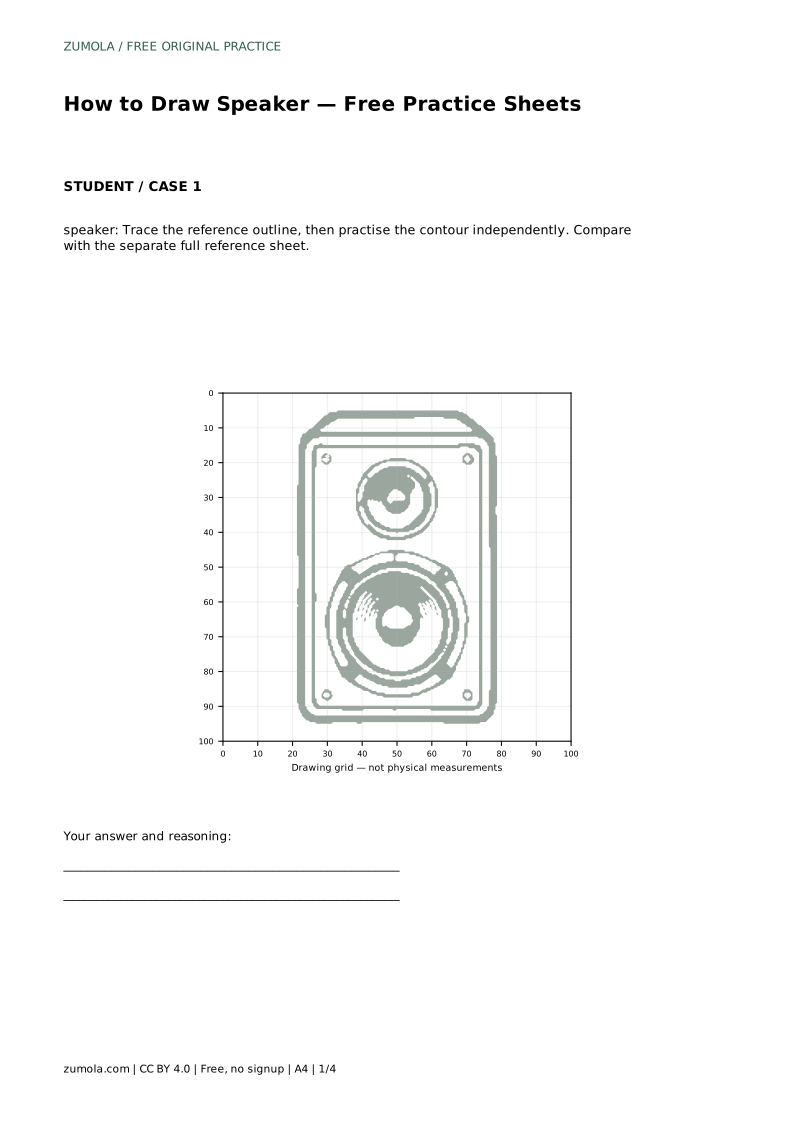
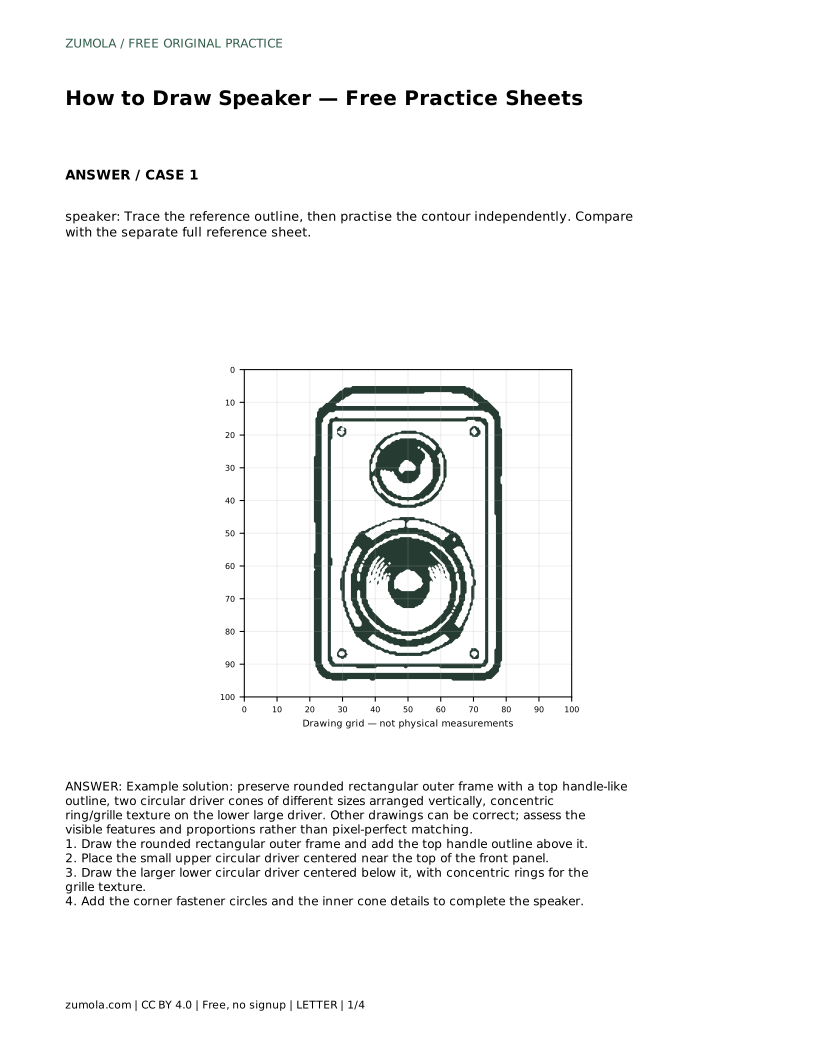
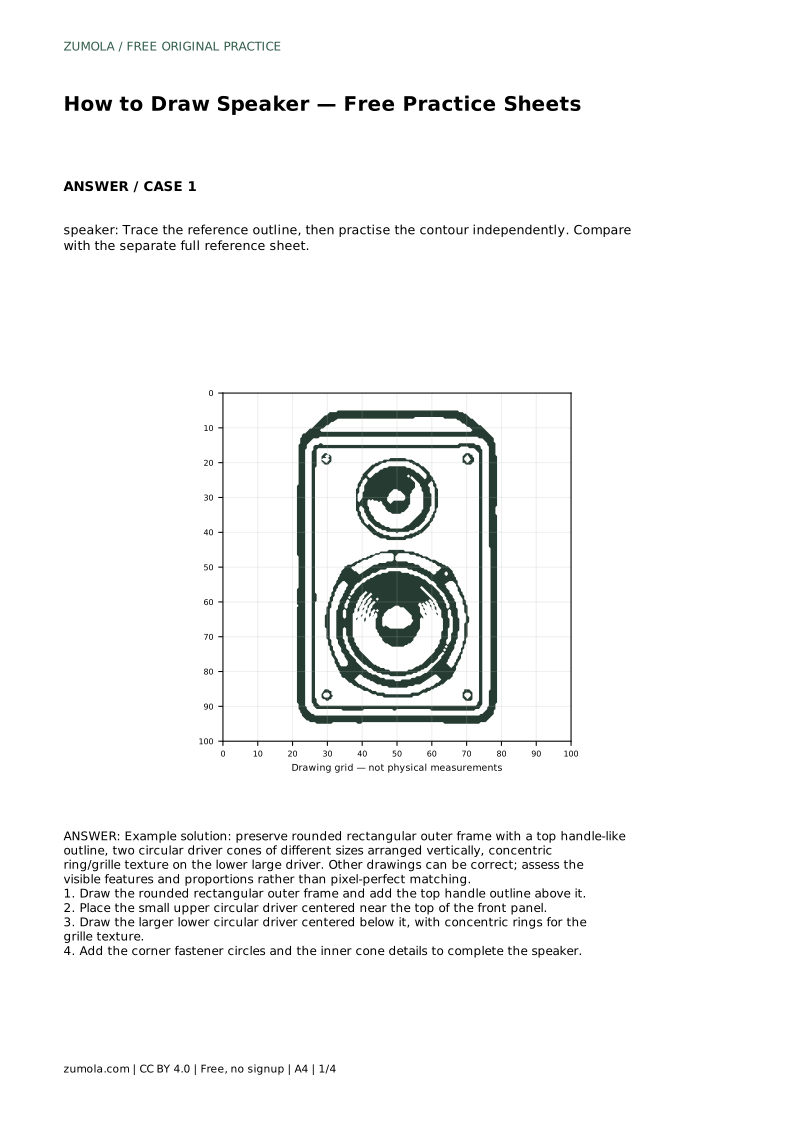
A speaker drawing is mostly a lesson in placing circles inside a rounded rectangle. Get the outer frame and the two driver cones in sensible positions, and the rest of the details fall into line. This guide explains how to trace a reference outline, then practise the same contour independently, and how to judge your result by visible features and proportions rather than pixel-perfect matching.
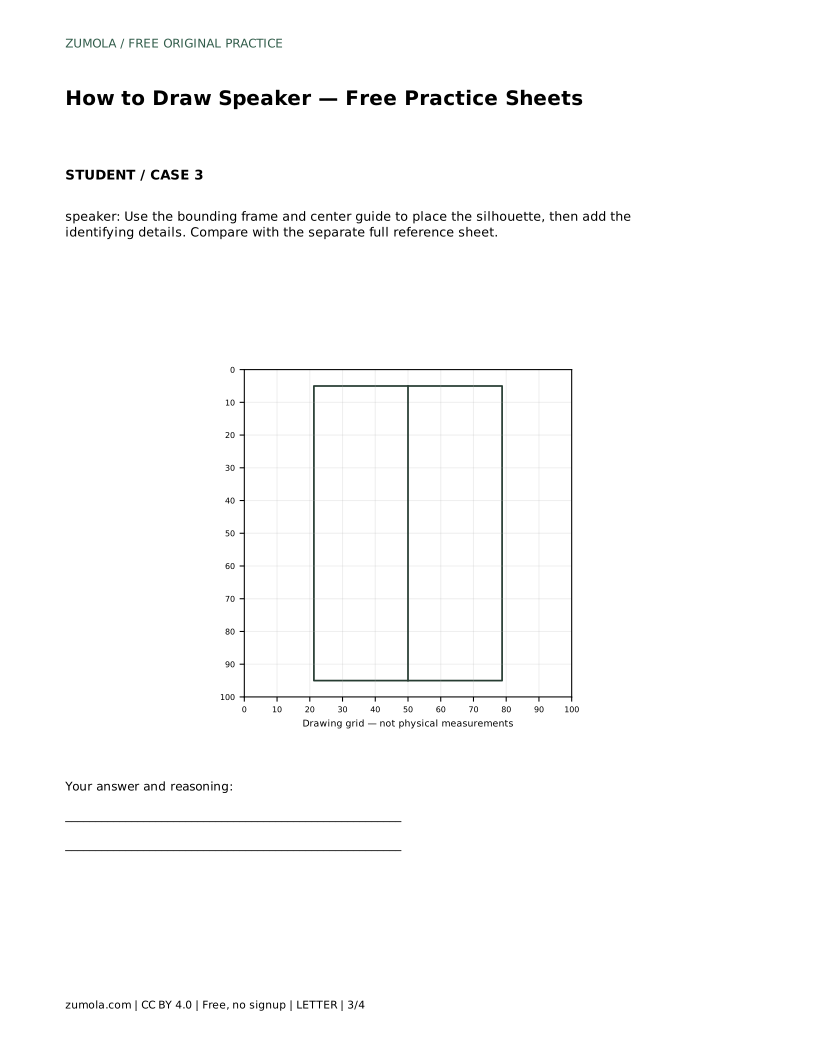
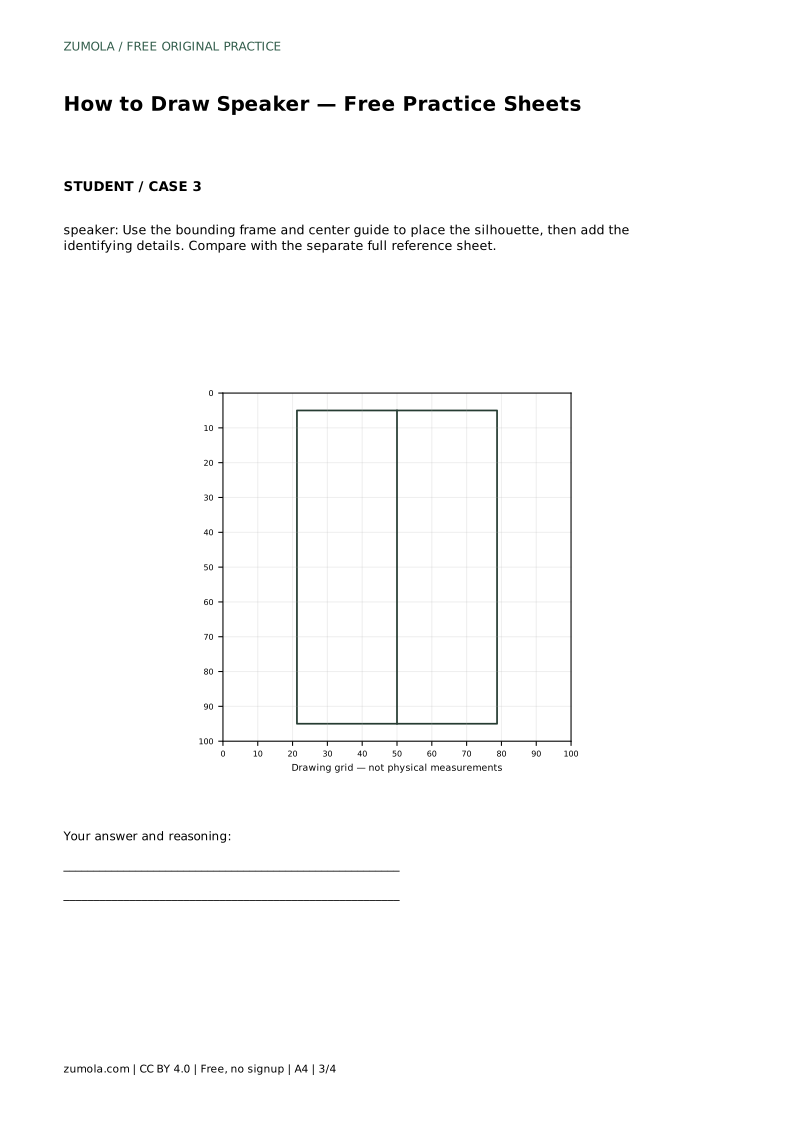
Begin with the largest shape, because every smaller detail depends on it. Draw a rounded rectangle for the front panel, keeping the corners gently curved rather than sharp. Above the frame, add the handle-like outline: a shallow arch or loop that sits centred over the top edge. Keep the handle narrower than the panel so the speaker still reads as a box with a carry grip.
Check the frame before moving on. The rectangle should be taller than it is wide in most speaker designs, and the handle should not sprawl past the sides. If the frame is lopsided, the circles inside will look misplaced even when they are drawn well.
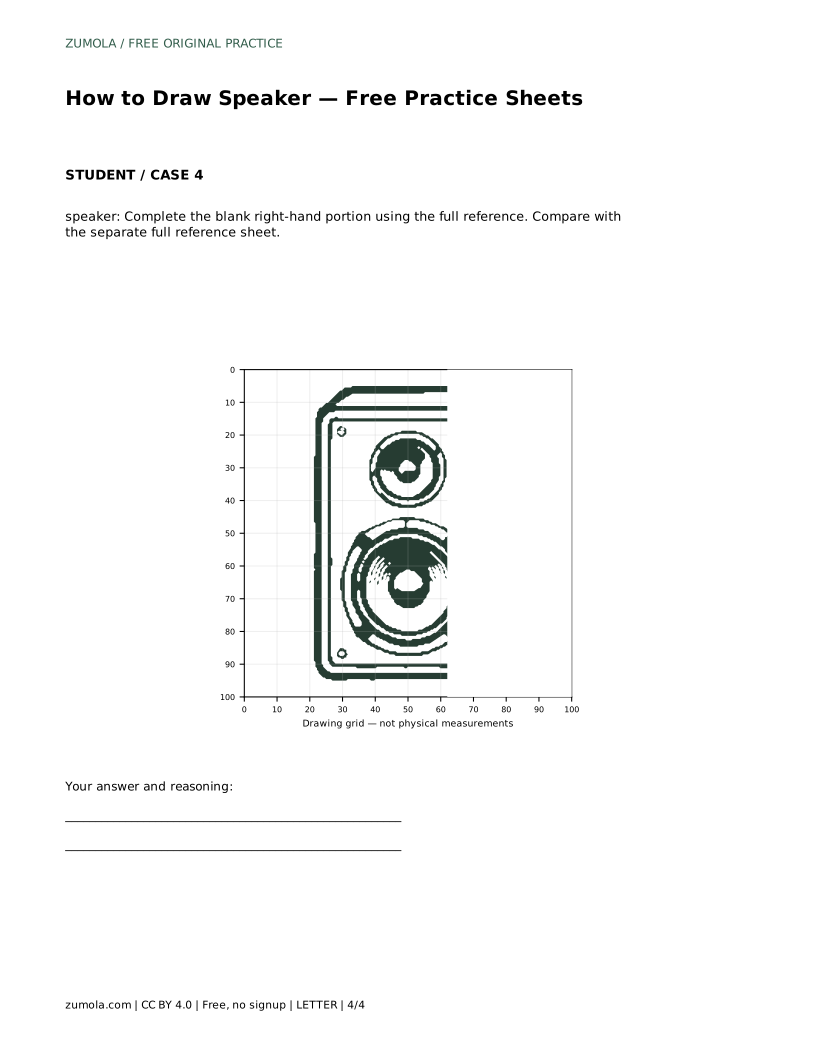
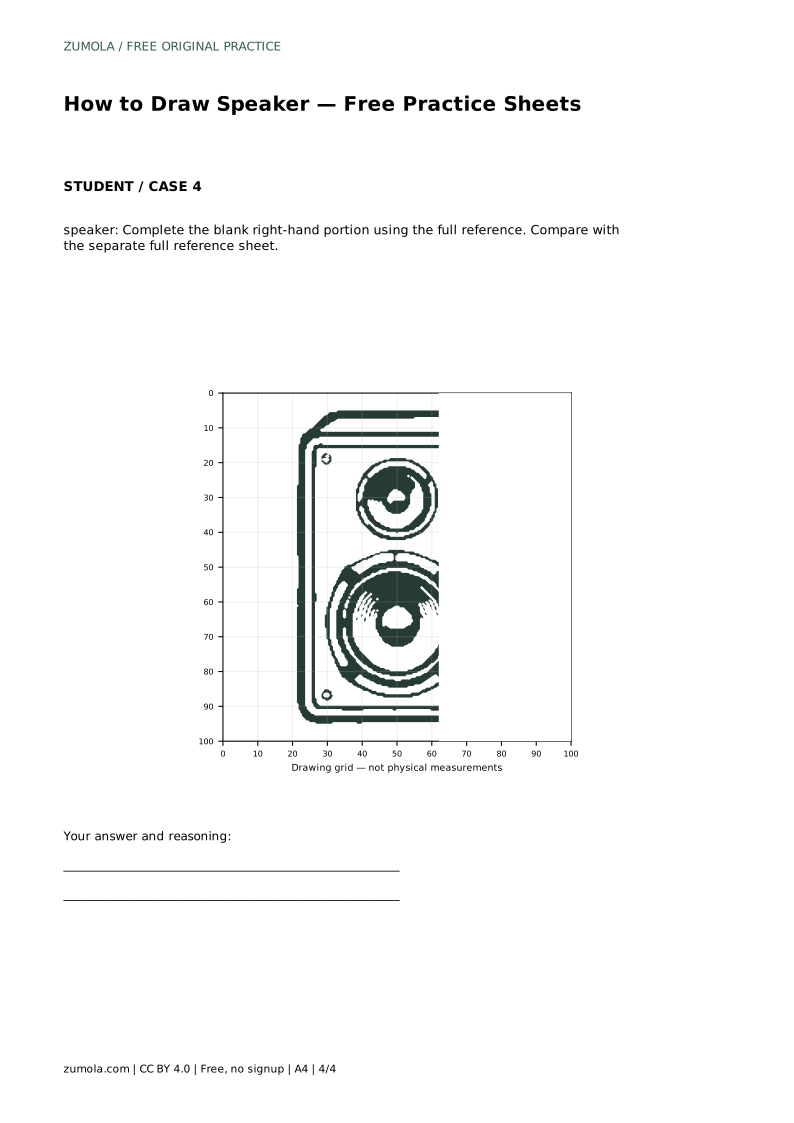
The speaker's identity comes from two circular drivers of different sizes, arranged vertically. Place the smaller circle near the top of the front panel, centred left to right. Place the larger circle below it, also centred, leaving a clear gap between the two. The lower driver is the dominant feature, so give it noticeably more diameter than the upper one.
Use light construction circles first. A circle drawn freehand often drifts oval; rotate the page or redraw the curve in short strokes until the shape closes evenly. Confirm that both circles share the same vertical centre line, since a staggered pair looks like a mistake rather than a design choice.
Inside the larger lower driver, add concentric rings to suggest the grille texture. Space them roughly evenly and keep them inside the outer circle. Add small circles at the panel corners for fasteners, and finish with inner cone details inside each driver, such as a smaller central circle and a few radial lines.
These details are texture, not anatomy. A speaker grille is a manufactured surface, so the rings describe a pattern rather than a biological structure. Keep line weight consistent and avoid crowding the centre, which can make the driver look solid instead of layered.
Tracing the reference outline builds familiarity with the contour. Once the traced version feels comfortable, cover the reference and redraw the same speaker from memory, then compare your independent drawing with the separate full reference sheet. The goal is to reproduce the visible features and their proportions, not to match every pixel.
Other drawings can be correct. A speaker with slightly different ring spacing or a wider handle still reads clearly if the frame, two drivers, and grille texture are present and sensibly placed.
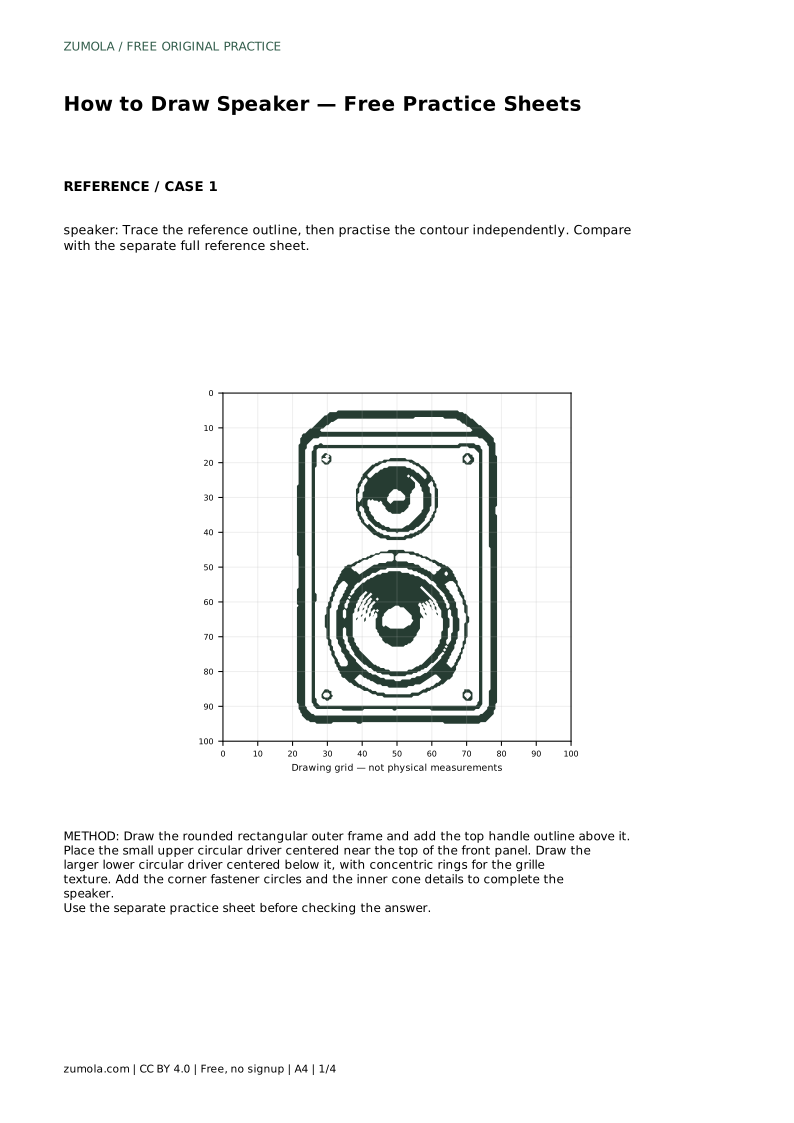
speaker: Trace the reference outline, then practise the contour independently. Compare with the separate full reference sheet.
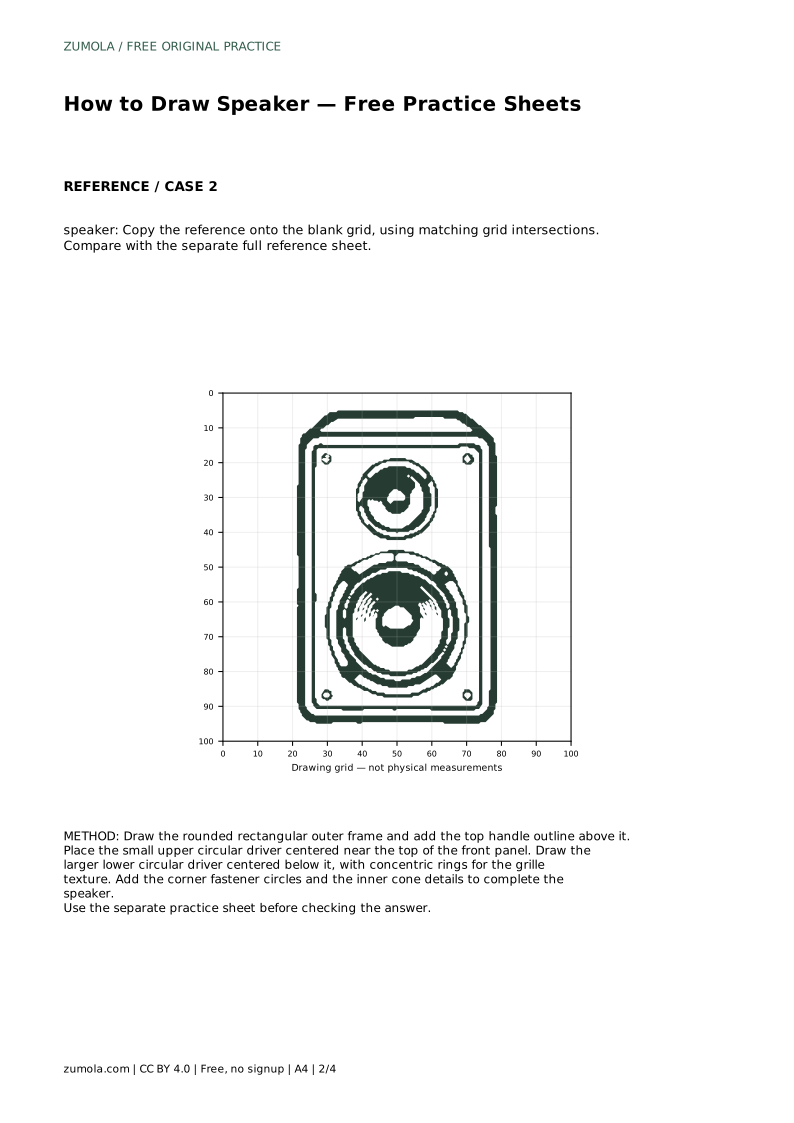
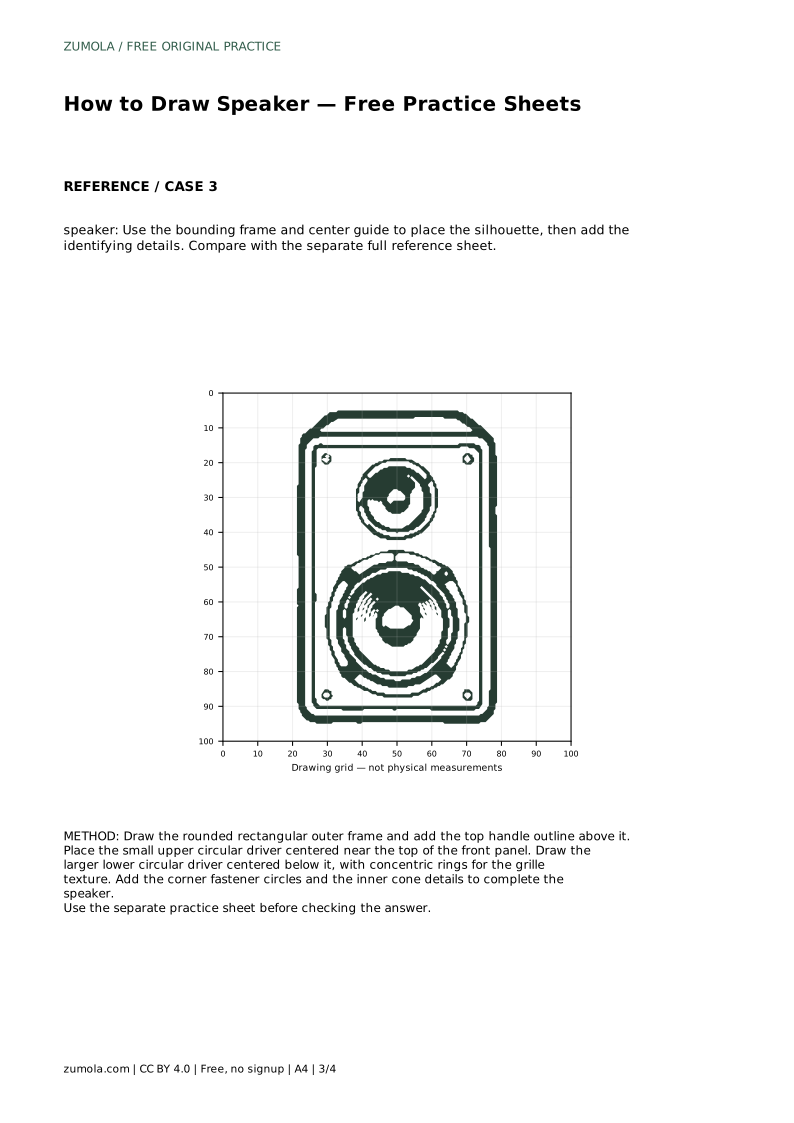
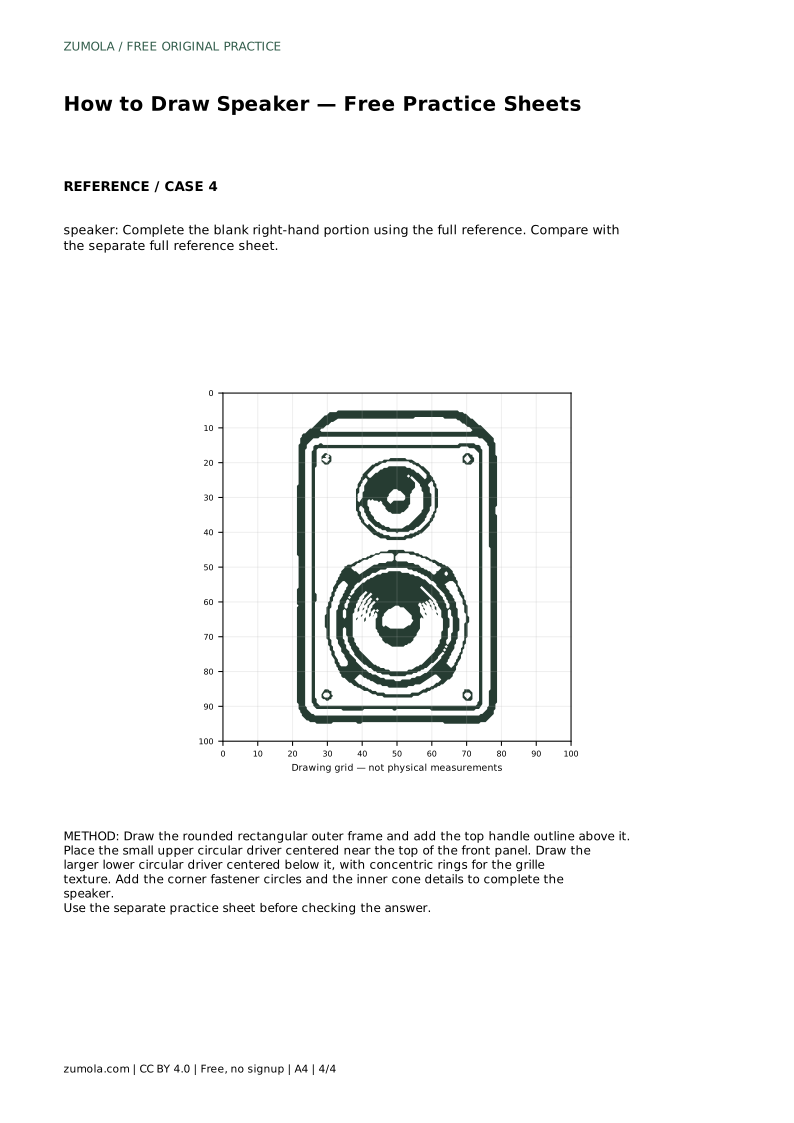
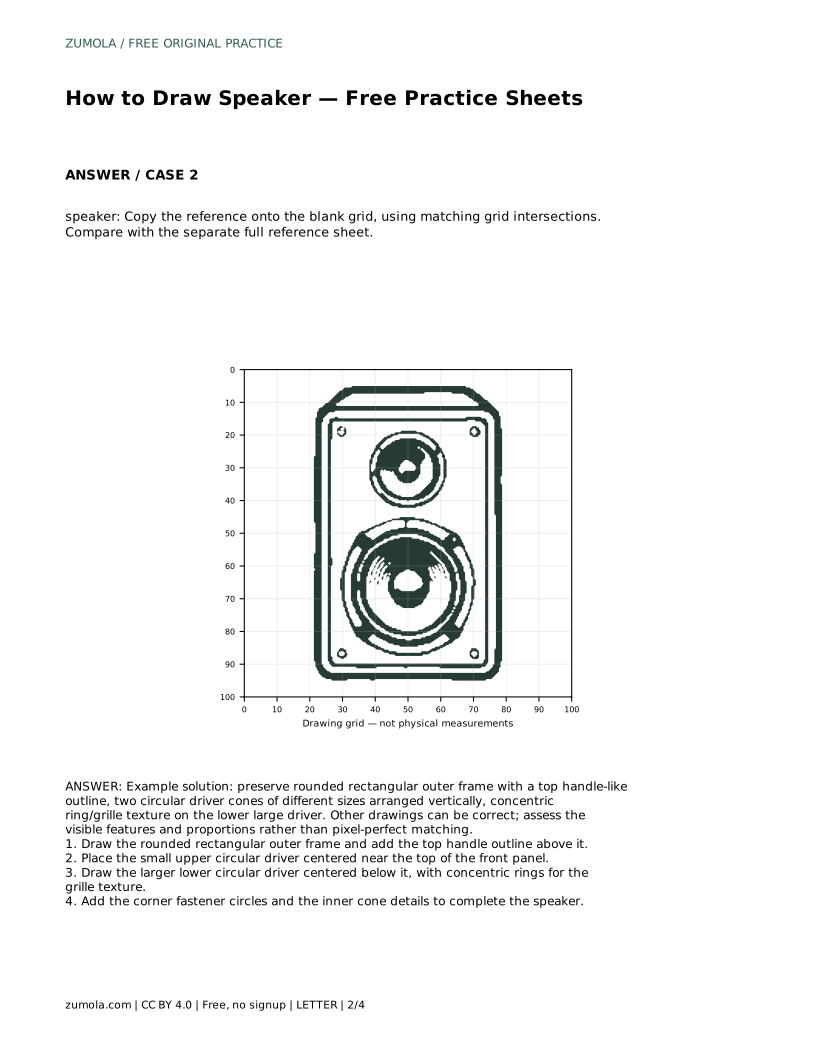
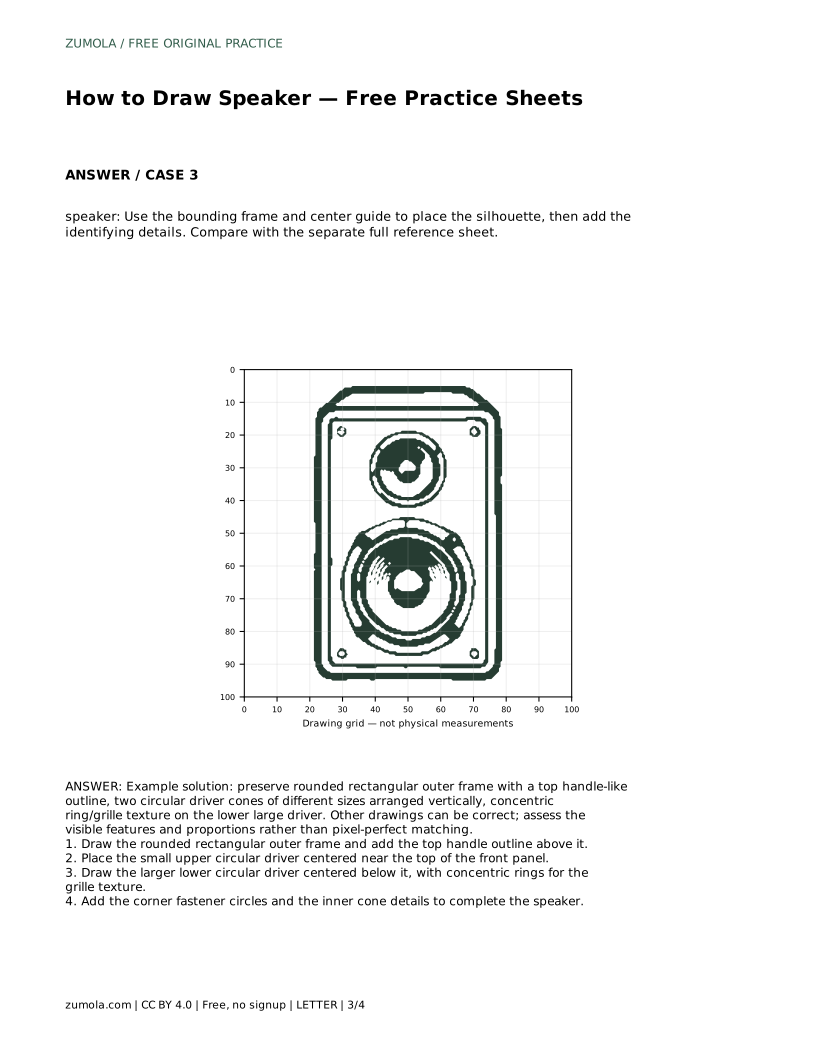
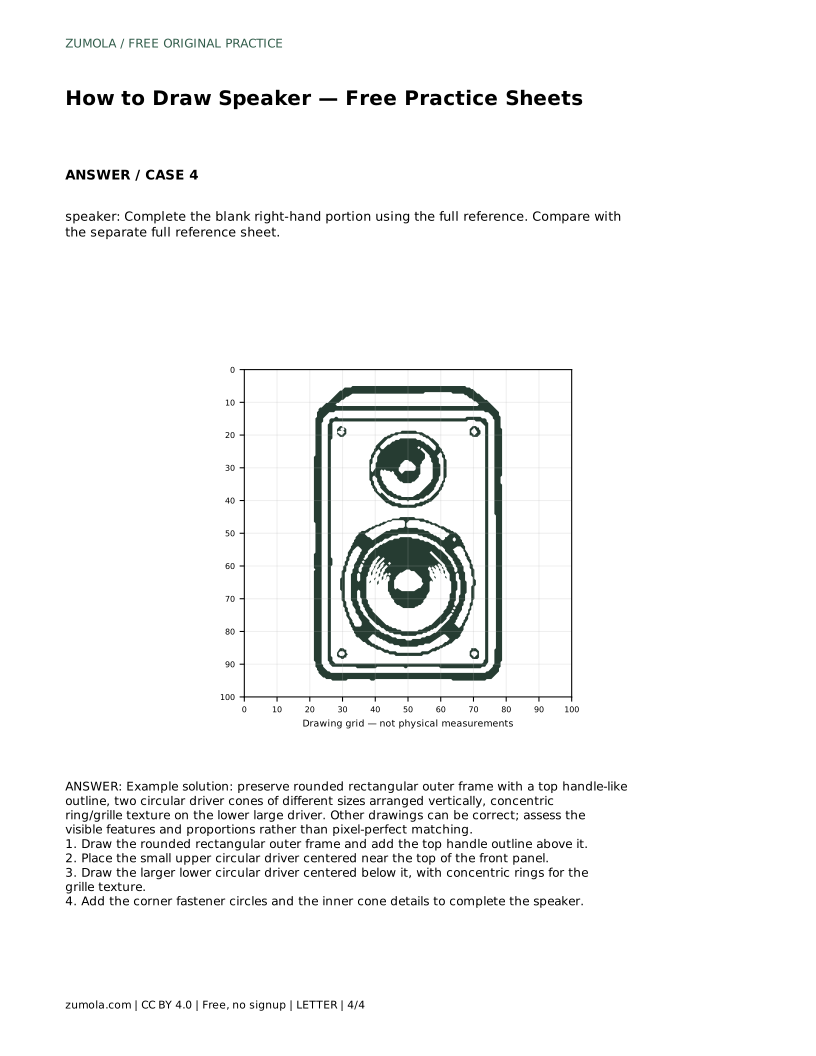
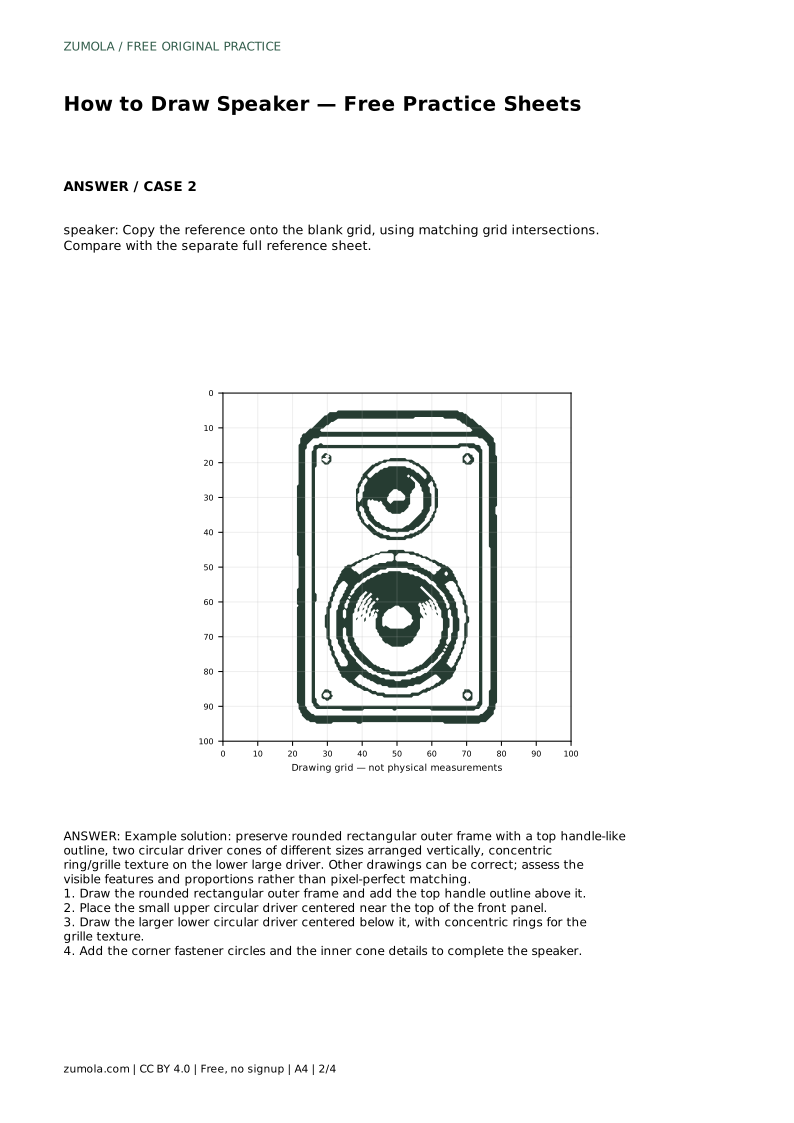
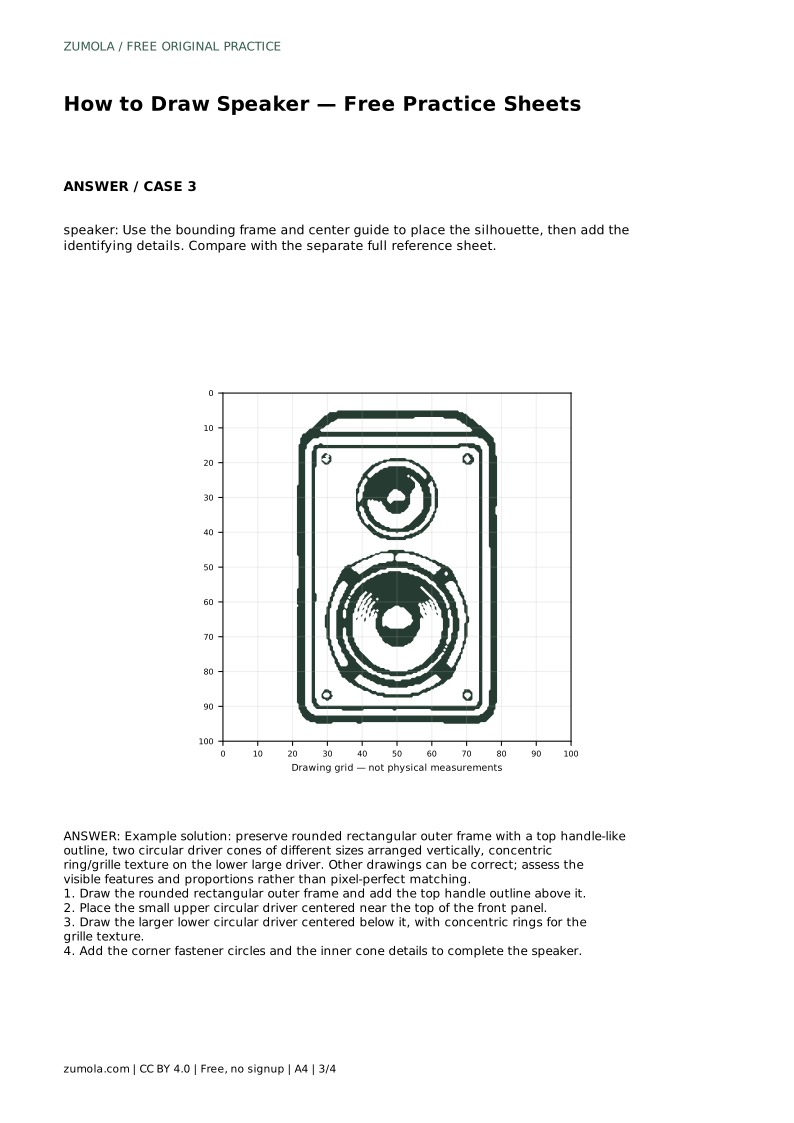
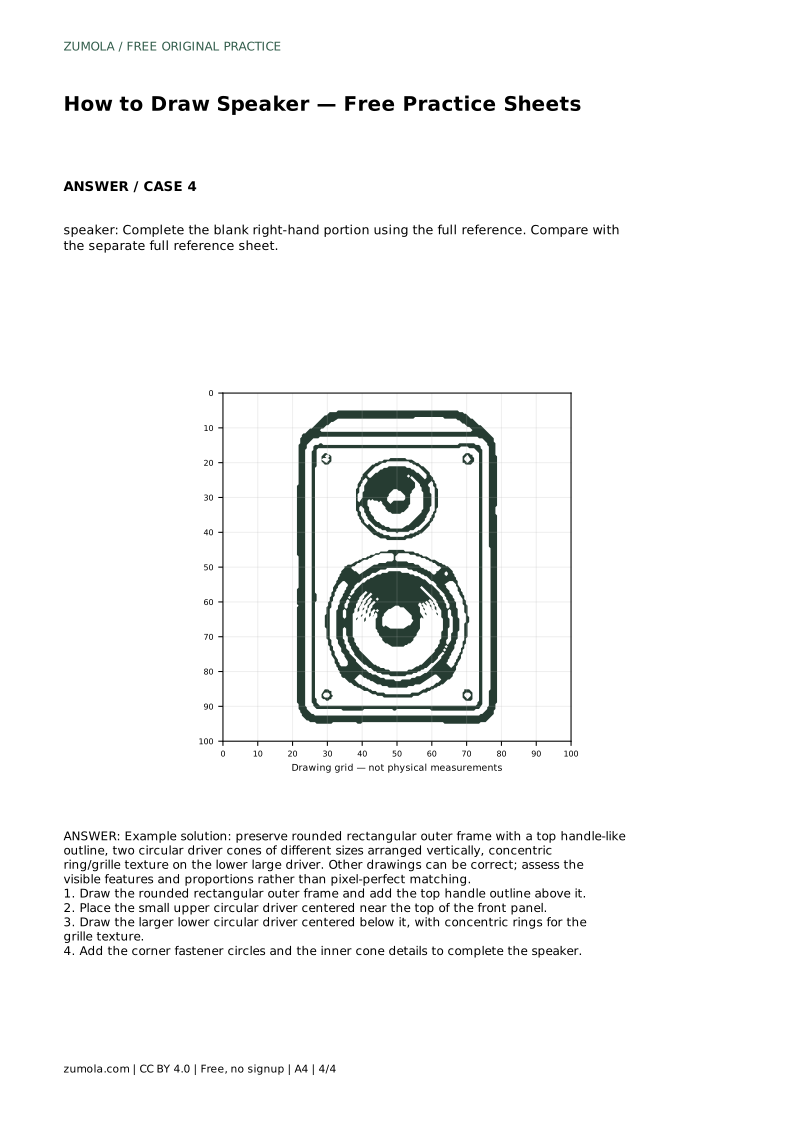
Example solution: preserve rounded rectangular outer frame with a top handle-like outline, two circular driver cones of different sizes arranged vertically, concentric ring/grille texture on the lower large driver. Other drawings can be correct; assess the visible features and proportions rather than pixel-perfect matching. Draw the rounded rectangular outer frame and add the top handle outline above it. Place the small upper circular driver centered near the top of the front panel. Draw the larger lower circular driver centered below it, with concentric rings for the grille texture. Add the corner fastener circles and the inner cone details to complete the speaker.
No. Assess visible features and proportions instead: rounded frame, top handle, two differently sized centred drivers, grille rings, and corner fasteners.
Draw the larger lower driver first, then the smaller upper one, so you can judge the size difference before adding texture.
Use light construction circles, draw in short strokes, and rotate the page if needed until each circle closes evenly.
All drawing practice · Free coordinate paper
Original resources · CC BY 4.0 · Free for personal and classroom use with attribution.