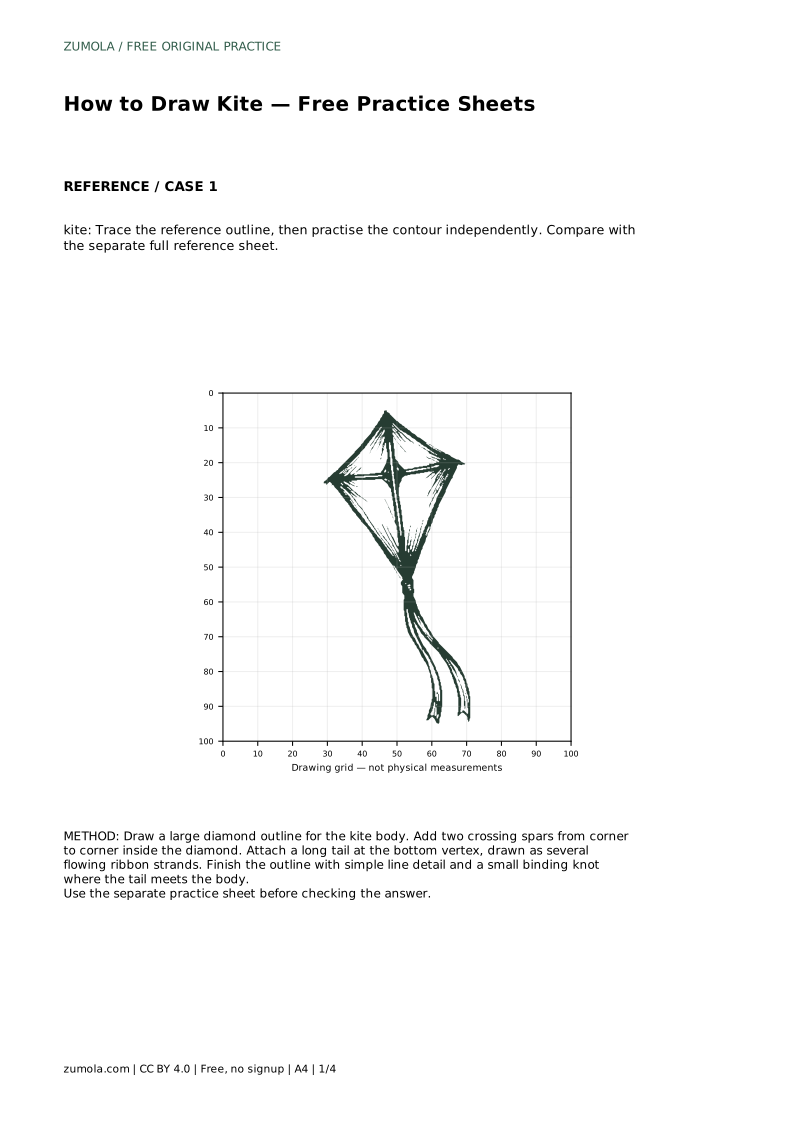
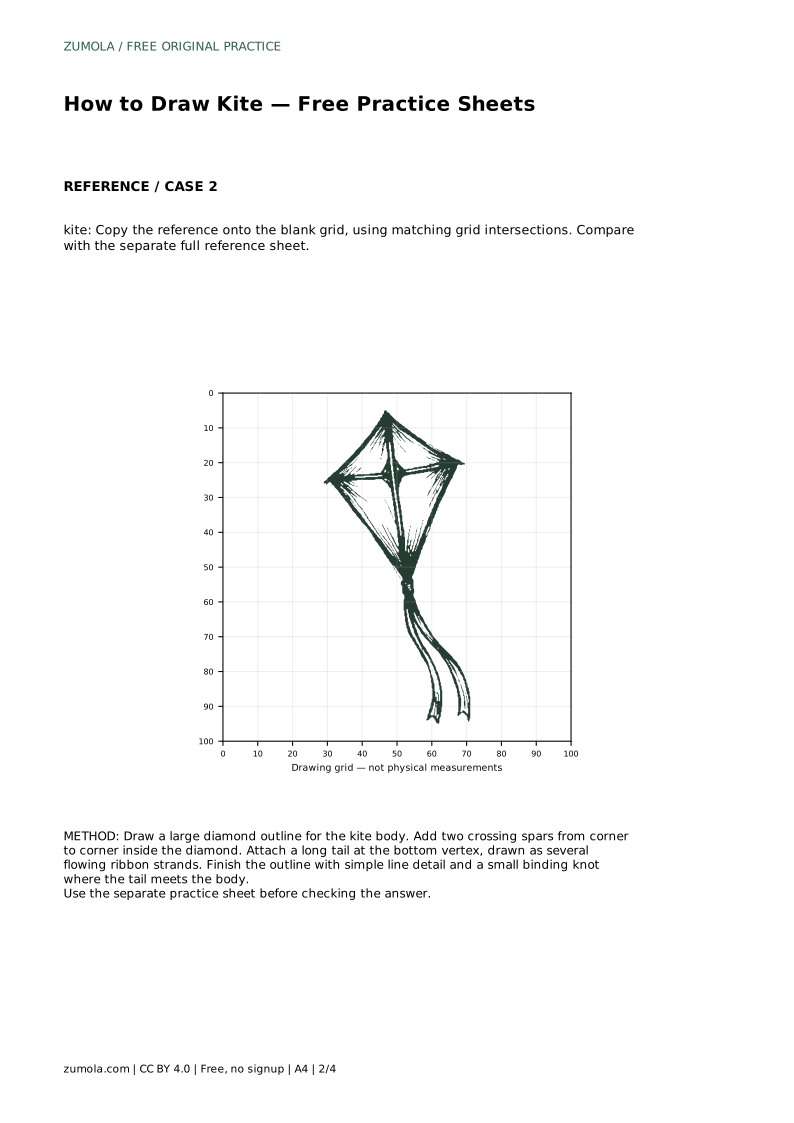
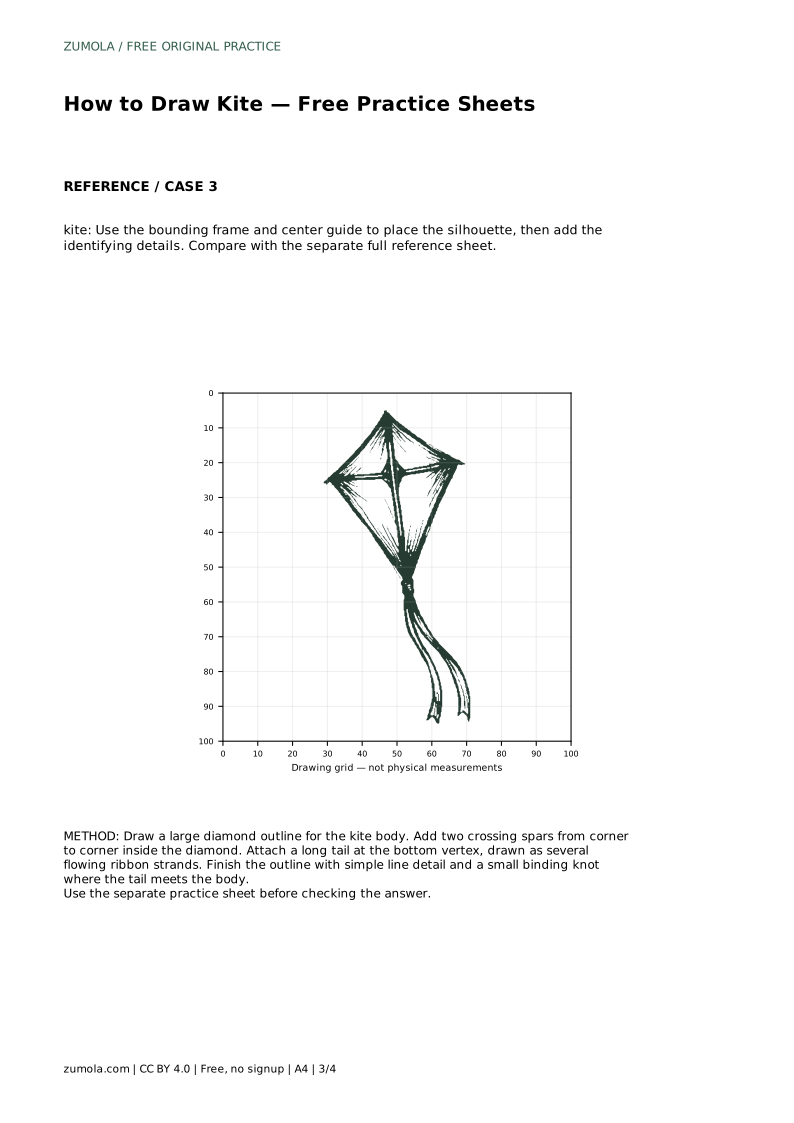
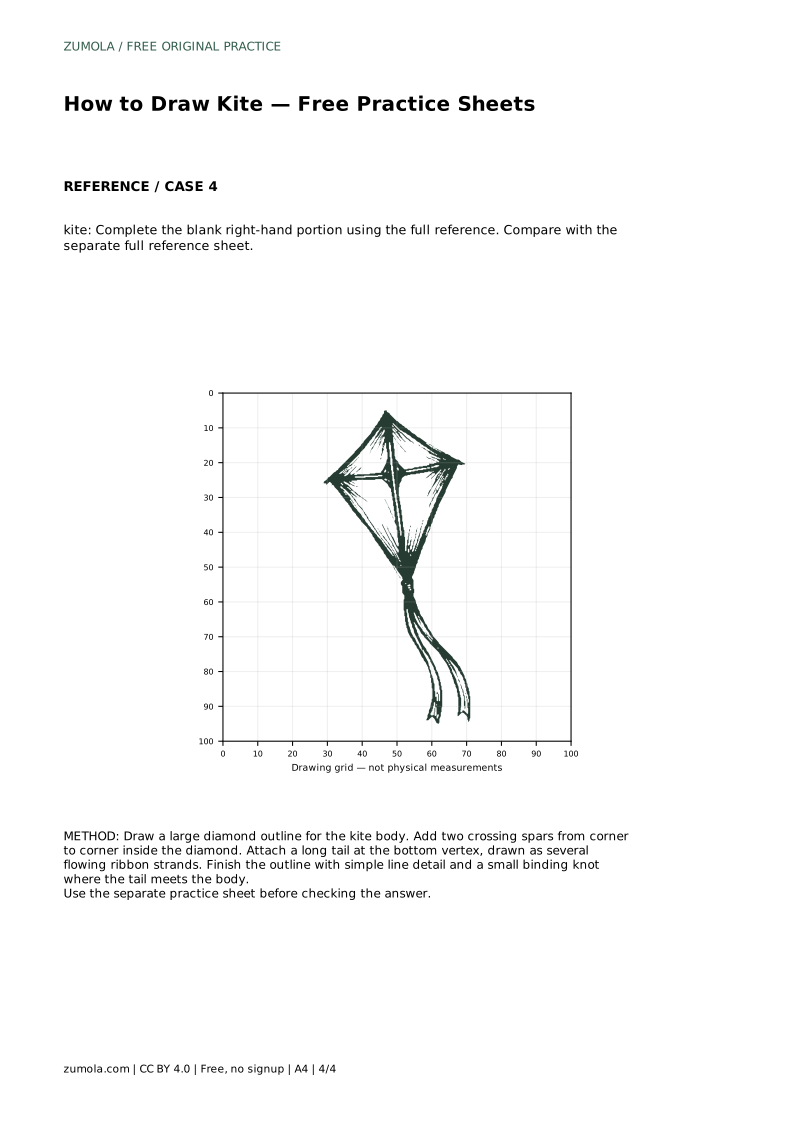
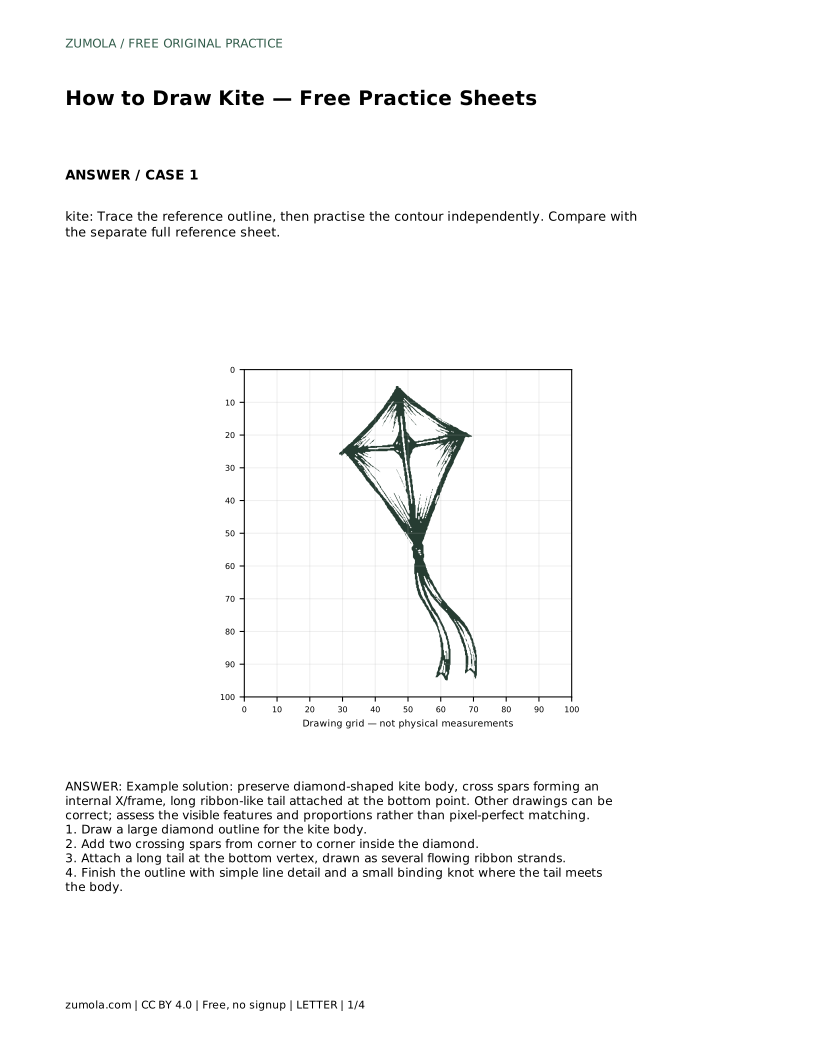
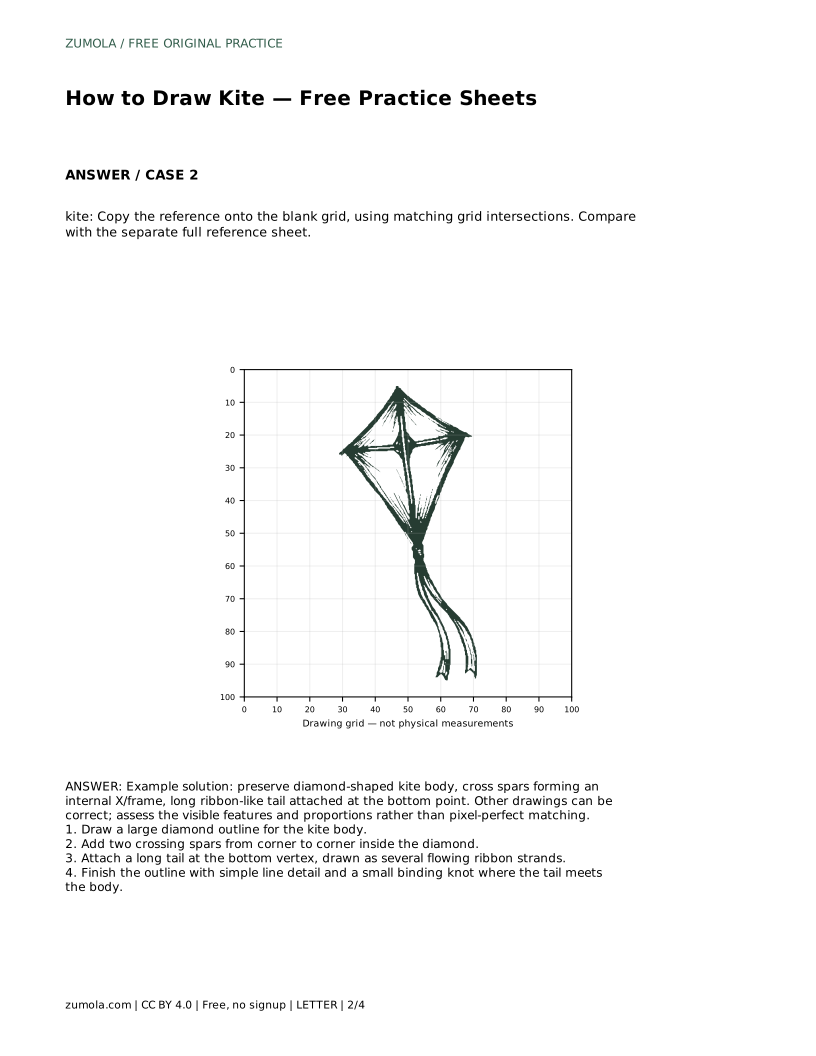
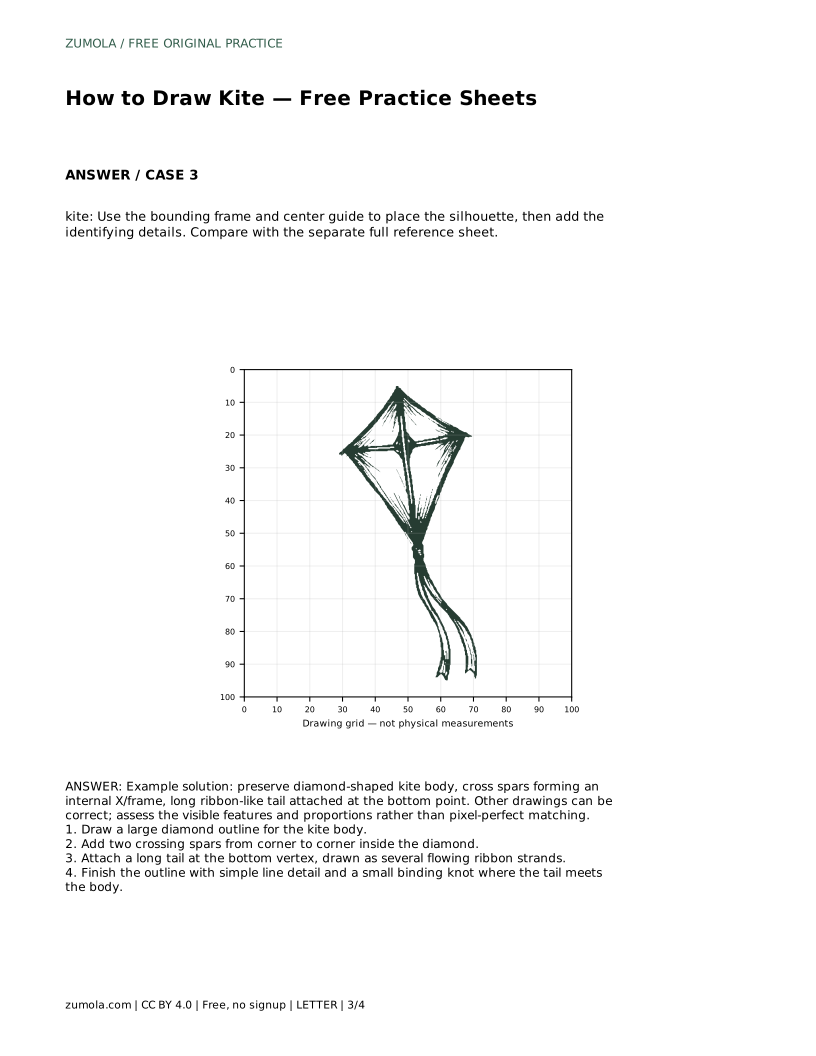
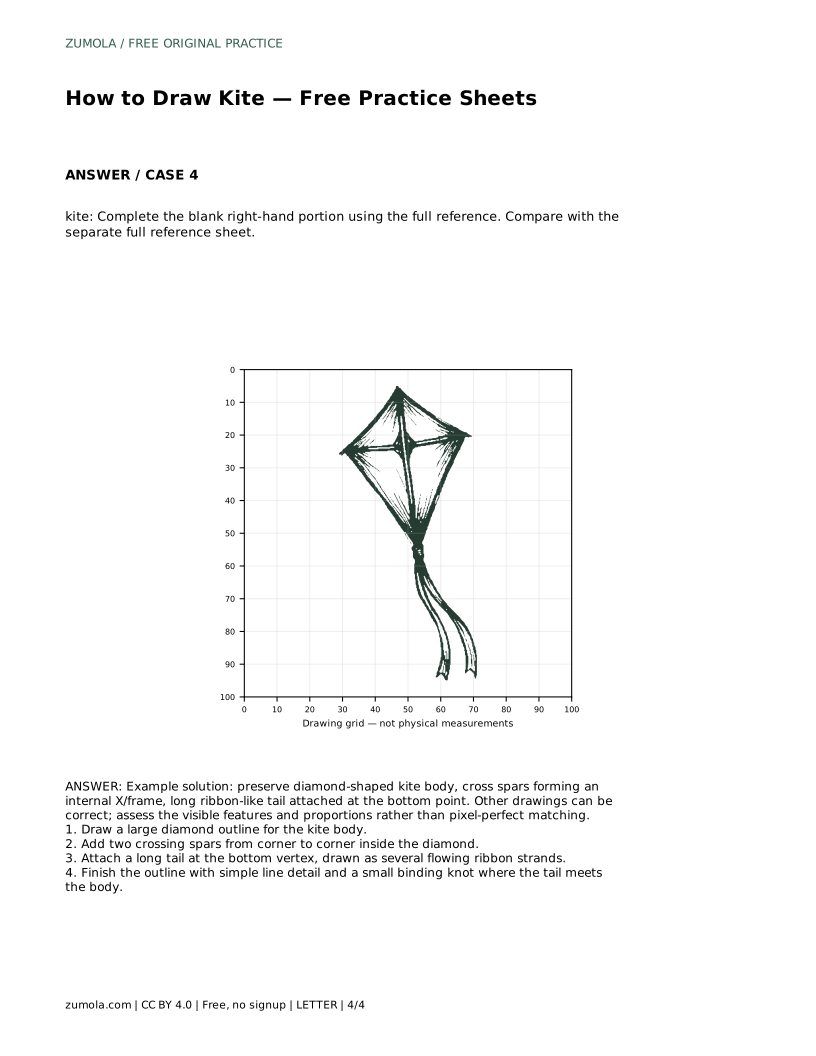
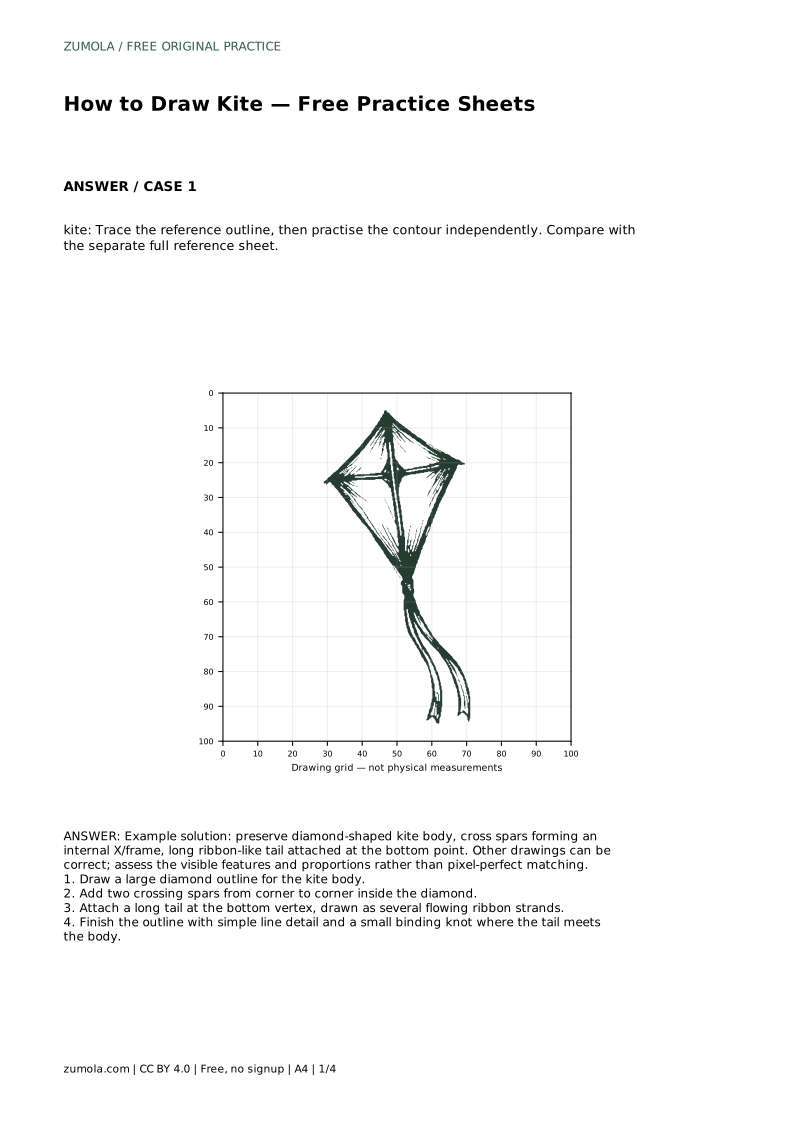
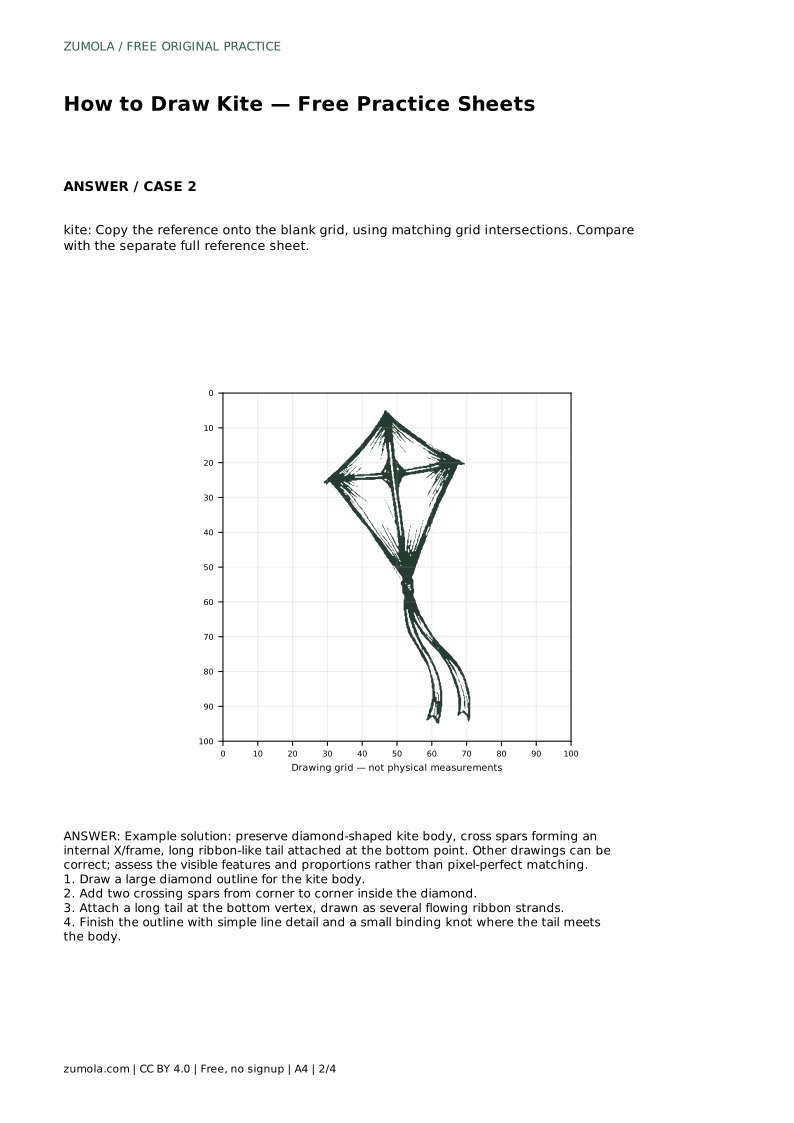
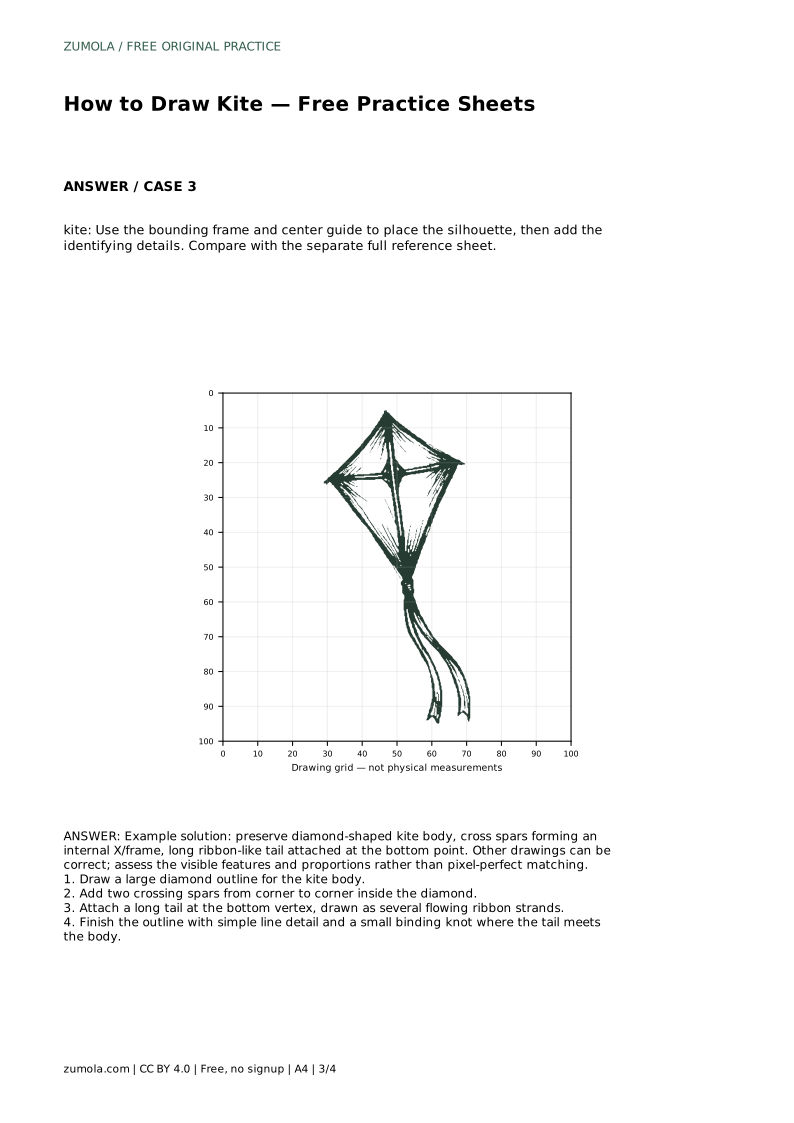
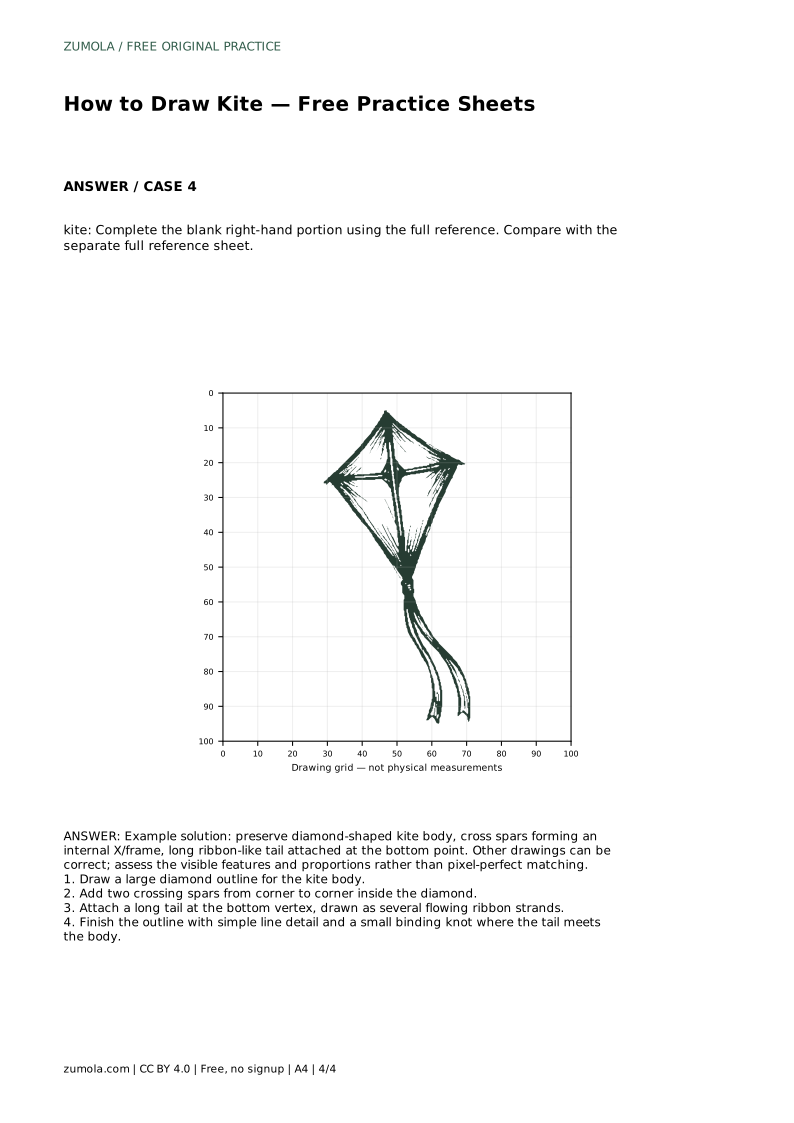
Reference diagrams
LETTER · Download PDF
A4 · Download PDF
Free original resources
Learn to draw a kite by building its diamond body, crossing spars, and ribbon tail. Practice with tracing, grid, and completion sheets.
Four original cases, with reference diagrams, practice sheets and worked answers. Everything is free; no signup required.
LETTER · Download PDF
A4 · Download PDF
LETTER · Download PDF
A4 · Download PDF
LETTER · Download PDF
A4 · Download PDF
Use A4 or US Letter to match your printer. Use the stated values and conditions to solve each exercise; diagrams are not physical measuring rulers.
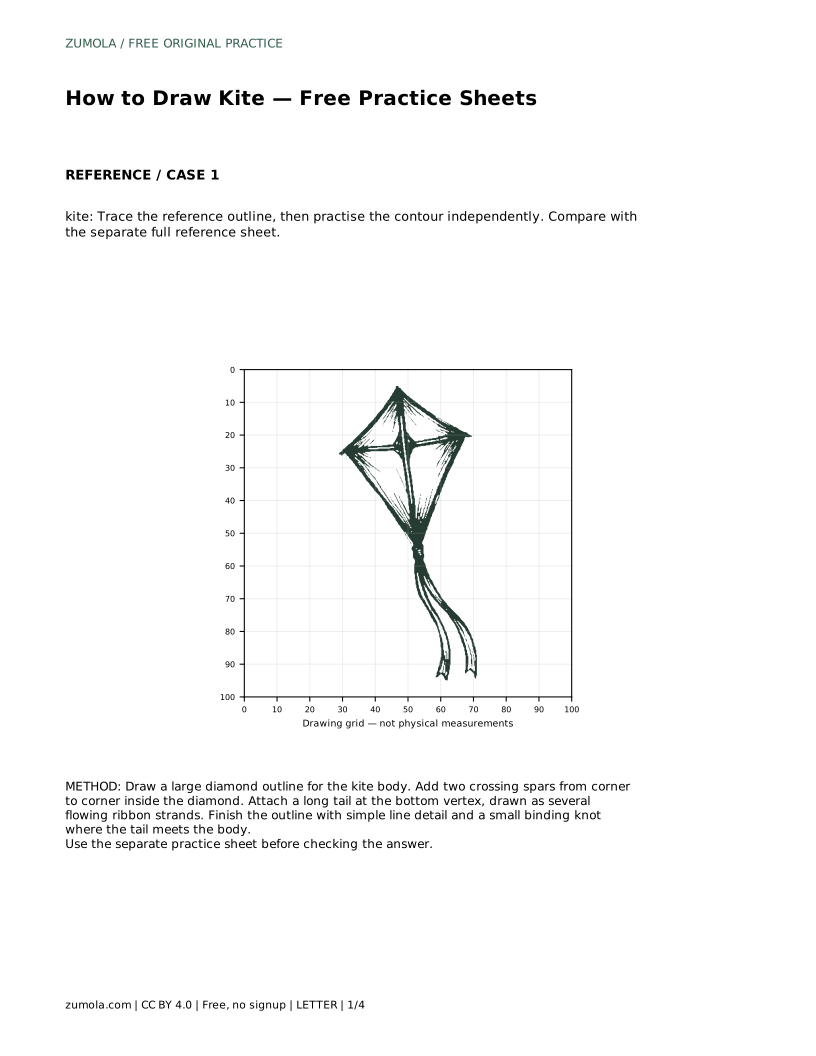
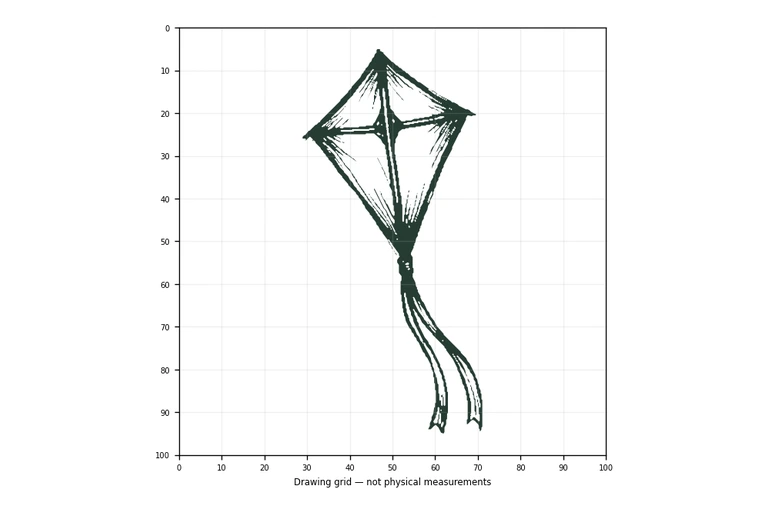
A kite is easy to recognise but easy to draw lopsided. The trick is to build it in a clear order: body first, frame second, tail last. This guide explains how to place the diamond, draw the two spars that cross inside it, and attach a flowing tail at the bottom point. The practice sheets let you trace, copy onto a grid, or complete a partly drawn kite, then compare your work with the full reference.
Every kite drawing begins with the body. Draw a large diamond: four straight sides meeting at a top point, a bottom point, and two side points. Keep the top and bottom points on the same vertical line so the kite does not lean. The side points should sit roughly level with each other. Width and height do not need to match exactly, but a body that is far wider than it is tall will look like a different object. Lightly sketch the diamond first, then firm up the lines once the proportions look balanced.
The spars are the frame. Draw one straight line from the top point to the bottom point, and another from the left side point to the right side point. These two lines cross inside the diamond, forming an X or cross. Keep each spar straight and running corner to corner; a spar that stops short or wanders off the point makes the frame look broken. The crossing point does not have to sit exactly at the centre, but it should look deliberate. These lines are structure, not decoration, so draw them cleanly.
The tail hangs from the bottom point. Draw it as several long, flowing ribbon strands rather than one stiff line, letting them curve and drift to suggest movement. Add a small binding knot where the tail meets the body so the join looks intentional. Finish with simple line detail on the body if you wish, such as a short line marking the crossing of the spars. Keep detail light; the diamond, the cross, and the tail are what make the drawing read as a kite.
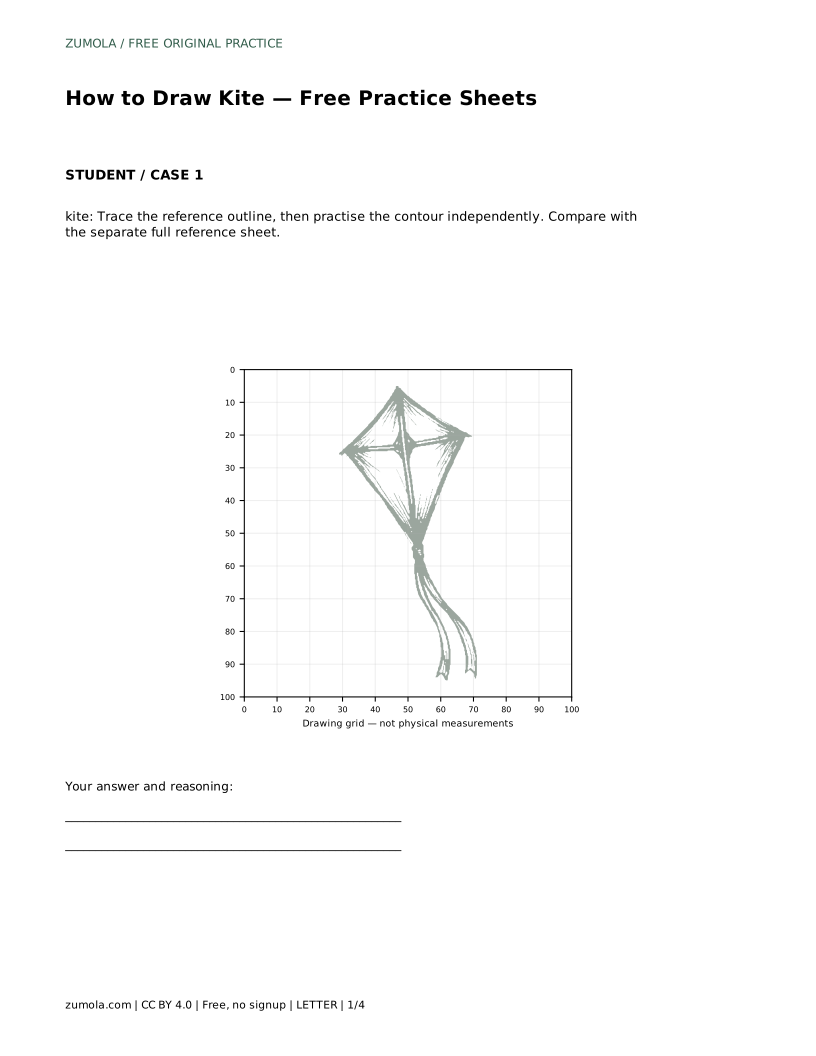
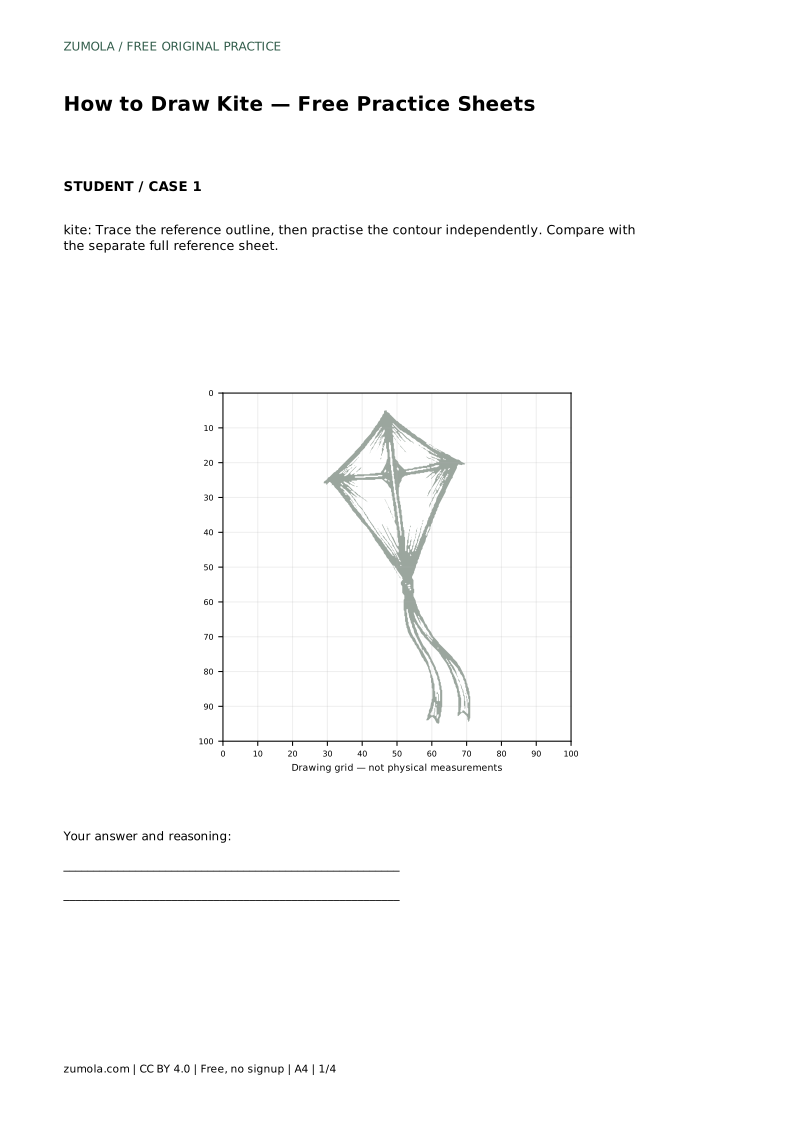
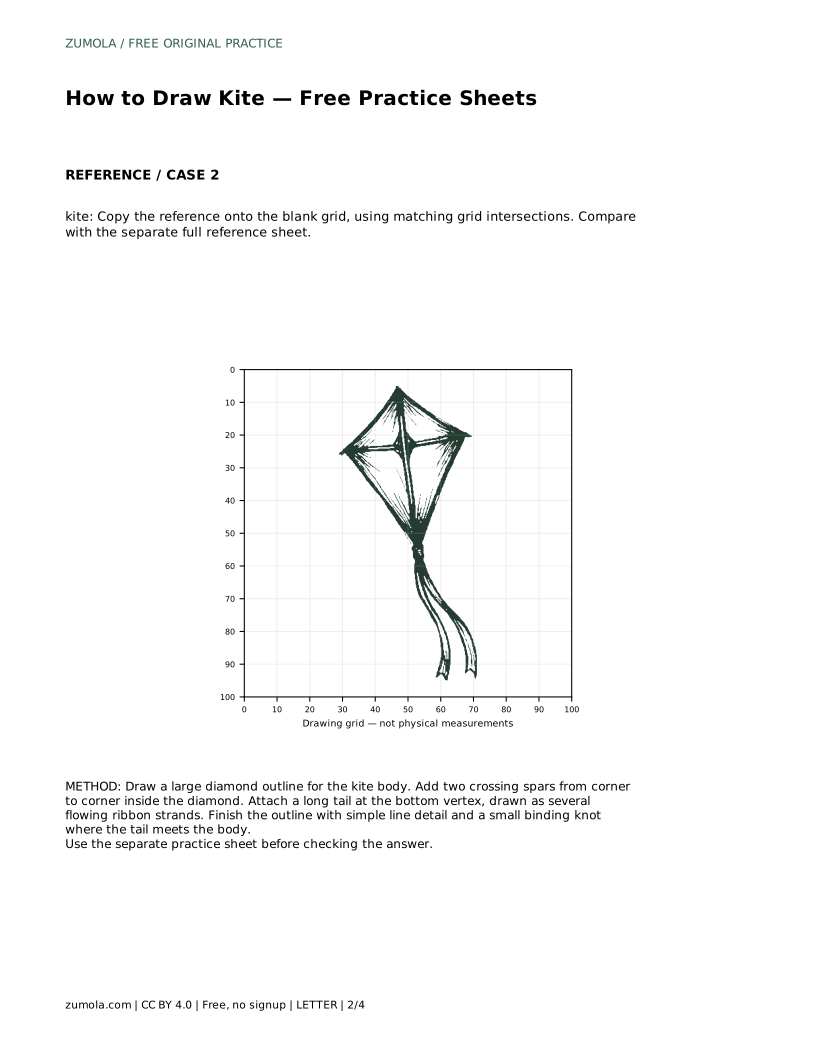
kite: Trace the reference outline, then practise the contour independently. Compare with the separate full reference sheet.
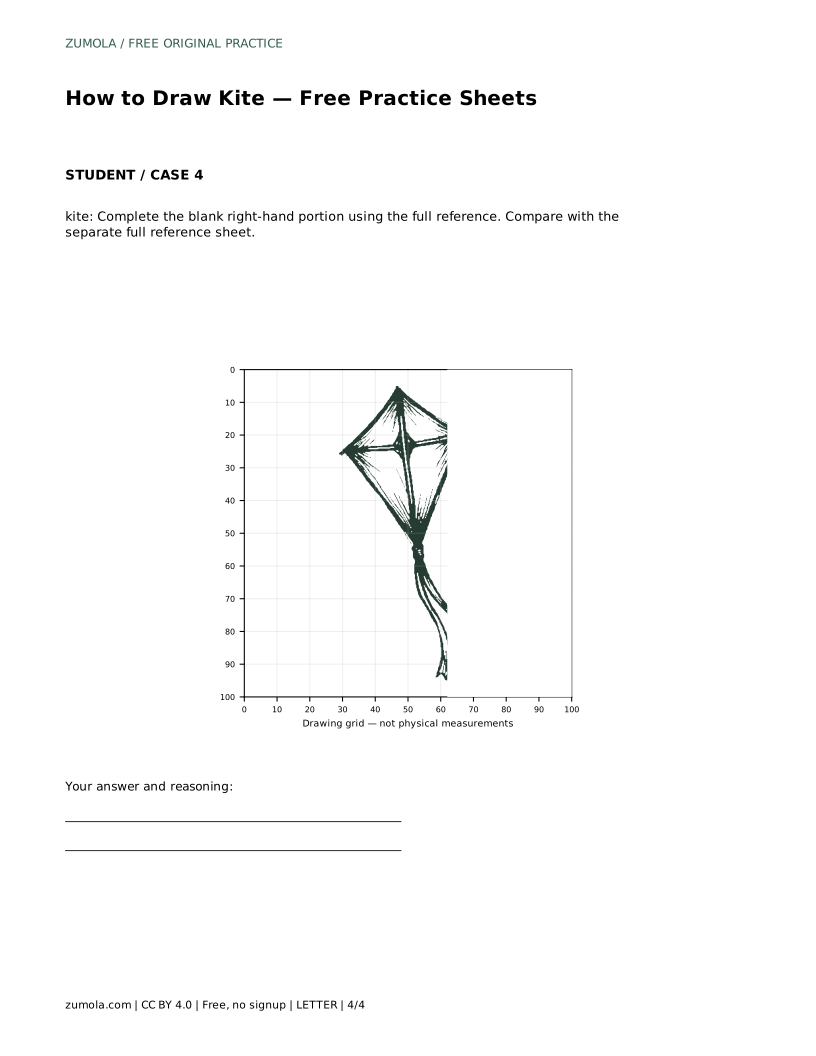
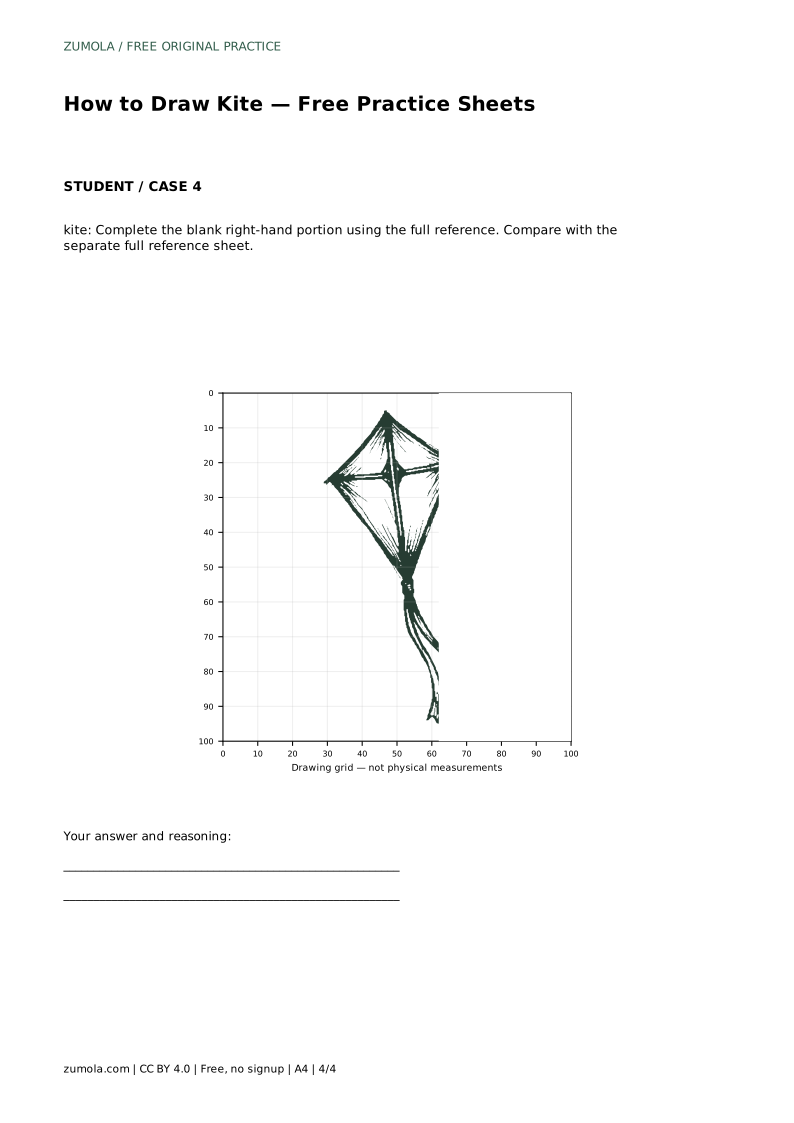
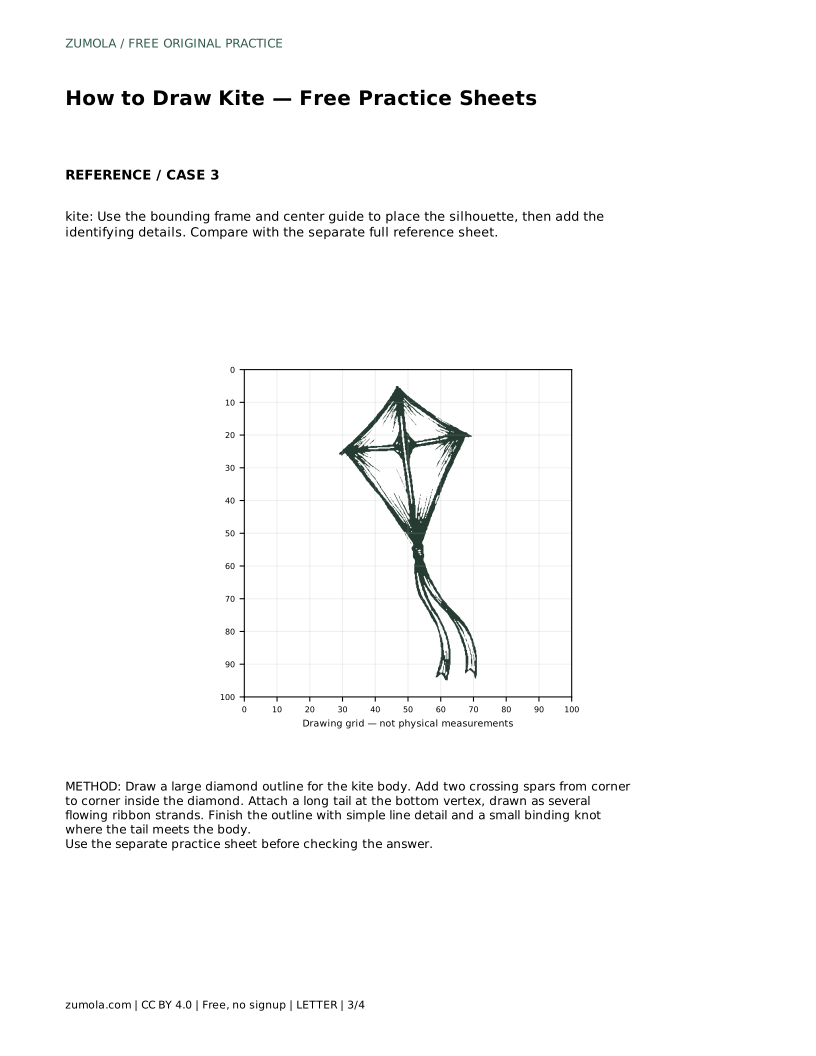
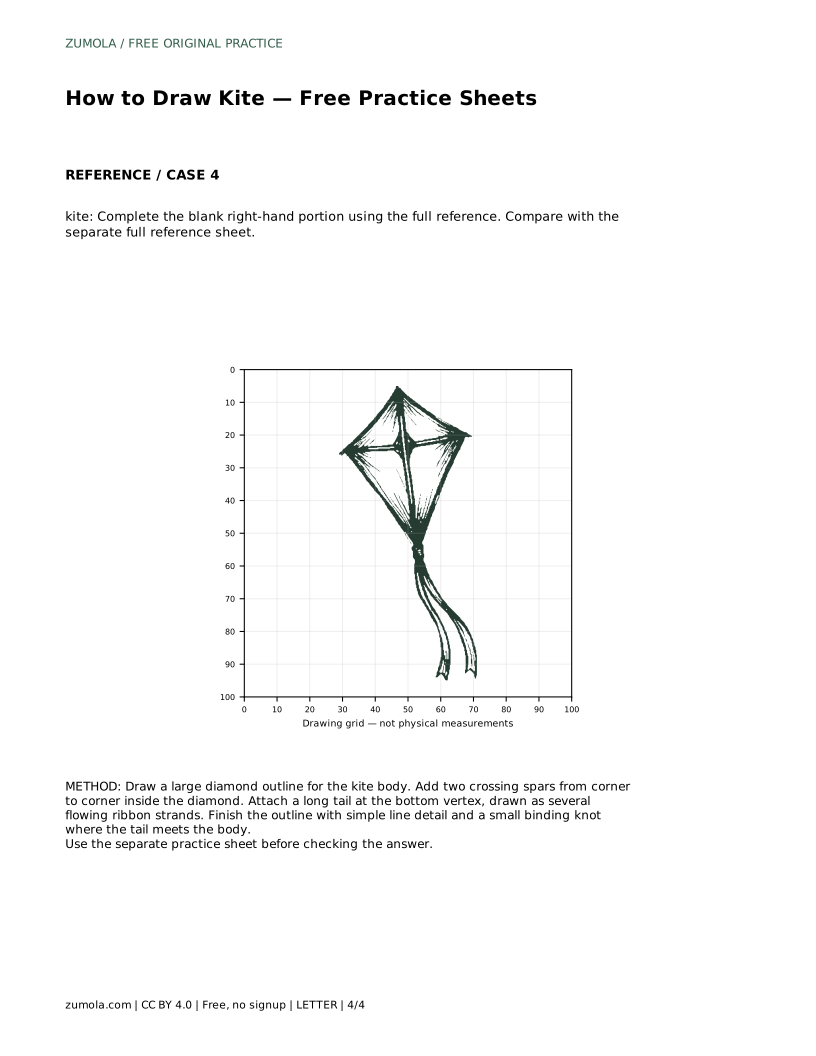
Example solution: preserve diamond-shaped kite body, cross spars forming an internal X/frame, long ribbon-like tail attached at the bottom point. Other drawings can be correct; assess the visible features and proportions rather than pixel-perfect matching. Draw a large diamond outline for the kite body. Add two crossing spars from corner to corner inside the diamond. Attach a long tail at the bottom vertex, drawn as several flowing ribbon strands. Finish the outline with simple line detail and a small binding knot where the tail meets the body.
No. Several drawings can be correct. Check that the diamond body, the crossing spars, and the tail attached at the bottom point are all clearly visible and reasonably proportioned.
At the bottom point of the diamond. A small knot there makes the join look deliberate.
Yes, but keep it simple. Extra pattern should not hide the diamond outline or the crossing spars.
All drawing practice · Free coordinate paper
Original resources · CC BY 4.0 · Free for personal and classroom use with attribution.