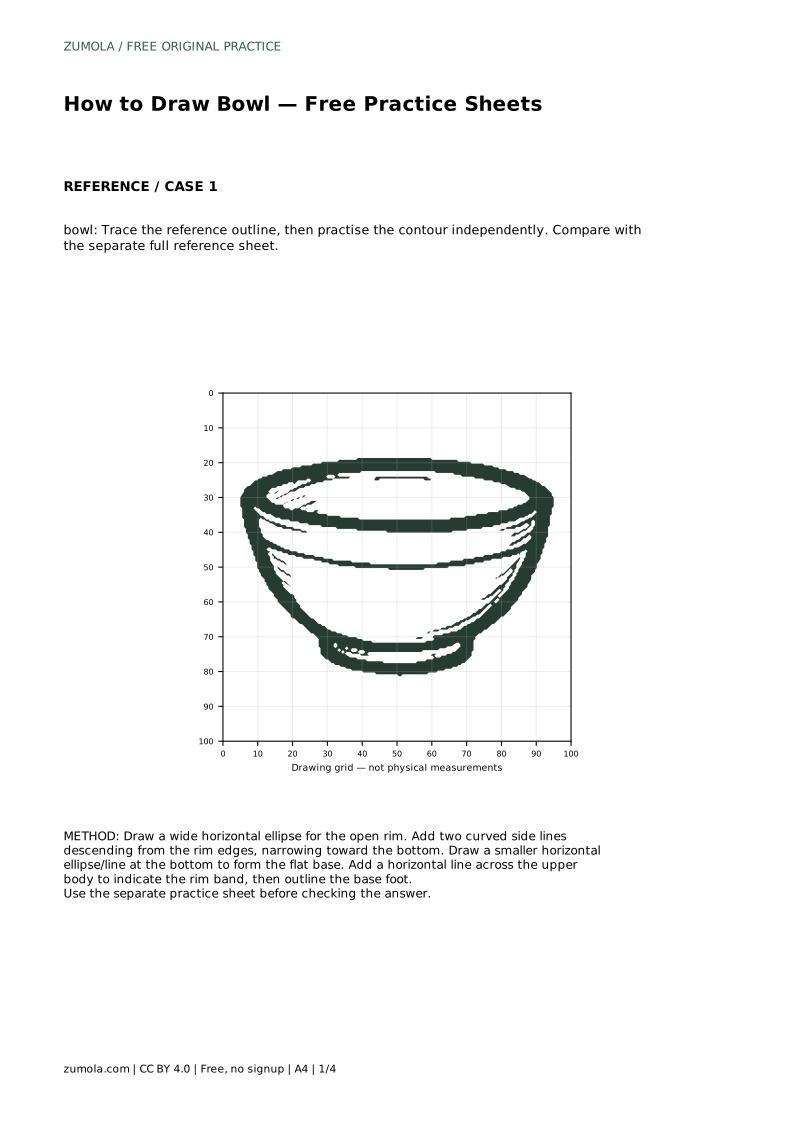
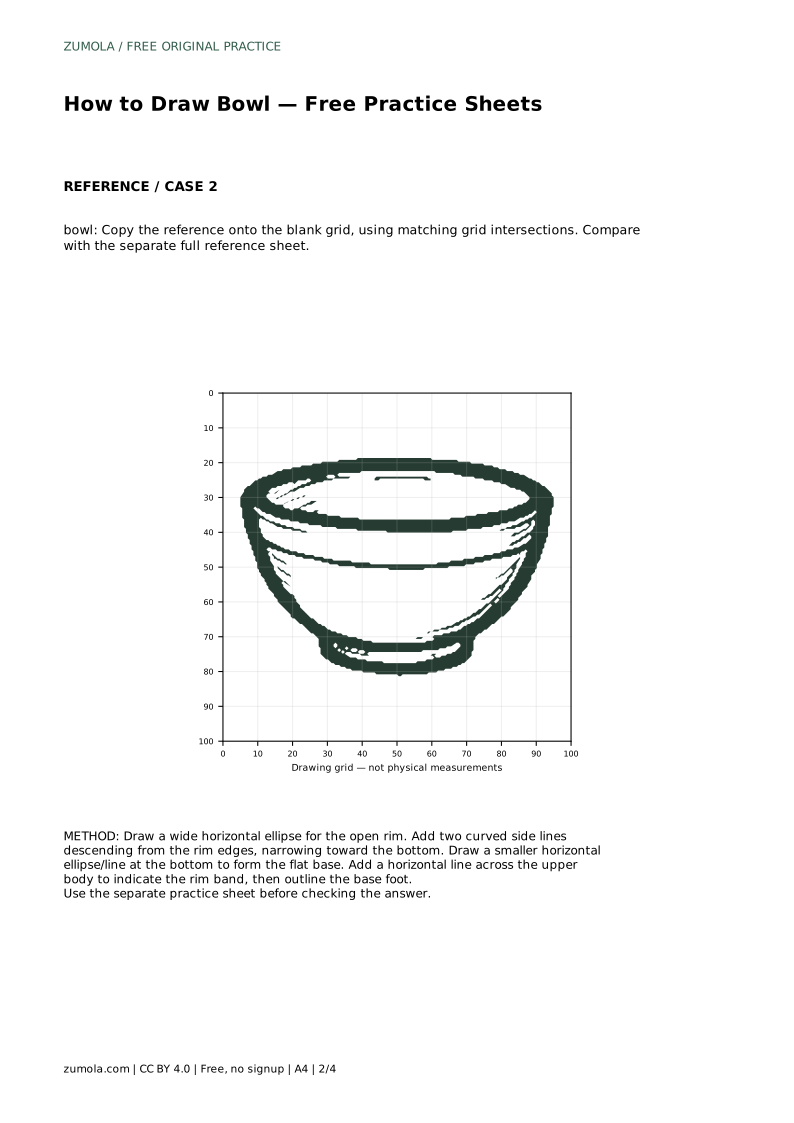
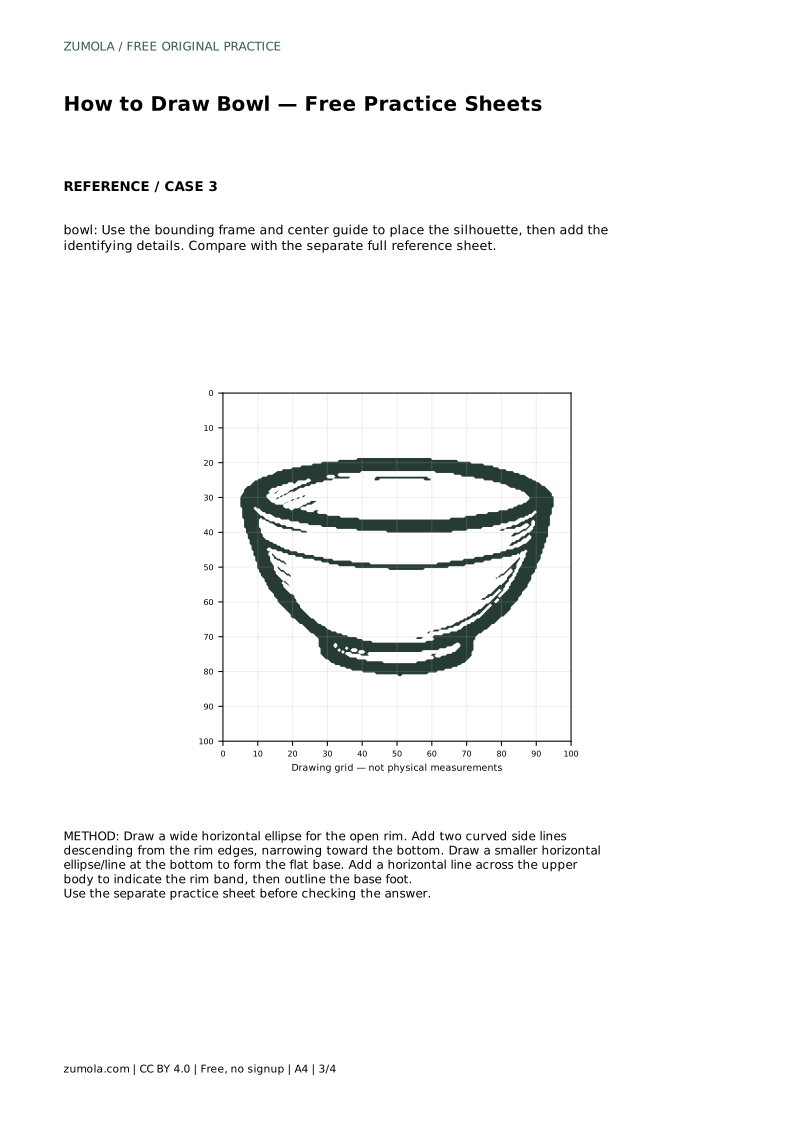
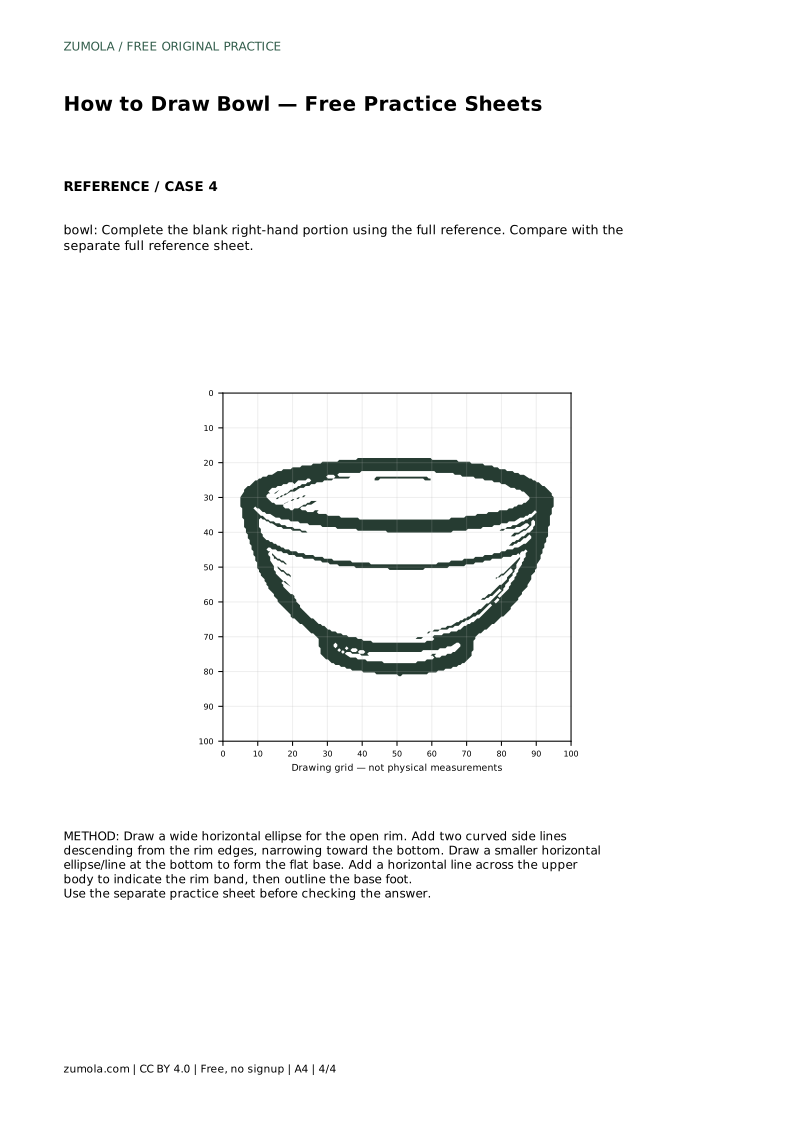
Reference diagrams
LETTER · Download PDF
A4 · Download PDF
Free original resources
Learn to draw a bowl with an open elliptical rim, tapering sides, and a flat foot ring. Trace, grid, and complete-the-drawing practice sheets support careful observation.
Four original cases, with reference diagrams, practice sheets and worked answers. Everything is free; no signup required.
LETTER · Download PDF
A4 · Download PDF
LETTER · Download PDF
A4 · Download PDF
LETTER · Download PDF
A4 · Download PDF
Use A4 or US Letter to match your printer. Use the stated values and conditions to solve each exercise; diagrams are not physical measuring rulers.
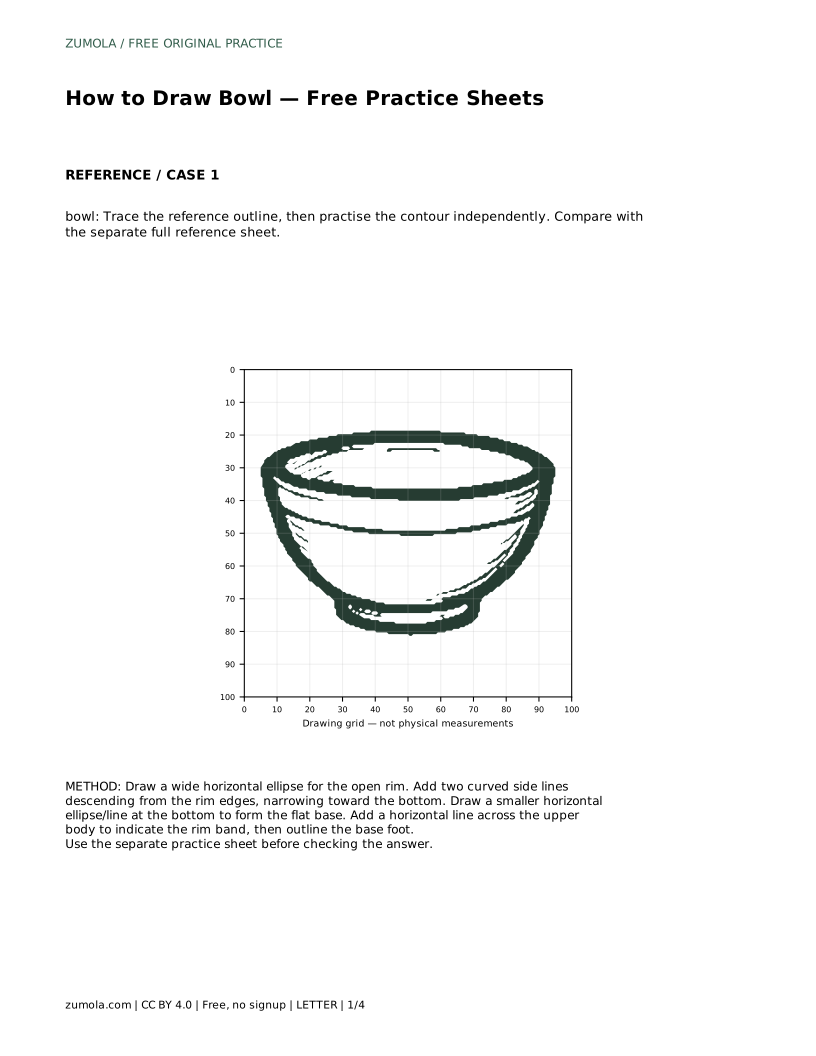
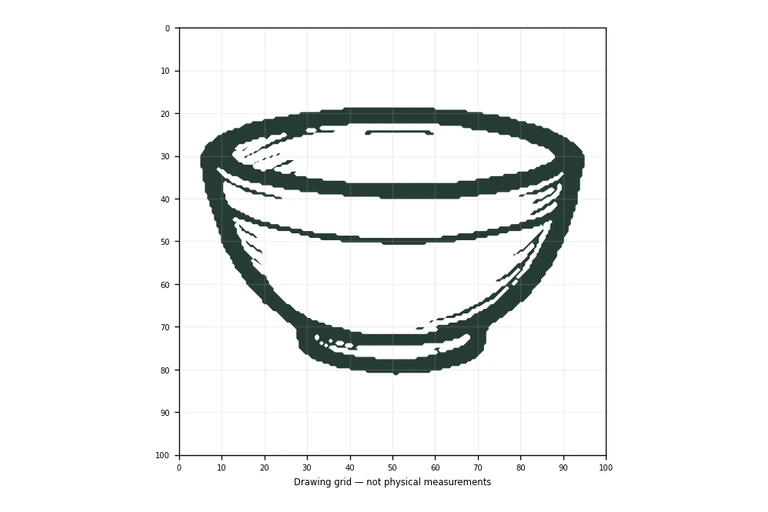
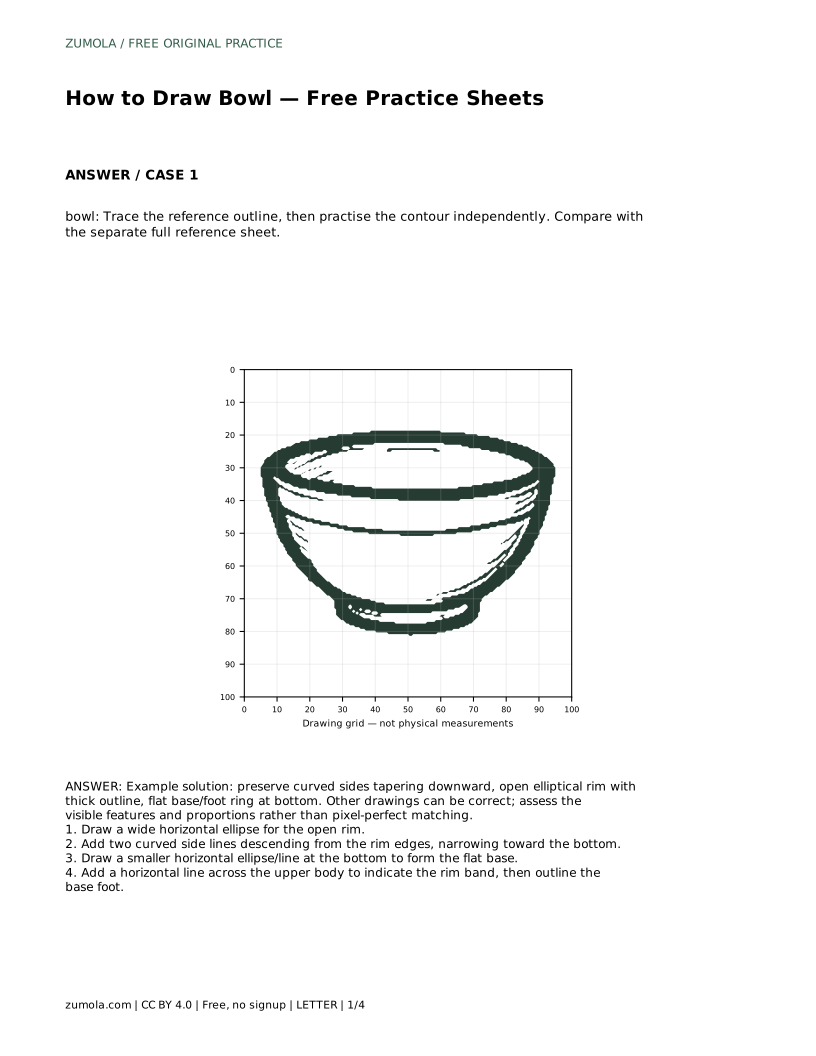
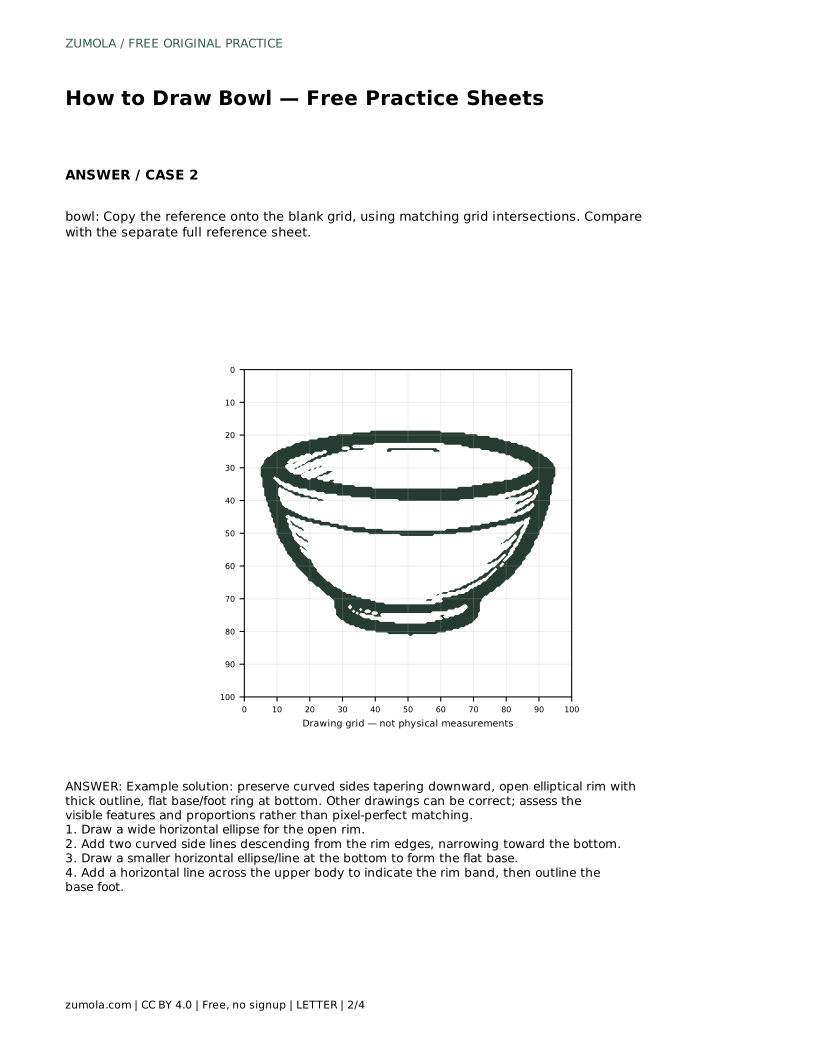
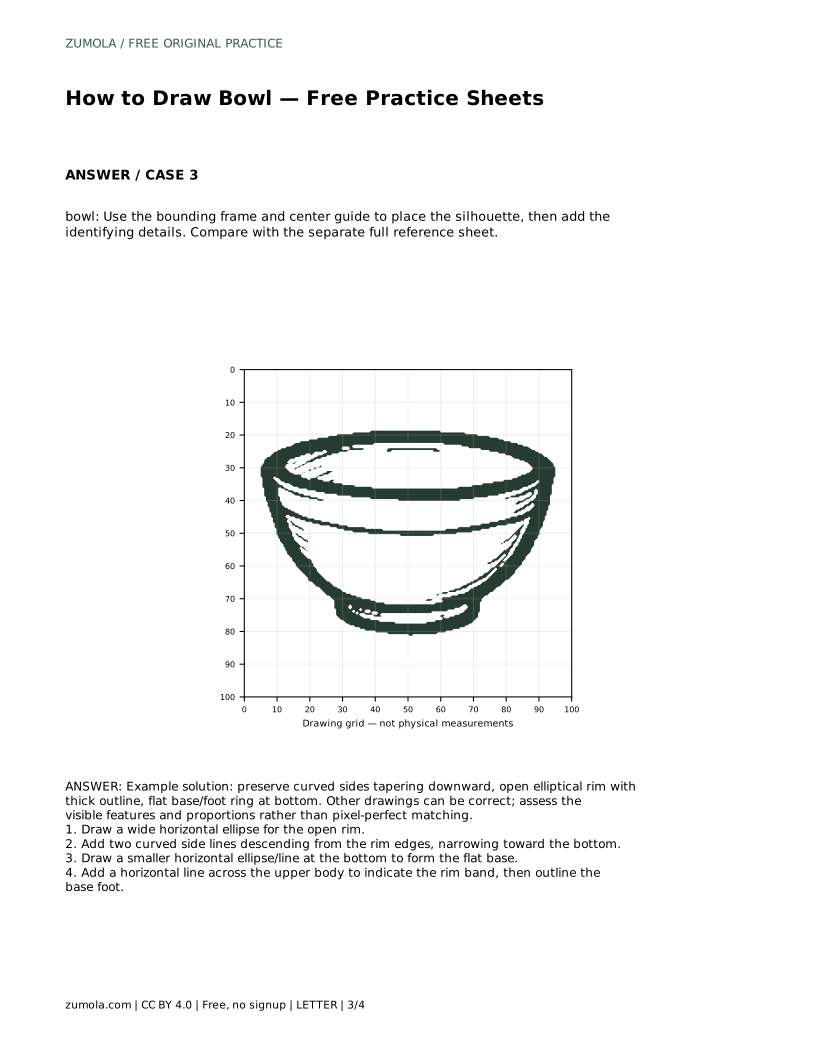
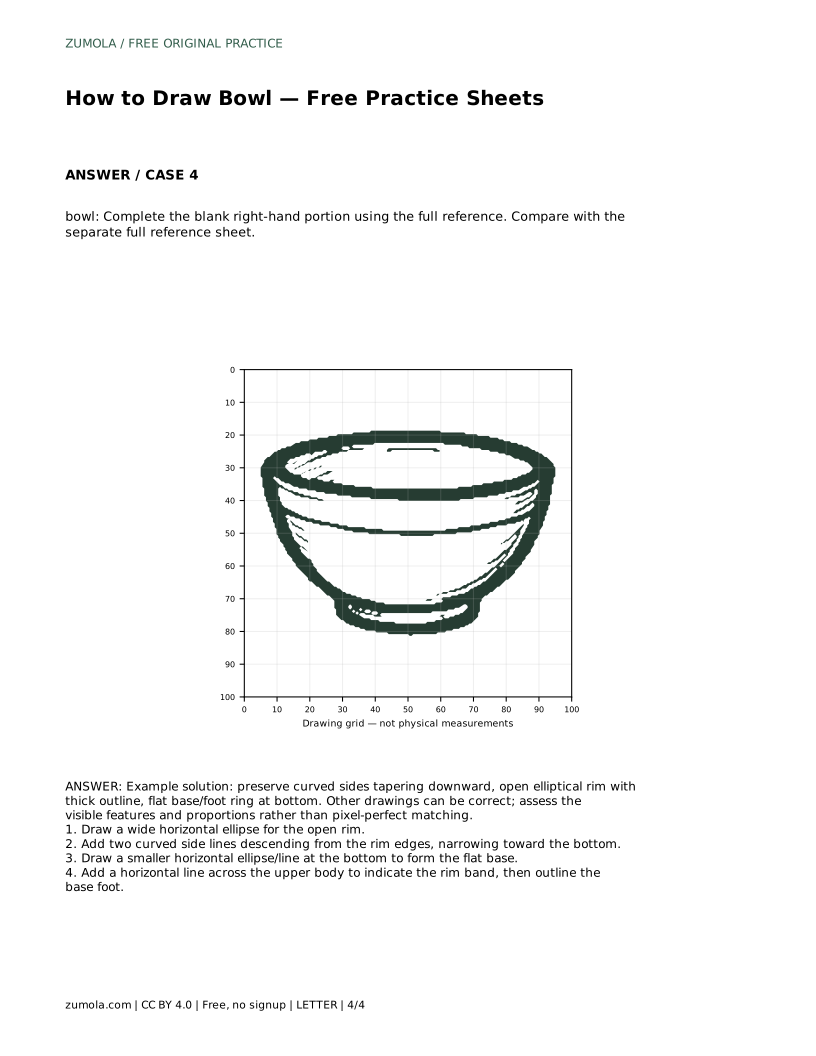
A bowl looks simple until you try to make the rim read as an opening rather than a flat line. This page explains the visible features that define a bowl drawing: a wide elliptical rim, curved sides that narrow toward the bottom, and a flat base or foot ring. You can practise with tracing, grid copying, guide-frame placement, and partial-completion sheets, then compare your work with a separate full reference sheet.
Begin by reading the bowl as three related parts: the open rim, the body, and the base. The rim is an ellipse, not a straight line, because you are viewing a circular opening at an angle. The body descends from the widest points of that ellipse and curves inward toward the bottom. The base is a smaller horizontal form that shows where the bowl meets the table.
Keep the rim and base roughly parallel in direction. If the rim tilts, the base should suggest a matching tilt, because both describe horizontal circles seen from the same viewpoint. The sides should taper downward rather than bulge outward like a vase. Check that the left and right contours mirror each other in general curvature, even if your drawing is not perfectly symmetrical.
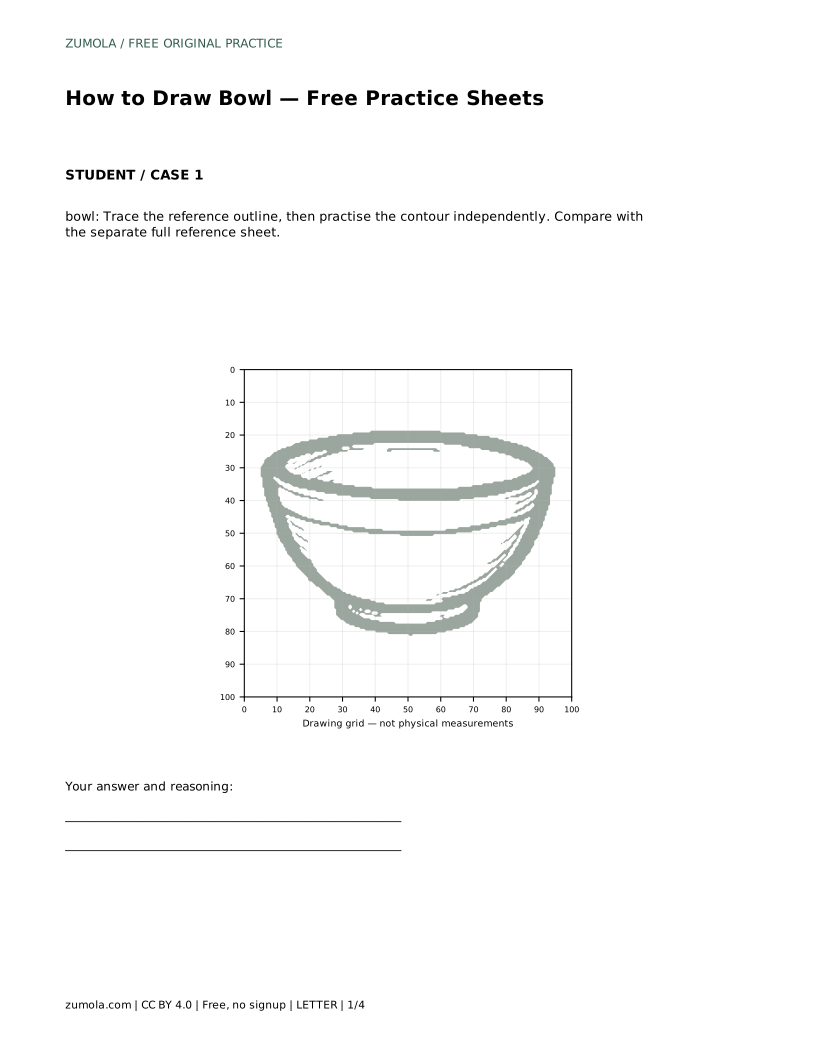
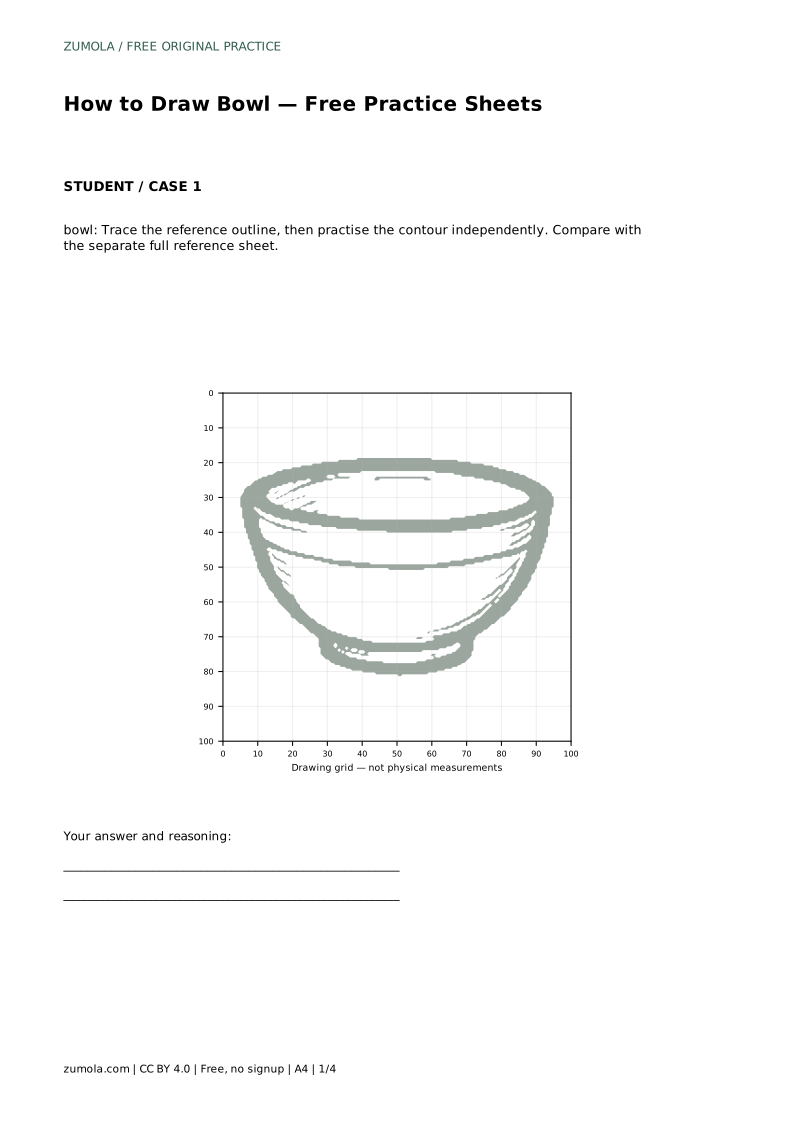
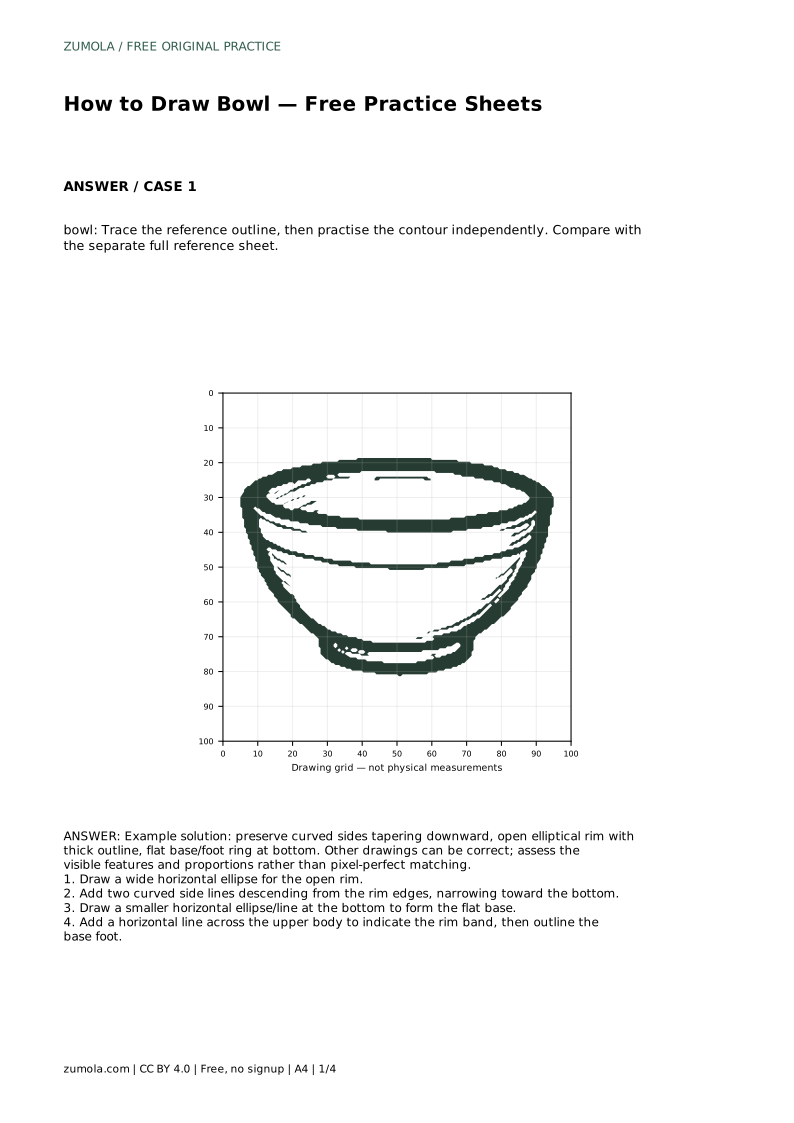
On the tracing sheet, follow the reference outline first, then draw the contour independently beside it. Tracing builds familiarity with the curve; the independent attempt shows whether you can reproduce it without support. Compare both with the separate full reference sheet rather than judging from memory.
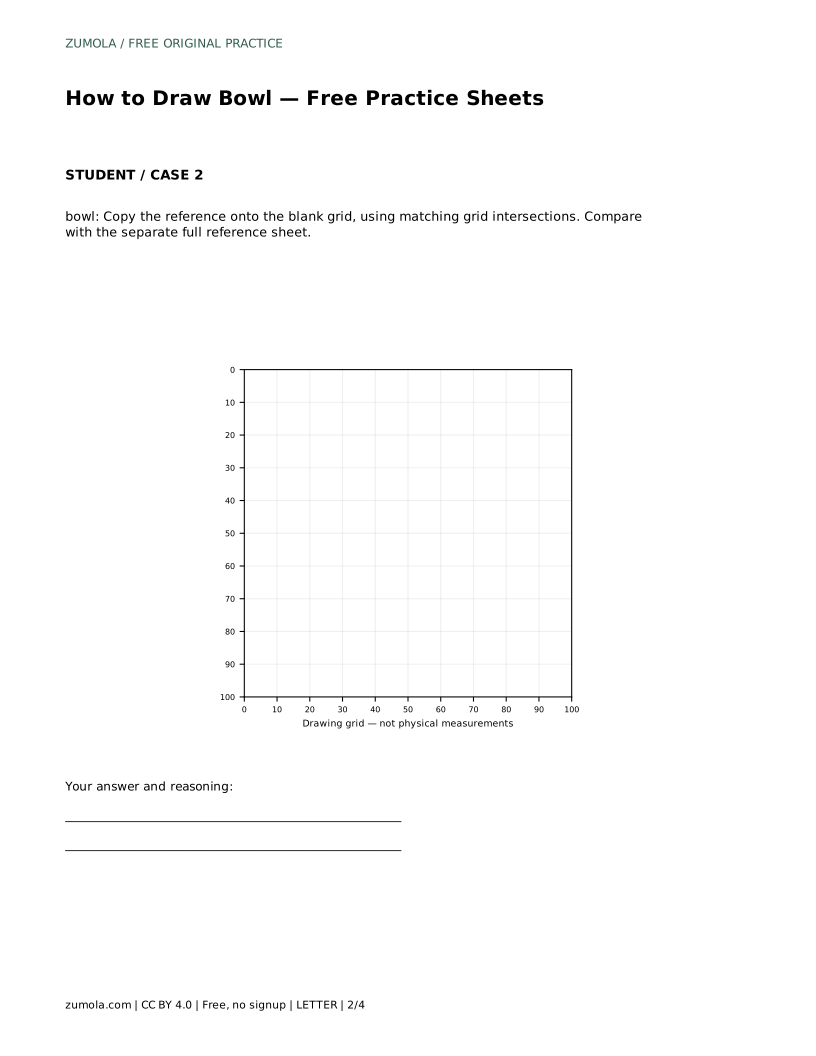
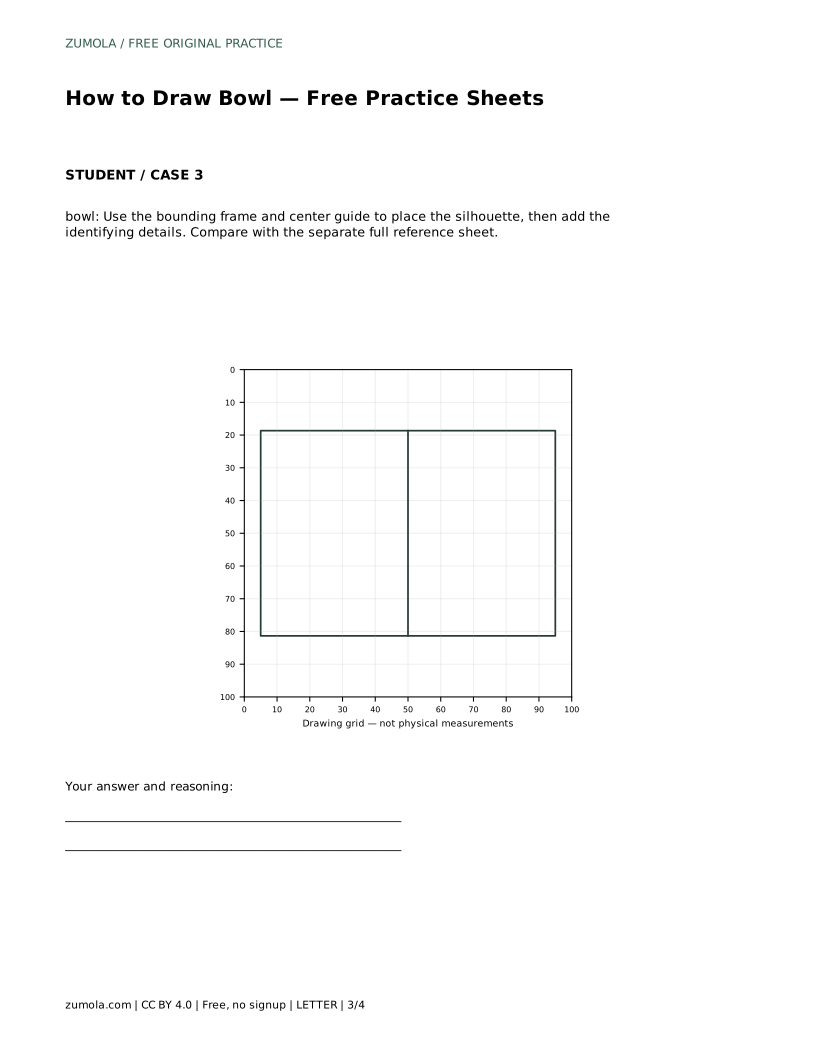
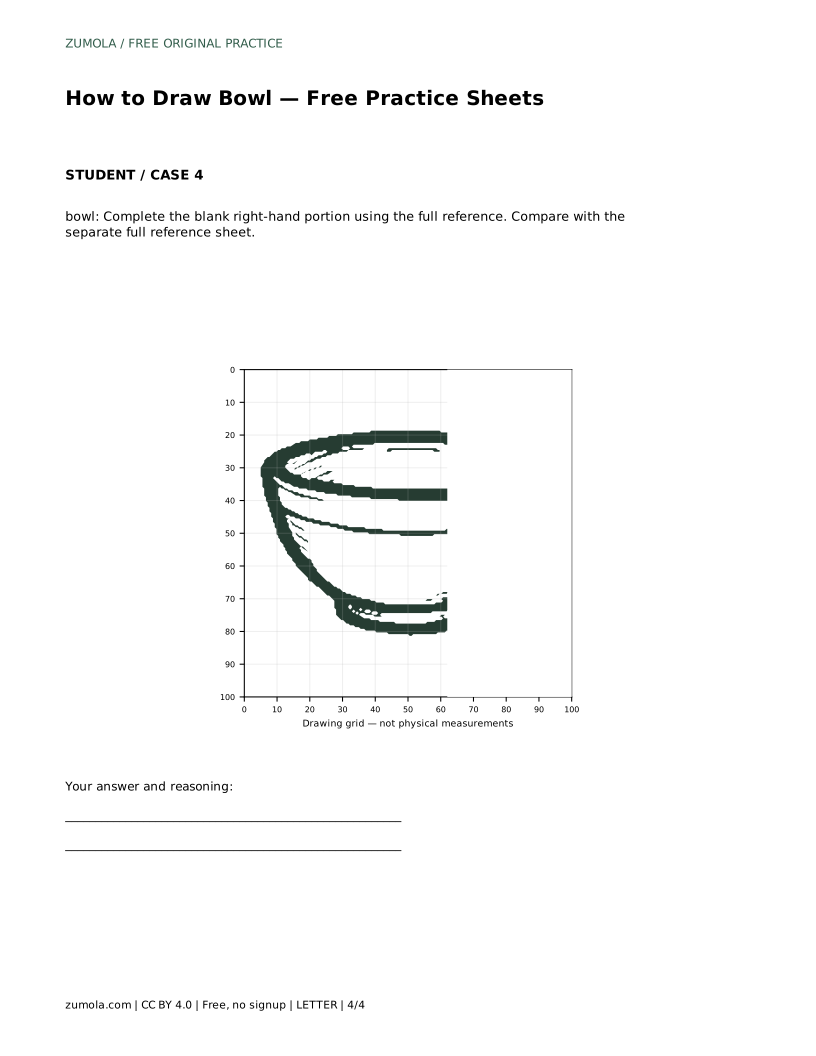
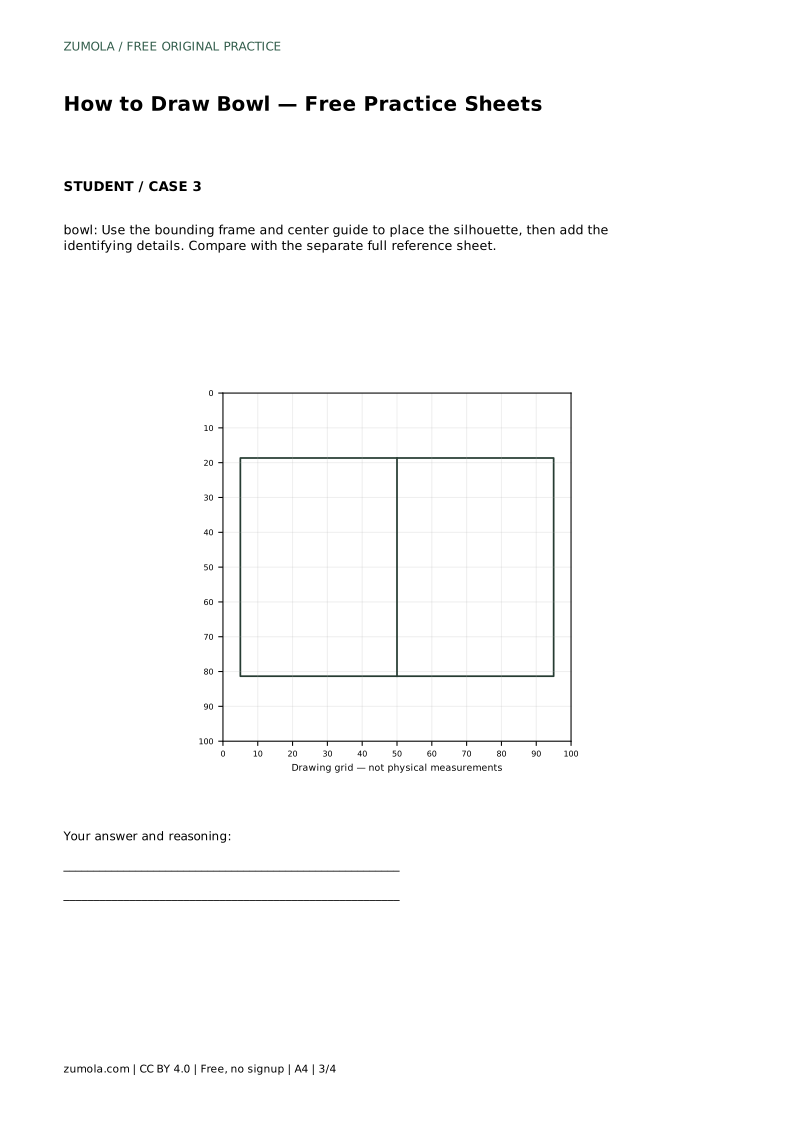
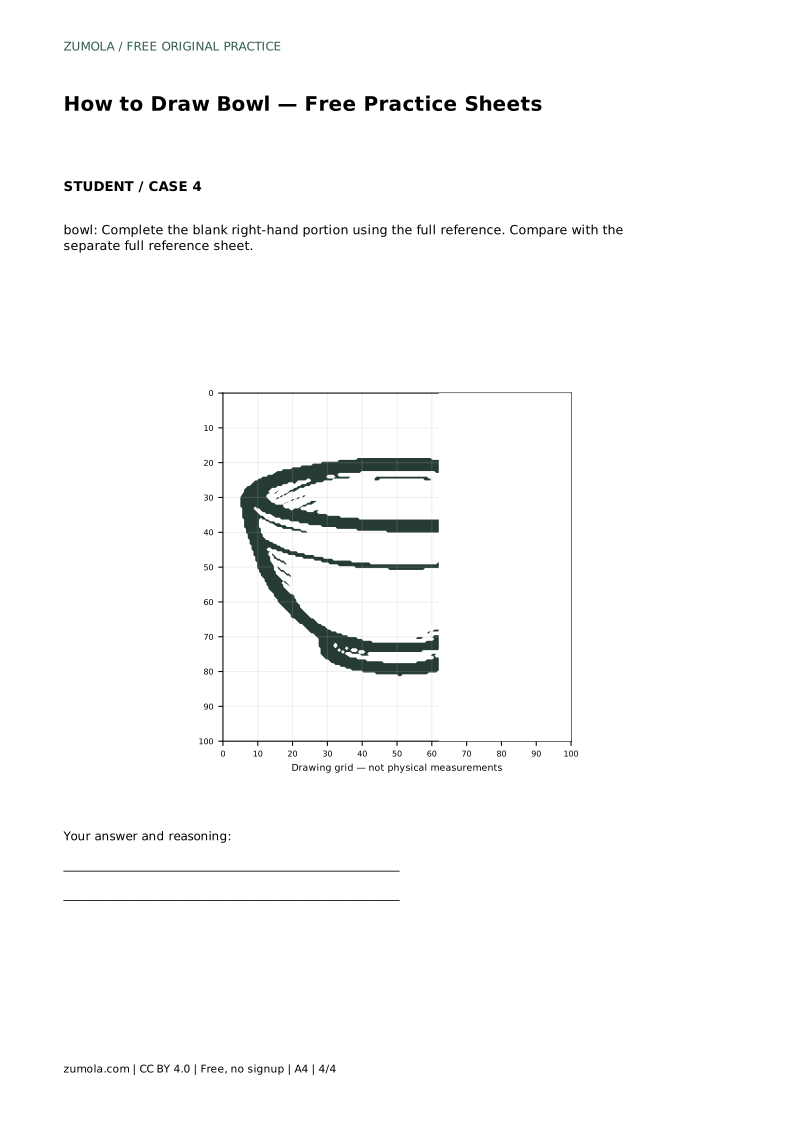
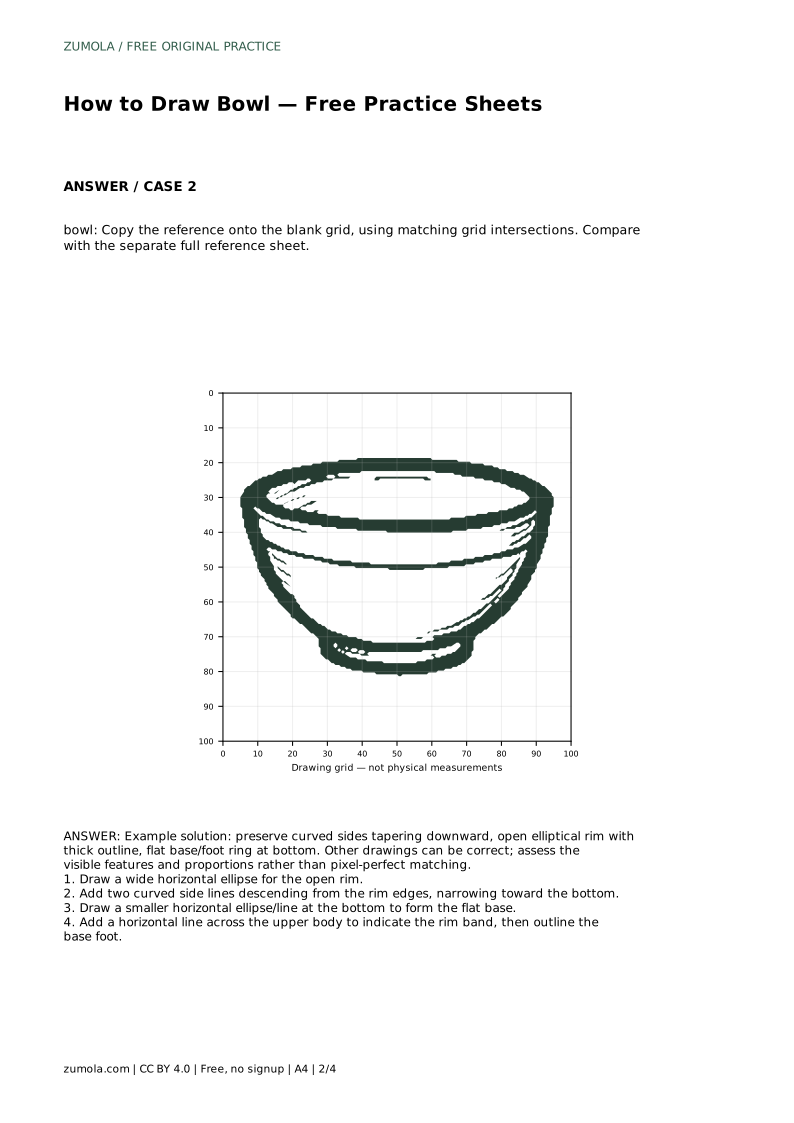
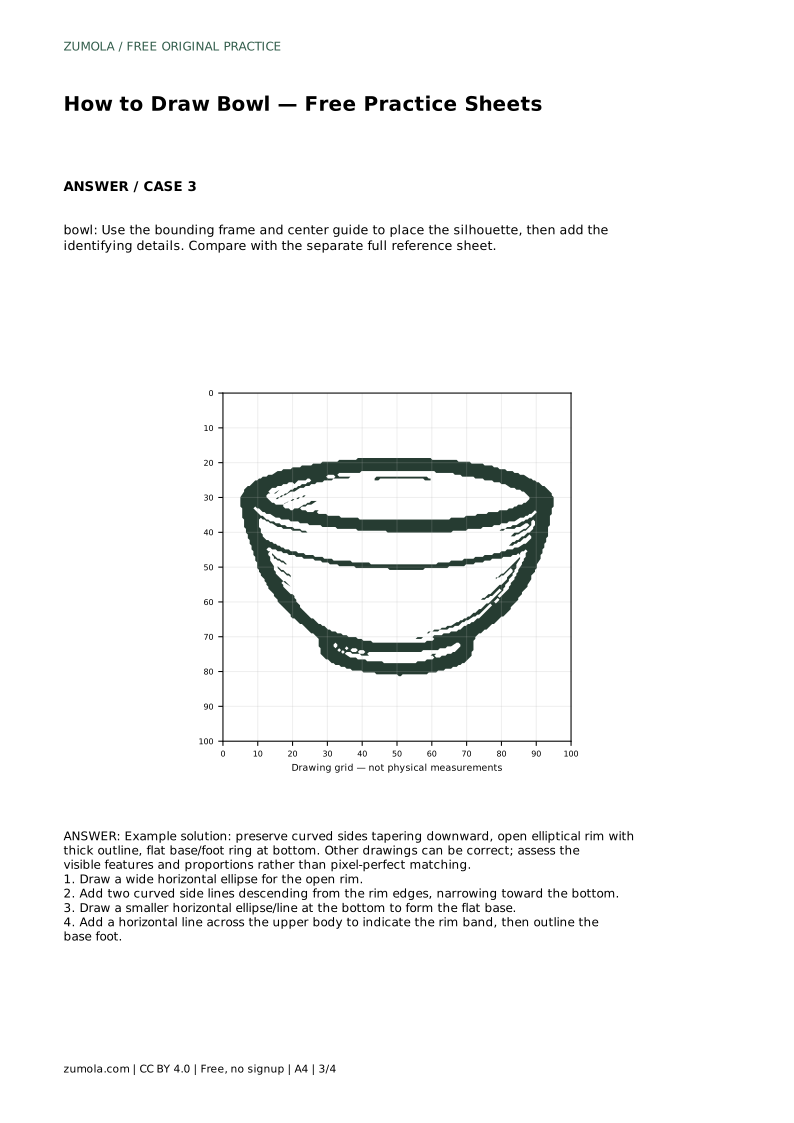
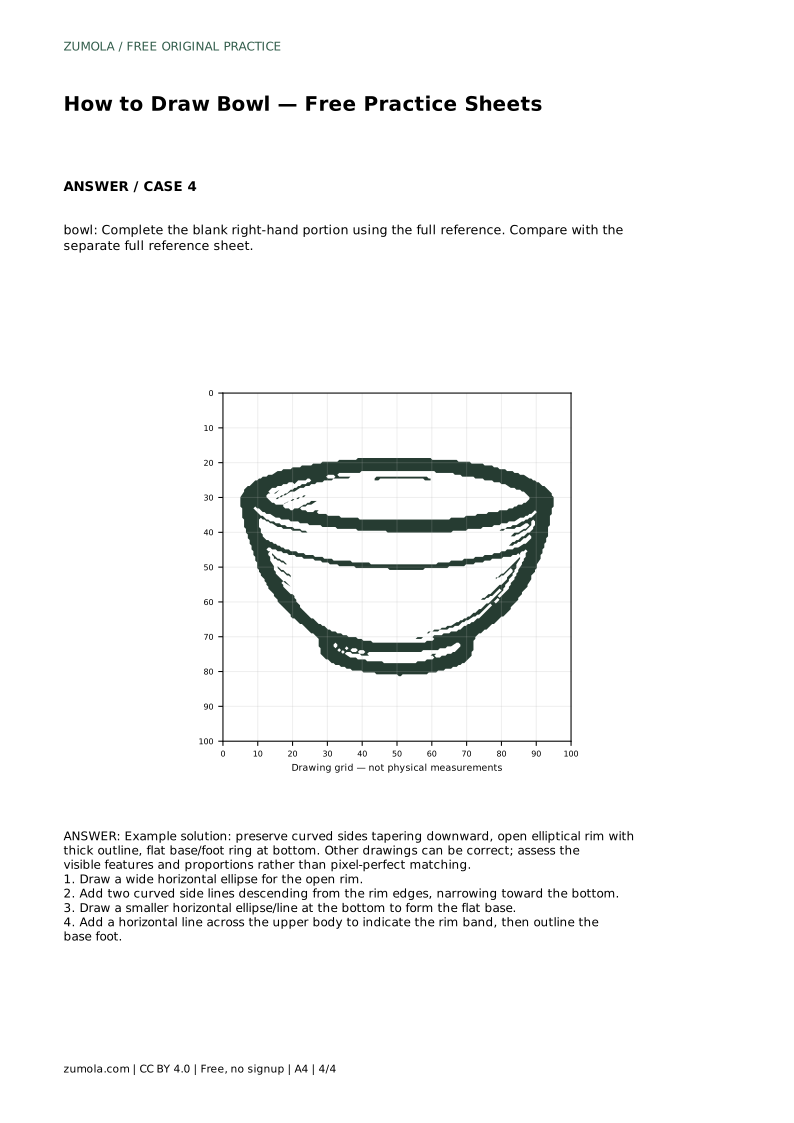
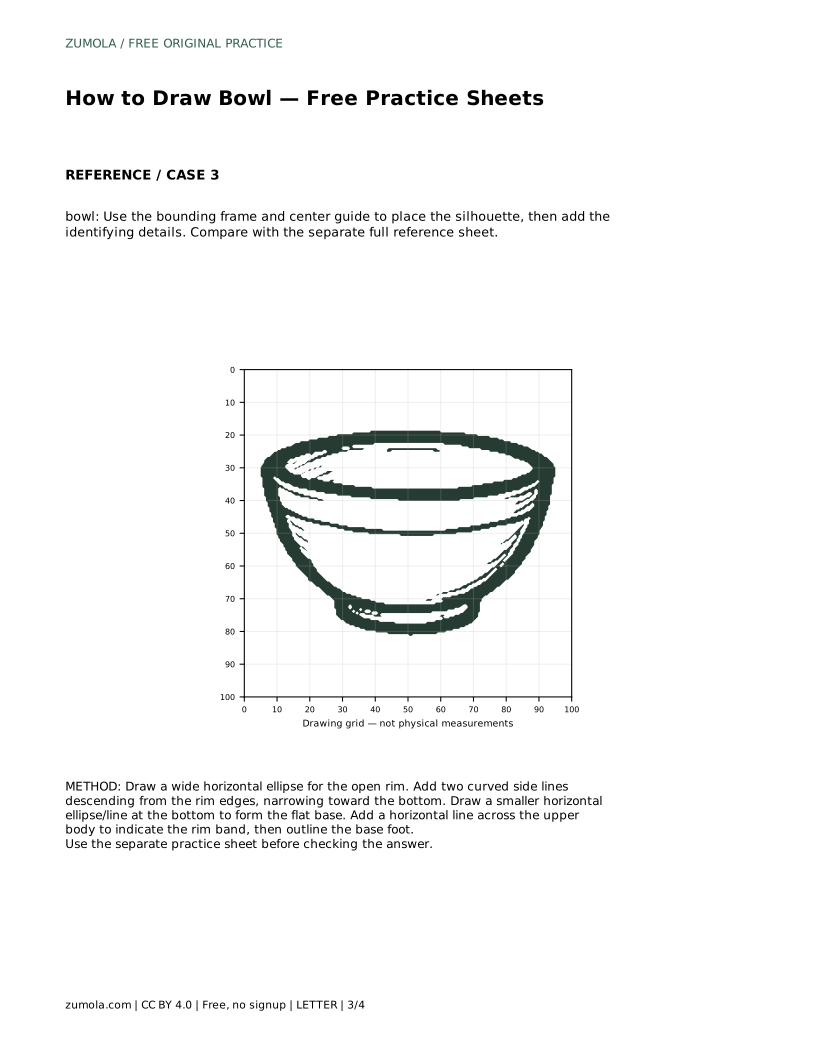
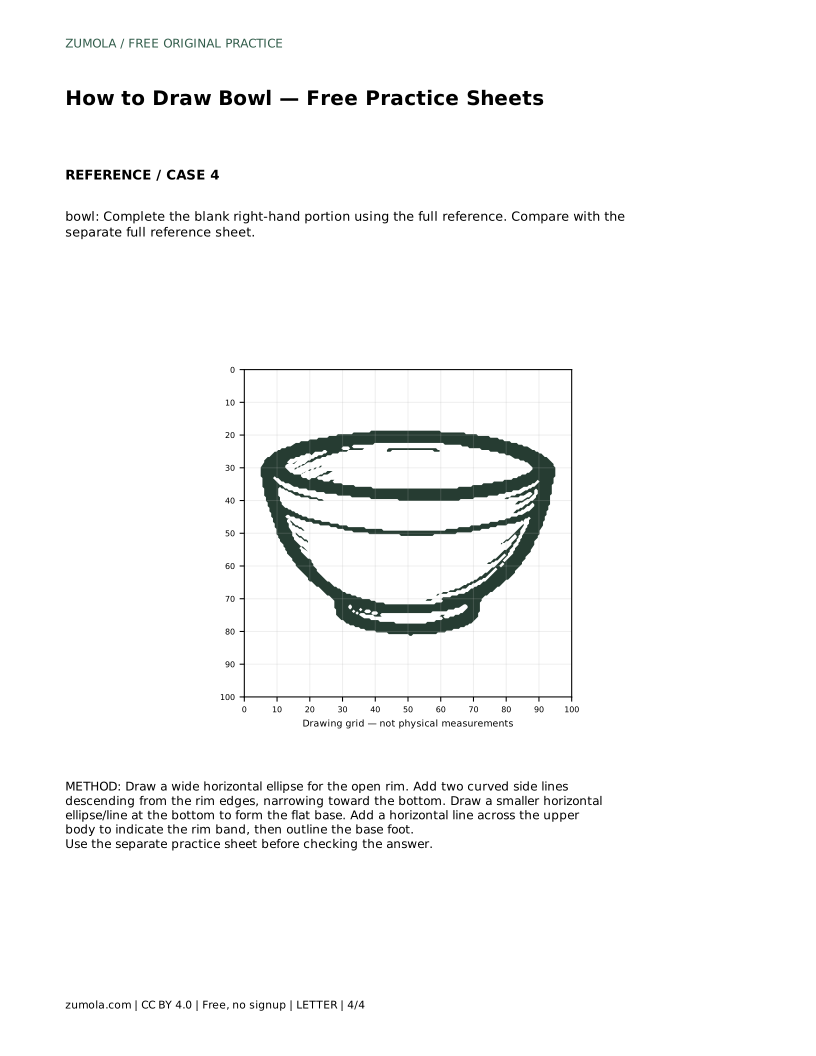
On the blank grid, copy the reference by matching grid intersections. Use the grid to locate the rim's widest points, the lowest point of the body, and the base. On the bounding-frame sheet, place the silhouette inside the frame and center guide before adding the rim band and foot ring. On the partial sheet, complete the blank right-hand portion by continuing the curves already begun, keeping the rim ellipse and base aligned with the visible left side.
Compare the width of the rim with the height of the body. Many bowl drawings fail because the body is too tall or the rim too narrow. The rim should usually be the widest horizontal measurement, and the base should be clearly smaller. The rim band sits near the top edge, not halfway down the body.
Detail should come last. A thick outline on the rim helps show that the opening has depth, while the foot ring clarifies the base. Keep construction lines light until the silhouette is convincing. Other drawings can be correct; assess the visible features and proportions rather than pixel-perfect matching.
After finishing a sheet, set your drawing beside the separate full reference sheet. Look for the open elliptical rim, downward-tapering sides, and flat base or foot ring. Ask whether the rim reads as an opening and whether the base looks stable. If a curve is off, redraw that section rather than erasing the whole drawing.
Because bowls vary, treat the reference as a guide to structure, not a single correct answer. A wider bowl or a deeper bowl can still be accurate if the rim, body, and base relate consistently.
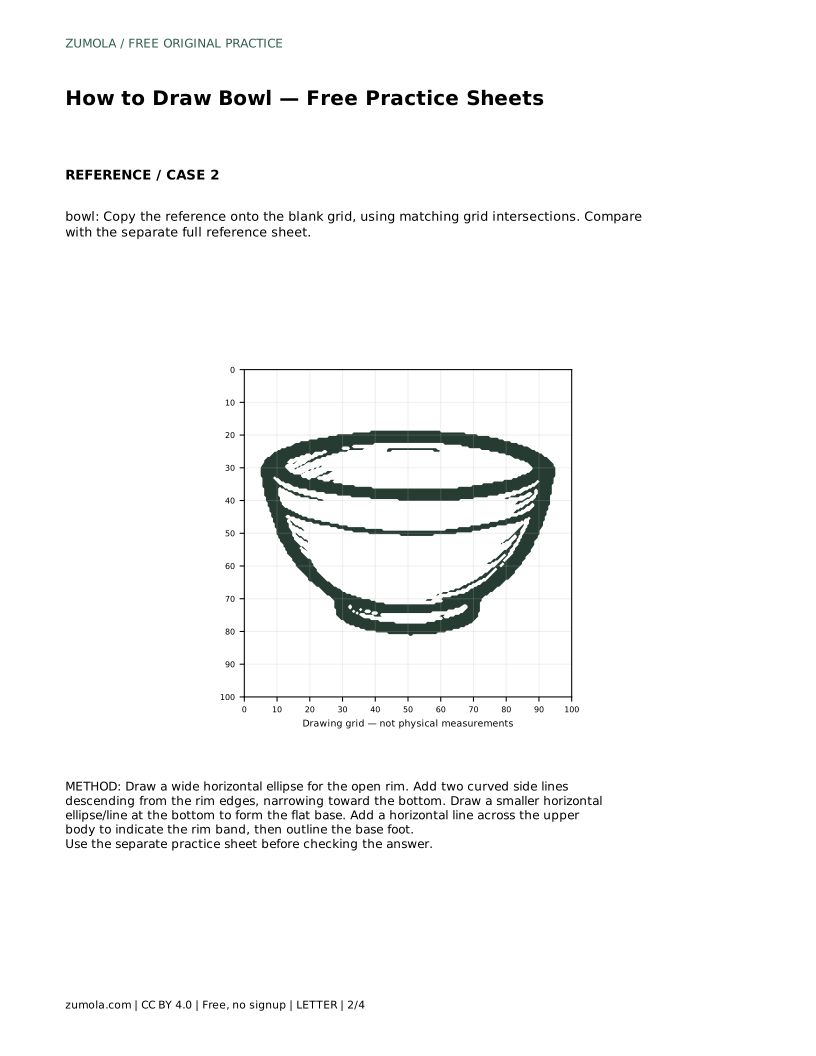
bowl: Trace the reference outline, then practise the contour independently. Compare with the separate full reference sheet.
Example solution: preserve curved sides tapering downward, open elliptical rim with thick outline, flat base/foot ring at bottom. Other drawings can be correct; assess the visible features and proportions rather than pixel-perfect matching. Draw a wide horizontal ellipse for the open rim. Add two curved side lines descending from the rim edges, narrowing toward the bottom. Draw a smaller horizontal ellipse/line at the bottom to form the flat base. Add a horizontal line across the upper body to indicate the rim band, then outline the base foot.
No. Preserve the open elliptical rim, downward-tapering sides, and flat base or foot ring. Other proportions can be valid if those features relate consistently.
Add them after the silhouette is convincing. Construction lines stay light until the rim, sides, and base are placed correctly.
Continue the visible left-side curves into the blank right-hand portion, keeping the rim ellipse and base aligned with the existing lines, then compare with the full reference.
All drawing practice · Free coordinate paper
Original resources · CC BY 4.0 · Free for personal and classroom use with attribution.