Reference diagrams
LETTER · Download PDF
A4 · Download PDF
Free original resources
Learn to draw a glass by building its rim, sides, base, and thick bottom edge. Trace, copy, or complete a reference, then judge the result with a clear rubric.
Four original cases, with reference diagrams, practice sheets and worked answers. Everything is free; no signup required.
LETTER · Download PDF
A4 · Download PDF
LETTER · Download PDF
A4 · Download PDF
LETTER · Download PDF
A4 · Download PDF
Use A4 or US Letter to match your printer. Use the stated values and conditions to solve each exercise; diagrams are not physical measuring rulers.
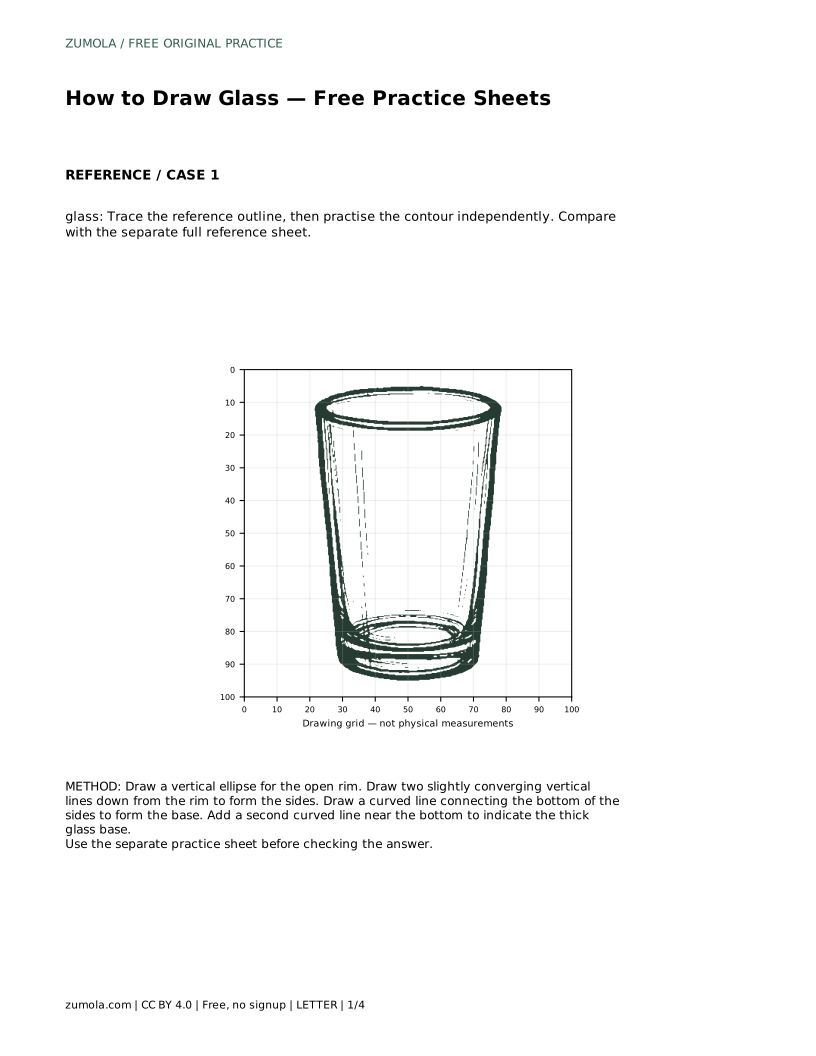
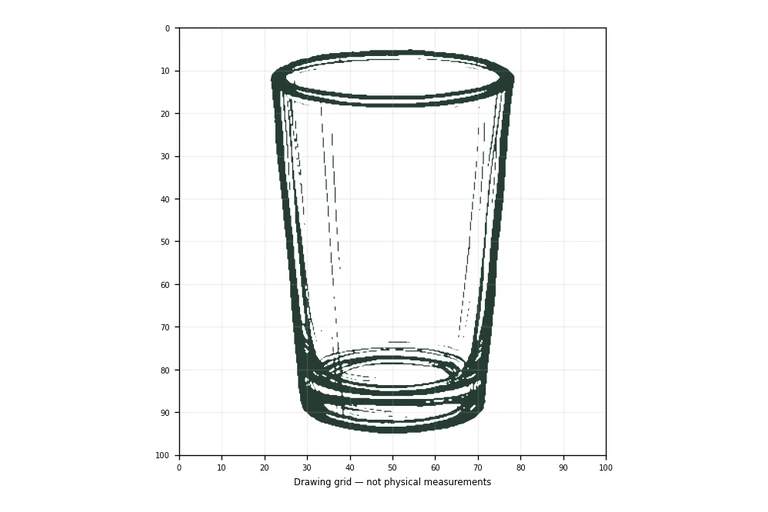
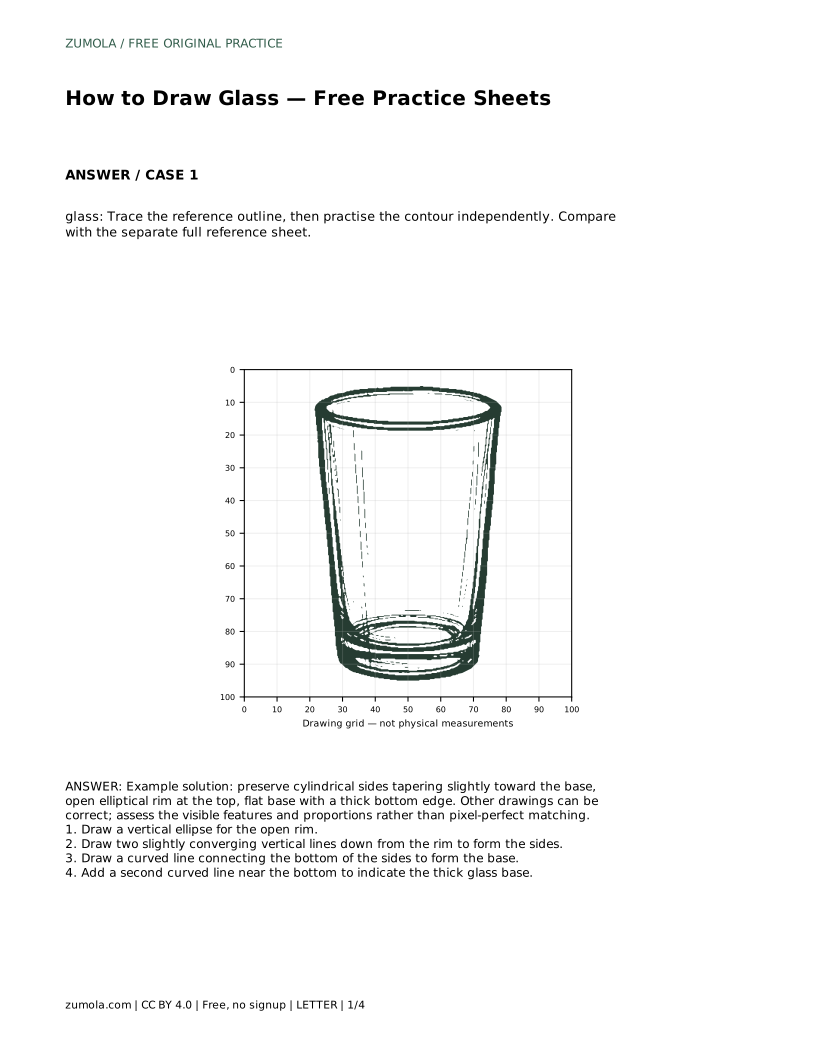
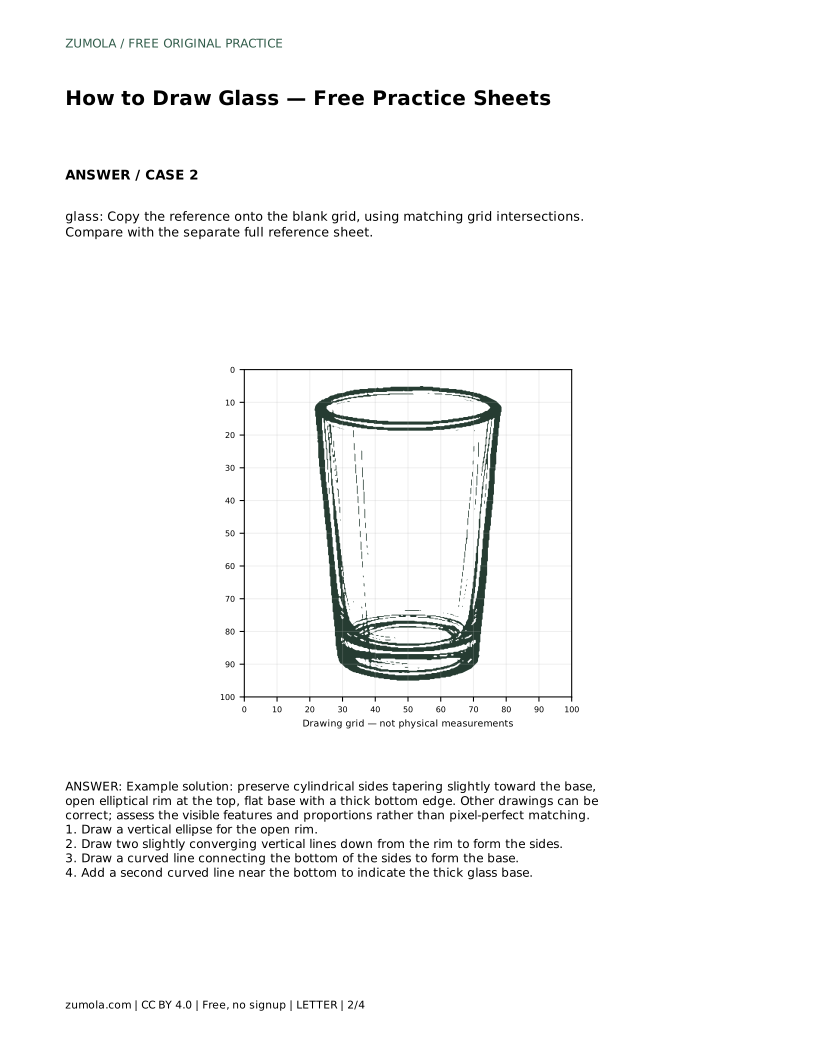
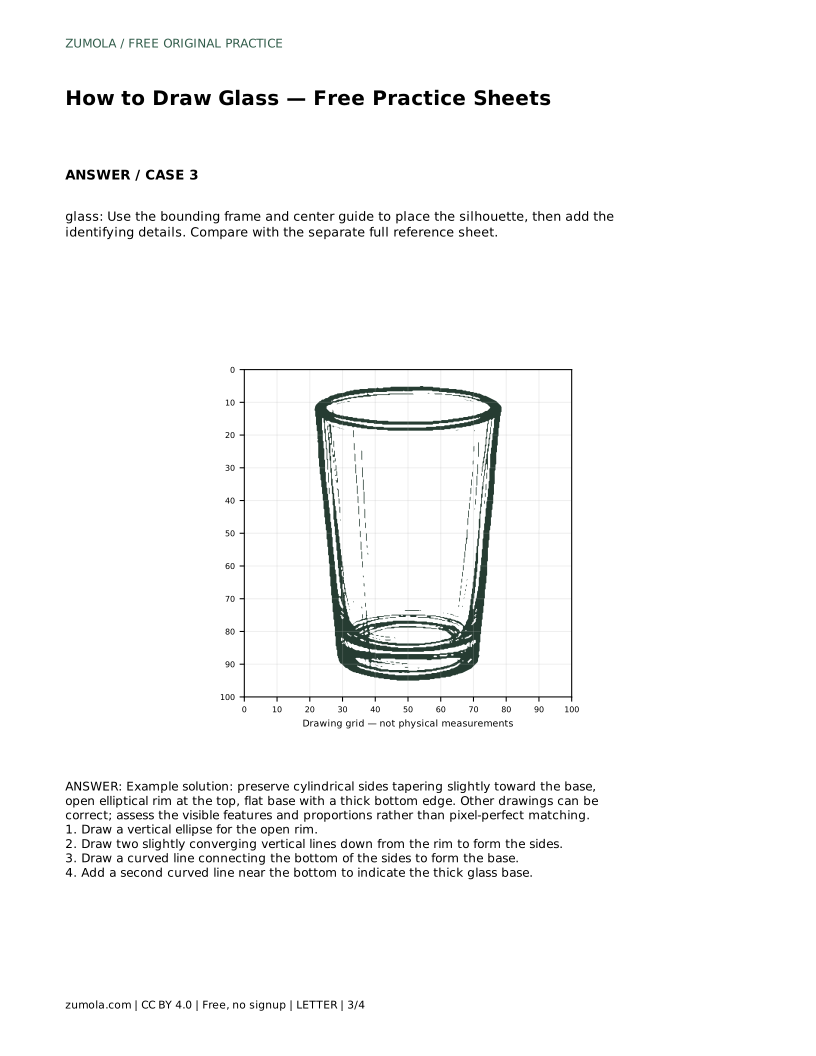
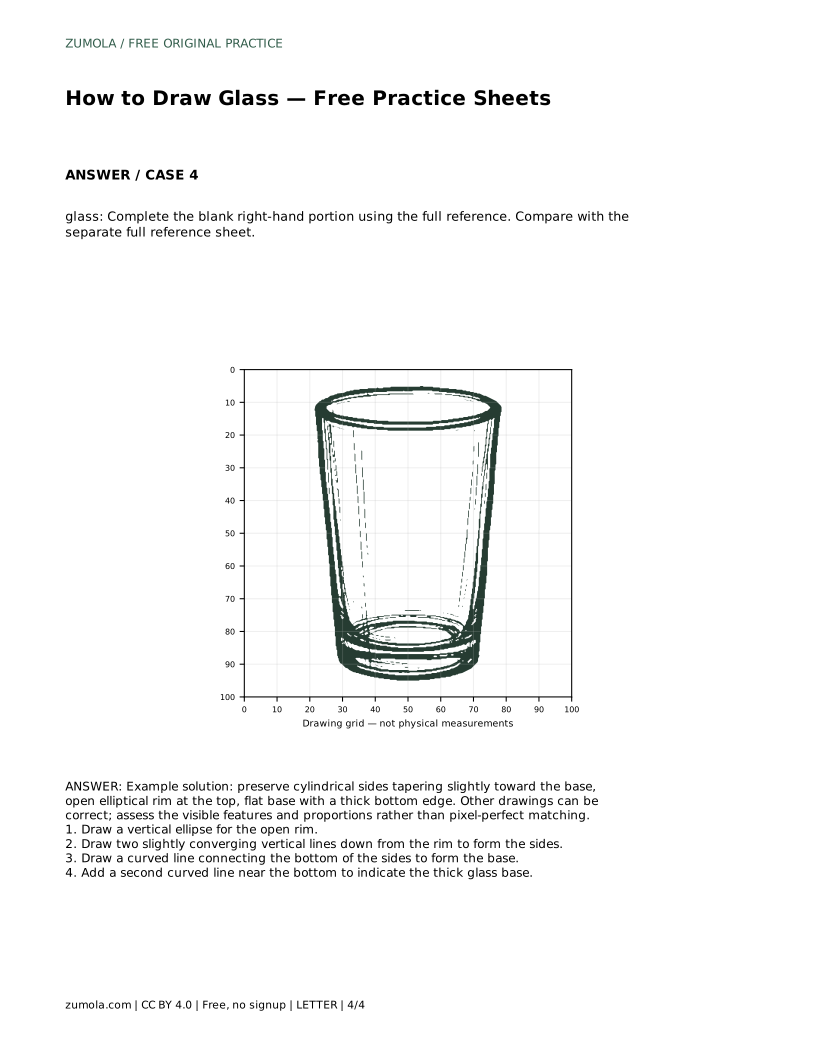
Drawing a glass is mostly a problem of shape and proportion. A drinking glass has a few visible features that make it readable: an open elliptical rim, sides that taper slightly toward the base, a flat bottom, and a thick lower edge. This page explains how to build those features in order, how to use the practice sheet formats, and how to assess your drawing fairly when more than one result can be correct.
Begin with the open rim. Because the glass is seen from slightly above or at eye level, the rim appears as an ellipse rather than a straight line. Keep the ellipse wide enough to suggest an opening, and place it near the top of your page so the body has room below.
From the rim, draw two vertical lines downward. They should converge slightly toward the base, because many glasses narrow a little at the bottom. Keep the two sides balanced; if one leans, the glass will look tilted. These lines define the silhouette before any detail is added.
Connect the bottom of the two sides with a curved line. The curve should echo the rim's ellipse but be shallower, since the base is usually less open than the top. This line marks the outer bottom of the glass.
Add a second curved line just above the base to show the thick glass bottom. The gap between the two curves represents the visible thickness of the glass. Keep that gap consistent across the width of the base; an uneven gap makes the bottom look warped rather than solid.
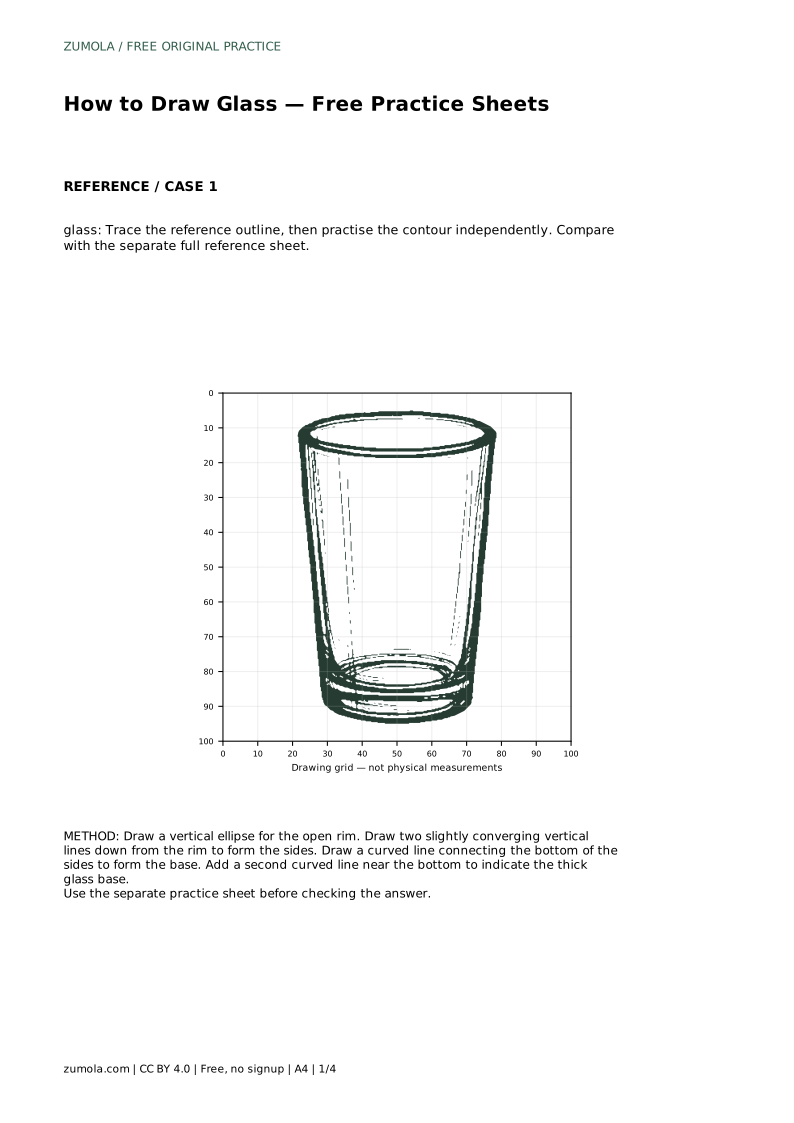
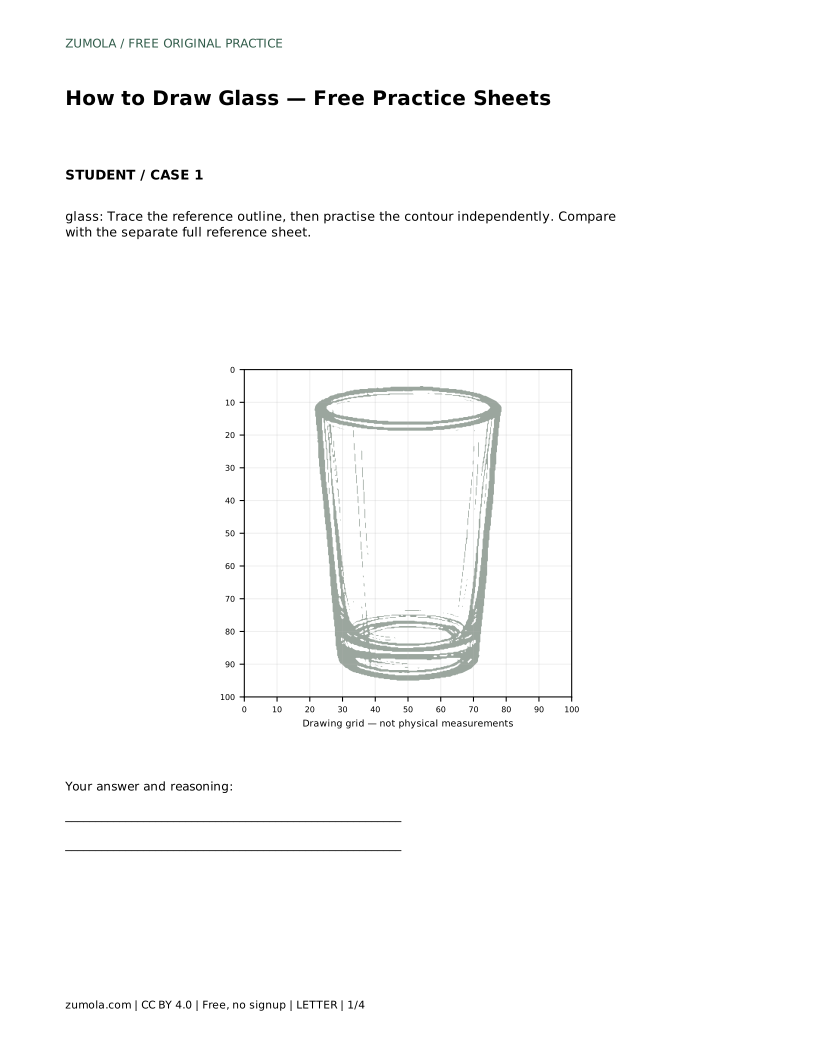
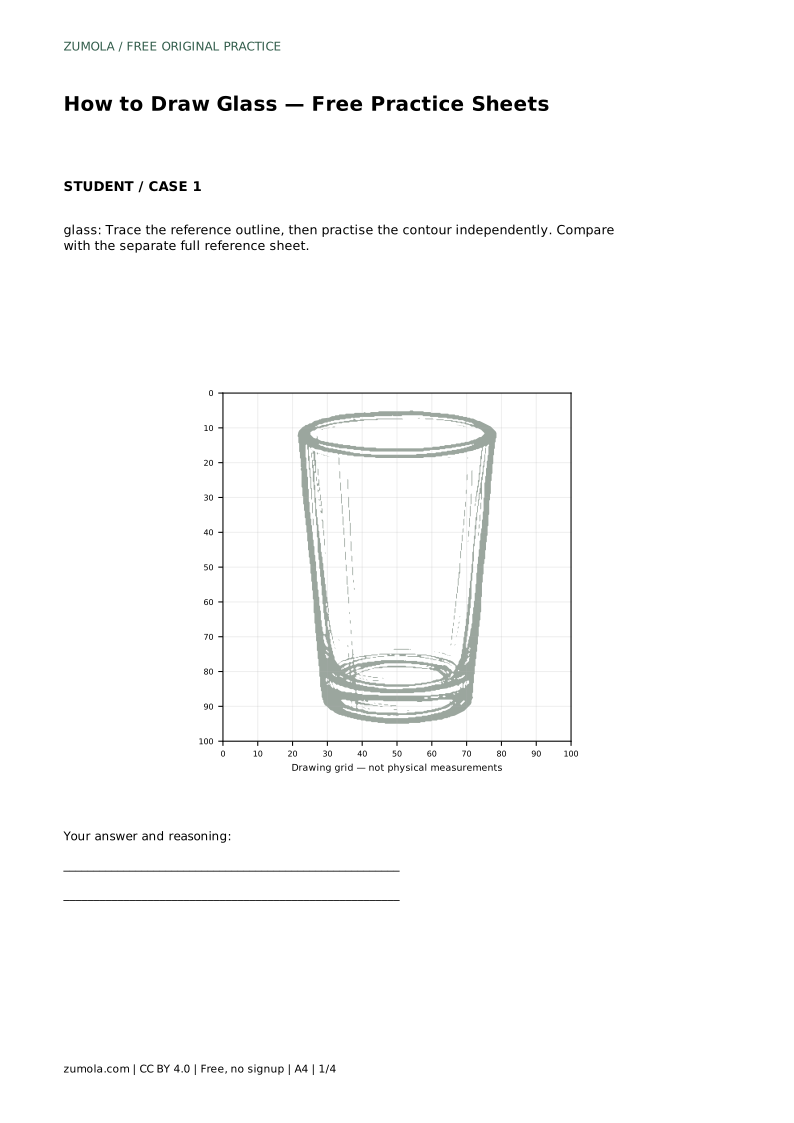
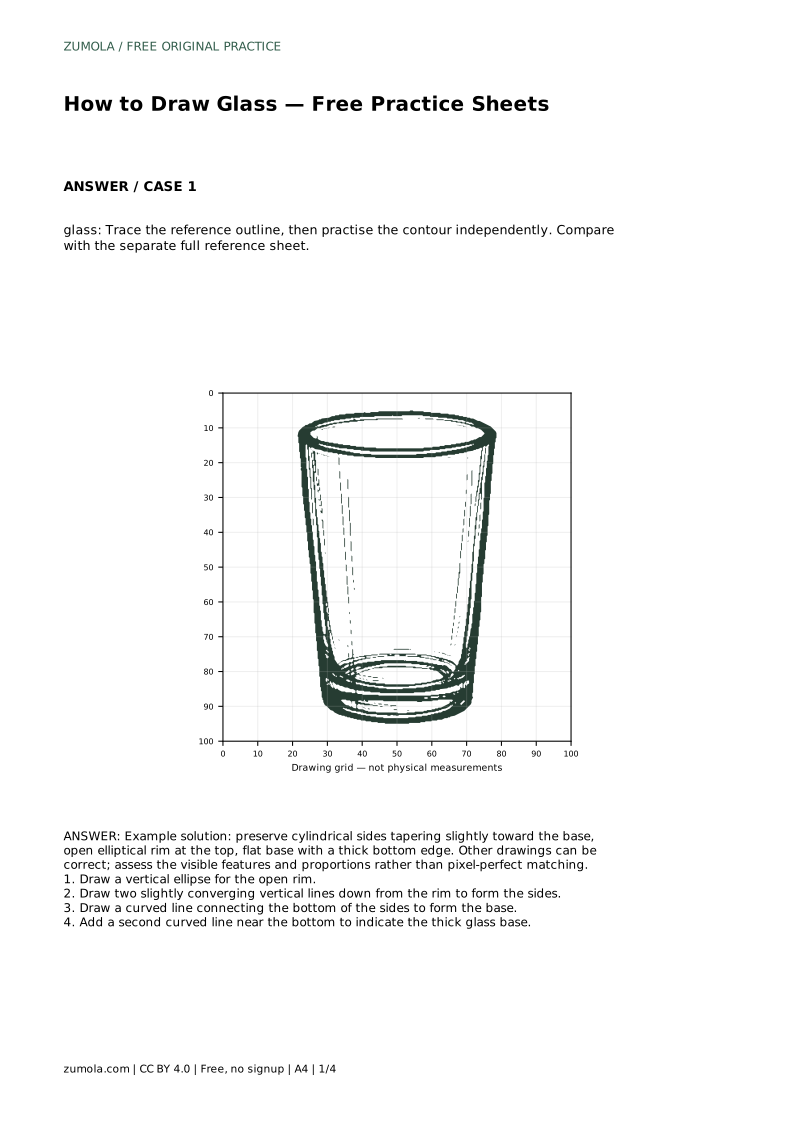
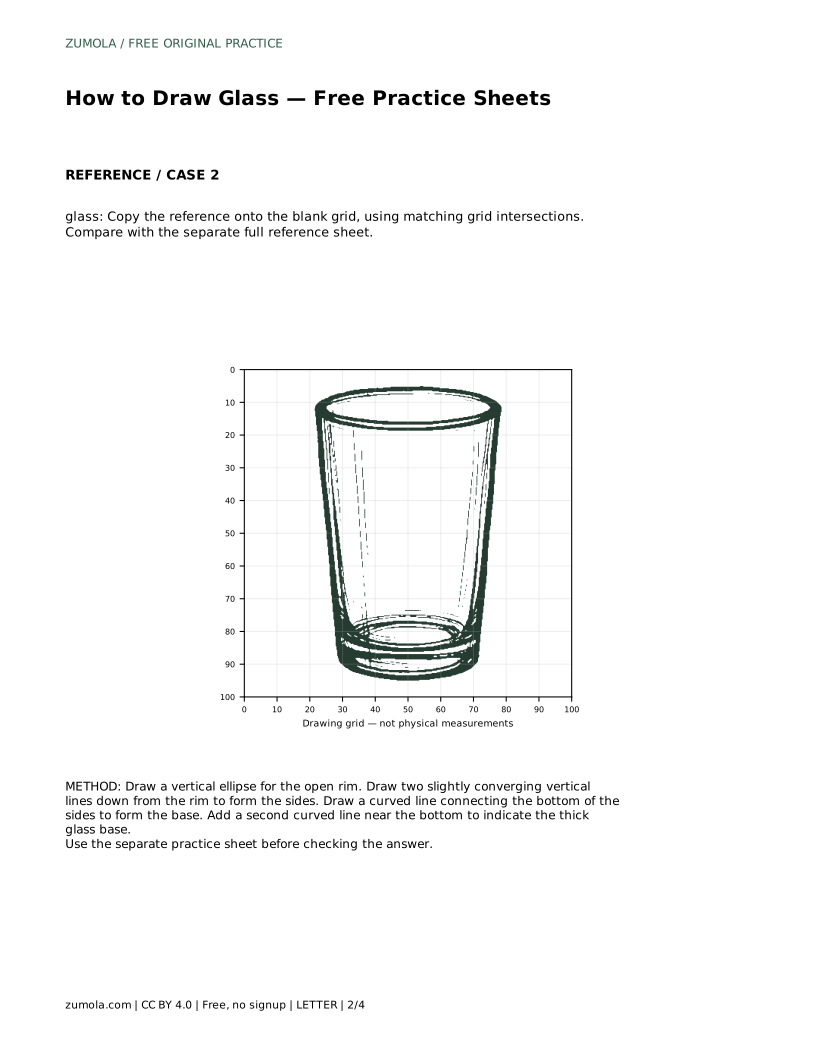
The trace sheet asks you to follow the reference outline first, then practise the contour independently. Use the trace pass to learn where the rim, sides, and base sit, then cover or set aside the outline and redraw from memory. Compare your independent drawing with the separate full reference sheet.
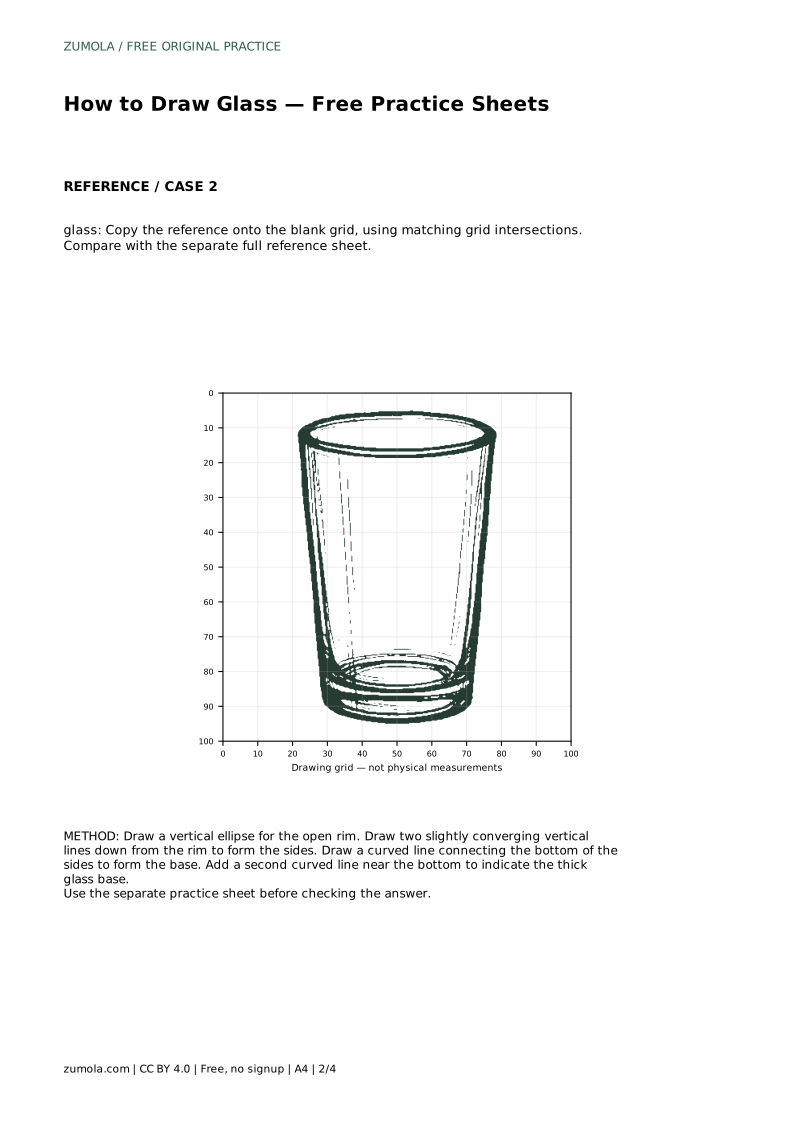
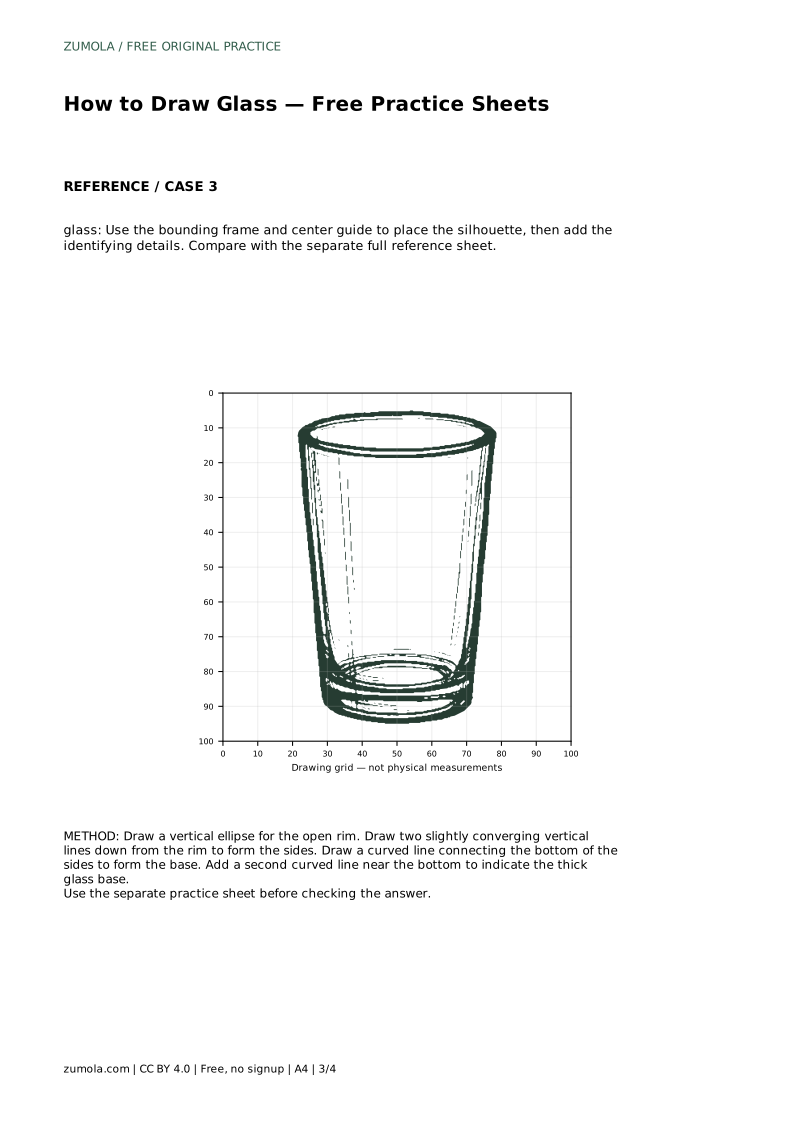
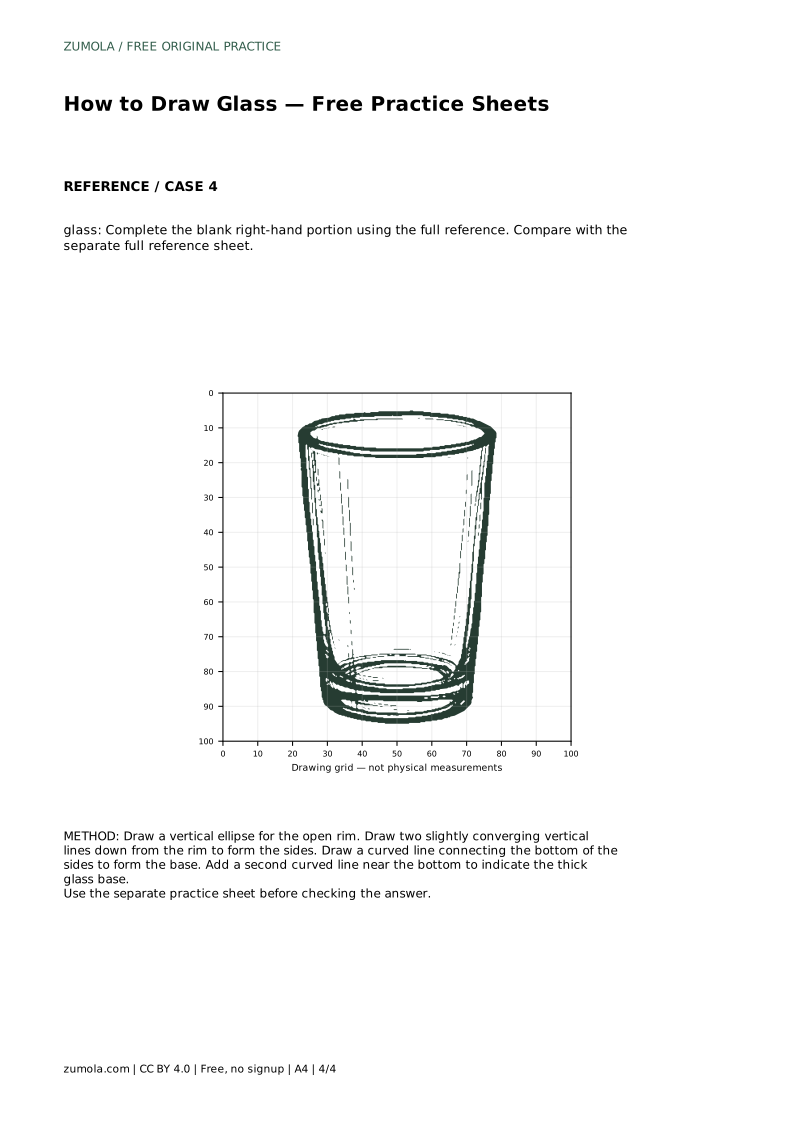
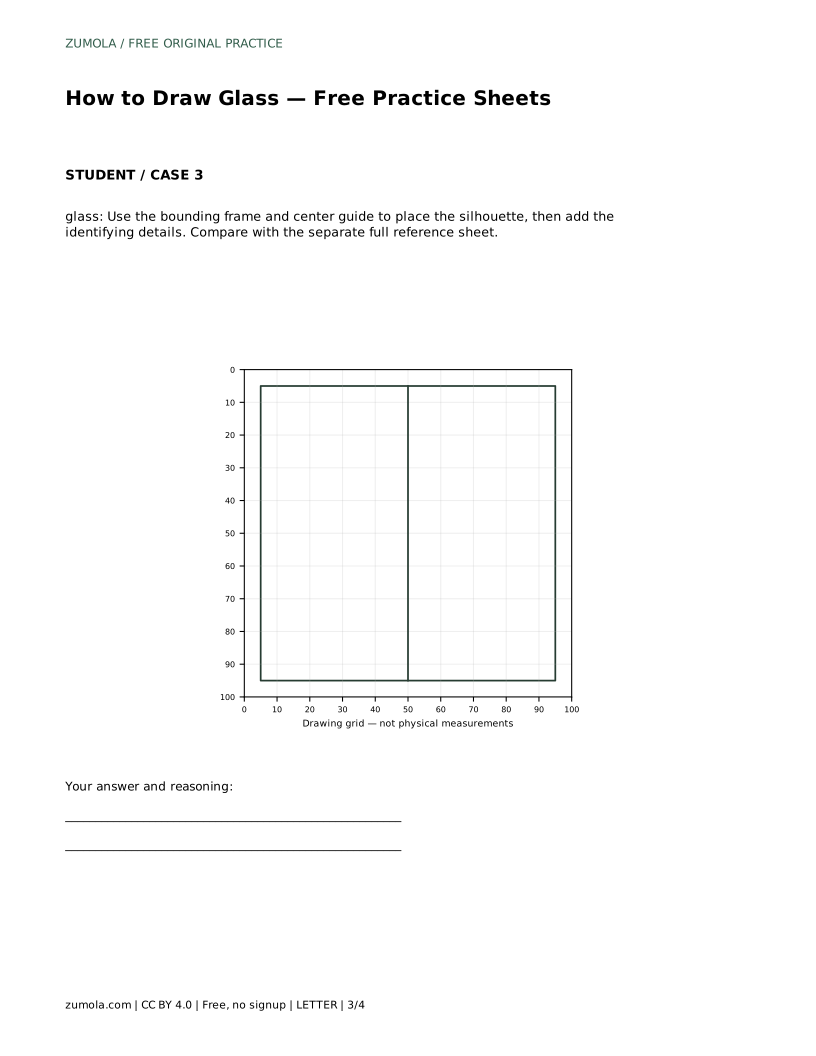
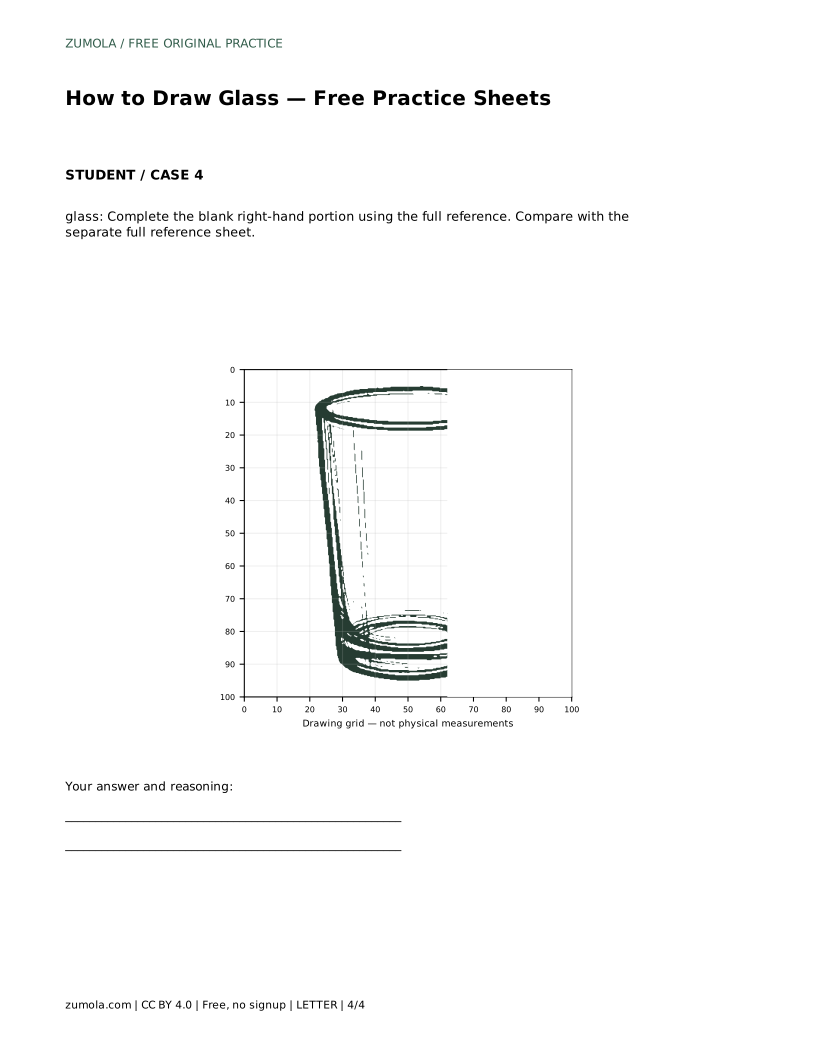
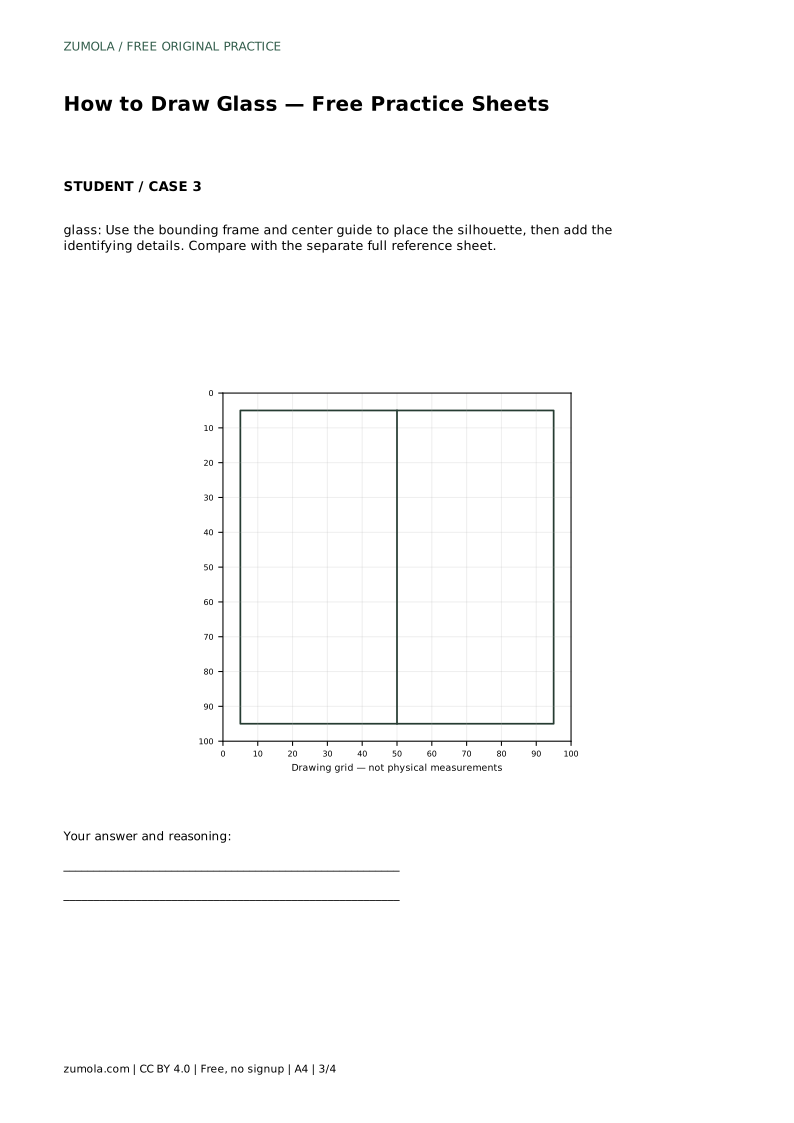
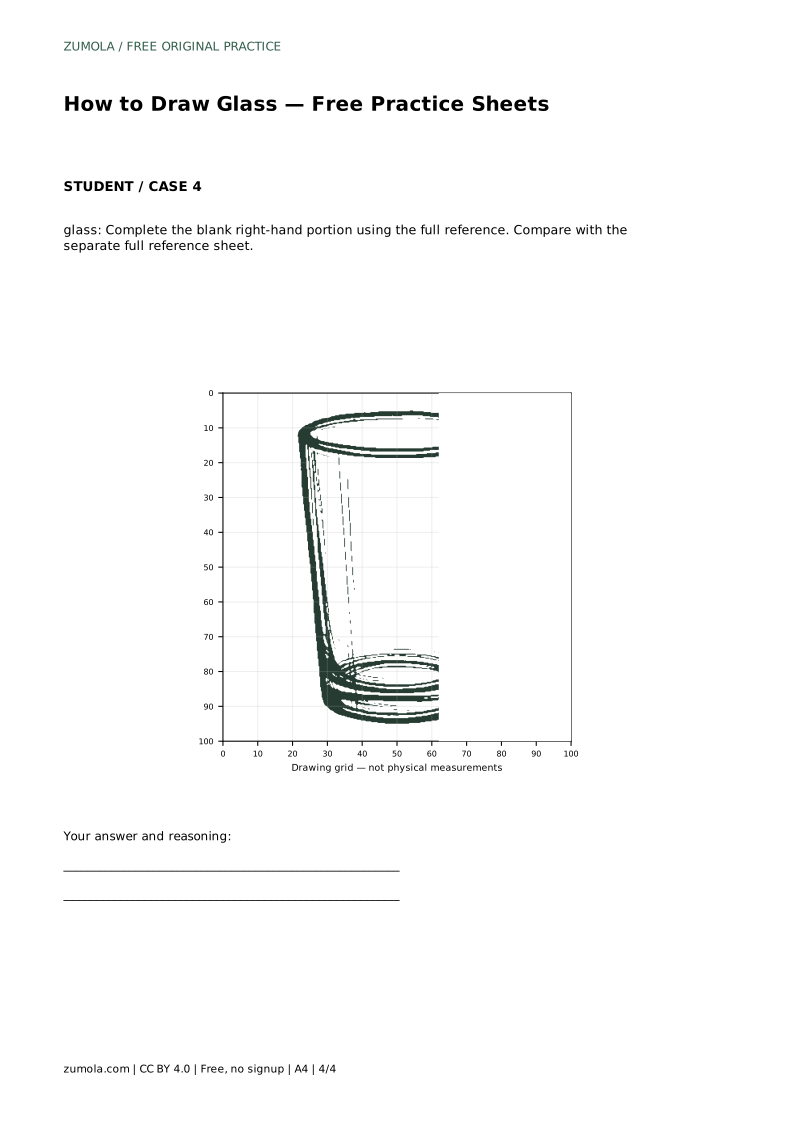
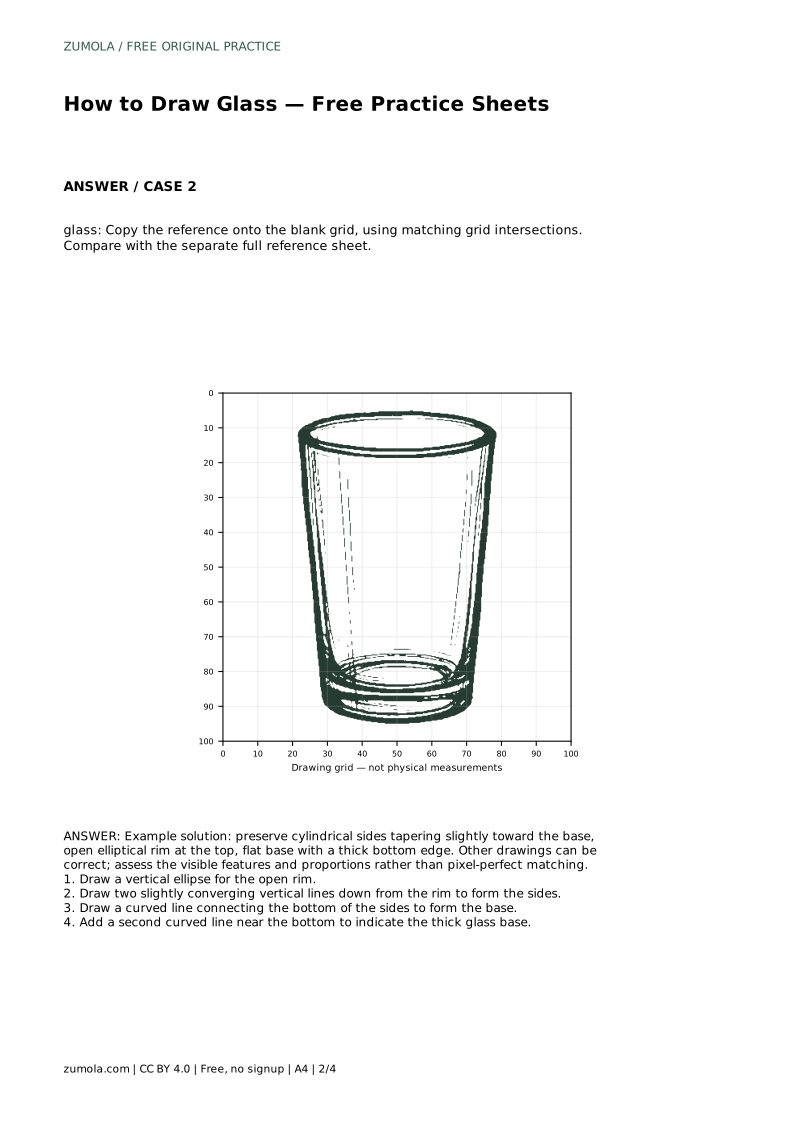
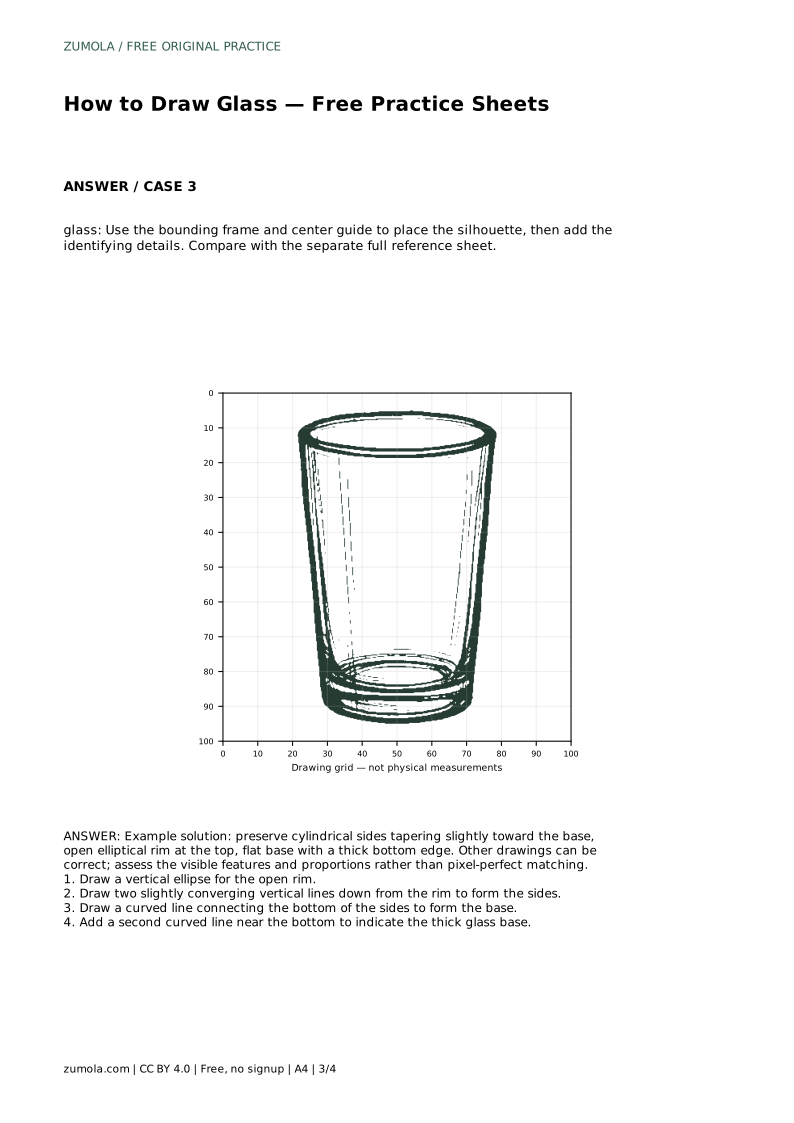
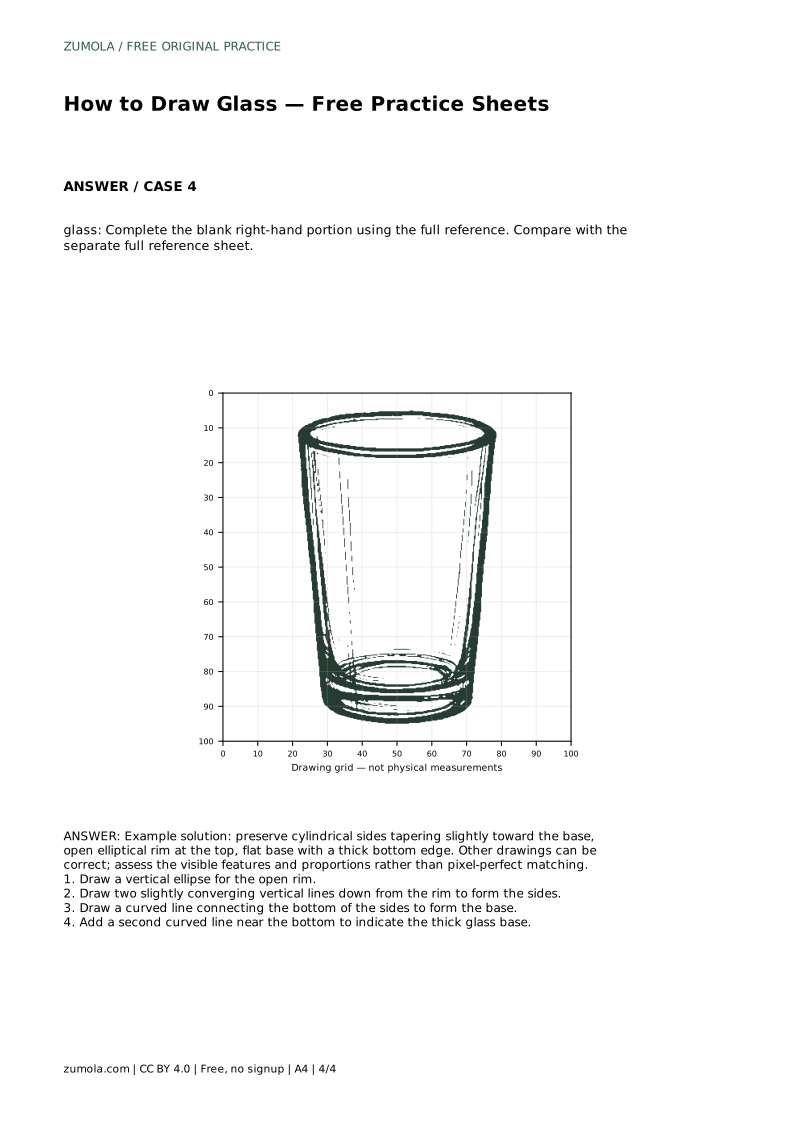
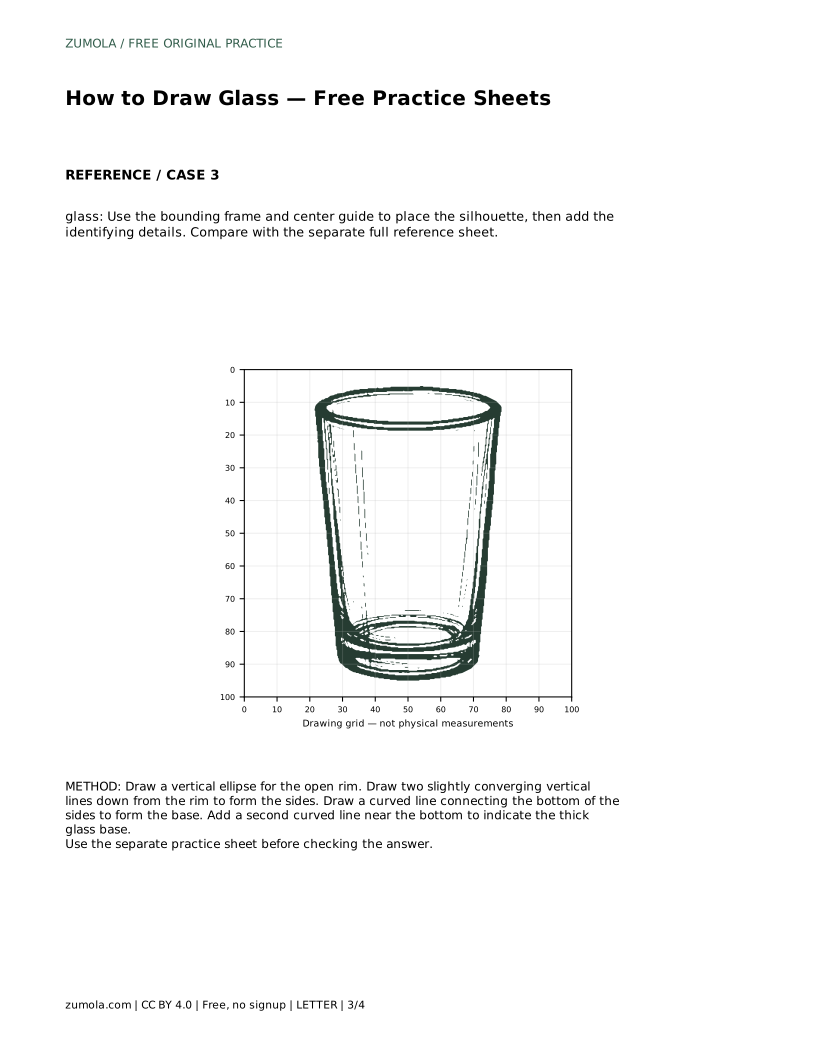
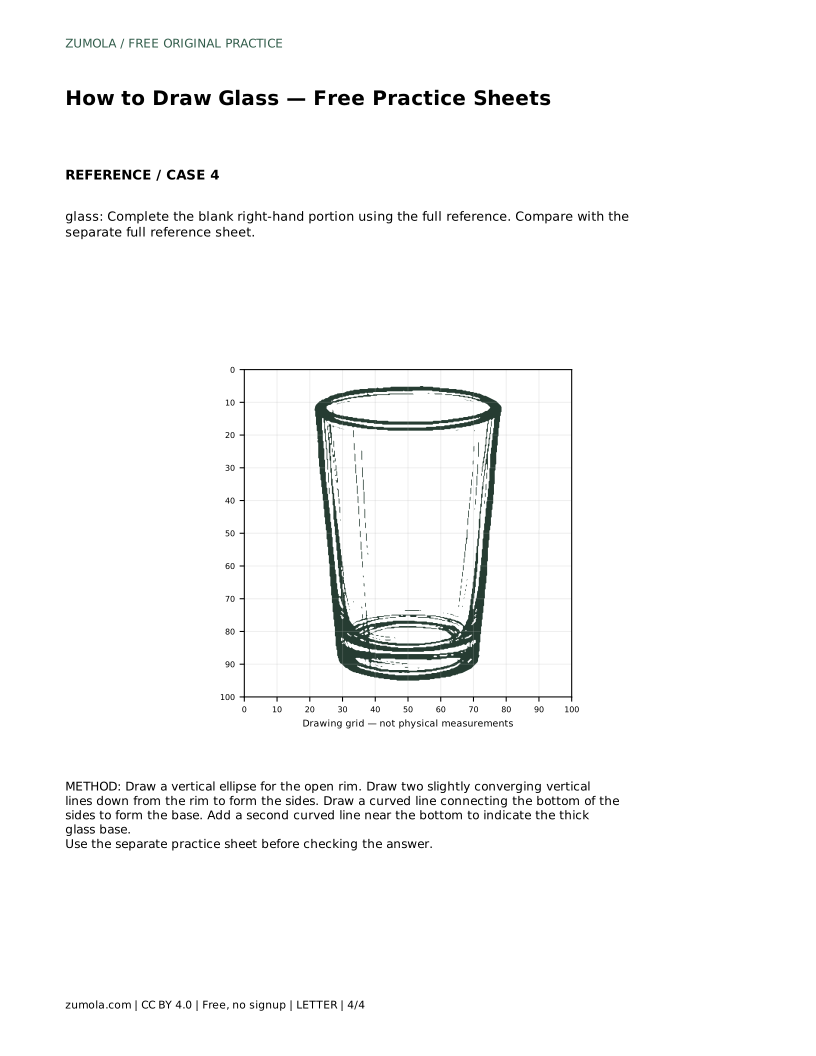
The grid sheet asks you to copy the reference onto a blank grid using matching grid intersections. Place the rim, the side lines, and the base at the same intersections as the reference. The bounding-frame sheet gives you a frame and center guide to place the silhouette before adding identifying details. The partial sheet gives you the left portion and asks you to complete the blank right-hand portion from the full reference. In every format, compare with the separate full reference sheet rather than expecting a pixel-perfect match.
A glass drawing can be correct in more than one way. Slight changes in taper, rim openness, or base thickness are valid choices. Assess the visible features and proportions instead of demanding an exact copy. Ask whether the rim reads as an opening, whether the sides taper consistently, and whether the base looks flat and thick.
Prompt: Trace the reference outline, then practise the contour independently. Compare with the separate full reference sheet.
Example solution: preserve cylindrical sides tapering slightly toward the base, open elliptical rim at the top, flat base with a thick bottom edge. Other drawings can be correct; assess the visible features and proportions rather than pixel-perfect matching.
glass: Trace the reference outline, then practise the contour independently. Compare with the separate full reference sheet.
Example solution: preserve cylindrical sides tapering slightly toward the base, open elliptical rim at the top, flat base with a thick bottom edge. Other drawings can be correct; assess the visible features and proportions rather than pixel-perfect matching. Draw a vertical ellipse for the open rim. Draw two slightly converging vertical lines down from the rim to form the sides. Draw a curved line connecting the bottom of the sides to form the base. Add a second curved line near the bottom to indicate the thick glass base.
No. Other drawings can be correct. Assess the visible features and proportions rather than pixel-perfect matching.
Start with the open rim ellipse, then add the two slightly converging sides, then close the base and add the thick bottom edge.
Copy the reference onto the blank grid using matching grid intersections, then compare your result with the separate full reference sheet.
All drawing practice · Free coordinate paper
Original resources · CC BY 4.0 · Free for personal and classroom use with attribution.