Reference diagrams
LETTER · Download PDF
A4 · Download PDF
Free original resources
Learn to draw a bowling pin with a step-by-step contour method, a labeled diagram, and free practice sheets. Build the neck, stripes, body, and rounded base.
Four original cases, with reference diagrams, practice sheets and worked answers. Everything is free; no signup required.
LETTER · Download PDF
A4 · Download PDF
LETTER · Download PDF
A4 · Download PDF
LETTER · Download PDF
A4 · Download PDF
Use A4 or US Letter to match your printer. Use the stated values and conditions to solve each exercise; diagrams are not physical measuring rulers.
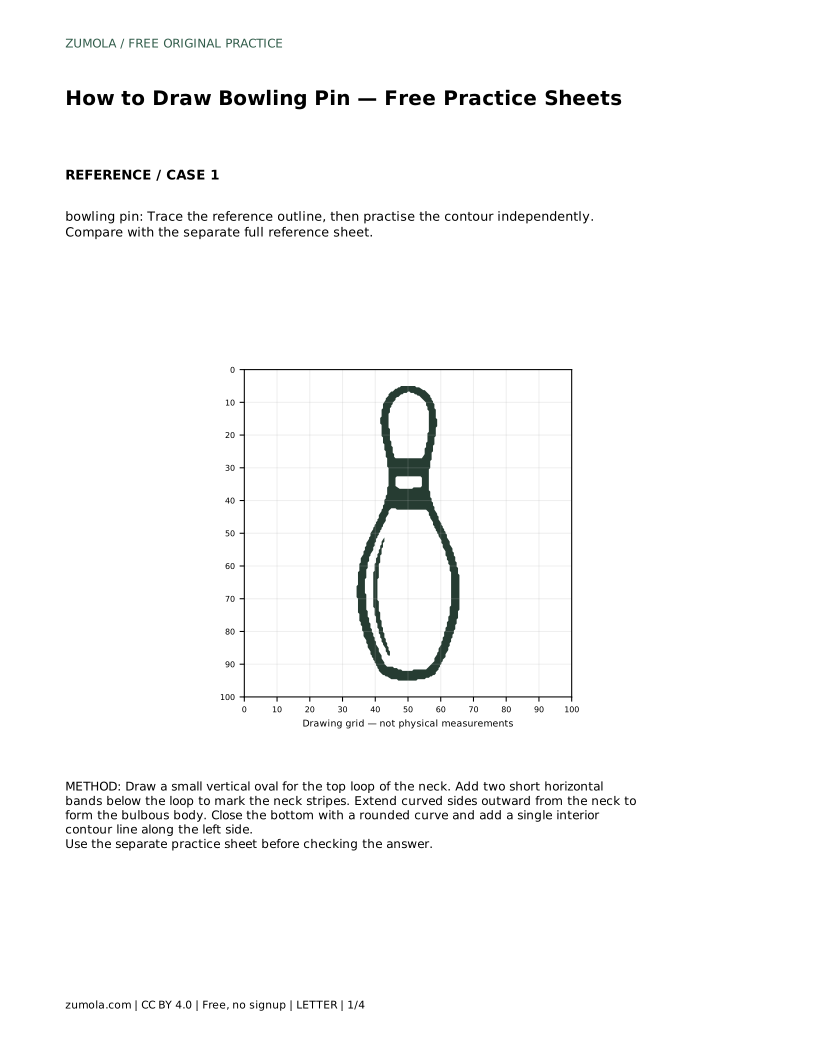
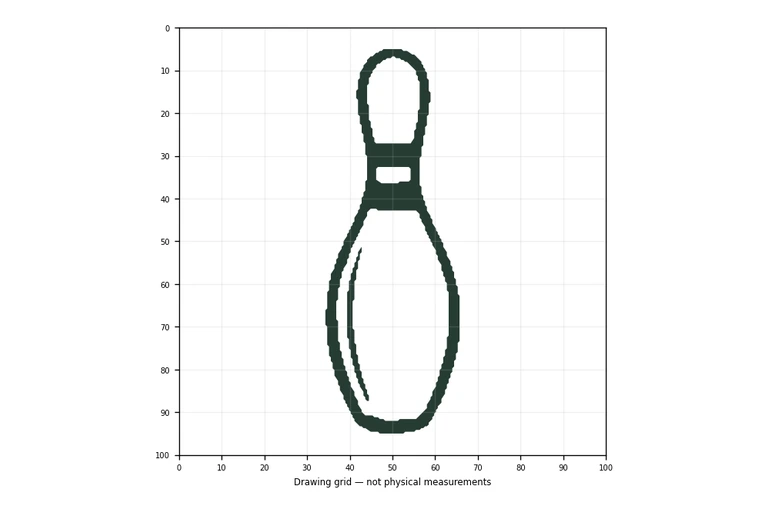
A bowling pin is a simple shape with a very specific silhouette: a narrow rounded neck, two dark bands, a body that swells outward, and a rounded bottom. This page teaches a reliable drawing order so the proportions stay believable. You will start with the top loop, place the neck stripes, widen the sides smoothly, and close the base. The practice sheets let you trace, copy onto a grid, use a bounding frame, or complete a half-finished drawing.
A bowling pin is not a bottle and not a vase. Its widest point sits low, near the base, and the sides curve outward gradually rather than flaring suddenly. The neck stays narrow and rounded at the top, and the two horizontal bands sit just below that loop. Treat the pin as one continuous contour: the left and right sides should mirror each other in general curvature, even if your drawing is slightly uneven.
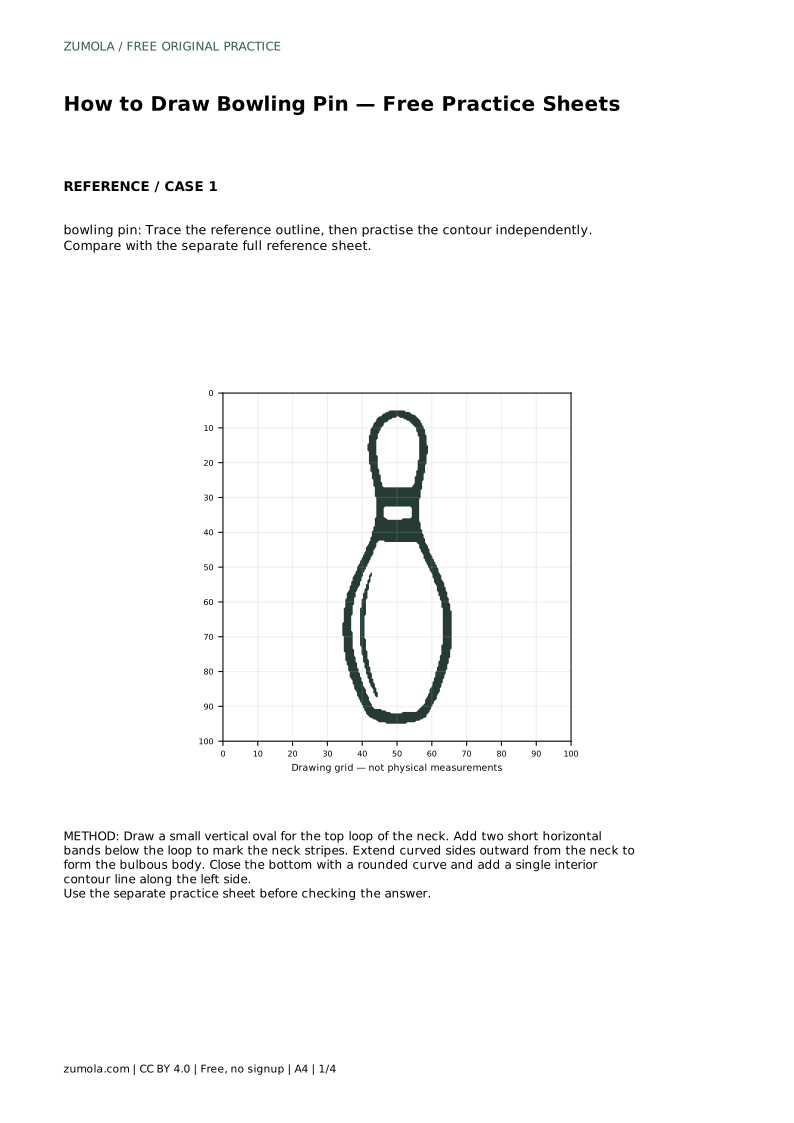
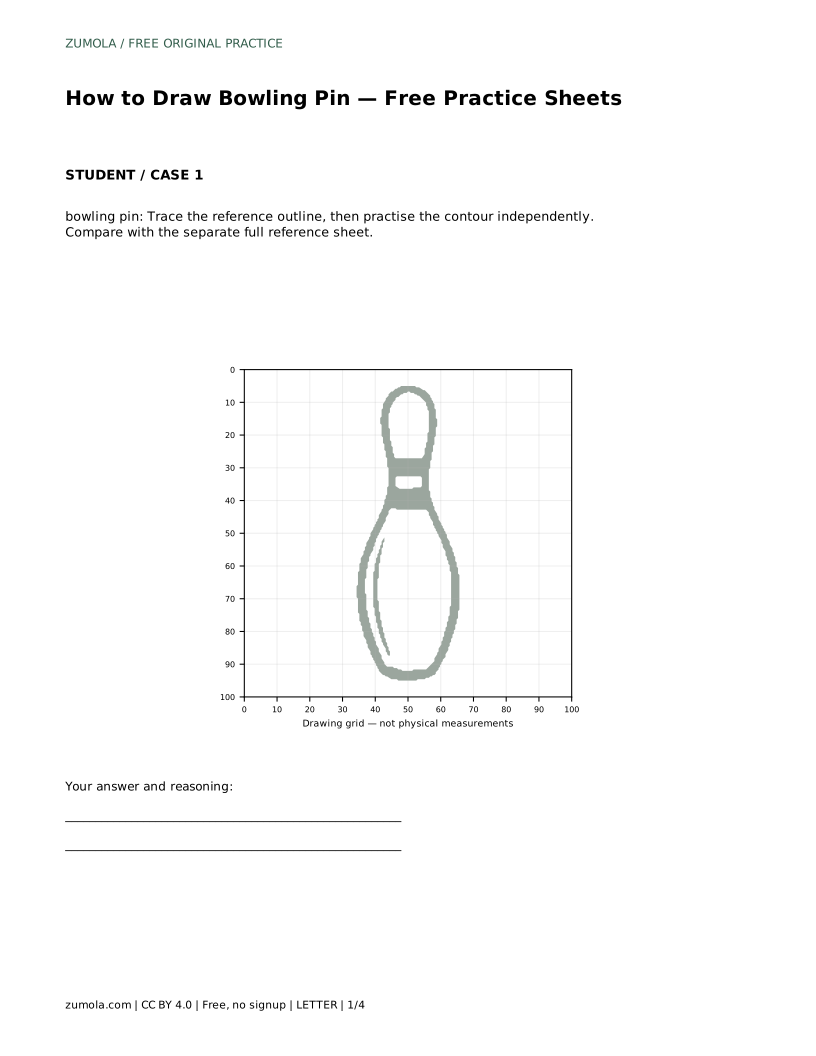
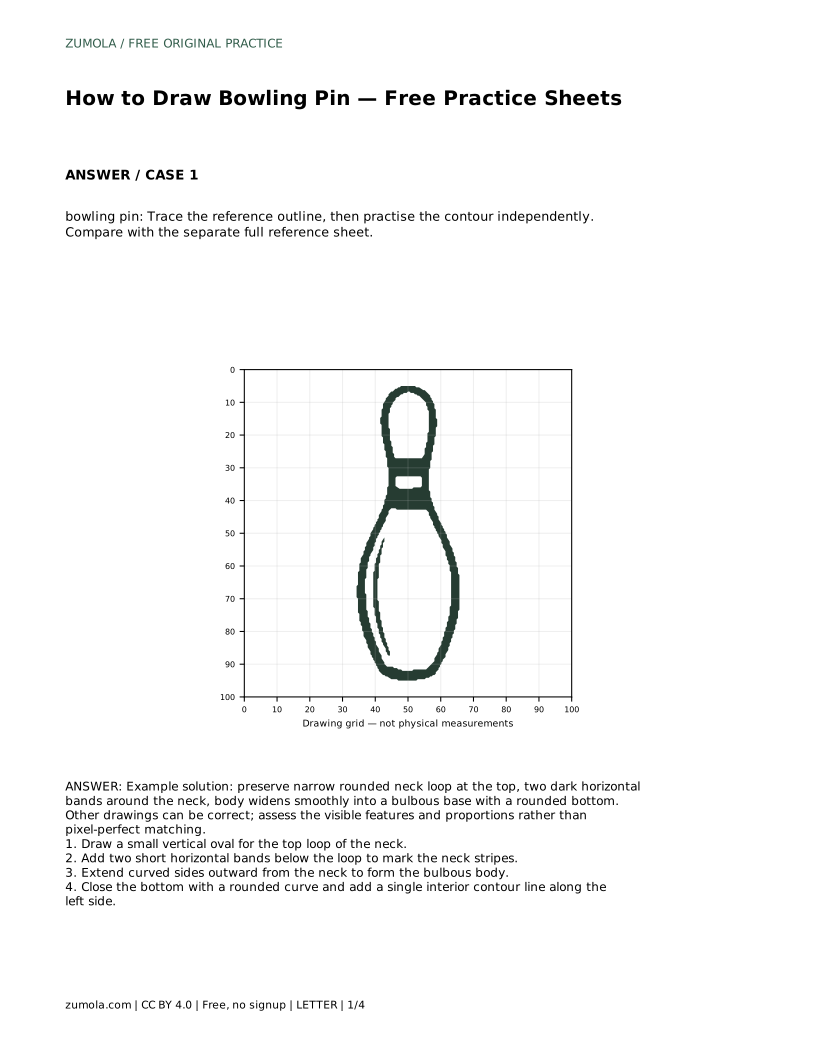
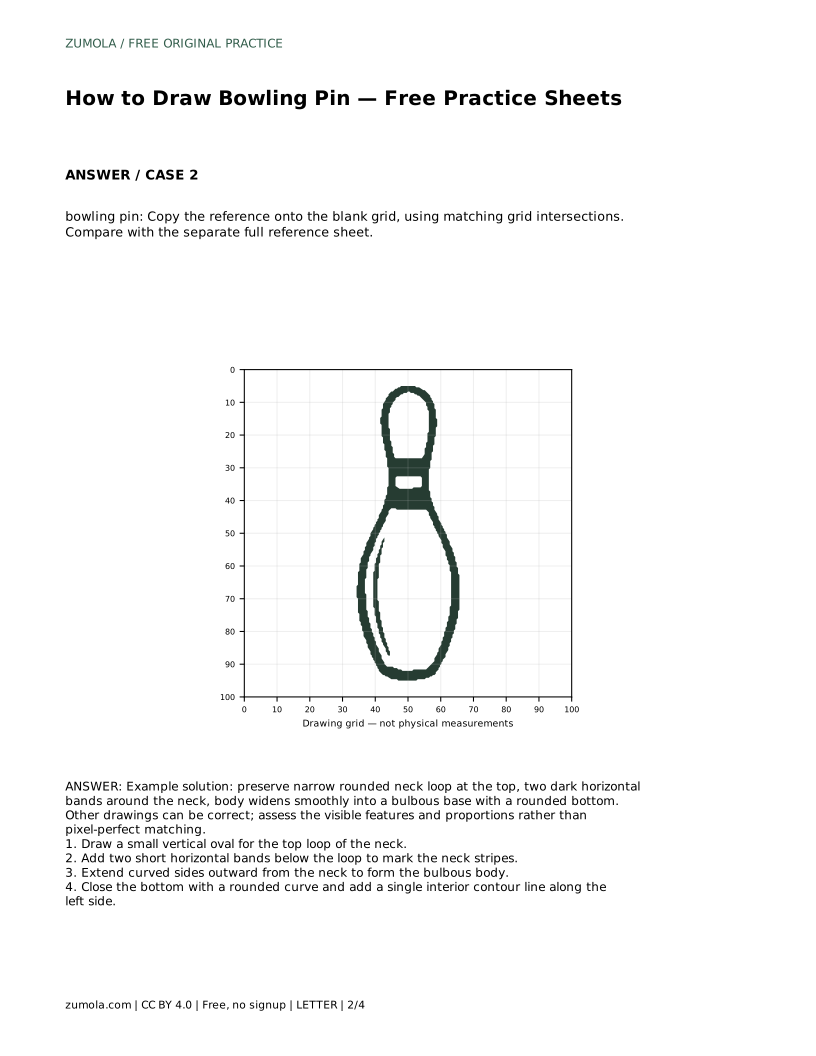
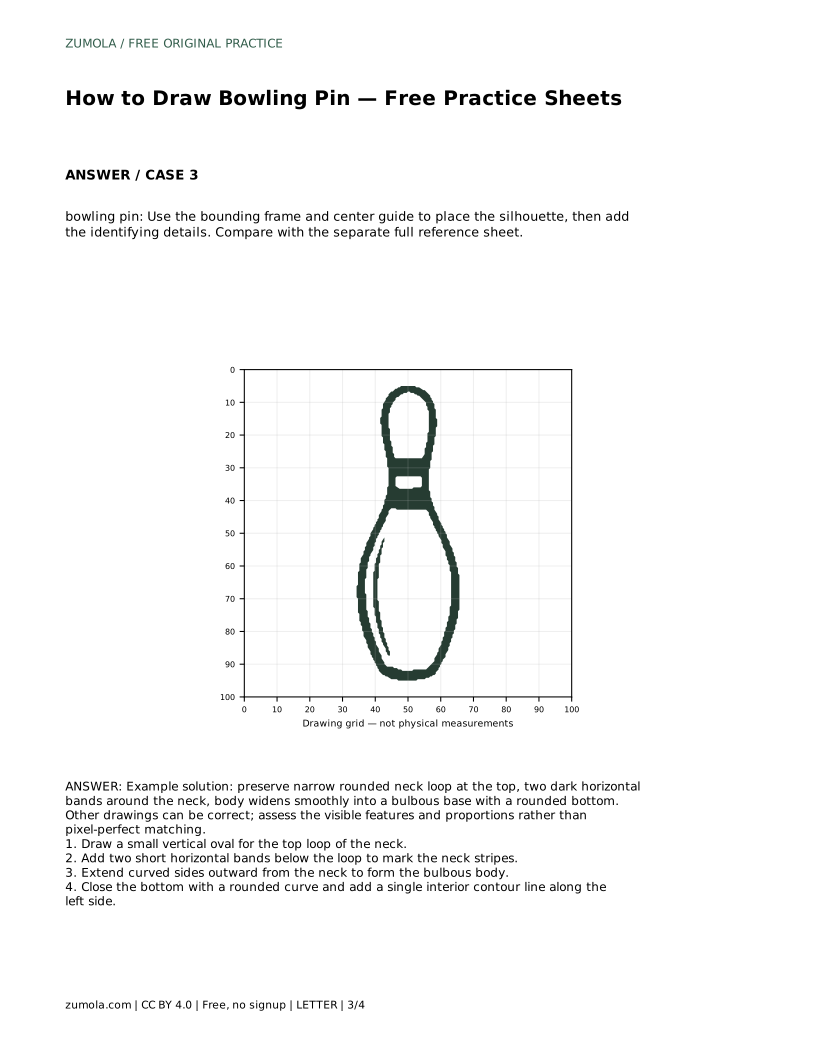
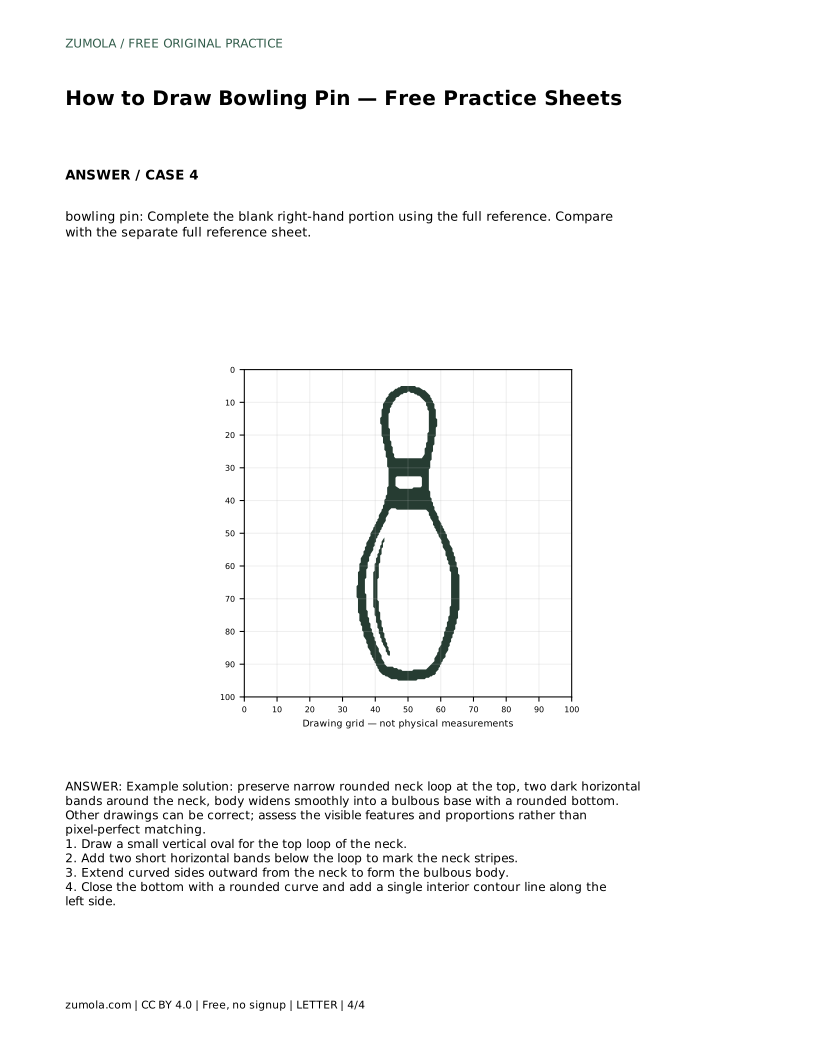
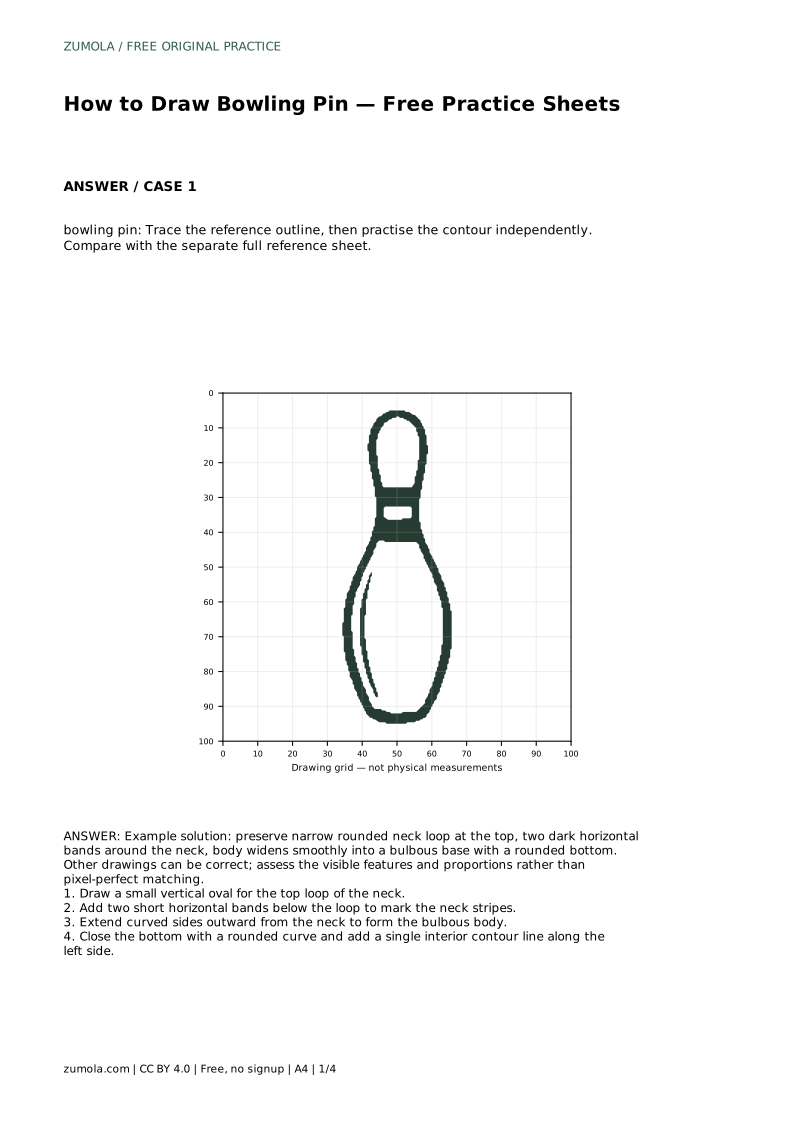
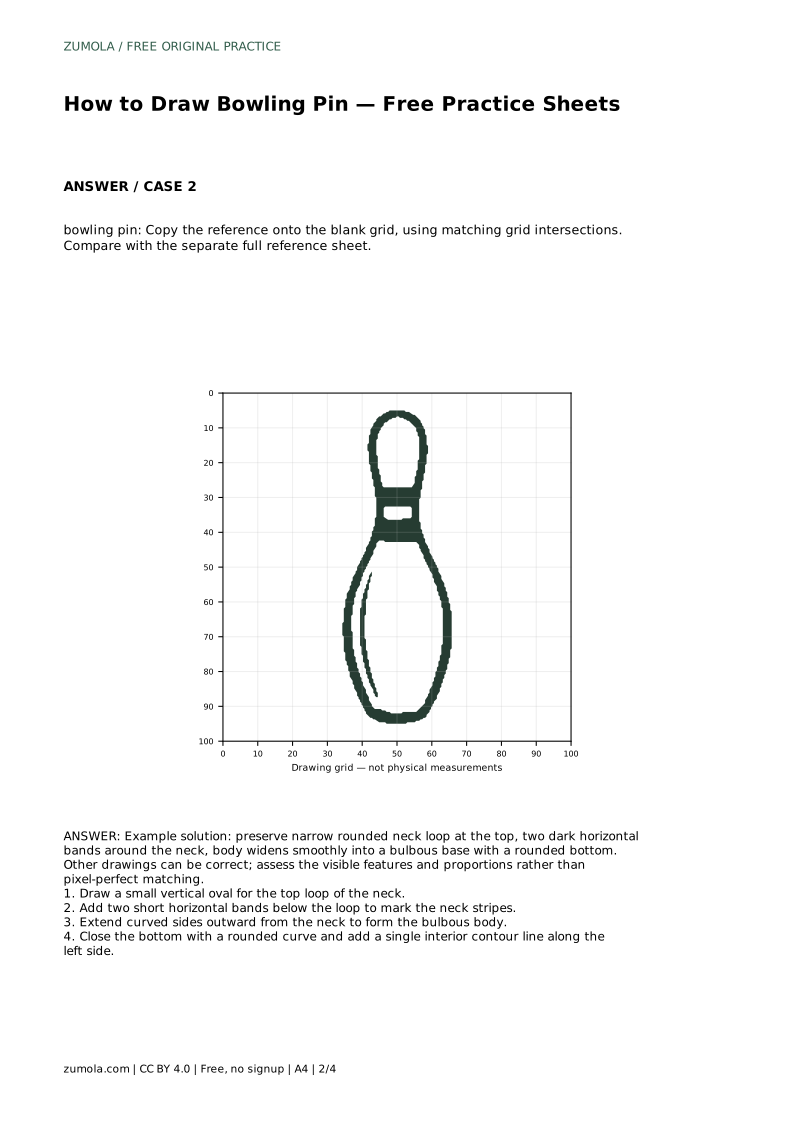
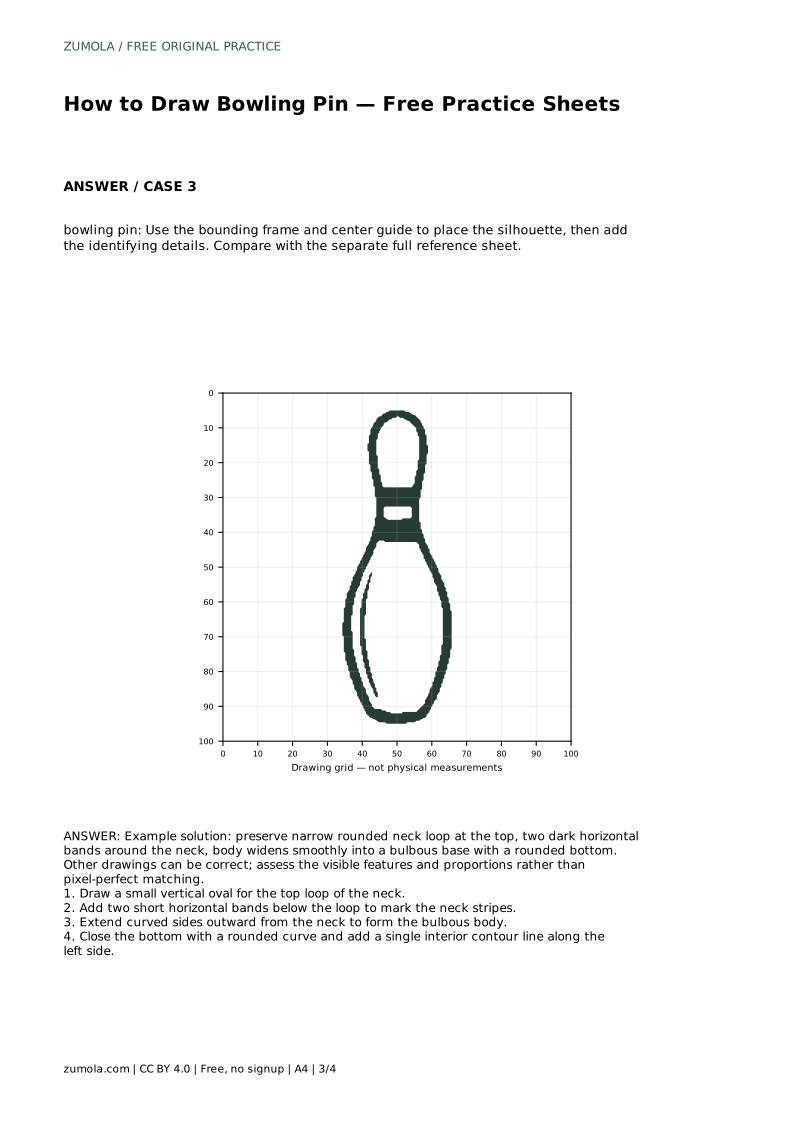
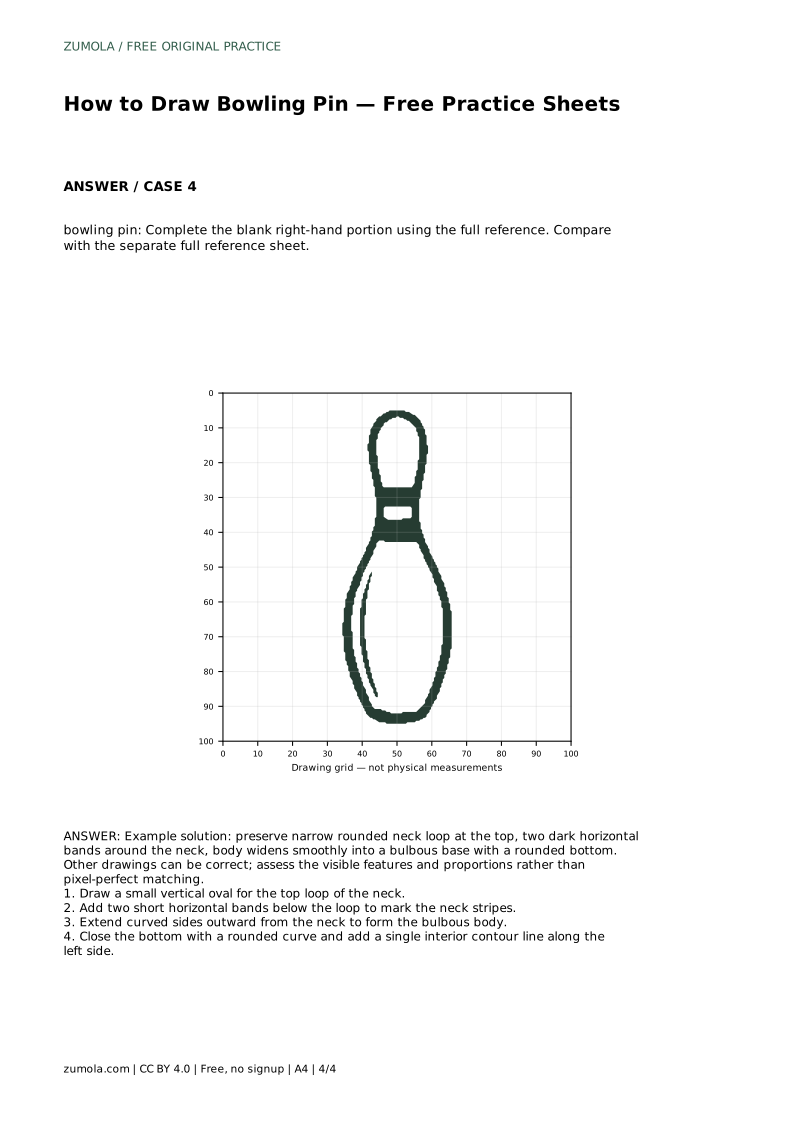
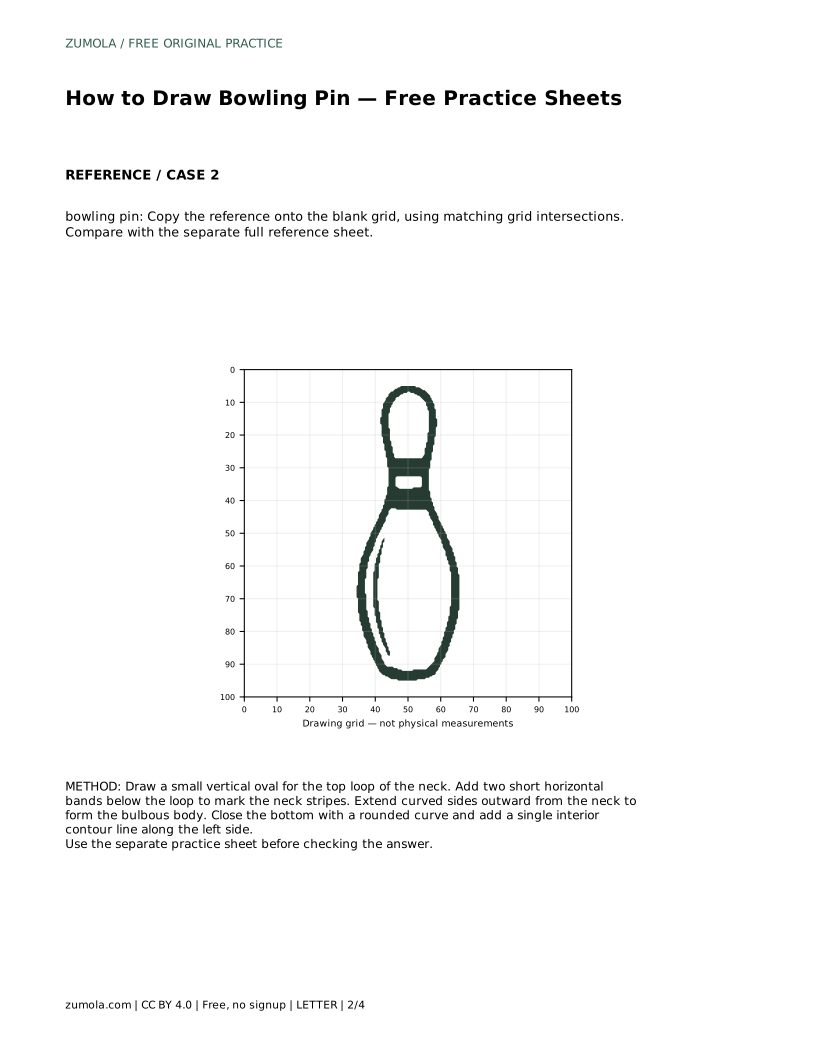
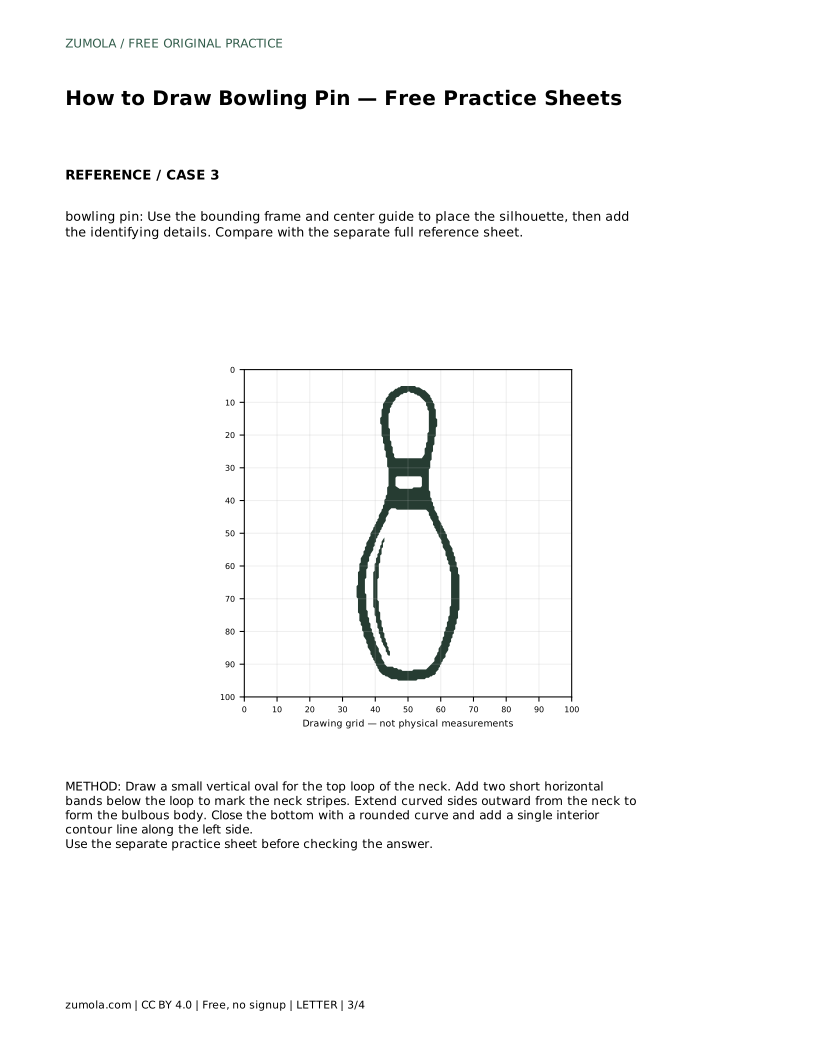
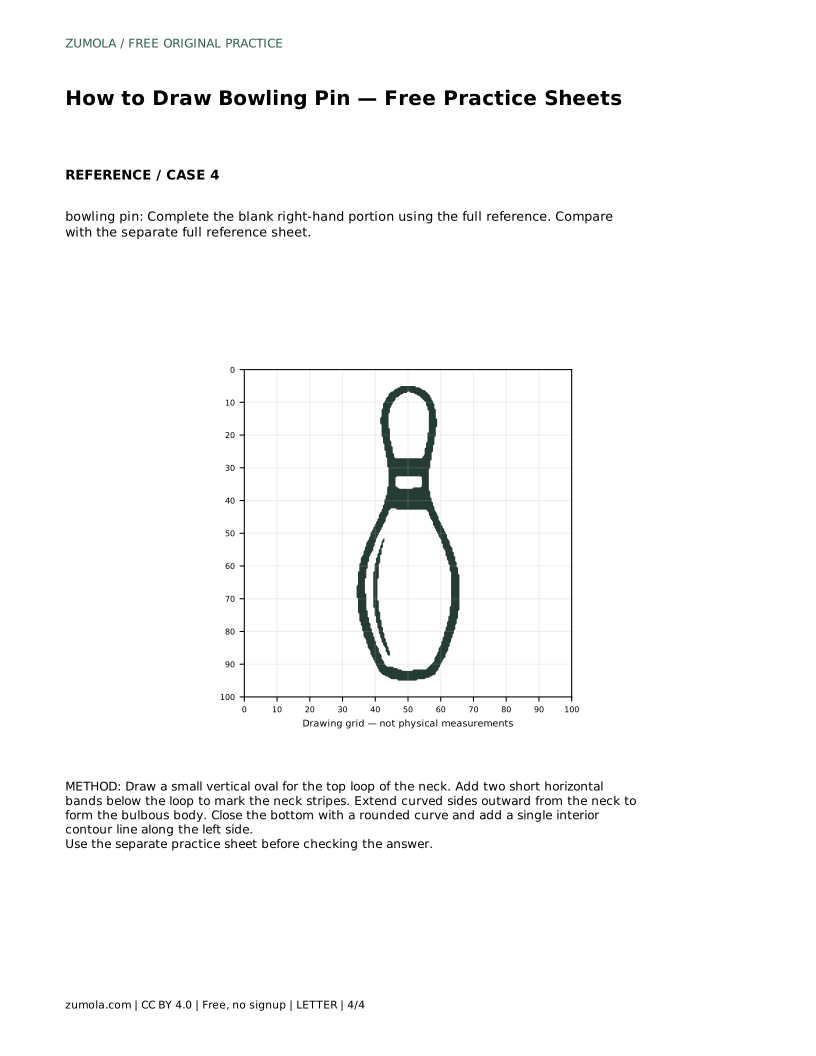
The diagram on the reference sheet shows the key landmarks: the top loop, the two neck bands, the shoulder where the body begins to widen, the bulbous lower body, and the rounded bottom. Use these landmarks as checkpoints rather than memorizing a single outline.
Begin with the top loop because it sets the width of the neck. Keep it small and slightly taller than wide. Next, place the two bands as short horizontal marks; they should sit close together and stay within the neck width. From the lower band, let the sides curve outward. The curve should be gentle at first, then widen more noticeably toward the lower third. Finish with a rounded bottom that does not come to a point.
A single interior contour line along the left side helps show the pin's rounded volume. Keep it light and follow the outer curve rather than crossing the body.
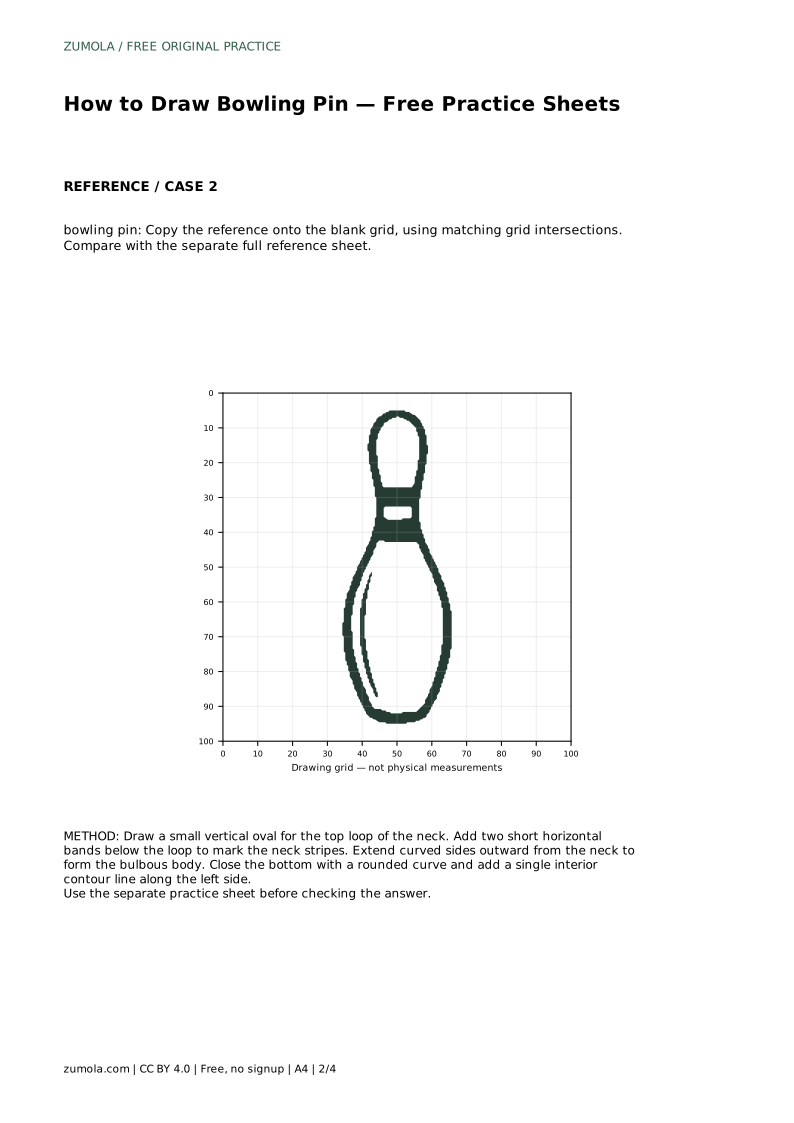
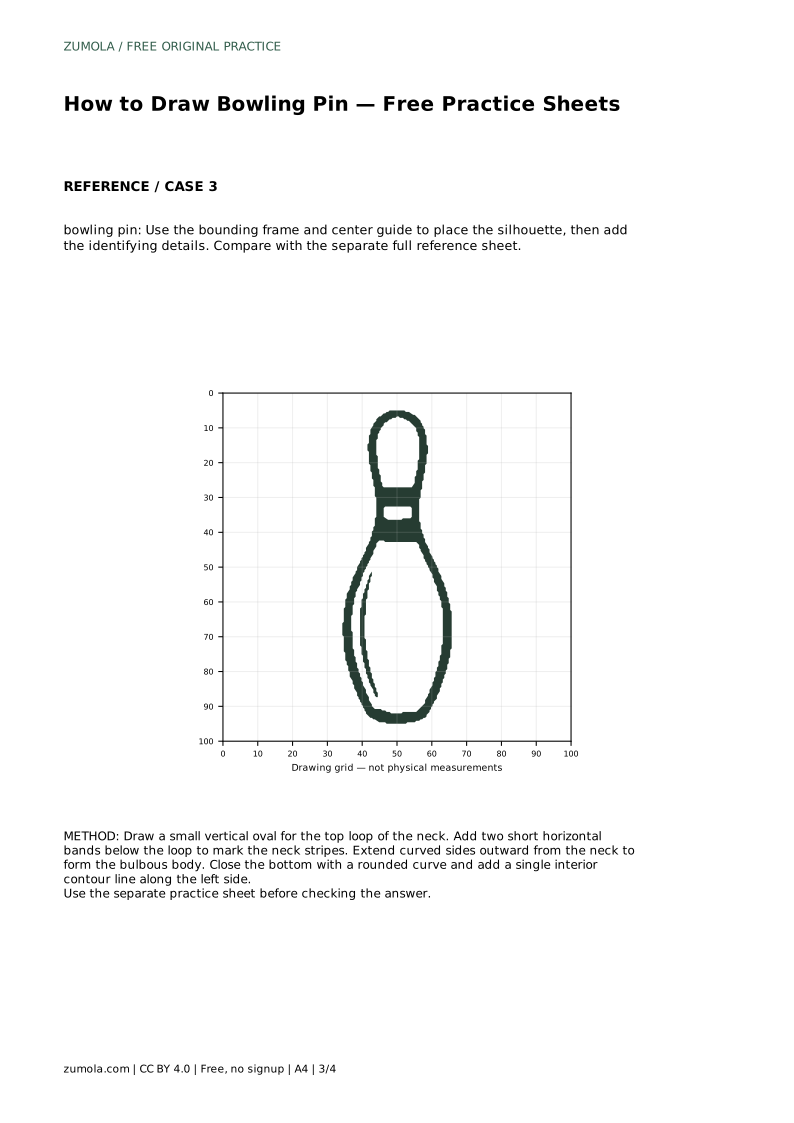
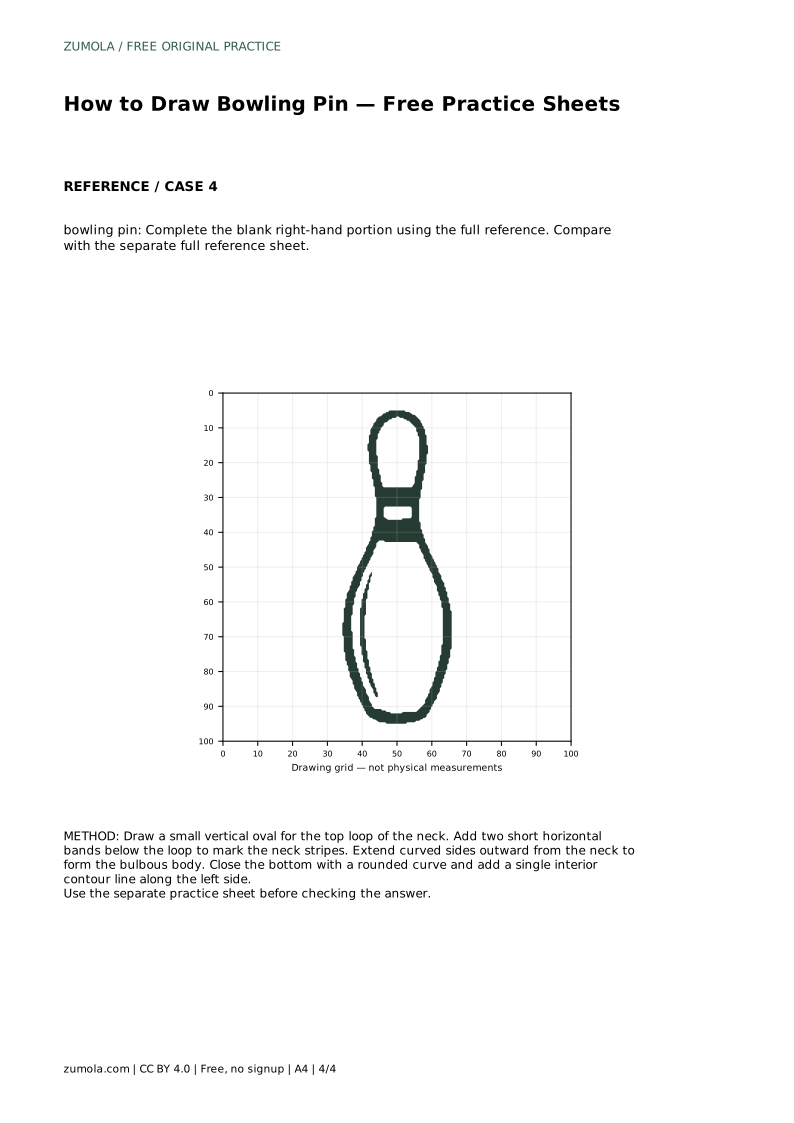
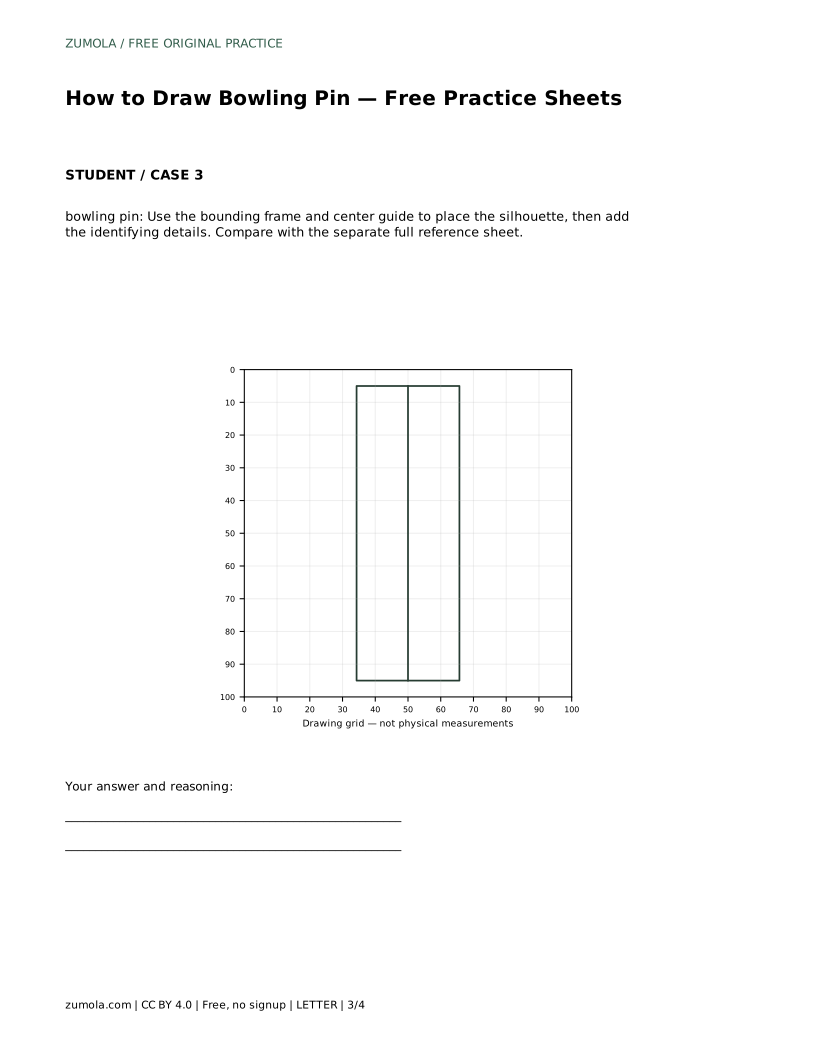
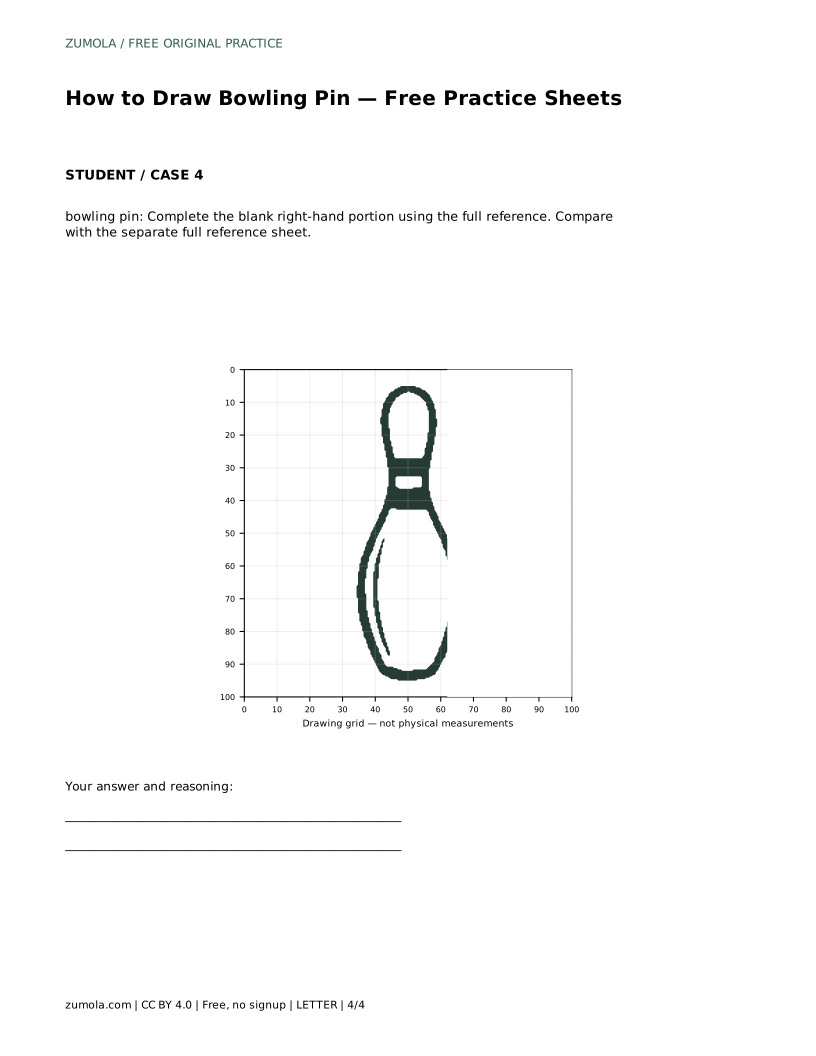
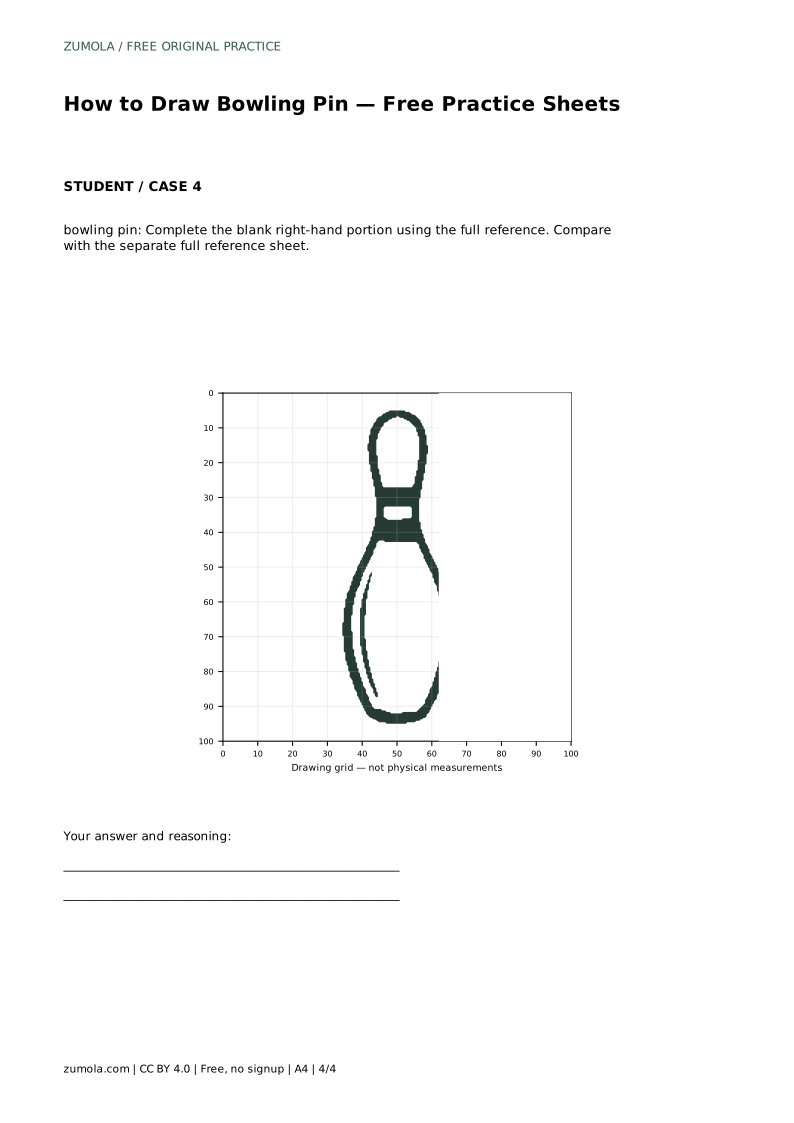
Each practice sheet targets a different skill. Tracing builds muscle memory for the contour. Copying onto a blank grid trains you to compare spacing and curvature at matching intersections. The bounding frame and center guide help you place the silhouette before adding details. The half-finished sheet asks you to complete the missing right-hand portion using the full reference.
Compare your finished drawing with the separate full reference sheet. Because art has multiple valid outcomes, judge the visible features and proportions rather than expecting a pixel-perfect match.
A common problem is making the neck too wide or the body too narrow, which makes the pin look like a bottle. Another is placing the bands too low, near the shoulder. Keep the bands in the narrow neck region. Finally, check that the bottom is rounded and that the widest point sits low.
Use the rubric below to assess your drawing. It focuses on observable features, not exact line placement.
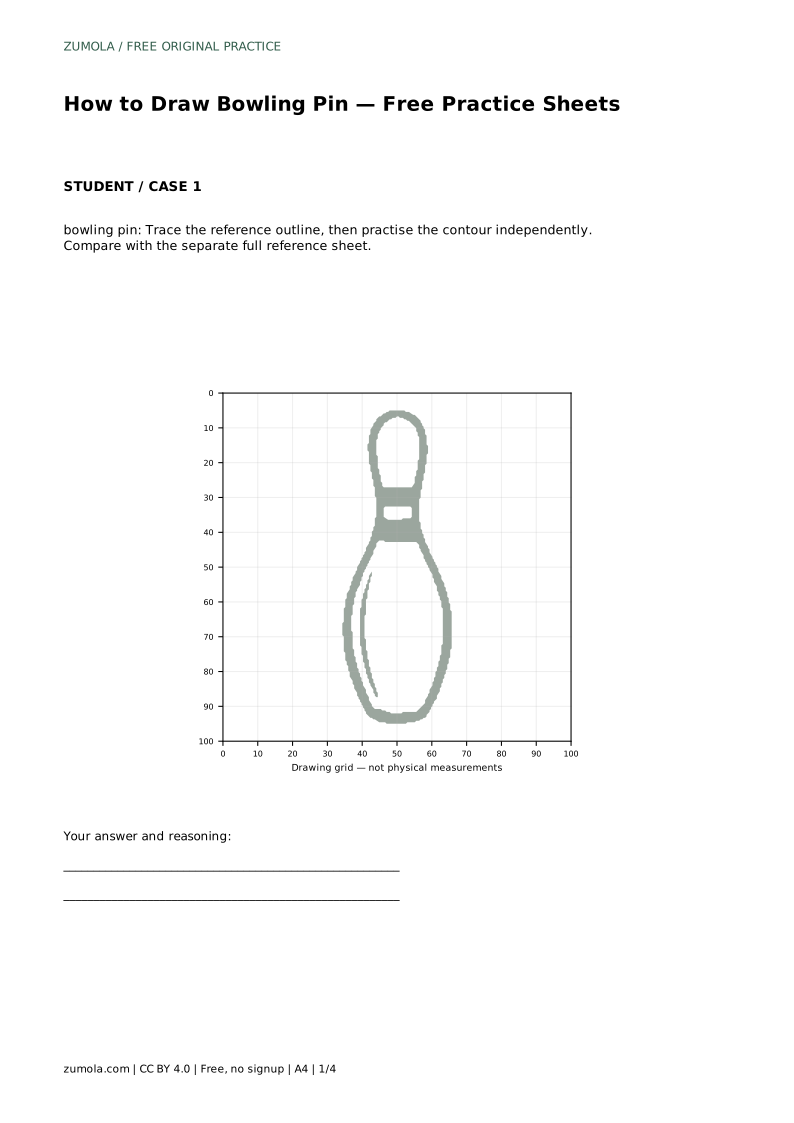
Prompt: Trace the reference outline, then practise the contour independently. Compare with the separate full reference sheet.
Answer: Example solution: preserve narrow rounded neck loop at the top, two dark horizontal bands around the neck, body widens smoothly into a bulbous base with a rounded bottom. Other drawings can be correct; assess the visible features and proportions rather than pixel-perfect matching.
bowling pin: Trace the reference outline, then practise the contour independently. Compare with the separate full reference sheet.
Example solution: preserve narrow rounded neck loop at the top, two dark horizontal bands around the neck, body widens smoothly into a bulbous base with a rounded bottom. Other drawings can be correct; assess the visible features and proportions rather than pixel-perfect matching. Draw a small vertical oval for the top loop of the neck. Add two short horizontal bands below the loop to mark the neck stripes. Extend curved sides outward from the neck to form the bulbous body. Close the bottom with a rounded curve and add a single interior contour line along the left side.
They should read as horizontal marks within the neck. Slight unevenness is acceptable, but keep them close together and above the shoulder.
Yes. Use the top loop, bands, shoulder, low widest point, and rounded bottom as landmarks, then compare your contour with the reference.
Check the visible features and proportions: narrow neck, two bands, smooth widening body, low widest point, and rounded bottom. Multiple valid outcomes exist.
All drawing practice · Free coordinate paper
Original resources · CC BY 4.0 · Free for personal and classroom use with attribution.