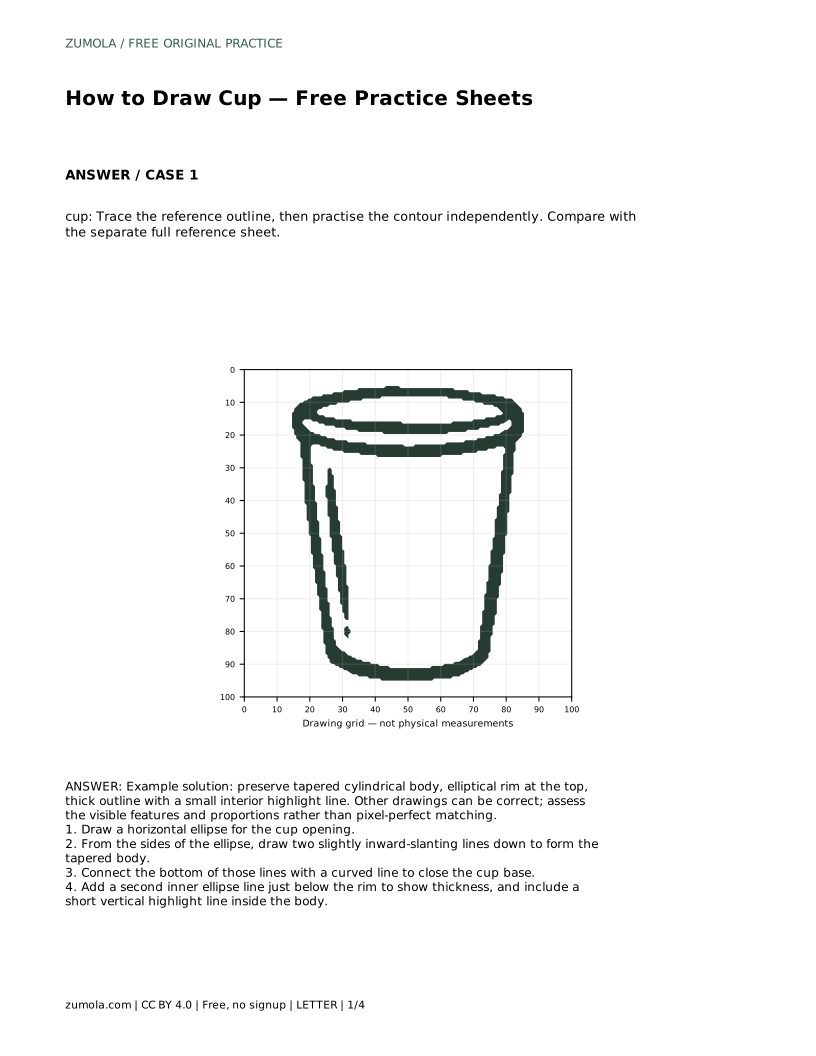
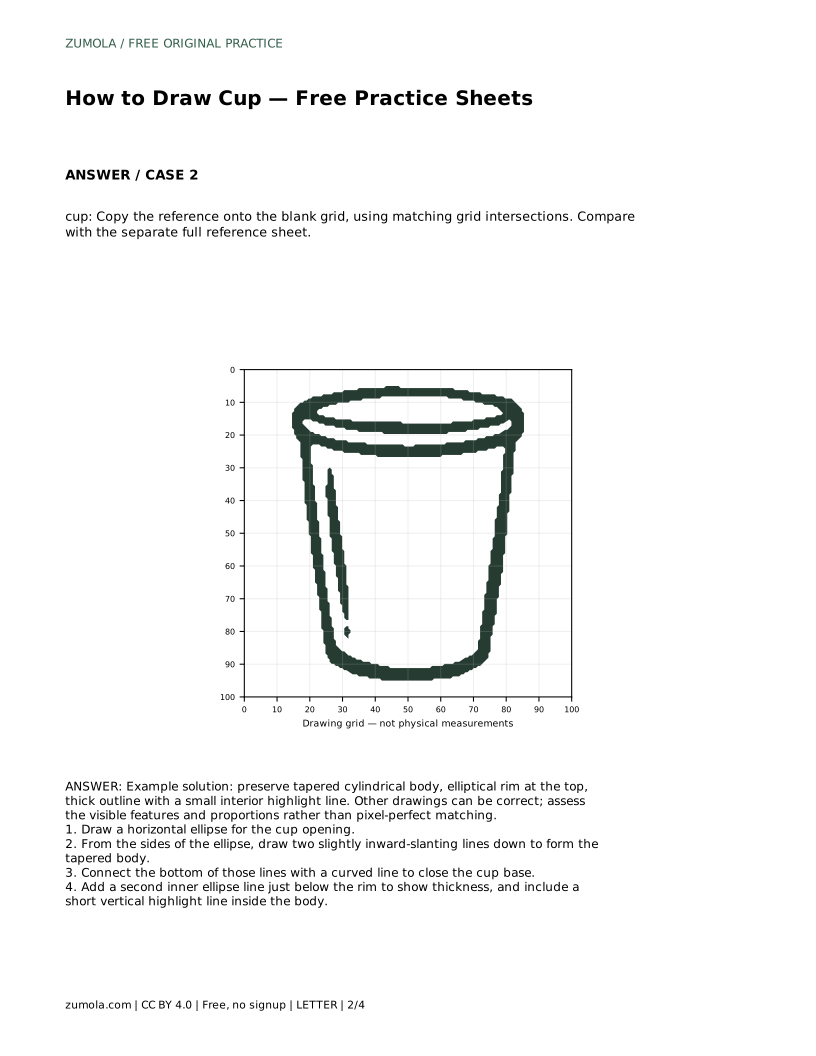
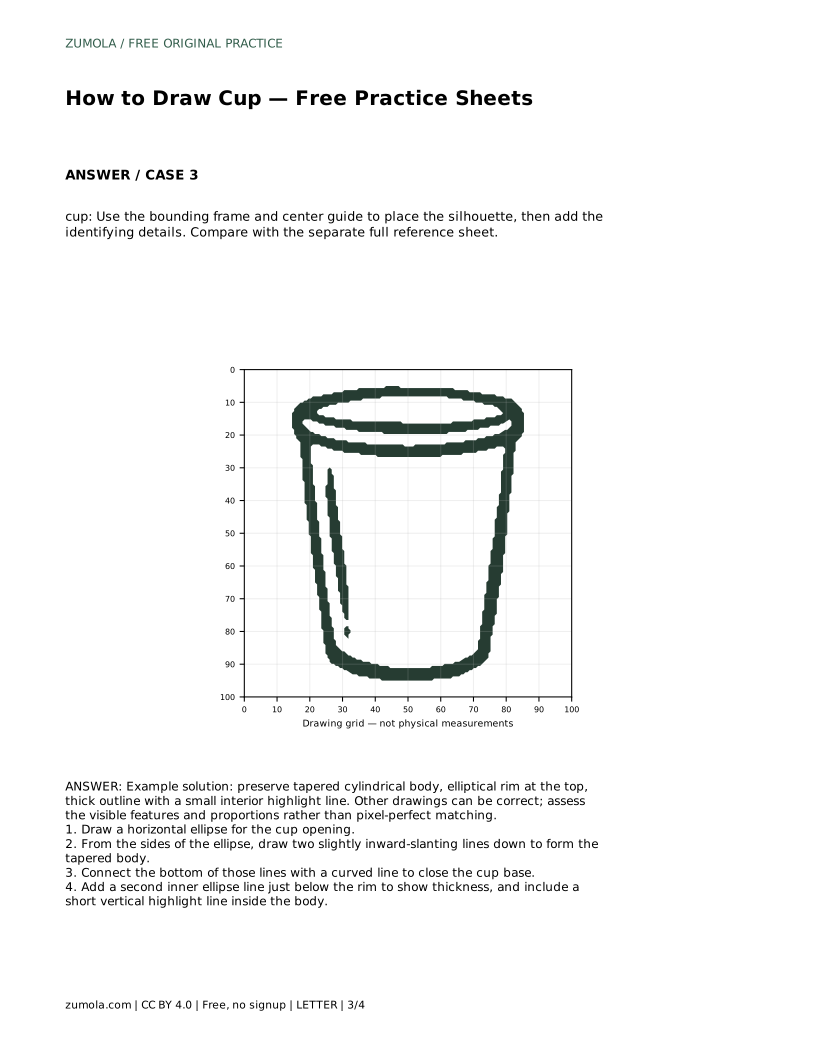
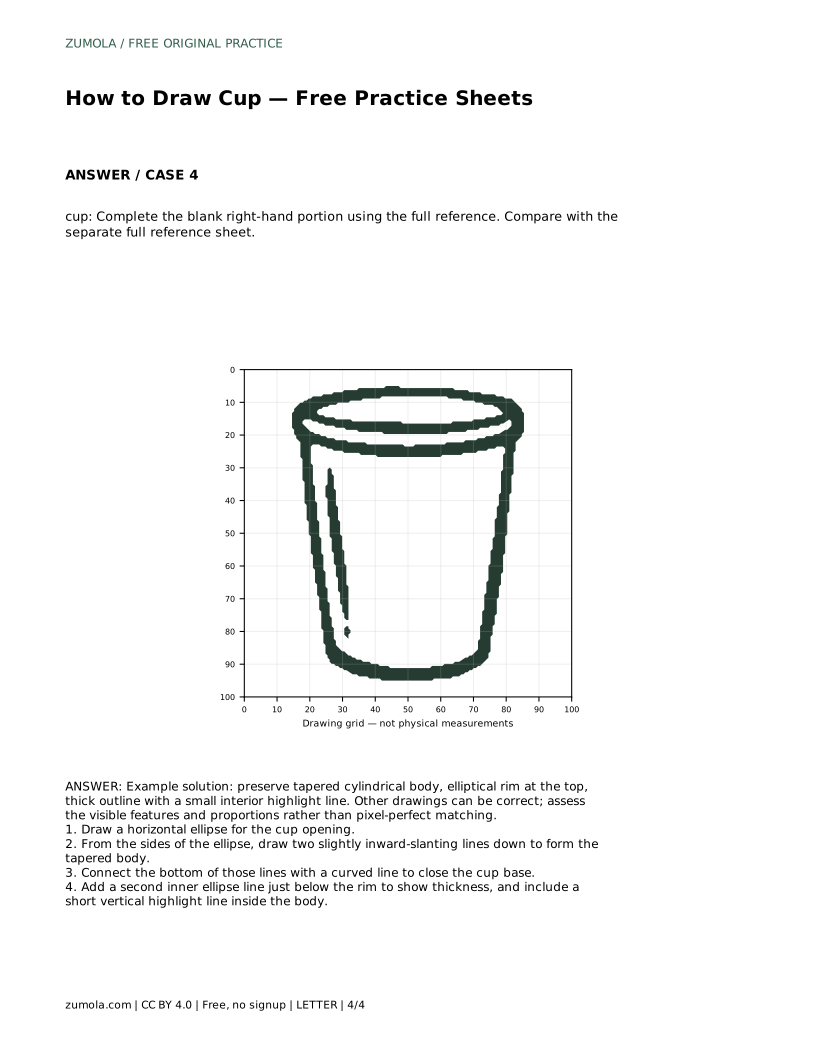
Reference diagrams
LETTER · Download PDF
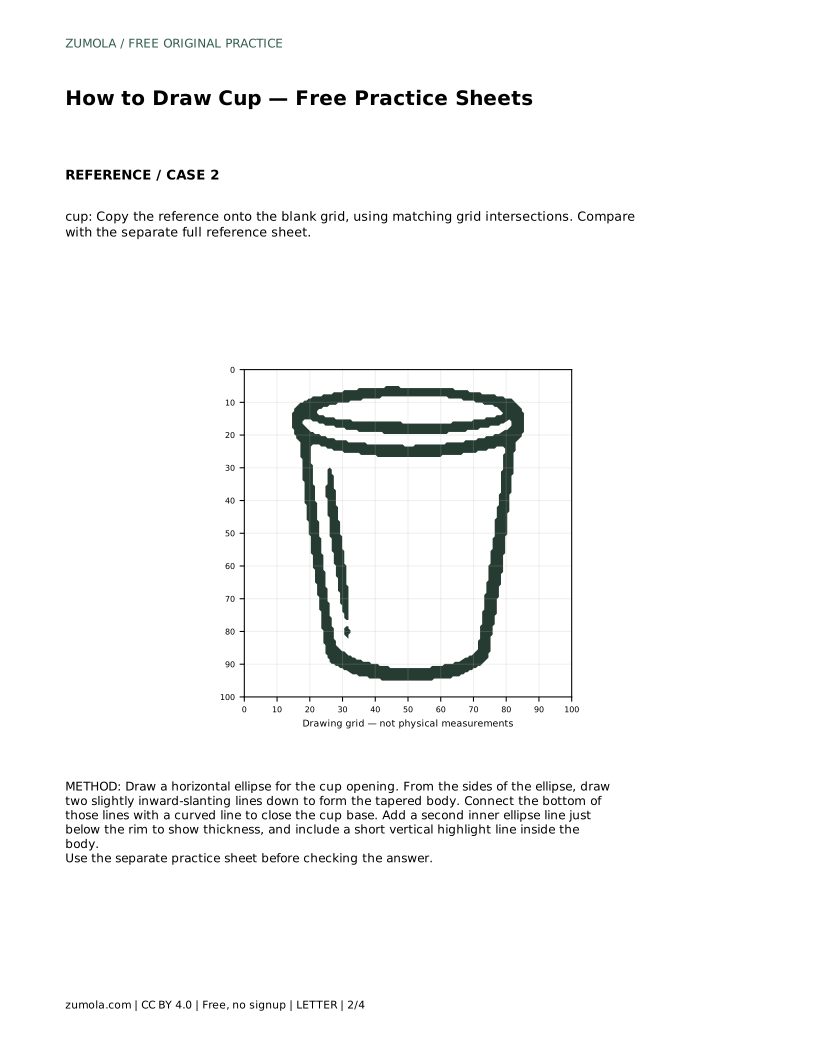
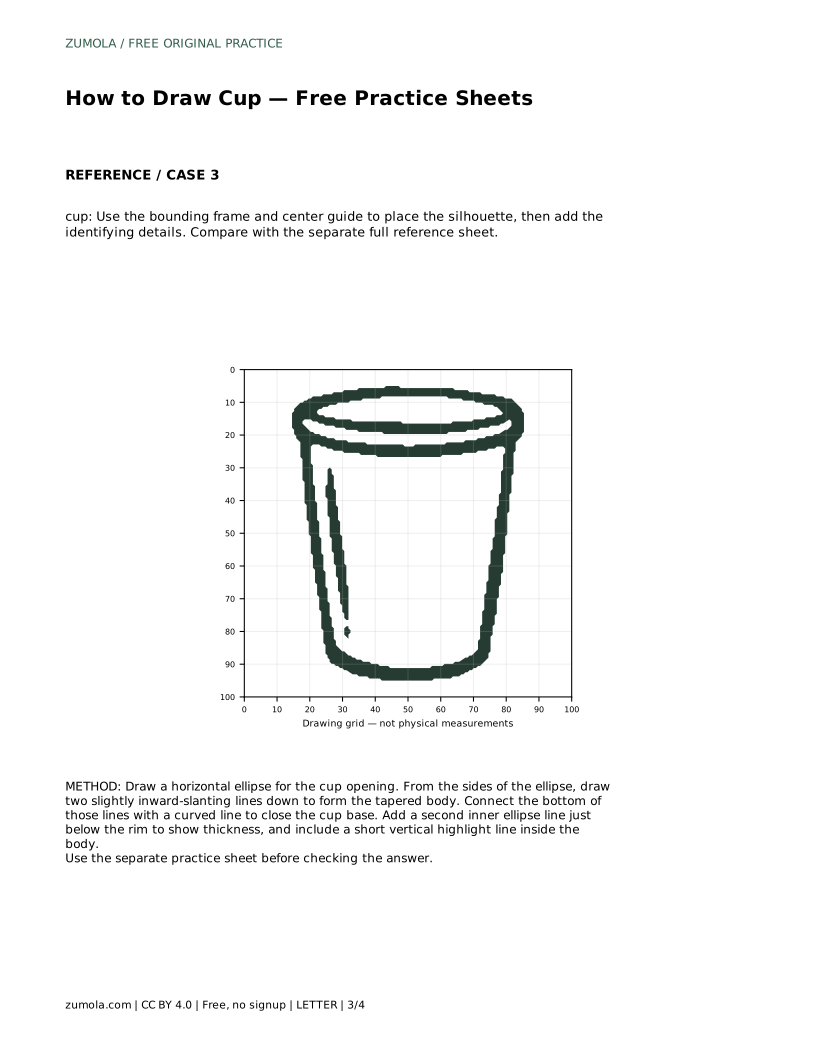
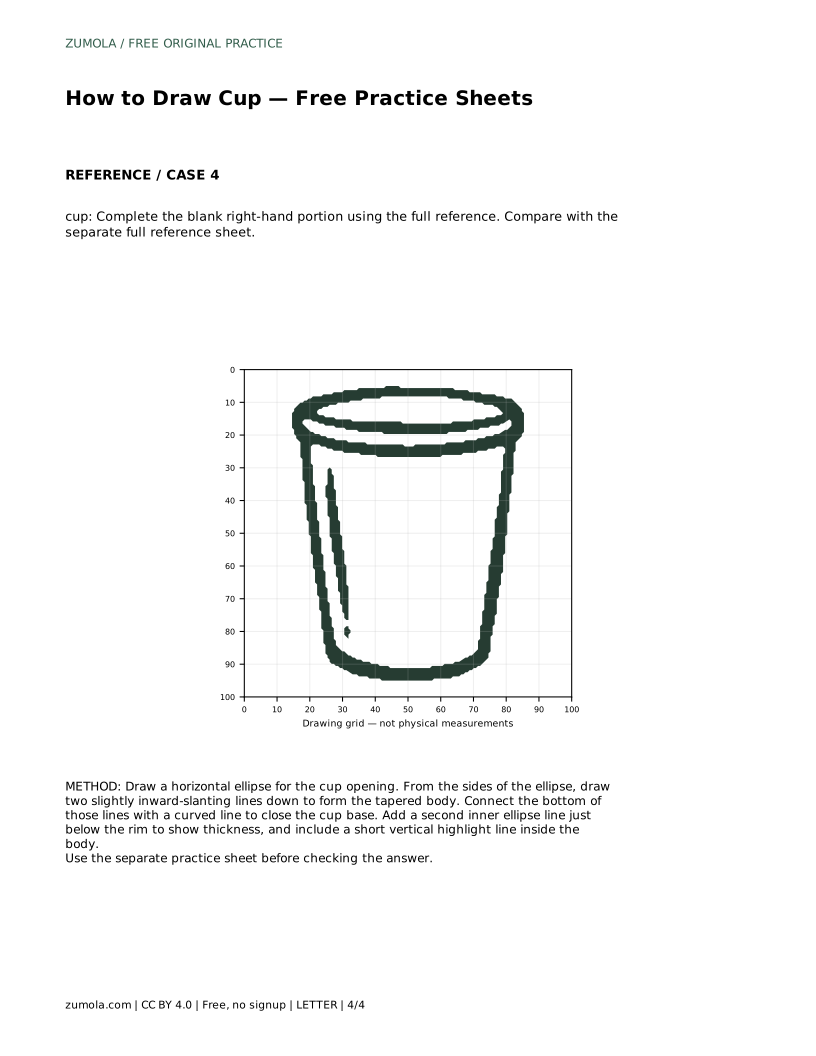
A4 · Download PDF
Free original resources
Learn to draw a cup with a tapered body, elliptical rim, and base curve. Trace, grid, and complete practice sheets build contour control and proportion.
Four original cases, with reference diagrams, practice sheets and worked answers. Everything is free; no signup required.
LETTER · Download PDF
A4 · Download PDF
LETTER · Download PDF
A4 · Download PDF
LETTER · Download PDF
A4 · Download PDF
Use A4 or US Letter to match your printer. Use the stated values and conditions to solve each exercise; diagrams are not physical measuring rulers.
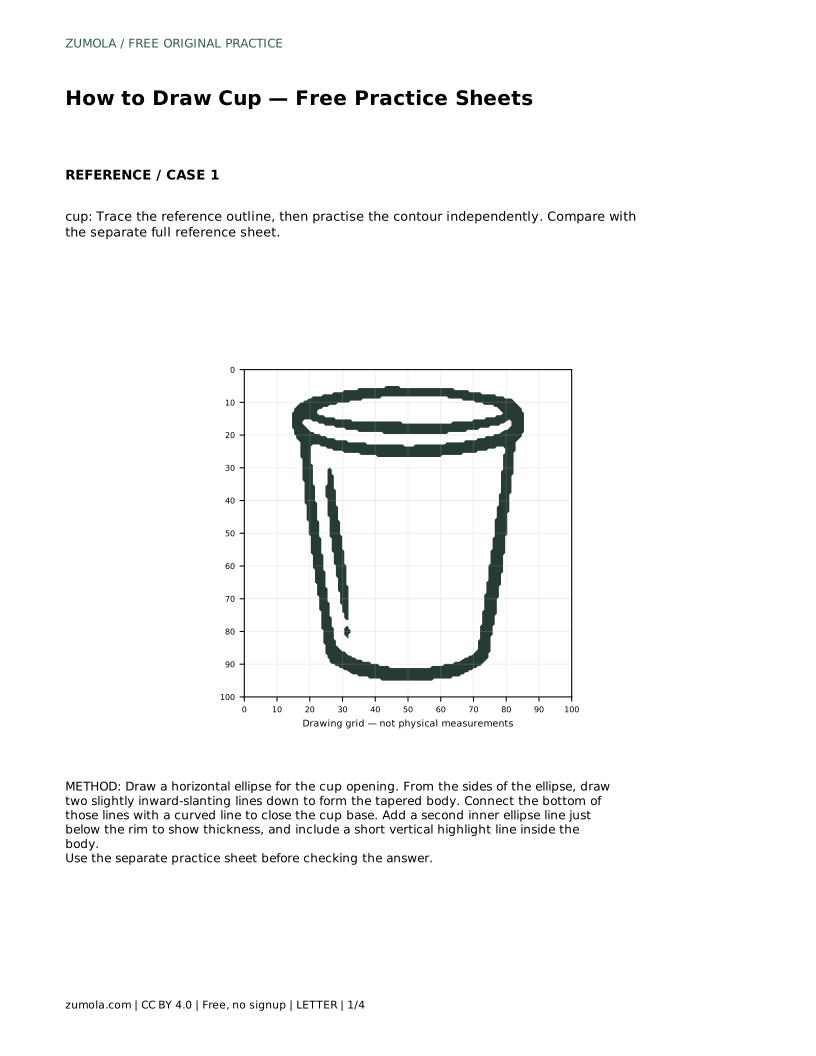
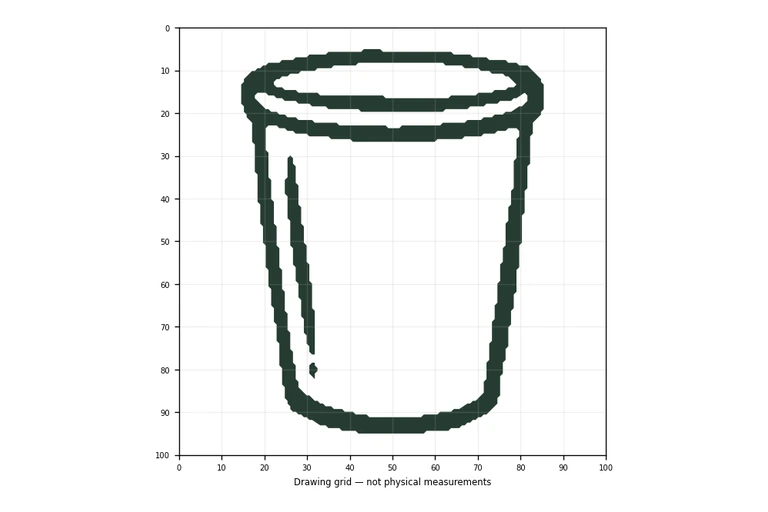
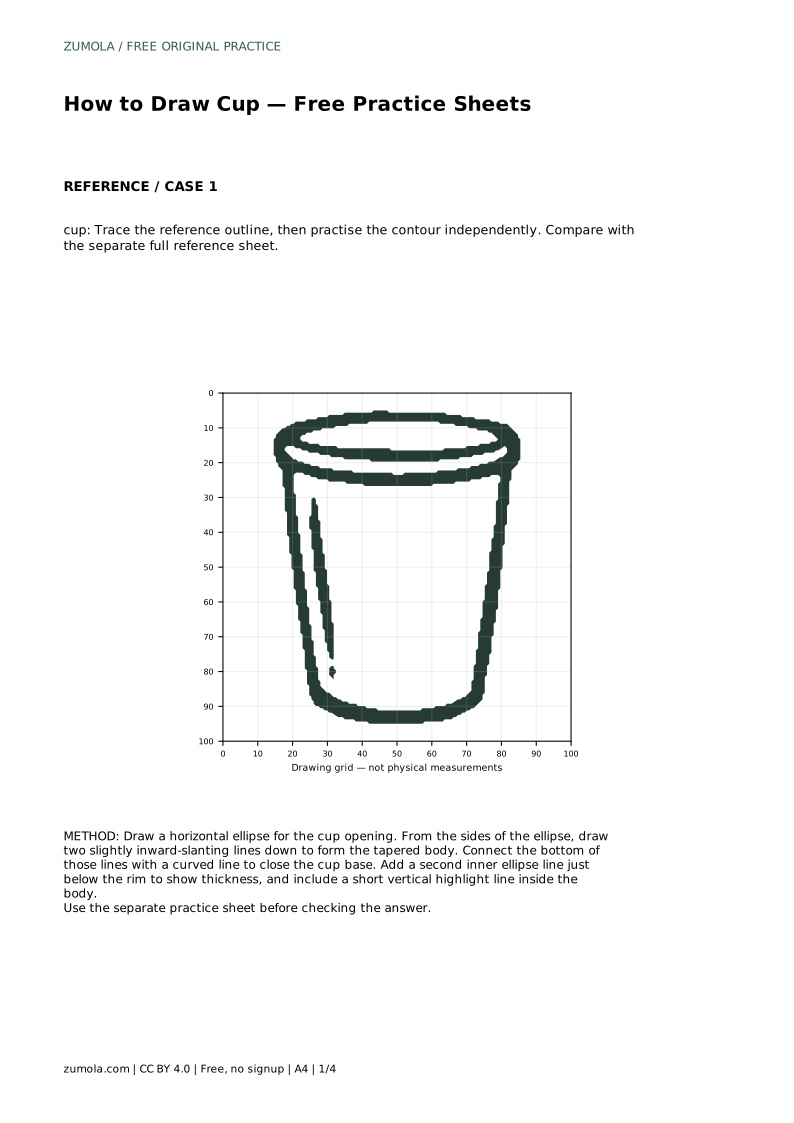
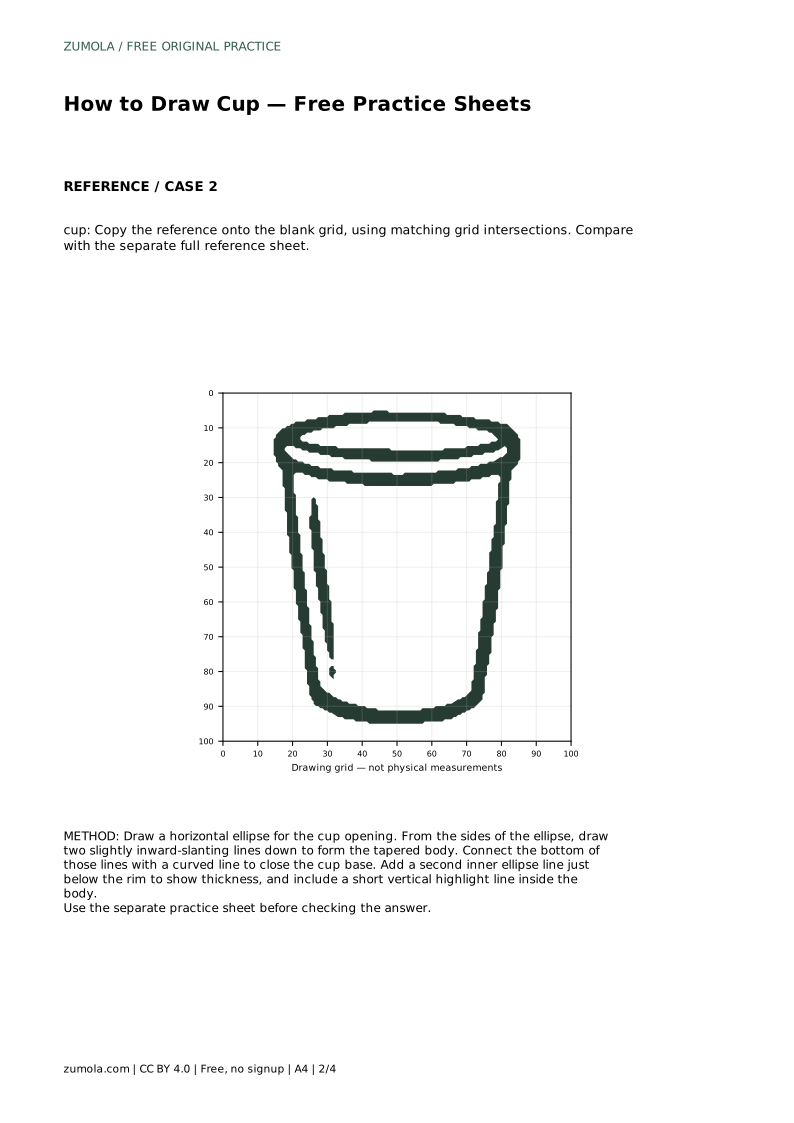
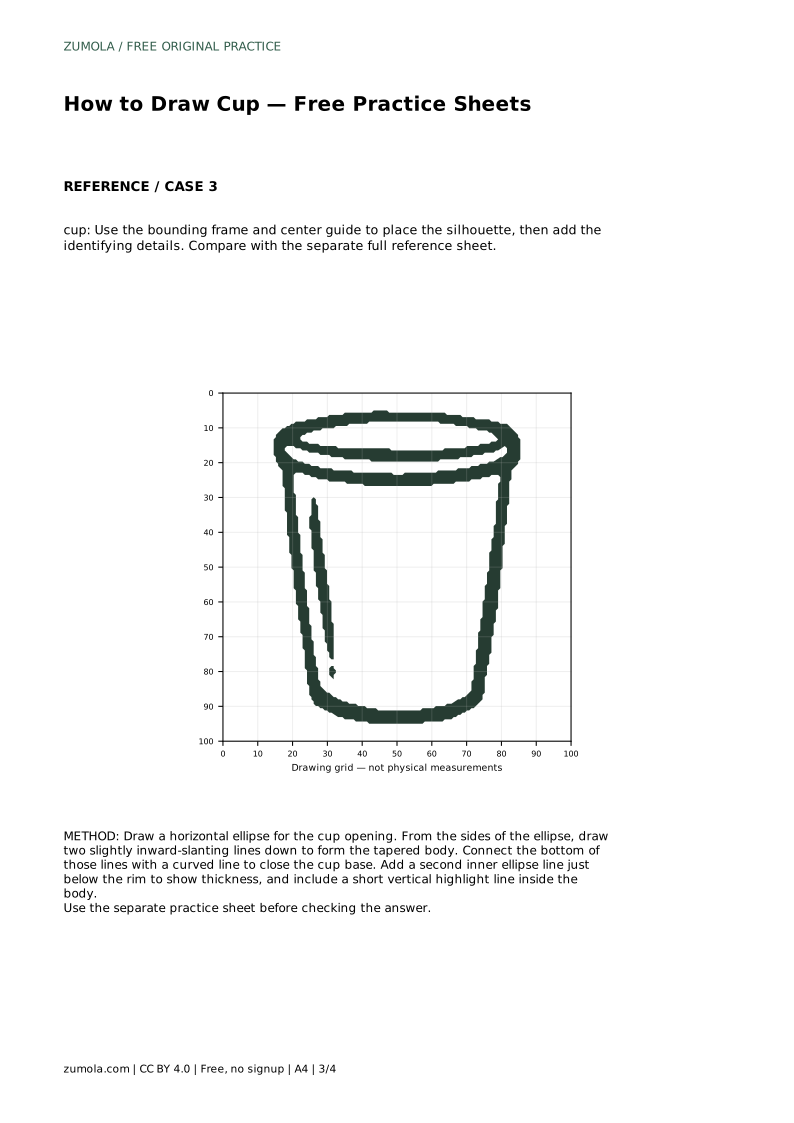
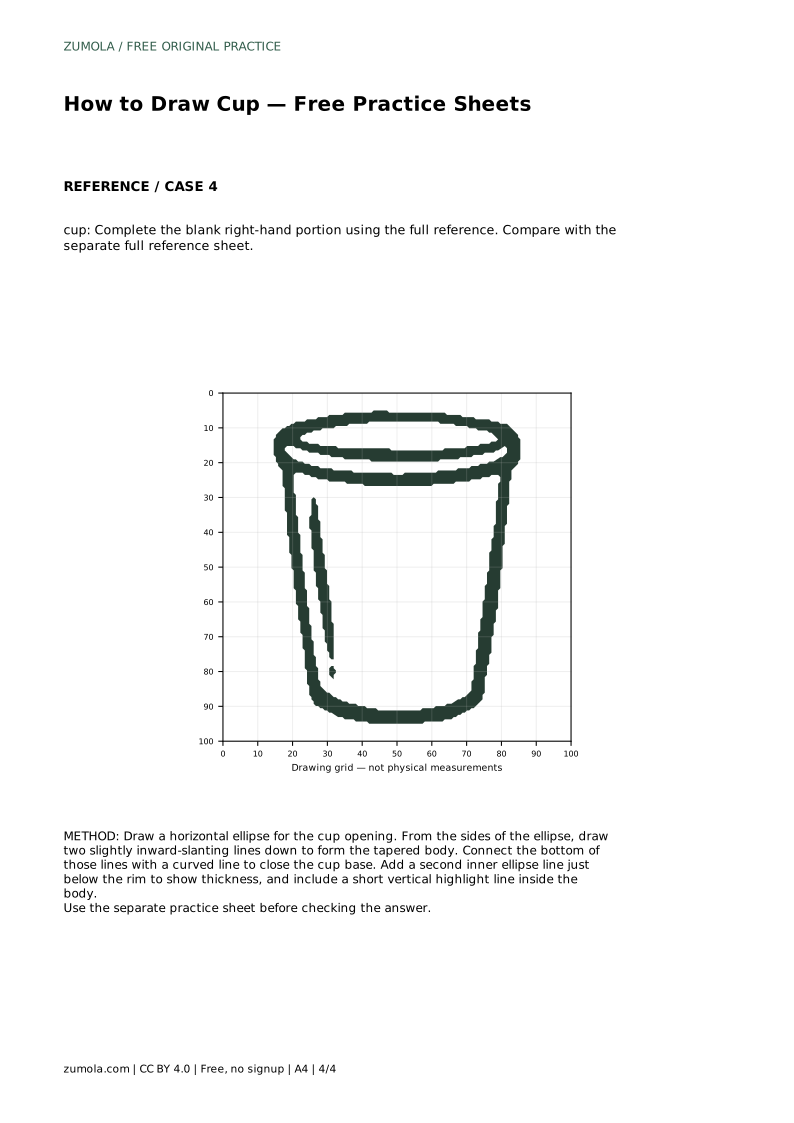
Drawing a cup is a useful exercise because its shape combines a curved opening, slanted sides, and a rounded base. This page explains how to build the cup from a horizontal ellipse, connect the sides with inward-slanting lines, close the base with a curve, and add rim thickness and a highlight line. The practice sheets let you trace a reference outline, copy it onto a grid, place it inside a bounding frame, or complete a partially blank drawing.
Start with the opening, because it controls the width and tilt of everything below. A cup opening is drawn as a horizontal ellipse: a closed curved shape that is wider than it is tall. Keep the ellipse level unless the reference clearly shows a tilted cup. The left and right edges of the ellipse become the starting points for the body.
From each side of the ellipse, draw a line downward. These lines slant slightly inward, which gives the cup its tapered body. Avoid making them perfectly vertical unless the reference shows a straight-sided cup. The two side lines should be similar in length so the cup does not look lopsided.
Close the bottom with a curved line that joins the two side lines. The base curve usually mirrors the lower half of the rim ellipse, but it is narrower because the body tapers. Check that the base sits below the rim by a believable distance; a very short body makes the cup look like a bowl.
A single ellipse can look like a flat hole rather than an opening. Add a second, slightly smaller ellipse just below the first rim line to suggest the thickness of the cup wall. Keep the gap narrow and even; a wide gap makes the rim look chunky. The inner ellipse should follow the same curve direction as the outer one.
A short vertical highlight line inside the body suggests a reflection on the surface. Place it on one side rather than in the center, and keep it shorter than the body height. This line is a drawing convention, not a required feature of every cup. If the reference shows no highlight, leave it out.
The outline can be drawn with a thicker line than the interior details. A thick outer contour and a thin inner rim line help the cup read clearly at a glance.
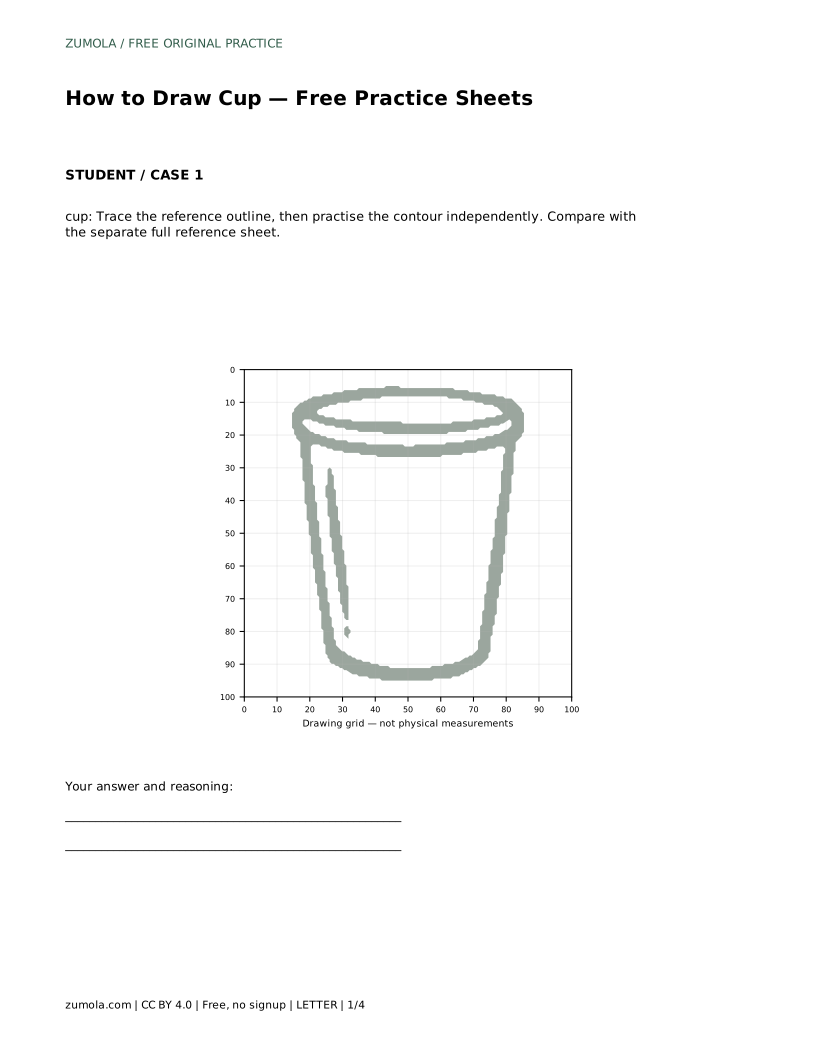
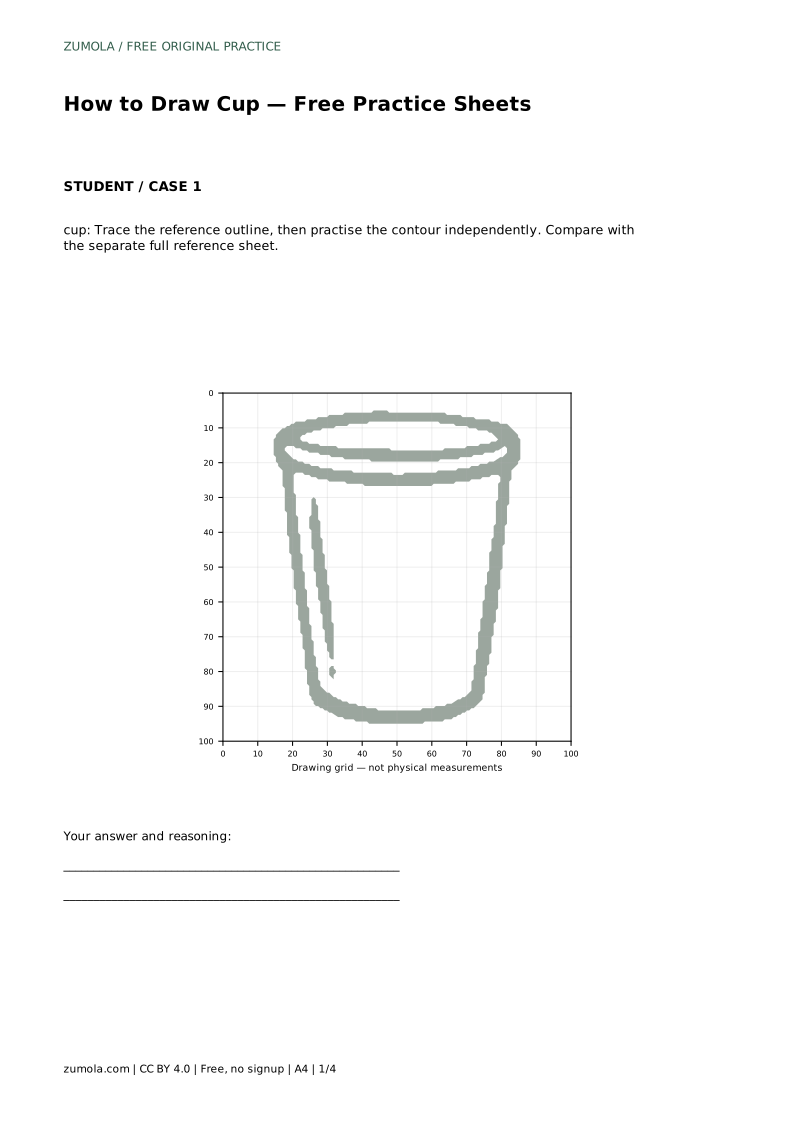
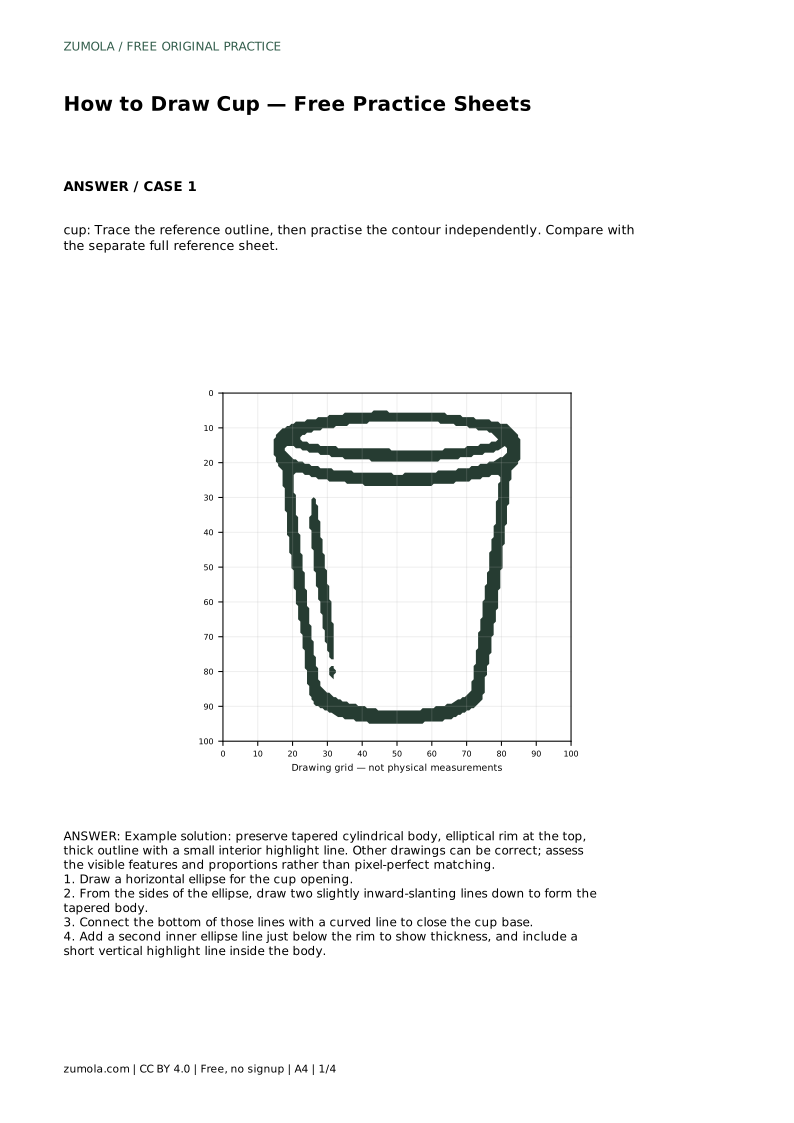
The trace sheet asks you to follow the reference outline first, then draw the contour independently on the blank area. Tracing builds familiarity with the curve; the independent attempt tests whether you can reproduce it without guidance. Compare your drawing with the separate full reference sheet rather than judging it from memory.
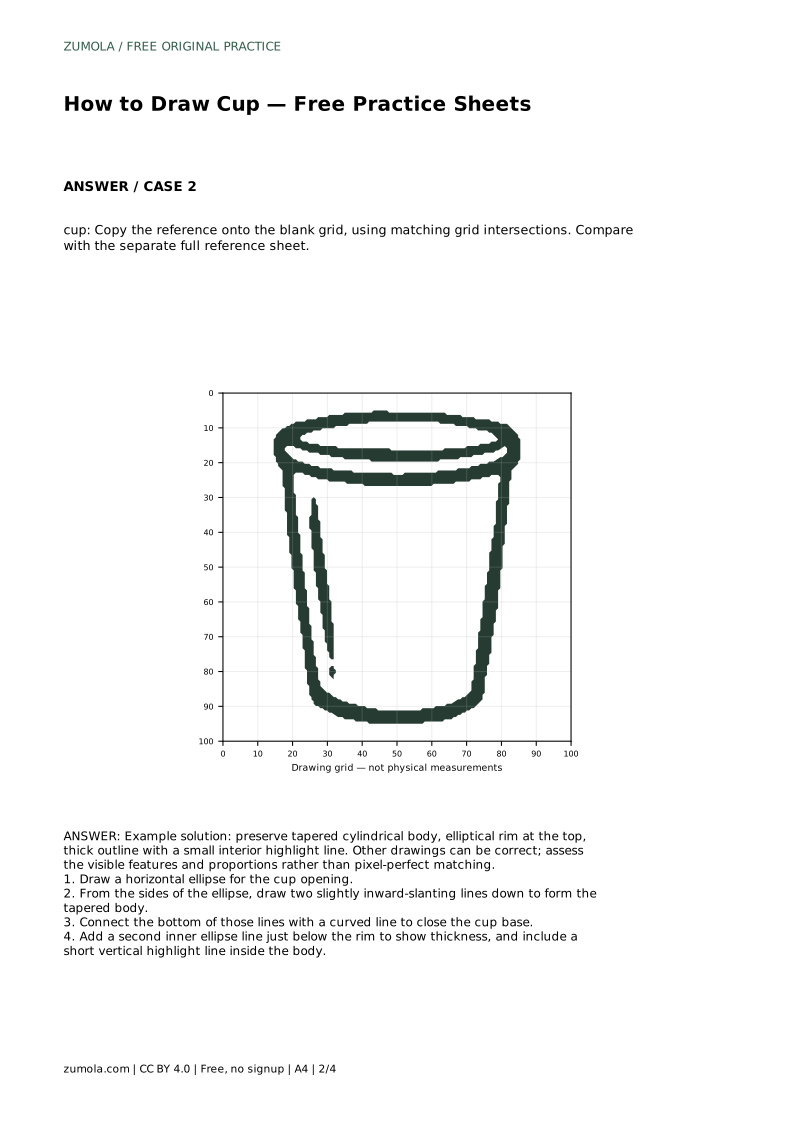
The grid sheet asks you to copy the reference onto a blank grid using matching grid intersections. Use the intersections as landmarks for the rim edges, the widest point of the body, and the base. The grid does not guarantee a correct drawing, but it helps you compare distances and angles.
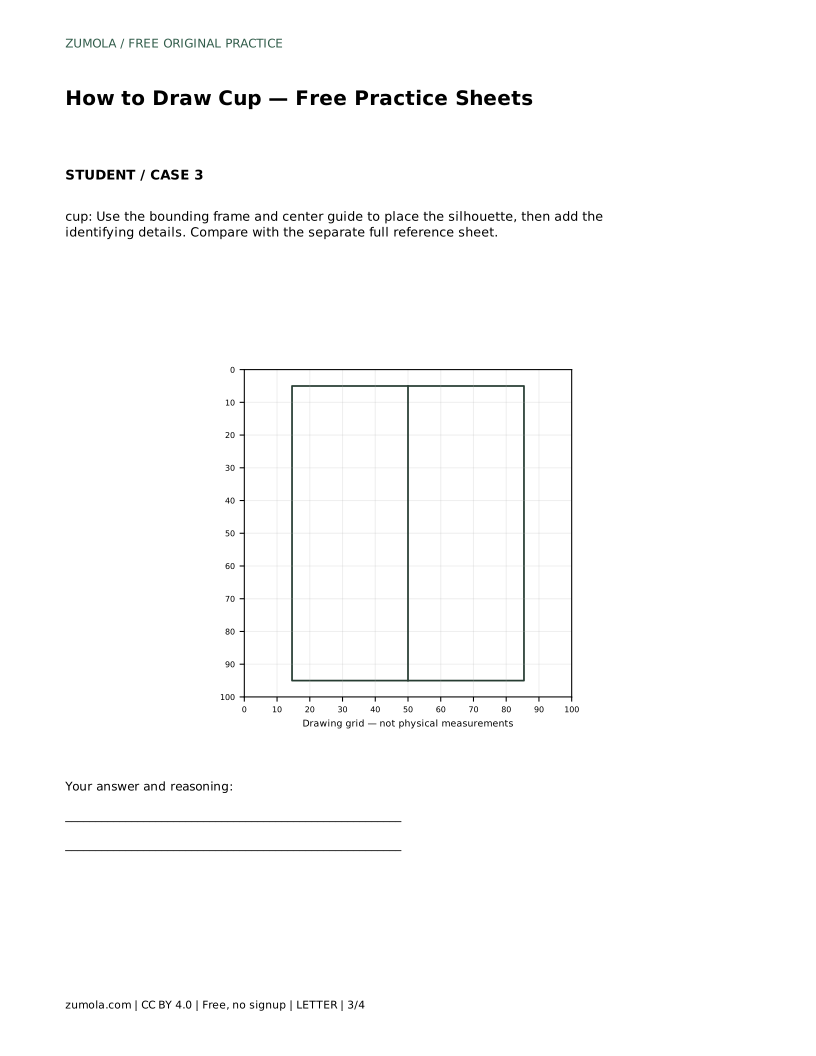
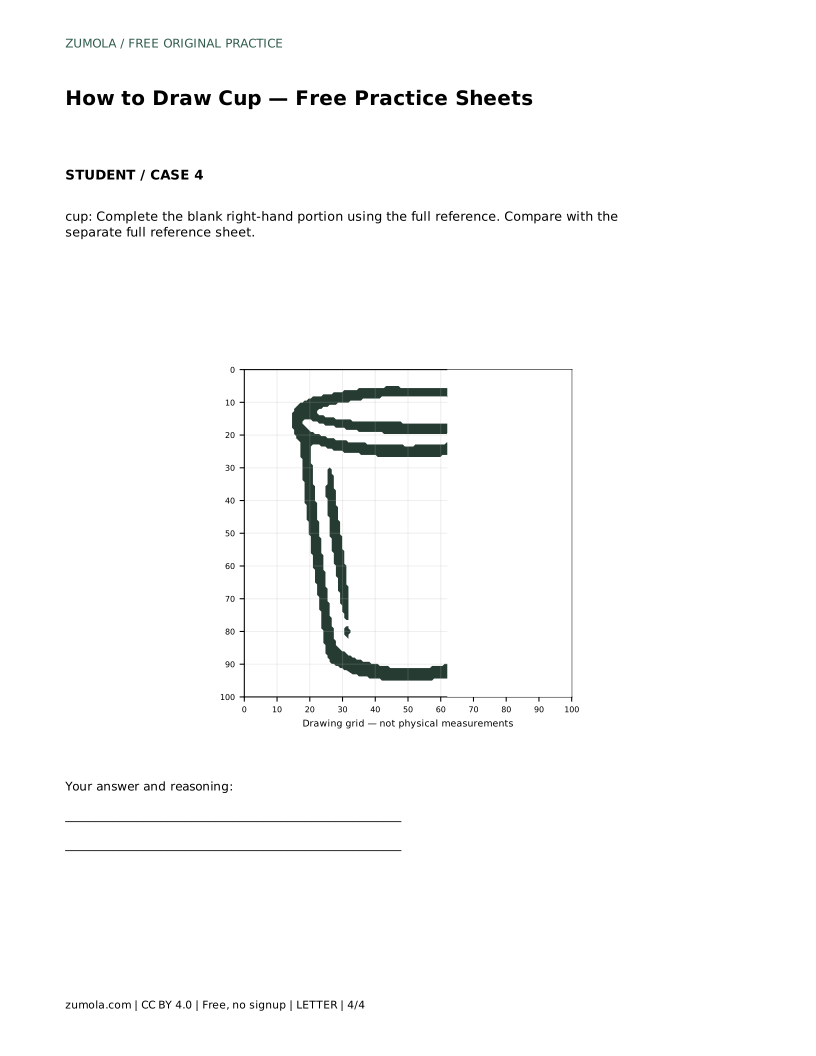
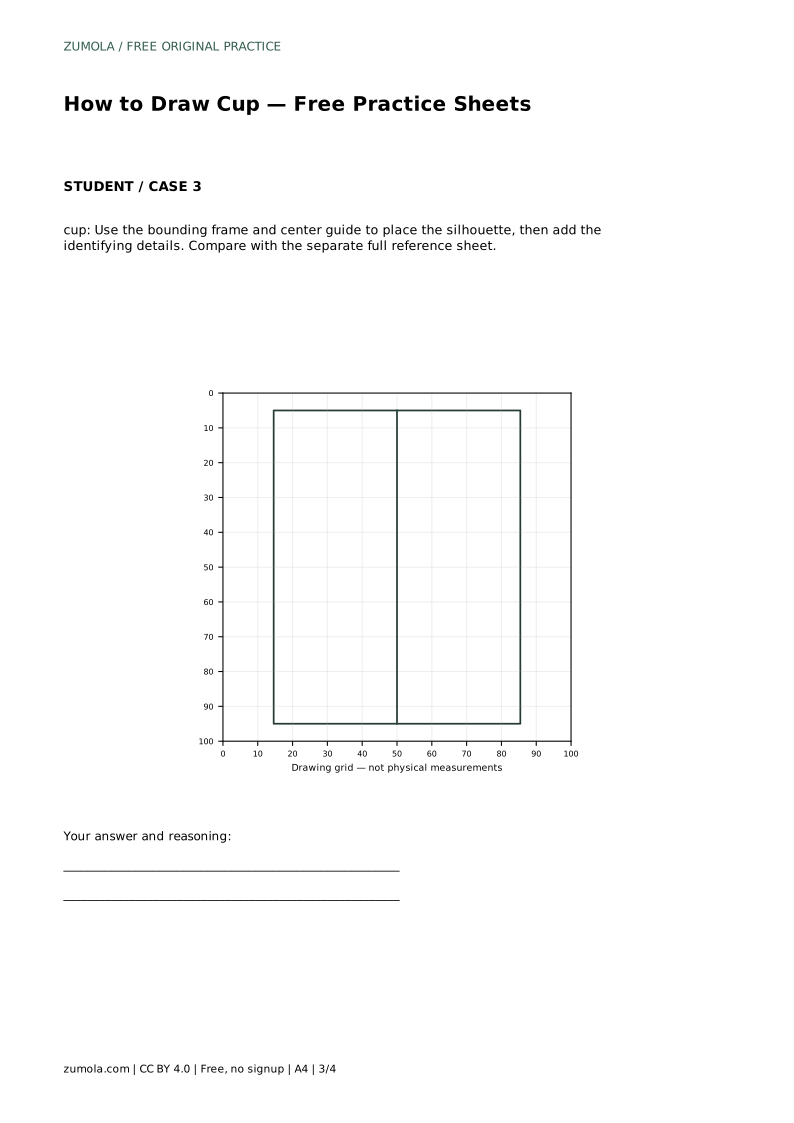
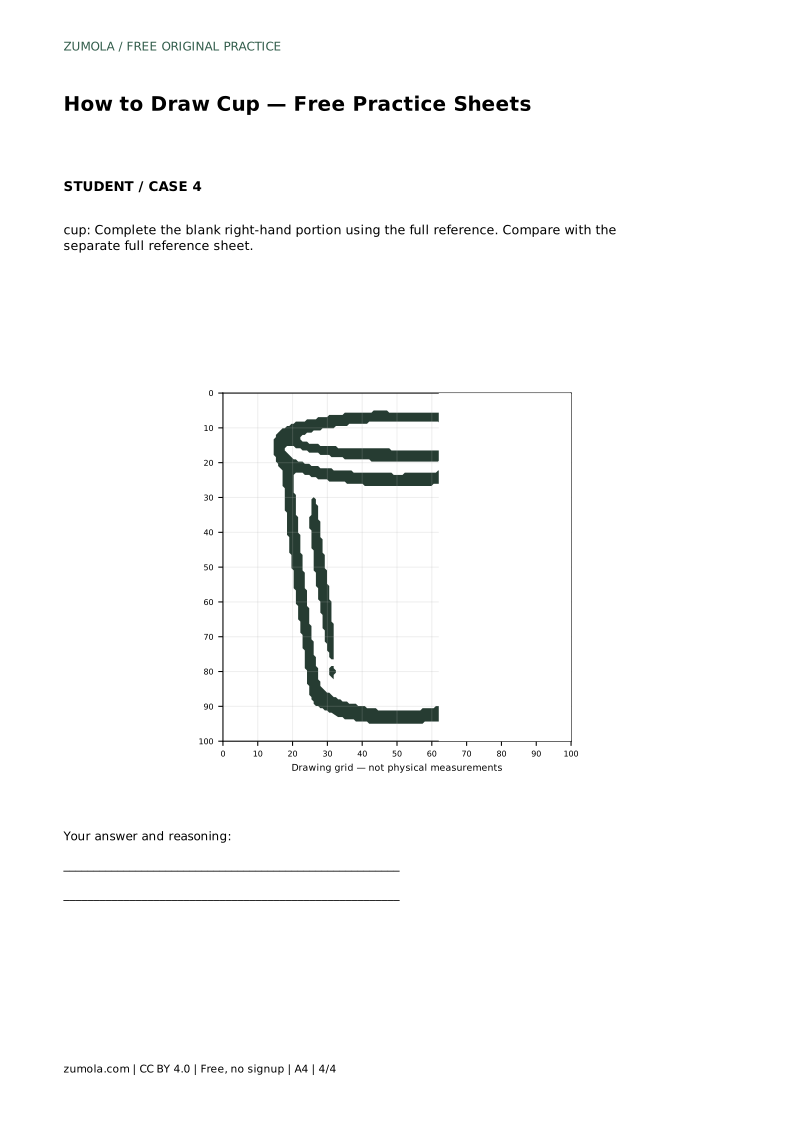
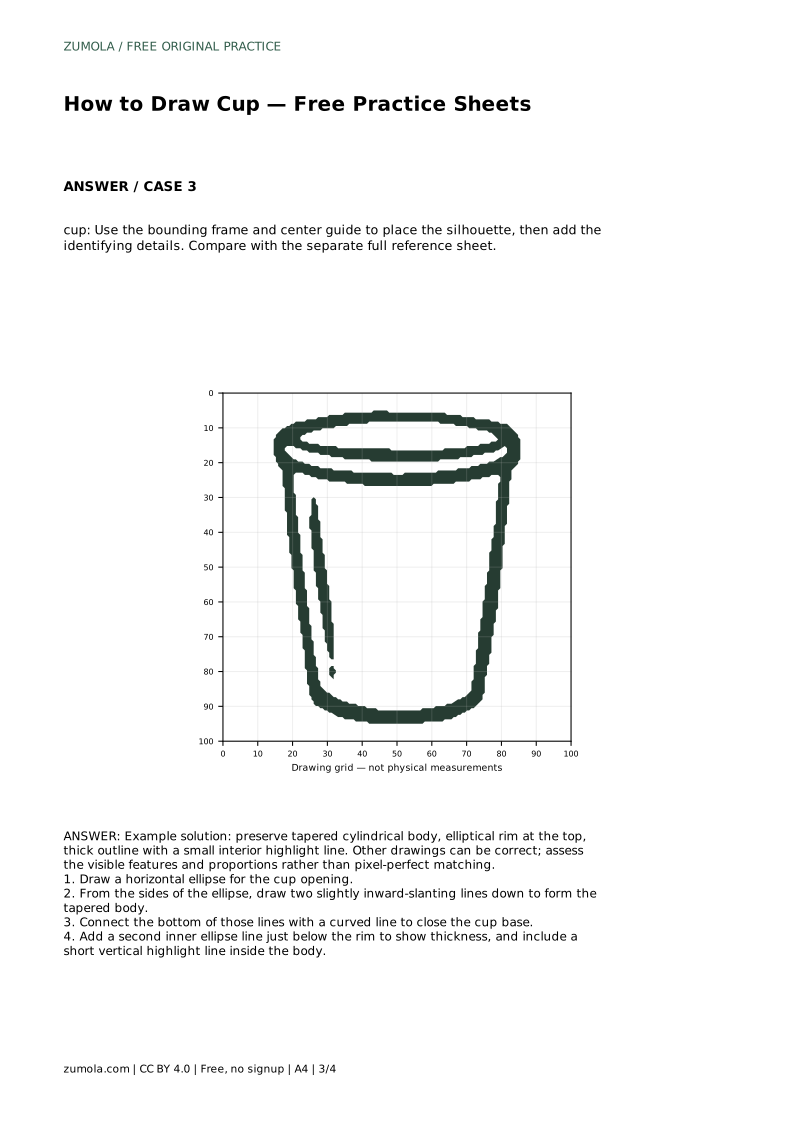
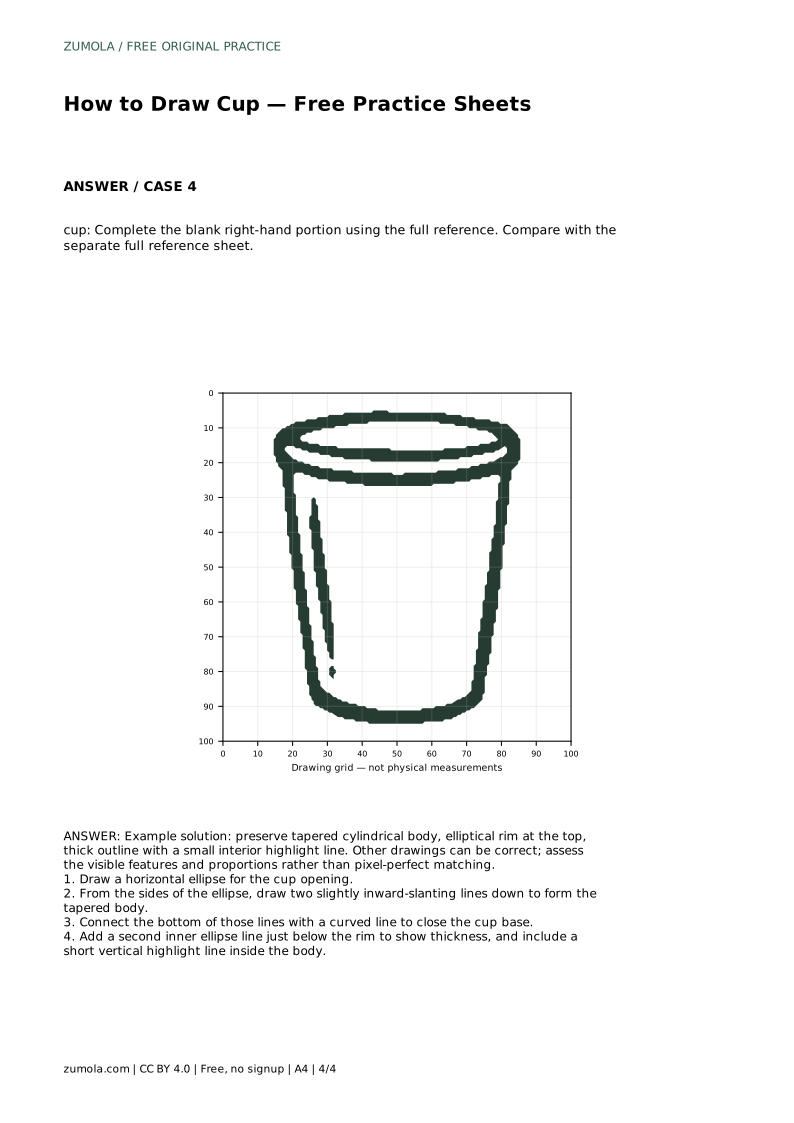
The bounding-frame sheet gives you a frame and center guide to place the silhouette before adding details. The partial sheet gives you the left portion of the drawing and asks you to complete the right side using the full reference. In every format, the goal is to preserve the tapered body, the elliptical rim, and the base curve.
Compare the width of the rim with the width of the base. On a tapered cup, the base should be narrower. Check that the two side lines slant inward by a similar amount. If one side is much steeper, the cup will look twisted.
Look at the height of the body relative to the rim width. A cup that is much taller than it is wide will look like a tumbler; a very short body will look like a bowl. Match the reference rather than assuming one standard proportion.
Finally, check that the inner rim ellipse stays inside the outer rim and that the highlight line does not cross the contour. Small corrections at this stage are easier than redrawing the whole cup.
cup: Trace the reference outline, then practise the contour independently. Compare with the separate full reference sheet.
Example solution: preserve tapered cylindrical body, elliptical rim at the top, thick outline with a small interior highlight line. Other drawings can be correct; assess the visible features and proportions rather than pixel-perfect matching. Draw a horizontal ellipse for the cup opening. From the sides of the ellipse, draw two slightly inward-slanting lines down to form the tapered body. Connect the bottom of those lines with a curved line to close the cup base. Add a second inner ellipse line just below the rim to show thickness, and include a short vertical highlight line inside the body.
No. Other drawings can be correct. Assess the visible features and proportions, such as the tapered body, elliptical rim, base curve, and rim thickness, rather than pixel-perfect matching.
Start with the opening and body, because they set the cup's width and height. Add any handle after the body is placed so it attaches at believable points.
A short vertical line suggests a reflection on the surface and helps the cup read as a rounded object. It is optional and should follow the reference.
All drawing practice · Free coordinate paper
Original resources · CC BY 4.0 · Free for personal and classroom use with attribution.