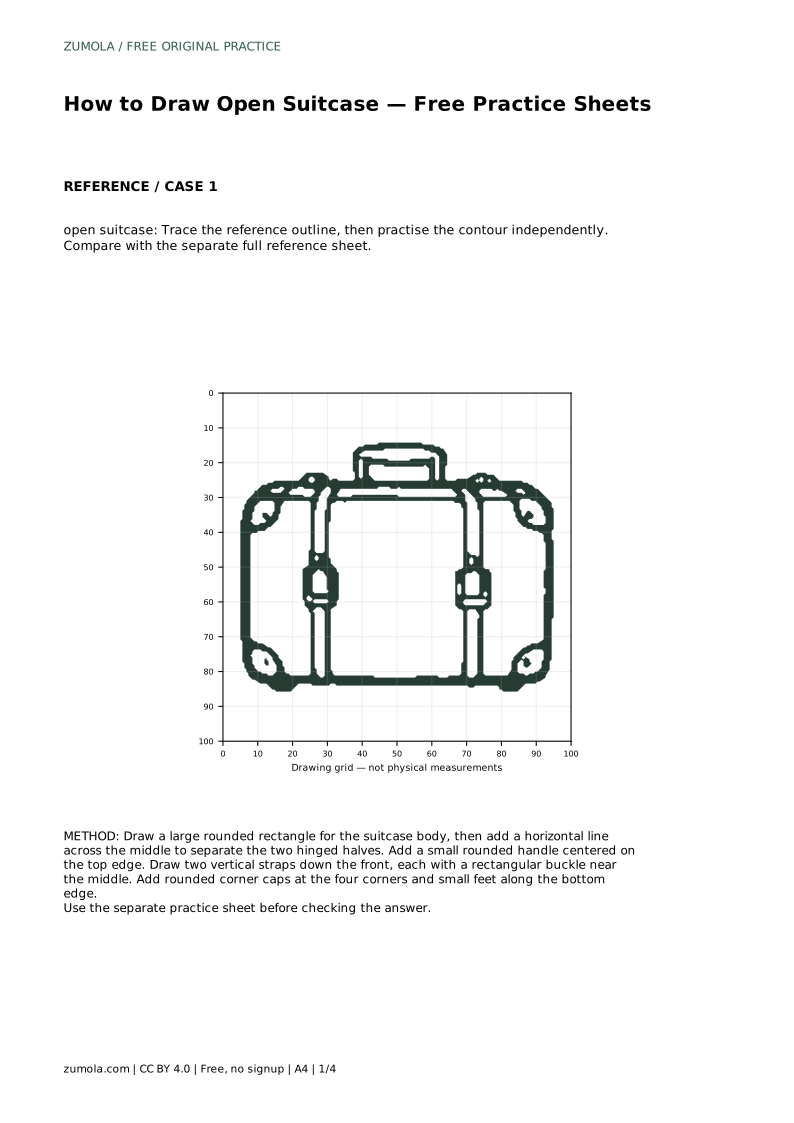
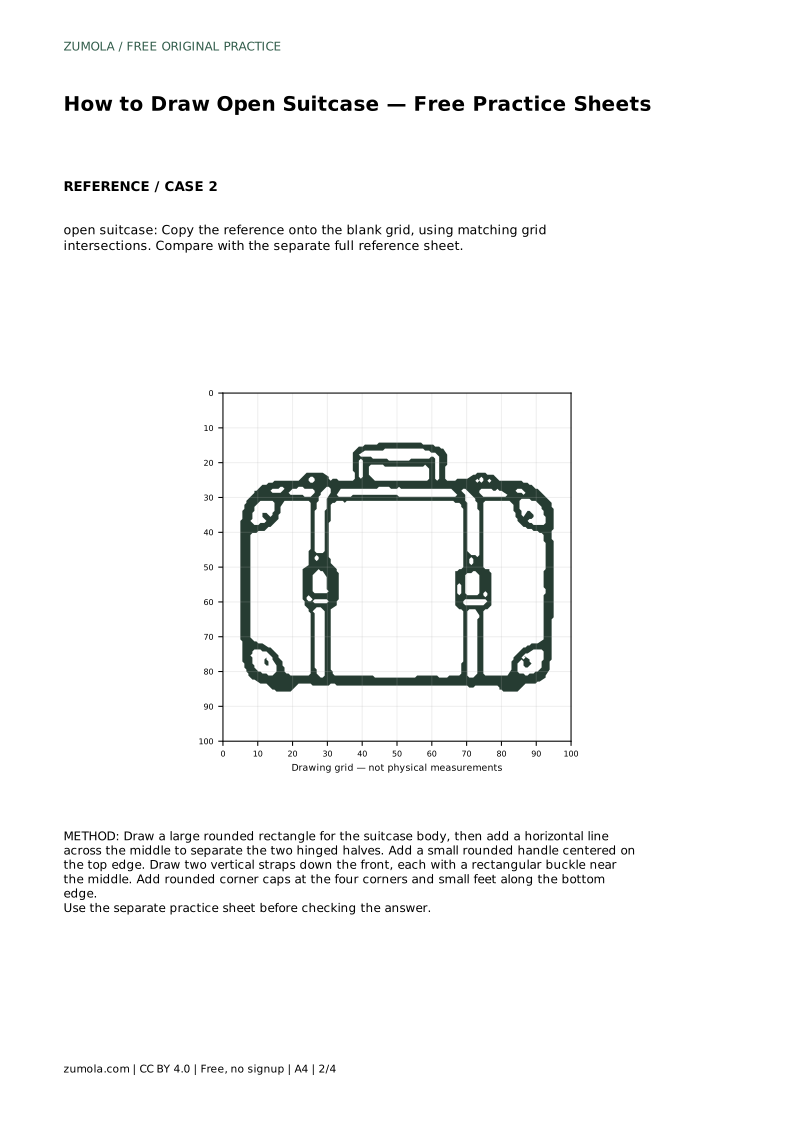
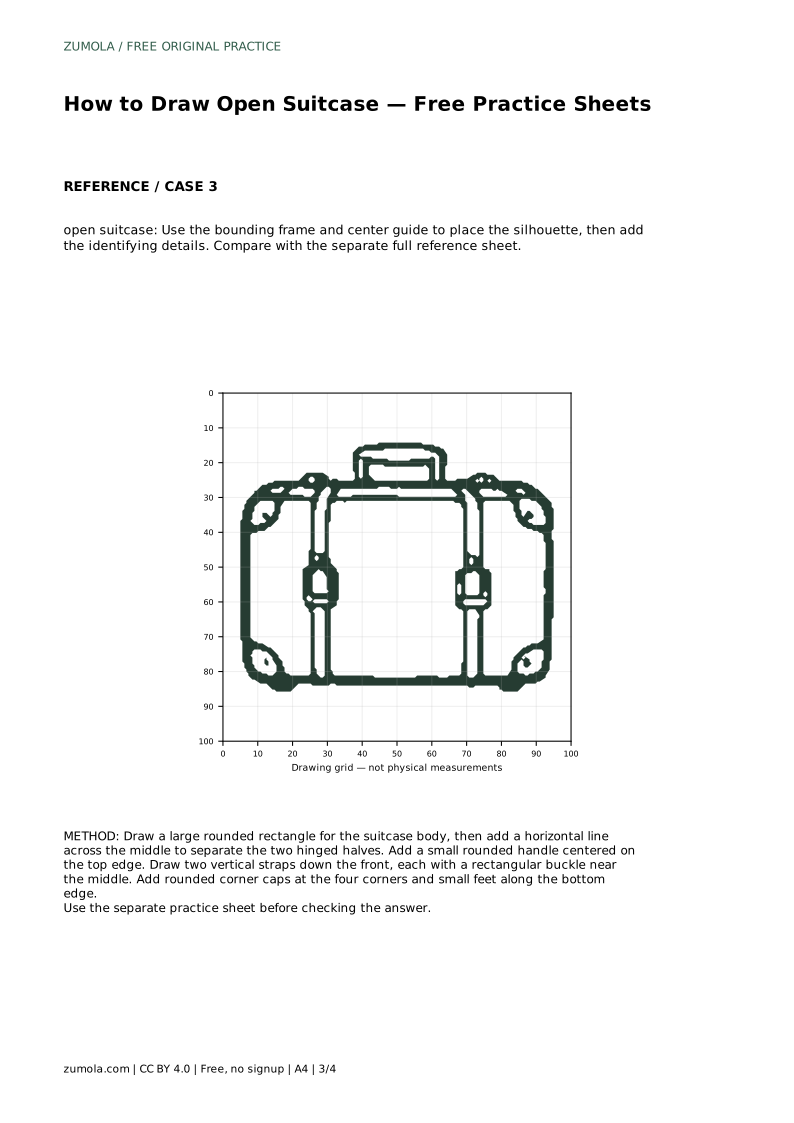
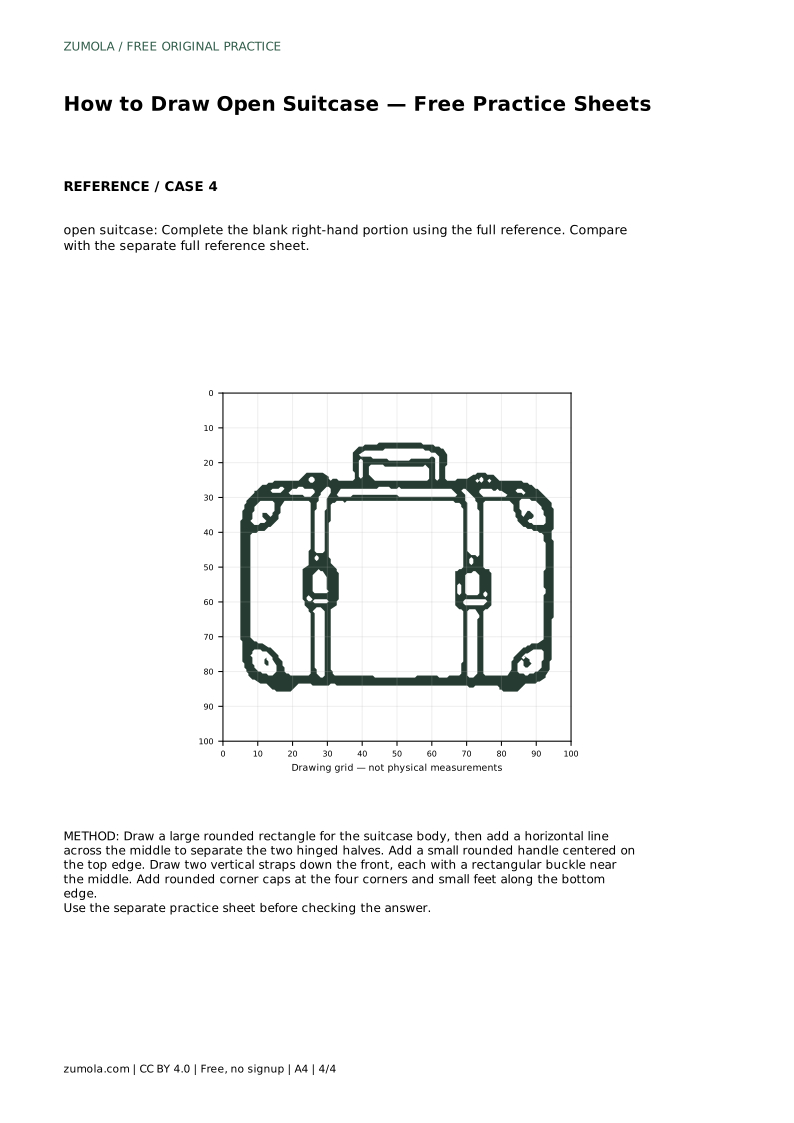
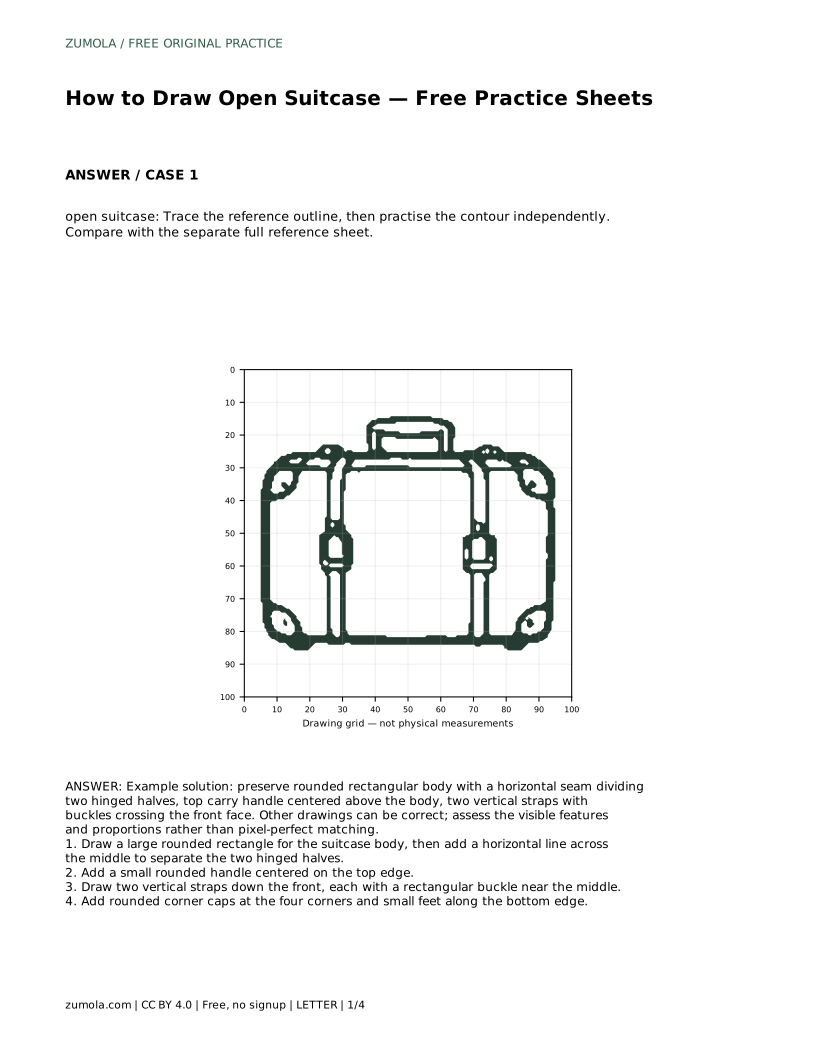
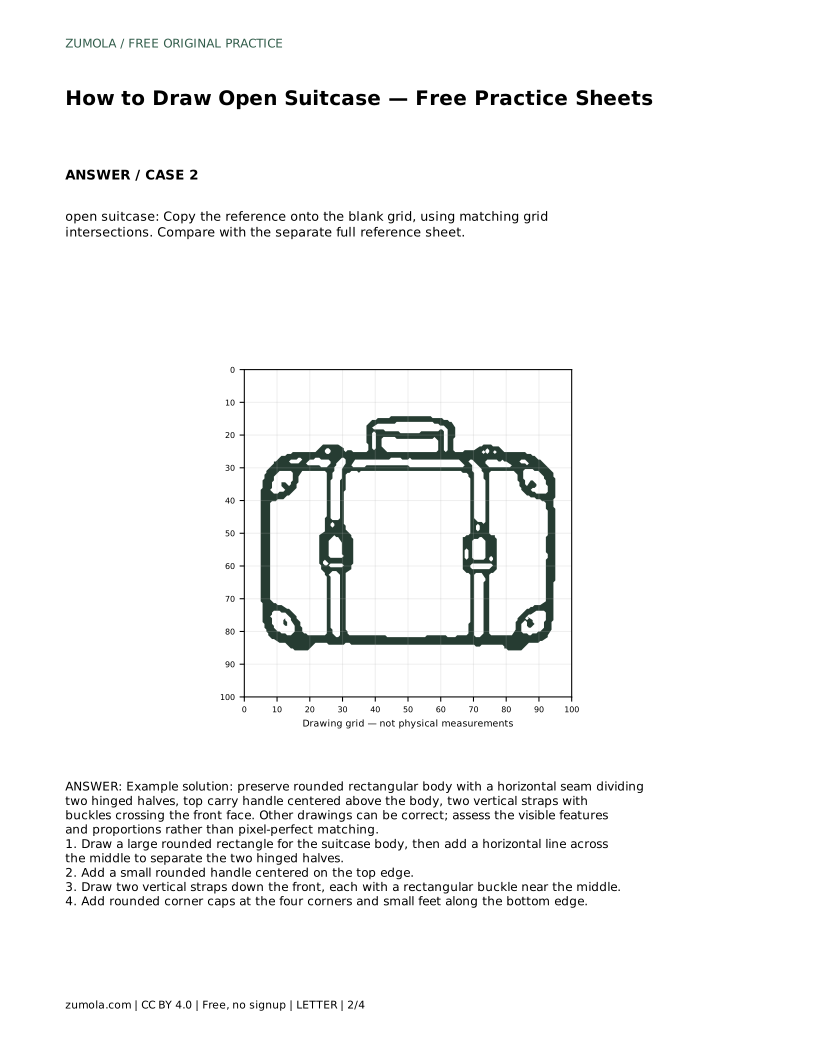
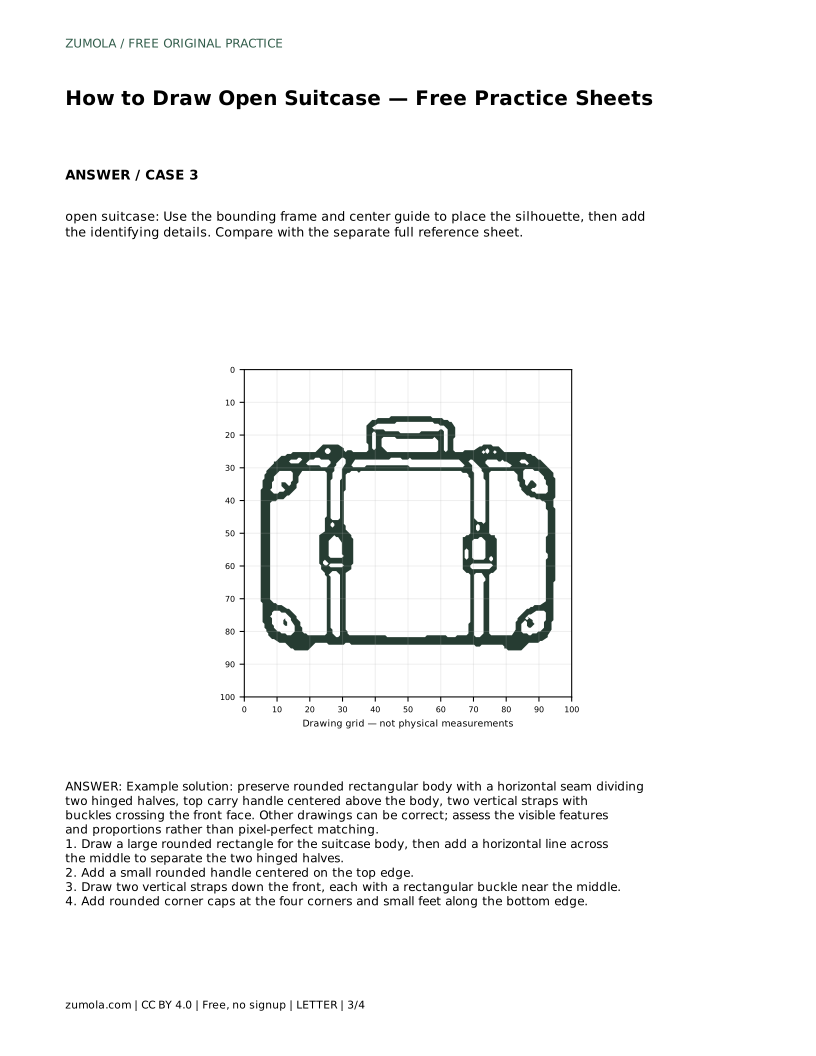
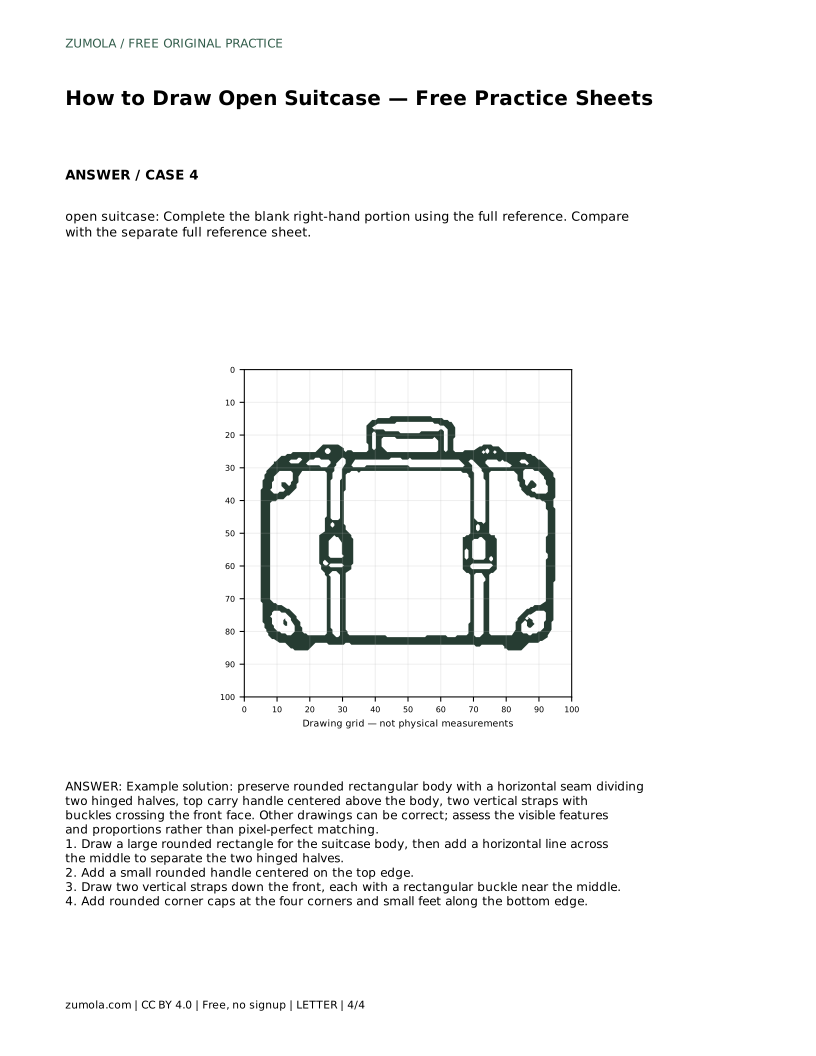
Reference diagrams
LETTER · Download PDF
A4 · Download PDF
Free original resources
Learn to draw an open suitcase with a rounded body, hinged seam, centered handle, and front straps. Use the practice sheets to build accurate proportions and detail.
Four original cases, with reference diagrams, practice sheets and worked answers. Everything is free; no signup required.
LETTER · Download PDF
A4 · Download PDF
LETTER · Download PDF
A4 · Download PDF
LETTER · Download PDF
A4 · Download PDF
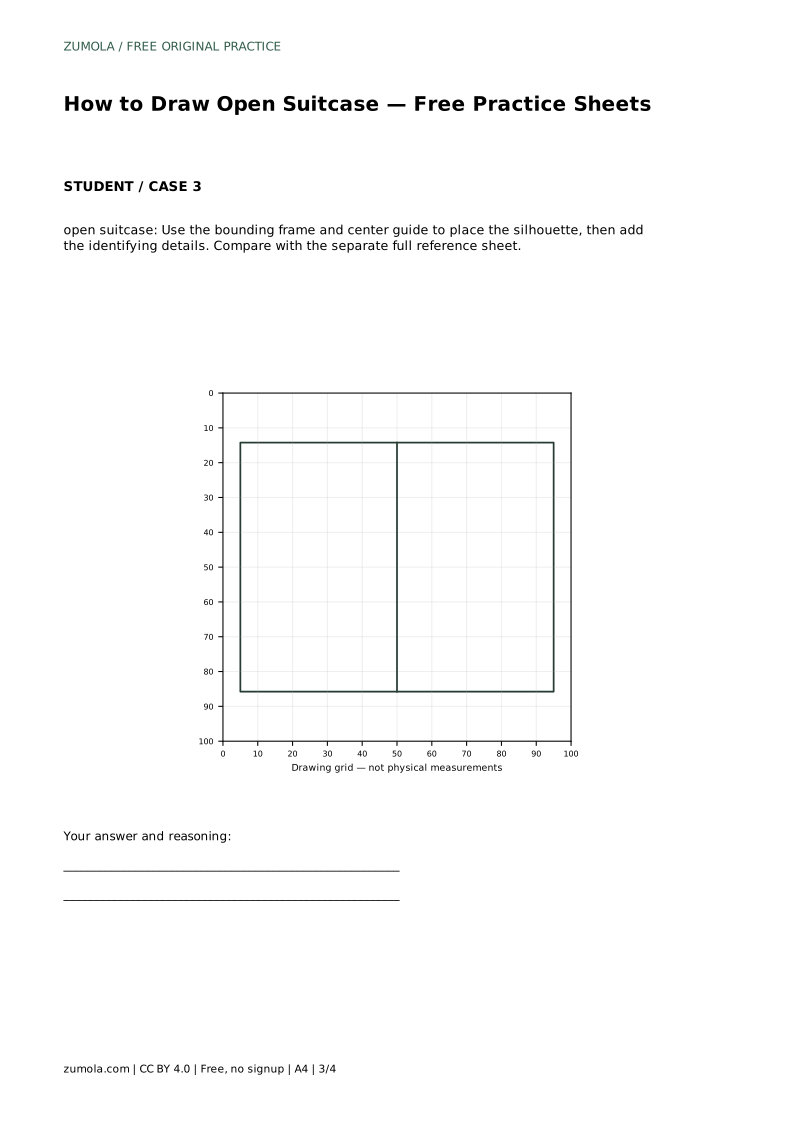
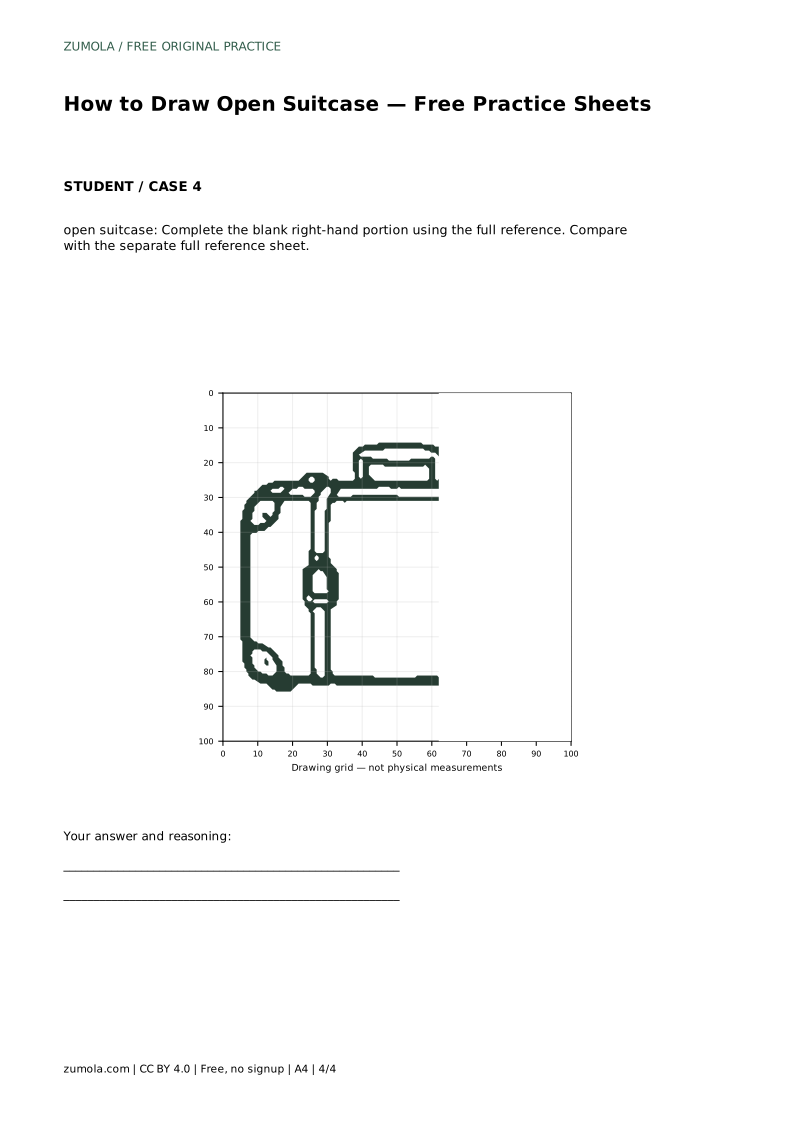
Use A4 or US Letter to match your printer. Use the stated values and conditions to solve each exercise; diagrams are not physical measuring rulers.
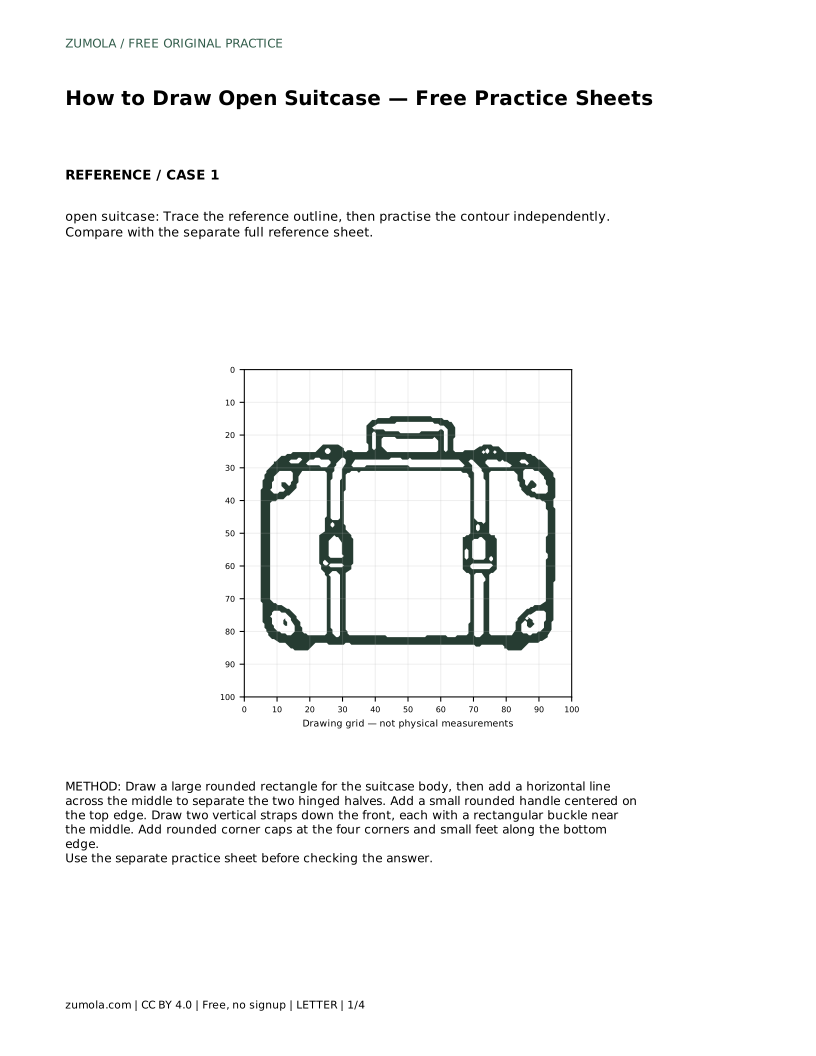
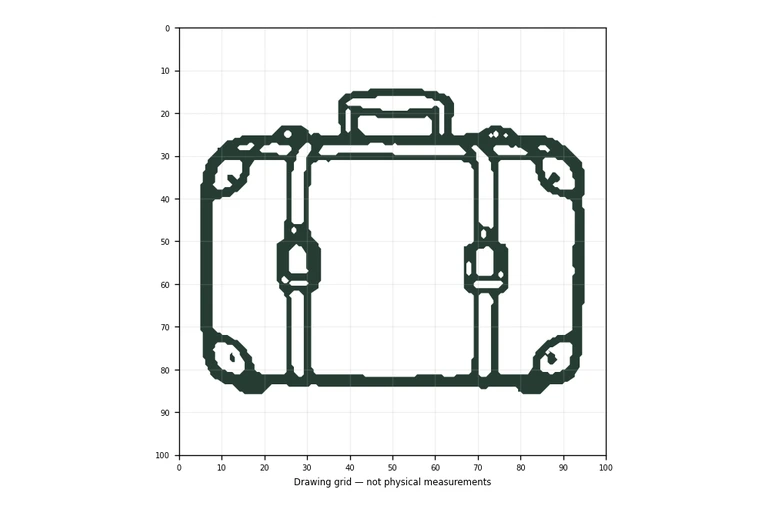
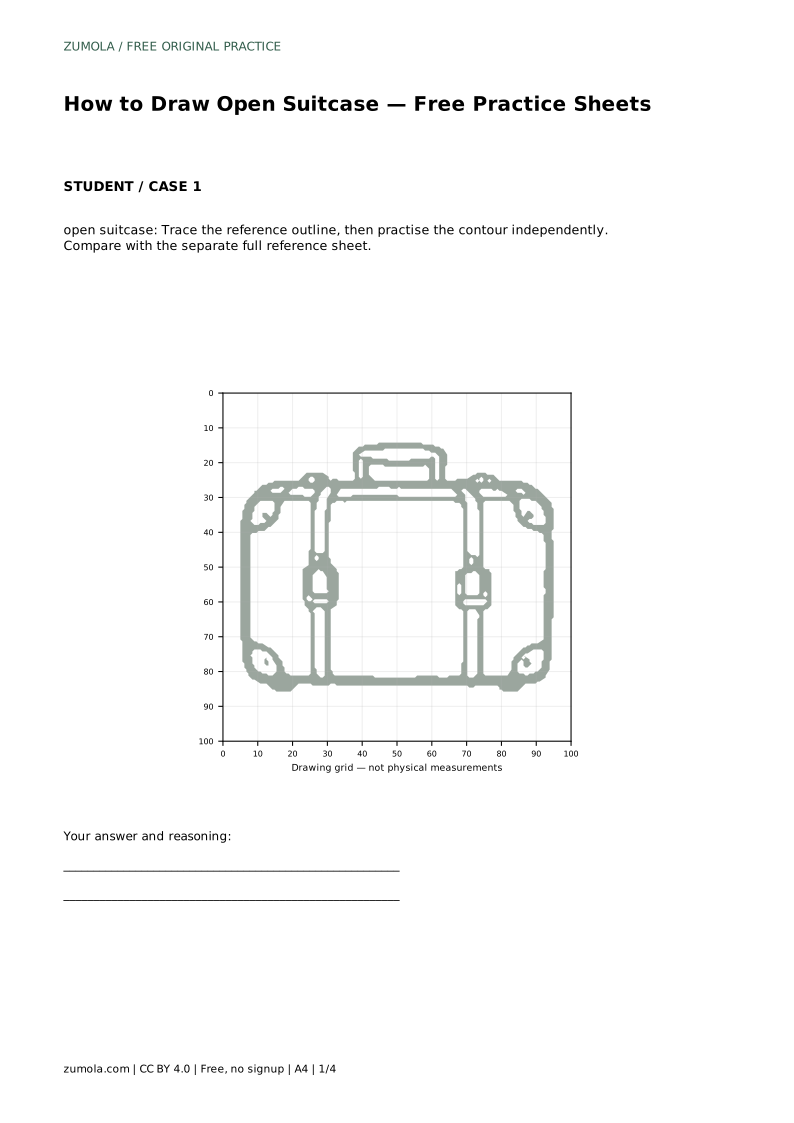
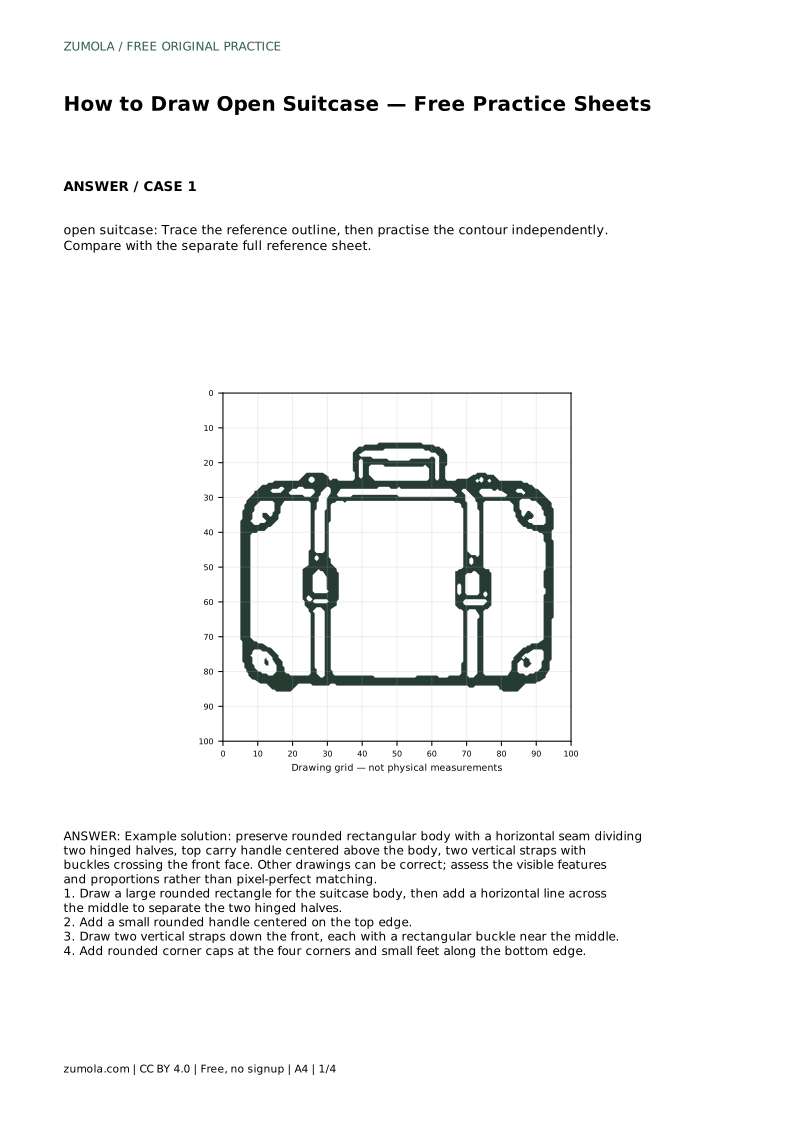
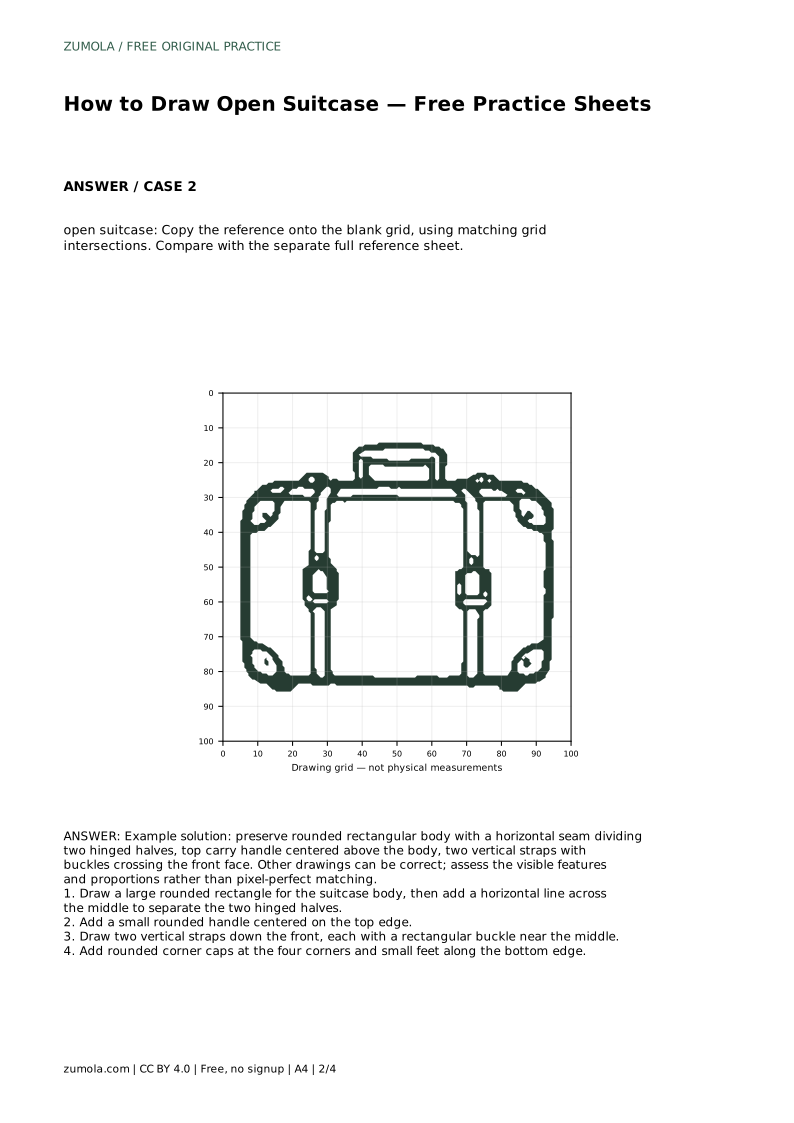
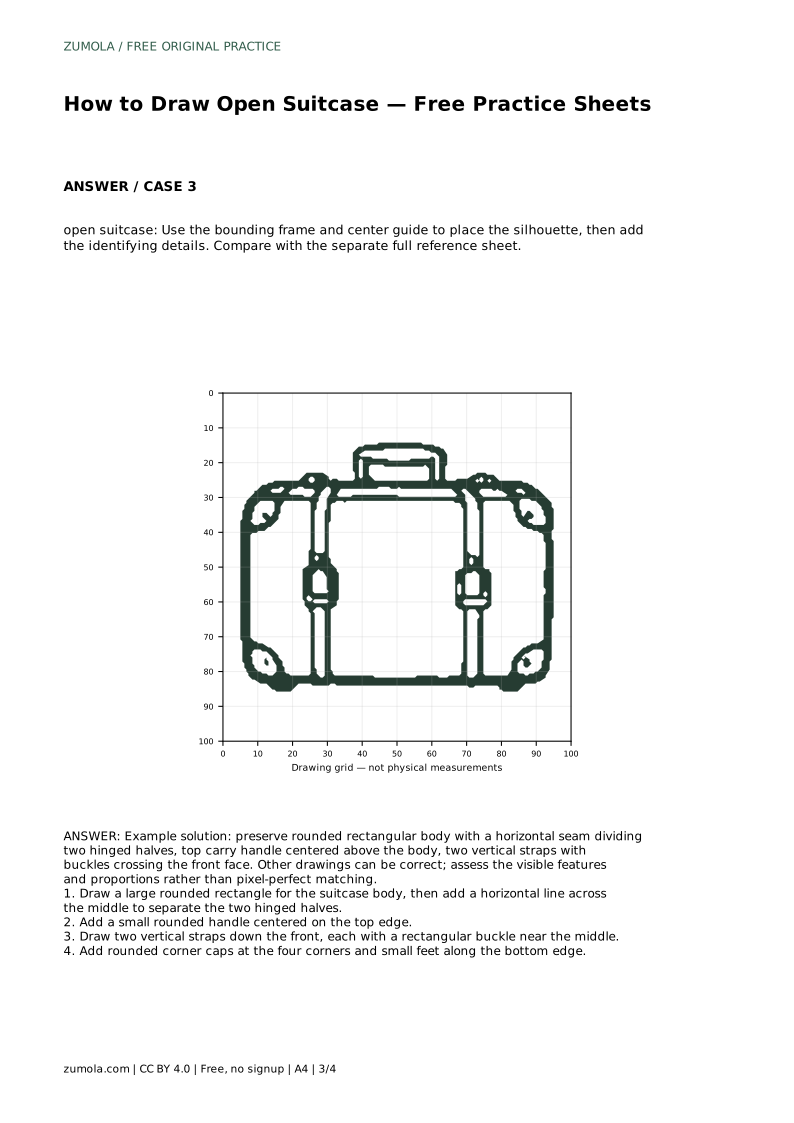
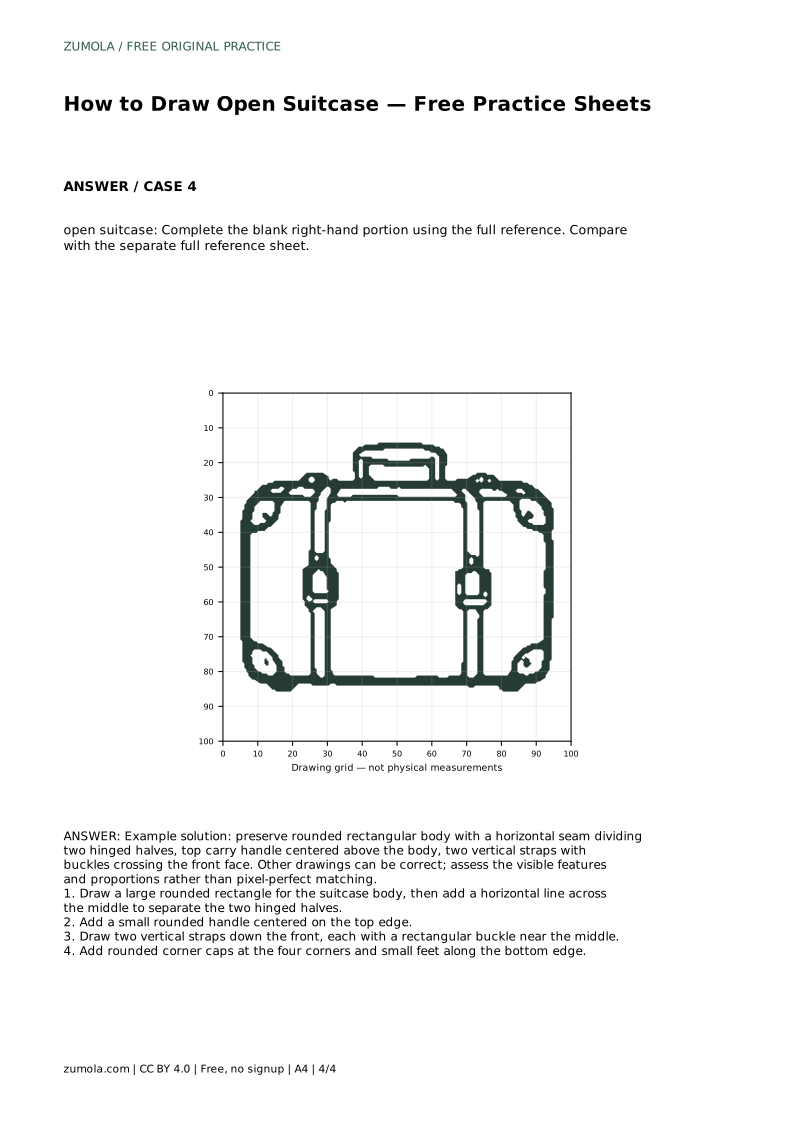
Drawing an open suitcase is a useful exercise in combining simple geometric shapes with clear structural details. The goal is not a pixel-perfect copy but a recognizable object with the right proportions and visible features: a rounded rectangular body, a horizontal seam dividing the two hinged halves, a centered top handle, and two vertical straps with buckles crossing the front. This page explains the method step by step and shows how to assess your drawing fairly, since more than one correct outcome is possible.
Begin by drawing a large rounded rectangle for the suitcase body. Keep the corners gently curved rather than sharp, because most suitcases have softened edges. The rectangle should be wider than it is tall, but the exact ratio can vary. Next, add a horizontal line across the middle of the rectangle. This line represents the seam where the two hinged halves meet. Place it roughly halfway up the body so the top and bottom halves look balanced. Check that the line stays parallel to the top and bottom edges; a slanted seam will make the suitcase look twisted.
Center a small rounded handle on the top edge of the body. The handle should sit above the top edge, not overlap the body, and its width should be roughly one-third of the suitcase width. Next, draw two vertical straps down the front face. Each strap should run from the top edge to the bottom edge, crossing the horizontal seam. Place the straps symmetrically, leaving a gap between them. Near the middle of each strap, draw a rectangular buckle. The buckle can be a simple rectangle with a smaller inner rectangle to suggest the frame. Keep the buckles at the same height on both straps so the suitcase looks balanced.
Add rounded corner caps at the four corners of the body. These caps can be small curved shapes that follow the corner radius. They suggest protective reinforcements and help the suitcase read as a manufactured object rather than a plain box. Finally, add small feet along the bottom edge. Feet are usually short, rounded rectangles or small circles placed at the corners and sometimes in the middle. They should sit just below the bottom edge, not inside the body. Keep the feet the same size and evenly spaced. When you are satisfied with the outline, compare your drawing with the separate full reference sheet. Remember that other drawings can be correct; assess the visible features and proportions rather than pixel-perfect matching.
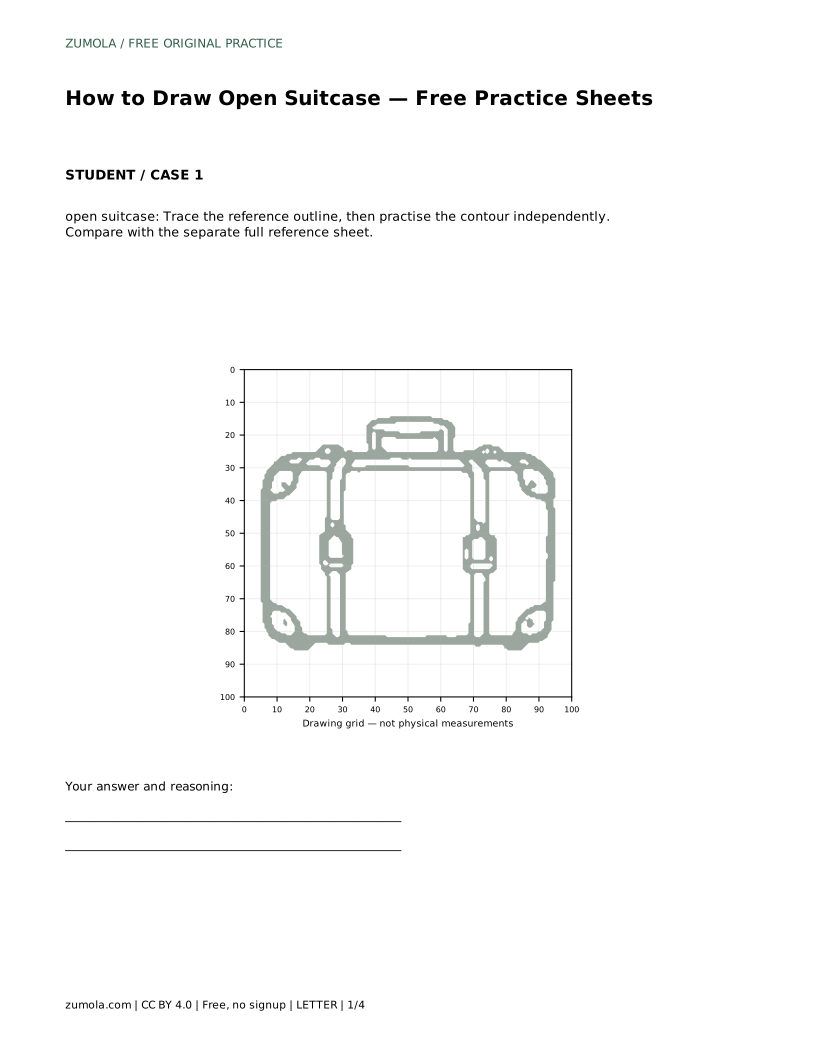
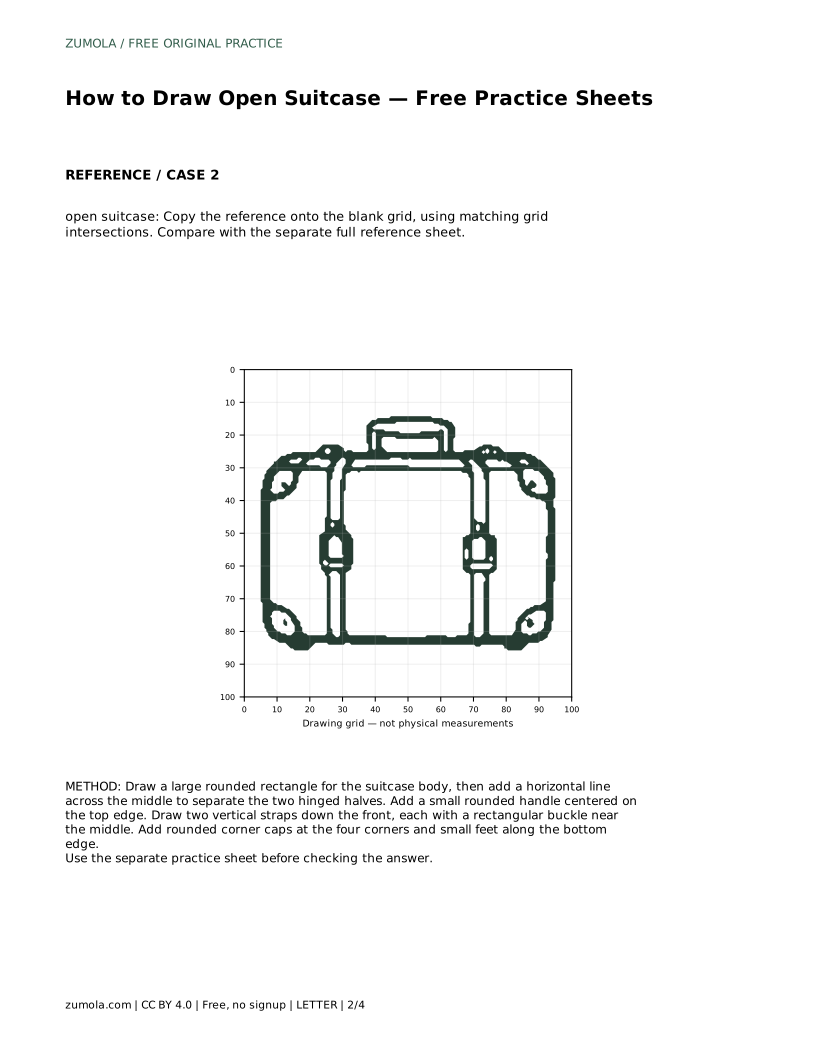
open suitcase: Trace the reference outline, then practise the contour independently. Compare with the separate full reference sheet.
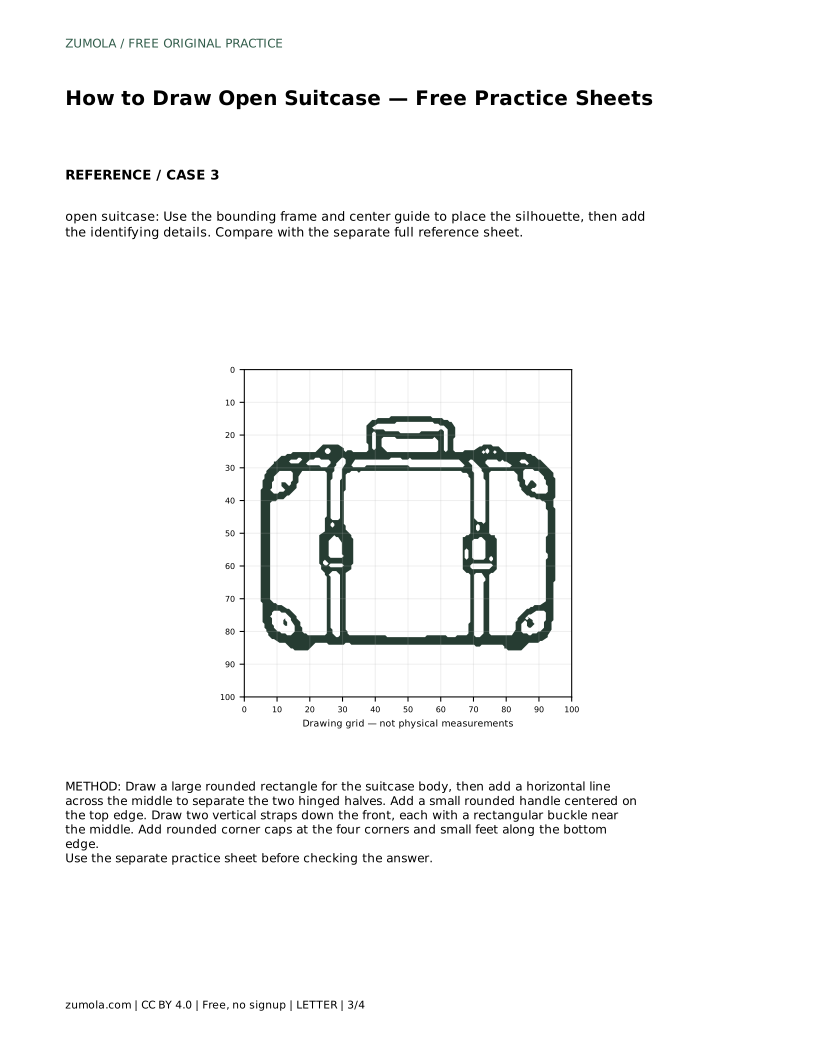
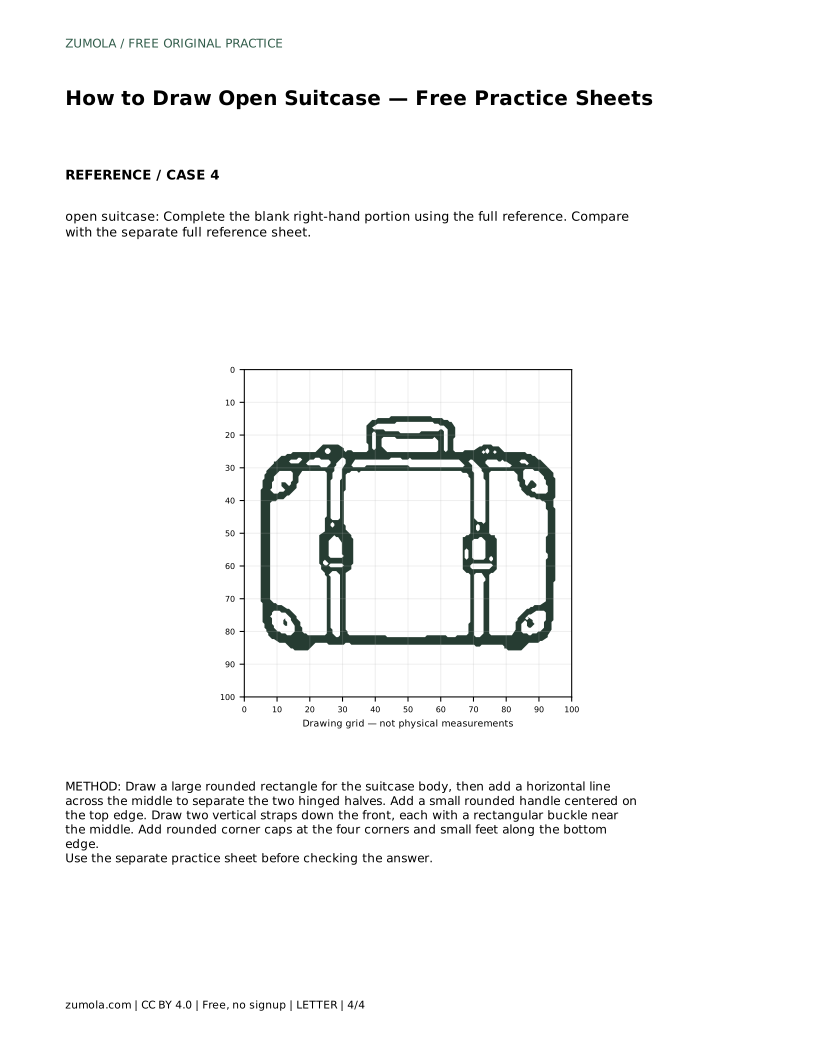
Example solution: preserve rounded rectangular body with a horizontal seam dividing two hinged halves, top carry handle centered above the body, two vertical straps with buckles crossing the front face. Other drawings can be correct; assess the visible features and proportions rather than pixel-perfect matching. Draw a large rounded rectangle for the suitcase body, then add a horizontal line across the middle to separate the two hinged halves. Add a small rounded handle centered on the top edge. Draw two vertical straps down the front, each with a rectangular buckle near the middle. Add rounded corner caps at the four corners and small feet along the bottom edge.
No. A hand-drawn suitcase can be slightly asymmetrical and still be correct. Focus on keeping the main features recognizable and the proportions balanced.
The reference shows two vertical straps with buckles. You can draw two for a typical look, but other numbers can also be valid if the overall structure remains clear.
Check the overall silhouette first: rounded rectangular body, horizontal seam, centered handle, and two front straps. Then check the smaller details like buckles, corner caps, and feet.
All drawing practice · Free coordinate paper
Original resources · CC BY 4.0 · Free for personal and classroom use with attribution.