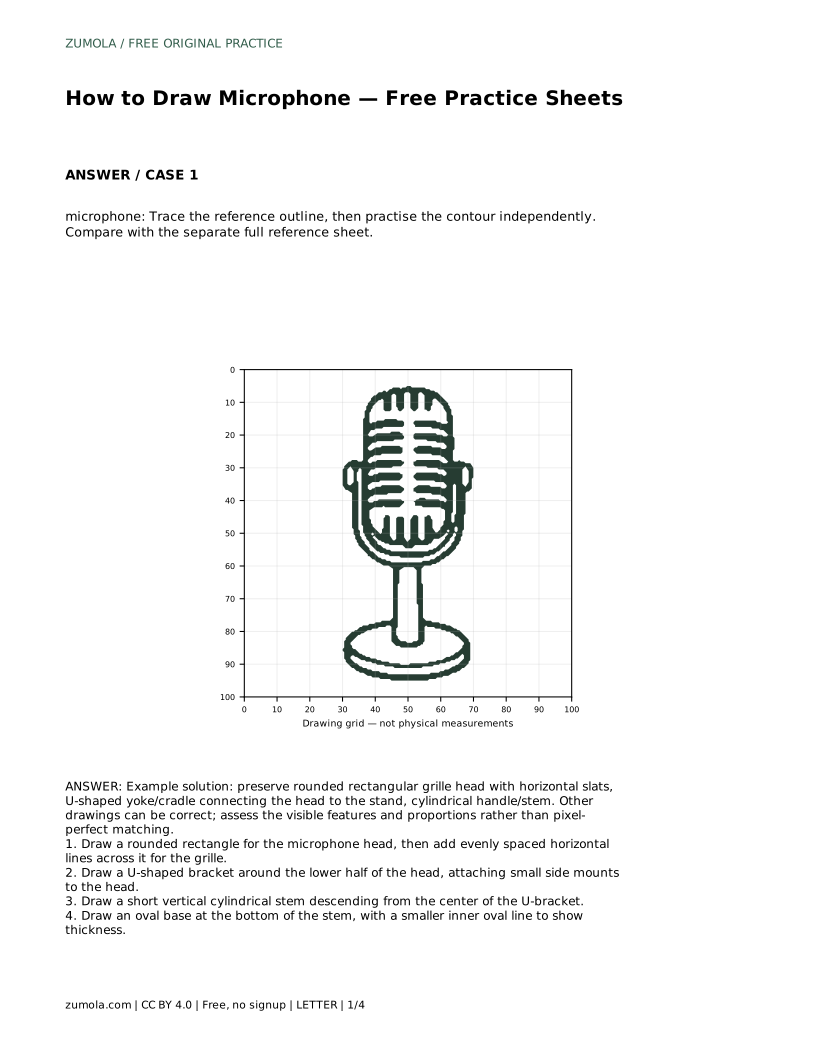
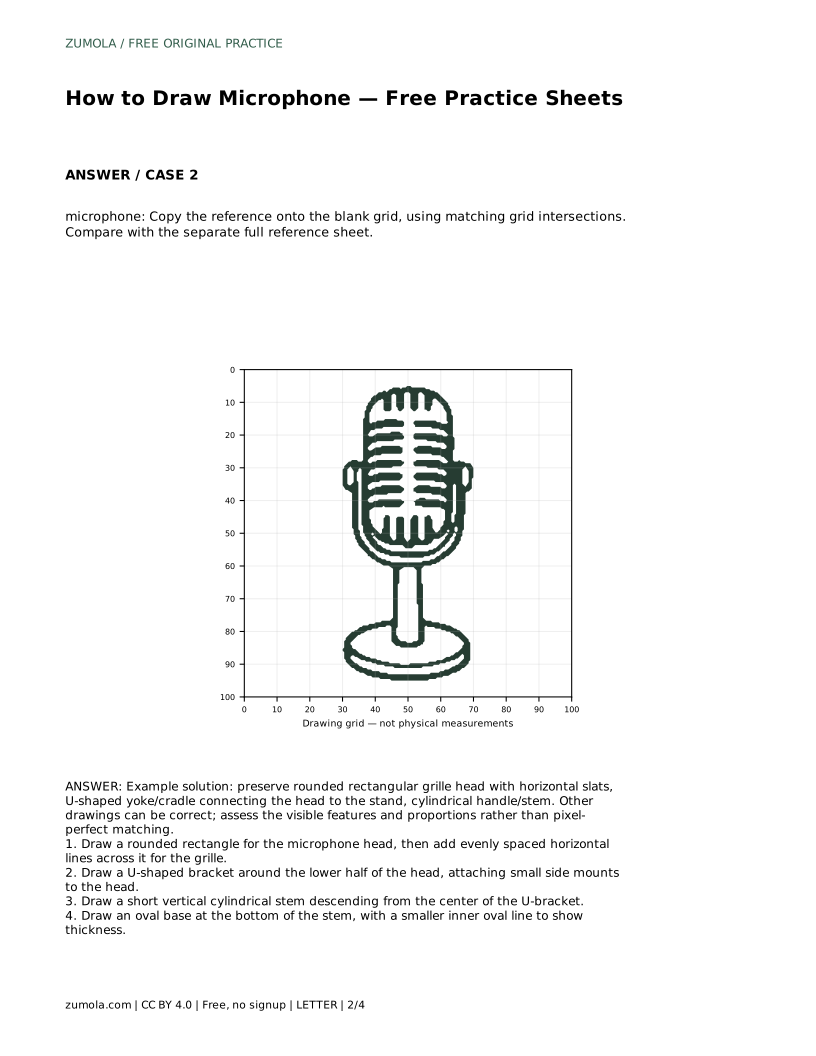
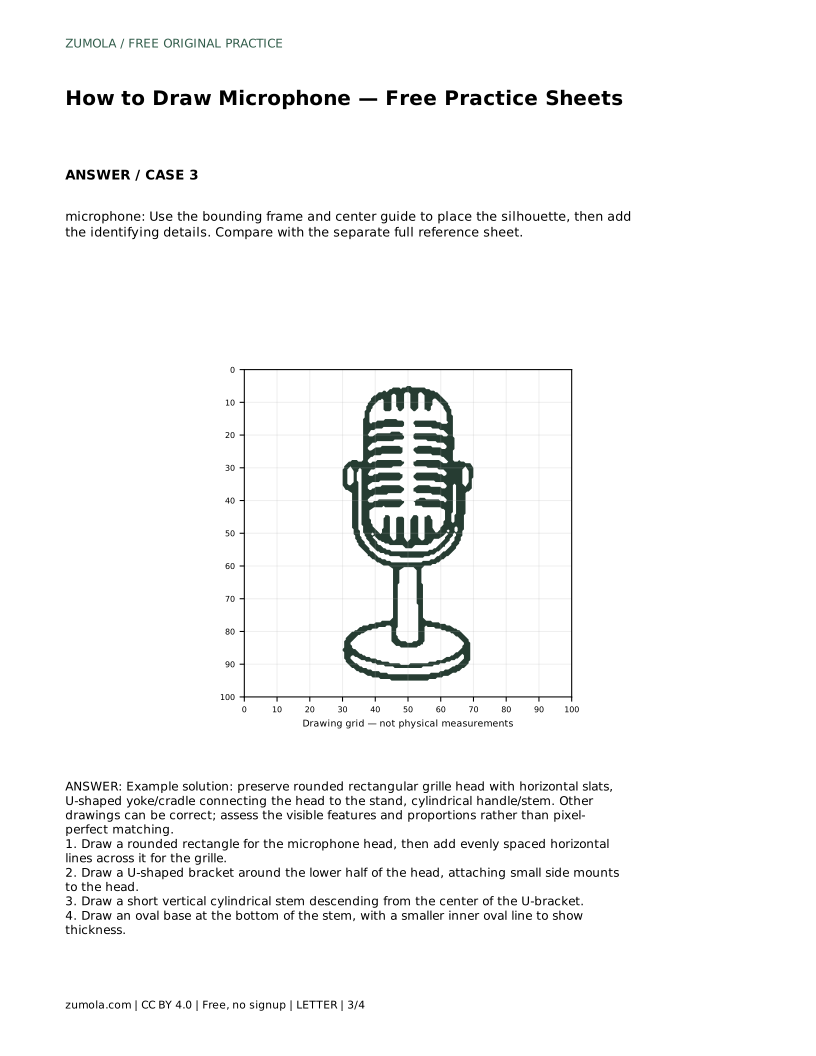
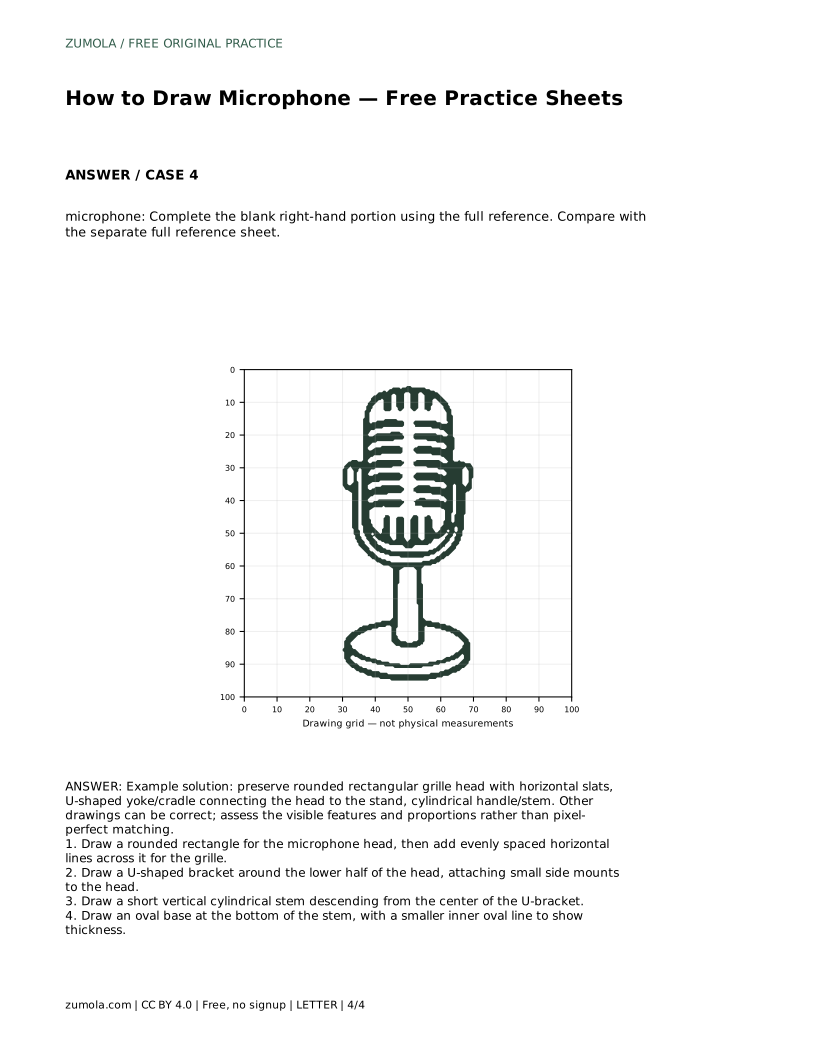
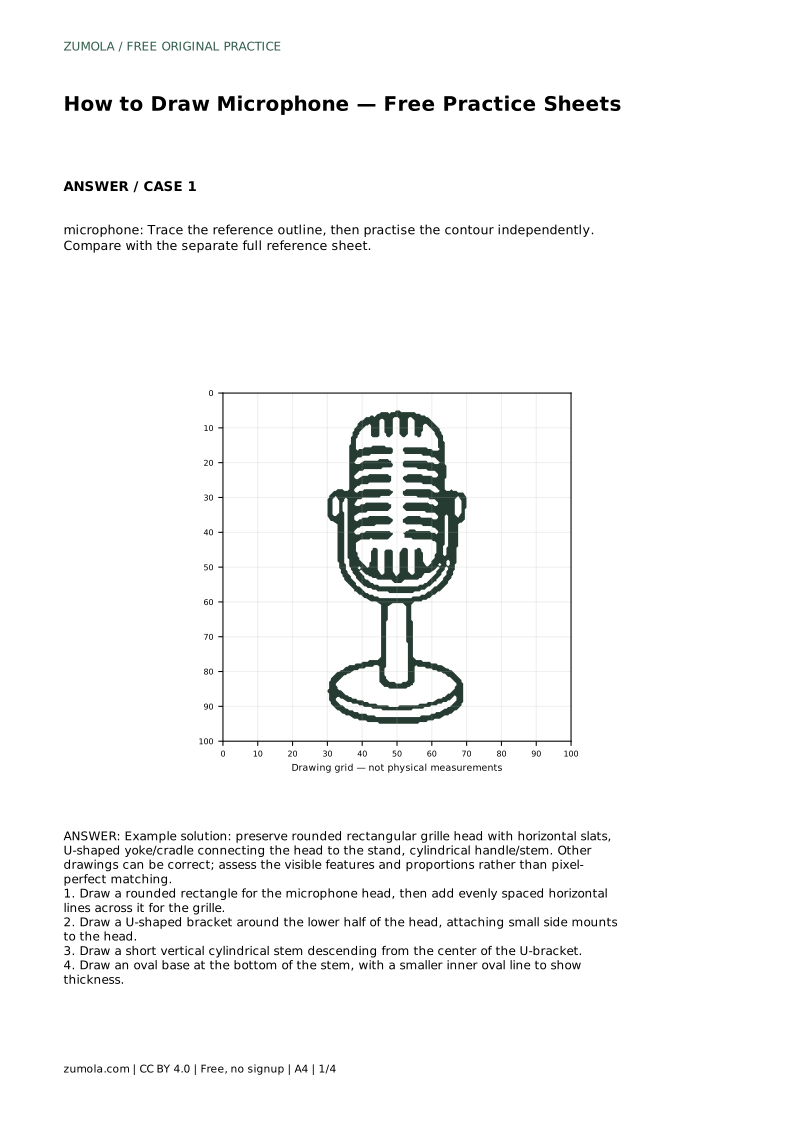
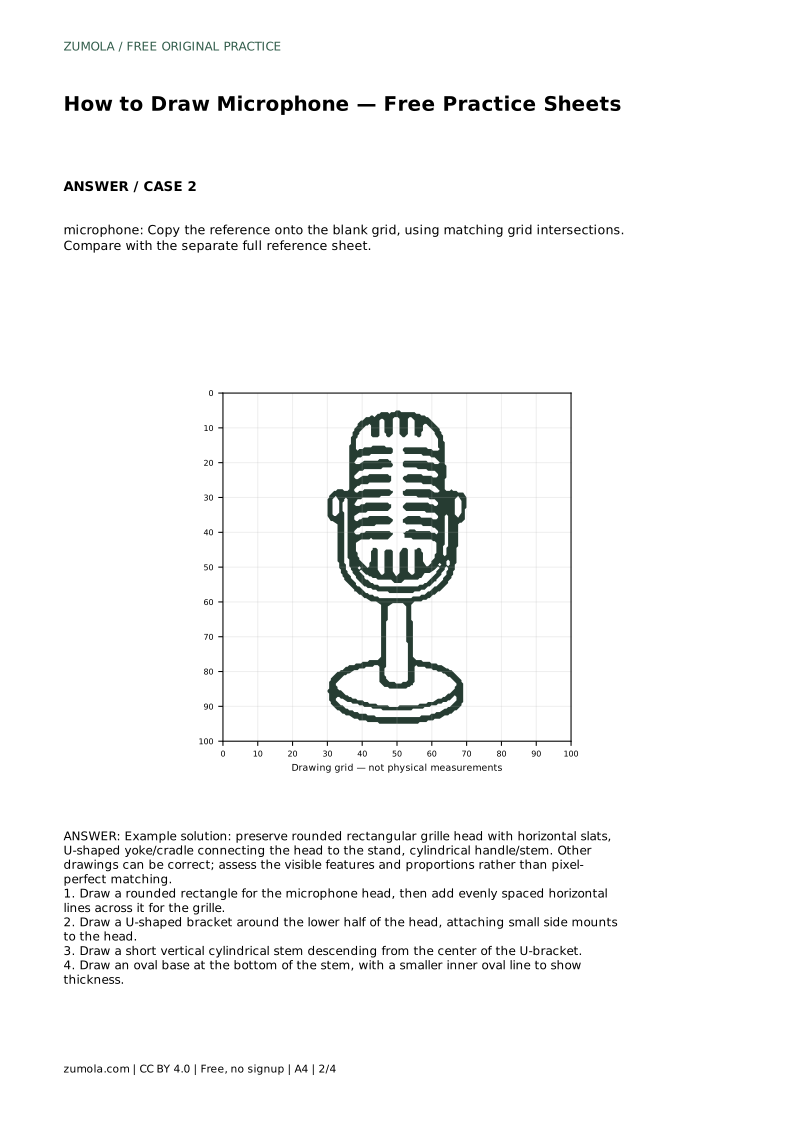
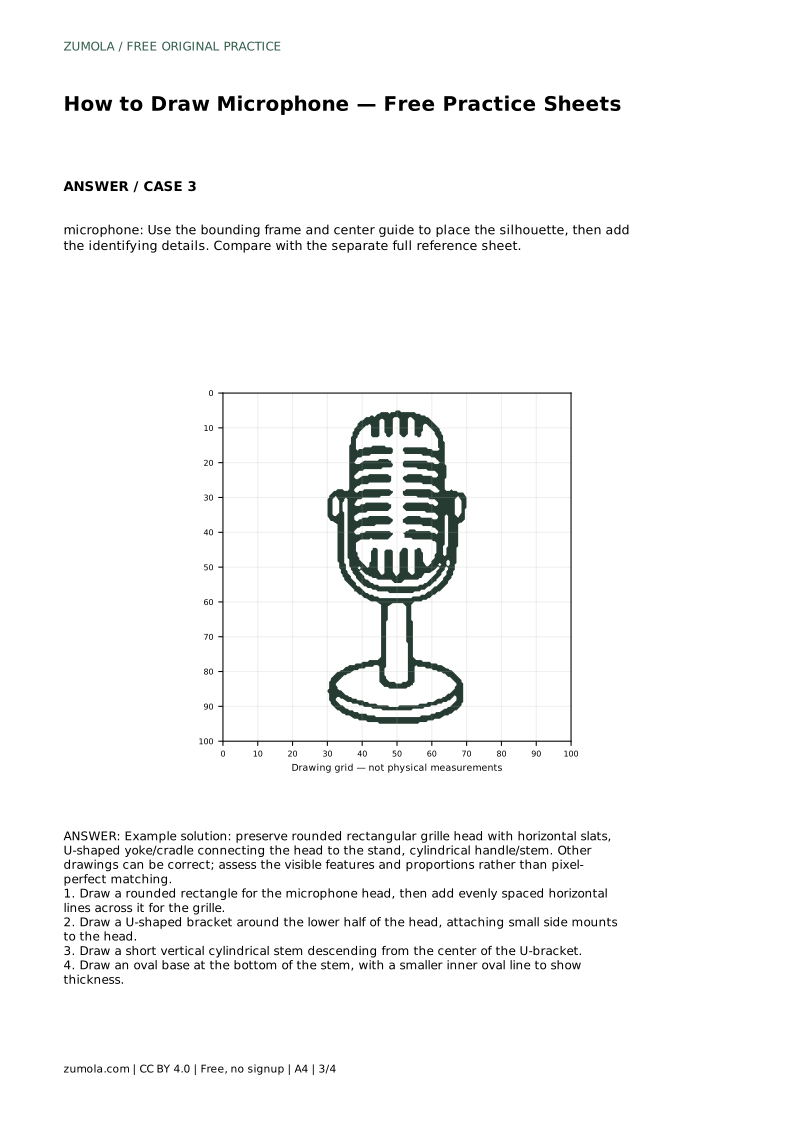
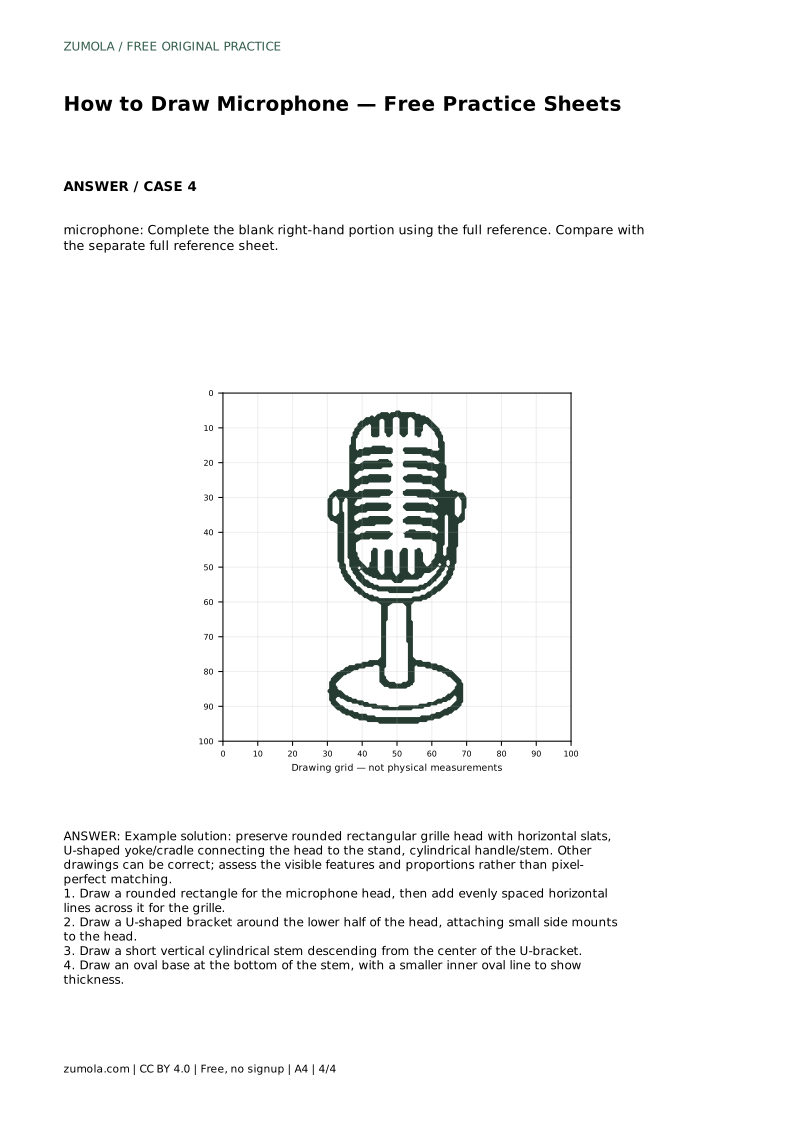
Reference diagrams
LETTER · Download PDF
A4 · Download PDF
Free original resources
Learn to draw a simple microphone by building its rounded grille head, U-shaped yoke, stem, and oval base. Free printable practice sheets support each step.
Four original cases, with reference diagrams, practice sheets and worked answers. Everything is free; no signup required.
LETTER · Download PDF
A4 · Download PDF
LETTER · Download PDF
A4 · Download PDF
LETTER · Download PDF
A4 · Download PDF
Use A4 or US Letter to match your printer. Use the stated values and conditions to solve each exercise; diagrams are not physical measuring rulers.
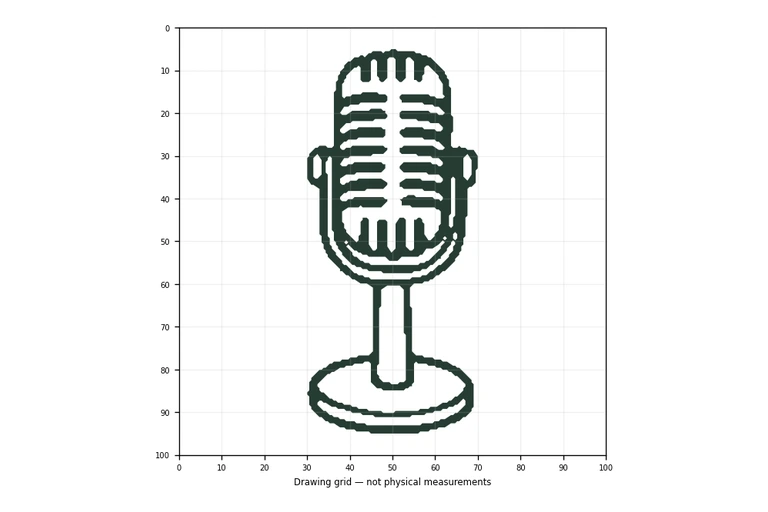
Drawing a microphone is a manageable project when you break it into a few clear shapes. This guide shows you how to construct a simple microphone from a rounded rectangular head with horizontal grille lines, a U-shaped bracket that cradles the head, a short cylindrical stem, and an oval base. You can use the free practice sheets to trace, copy onto a grid, or complete a partially drawn version. The goal is to capture the recognizable features and sensible proportions, not to match every pixel.
Start with the largest shape: the microphone head. Think of it as a rounded rectangle standing upright. Keep the top and bottom edges gently curved rather than sharp. The width should be a little less than the height so the head looks like a capsule, not a square.
Next, add the grille. Draw evenly spaced horizontal lines across the head, stopping short of the rounded edges. These lines suggest the mesh or slats without needing tiny detail. Leave a small margin at the top and bottom so the lines do not touch the outline.
Then draw the yoke, the U-shaped bracket that holds the head. It wraps around the lower half of the head, with small mounts on each side. The yoke should sit slightly outside the head outline, not overlap it. From the bottom center of the yoke, draw a short vertical stem. Finish with an oval base at the bottom of the stem, and add a smaller inner oval to suggest thickness.
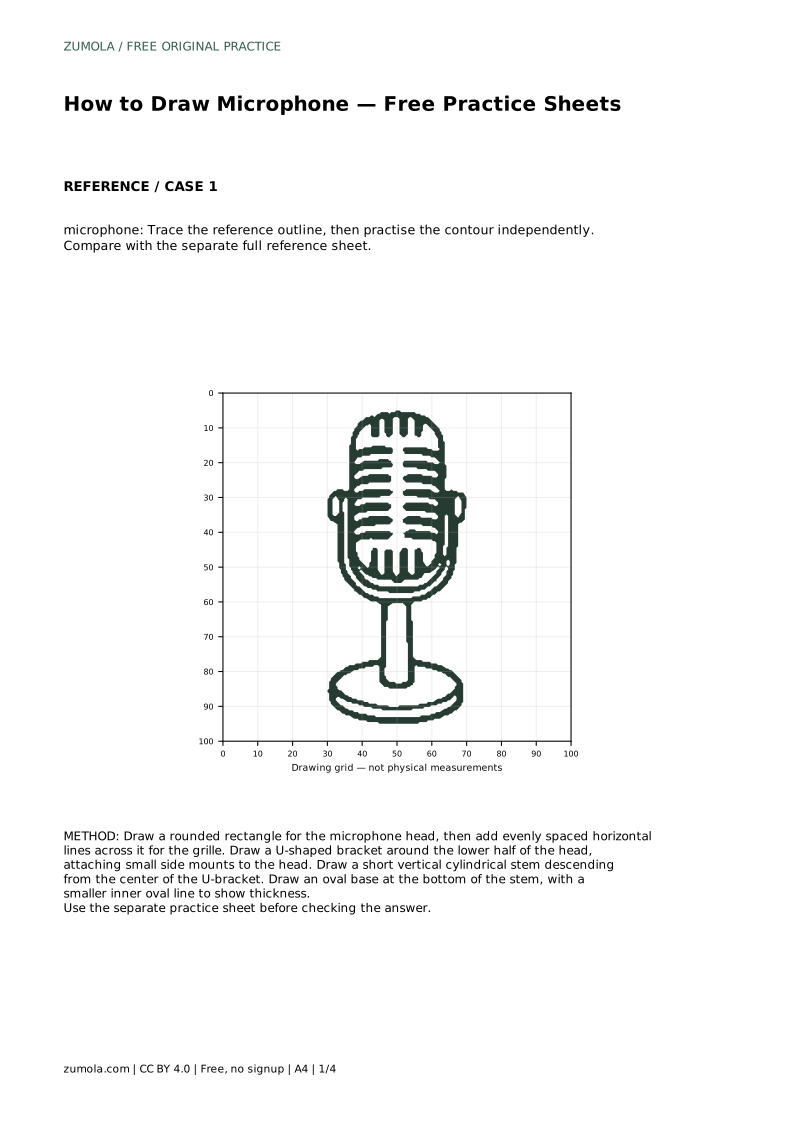
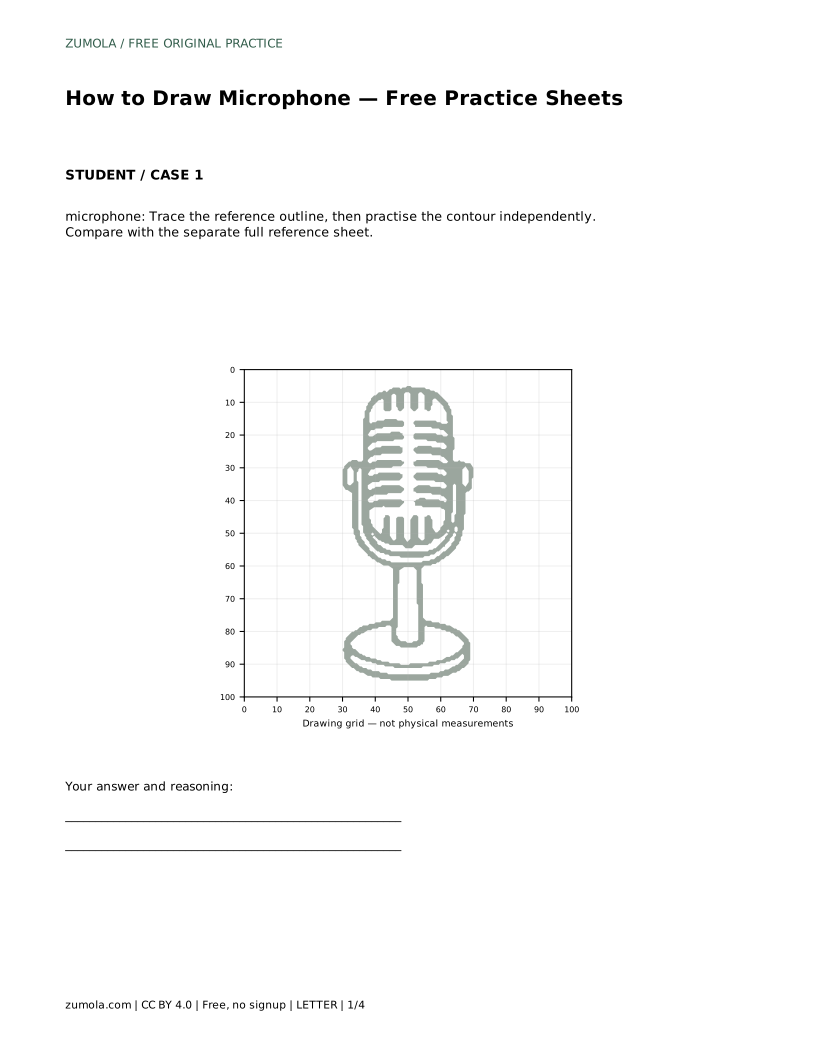
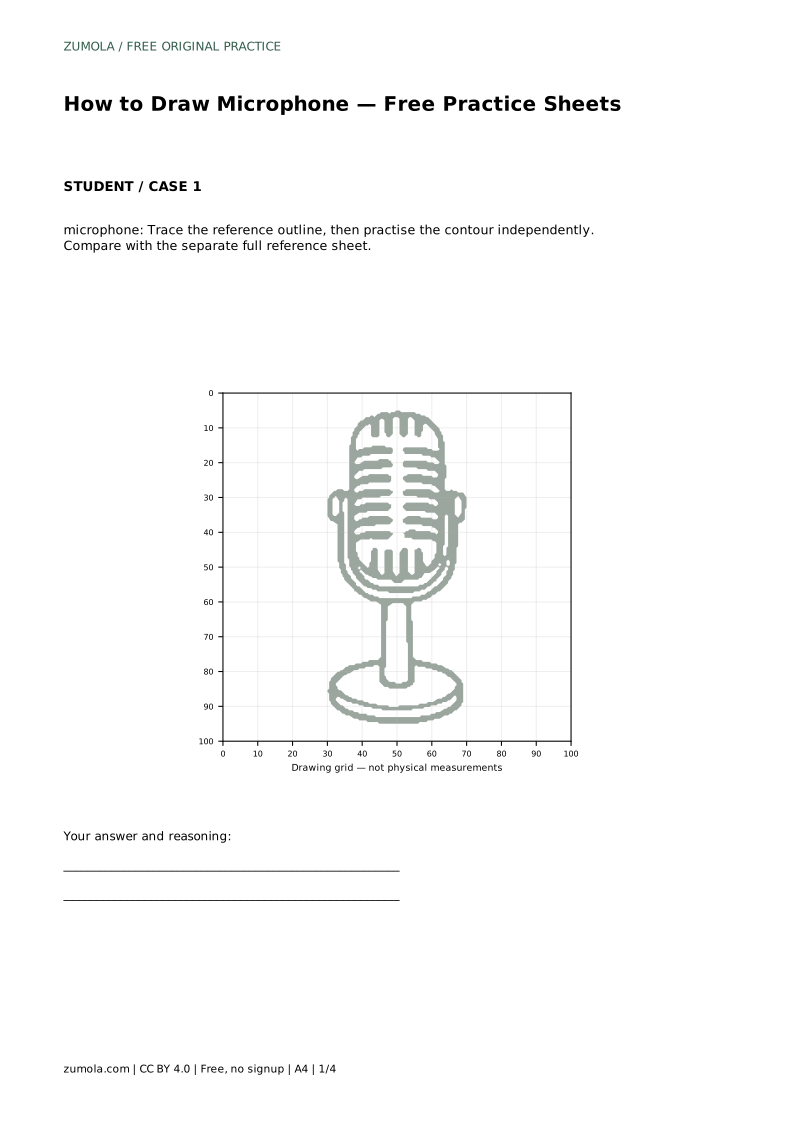
The trace sheet lets you follow the reference outline first, then try the contour independently on the blank area. Tracing builds muscle memory for the curves and spacing; the independent attempt shows what you can recall.
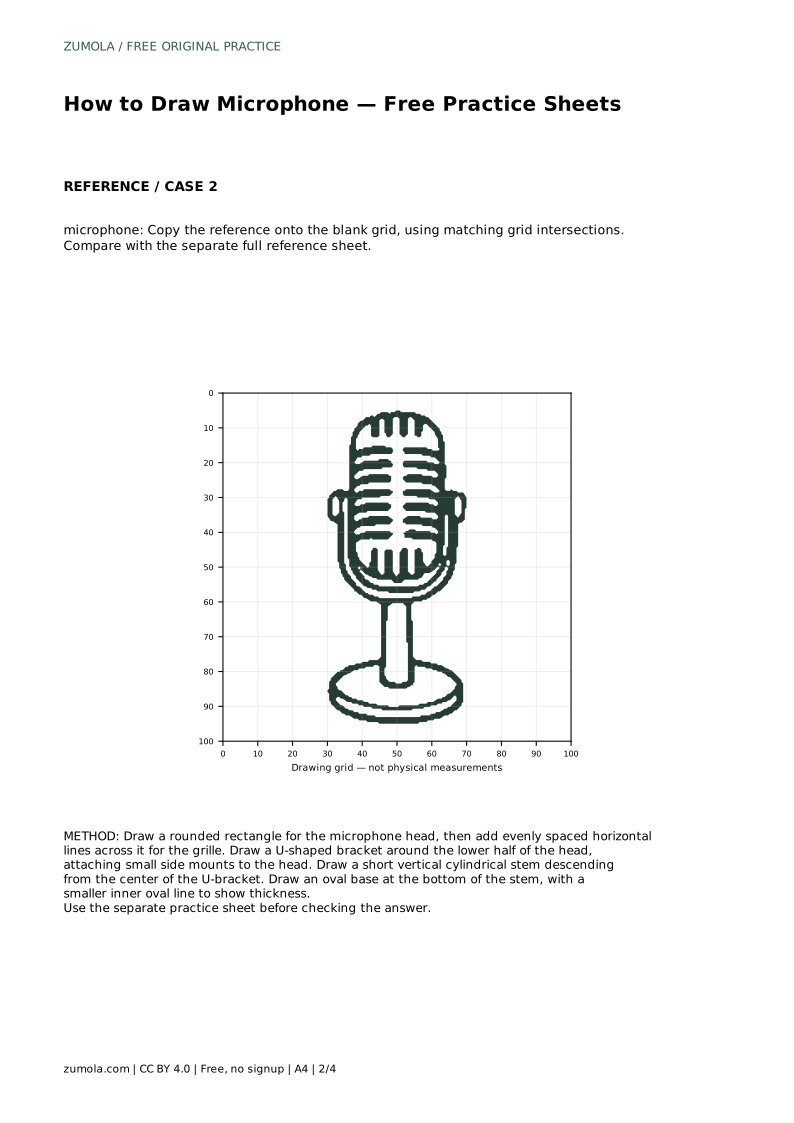
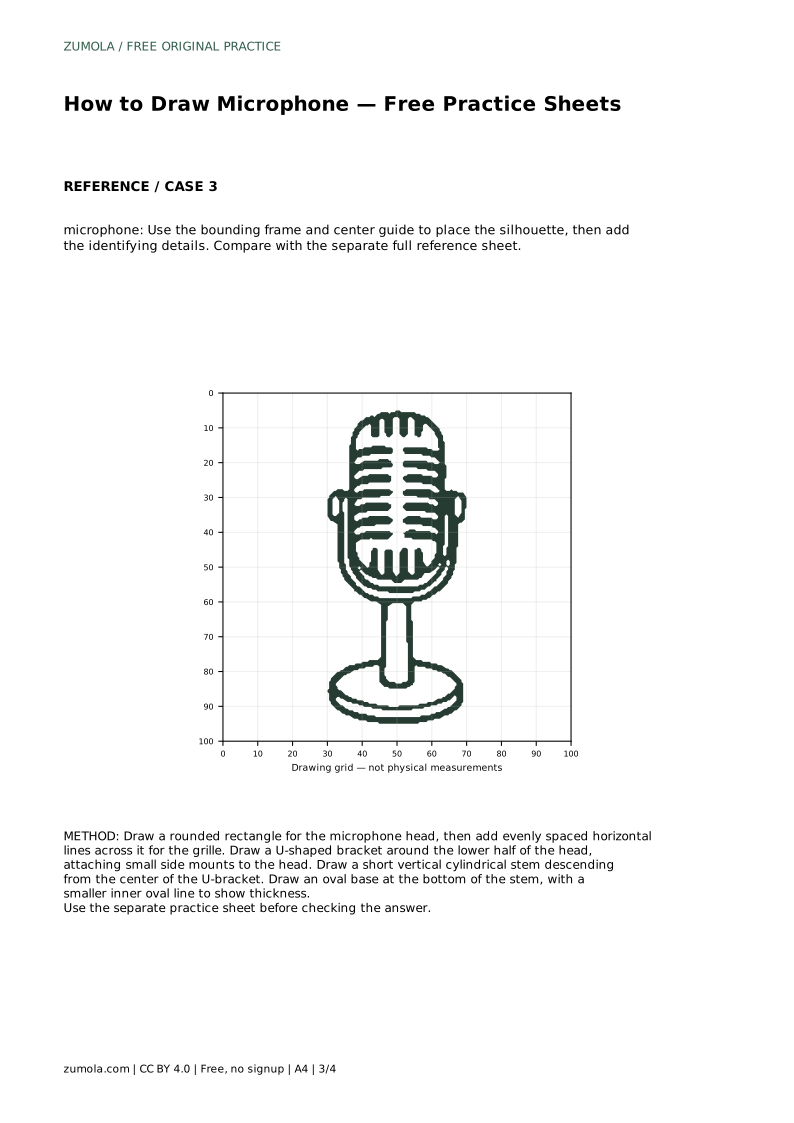
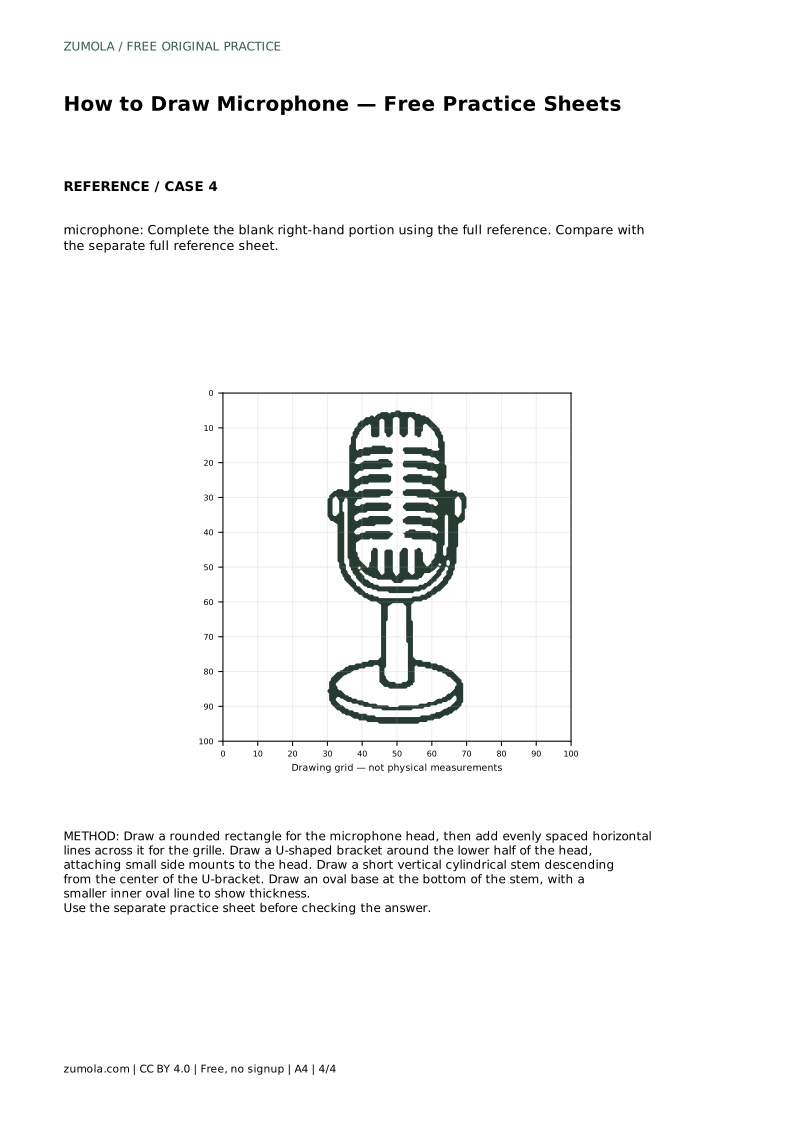
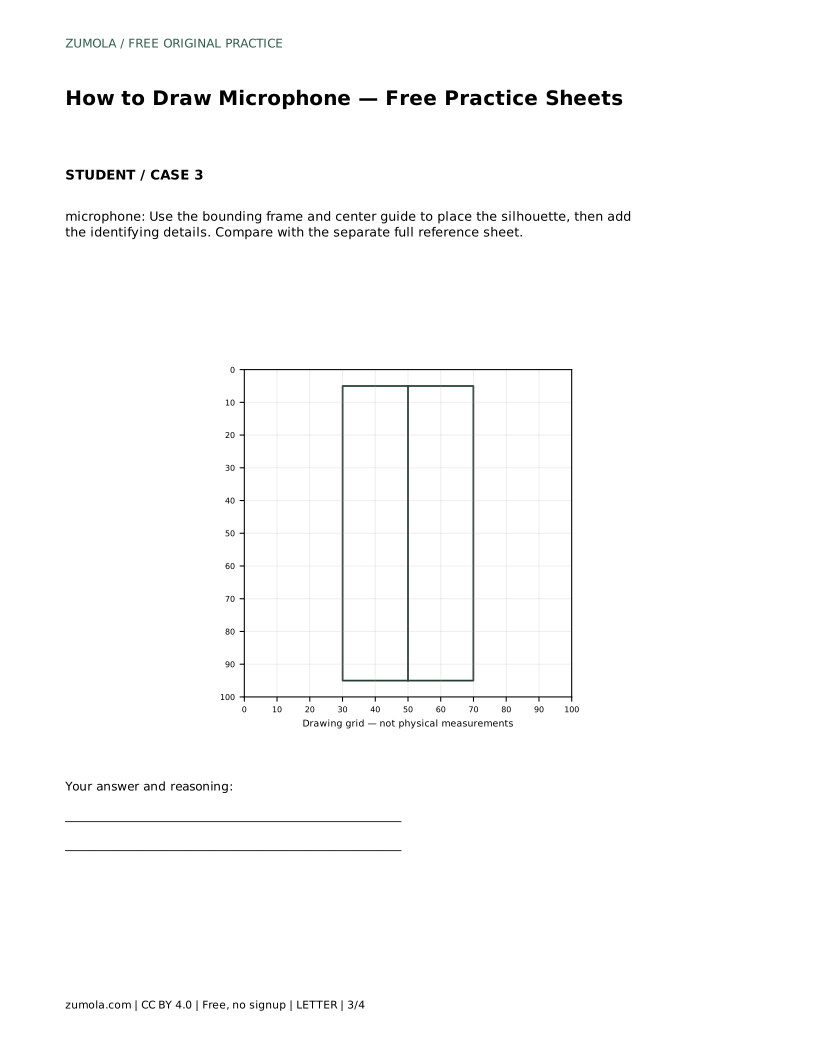
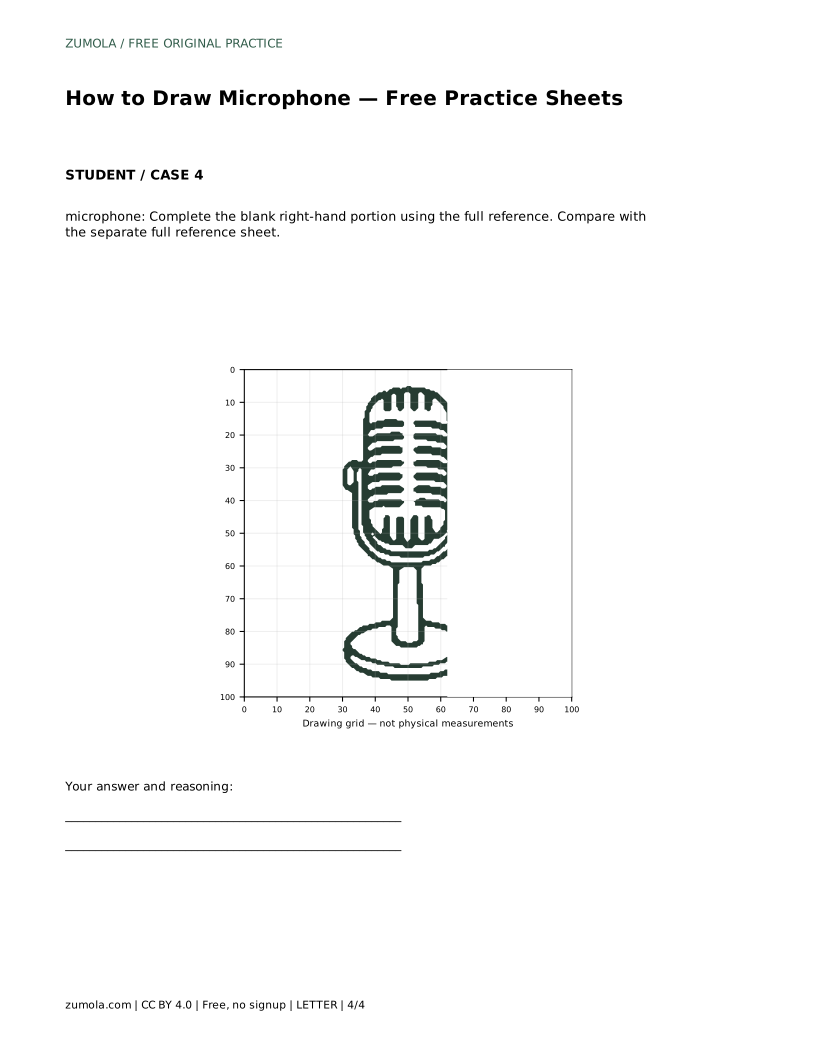
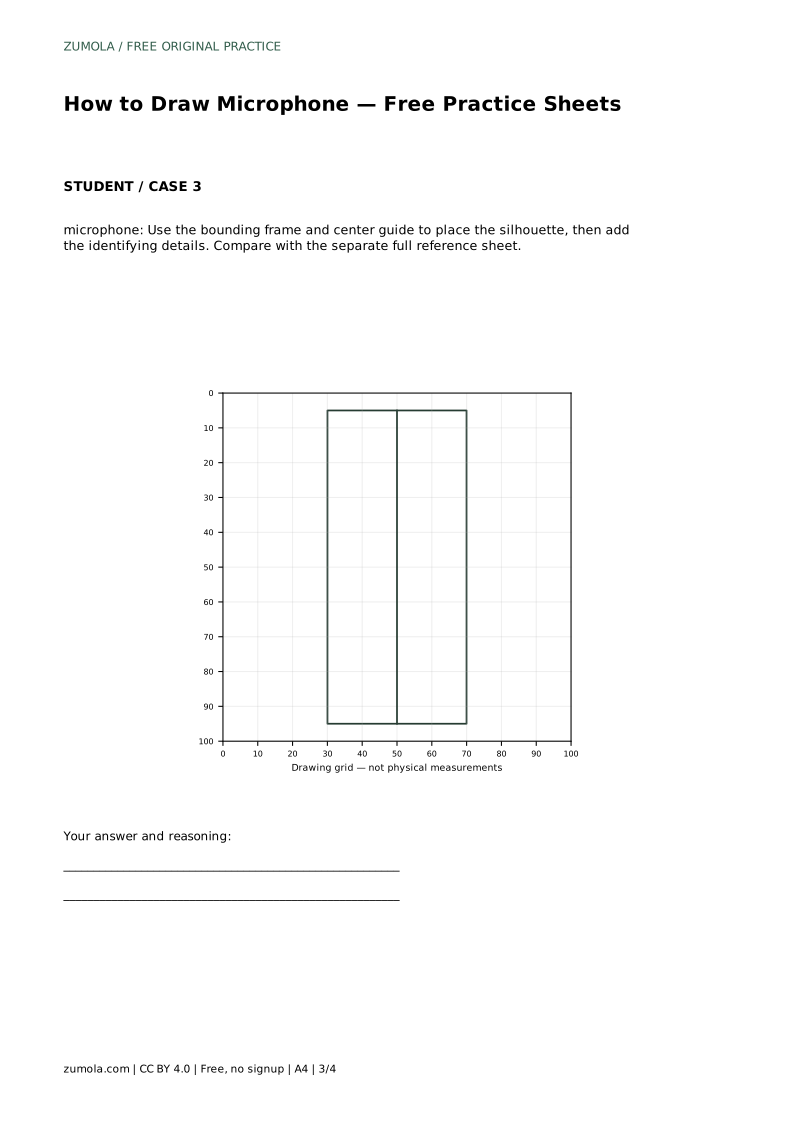
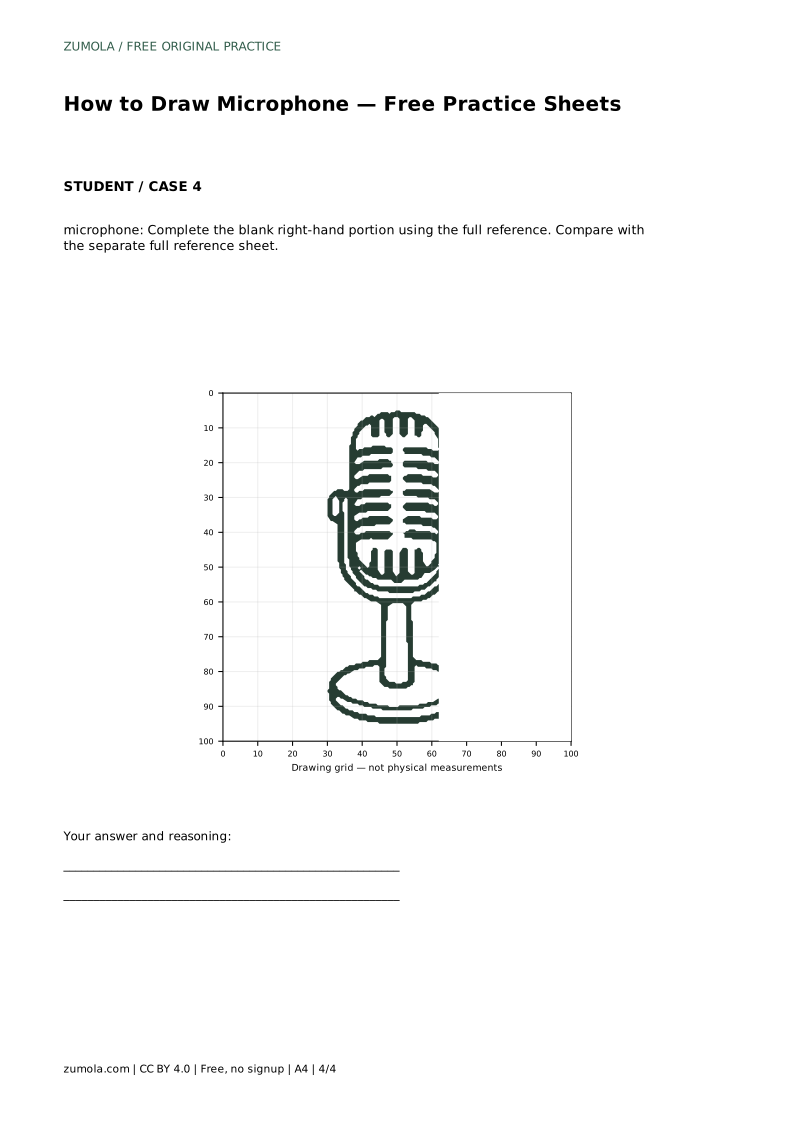
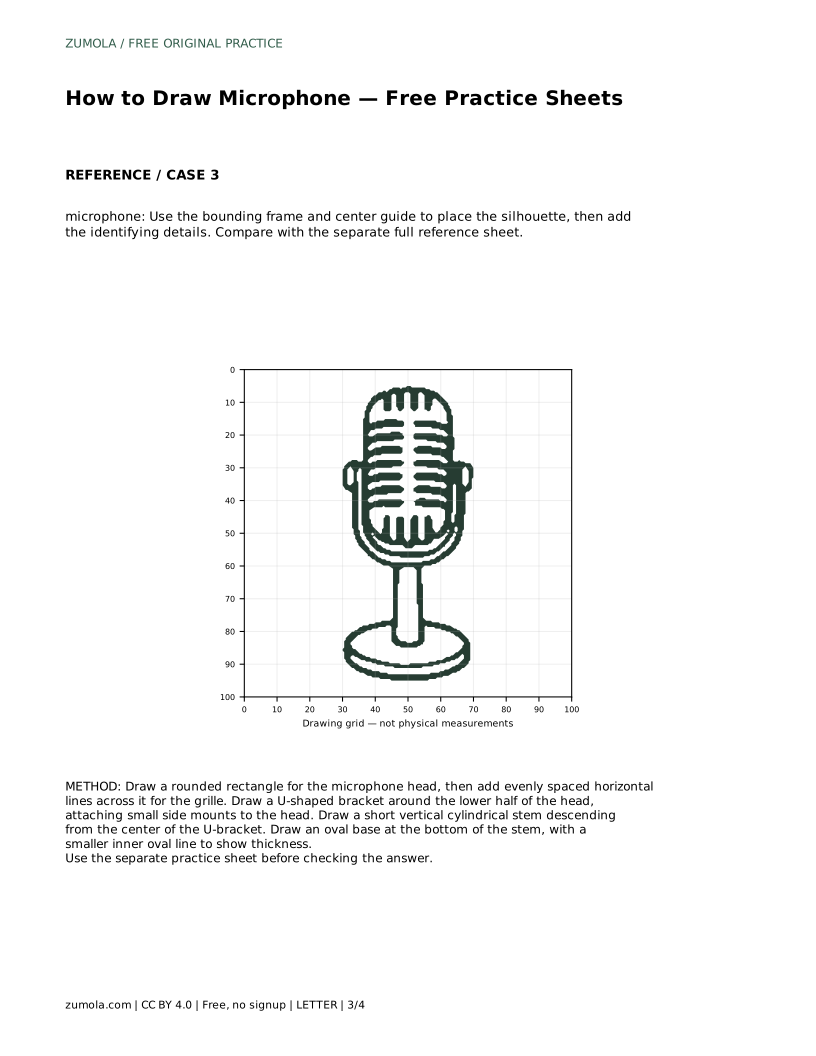
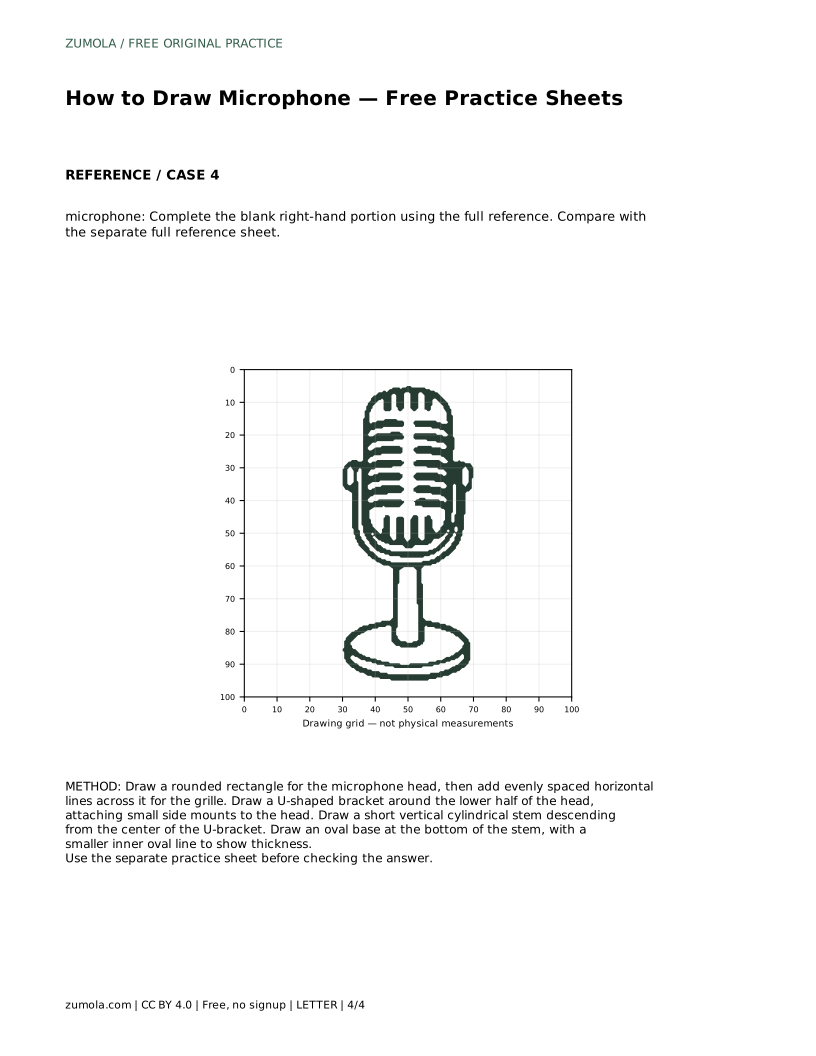
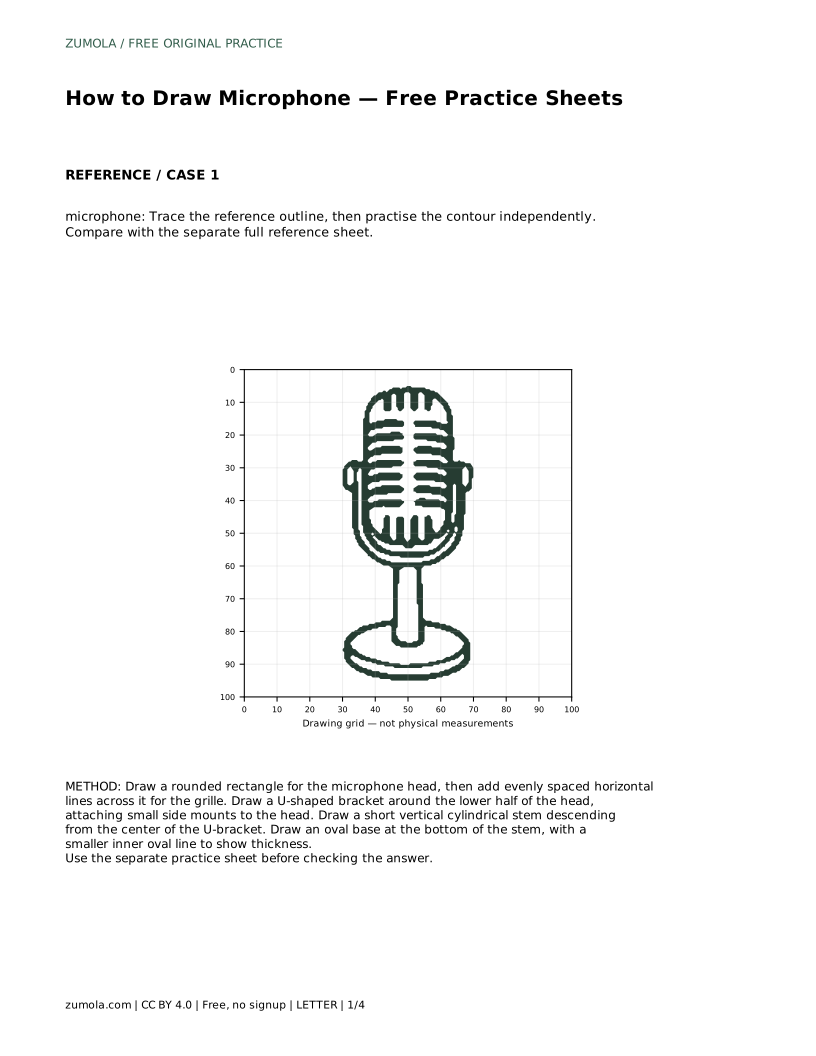
The grid sheet asks you to copy the reference onto a blank grid by matching grid intersections. This is useful for checking proportions: if the head spans three grid squares in the reference, it should span about three in your copy. The bounding-frame sheet gives you a center guide and outer frame so you can place the silhouette before adding details. The partial sheet provides the left half of the drawing and asks you to complete the right half using the full reference.
After any practice sheet, compare your drawing with the separate full reference sheet. Look for the rounded head, horizontal grille lines, U-shaped yoke, stem, and oval base. Small differences in line placement are fine; the features and overall proportions matter most.
A common problem is making the head too wide or too narrow. The head should look like a rounded rectangle, slightly taller than wide. If your grille lines crowd the edges, erase the outermost lines and respace them evenly.
The yoke should connect to the head at two side mounts and meet the stem at its lowest point. If the yoke floats away from the head, redraw the side mounts so they touch the head outline. If the stem is too long, shorten it so the base sits close to the yoke.
The base is an oval, not a circle, because it is seen at a slight angle. The inner oval should be smaller and centered. Keep the stem vertical and centered under the yoke so the microphone looks balanced.
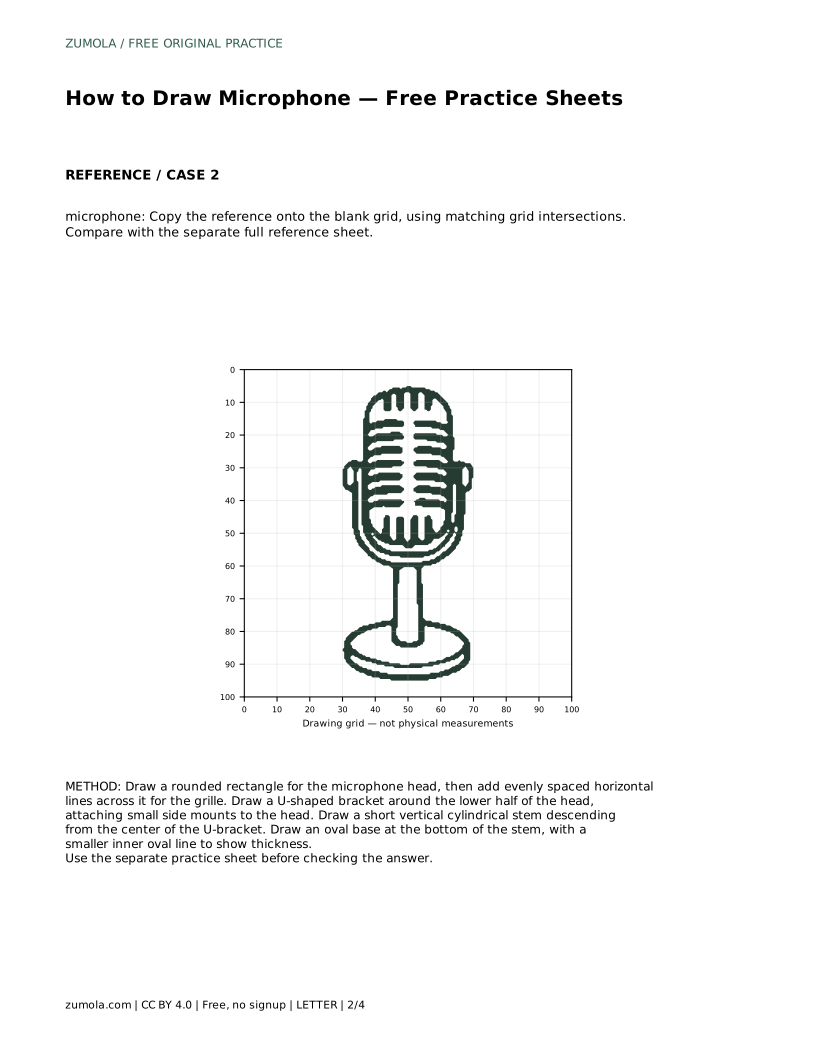
microphone: Trace the reference outline, then practise the contour independently. Compare with the separate full reference sheet.
Example solution: preserve rounded rectangular grille head with horizontal slats, U-shaped yoke/cradle connecting the head to the stand, cylindrical handle/stem. Other drawings can be correct; assess the visible features and proportions rather than pixel-perfect matching. Draw a rounded rectangle for the microphone head, then add evenly spaced horizontal lines across it for the grille. Draw a U-shaped bracket around the lower half of the head, attaching small side mounts to the head. Draw a short vertical cylindrical stem descending from the center of the U-bracket. Draw an oval base at the bottom of the stem, with a smaller inner oval line to show thickness.
No. Evenly spaced horizontal lines that stay inside the head outline are enough. The grille is a suggestion of texture, not a precise mesh.
Yes, as long as the recognizable features remain: a rounded head with horizontal grille lines, a U-shaped yoke with side mounts, a vertical stem, and an oval base. Slight changes in size are fine.
Compare your drawing with the full reference sheet. Check the head shape, grille spacing, yoke connections, stem length, and base oval. Pick one feature to adjust if needed.
All drawing practice · Free coordinate paper
Original resources · CC BY 4.0 · Free for personal and classroom use with attribution.