Reference diagrams
LETTER · Download PDF
A4 · Download PDF
Free original resources
Learn to draw a hand fan by building its wide arc, inner edge, central pivot, radiating pleat lines, and small rounded base, then check proportions with a rubric.
Four original cases, with reference diagrams, practice sheets and worked answers. Everything is free; no signup required.
LETTER · Download PDF
A4 · Download PDF
LETTER · Download PDF
A4 · Download PDF
LETTER · Download PDF
A4 · Download PDF
Use A4 or US Letter to match your printer. Use the stated values and conditions to solve each exercise; diagrams are not physical measuring rulers.
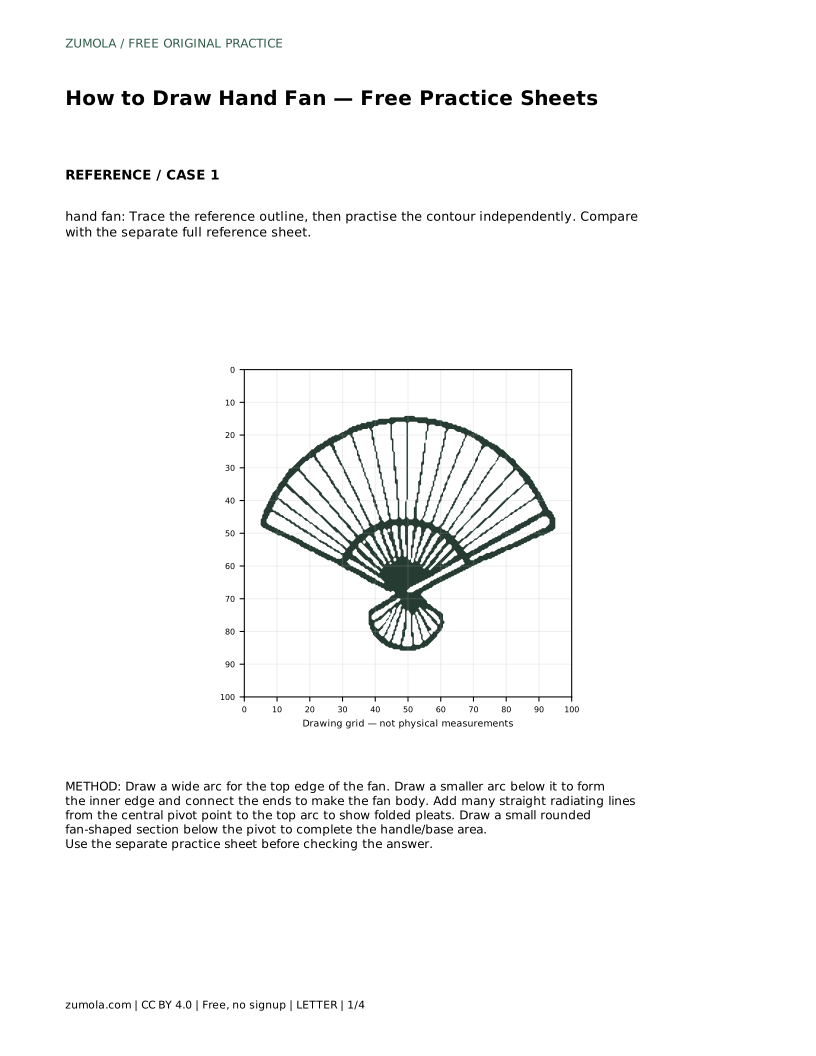
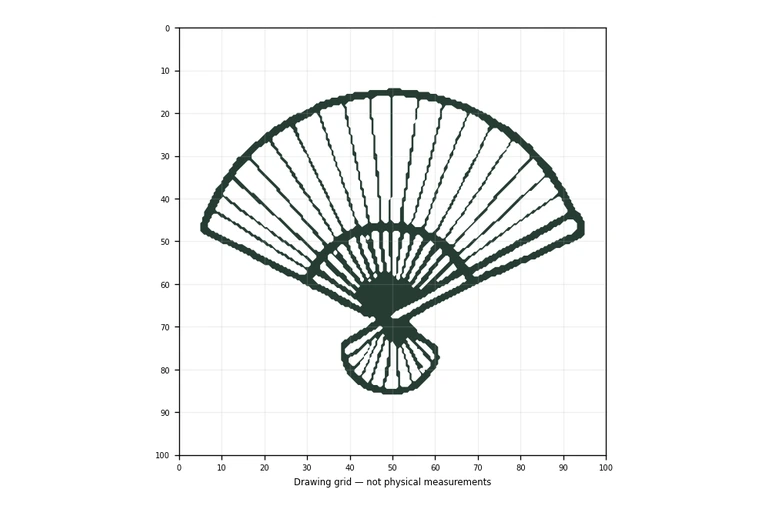
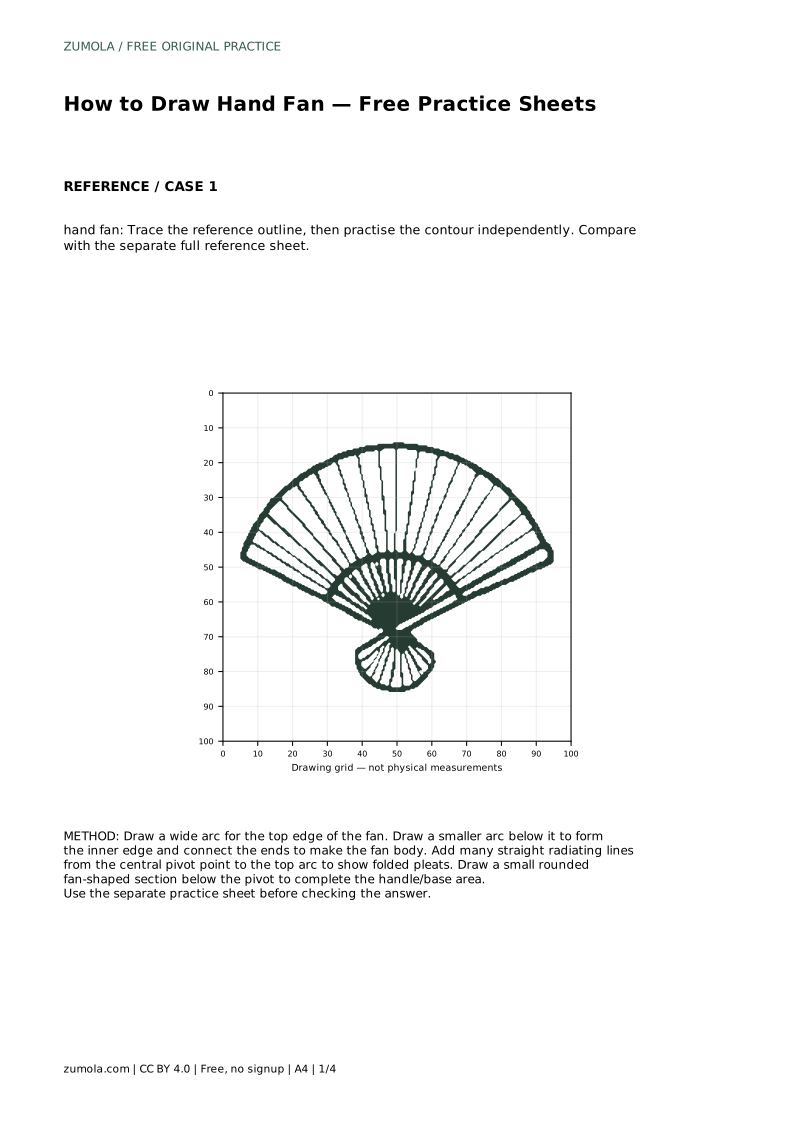
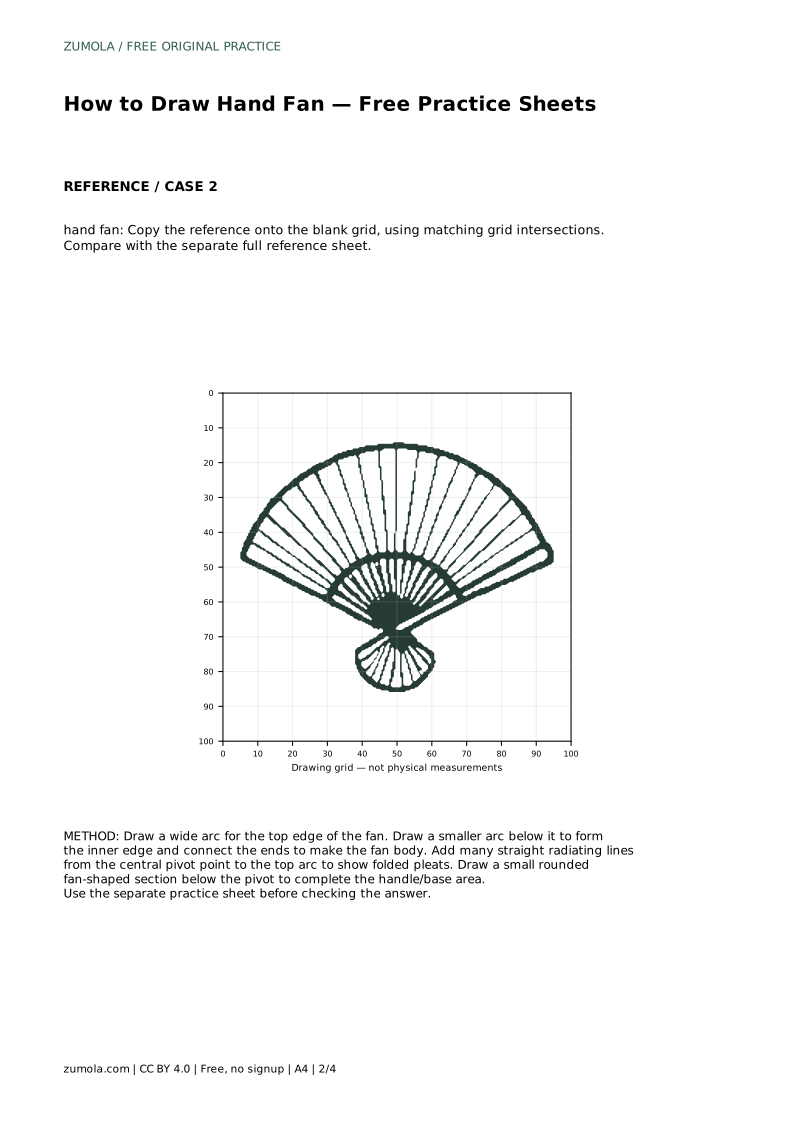
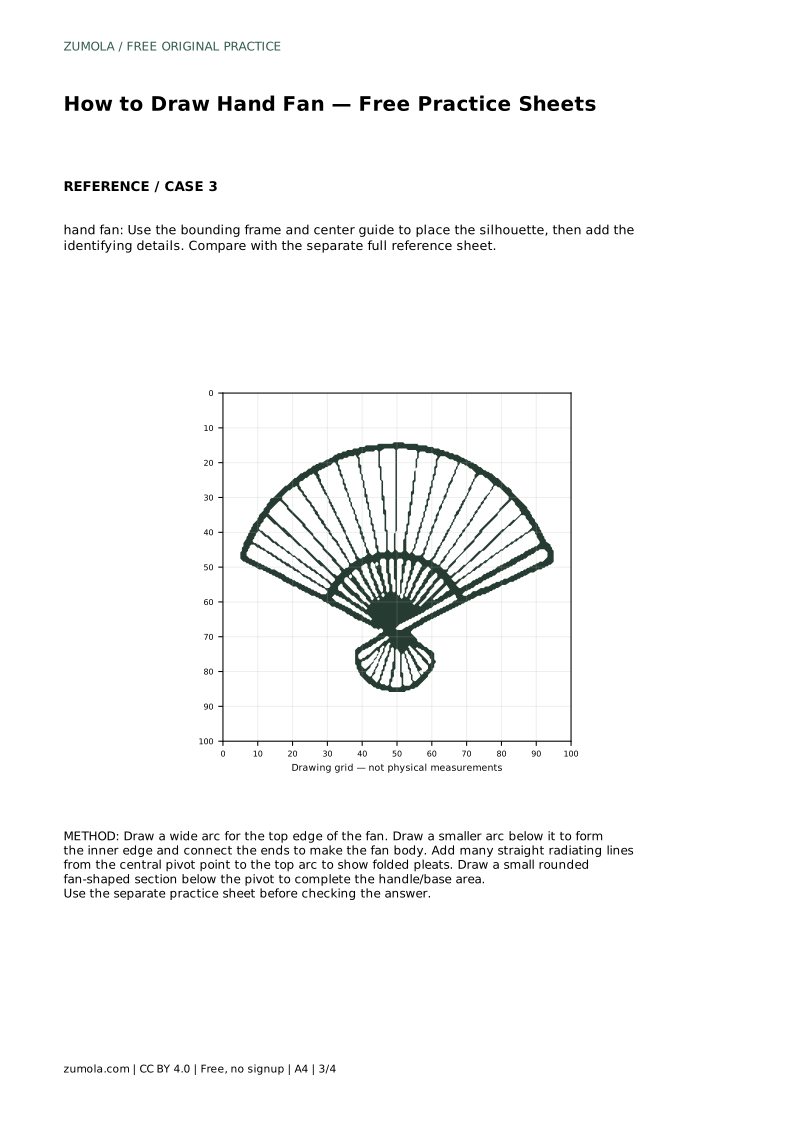
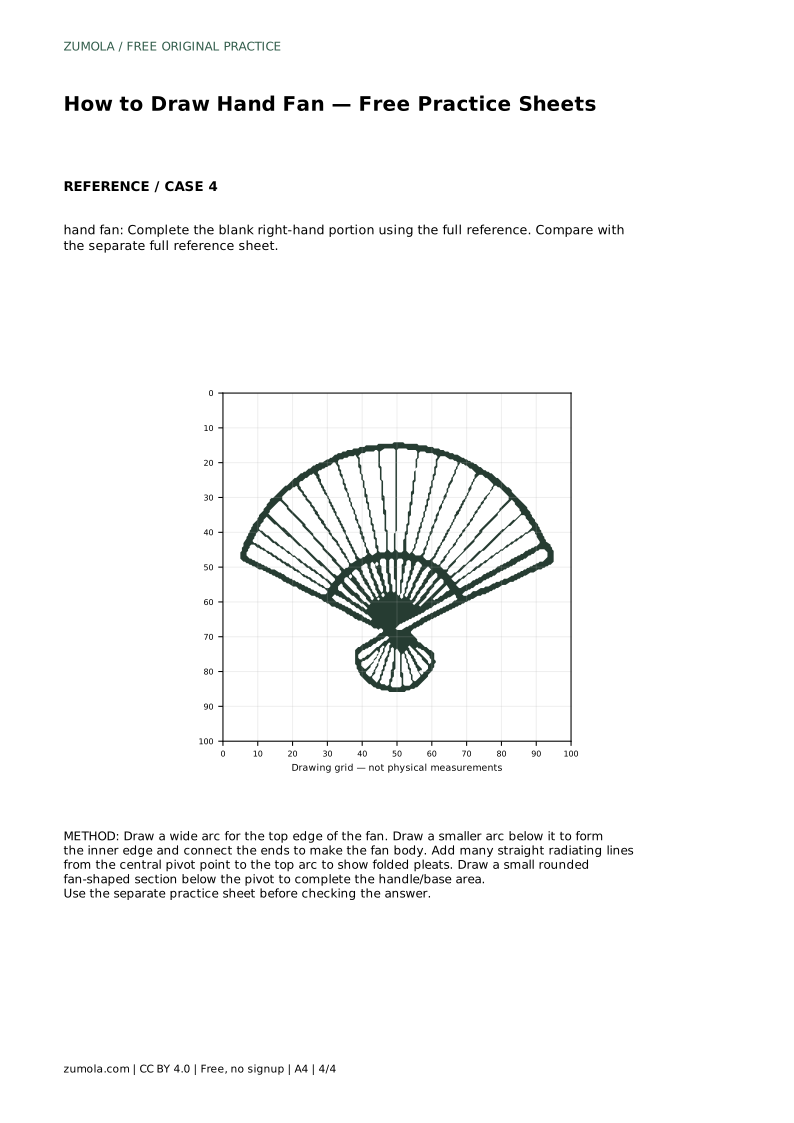
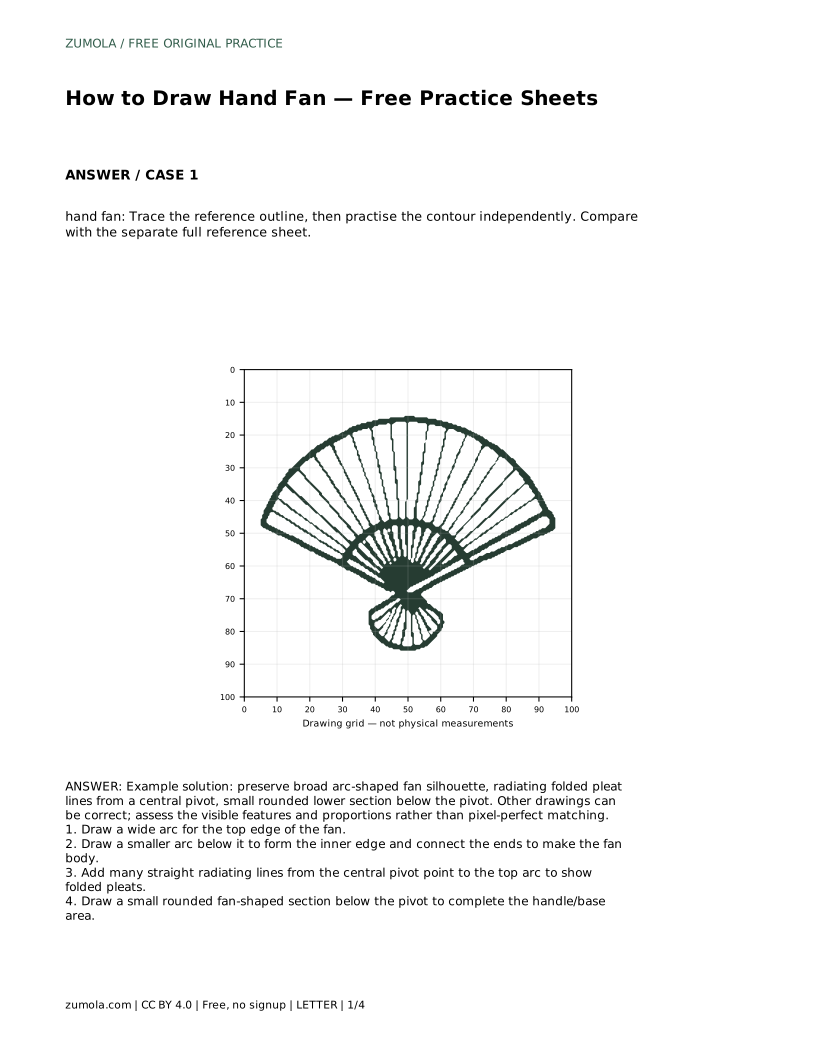
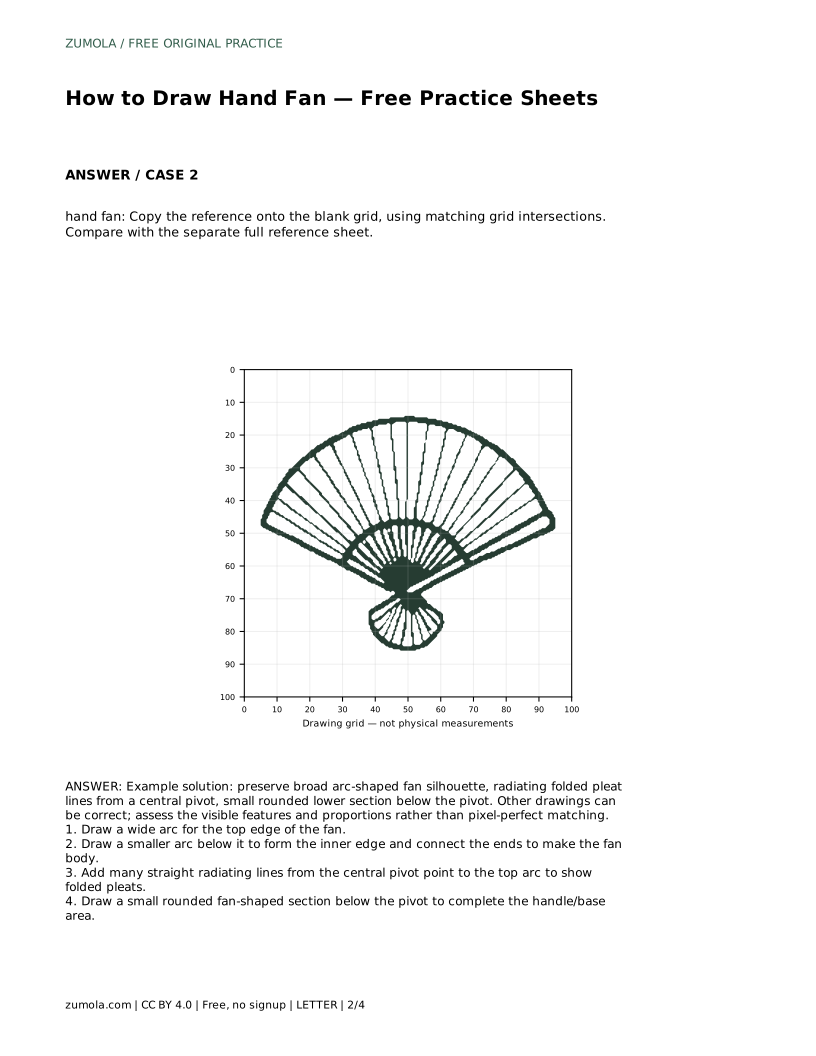
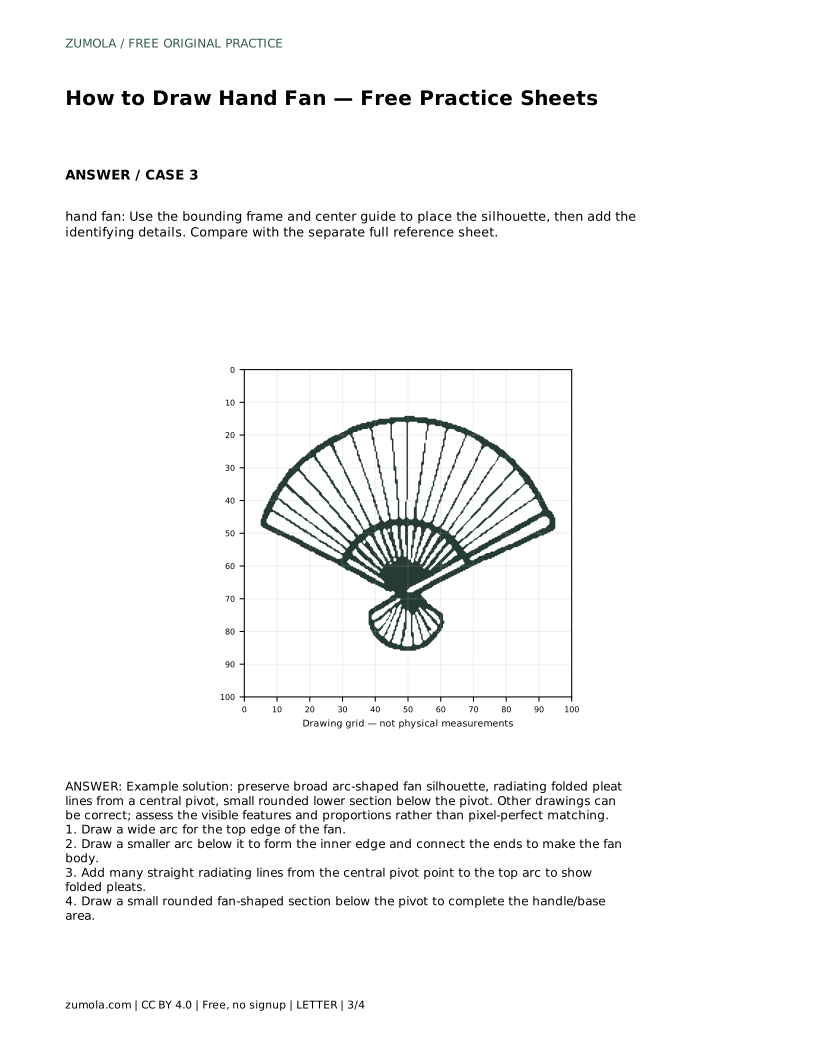
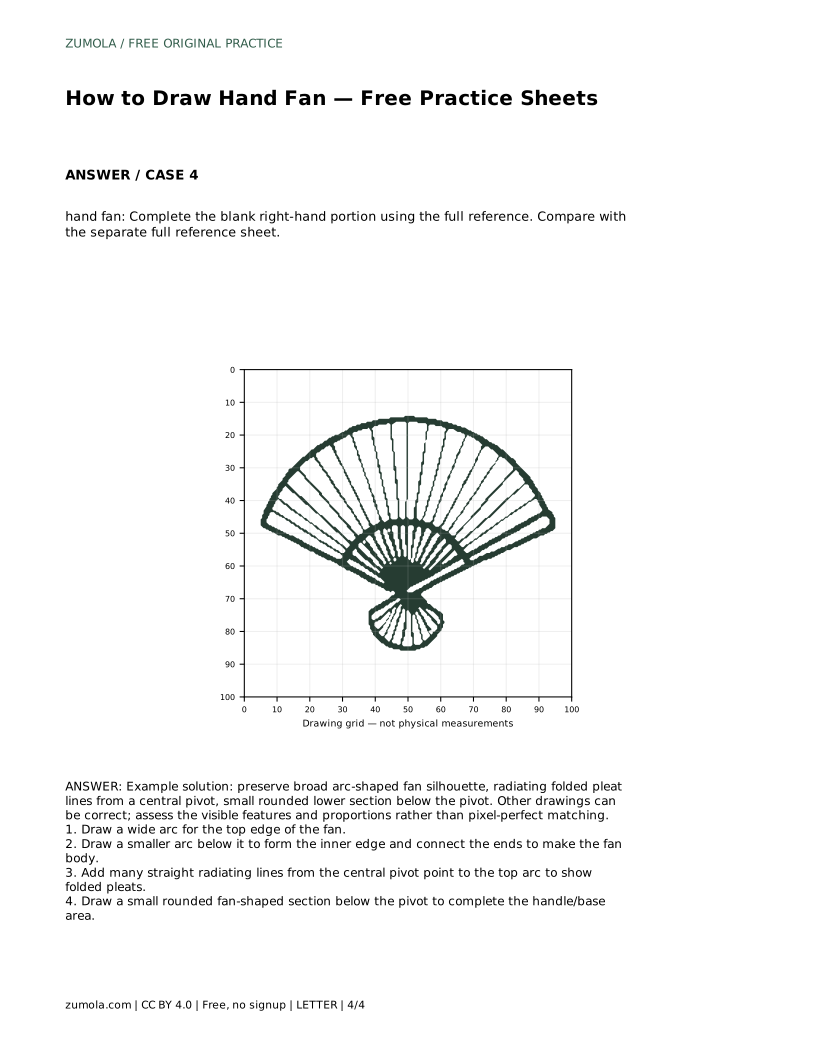
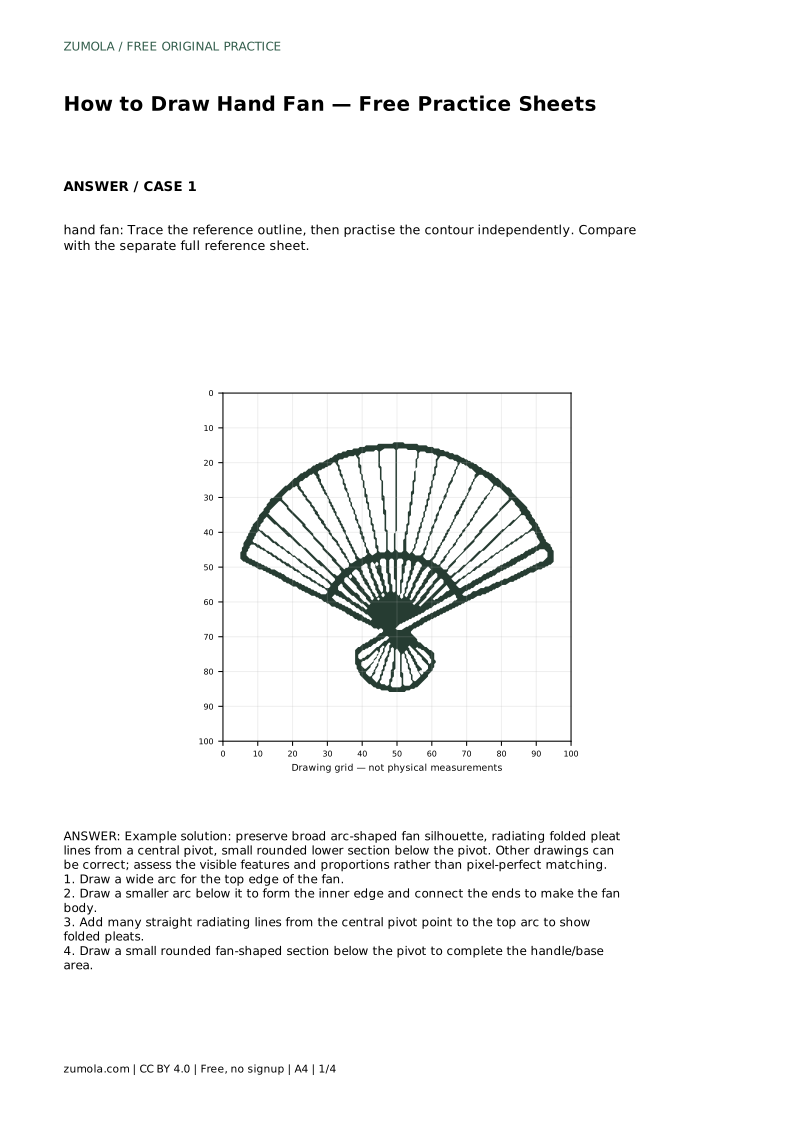
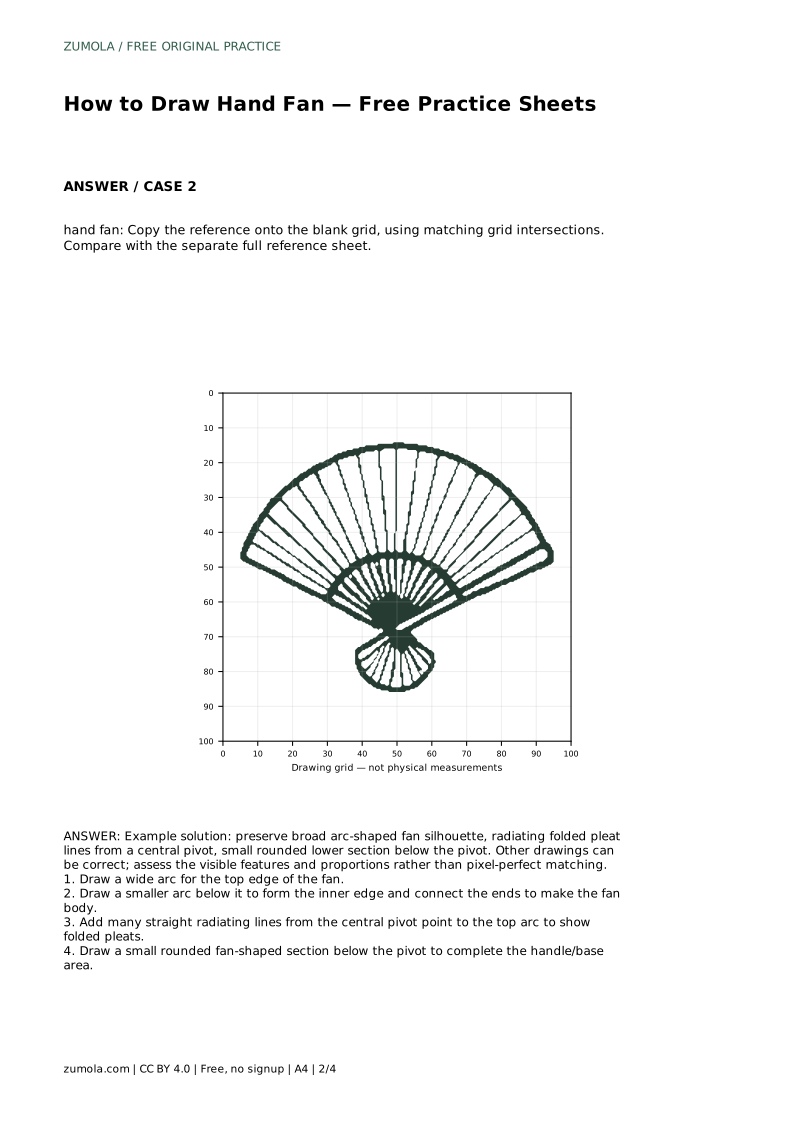
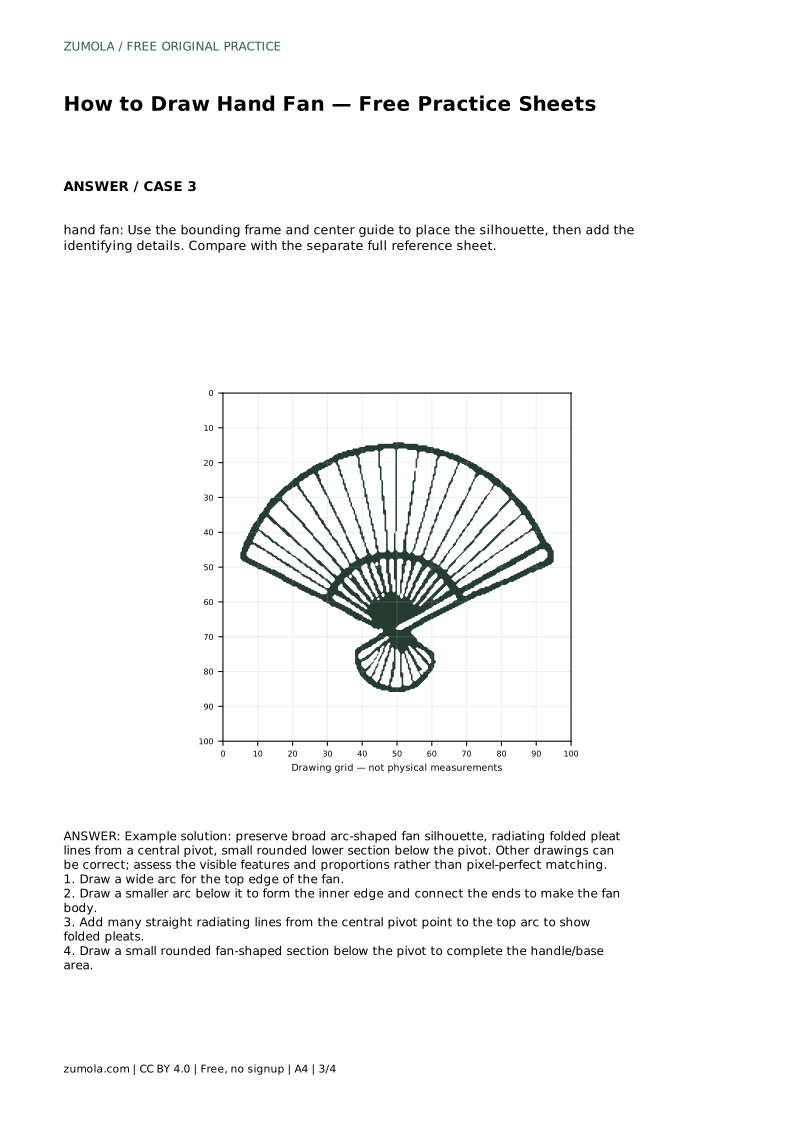
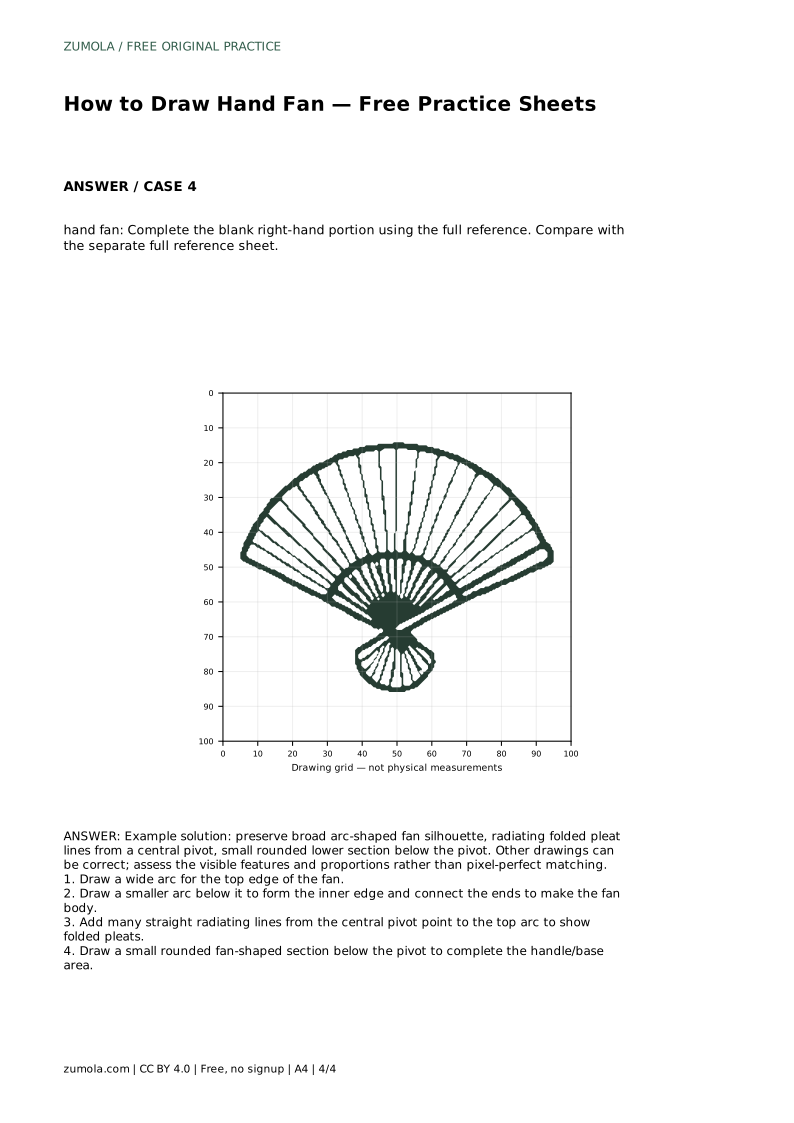
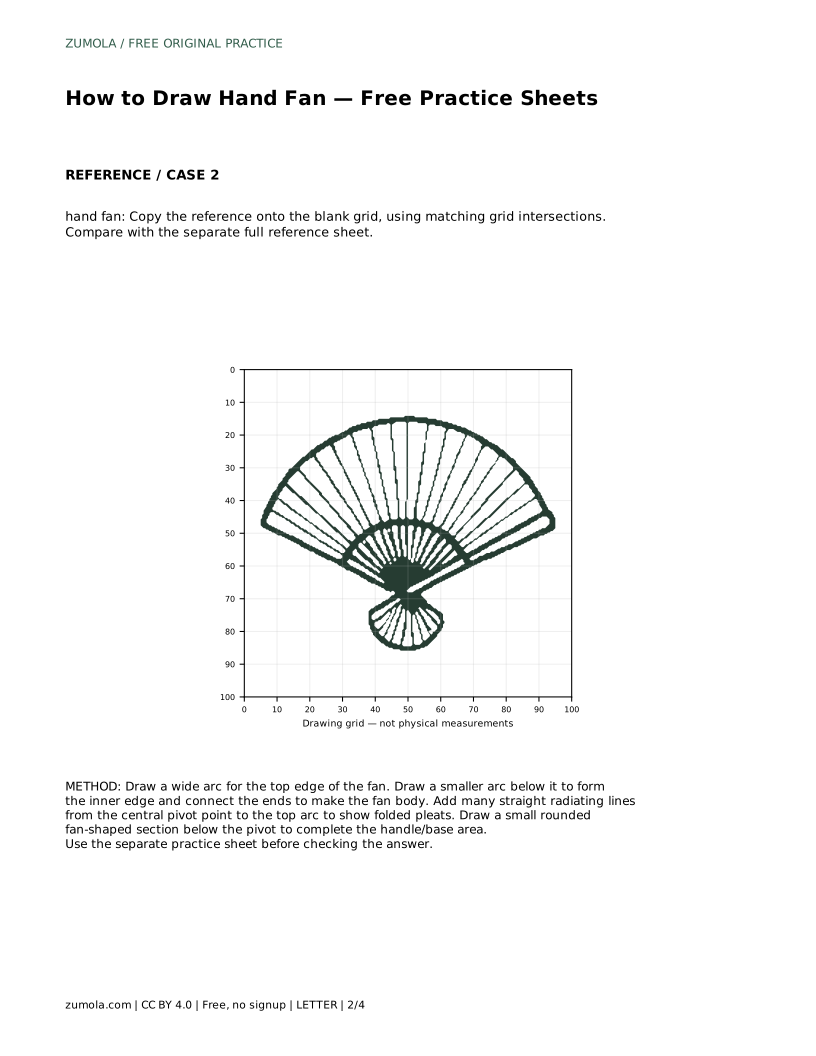
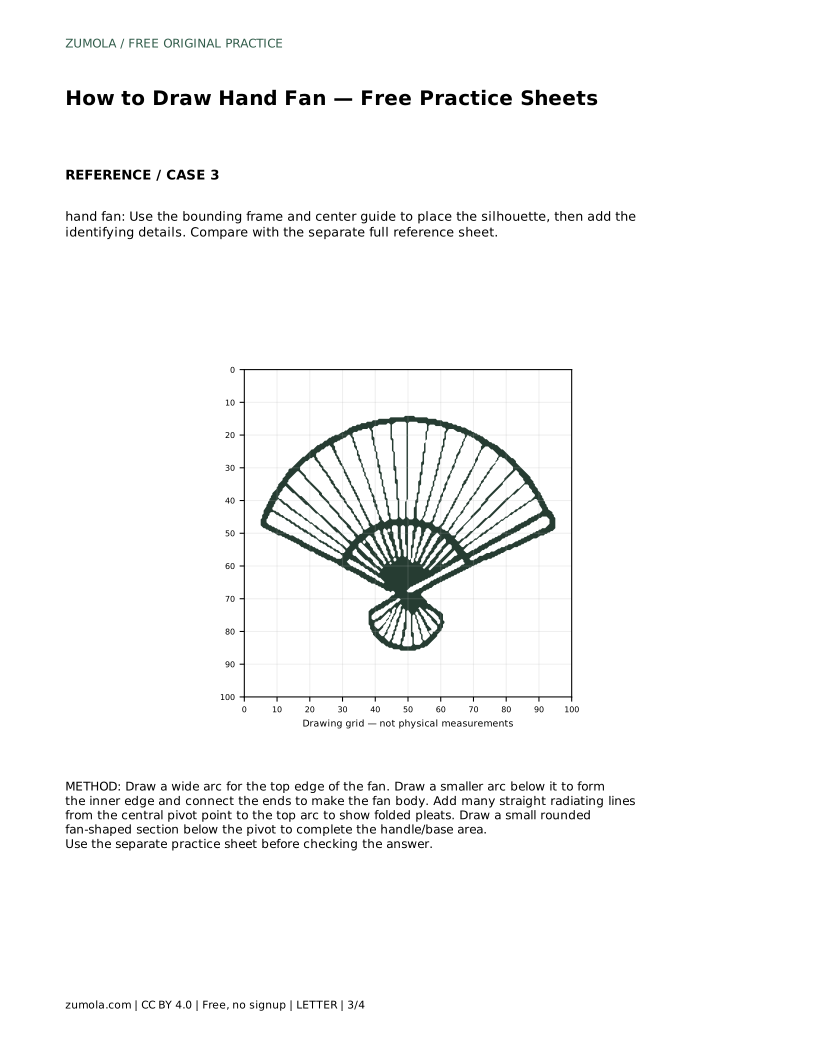
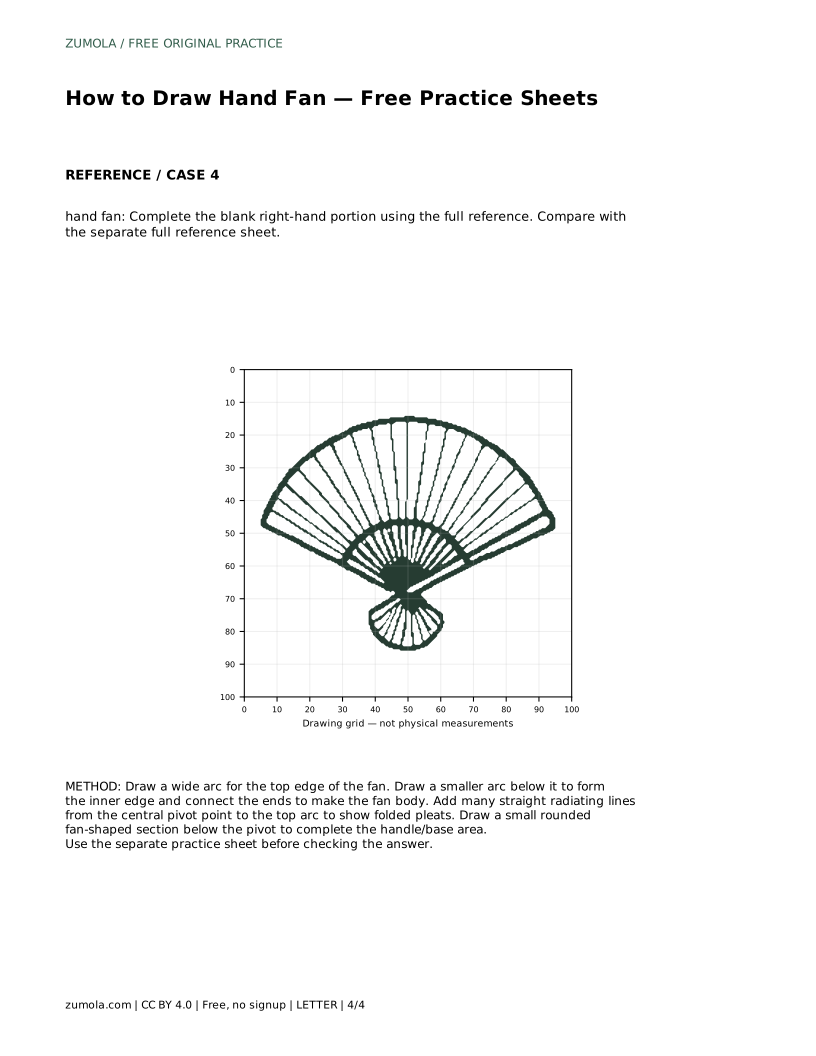
A hand fan is easy to recognise once you understand its structure: a broad arc-shaped body, a central pivot where the pleats gather, and a small rounded section below that pivot. This page explains how to build those parts in order, first by tracing a reference outline and then by drawing the contour independently. Because drawings can differ and still be correct, you will assess visible features and proportions rather than aim for a pixel-perfect match.
Begin with the largest shape before adding any detail. The fan body is a wide arc at the top, closed by a smaller arc below it. Connect the two ends so the body reads as one continuous shape rather than two separate curves. Keep the lower arc shorter and closer to the pivot; if it is too wide, the fan looks like a shield instead of a folded fan.
Work lightly at this stage. The silhouette carries most of the recognition, so check that the top arc is broad and even and that both side edges meet the lower arc cleanly. Only after the outline looks balanced should you add the pleats and base.
The pleats are straight lines that radiate from one central pivot point to the top arc. Mark the pivot first, low and centred within the fan body, then draw lines outward at roughly even spacing. Each line should point toward the top arc rather than wander sideways. The lines do not need identical lengths, but they should all begin near the same pivot.
Spacing matters more than count. Too few lines make the fan look flat; too many crowded lines make the pleats muddy. A moderate, even spread reads clearly as folded material. If a line drifts off course, redraw it from the pivot rather than patching the middle.
Below the pivot, add a small rounded fan-shaped section. This is the handle and base area, and it should stay compact relative to the wide body above. A base that is too large overwhelms the fan; one that is too small disappears. Round its lower edge gently and keep it centred under the pivot so the whole drawing feels balanced.
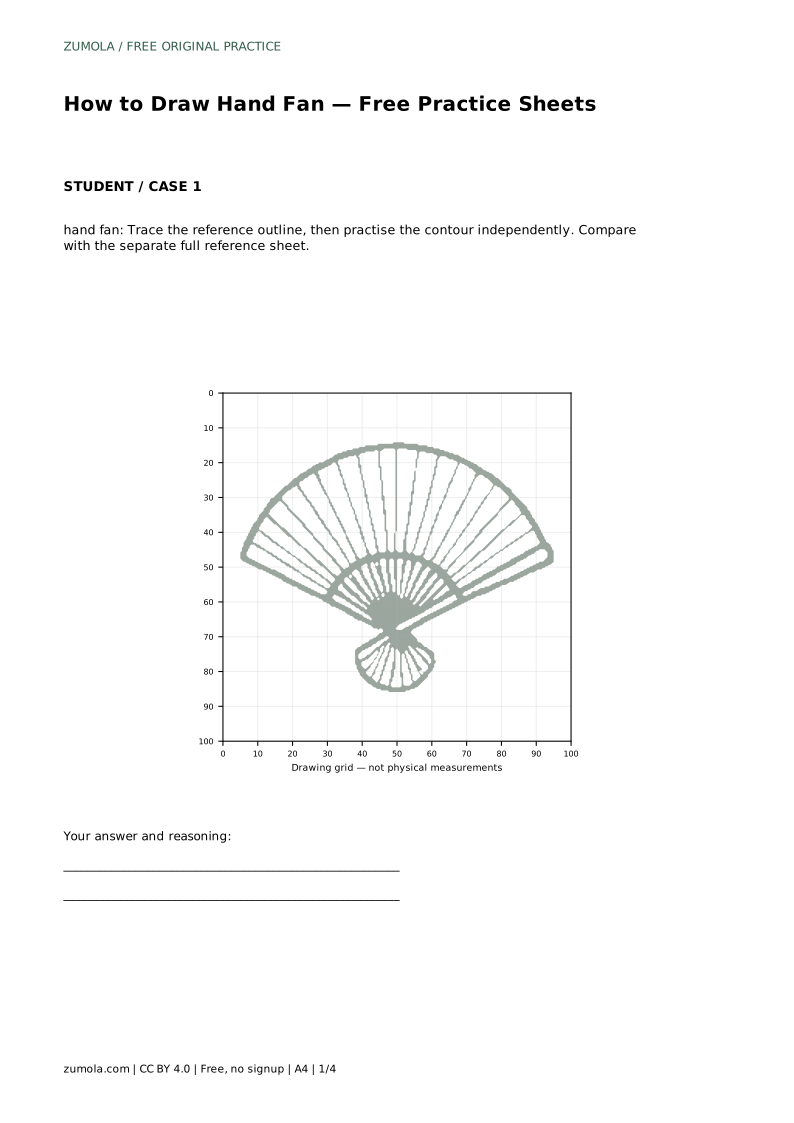
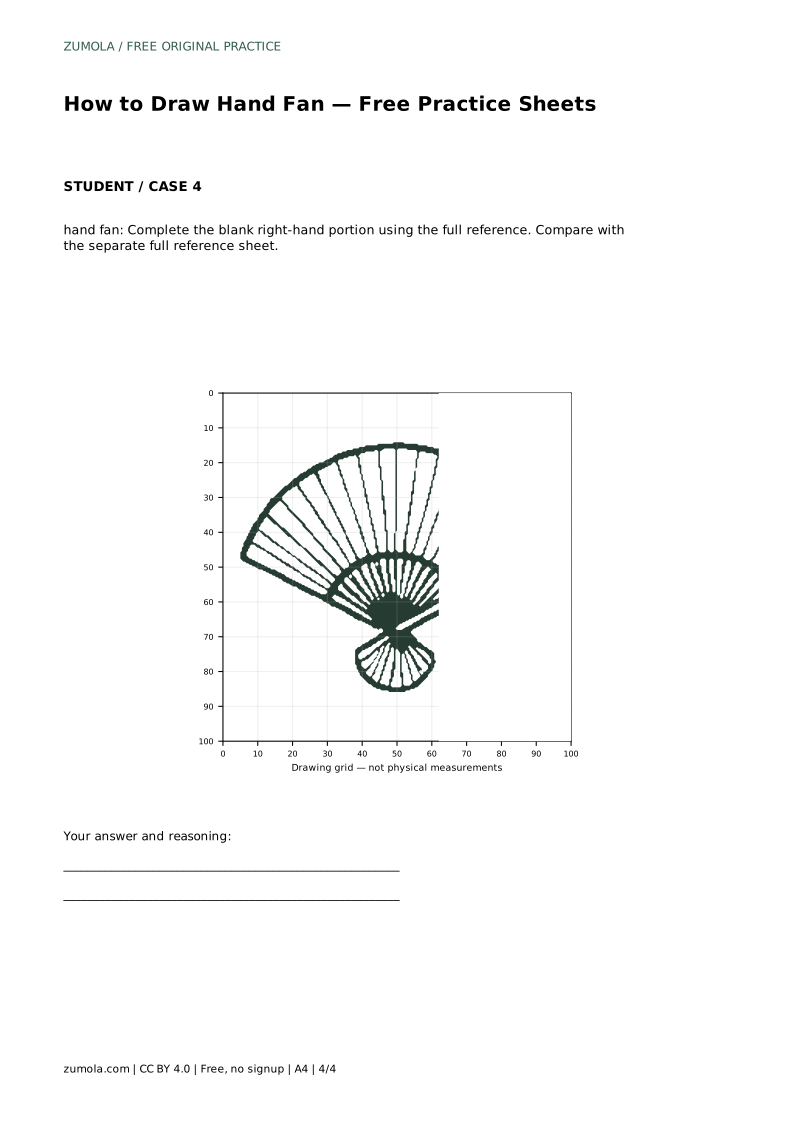
When the drawing is complete, compare it with a separate full reference sheet. Look at the broad arc, the radiating pleats, and the small rounded lower section. Differences in pleat count or exact curve are acceptable; missing or misplaced structural features are what you should correct.
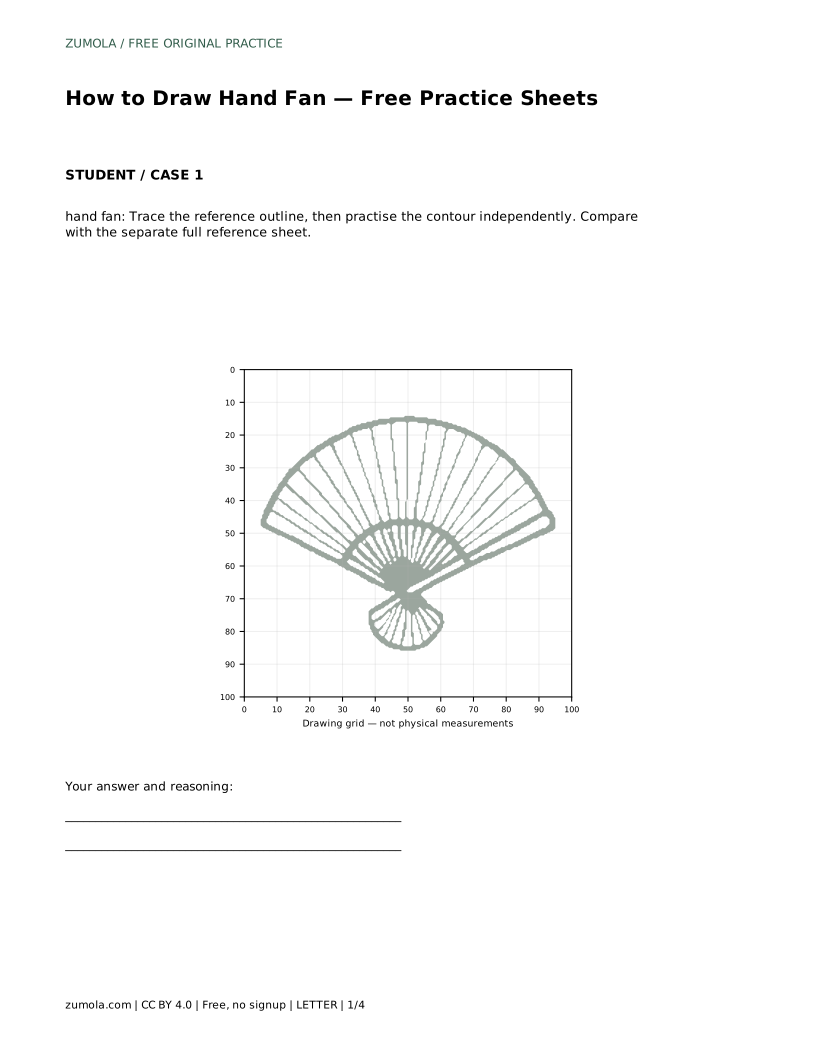
hand fan: Trace the reference outline, then practise the contour independently. Compare with the separate full reference sheet.
Example solution: preserve broad arc-shaped fan silhouette, radiating folded pleat lines from a central pivot, small rounded lower section below the pivot. Other drawings can be correct; assess the visible features and proportions rather than pixel-perfect matching. Draw a wide arc for the top edge of the fan. Draw a smaller arc below it to form the inner edge and connect the ends to make the fan body. Add many straight radiating lines from the central pivot point to the top arc to show folded pleats. Draw a small rounded fan-shaped section below the pivot to complete the handle/base area.
There is no fixed number. Use enough evenly spaced lines to read as folded pleats without crowding the body; a moderate spread is clearer than a dense one.
No. They should all start near the same pivot and reach the top arc, but small differences in length are acceptable as long as the radiating pattern stays clear.
Check the broad arc-shaped silhouette, the radiating pleat lines from a central pivot, and the small rounded lower section. Proportions and visible features matter more than an exact match.
All drawing practice · Free coordinate paper
Original resources · CC BY 4.0 · Free for personal and classroom use with attribution.