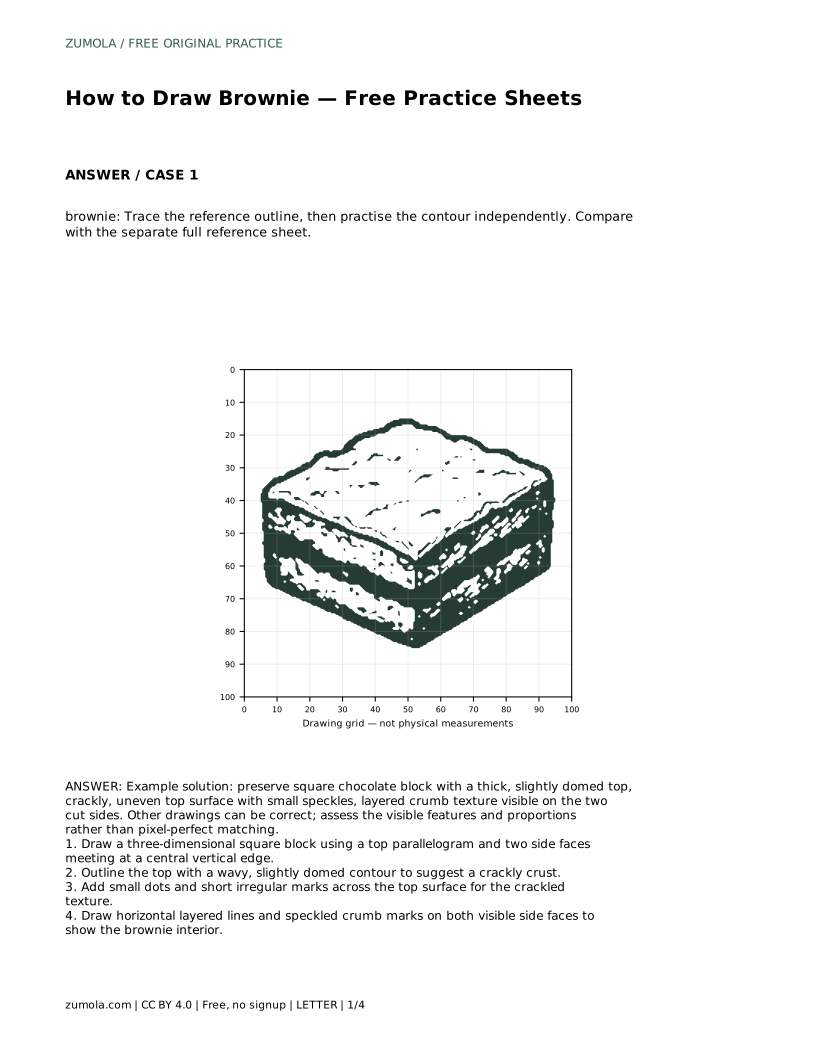
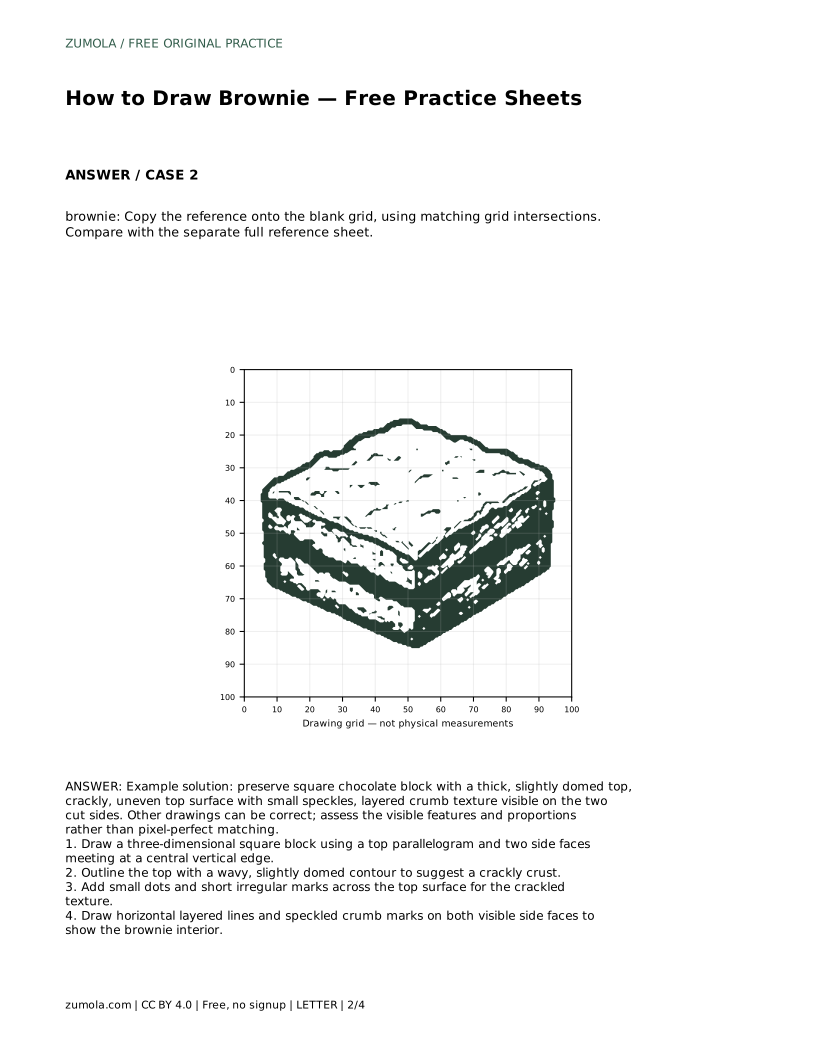
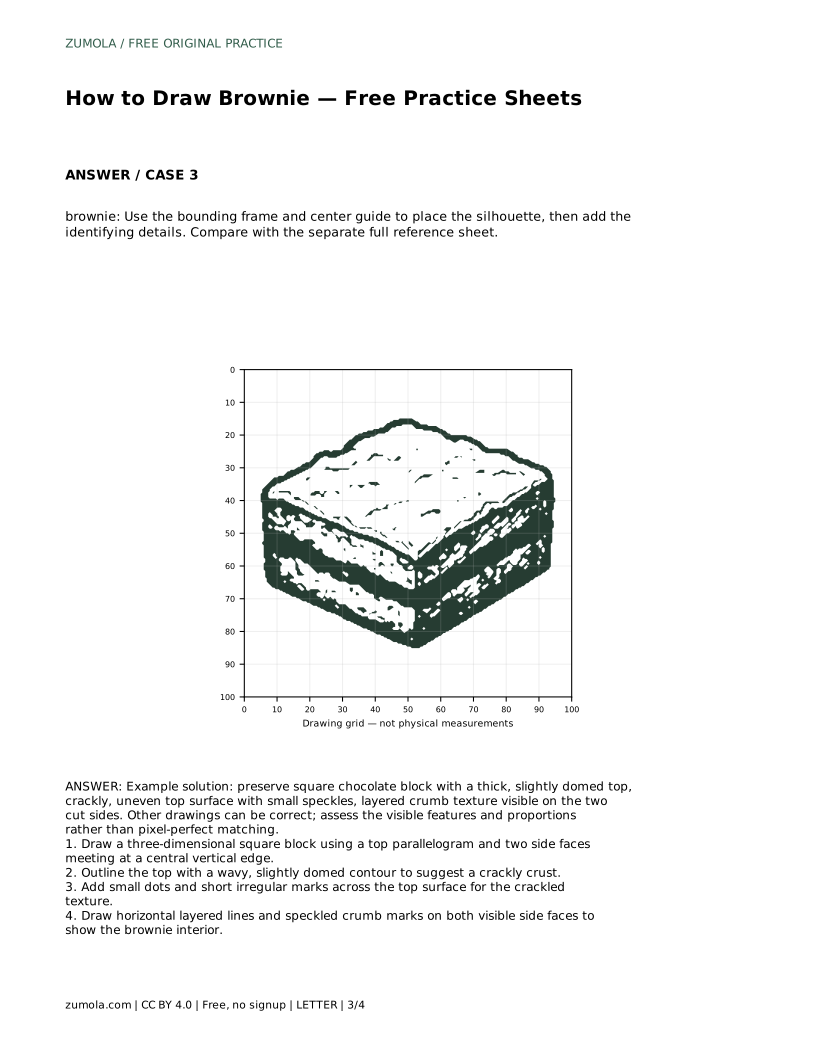
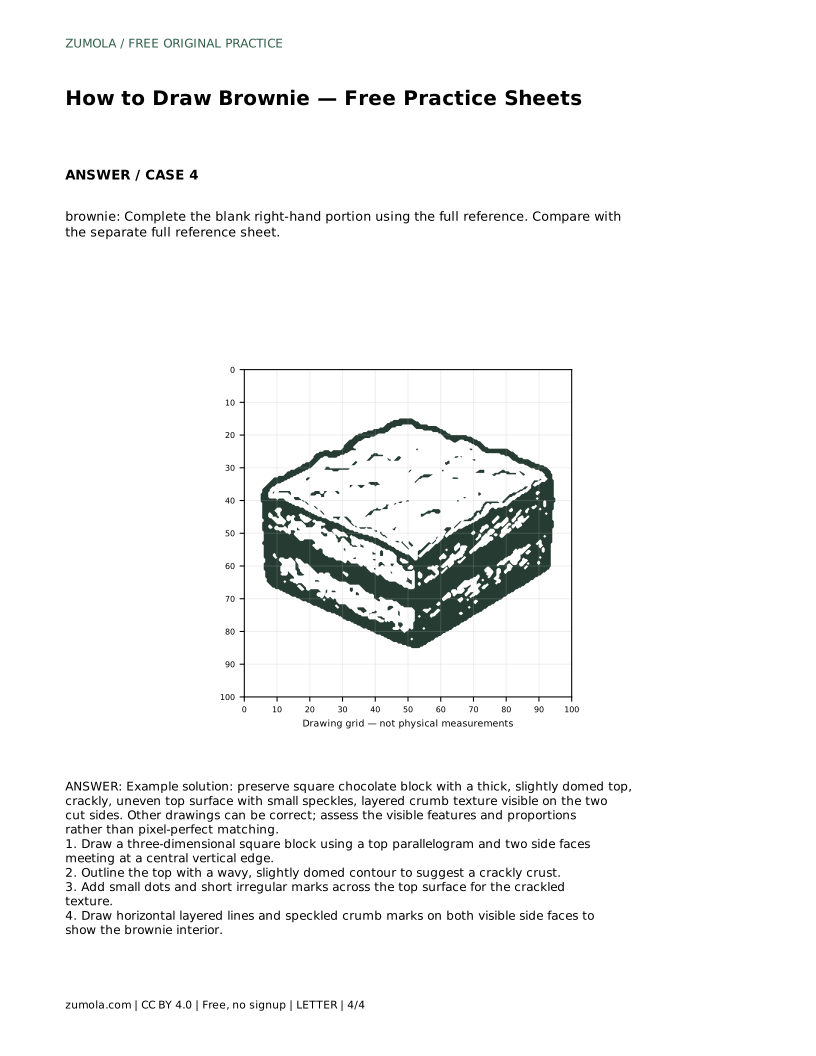
Reference diagrams
LETTER · Download PDF
A4 · Download PDF
Free original resources
Learn to draw a brownie as a three-dimensional square block with a domed crackly top and layered crumb sides. Practice sheets support tracing, grids, and guided placement.
Four original cases, with reference diagrams, practice sheets and worked answers. Everything is free; no signup required.
LETTER · Download PDF
A4 · Download PDF
LETTER · Download PDF
A4 · Download PDF
LETTER · Download PDF
A4 · Download PDF
Use A4 or US Letter to match your printer. Use the stated values and conditions to solve each exercise; diagrams are not physical measuring rulers.
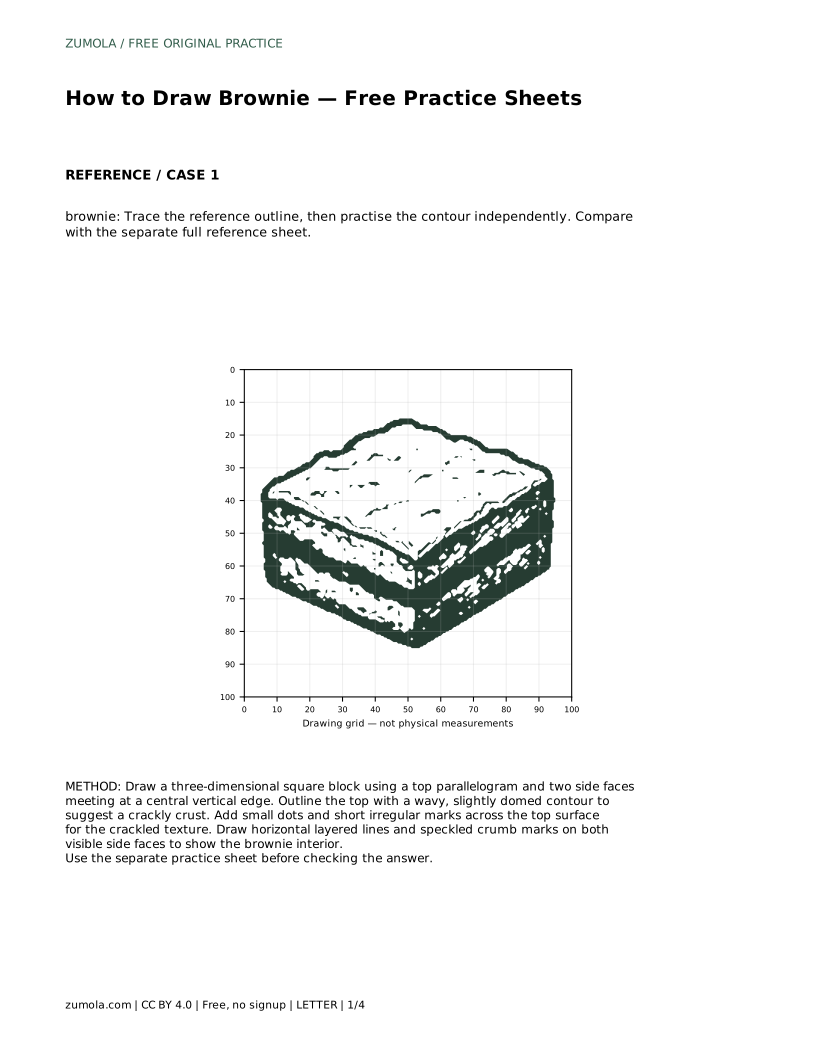
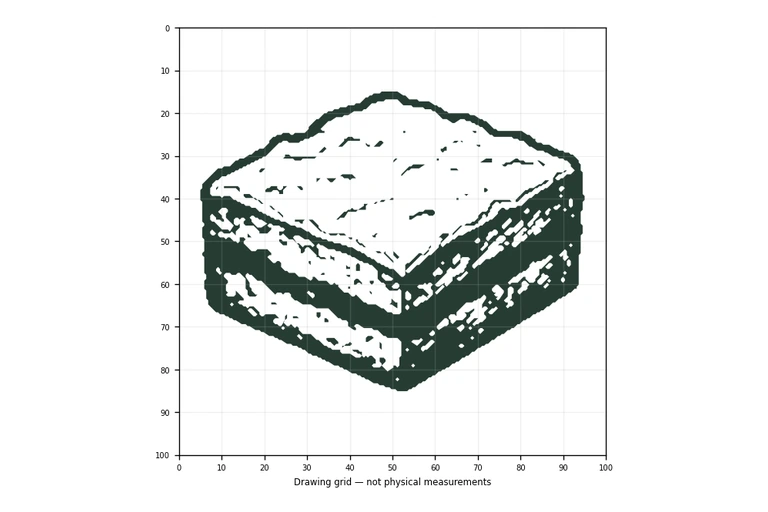
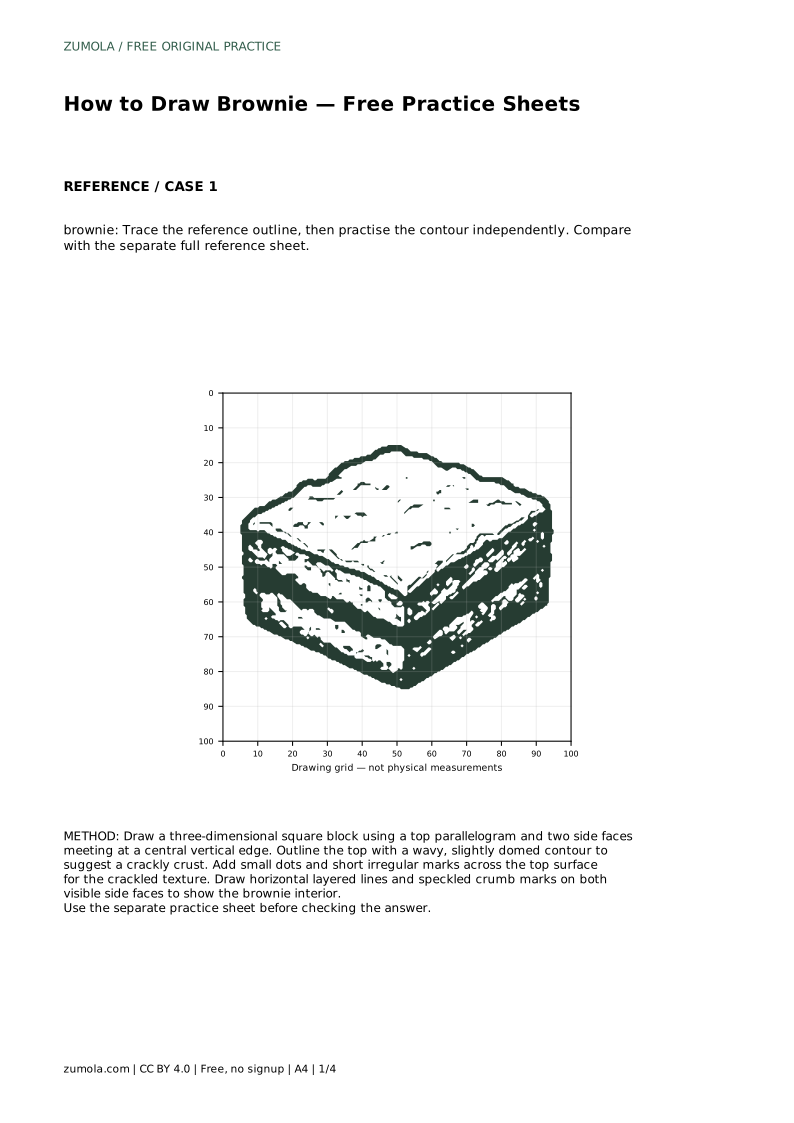
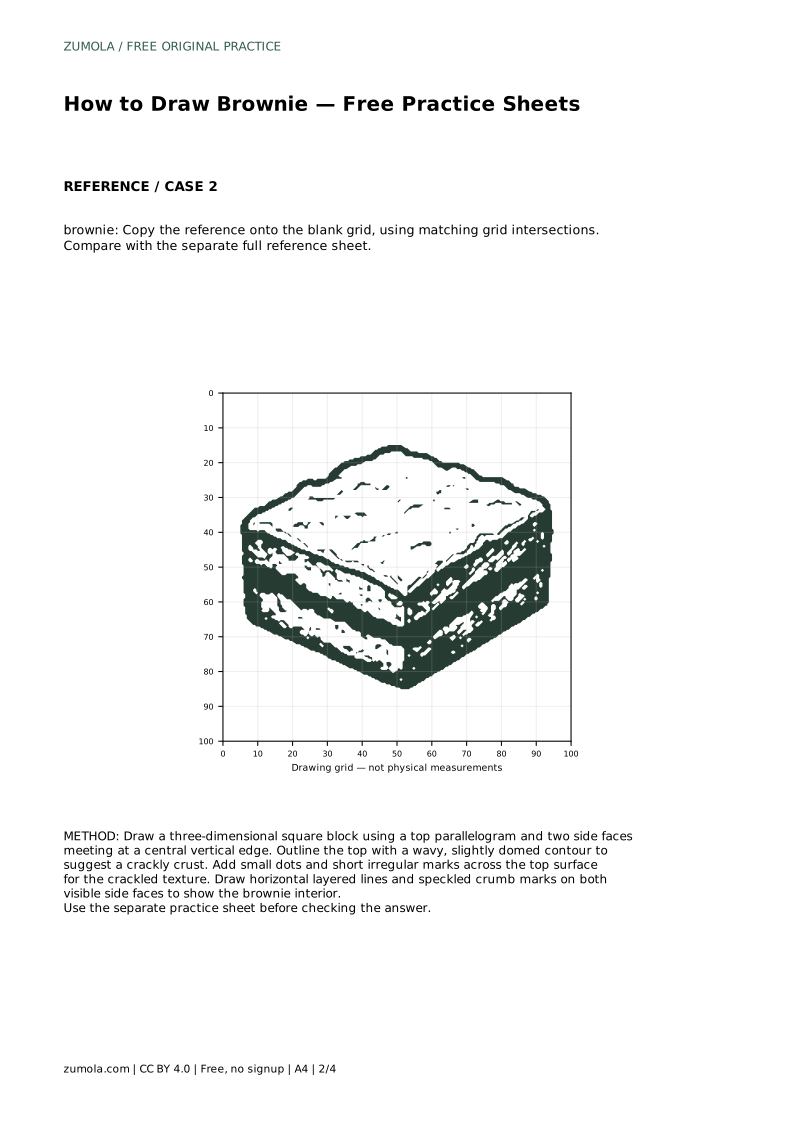
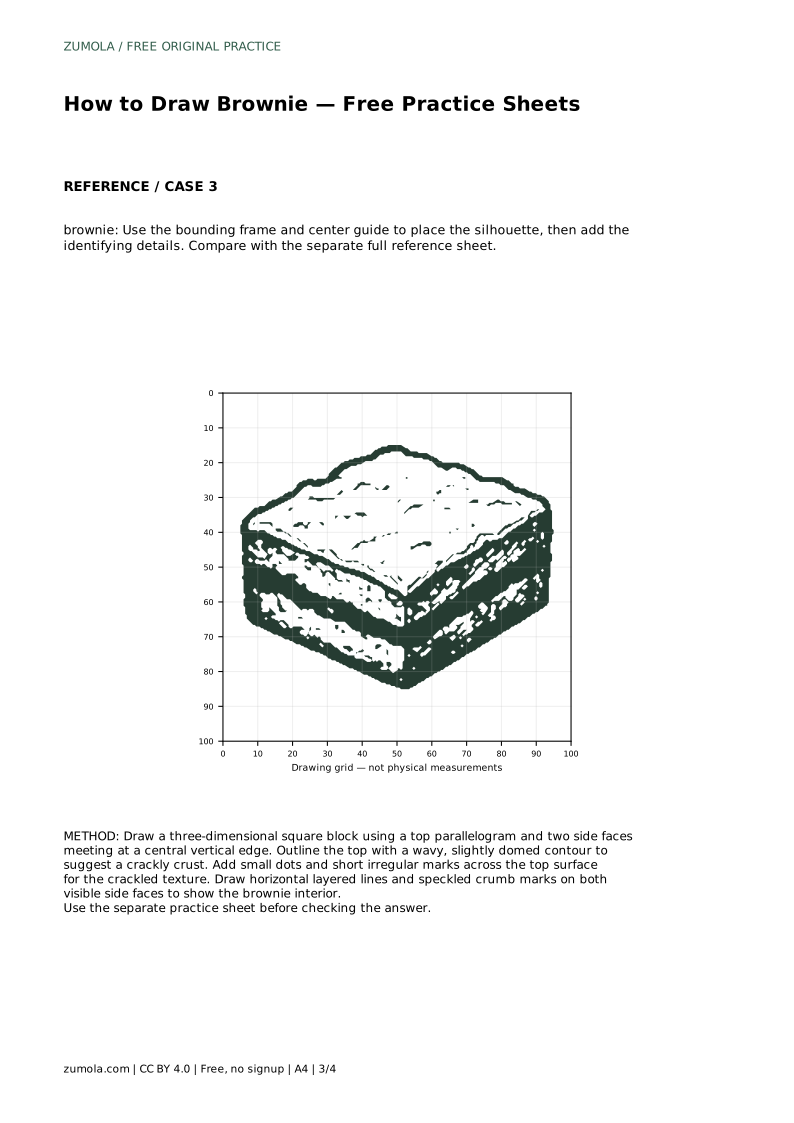
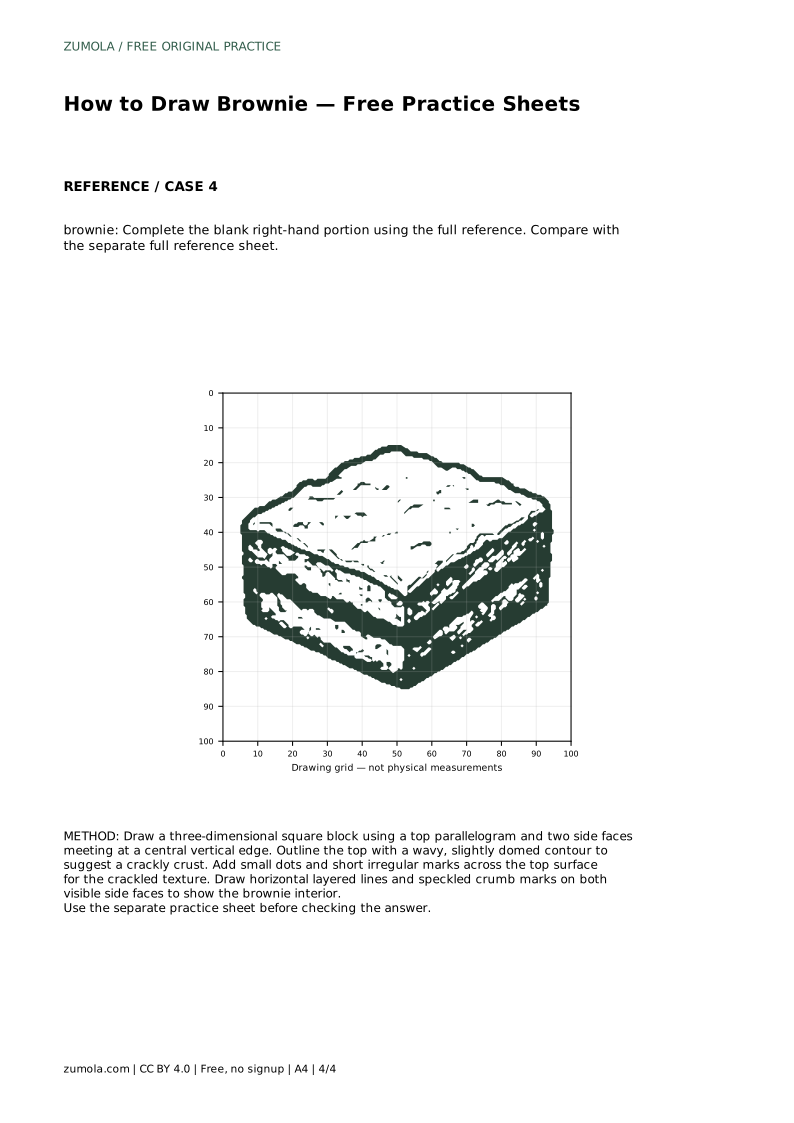
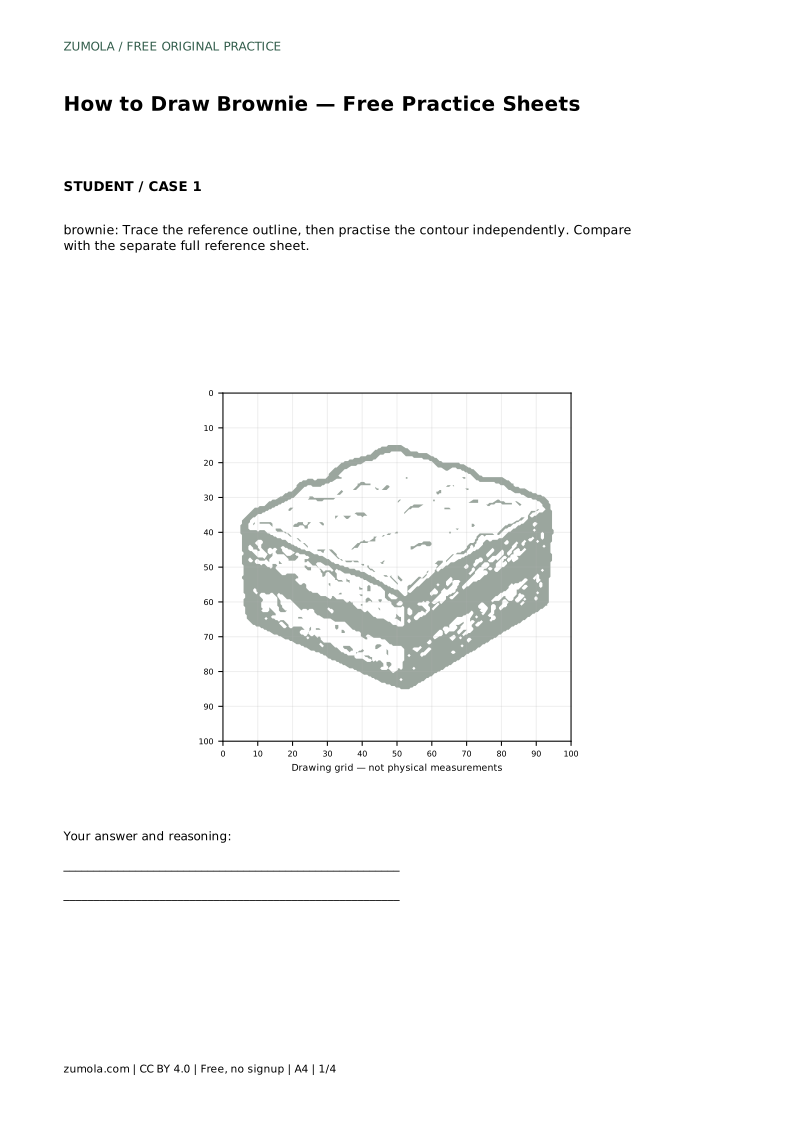
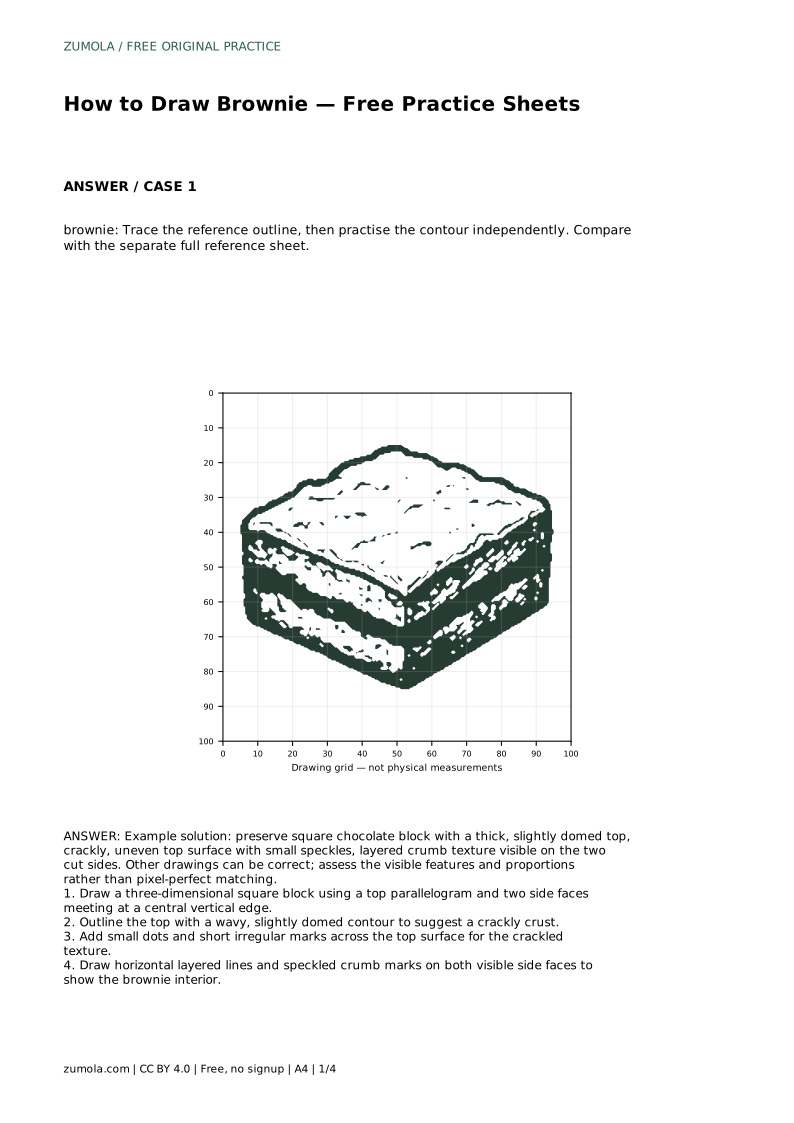
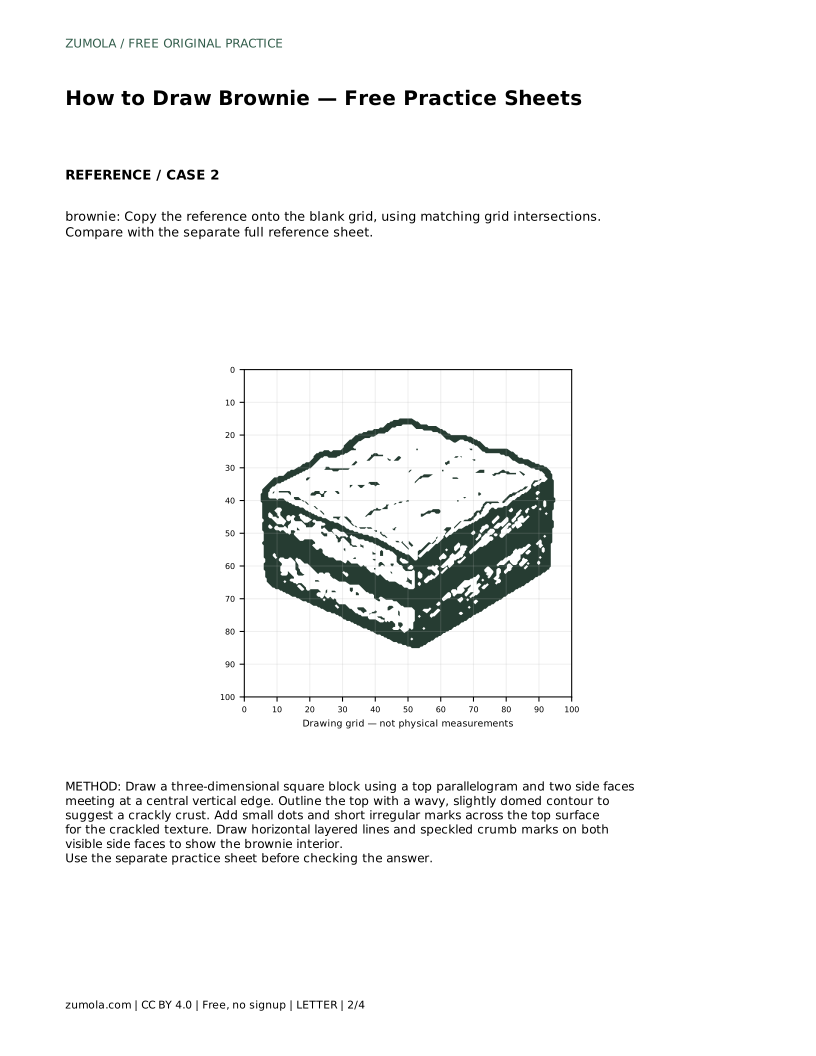
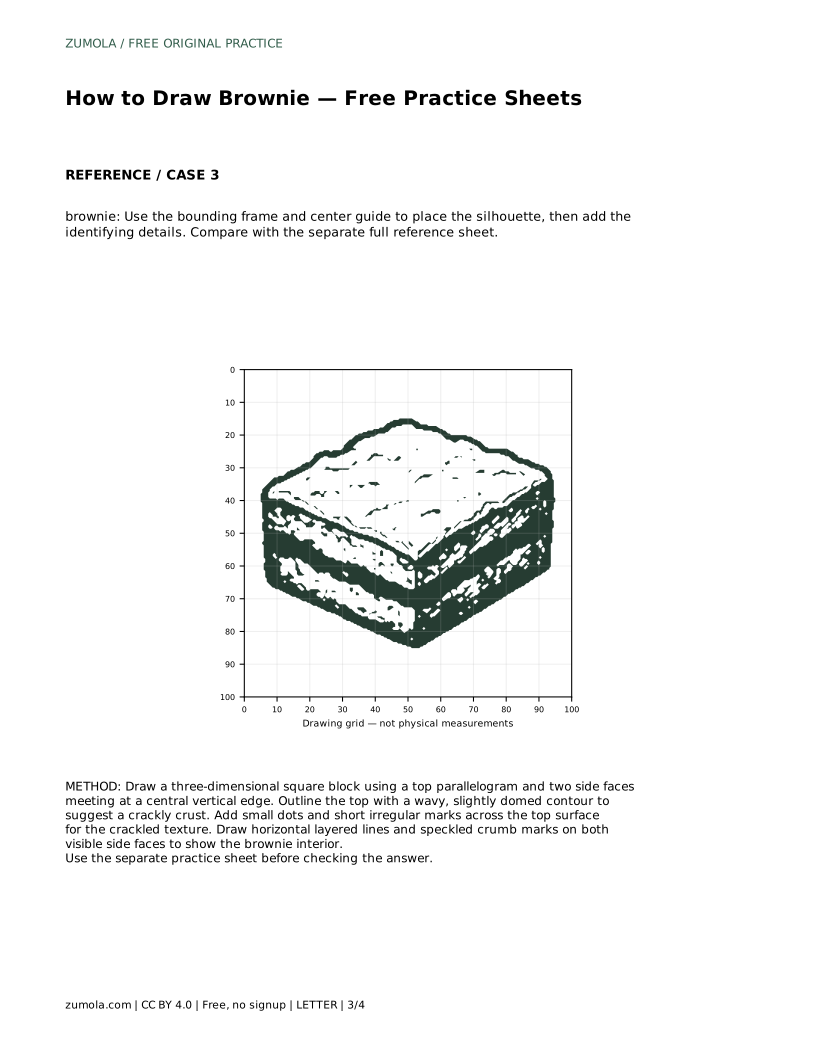
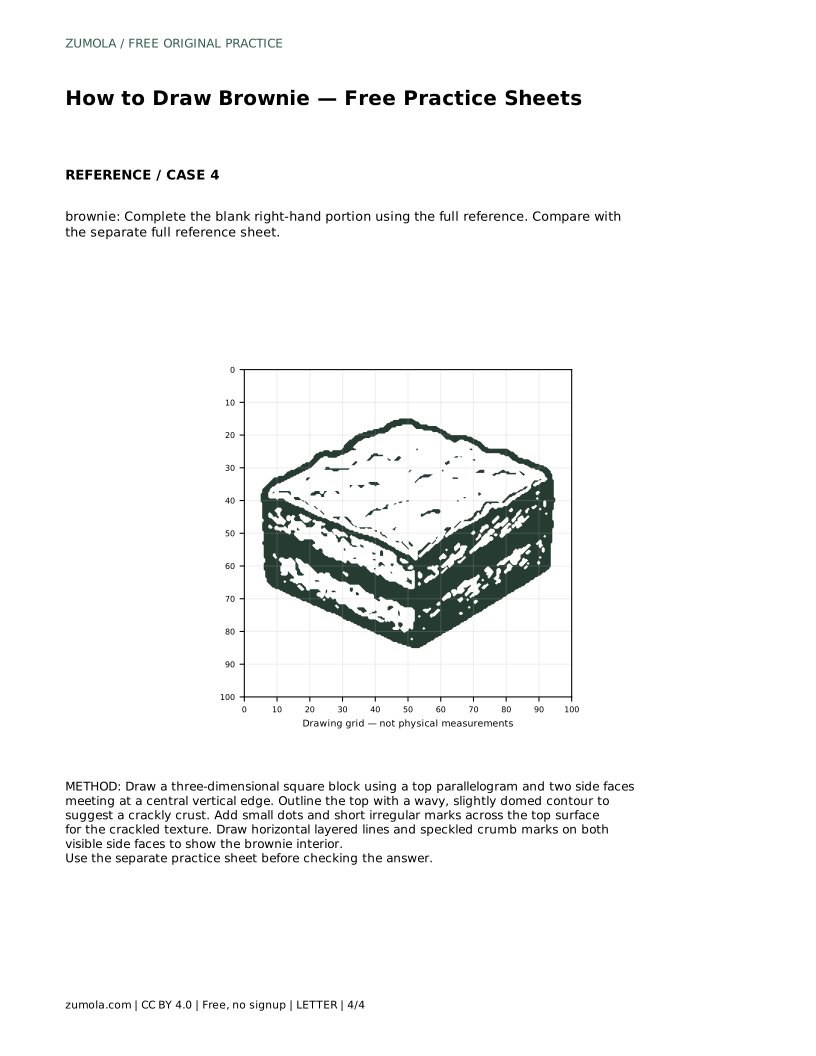
A brownie is easy to draw once you treat it as a solid block rather than a flat square. The shape has three visible faces: a top surface, a front side, and a second cut side meeting at a central vertical edge. Your job is to keep those proportions believable, then add the two textures that make a brownie recognizable: a crackly, slightly domed top and a layered, speckled crumb on the cut sides.
Begin by drawing the top as a parallelogram, then drop two side faces from its front edges so they meet at a central vertical line. This gives the brownie thickness and makes it read as a cut piece rather than a square. Keep the top wider than it is deep, and keep both side faces roughly equal in height so the block does not look tilted.
Only after the block is stable should you adjust the top outline. A brownie top is rarely perfectly flat; it rises slightly in the middle and dips unevenly at the edges. Make that dome gentle, not dramatic, so the block still looks solid.
The top of a brownie is where most of its character lives. Use small dots, short irregular dashes, and a few thin curved lines to suggest a crust that cracked as it cooled. Spread these marks across the whole top rather than clustering them in one corner, and vary their size so the surface does not look printed.
Keep the marks shallow. They describe texture on a surface, not holes or objects sitting on top. A few slightly longer cracks near the center can suggest where the crust pulled apart, but avoid turning them into deep gashes.
The two visible side faces are cut surfaces, so they need horizontal layering and speckles rather than smooth shading. Draw a few soft horizontal lines across each side to suggest compressed layers, then add small dots and short marks between them for the crumb. Keep the lines roughly parallel to the bottom edge so the layers feel consistent.
Because the two sides meet at a central edge, the texture should continue across that edge without a hard break. The front side and the second side can differ slightly in density, but both should look like the same brownie interior.
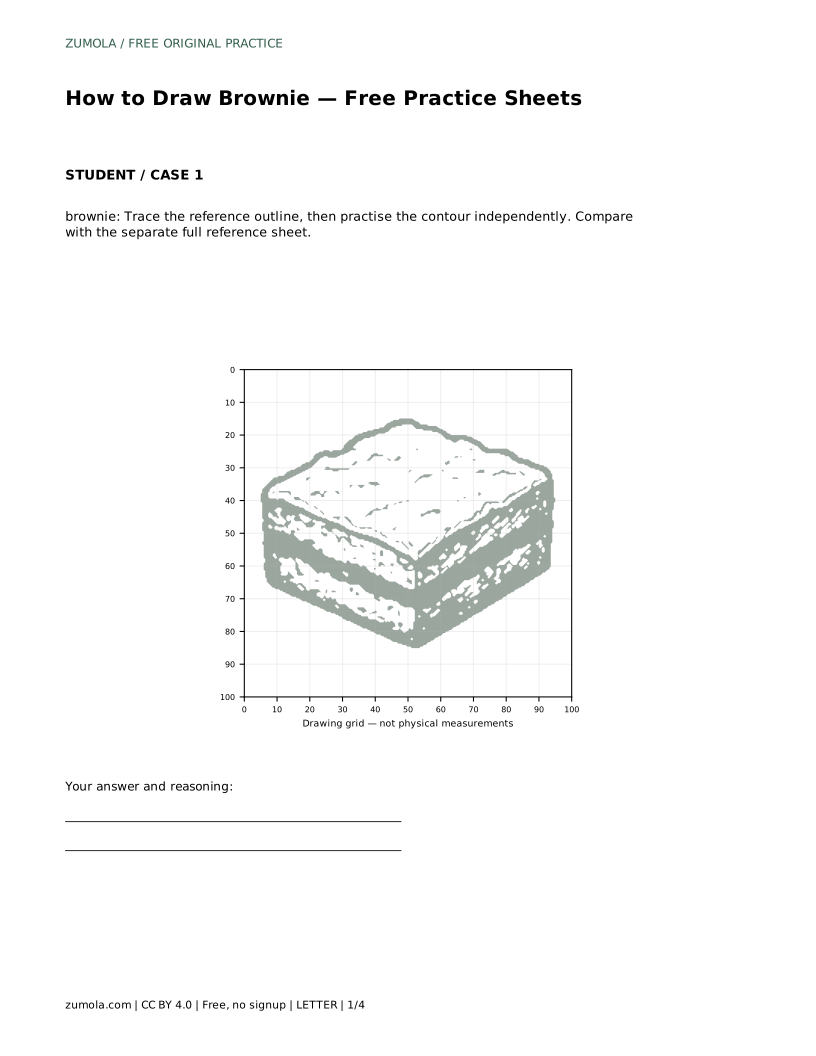
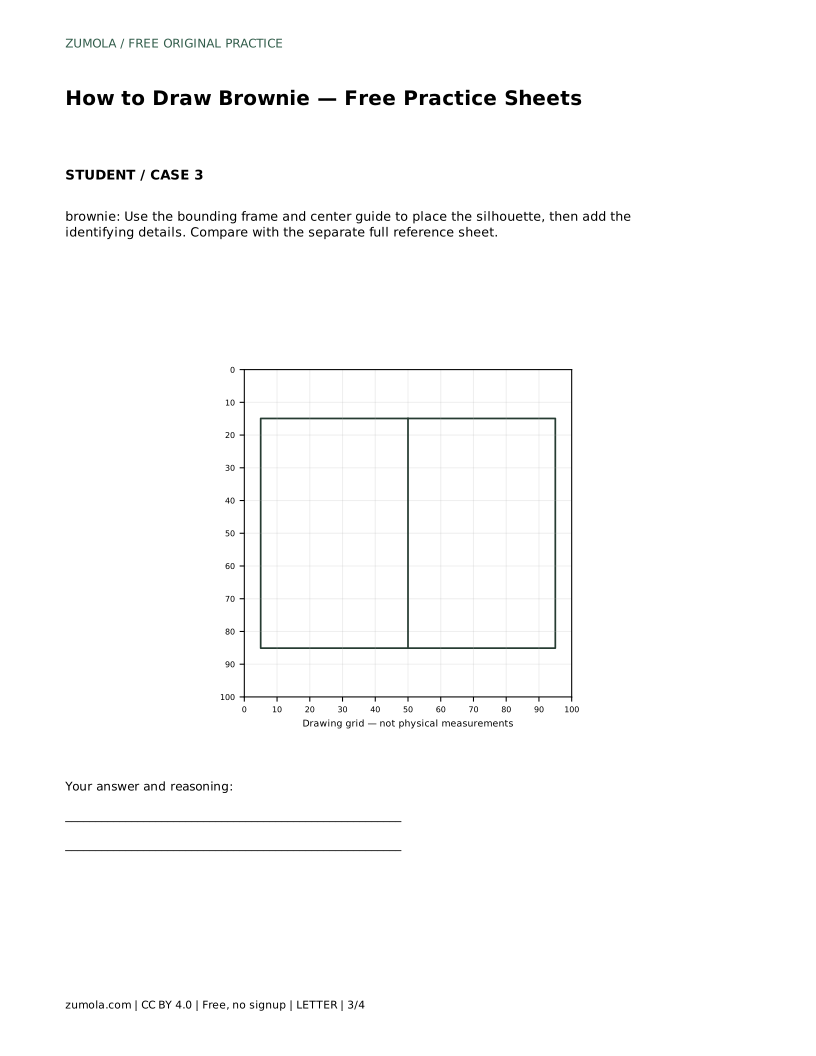
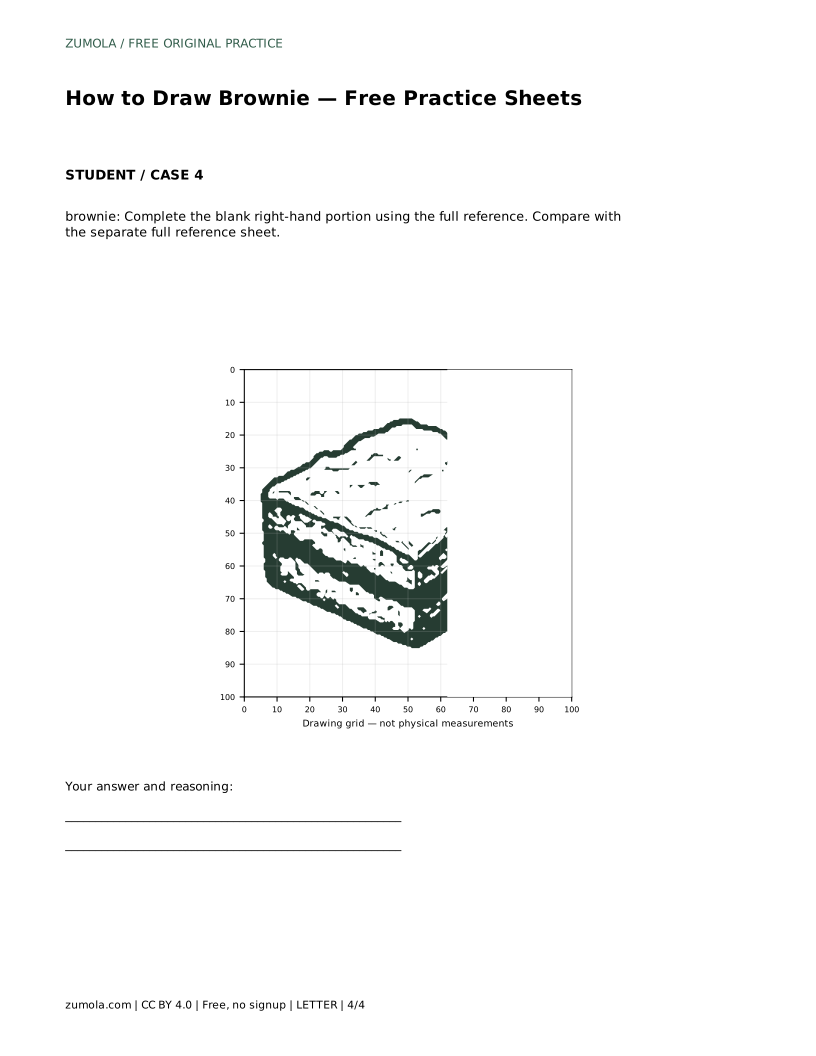
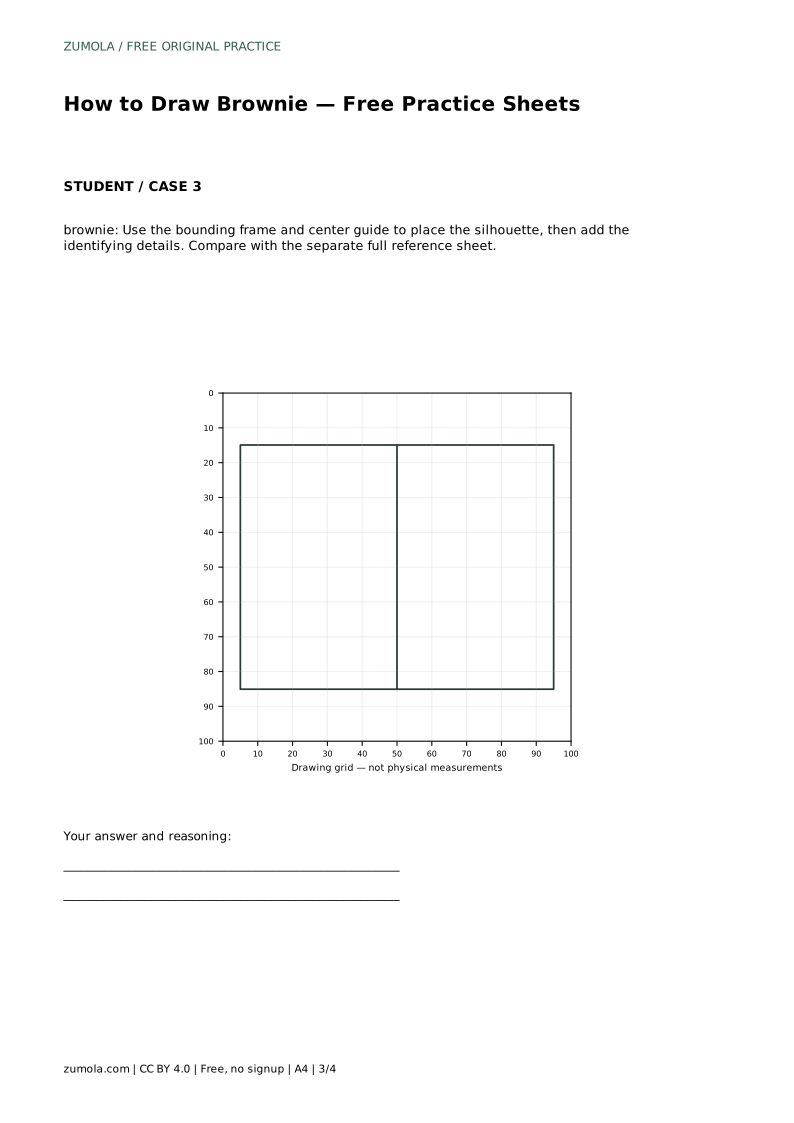
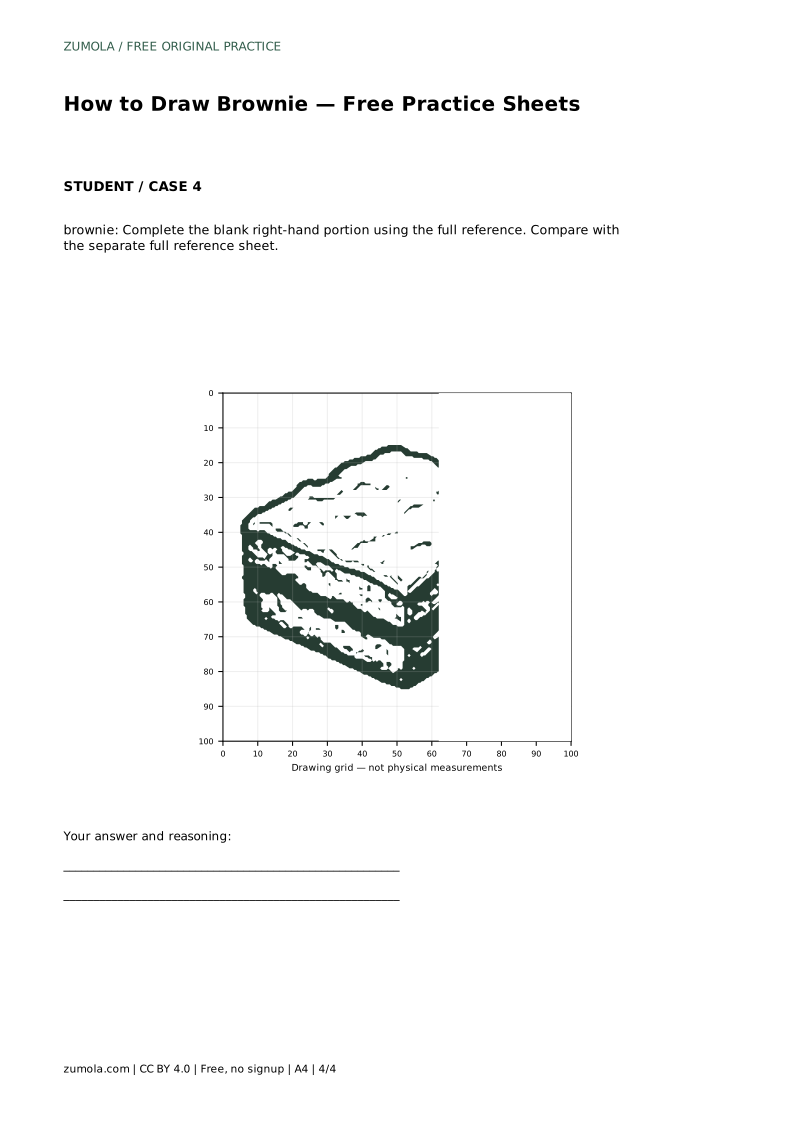
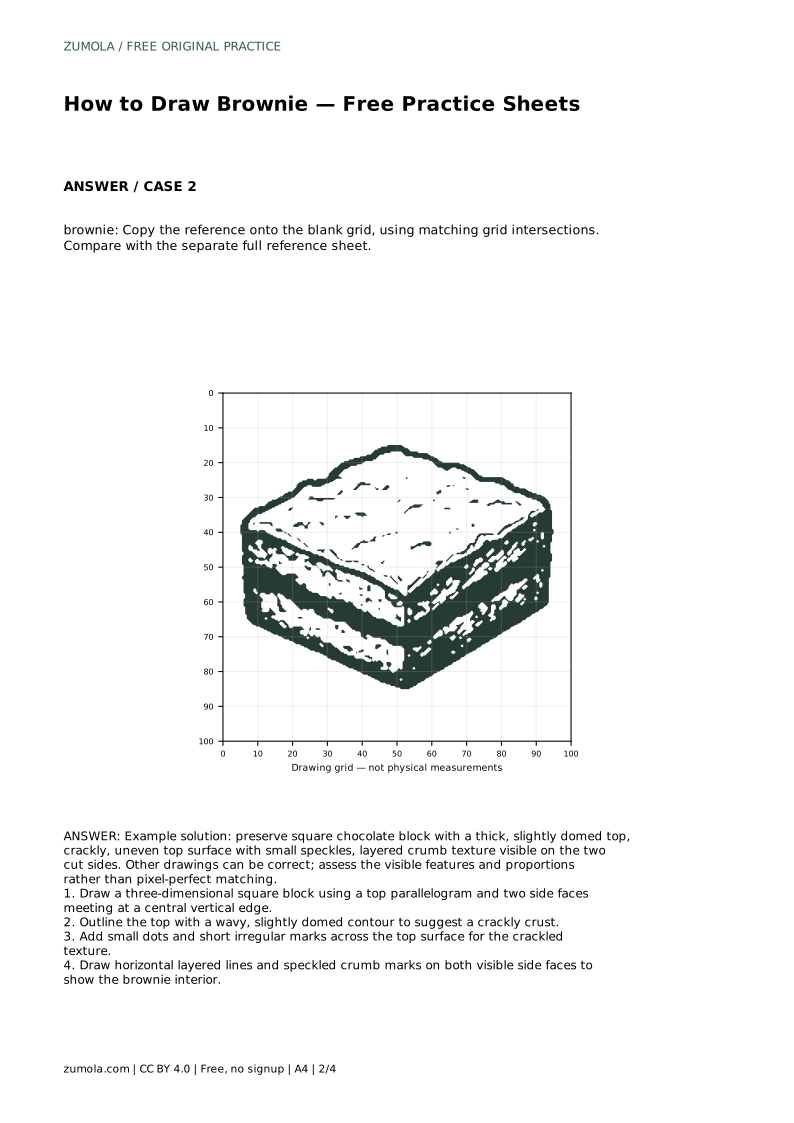
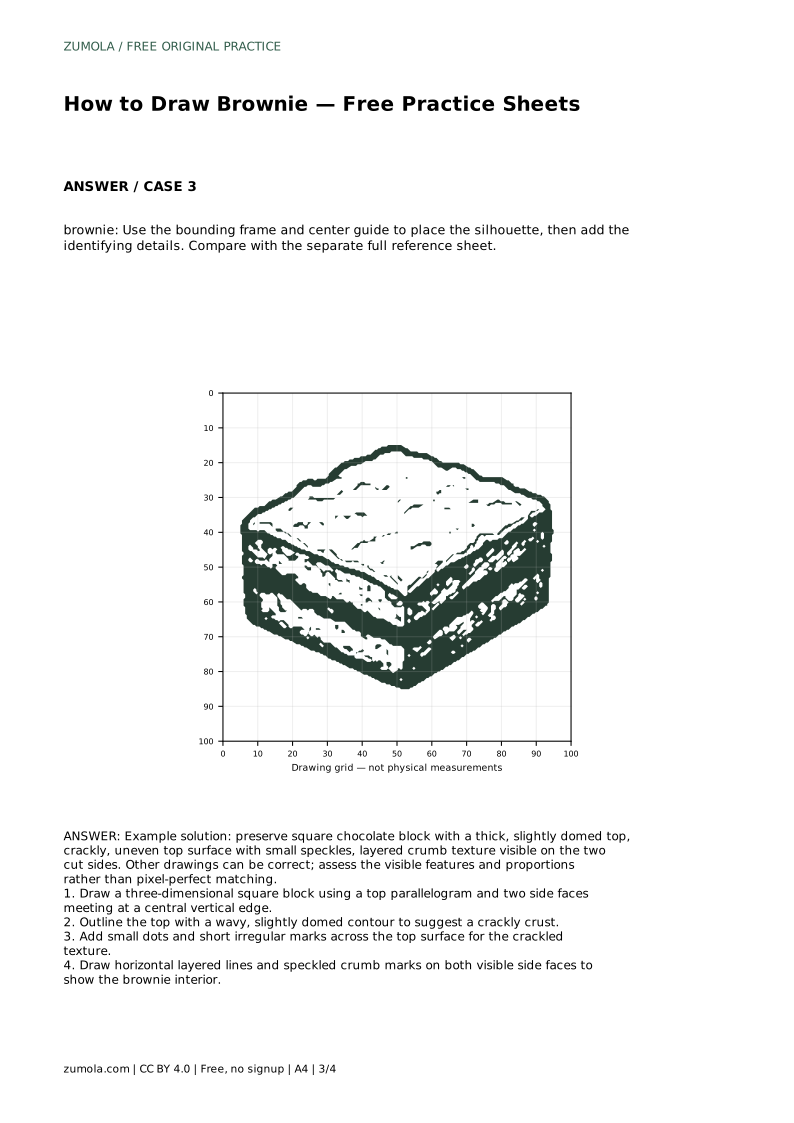
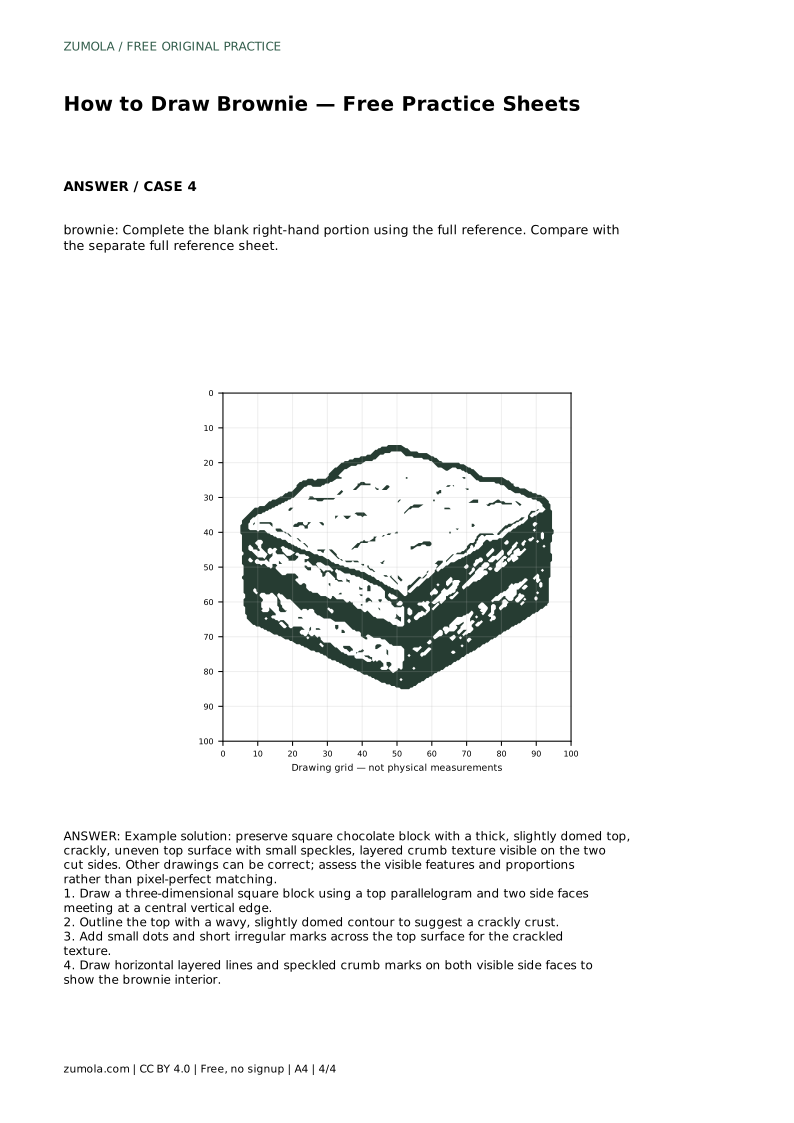
The tracing sheet asks you to follow the reference outline first, then repeat the contour without it. The grid sheet asks you to match intersections so proportions stay consistent. The bounding-frame sheet asks you to place the silhouette using the center guide before adding details. The partial sheet asks you to complete the blank right-hand portion from the full reference.
In every format, compare your drawing with the separate full reference sheet rather than judging from memory. Different drawings can all be correct; check the visible features and proportions instead of chasing a pixel-perfect match.
brownie: Trace the reference outline, then practise the contour independently. Compare with the separate full reference sheet.
Example solution: preserve square chocolate block with a thick, slightly domed top, crackly, uneven top surface with small speckles, layered crumb texture visible on the two cut sides. Other drawings can be correct; assess the visible features and proportions rather than pixel-perfect matching. Draw a three-dimensional square block using a top parallelogram and two side faces meeting at a central vertical edge. Outline the top with a wavy, slightly domed contour to suggest a crackly crust. Add small dots and short irregular marks across the top surface for the crackled texture. Draw horizontal layered lines and speckled crumb marks on both visible side faces to show the brownie interior.
Thick enough that both side faces are clearly visible and roughly equal in height. If the sides look like thin strips, the block reads as a flat tile rather than a cut brownie.
Layering and speckles matter more than shading. A few horizontal lines plus small crumb marks communicate the interior; heavy shading can obscure those features.
Yes. The reference uses a top parallelogram with two visible sides, but other angles can be correct if the block stays solid and the crackly top and layered crumb remain visible.
All drawing practice · Free coordinate paper
Original resources · CC BY 4.0 · Free for personal and classroom use with attribution.