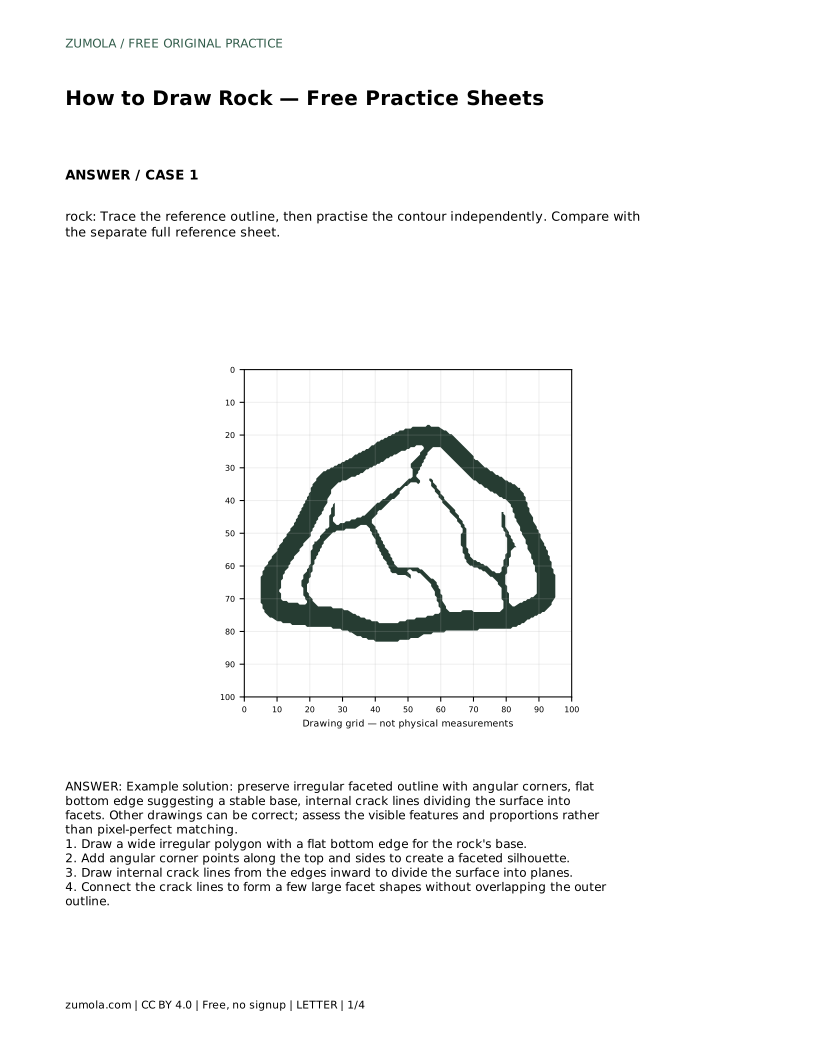
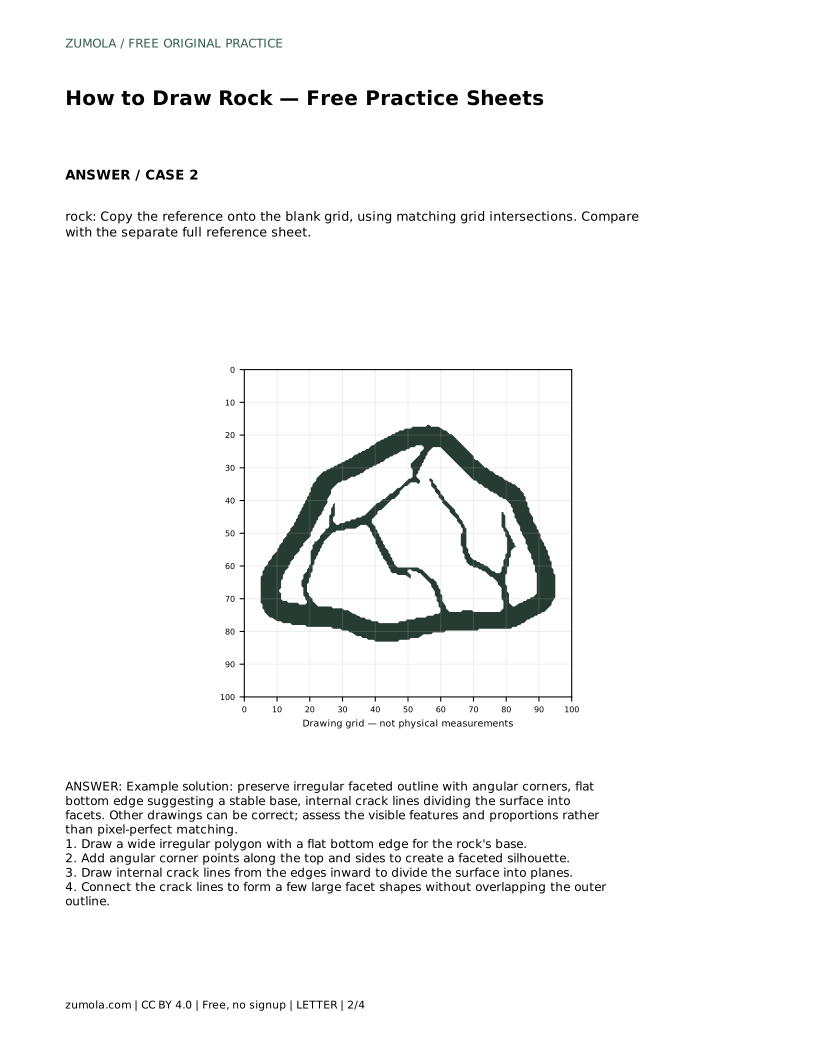
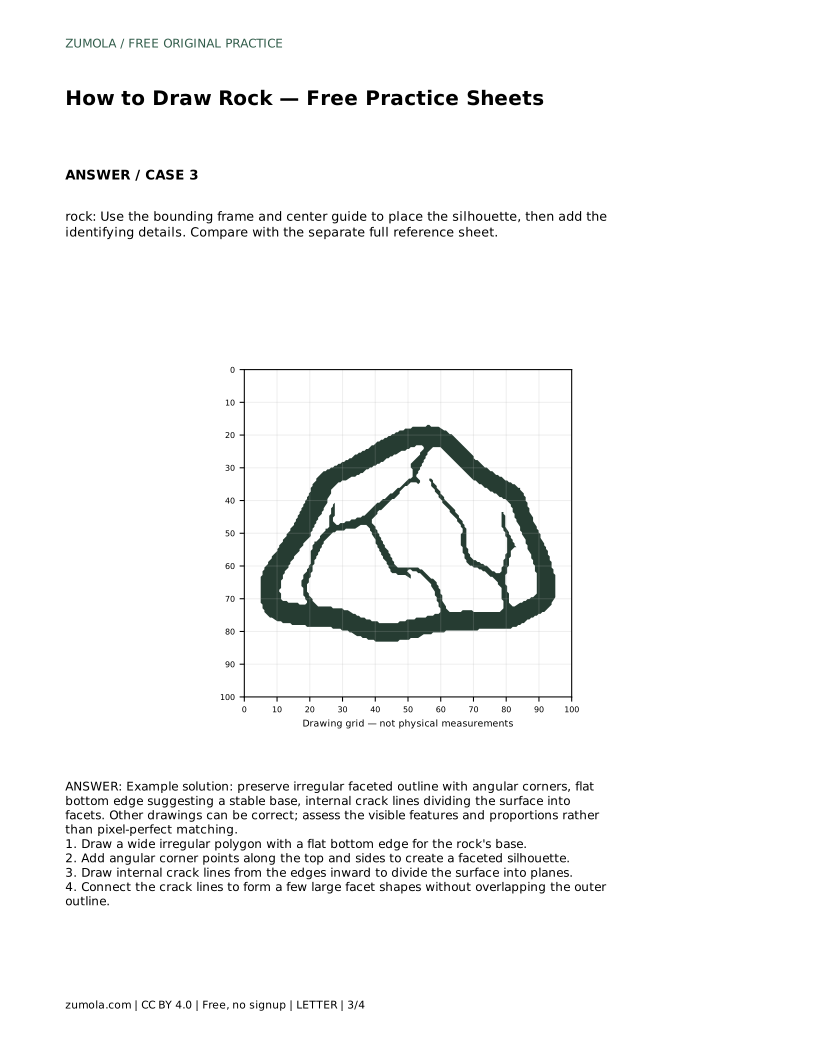
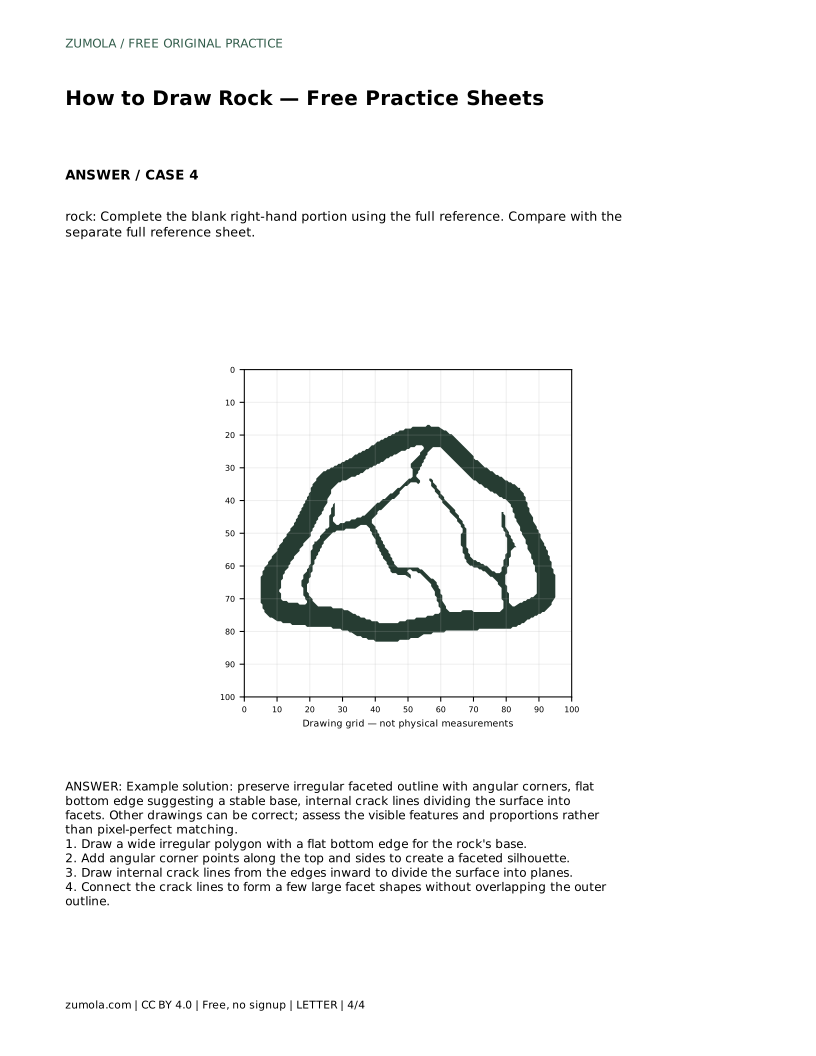
Reference diagrams
LETTER · Download PDF
A4 · Download PDF
Free original resources
Learn to draw a rock by building an irregular faceted outline with a flat base, then dividing the surface into planes with connected crack lines.
Four original cases, with reference diagrams, practice sheets and worked answers. Everything is free; no signup required.
LETTER · Download PDF
A4 · Download PDF
LETTER · Download PDF
A4 · Download PDF
LETTER · Download PDF
A4 · Download PDF
Use A4 or US Letter to match your printer. Use the stated values and conditions to solve each exercise; diagrams are not physical measuring rulers.
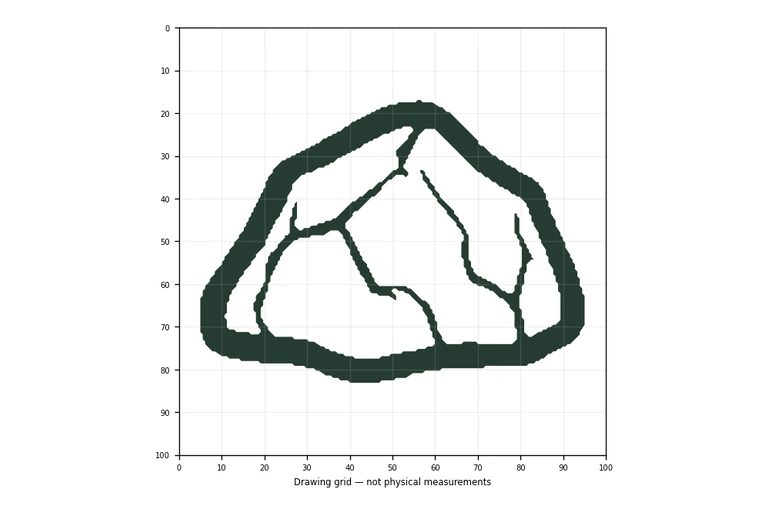
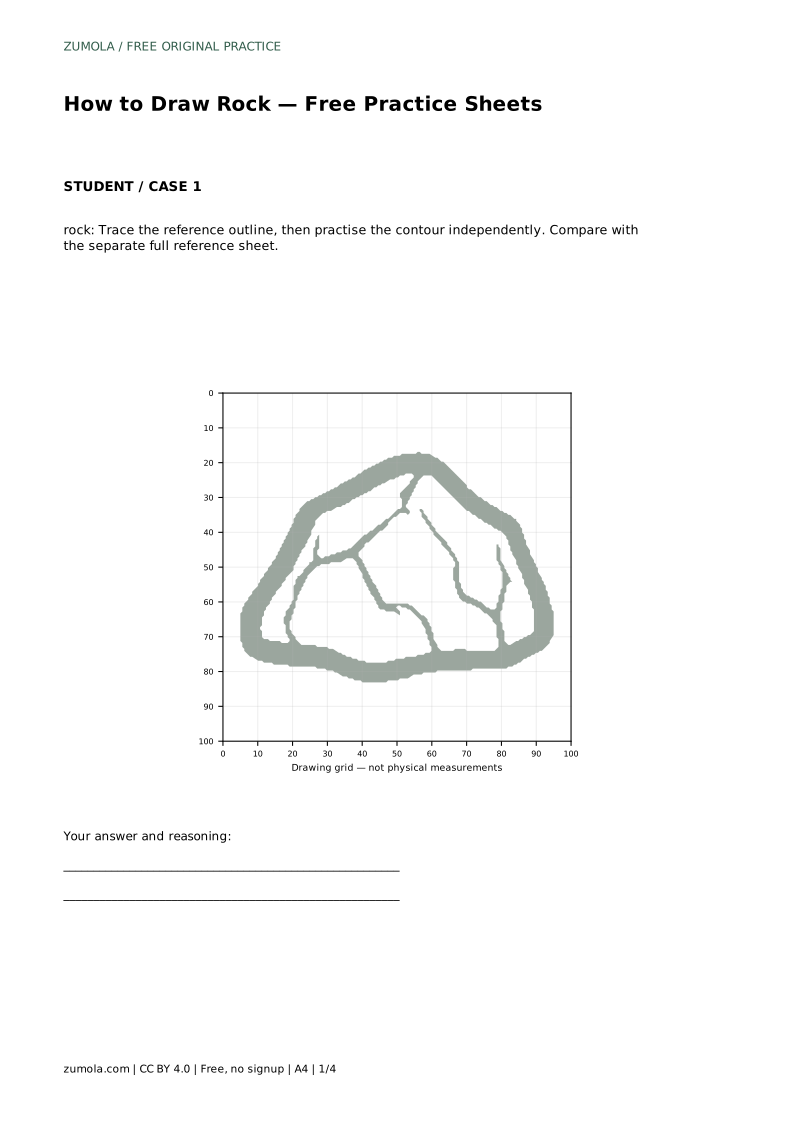
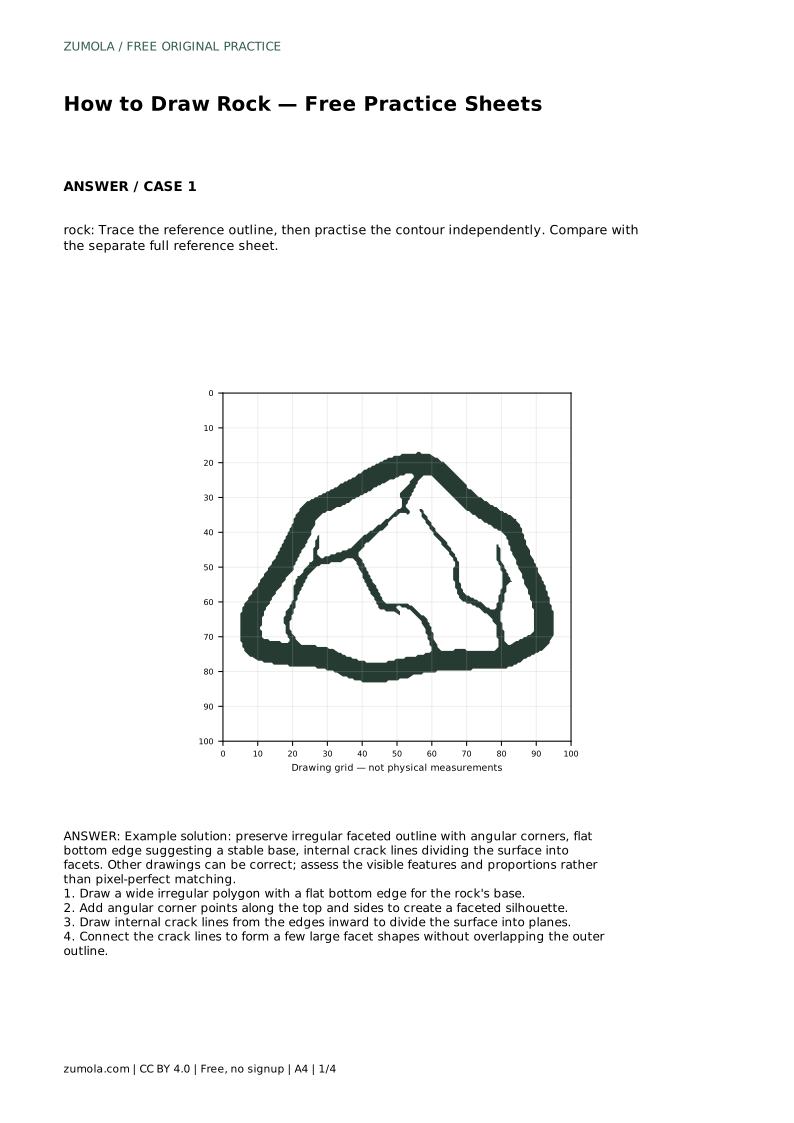
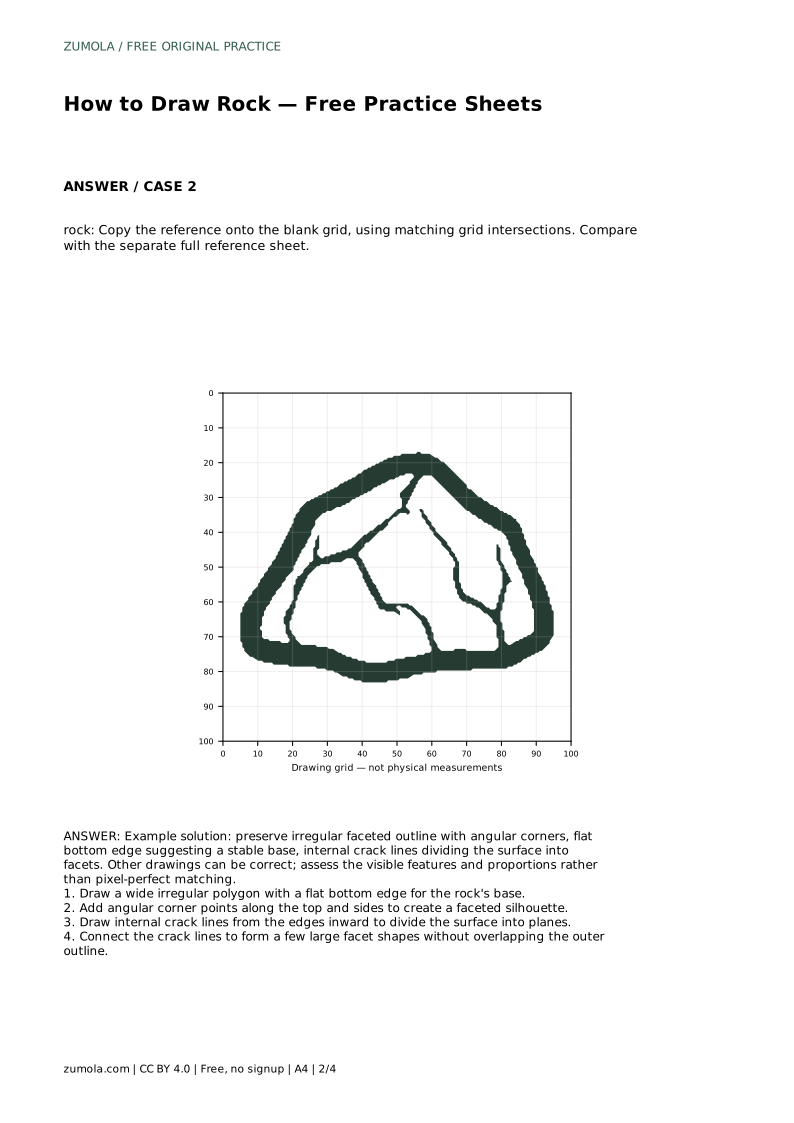
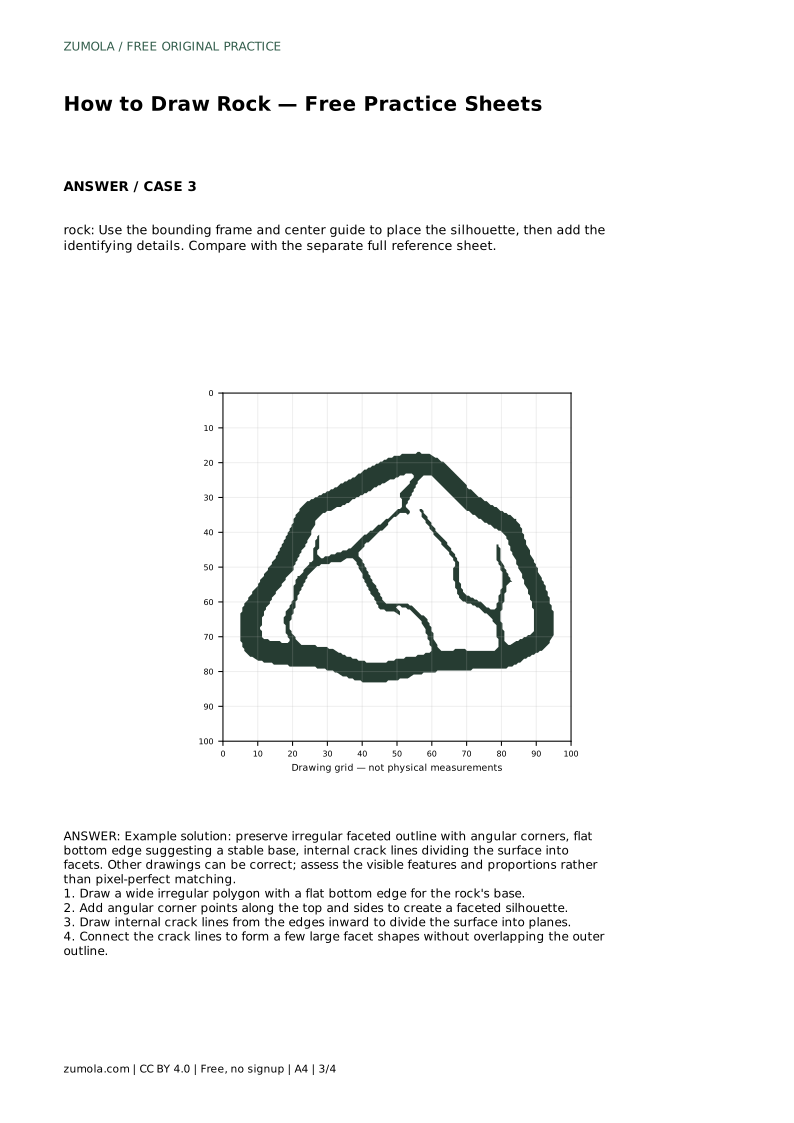
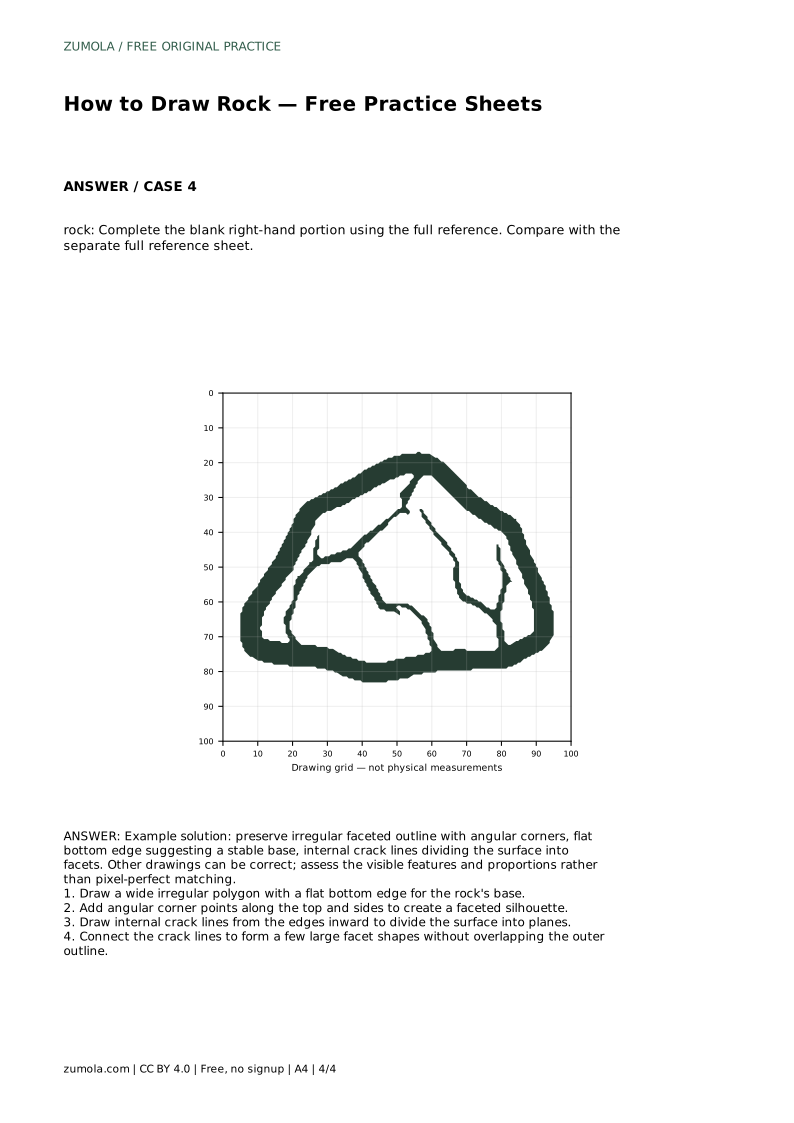
A rock is a good subject for practising angular shapes because its outline is irregular but not random. This page explains how to build a believable rock from a wide polygon with a flat bottom edge, add angular corner points, and use internal crack lines to suggest flat facets. The practice sheets let you trace a reference outline, copy it onto a grid, place it with a bounding frame and centre guide, or complete a partly blank drawing.
Begin with the overall shape rather than surface detail. A rock usually reads best as a wide irregular polygon: broader than it is tall, with a bottom edge that is roughly flat. That flat base suggests the rock is resting on the ground and gives the drawing a stable footing.
Along the top and sides, place angular corner points instead of smooth curves. Vary the spacing and the sharpness of the corners so the silhouette looks broken and natural rather than geometric. Keep the number of major corners modest; a few clear angles are easier to read than many tiny ones.
Once the outline is in place, draw internal crack lines that run from the edges inward. These lines divide the surface into planes, which is what makes a rock look solid rather than flat. Let each crack line meet the outer outline or another crack line cleanly.
Connect the crack lines to form a few large facet shapes. Keep the internal lines inside the outer outline, and avoid letting them cross the silhouette. A small number of large facets usually reads more clearly than a dense web of small ones.
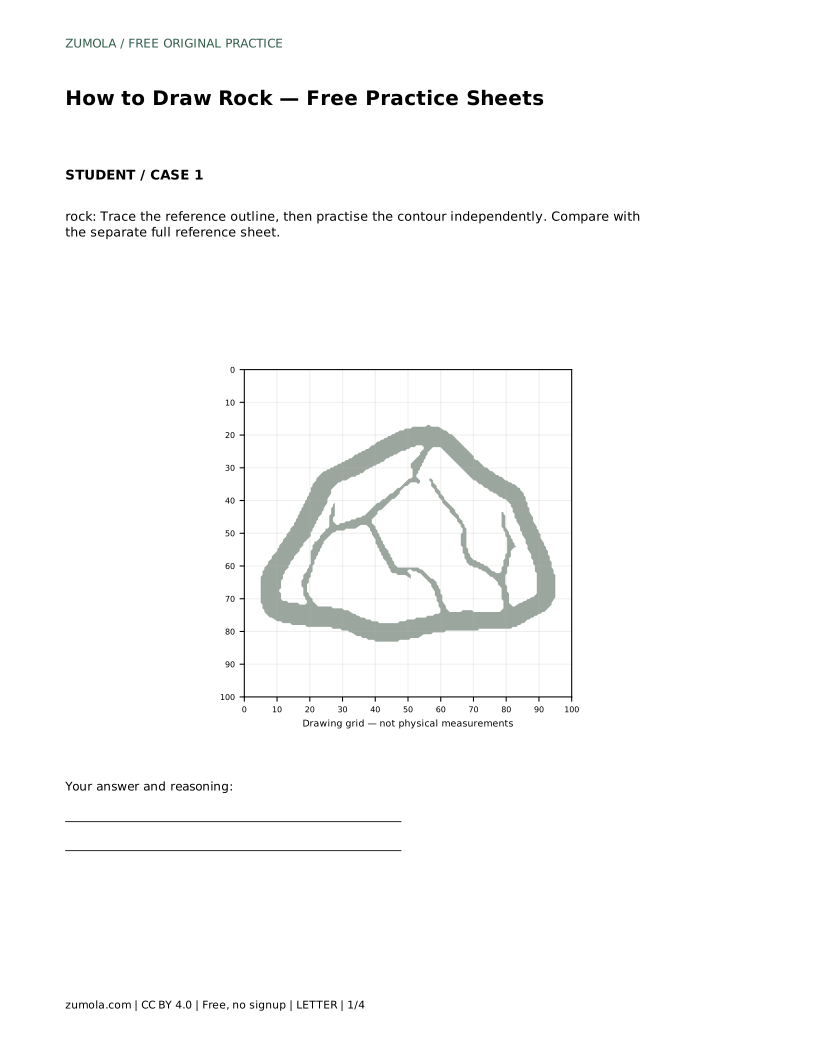
The trace version asks you to follow the reference outline first, then practise the contour independently. Compare your result with the separate full reference sheet rather than expecting a pixel-perfect match.
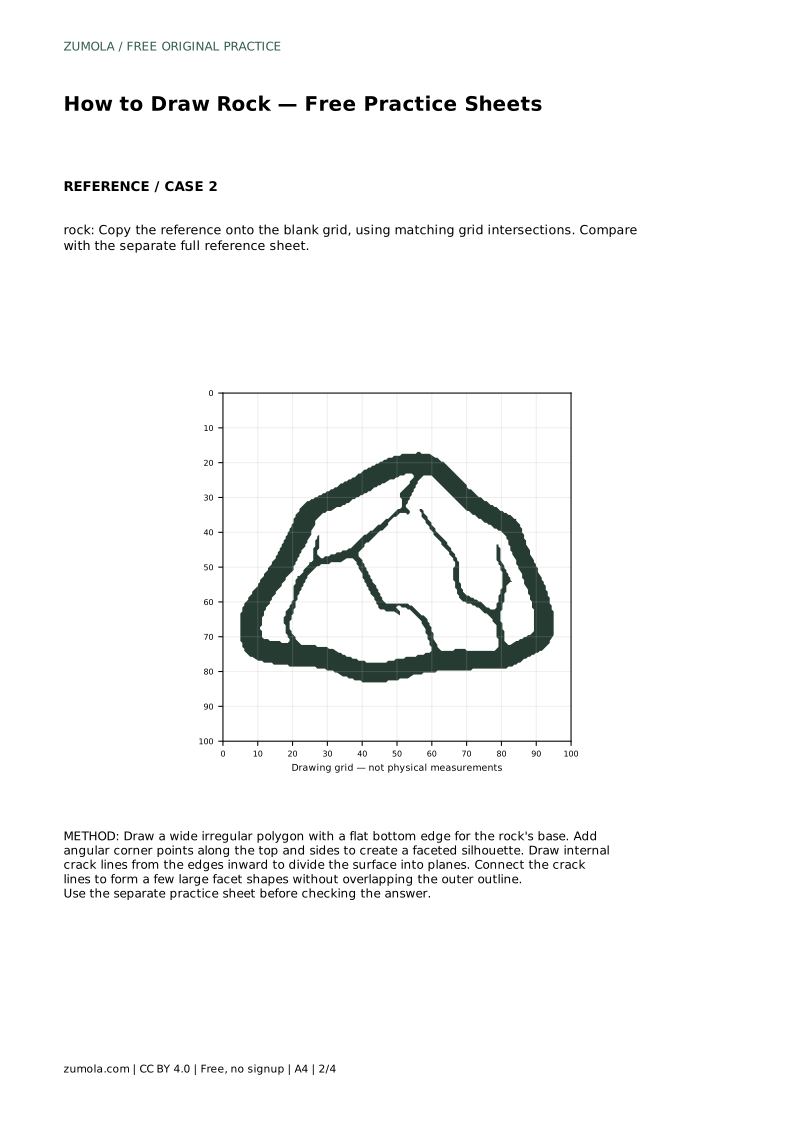
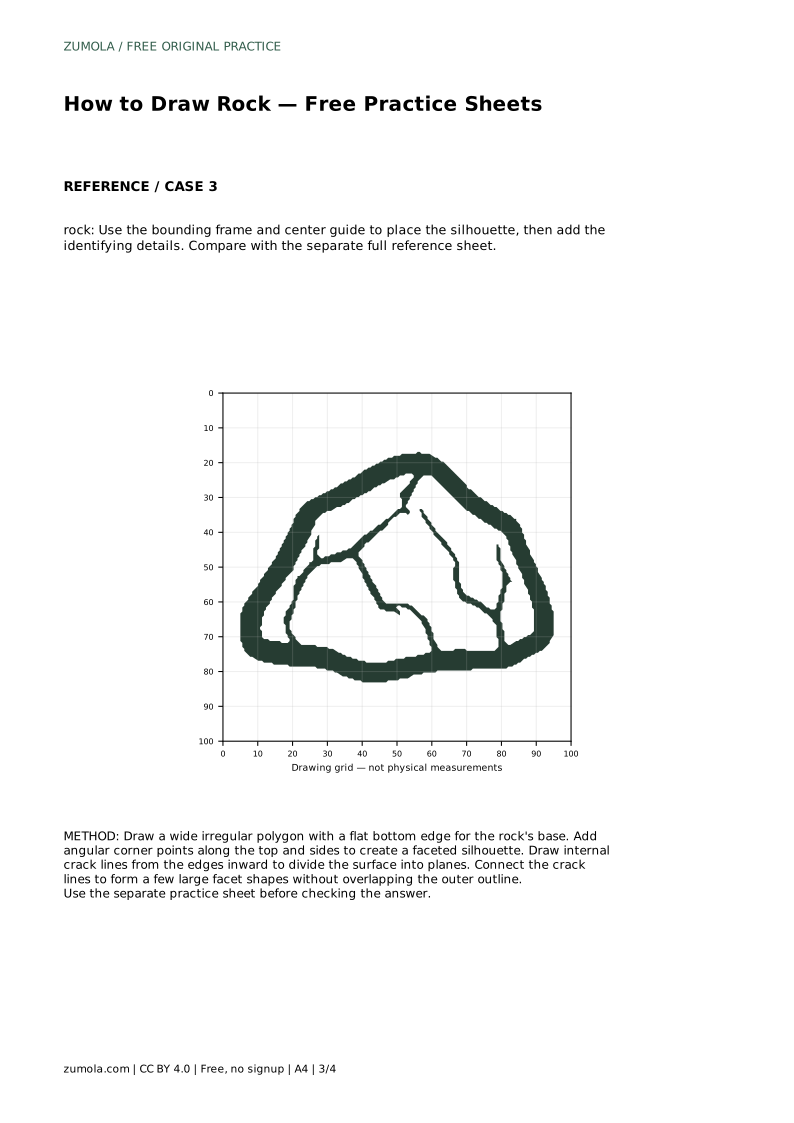
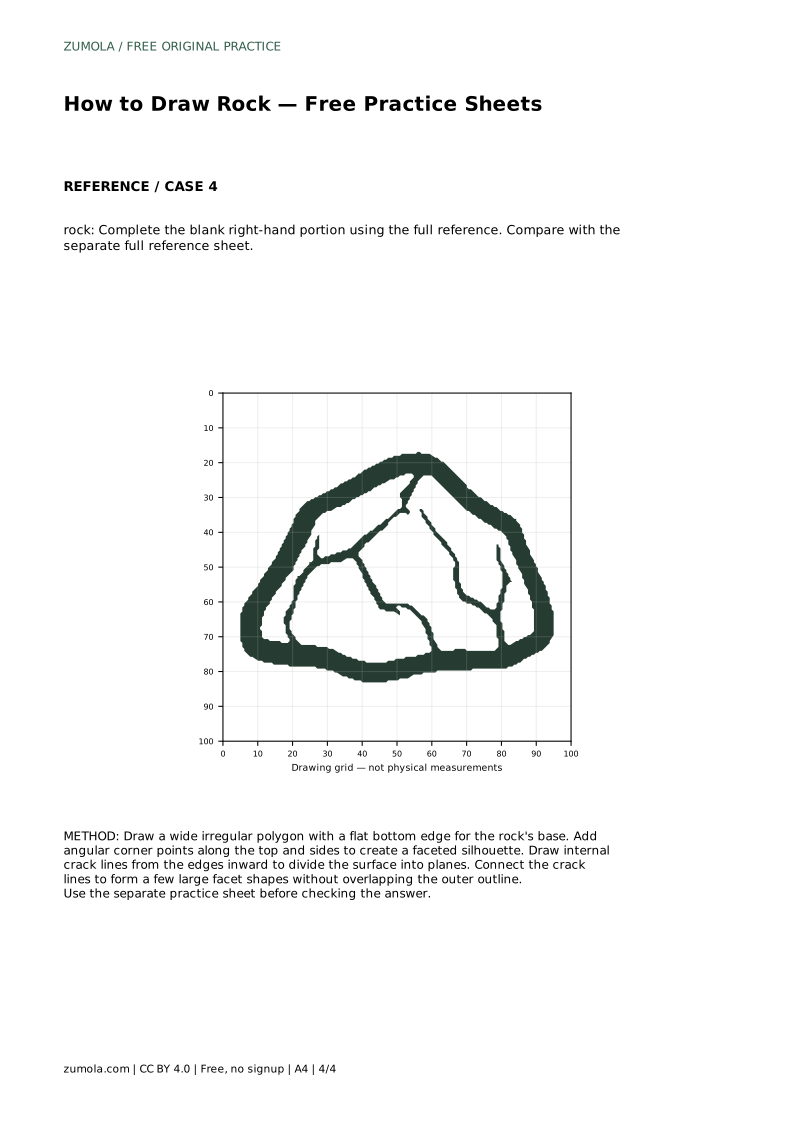
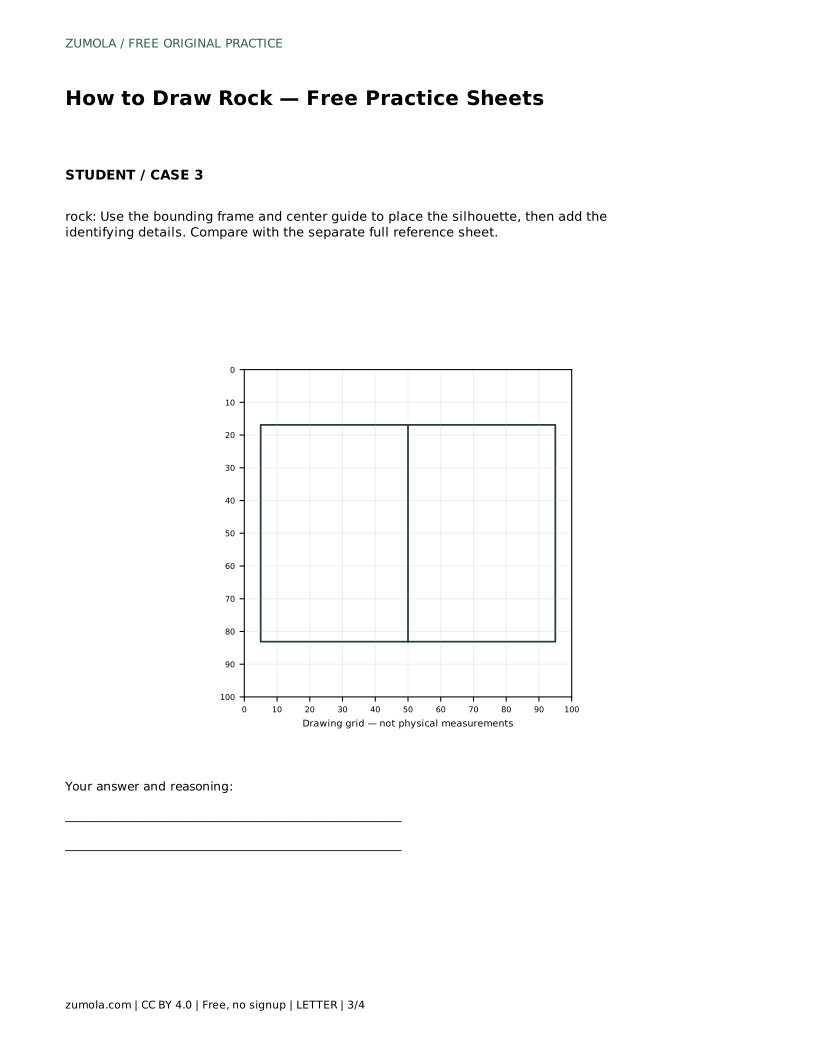
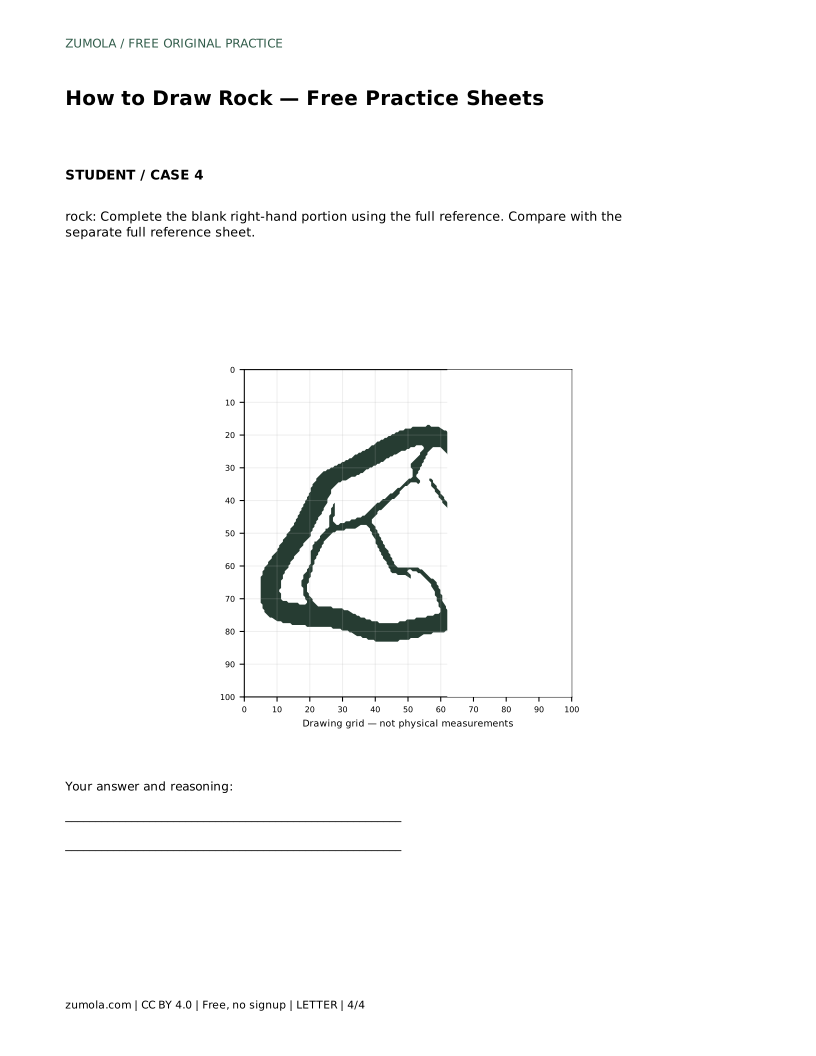
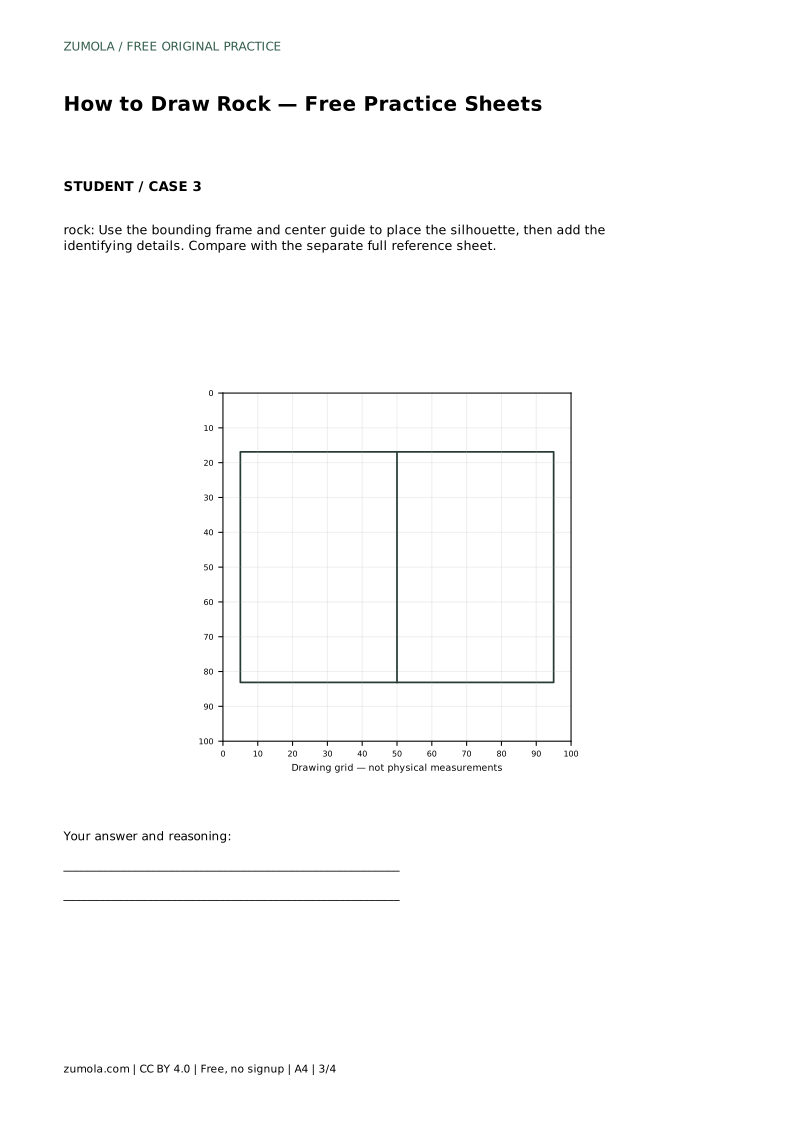
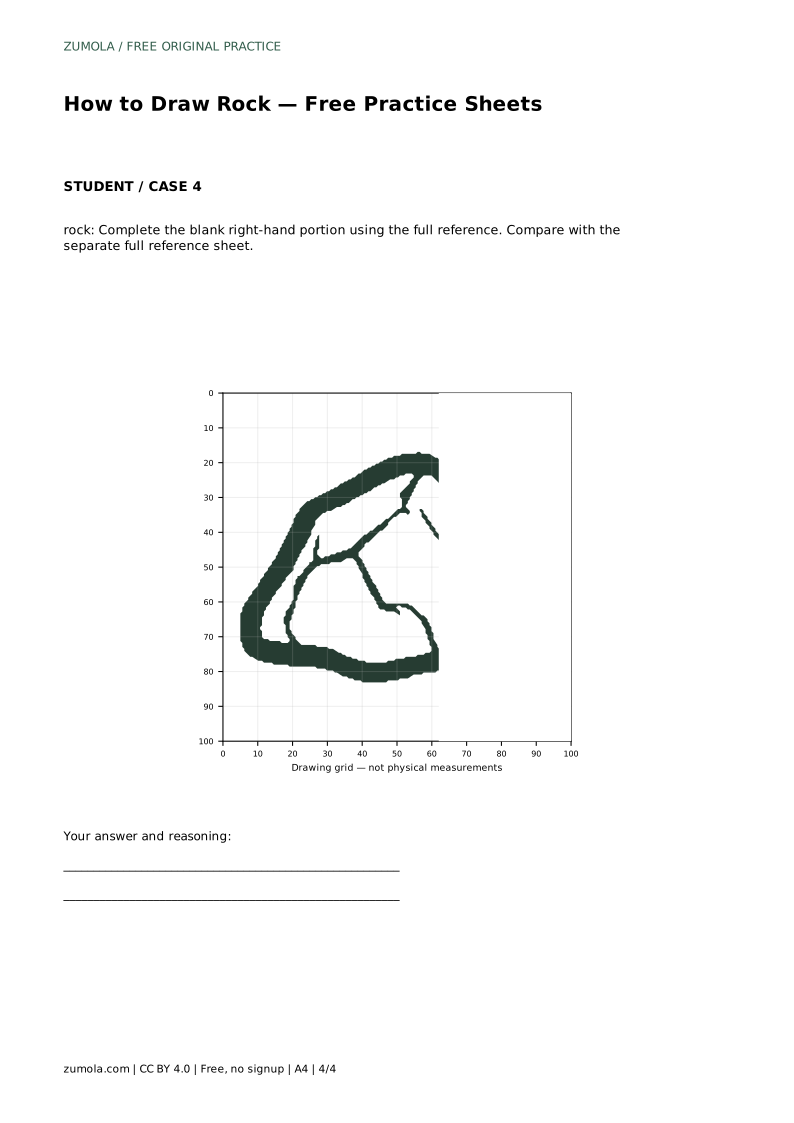
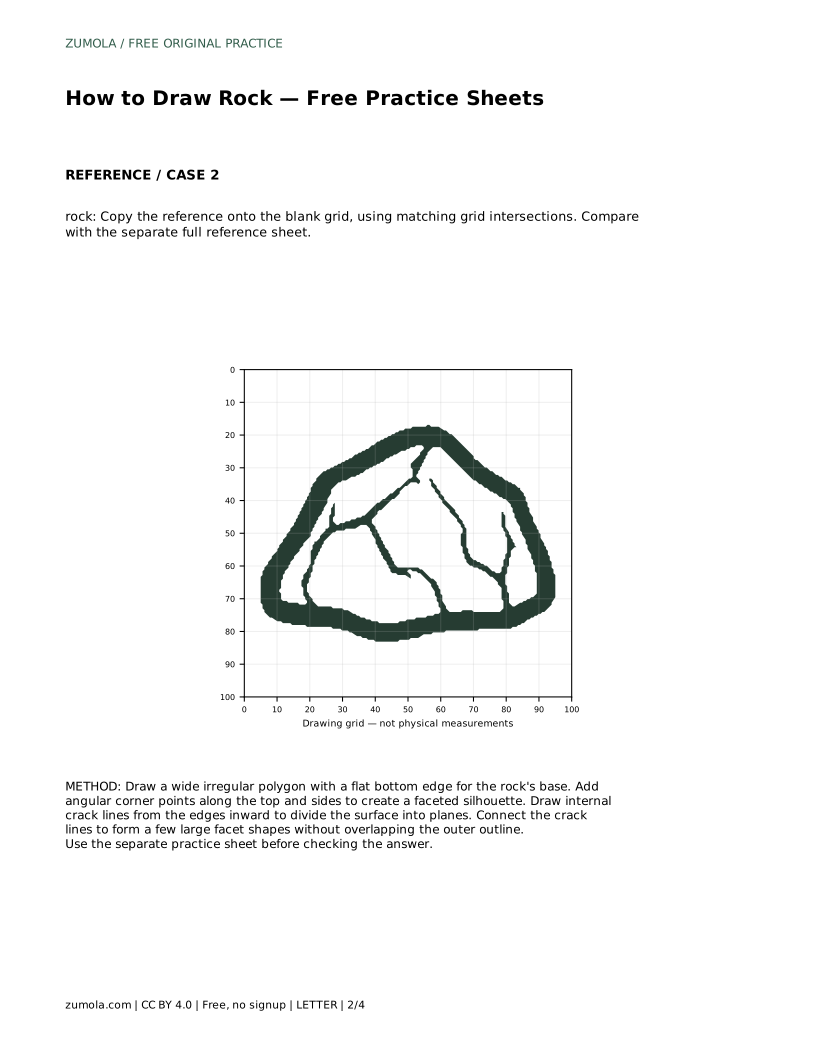
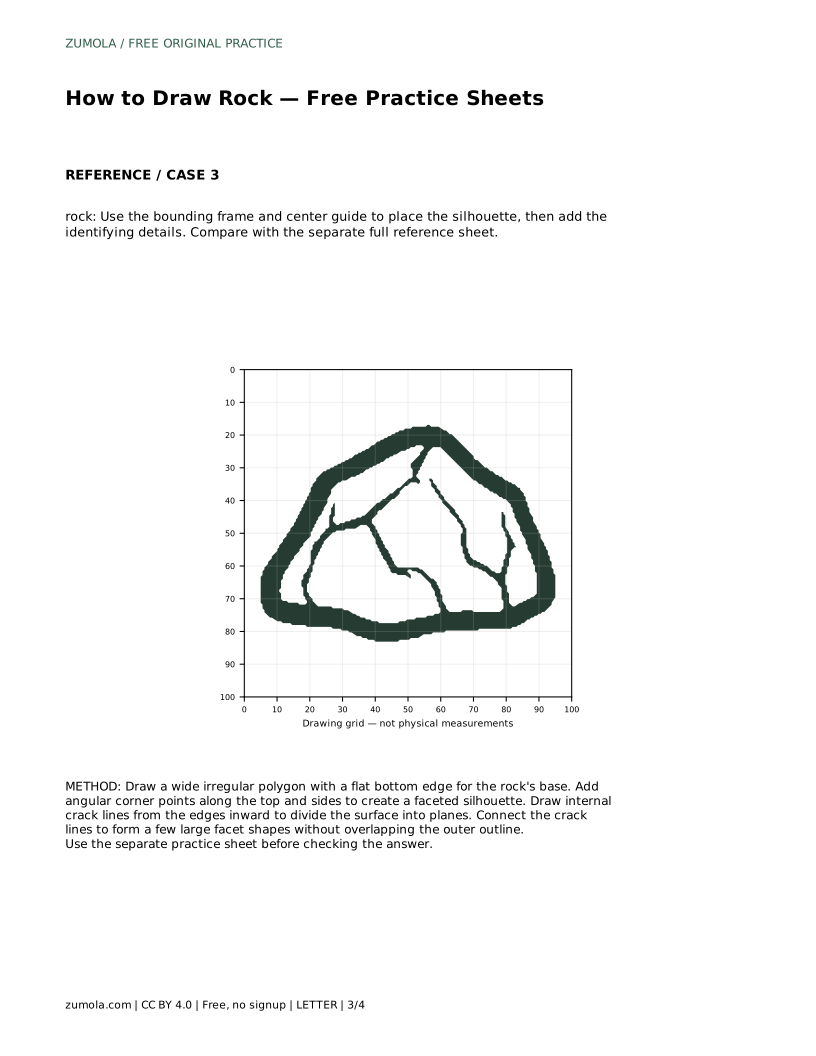
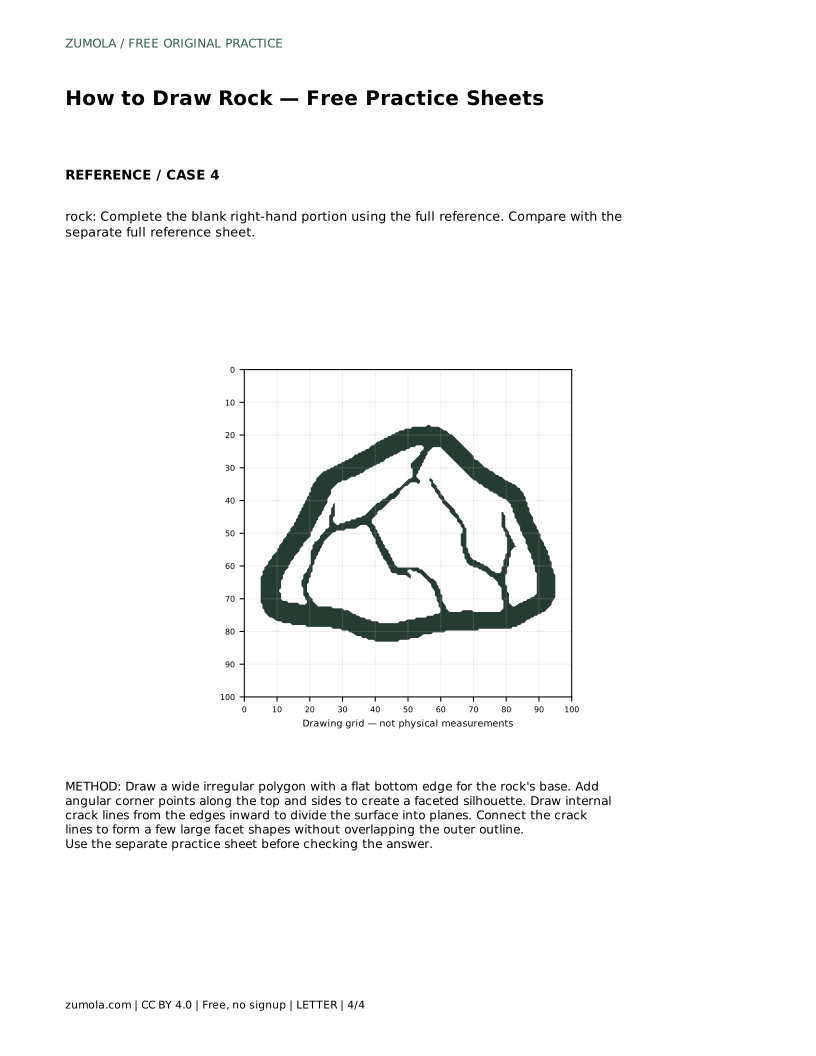
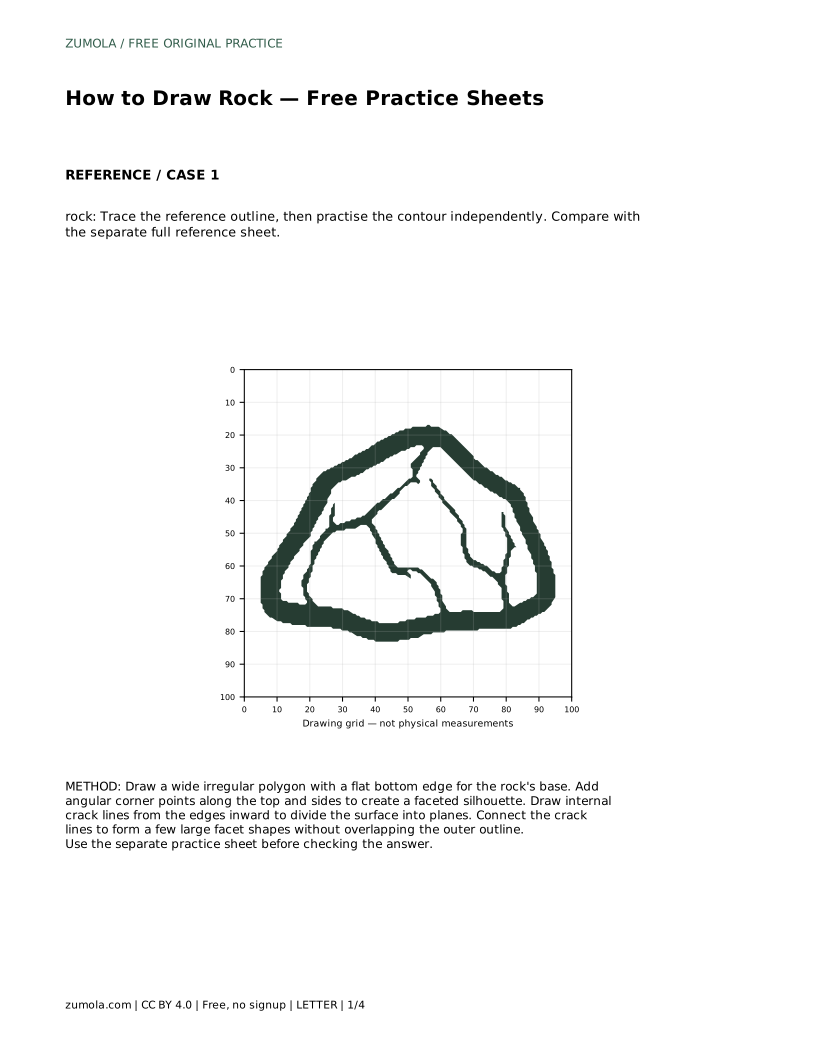
The grid version asks you to copy the reference onto the blank grid using matching grid intersections. The bounding-frame version uses a frame and centre guide to place the silhouette before you add the identifying details. The partial version asks you to complete the blank right-hand portion using the full reference. In every format, the goal is to preserve the faceted outline, the flat base and the internal facet lines.
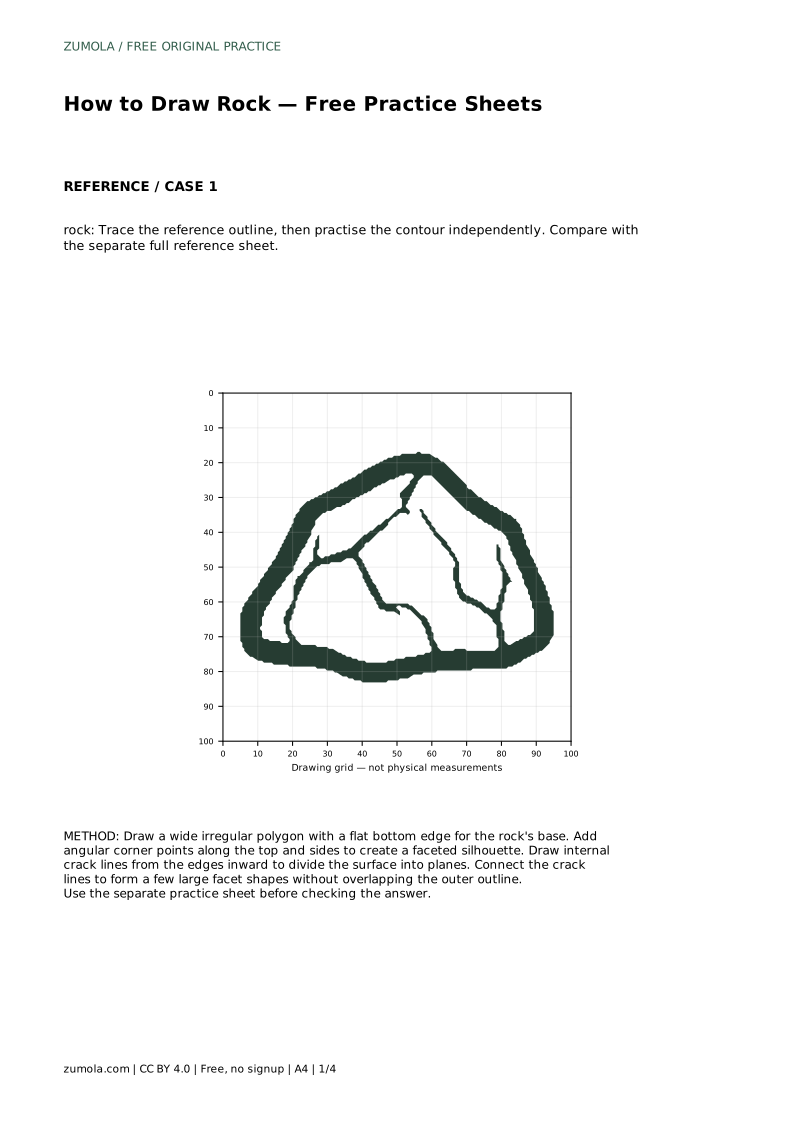
rock: Trace the reference outline, then practise the contour independently. Compare with the separate full reference sheet.
Example solution: preserve irregular faceted outline with angular corners, flat bottom edge suggesting a stable base, internal crack lines dividing the surface into facets. Other drawings can be correct; assess the visible features and proportions rather than pixel-perfect matching. Draw a wide irregular polygon with a flat bottom edge for the rock's base. Add angular corner points along the top and sides to create a faceted silhouette. Draw internal crack lines from the edges inward to divide the surface into planes. Connect the crack lines to form a few large facet shapes without overlapping the outer outline.
No. A roughly flat bottom edge is enough to suggest a stable base; small irregularities are fine.
Start with a few large facets. Add lines only where they help divide the surface into clear planes.
That is acceptable. Assess the visible features and proportions, such as the faceted outline, flat base and internal facet lines, rather than pixel-perfect matching.
All drawing practice · Free coordinate paper
Original resources · CC BY 4.0 · Free for personal and classroom use with attribution.