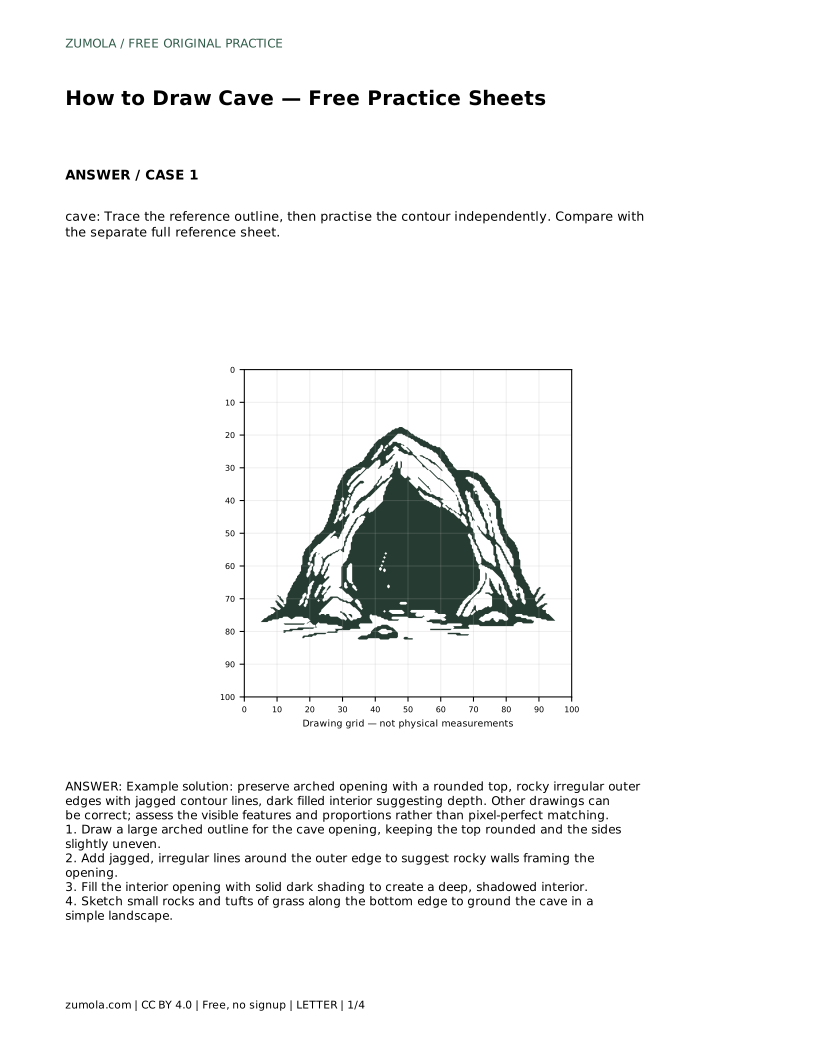
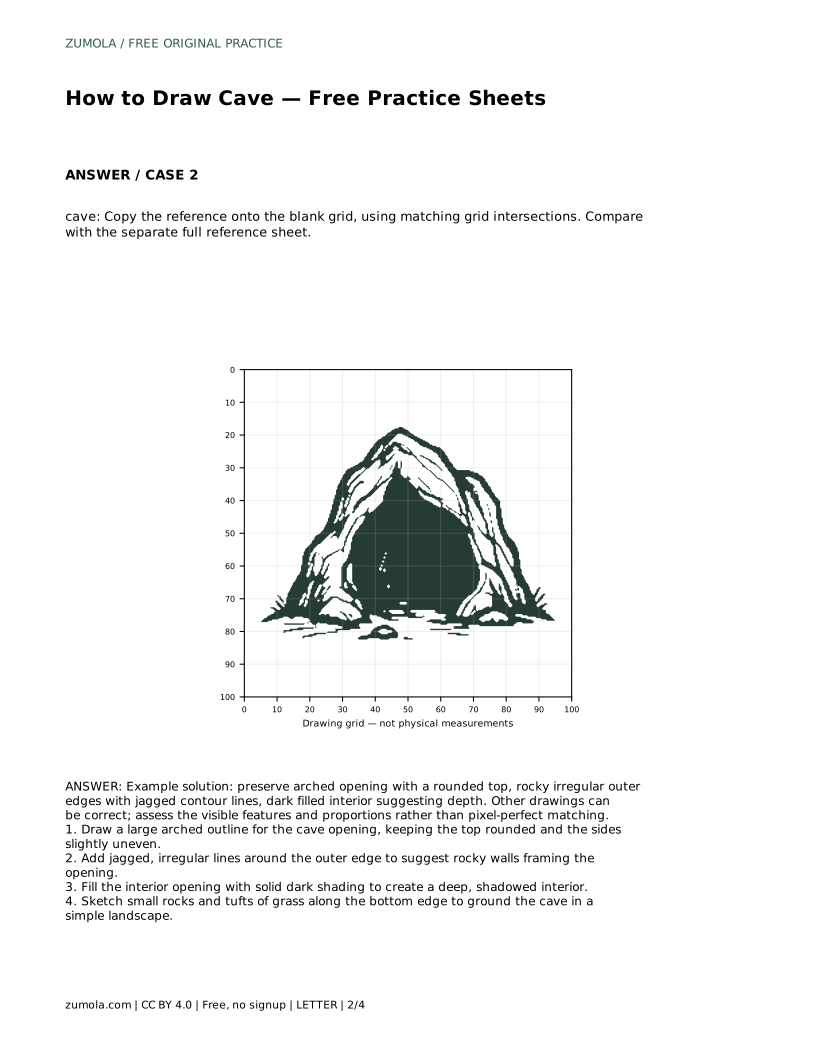
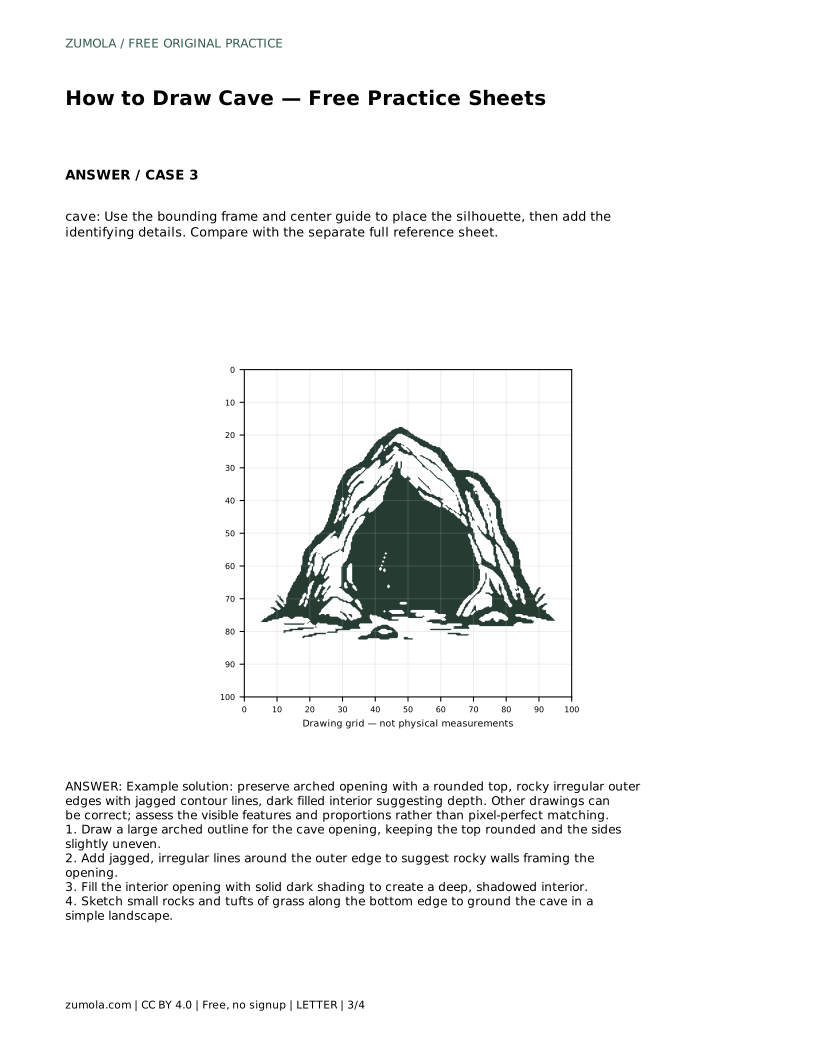
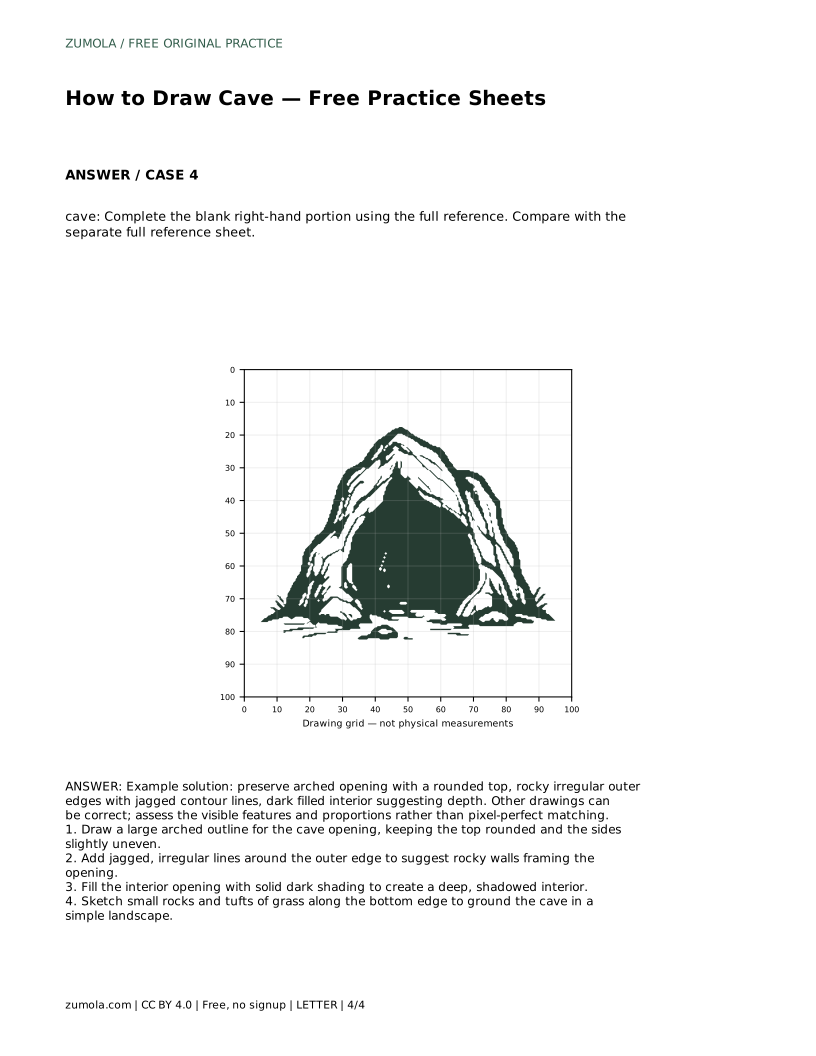
Reference diagrams
LETTER · Download PDF
A4 · Download PDF
Free original resources
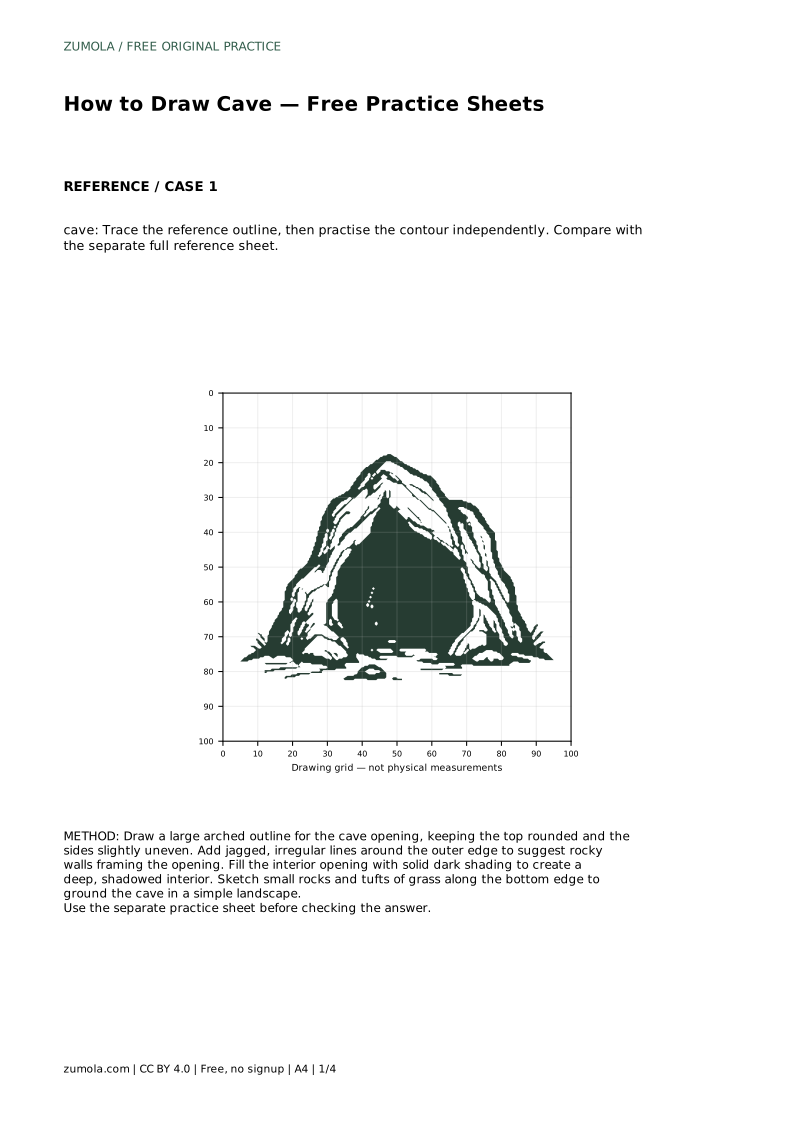
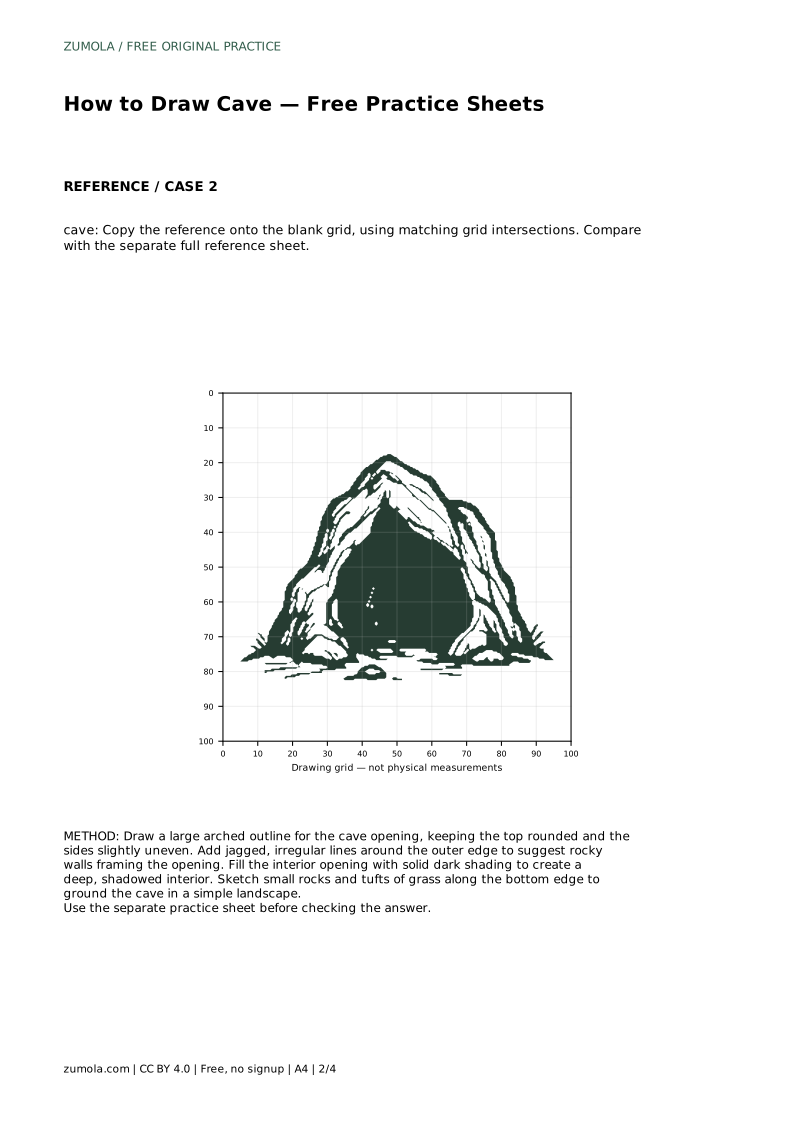
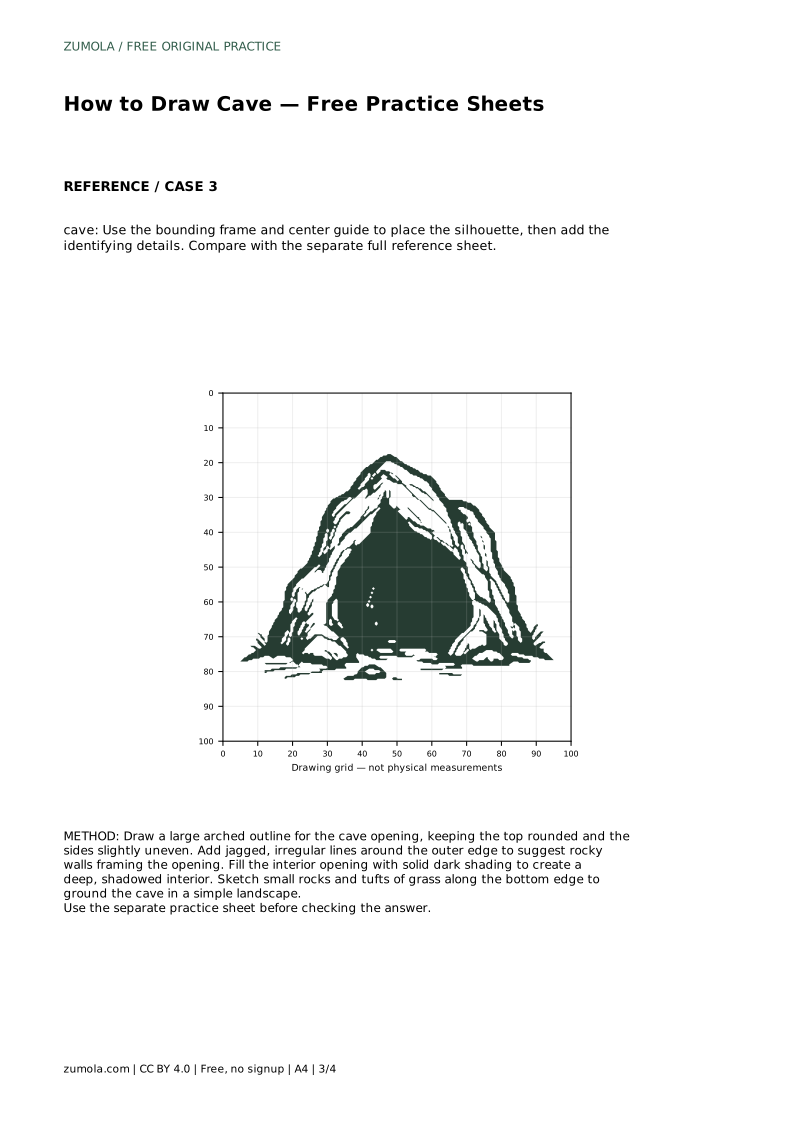
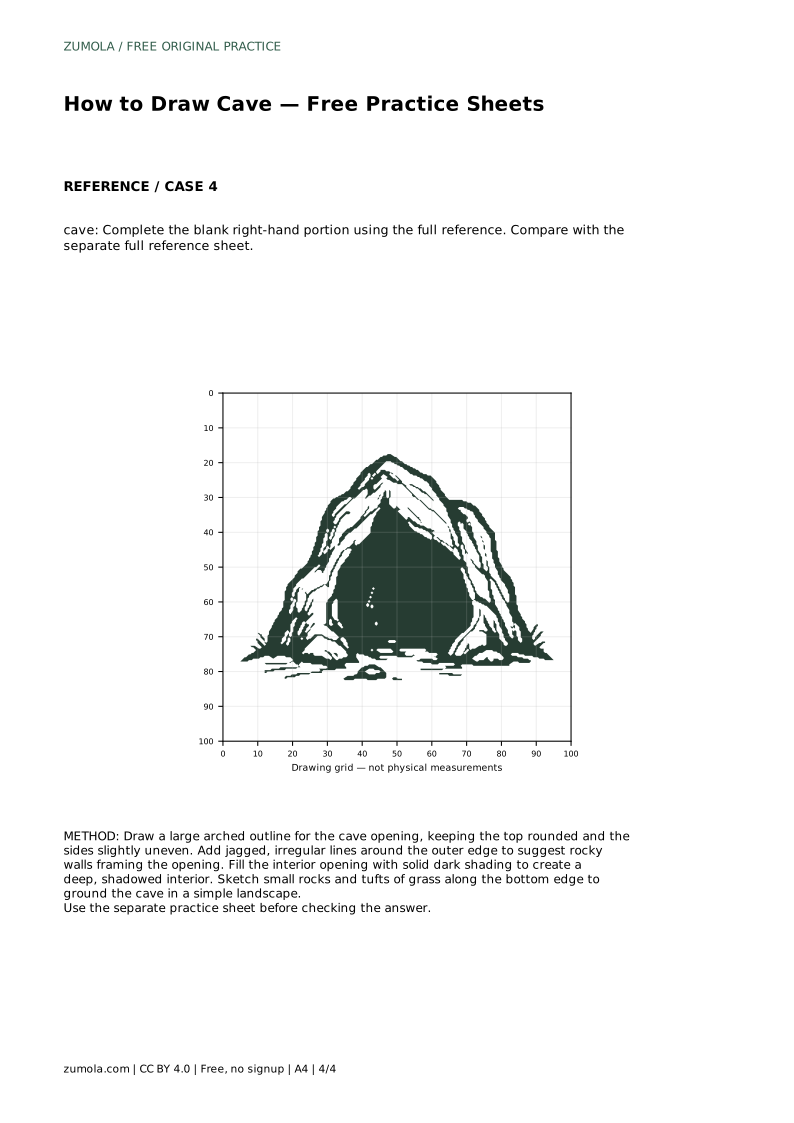
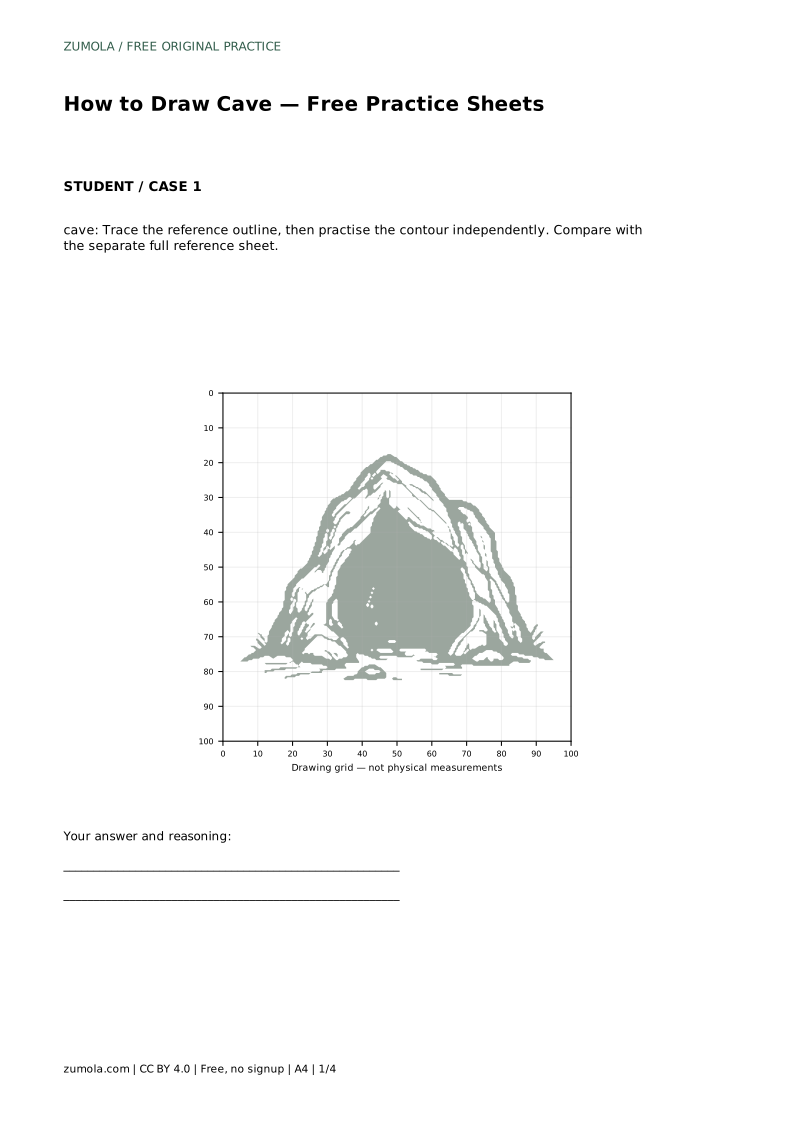
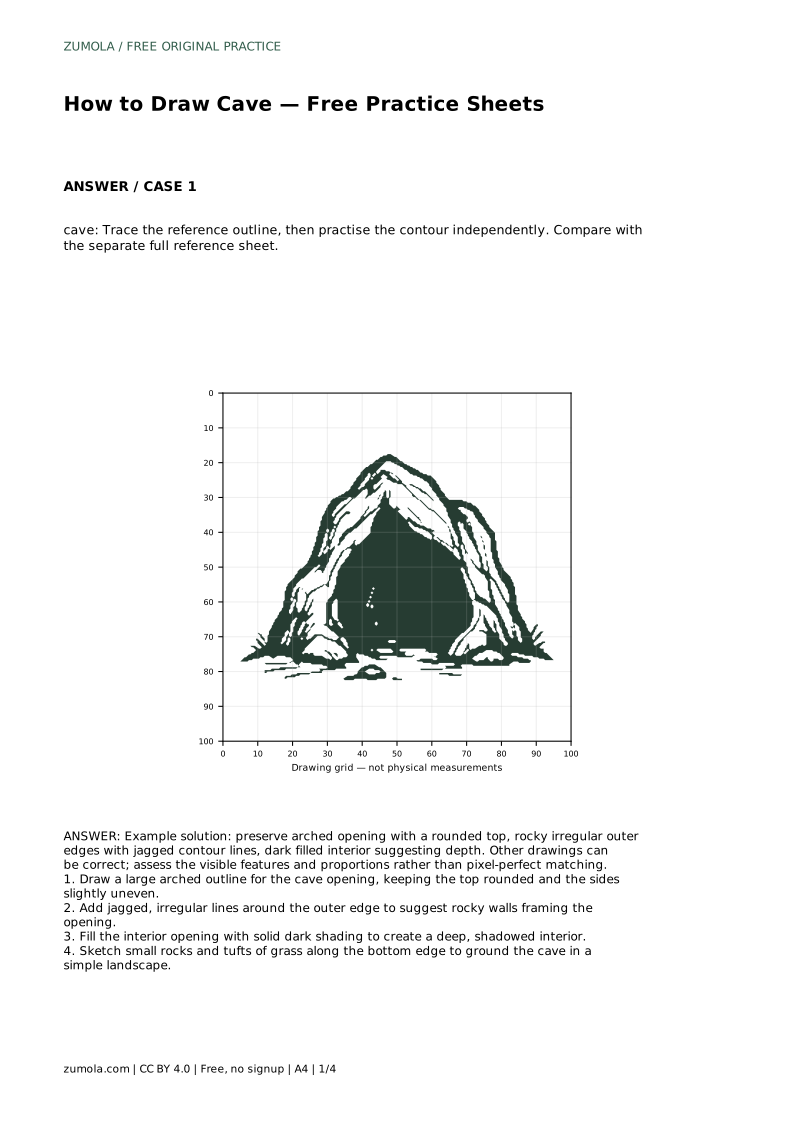
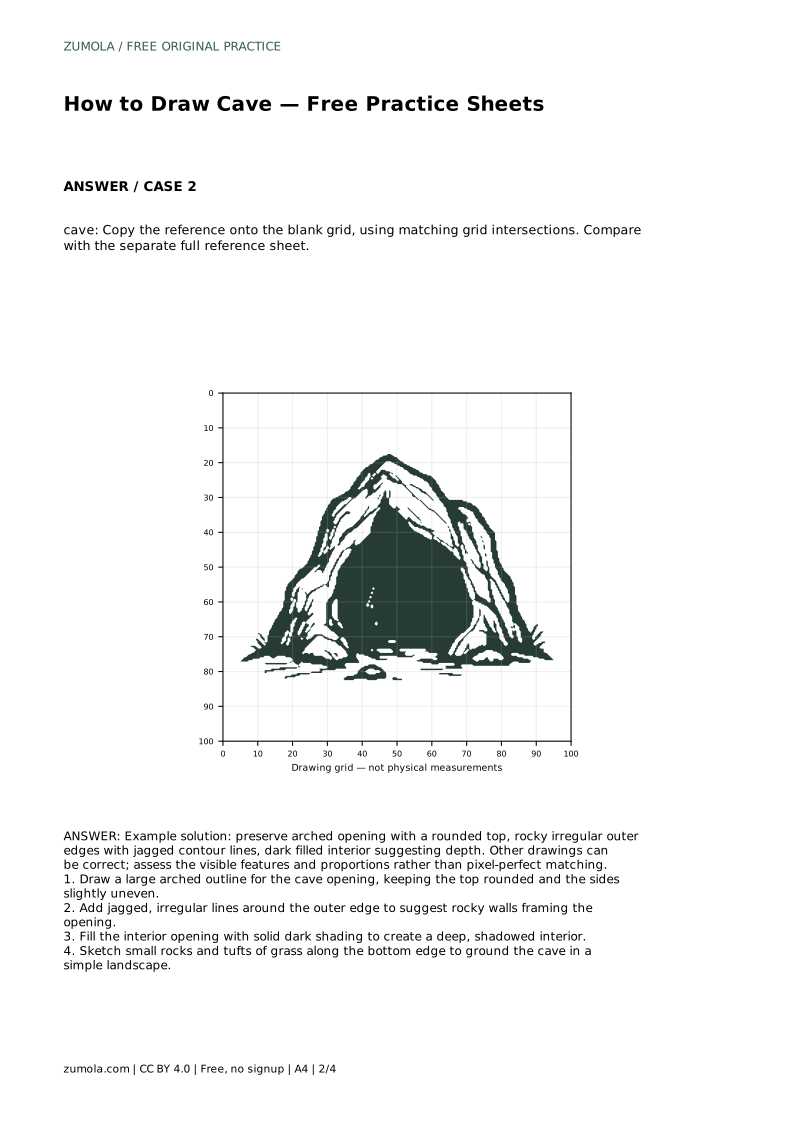
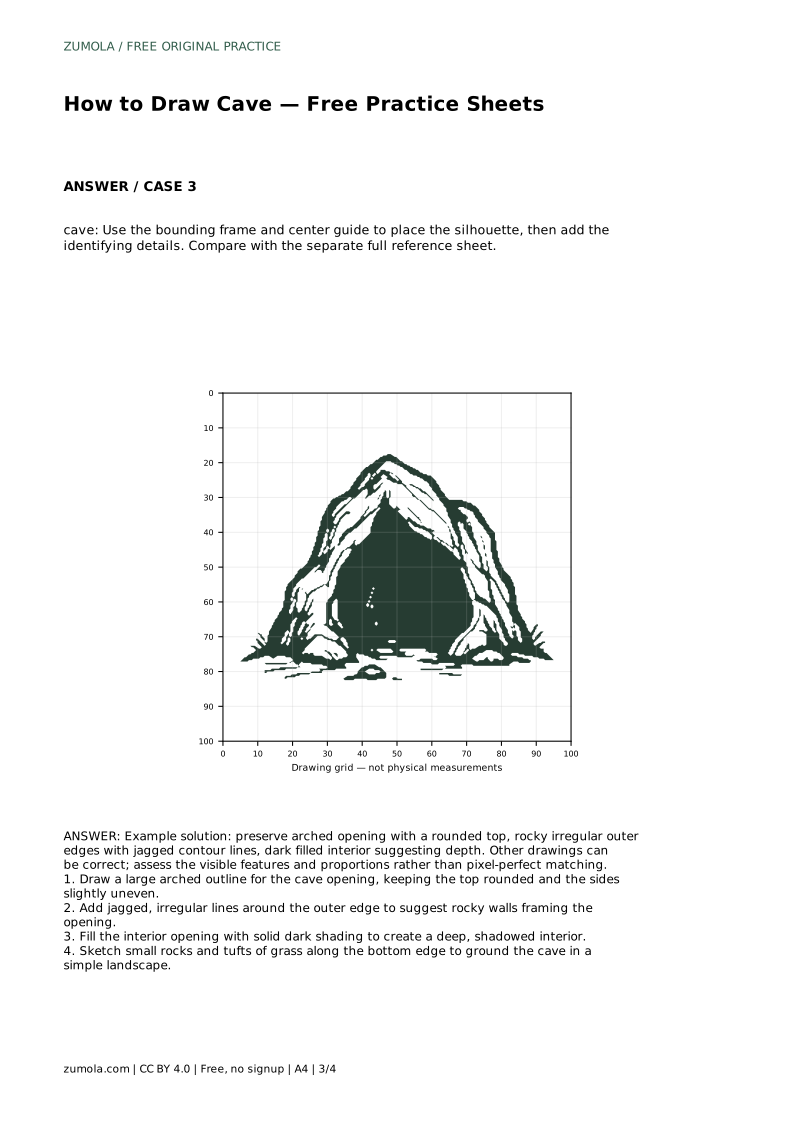
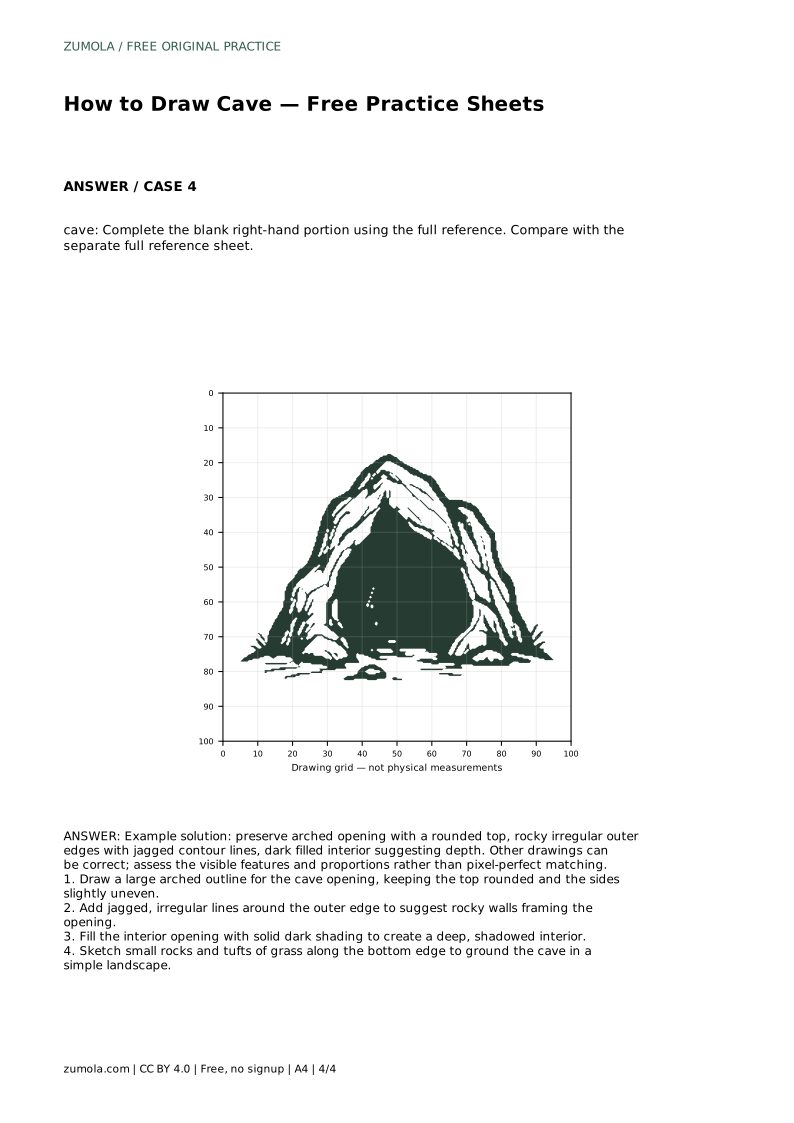
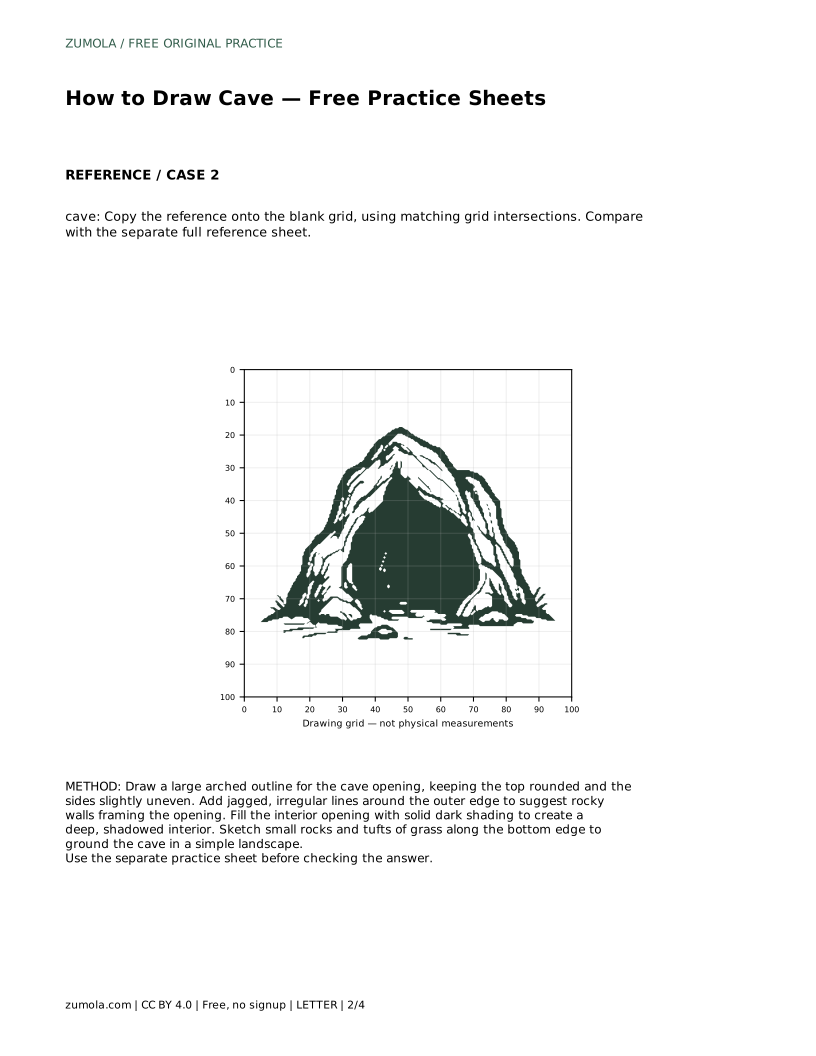
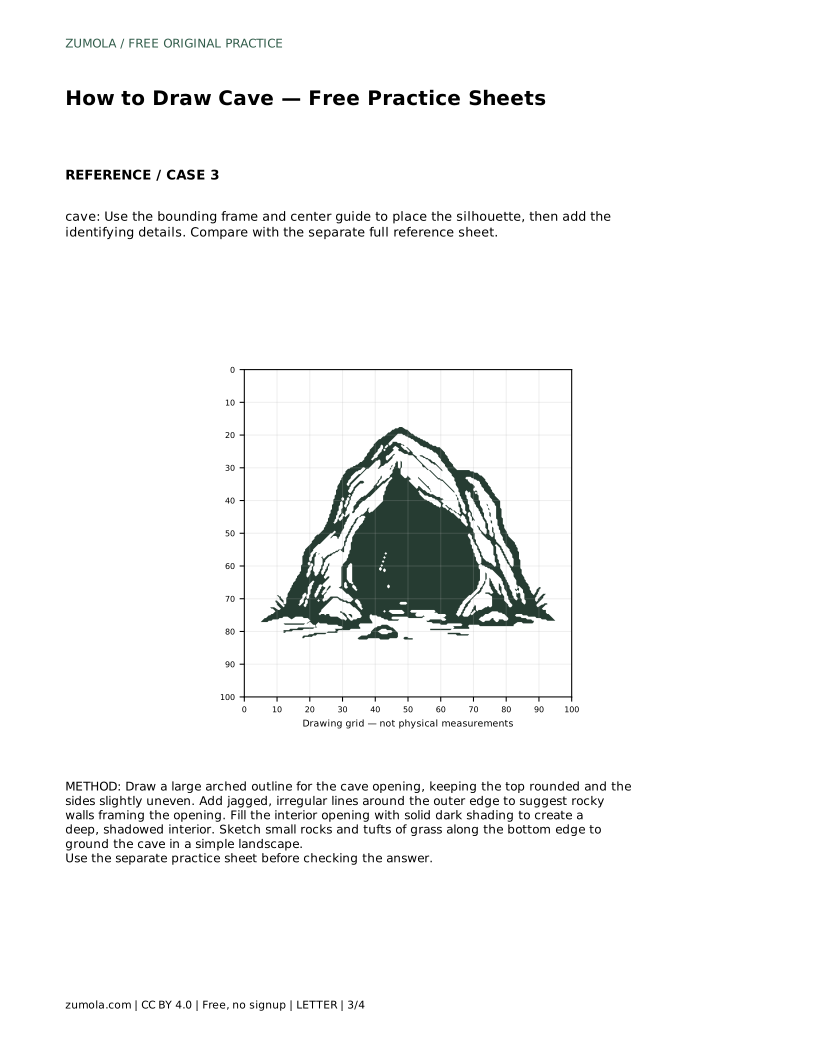
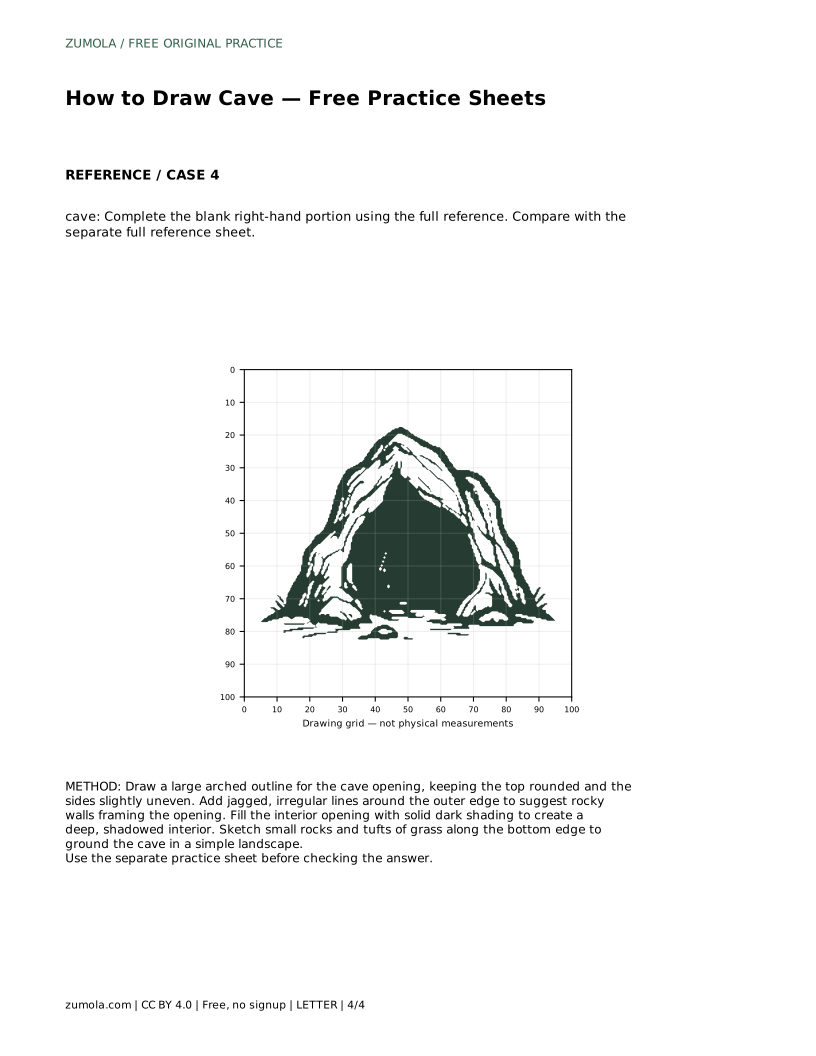
Learn to draw a cave with a rounded arched opening, jagged rocky outer edges, and a dark interior. Trace the outline, then practise the contour independently.
Four original cases, with reference diagrams, practice sheets and worked answers. Everything is free; no signup required.
LETTER · Download PDF
A4 · Download PDF
LETTER · Download PDF
A4 · Download PDF
LETTER · Download PDF
A4 · Download PDF
Use A4 or US Letter to match your printer. Use the stated values and conditions to solve each exercise; diagrams are not physical measuring rulers.
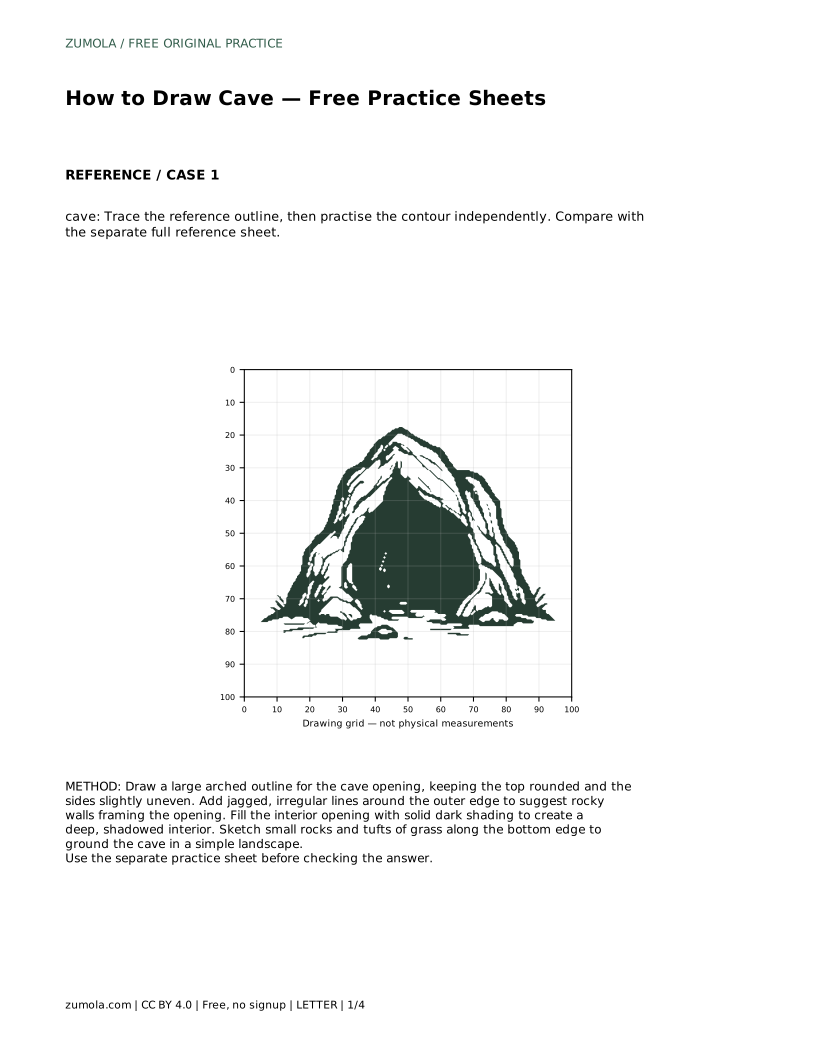
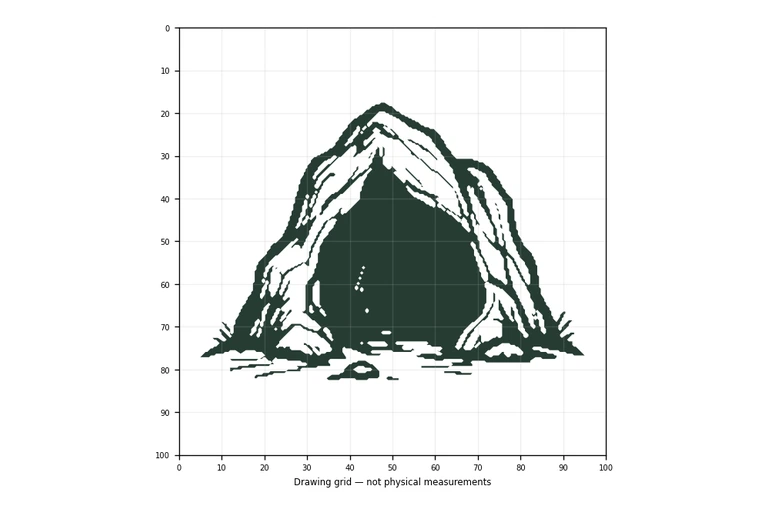
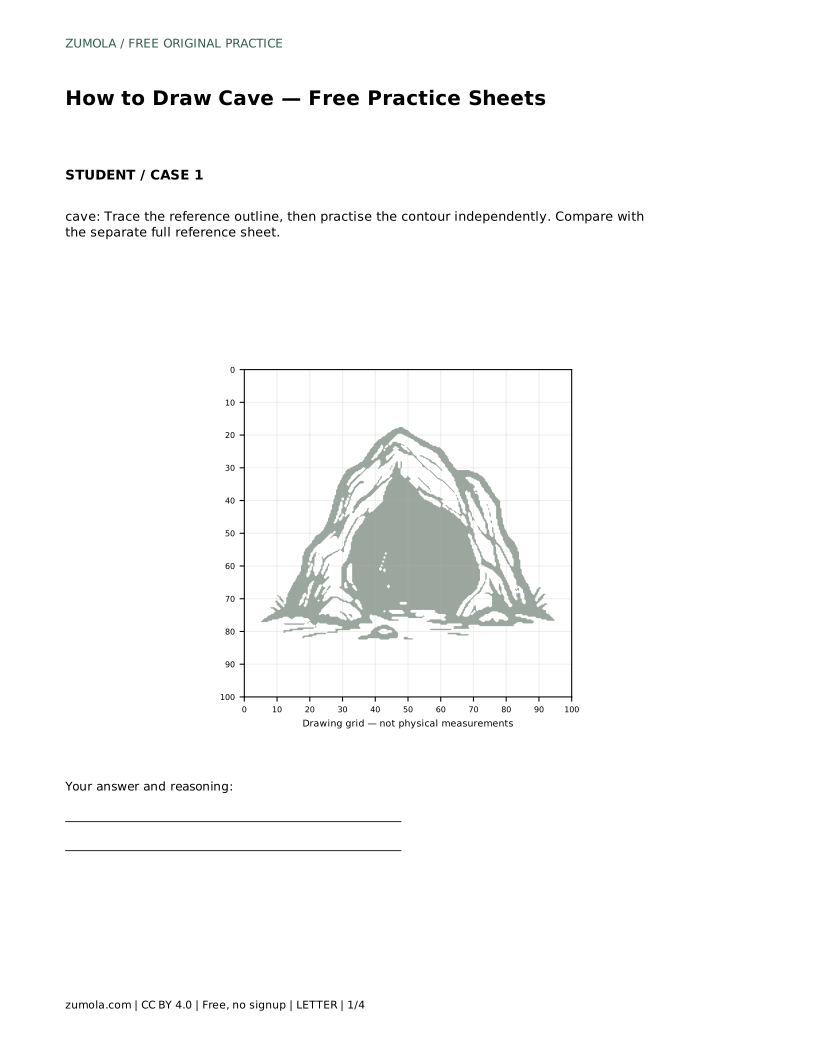
A cave drawing is mostly a study in contrast: a bright, irregular rock frame around a dark opening. This page explains how to build that shape in a clear order, starting with the arched outline, then adding jagged outer edges, solid interior shading, and a few grounding details along the bottom. The method suits the printable practice sheets, where you trace a reference outline first and then draw the contour on your own before comparing with the full reference sheet.
Begin with the cave mouth itself, because everything else is arranged around it. Draw a large arched outline: keep the top rounded rather than pointed, and let the two sides stay slightly uneven instead of mirroring each other. A perfectly symmetrical arch reads as a tunnel or a doorway; small differences in height and width make it feel like natural rock.
Keep the opening generous in the frame. The dark interior needs enough area to look deep, and the surrounding rock needs room for jagged edges. If the arch is too small, the drawing becomes a thin outline with no sense of a shadowed space inside.
Around the arch, add jagged, irregular lines to suggest rocky walls framing the opening. These lines should change direction often, with short segments and small notches rather than smooth curves. Vary the distance between the arch and the outer edge so the rock frame is thicker in some places and thinner in others.
Think of the outer edge as a contour, not a border. It can bulge outward on one side and pull close to the opening on the other. Avoid repeating the same zigzag pattern around the whole shape, since repeated angles look decorative rather than rocky.
Fill the interior opening with solid dark shading to create a deep, shadowed interior. Keep the shading inside the arch only, so the contrast between the dark opening and the lighter rock frame stays clear. A solid fill works better here than scattered scribbles, because the goal is a single dark shape that reads as depth.
Leave the rock frame mostly light. If you shade the outer rock as heavily as the opening, the cave mouth stops standing out and the drawing flattens.
Sketch small rocks and tufts of grass along the bottom edge to ground the cave in a simple landscape. These details sit at the base of the rock frame and give the drawing a place to stand. Keep them small and sparse so they support the cave rather than compete with it.
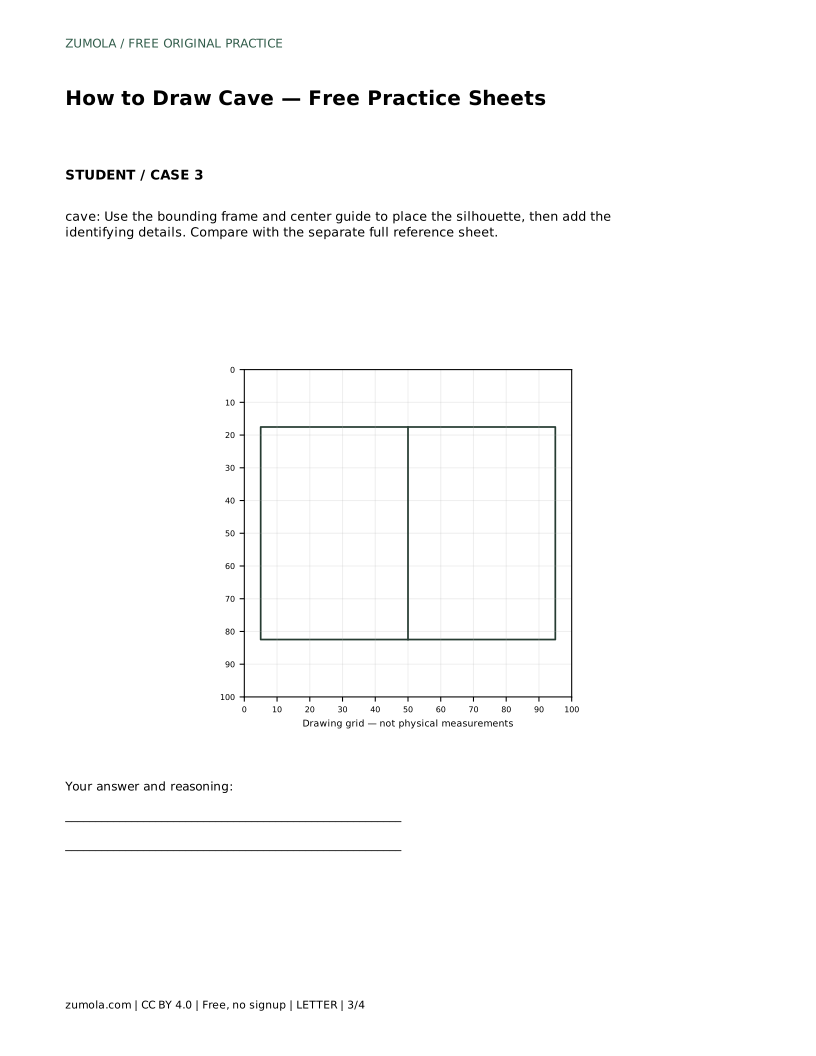
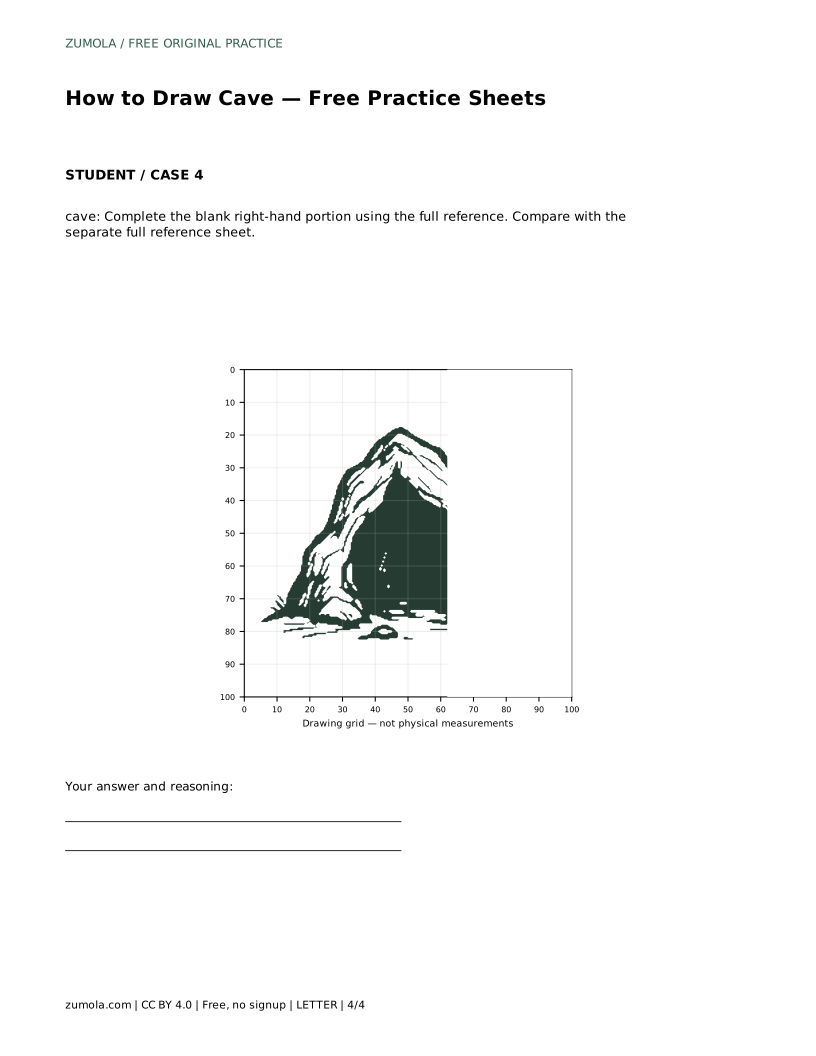
When you use the practice sheets, trace the reference outline first, then draw the contour independently on a fresh sheet. Compare your result with the separate full reference sheet and judge the visible features and proportions rather than expecting a pixel-perfect match.
cave: Trace the reference outline, then practise the contour independently. Compare with the separate full reference sheet.
Example solution: preserve arched opening with a rounded top, rocky irregular outer edges with jagged contour lines, dark filled interior suggesting depth. Other drawings can be correct; assess the visible features and proportions rather than pixel-perfect matching. Draw a large arched outline for the cave opening, keeping the top rounded and the sides slightly uneven. Add jagged, irregular lines around the outer edge to suggest rocky walls framing the opening. Fill the interior opening with solid dark shading to create a deep, shadowed interior. Sketch small rocks and tufts of grass along the bottom edge to ground the cave in a simple landscape.
Keep the top rounded. A pointed top reads more like a tent or a doorway than a natural cave mouth.
Fill the interior with solid dark shading so it reads as one deep shadow, and keep the surrounding rock lighter for contrast.
No. Compare the visible features and proportions, such as the arched opening, jagged outer edges, and dark interior. Other drawings can be correct.
All drawing practice · Free coordinate paper
Original resources · CC BY 4.0 · Free for personal and classroom use with attribution.