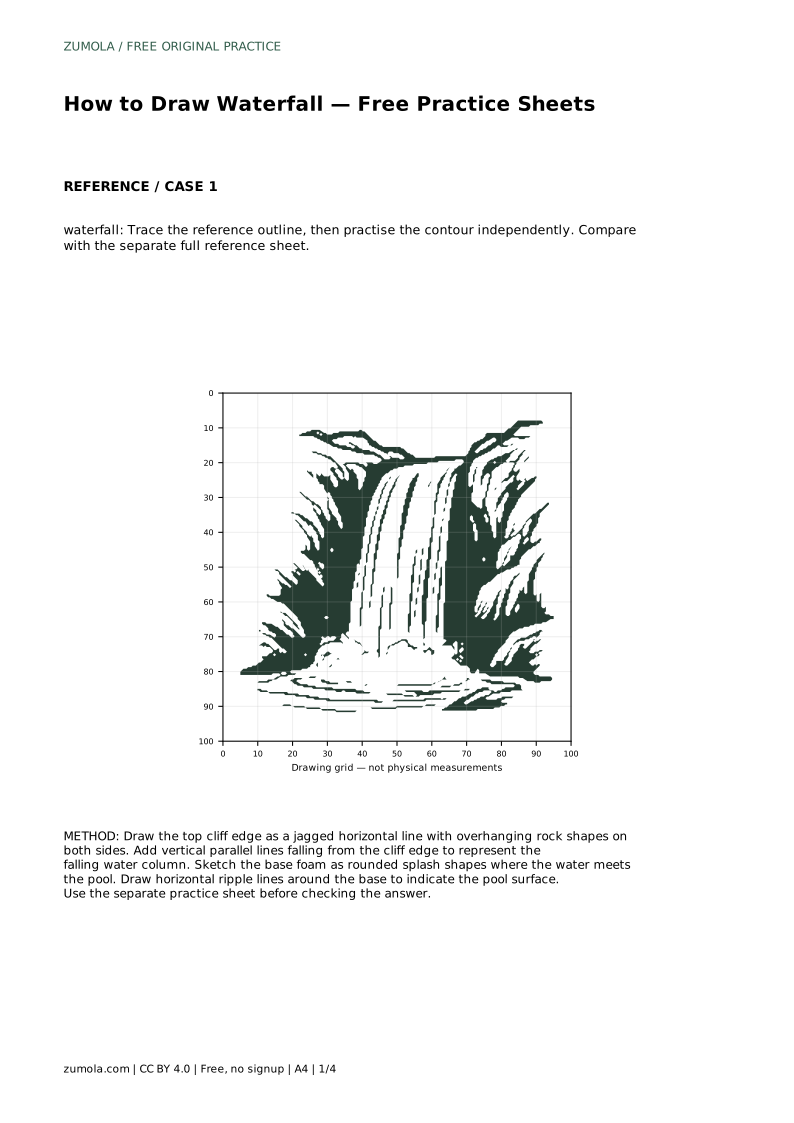
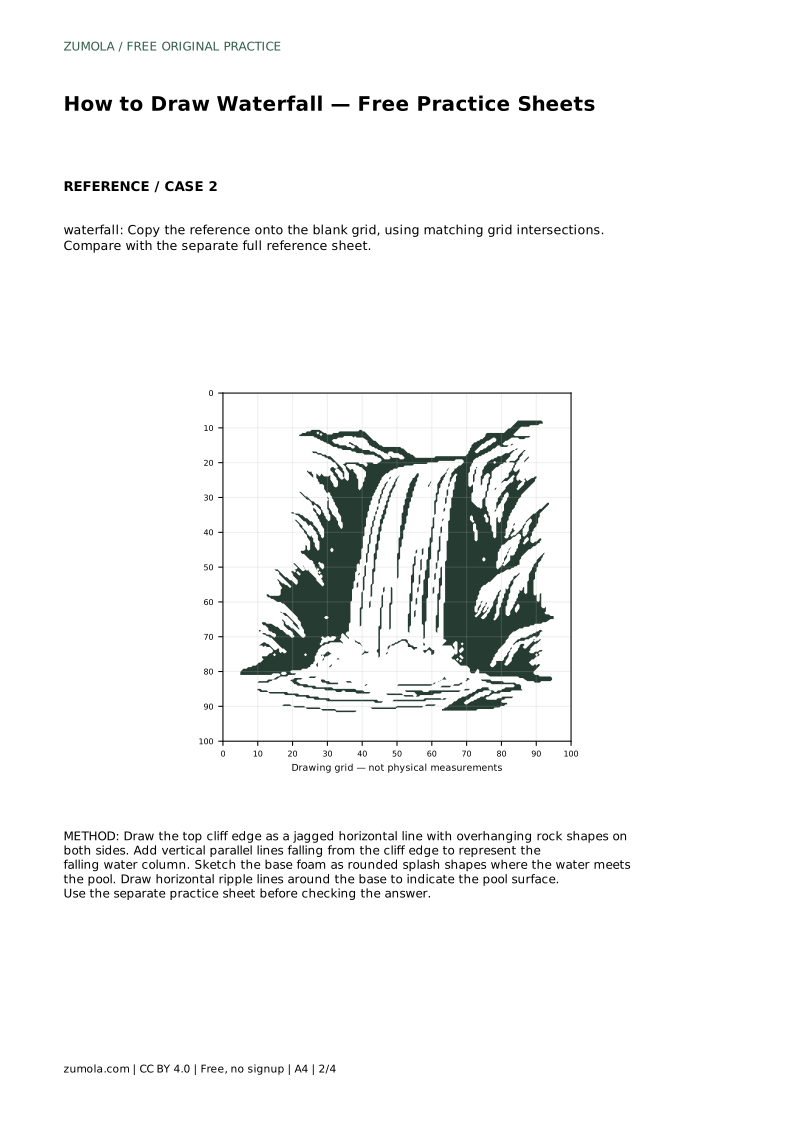
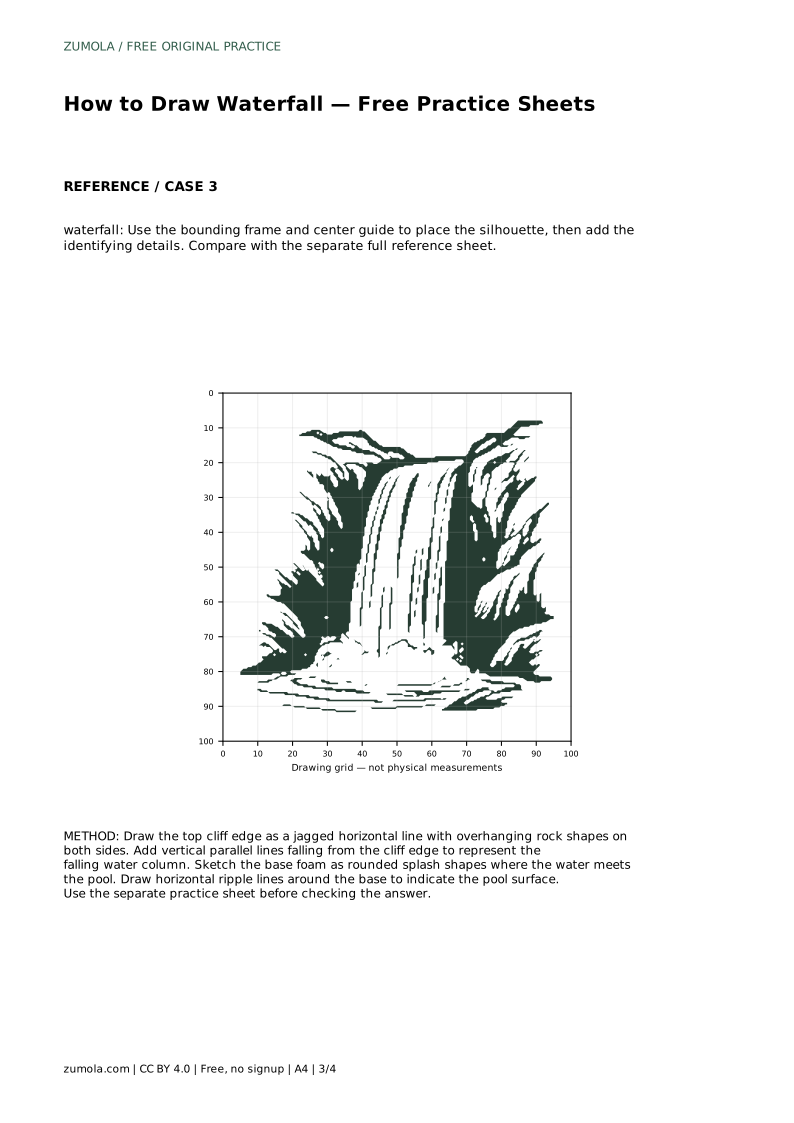
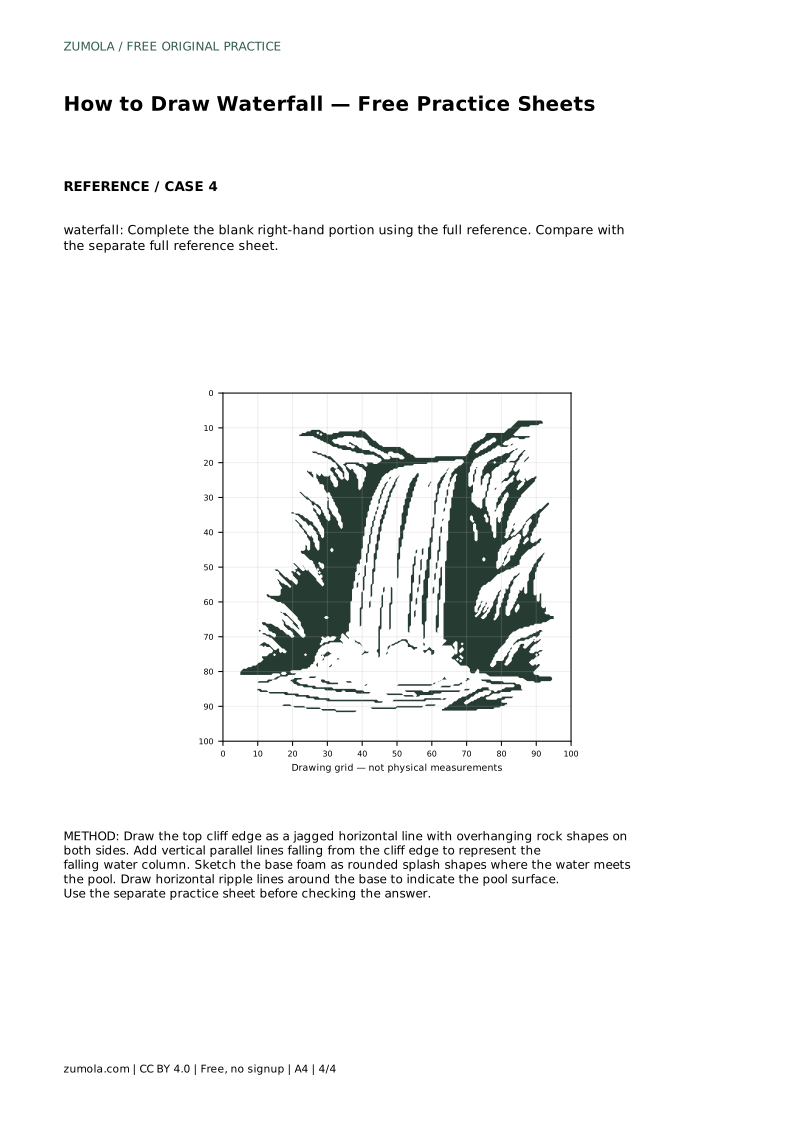
Reference diagrams
LETTER · Download PDF
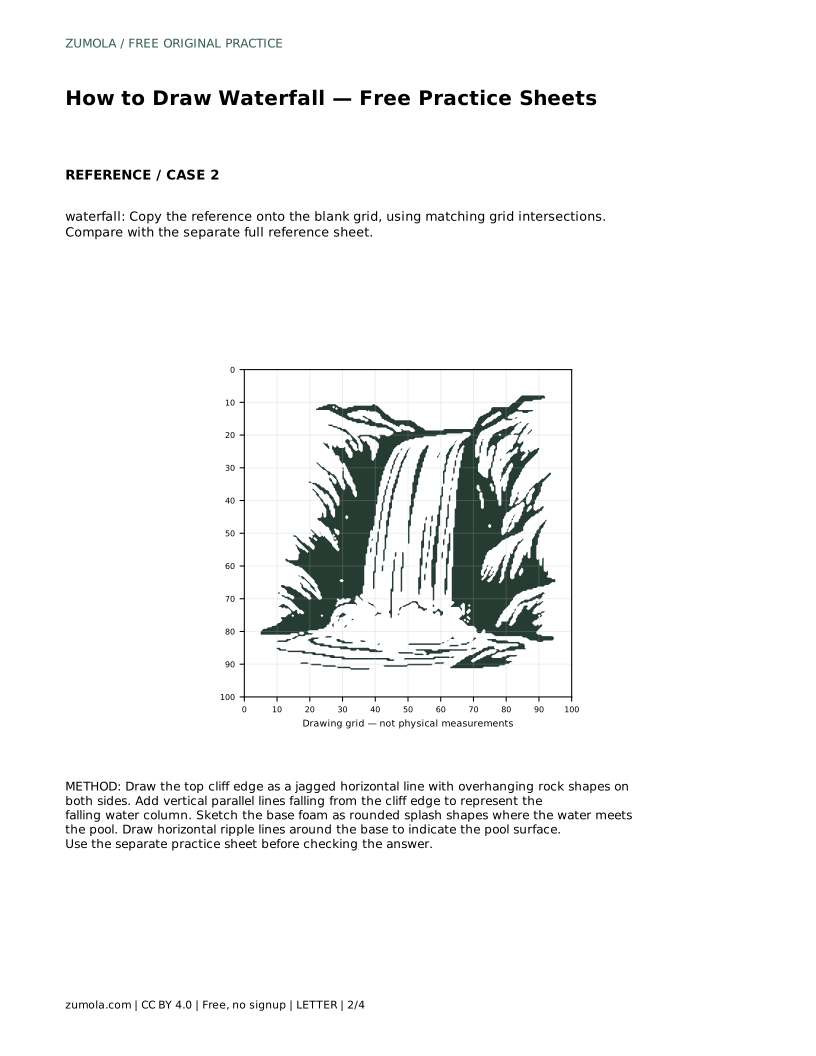
A4 · Download PDF
Free original resources
Learn an easy waterfall drawing method: jagged cliff edge, parallel falling water, rounded foam, and pool ripples. Free printable practice sheets support each step.
Four original cases, with reference diagrams, practice sheets and worked answers. Everything is free; no signup required.
LETTER · Download PDF
A4 · Download PDF
LETTER · Download PDF
A4 · Download PDF
LETTER · Download PDF
A4 · Download PDF
Use A4 or US Letter to match your printer. Use the stated values and conditions to solve each exercise; diagrams are not physical measuring rulers.
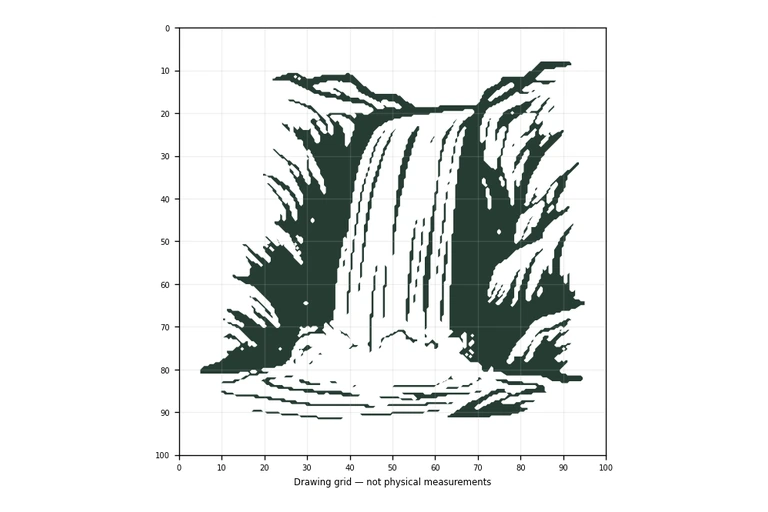
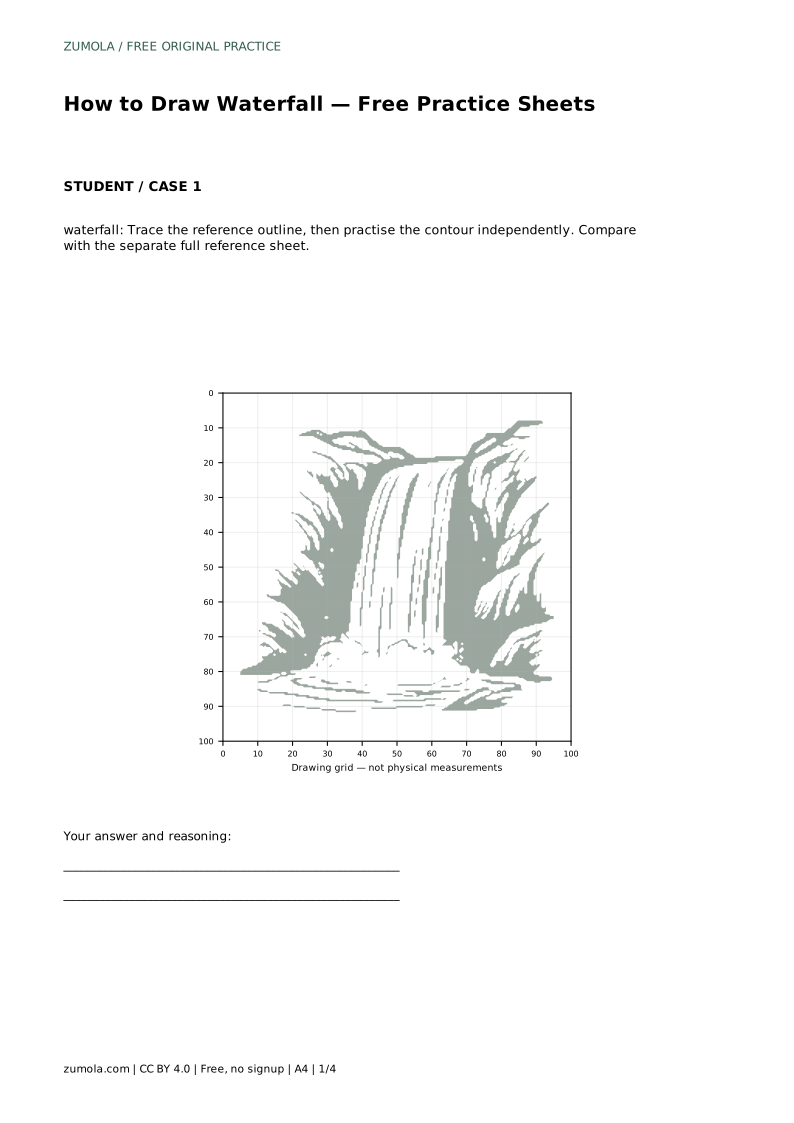
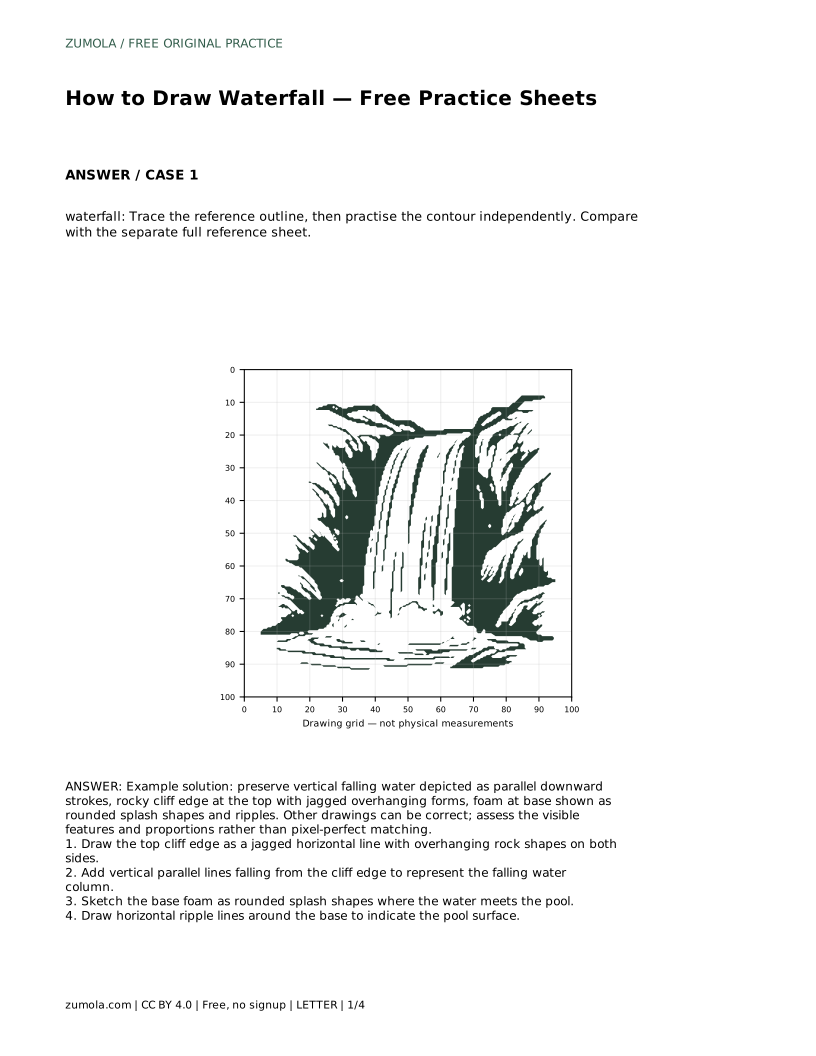
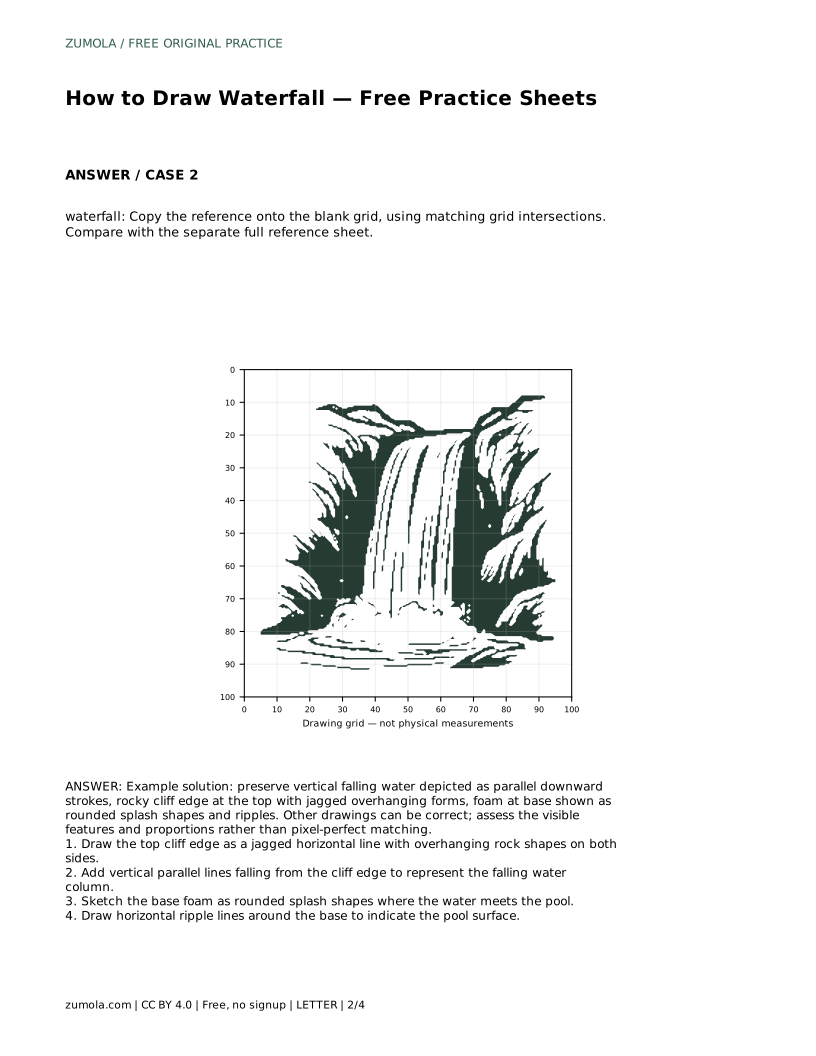
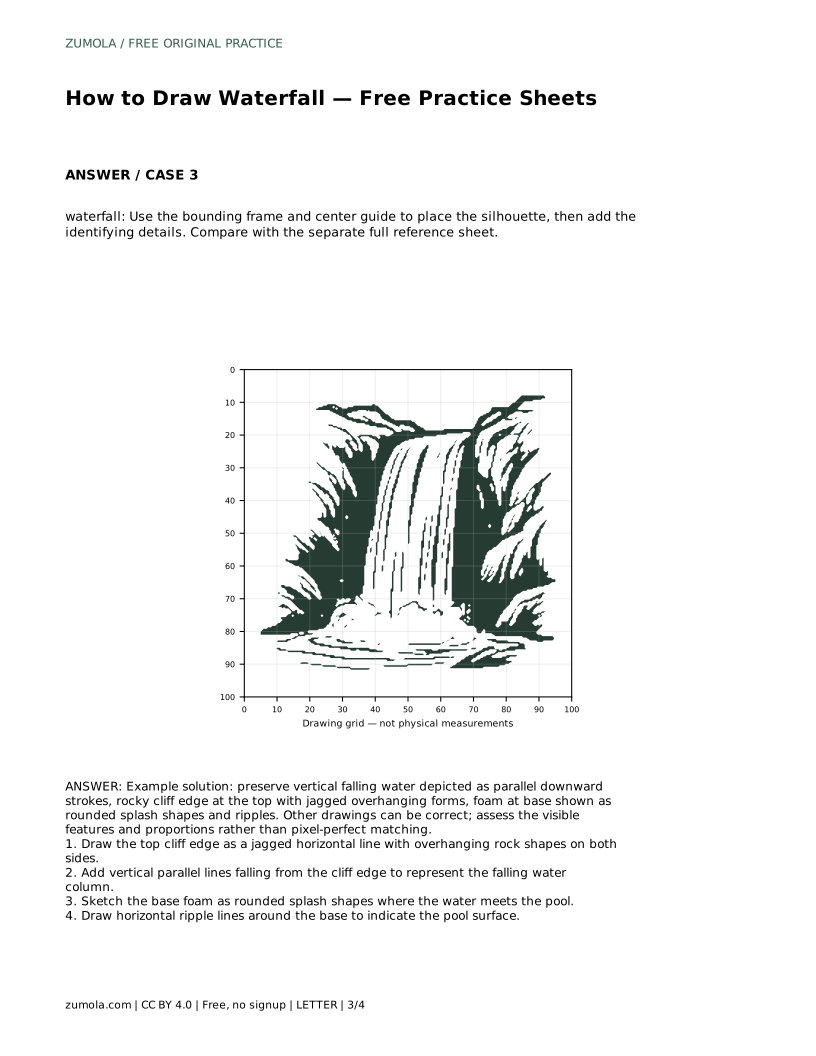
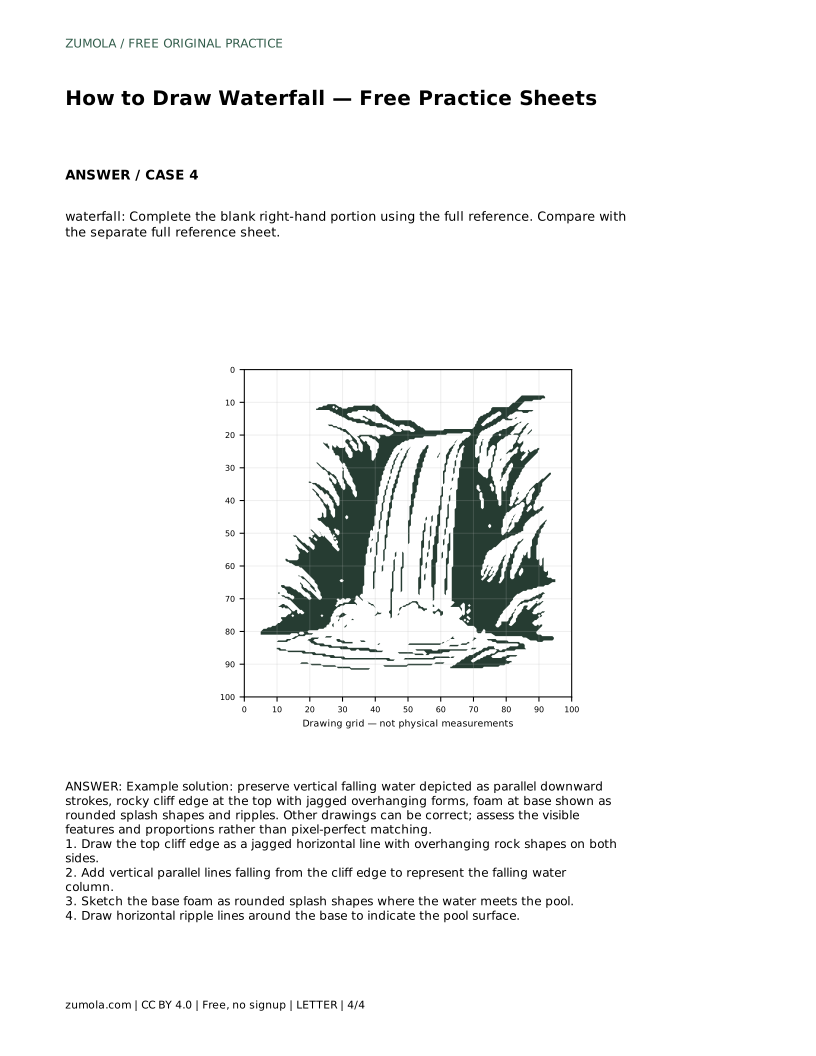
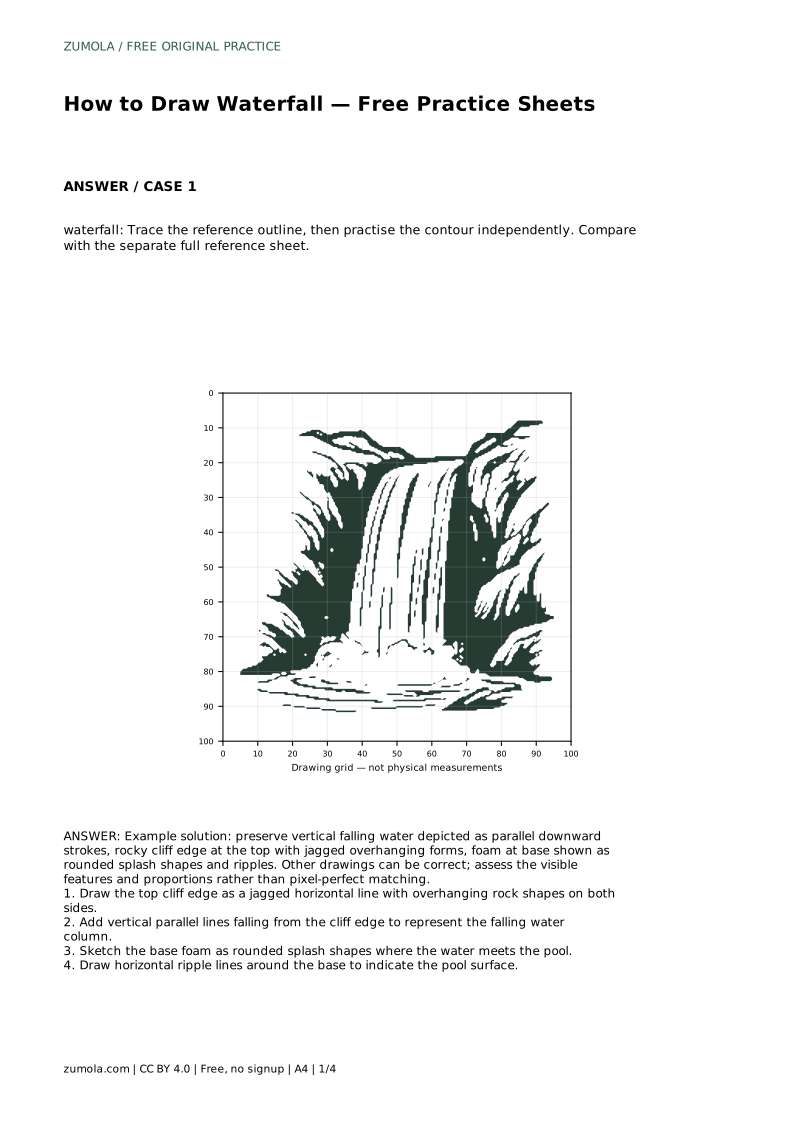
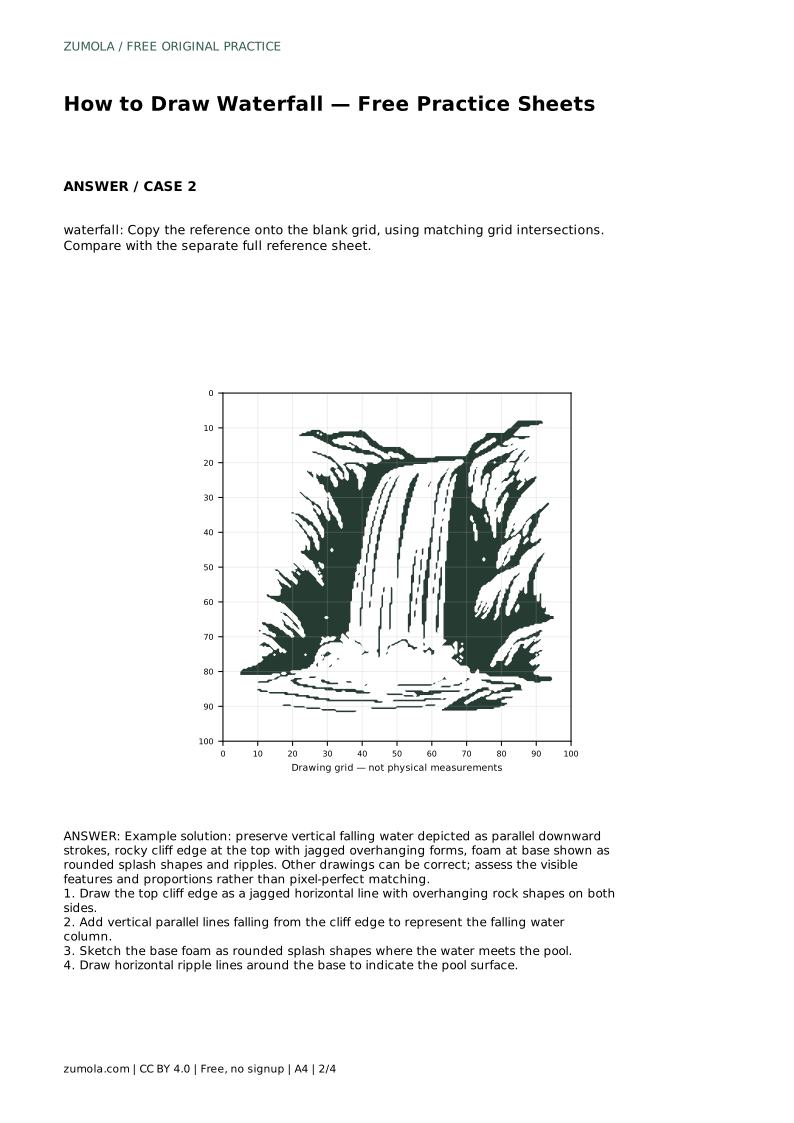
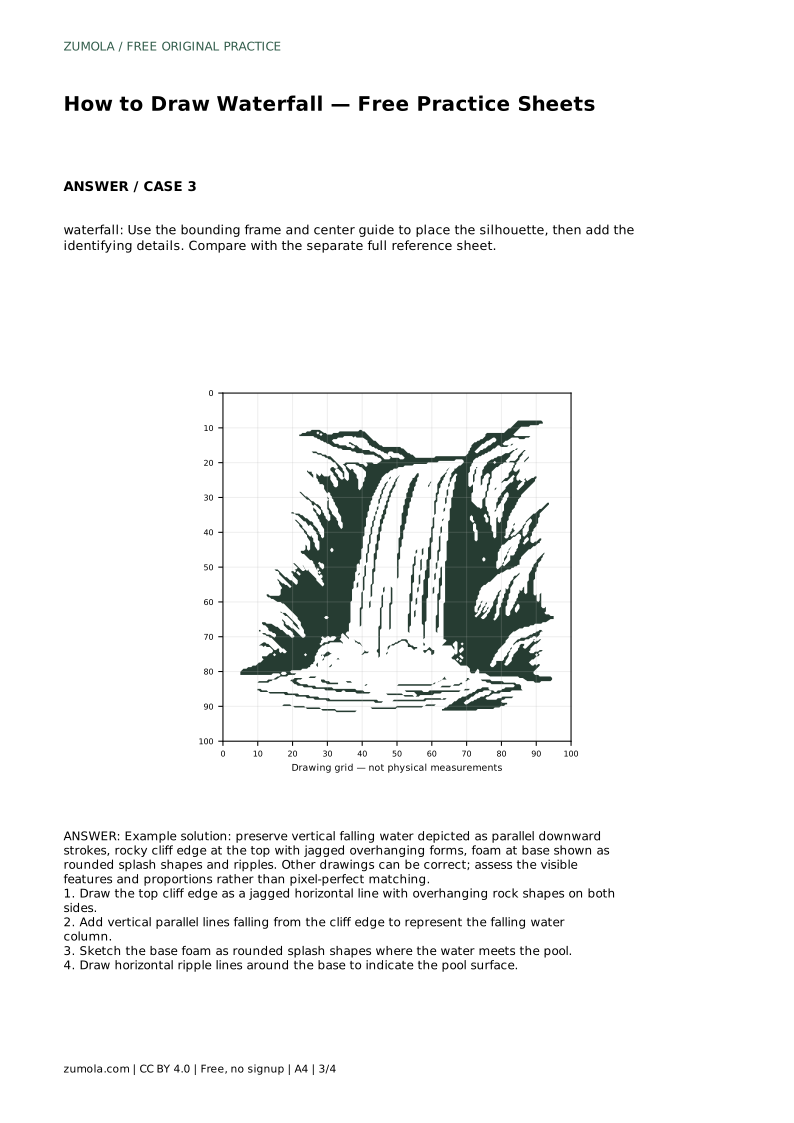
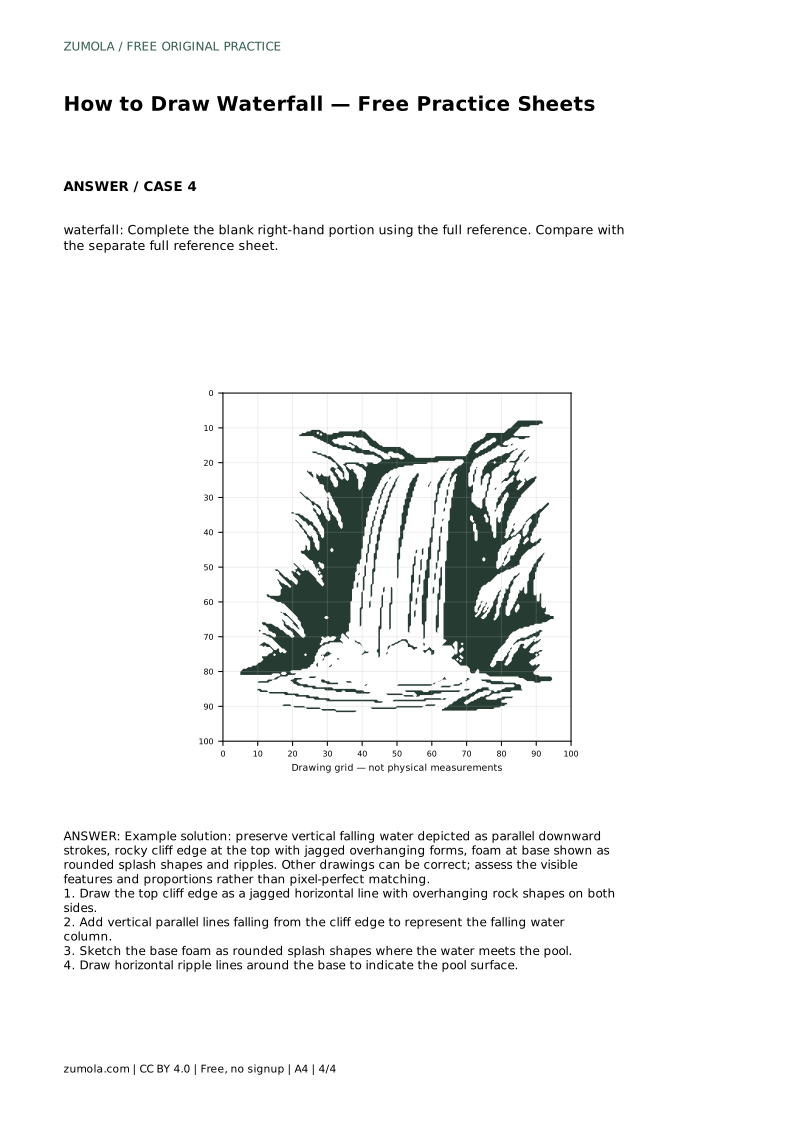
A waterfall is easier to draw when you break it into four visible parts: the cliff edge at the top, the falling column of water, the foam where water lands, and the ripples spreading across the pool. This page explains that order and shows how to use the free printable practice sheets, whether you trace an outline, copy onto a grid, or complete a partially drawn scene. The goal is a clear, recognizable waterfall, not a pixel-perfect copy.
Begin at the top of the page. Draw the cliff edge as a jagged horizontal line rather than a smooth curve; small peaks and dips suggest broken rock. Add overhanging rock shapes on both sides of the gap where the water will fall. These overhangs frame the waterfall and make the drop feel enclosed. Keep the gap roughly centered unless your reference places it off-center. The cliff line does not need to be symmetrical, and irregular edges usually look more natural than repeated identical zigzags.
From the cliff edge, draw vertical parallel lines down to the pool. These lines represent the falling water column. Keep them mostly vertical and evenly spaced so the water reads as a continuous sheet rather than separate streams. Slight variation in spacing is fine, but avoid slanting the lines far from vertical, which makes the water look like it is blowing sideways. Leave the column open at the bottom where it meets the foam.
Where the falling water meets the pool, sketch rounded splash shapes to show foam. Cluster a few rounded forms at the base of the column rather than drawing a single flat line. Then add horizontal ripple lines around the base to indicate the pool surface. Ripples should spread outward from the splash area, and they can be gently curved. Keep ripples horizontal; vertical marks at the base would confuse the pool surface with the falling water.
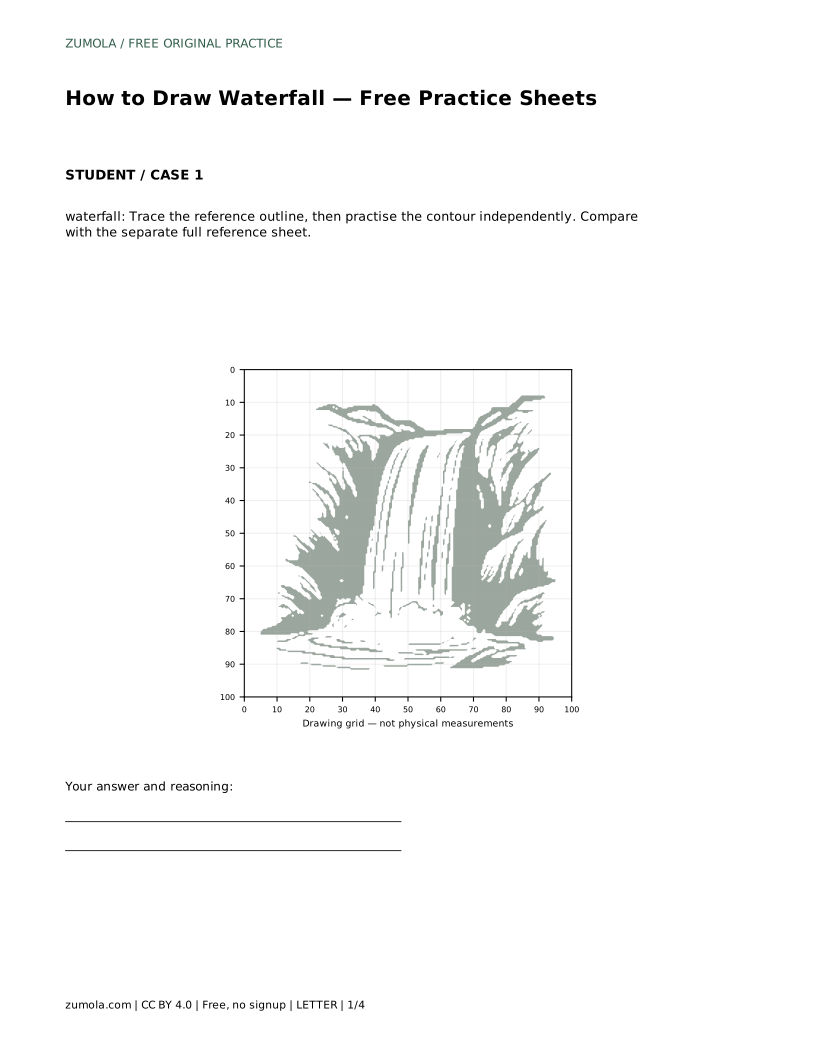
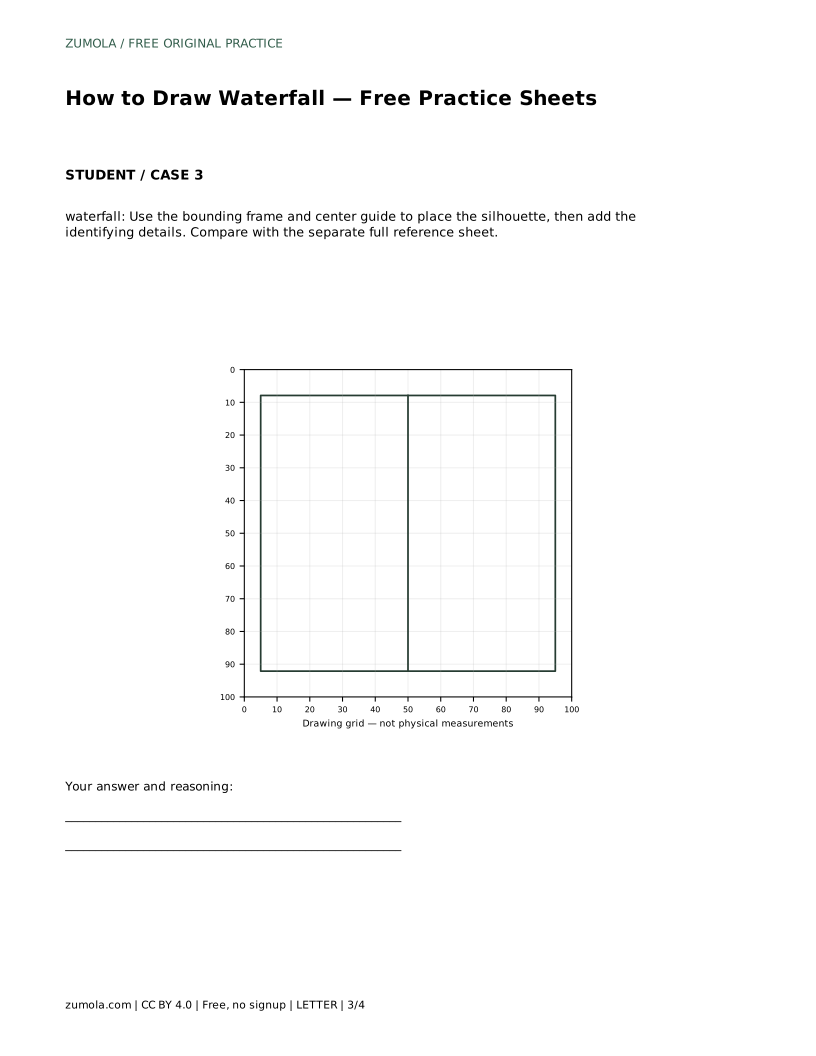
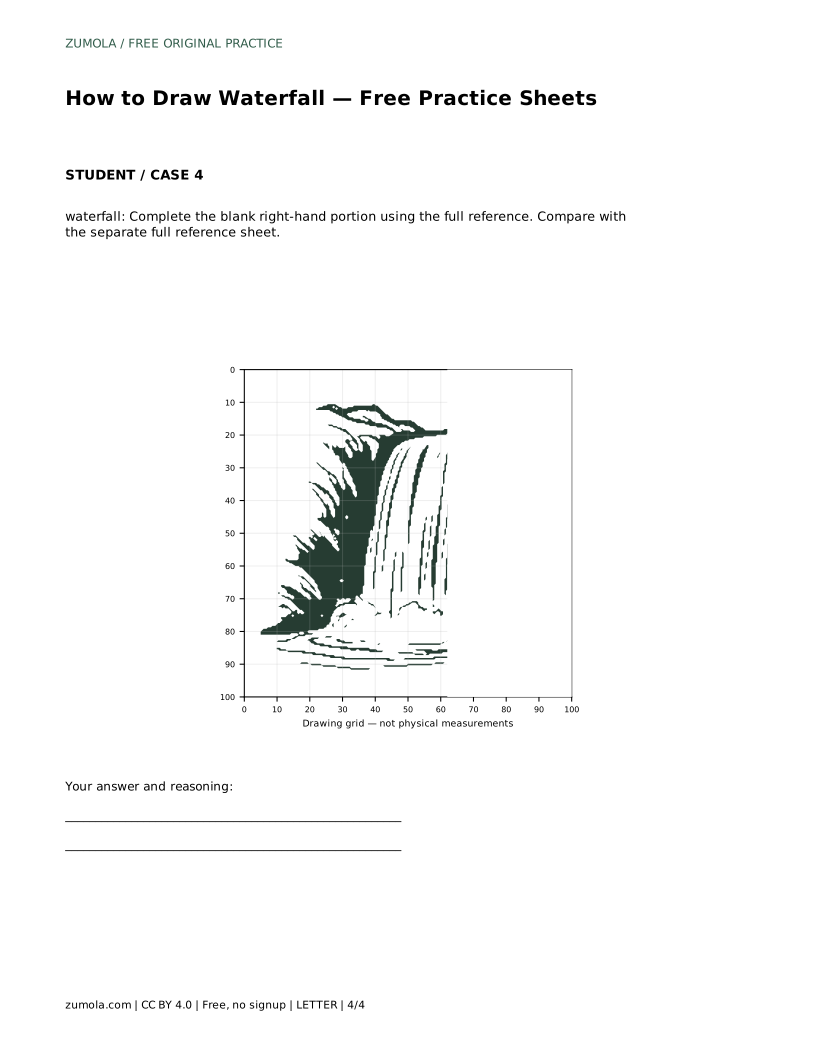
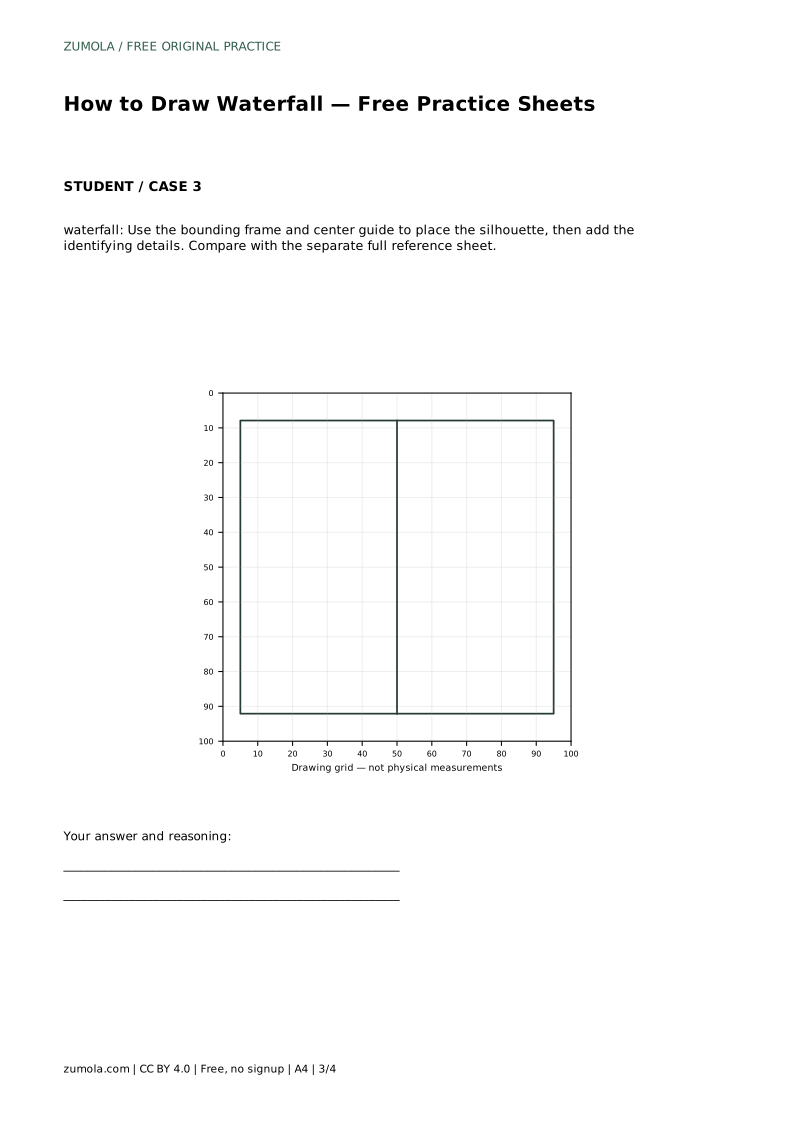
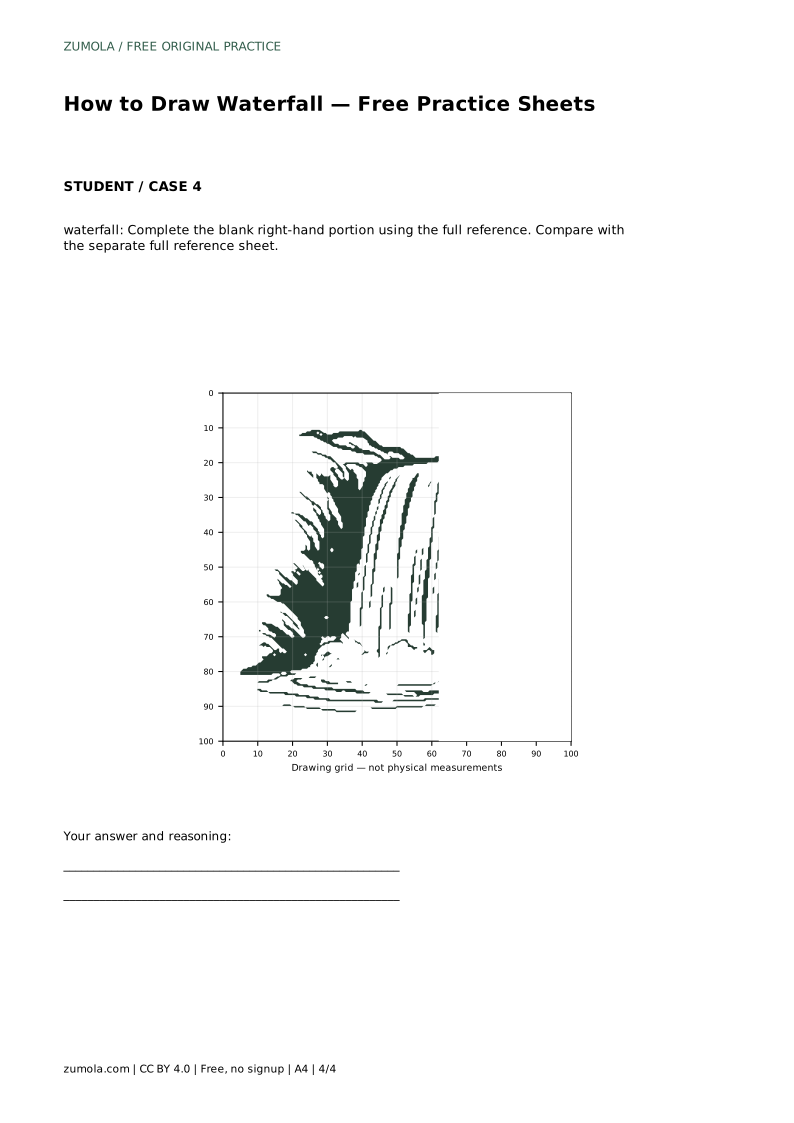
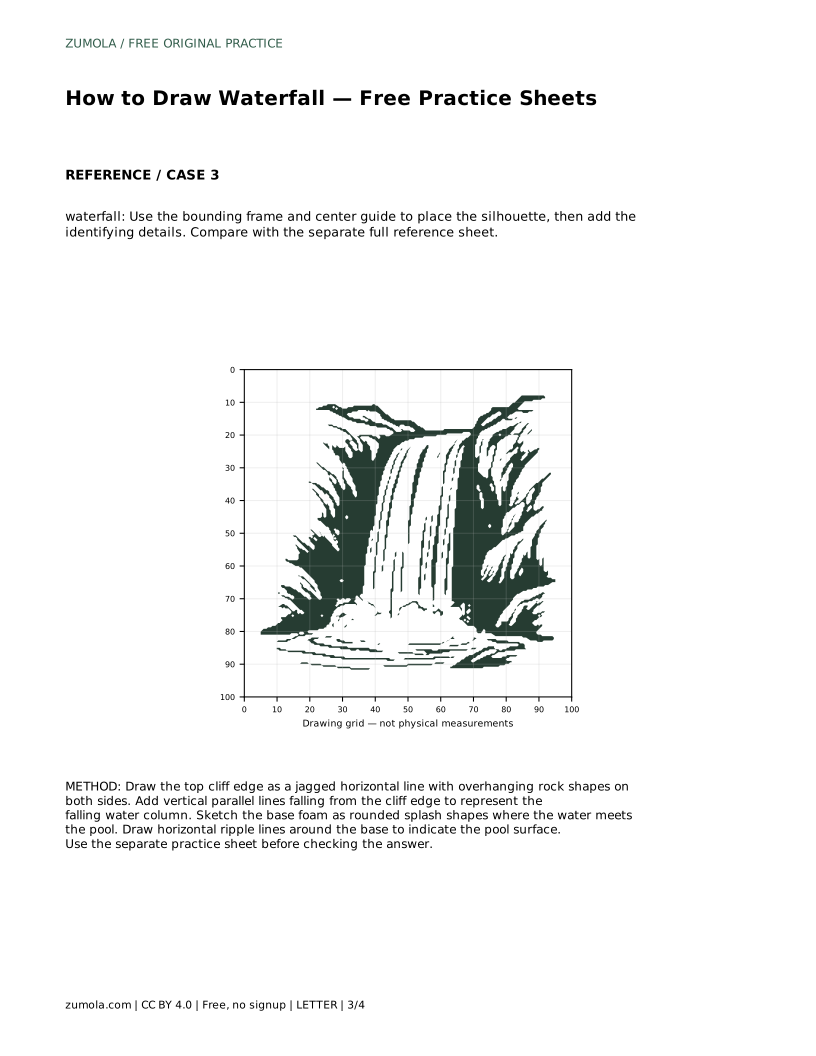
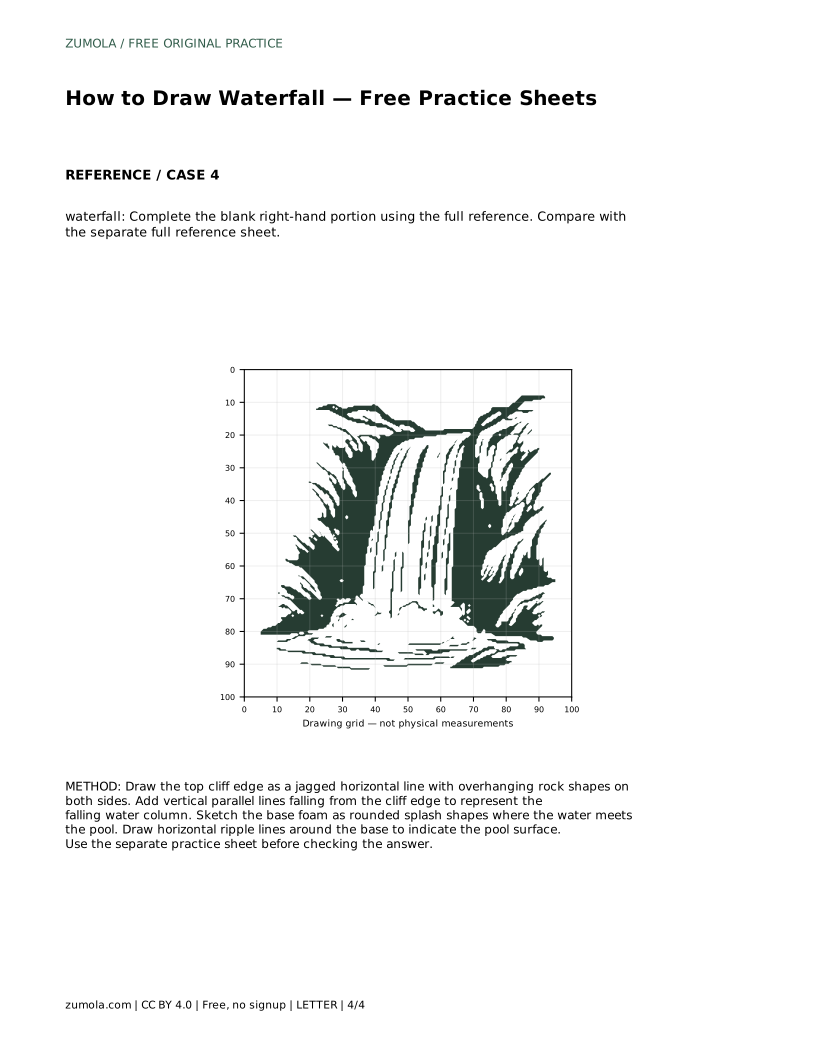
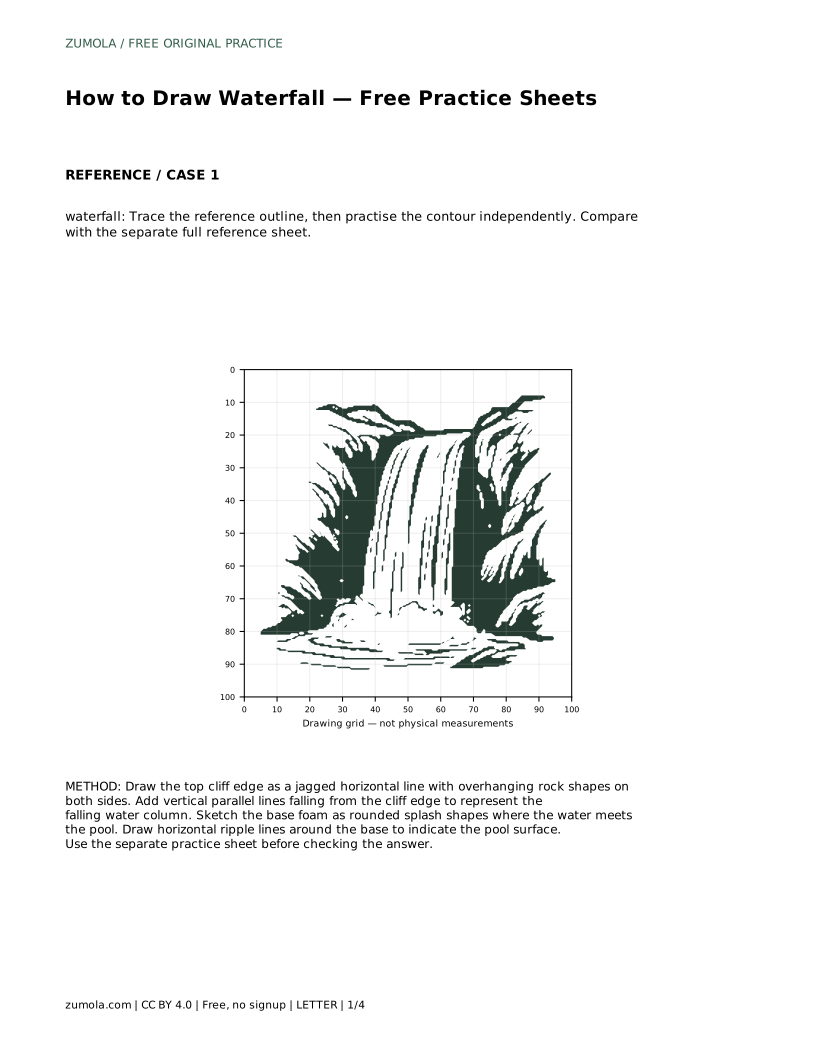
The printable sheets offer different levels of support. One asks you to trace the reference outline, then practise the contour independently and compare with the separate full reference sheet. Another asks you to copy the reference onto a blank grid using matching grid intersections. A third uses a bounding frame and center guide to place the silhouette before adding details. A fourth gives a blank right-hand portion to complete from the full reference. Choose the format that matches your current confidence, and move to a less supported sheet as your placement improves.
waterfall: Trace the reference outline, then practise the contour independently. Compare with the separate full reference sheet.
Example solution: preserve vertical falling water depicted as parallel downward strokes, rocky cliff edge at the top with jagged overhanging forms, foam at base shown as rounded splash shapes and ripples. Other drawings can be correct; assess the visible features and proportions rather than pixel-perfect matching. Draw the top cliff edge as a jagged horizontal line with overhanging rock shapes on both sides. Add vertical parallel lines falling from the cliff edge to represent the falling water column. Sketch the base foam as rounded splash shapes where the water meets the pool. Draw horizontal ripple lines around the base to indicate the pool surface.
No. Several drawings can be correct. Assess whether the cliff edge, vertical water column, rounded foam, and horizontal ripples are present and proportioned sensibly.
Start with the trace-the-outline sheet, then move to the grid or frame version once you can place the cliff, column, and pool without tracing.
Wide enough that the vertical strokes read as a continuous sheet. Compare the gap width with the pool and foam width so the base does not look much narrower than the drop.
All drawing practice · Free coordinate paper
Original resources · CC BY 4.0 · Free for personal and classroom use with attribution.