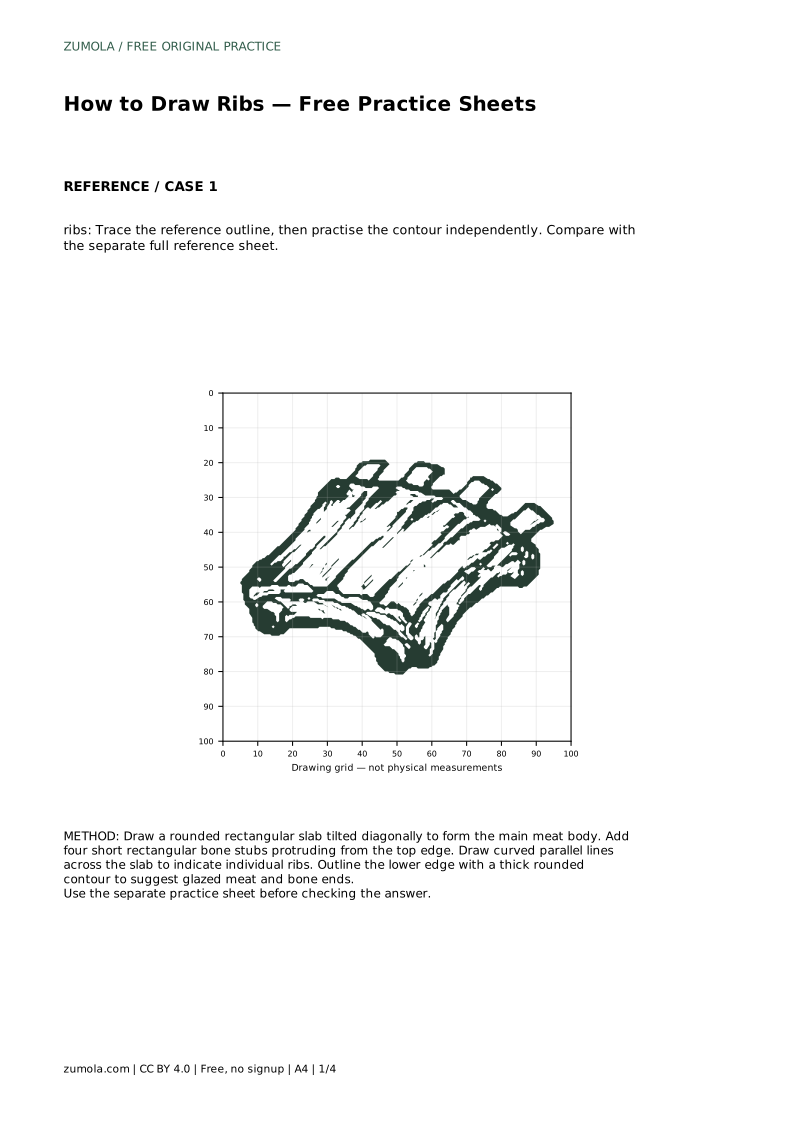
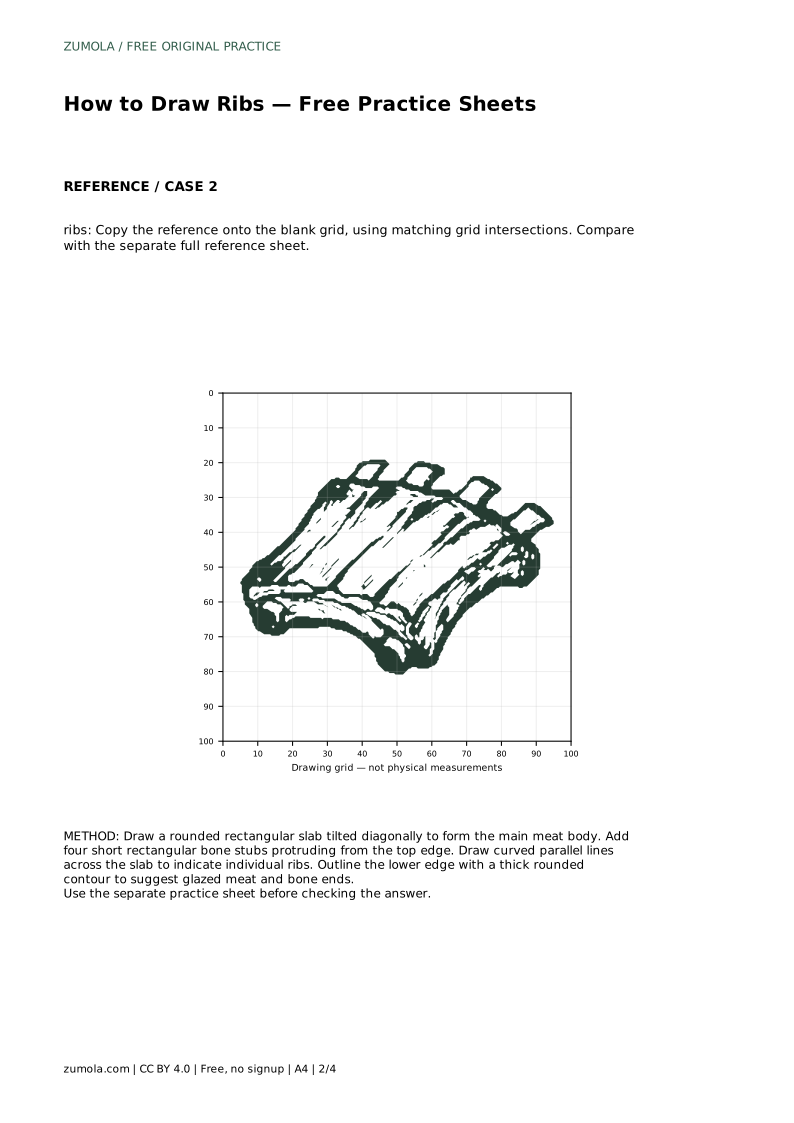
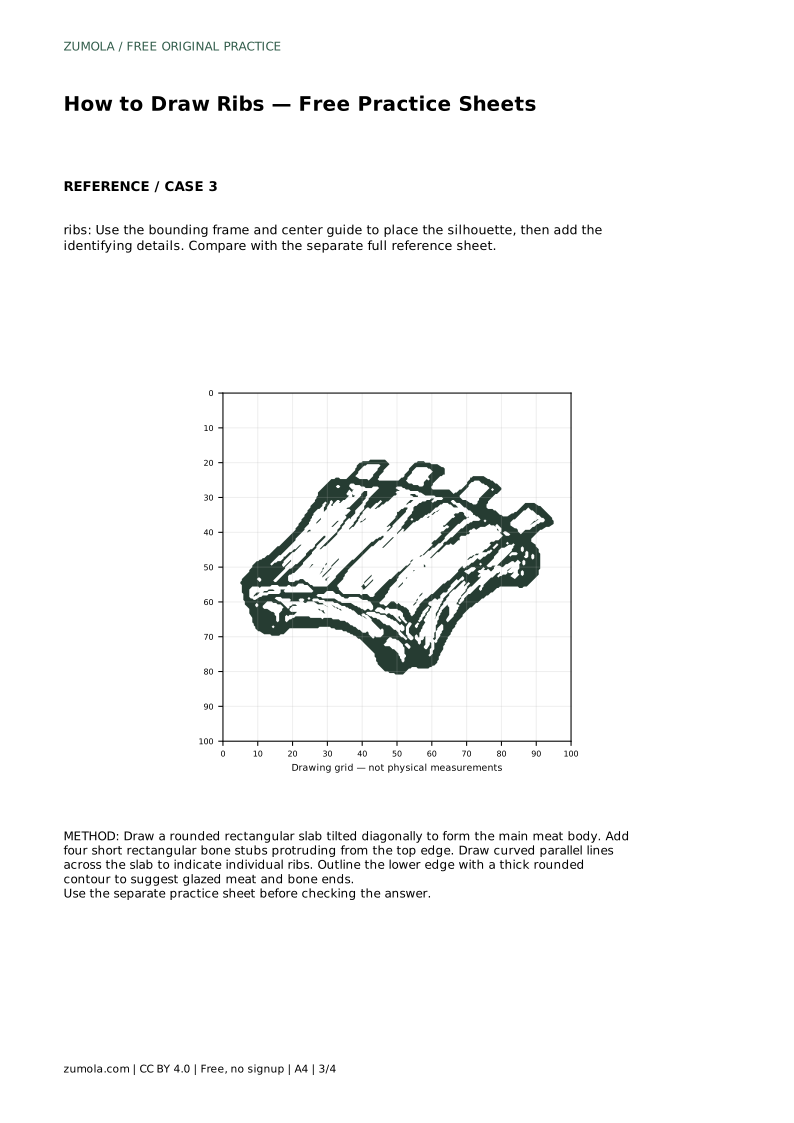
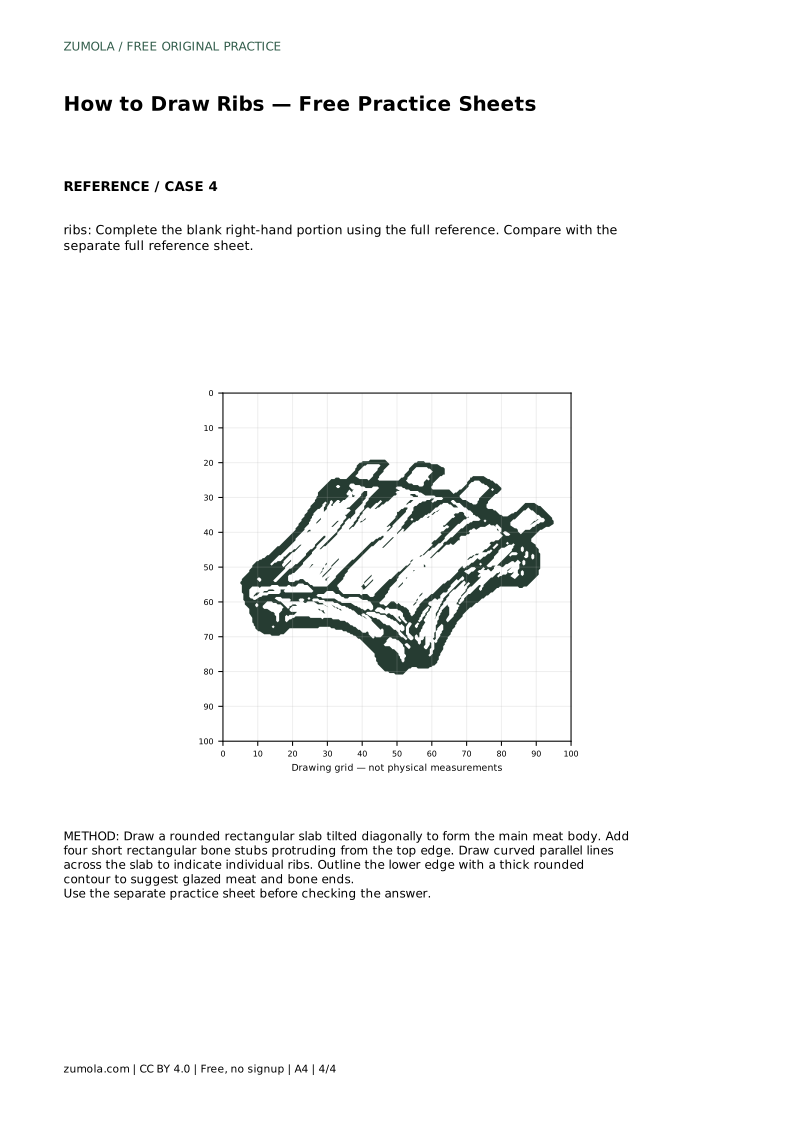
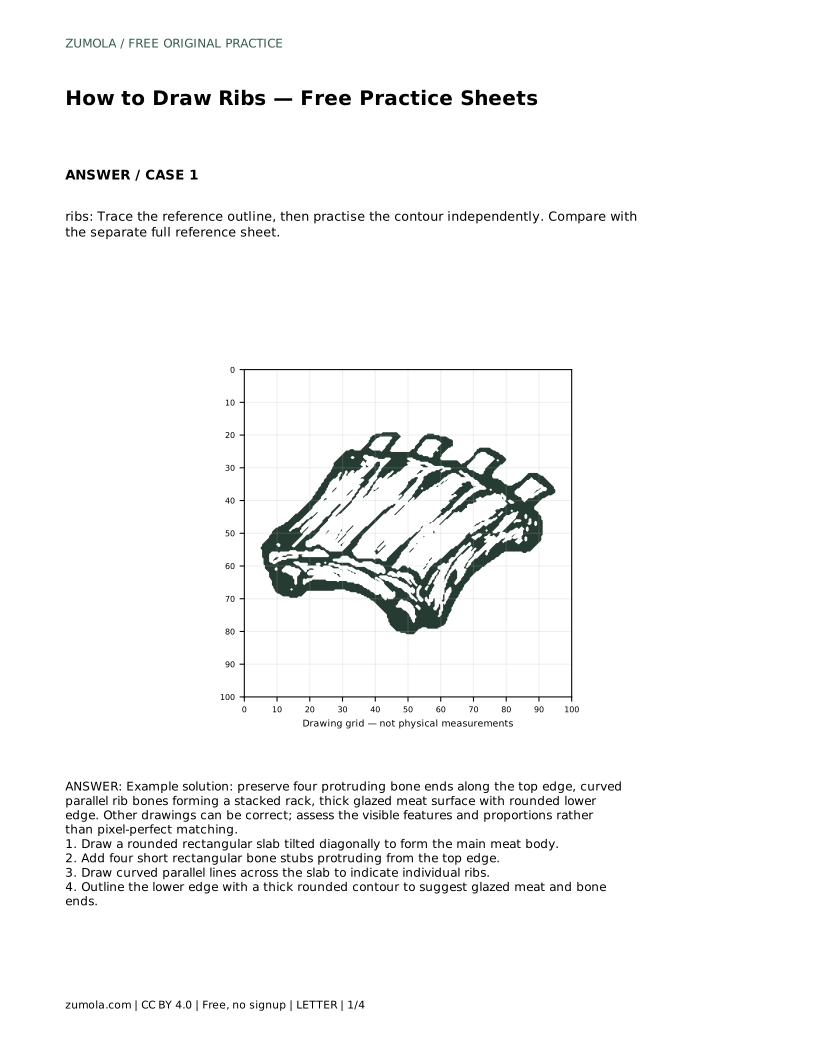
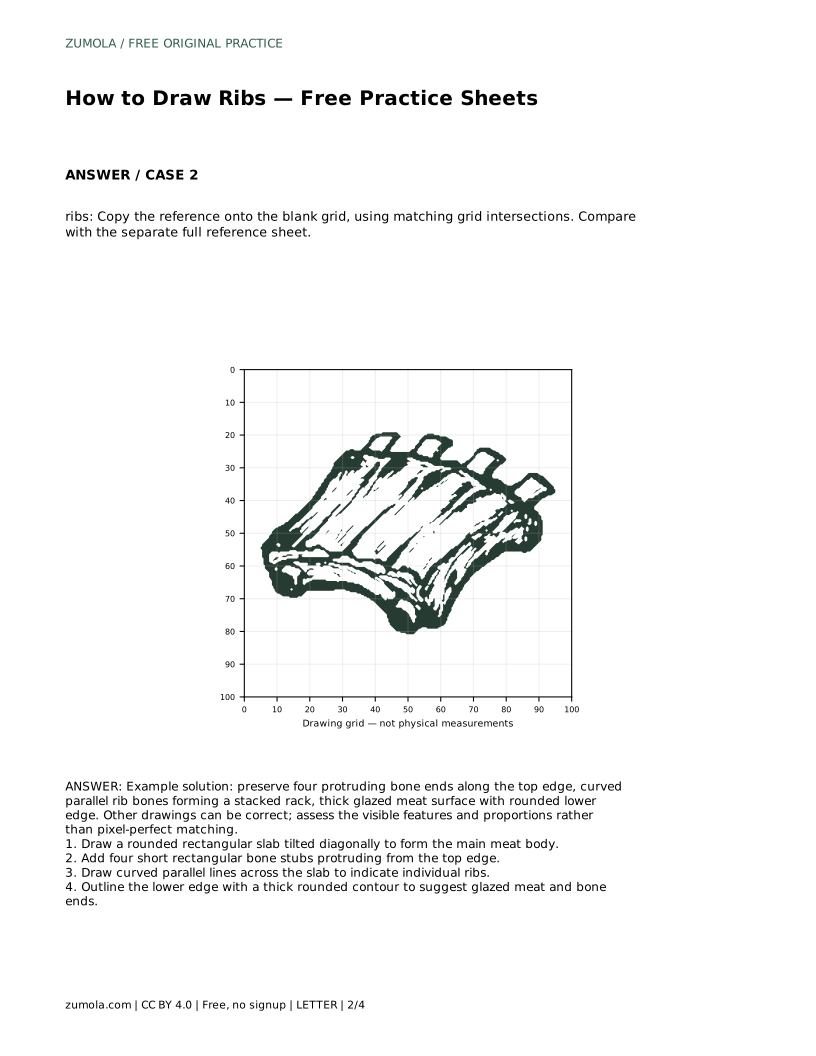
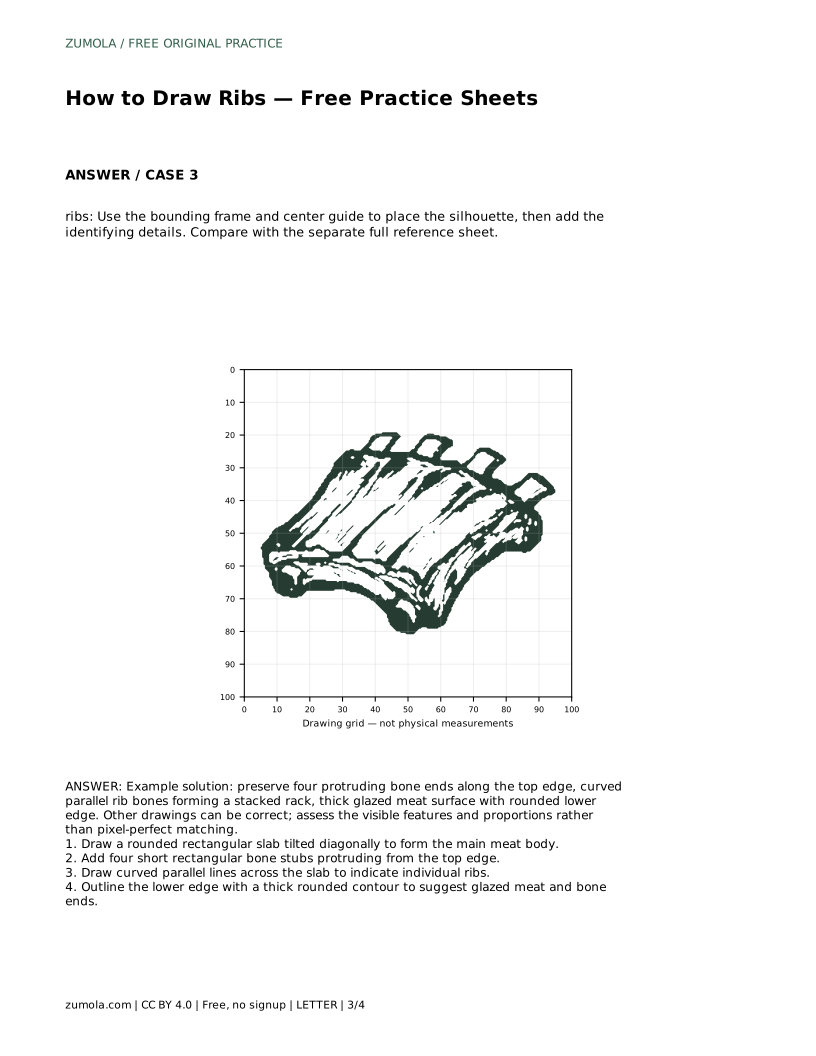
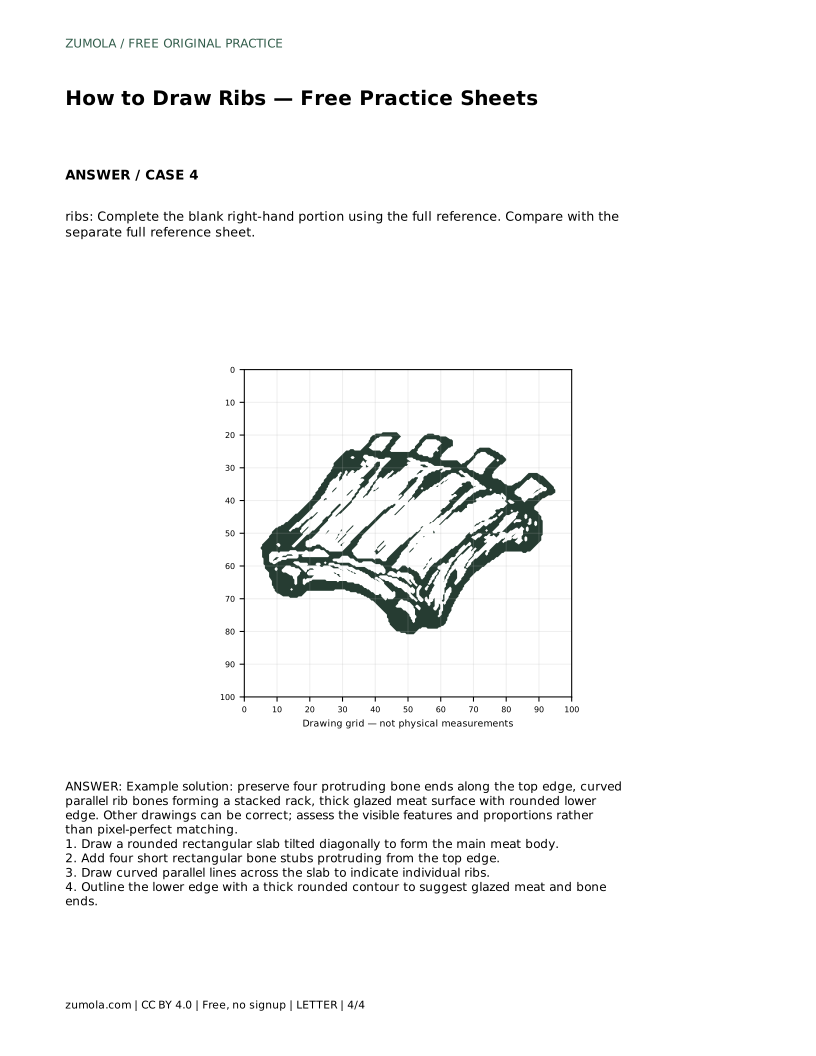
Reference diagrams
LETTER · Download PDF
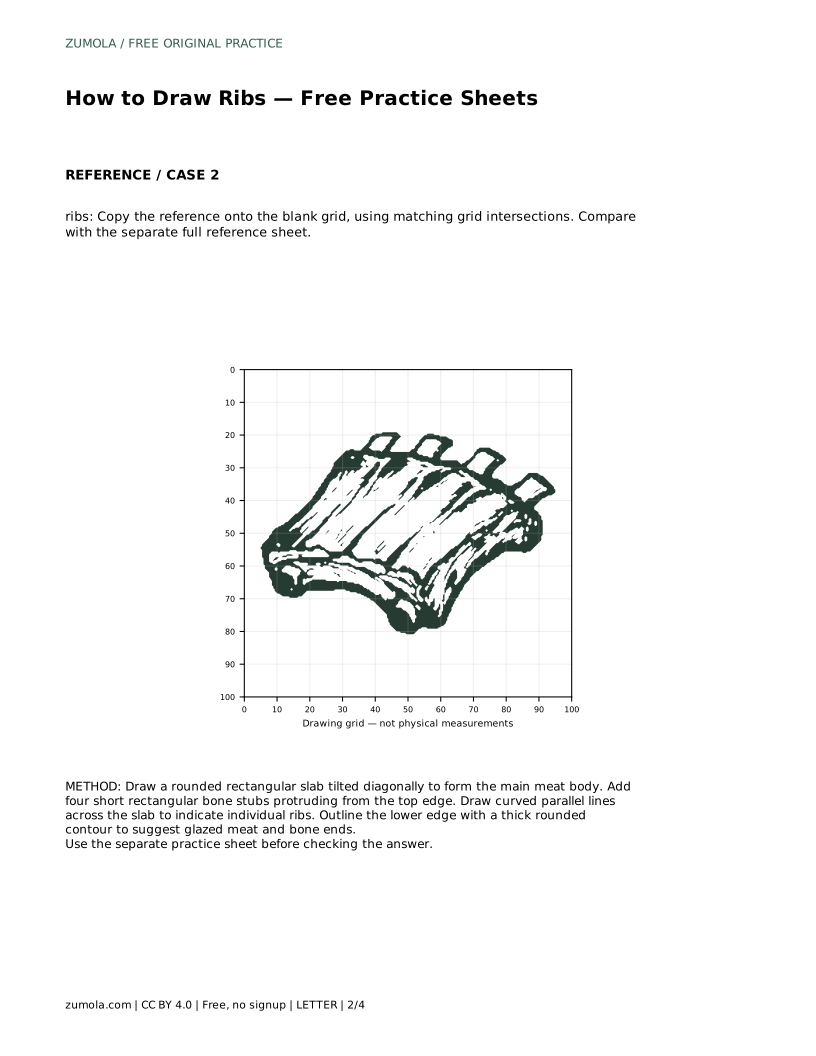
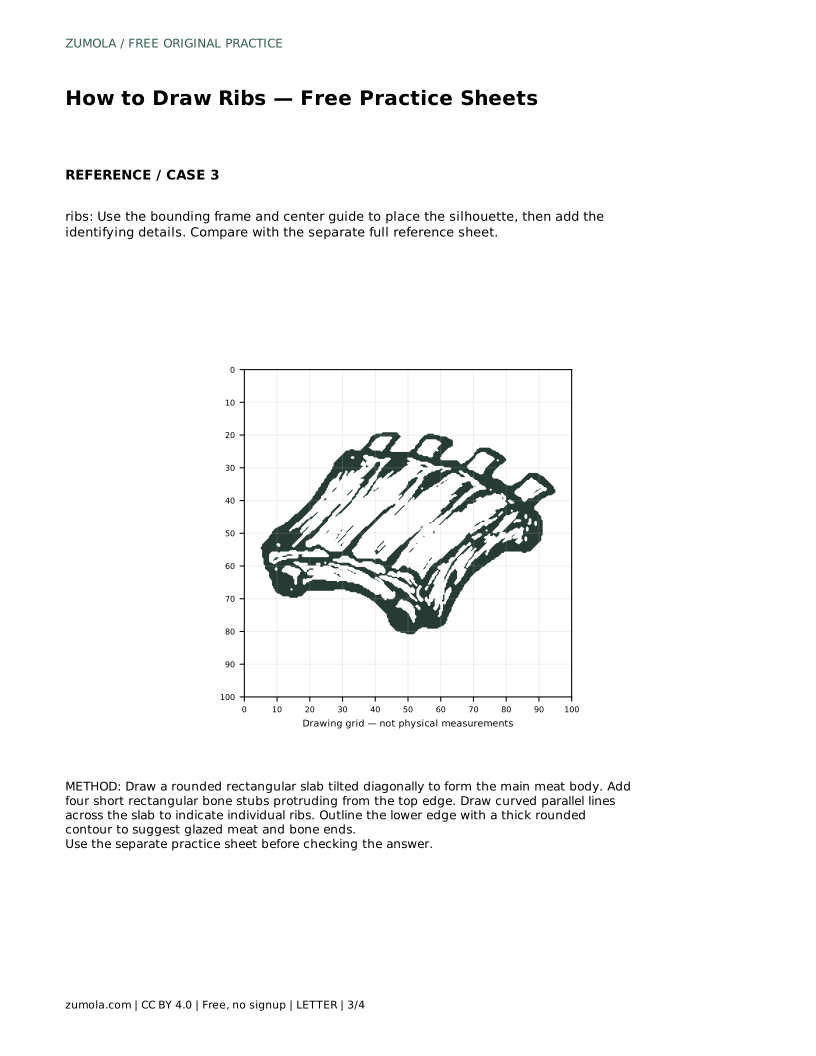
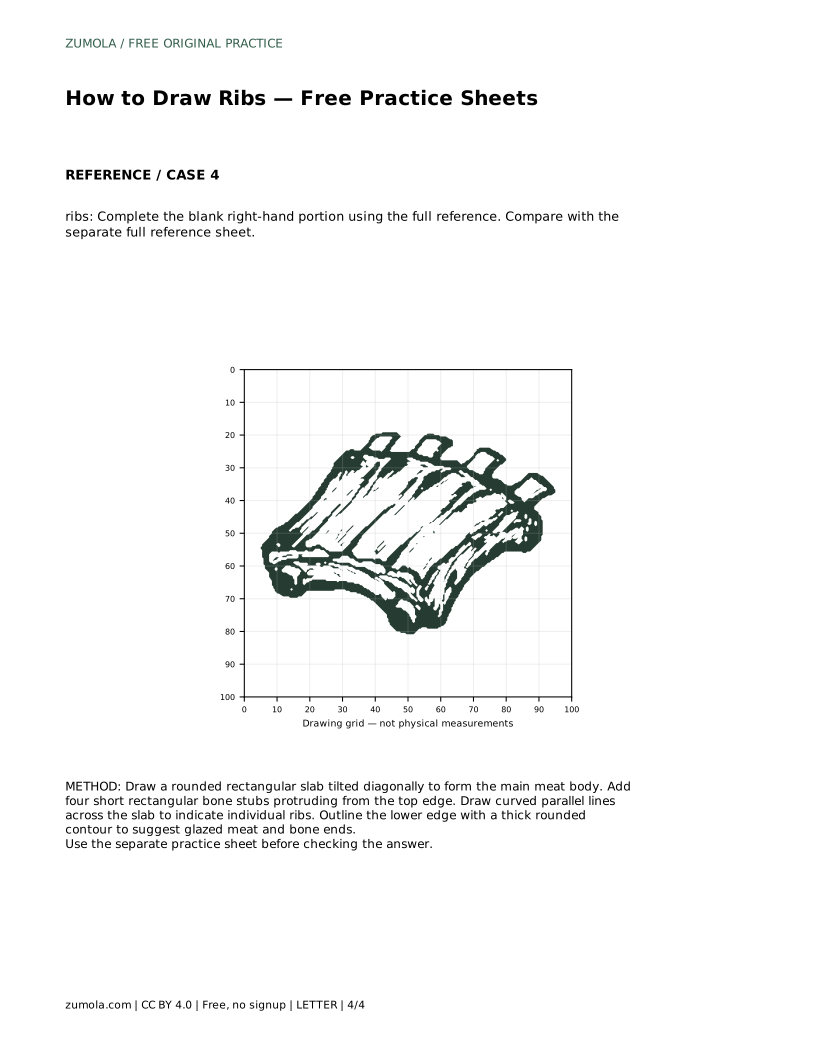
A4 · Download PDF
Free original resources
Learn to draw a rack of ribs with a tilted slab, four bone stubs, curved parallel rib lines, and a rounded glazed edge. Free practice sheets support each step.
Four original cases, with reference diagrams, practice sheets and worked answers. Everything is free; no signup required.
LETTER · Download PDF
A4 · Download PDF
LETTER · Download PDF
A4 · Download PDF
LETTER · Download PDF
A4 · Download PDF
Use A4 or US Letter to match your printer. Use the stated values and conditions to solve each exercise; diagrams are not physical measuring rulers.
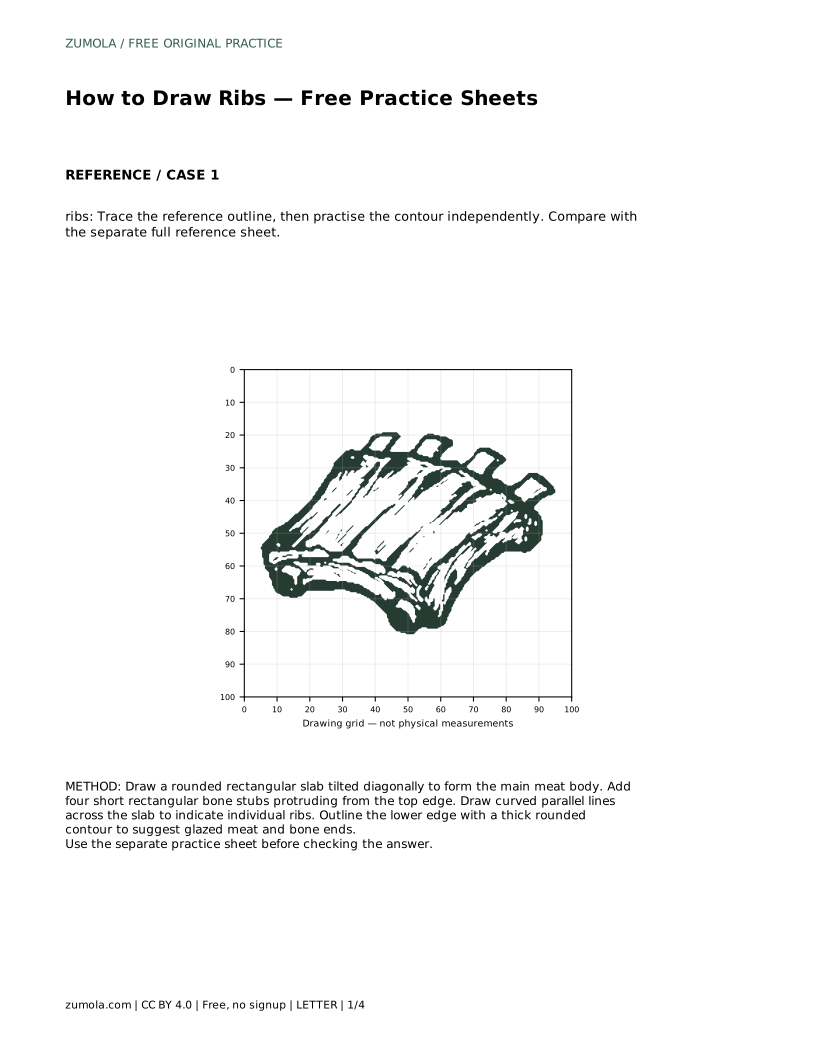
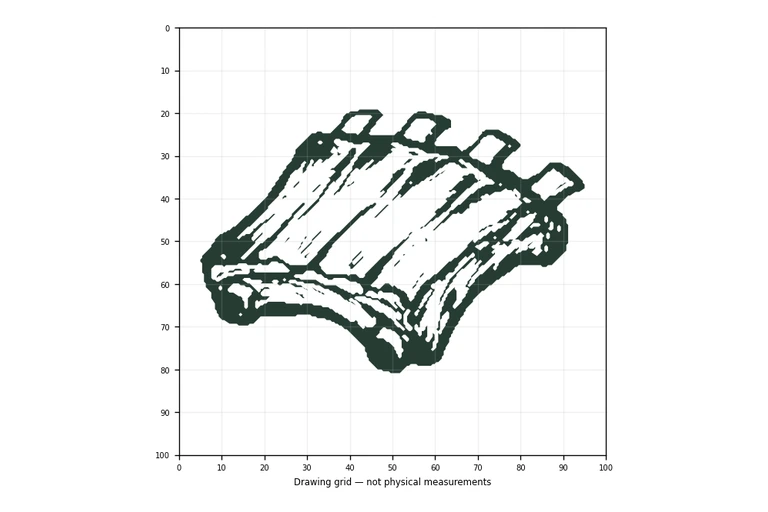
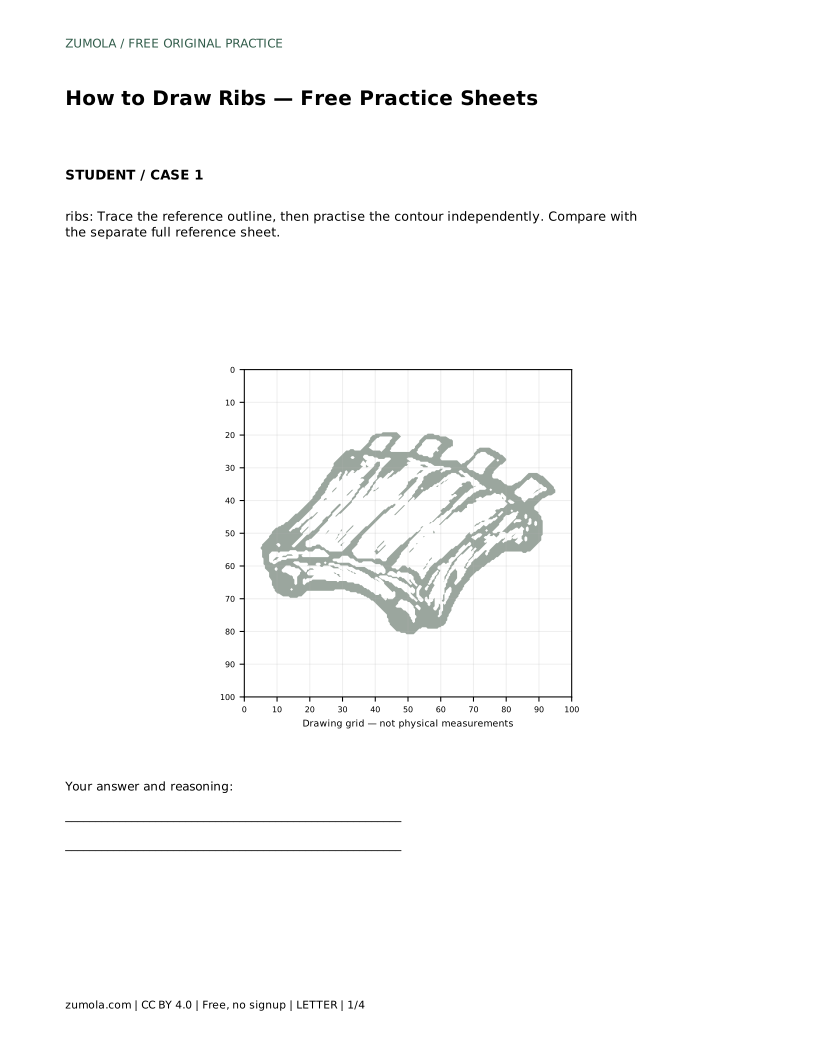
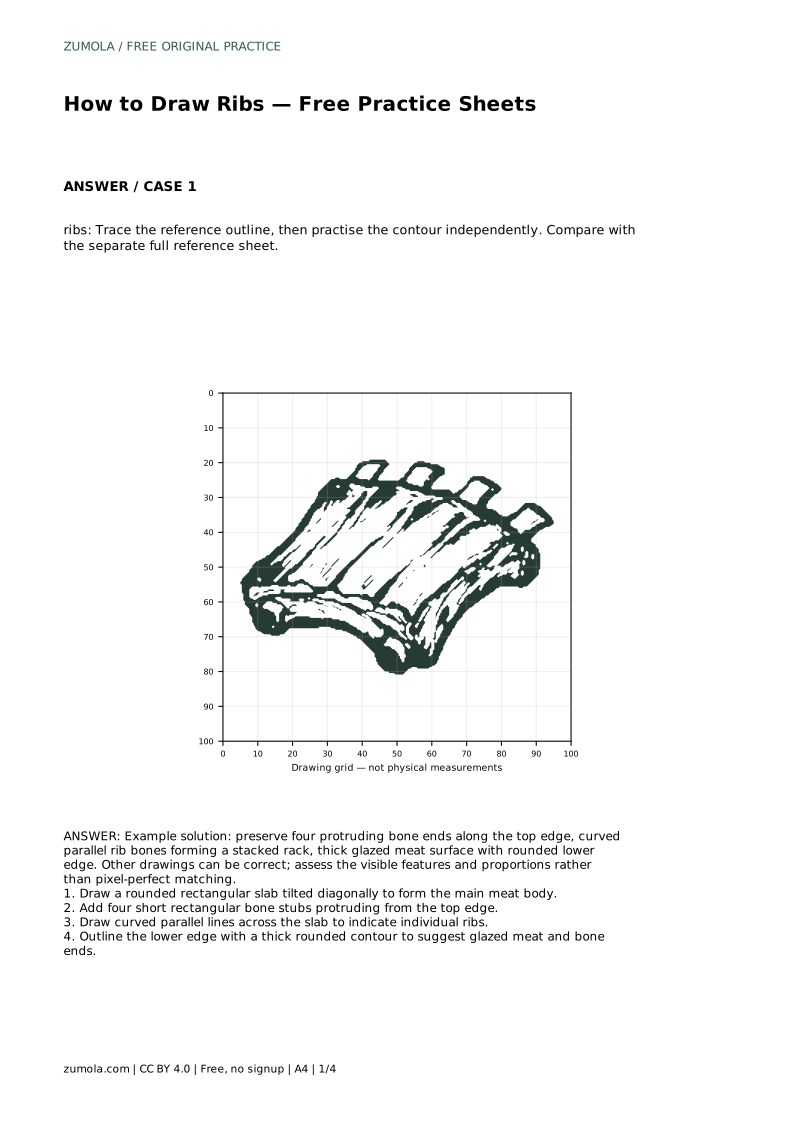
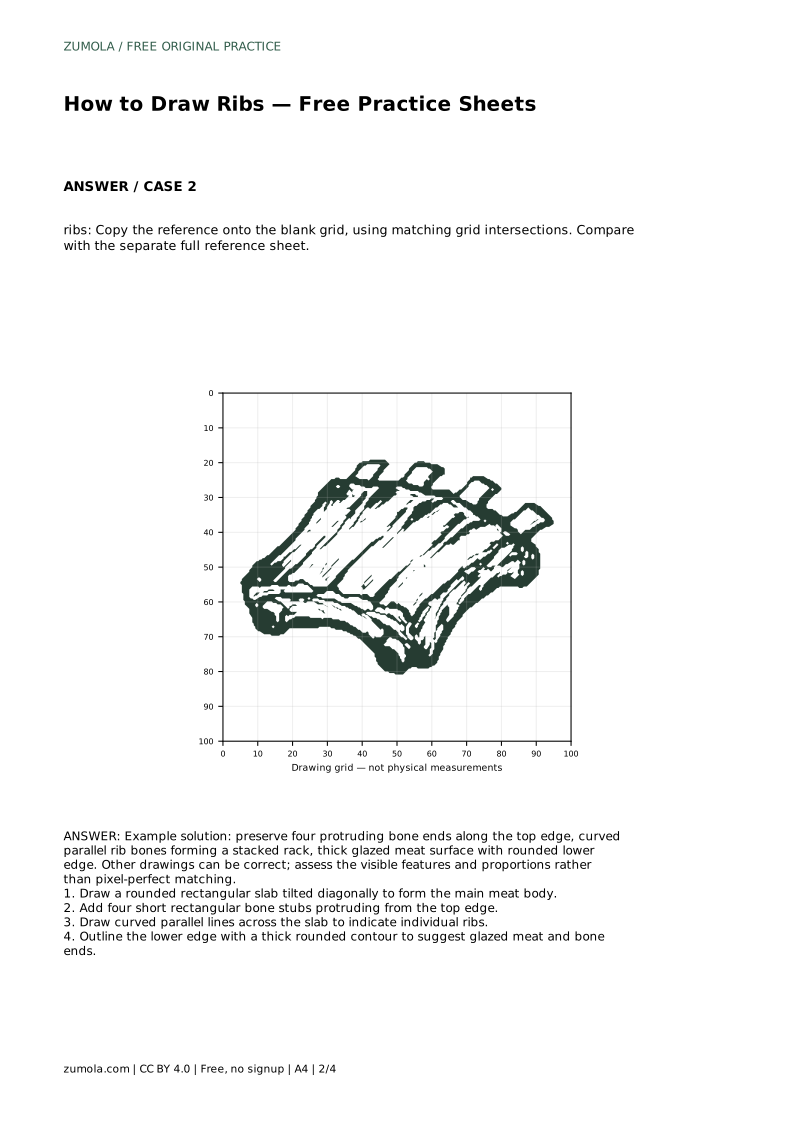
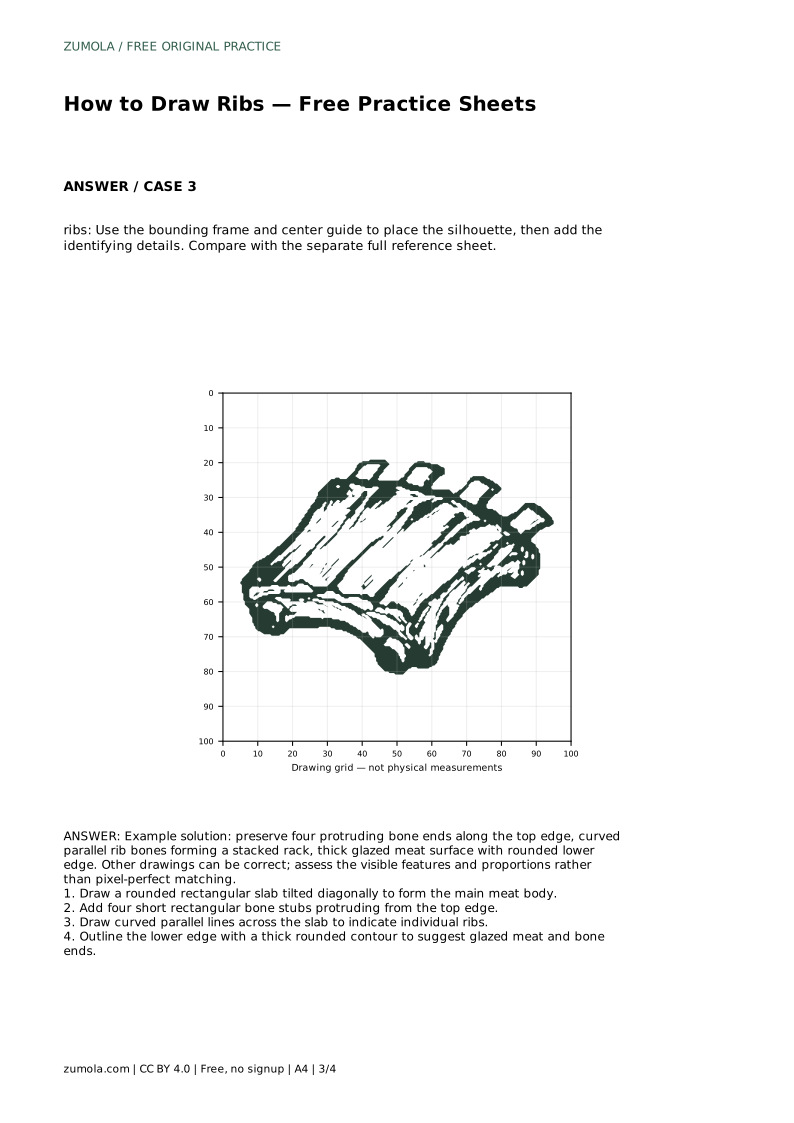
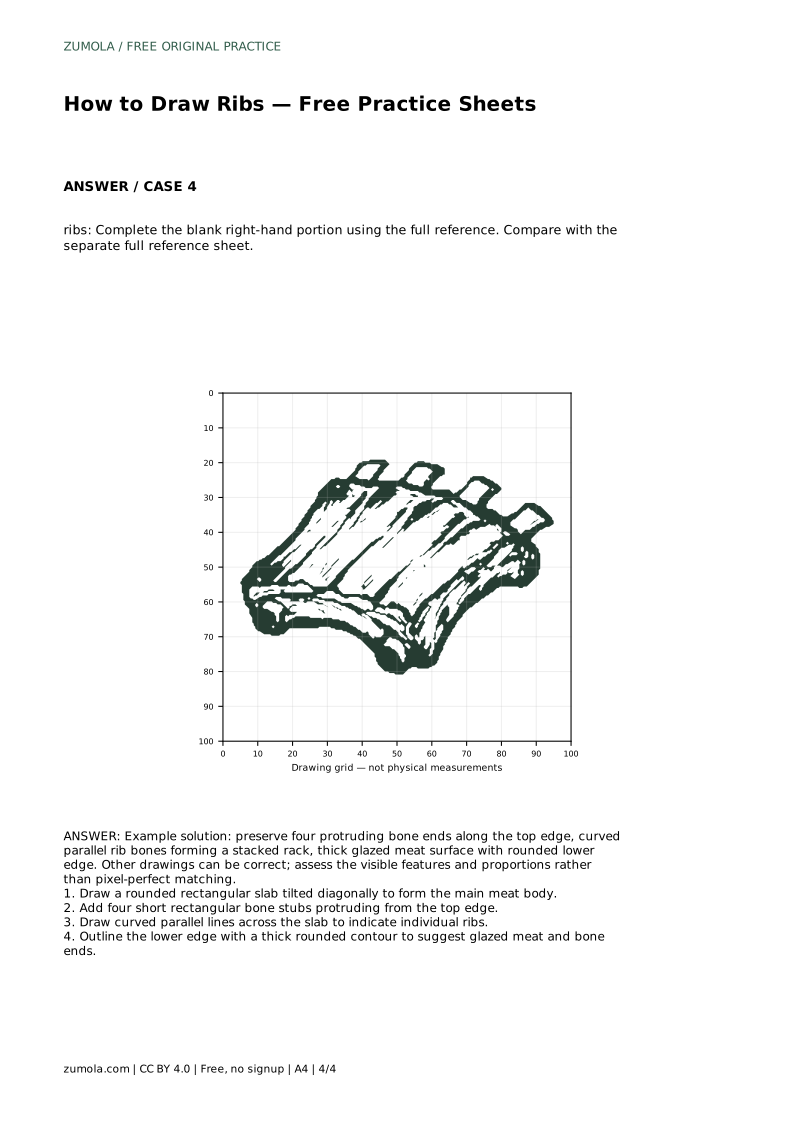
Drawing a rack of ribs is mostly a matter of arranging a few clear shapes in the right order. You need a tilted slab for the meat, short bone stubs along the top, curved lines that suggest separate ribs, and a rounded lower edge that reads as glaze. The practice sheets let you trace, copy onto a grid, place a silhouette with guides, or complete a partial drawing, so you can build the same set of features with less and less support.
Begin with the largest shape: a rounded rectangular slab tilted diagonally. The tilt matters because it makes the rack look like food on a plate rather than a flat diagram. Keep the corners soft, and let the slab lean so one end sits higher than the other.
Next, add four short rectangular bone stubs protruding from the top edge. Space them roughly evenly and keep them short; they are the visible ends of bones, not long sticks. Each stub should meet the slab cleanly so it looks attached rather than floating.
Inside the slab, draw curved parallel lines across the surface to indicate individual ribs. The curves should follow the same general direction and stay roughly parallel, because that repetition is what makes the rack read as stacked ribs. Avoid crossing lines or letting them bunch unevenly.
Finish the lower edge with a thick rounded contour. This suggests glazed meat and the rounded ends where the rack meets the plate. A slightly heavier line here helps the drawing feel substantial without adding shading.
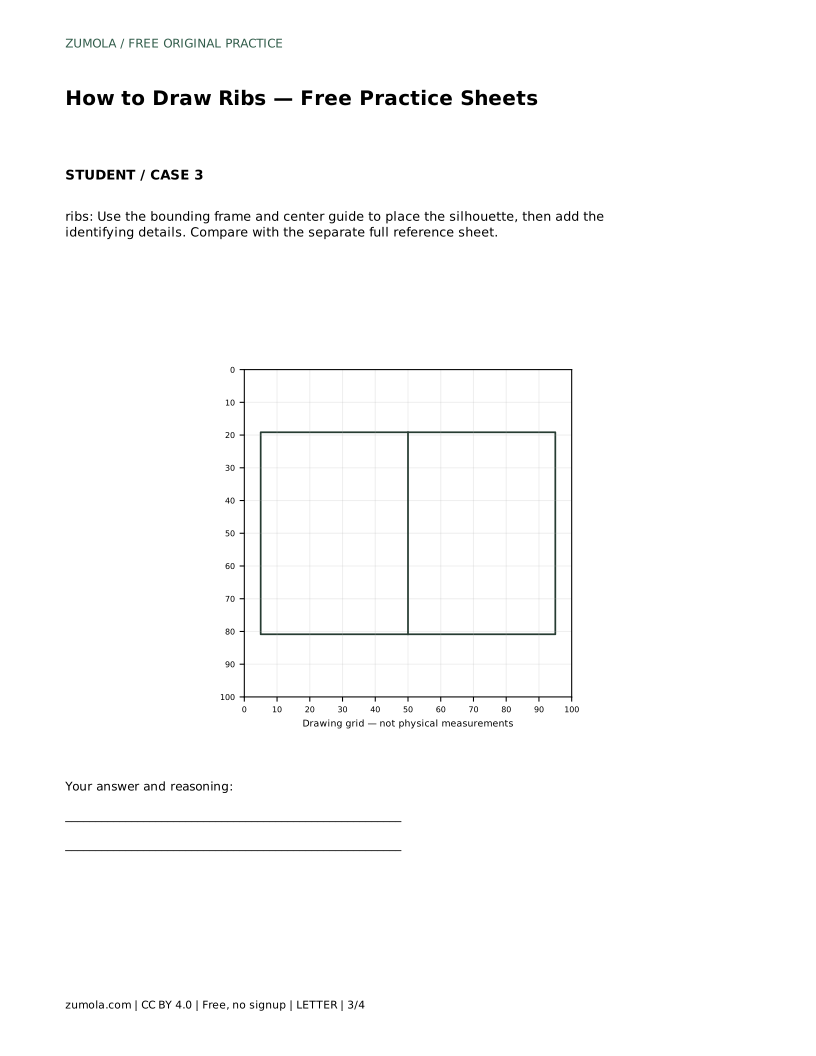
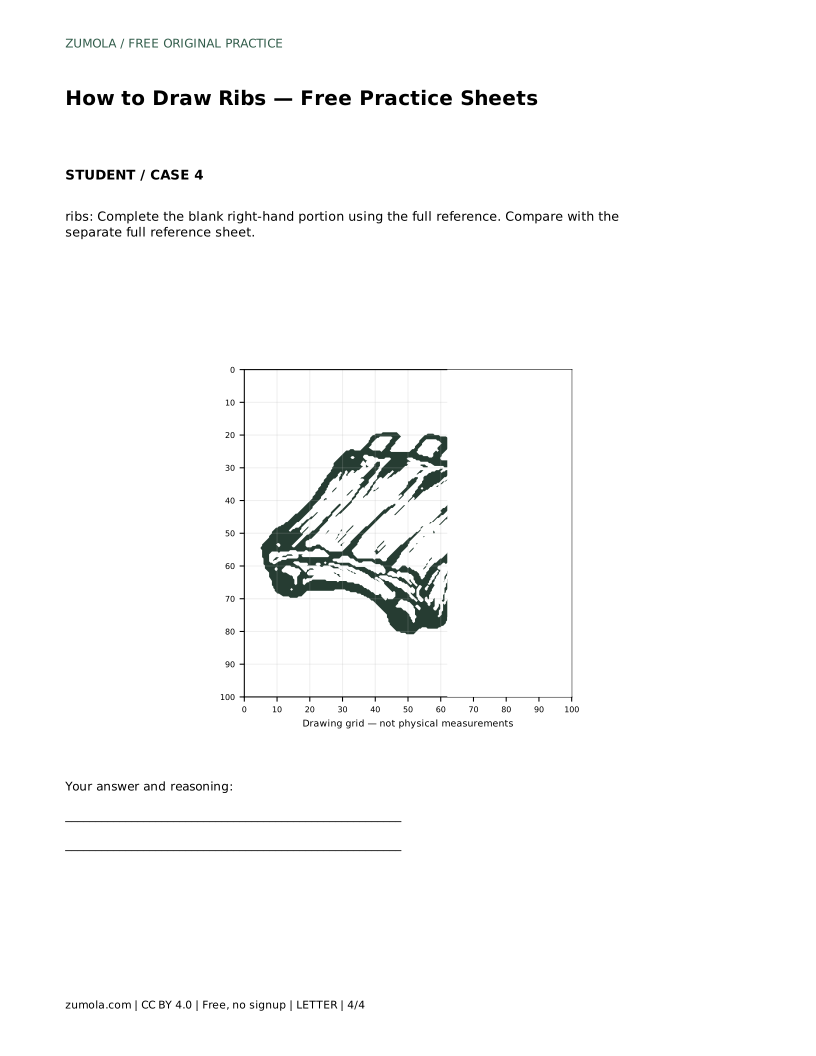
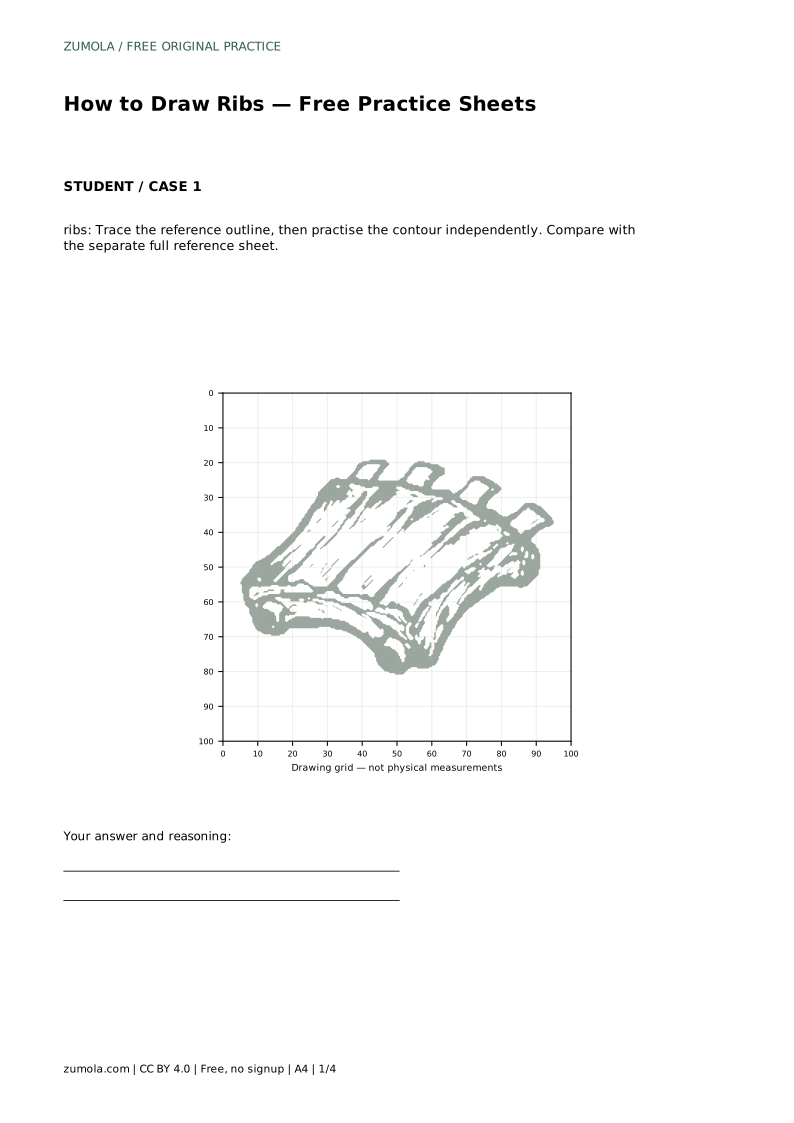
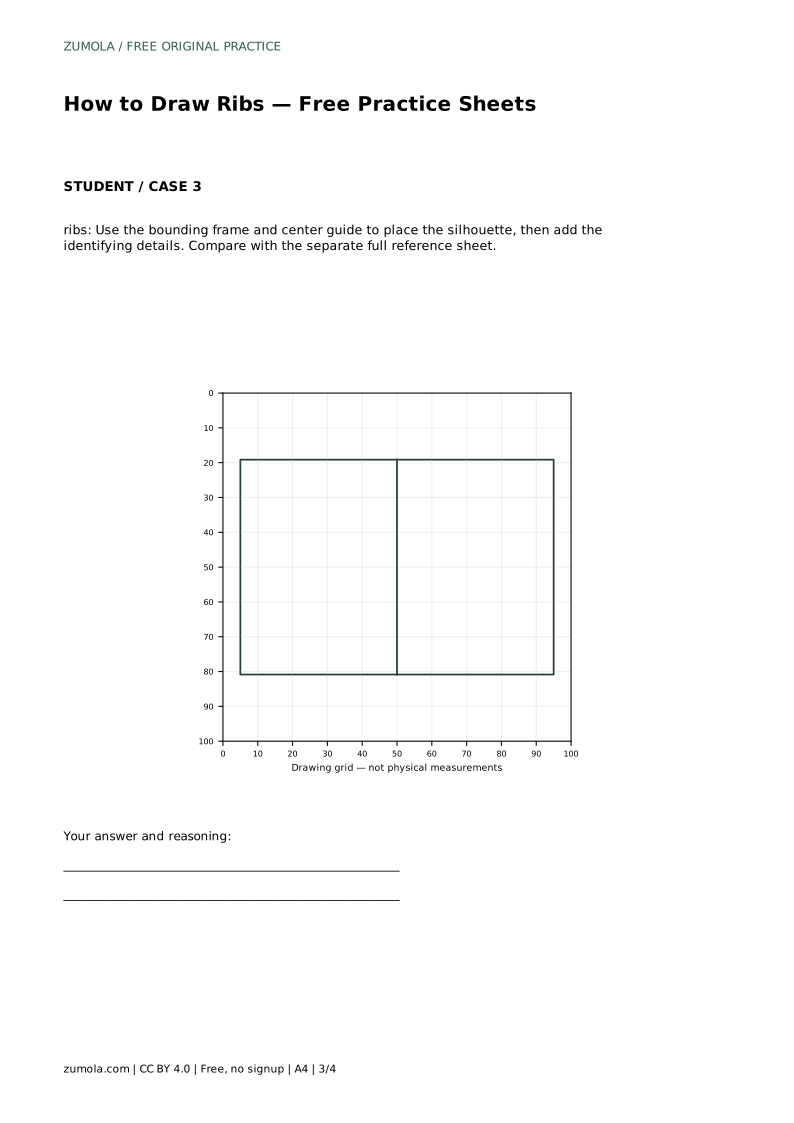
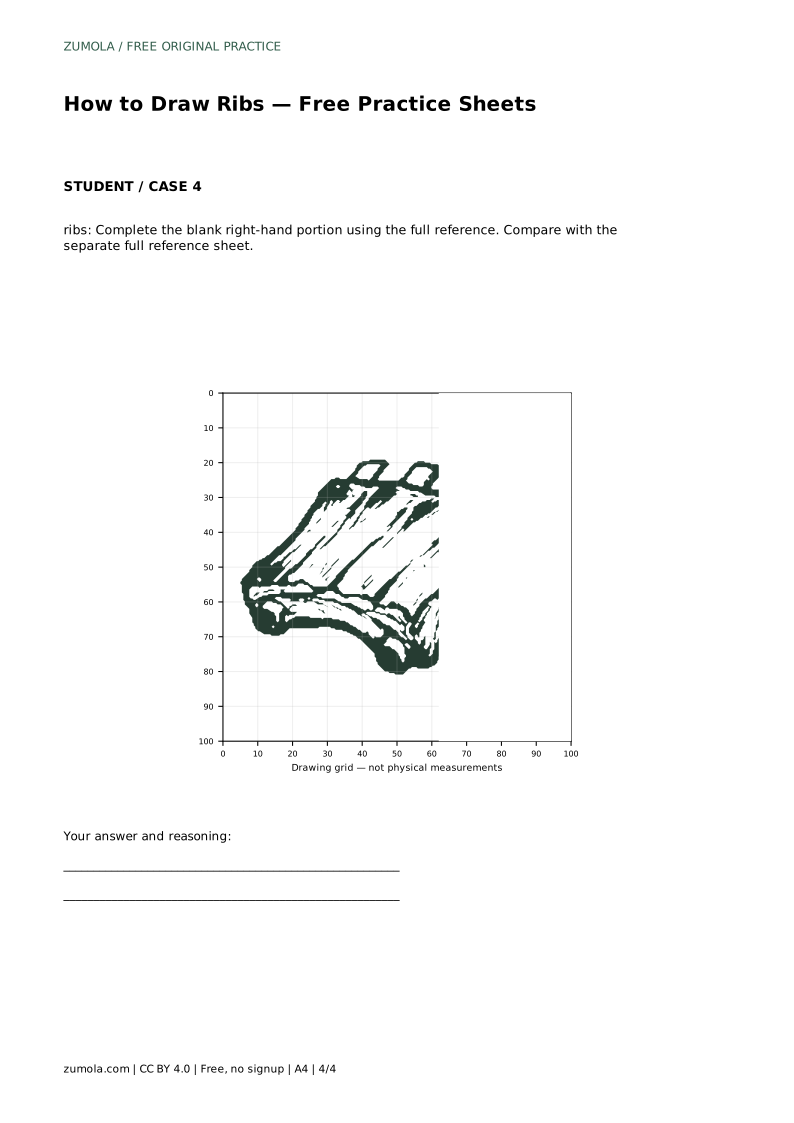
The trace sheet asks you to follow the reference outline first, then practise the contour independently. The grid sheet asks you to copy the reference onto a blank grid using matching intersections, which trains placement and proportion. The guide sheet gives a bounding frame and center guide so you can place the silhouette before adding details. The partial sheet leaves the right-hand portion blank so you complete it from the full reference.
In every format, compare your finished drawing with the separate full reference sheet. Check the four bone stubs, the parallel curves, the tilt of the slab, and the rounded lower edge. Small differences in line weight or curve shape are fine; the features and proportions are what matter.
ribs: Trace the reference outline, then practise the contour independently. Compare with the separate full reference sheet.
Example solution: preserve four protruding bone ends along the top edge, curved parallel rib bones forming a stacked rack, thick glazed meat surface with rounded lower edge. Other drawings can be correct; assess the visible features and proportions rather than pixel-perfect matching. Draw a rounded rectangular slab tilted diagonally to form the main meat body. Add four short rectangular bone stubs protruding from the top edge. Draw curved parallel lines across the slab to indicate individual ribs. Outline the lower edge with a thick rounded contour to suggest glazed meat and bone ends.
Four short stubs along the top edge is the reference arrangement. Keep them evenly spaced and short.
They should be roughly parallel and curved in the same direction. Slight variation is natural, but crossing lines break the stacked-rack look.
That is acceptable. Assess the visible features and proportions, such as four bone ends, parallel curves, a tilted slab, and a rounded lower edge.
All drawing practice · Free coordinate paper
Original resources · CC BY 4.0 · Free for personal and classroom use with attribution.