Reference diagrams
LETTER · Download PDF
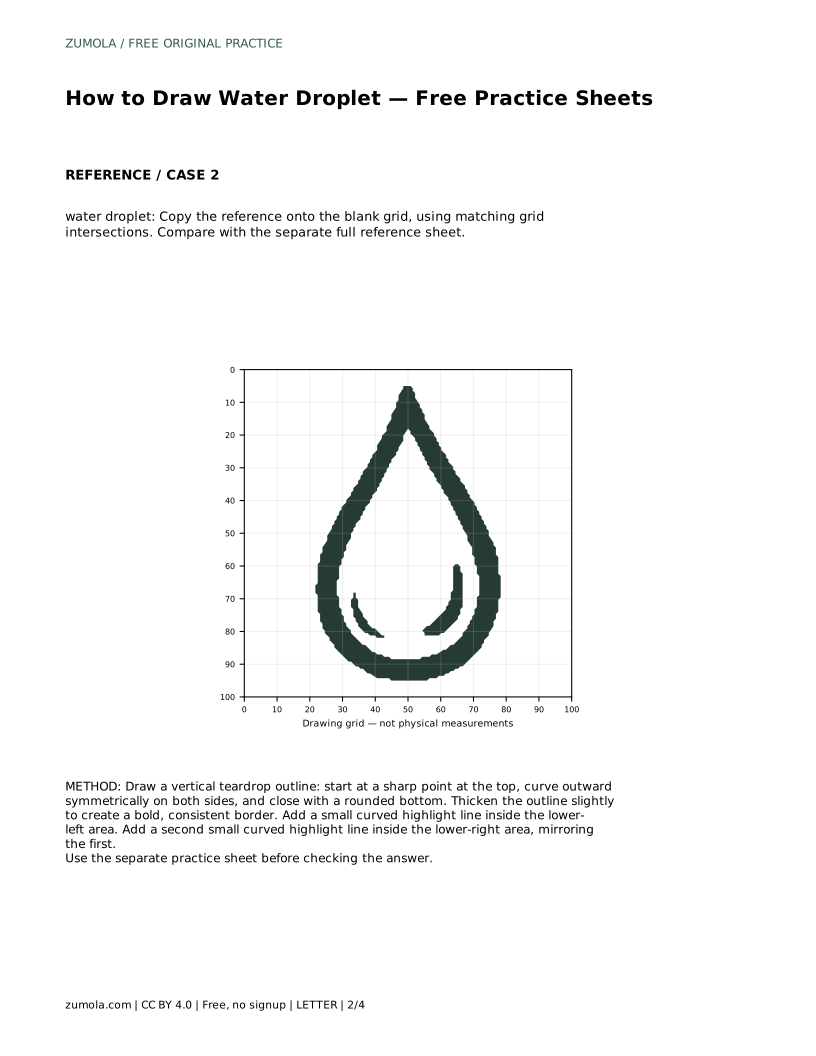
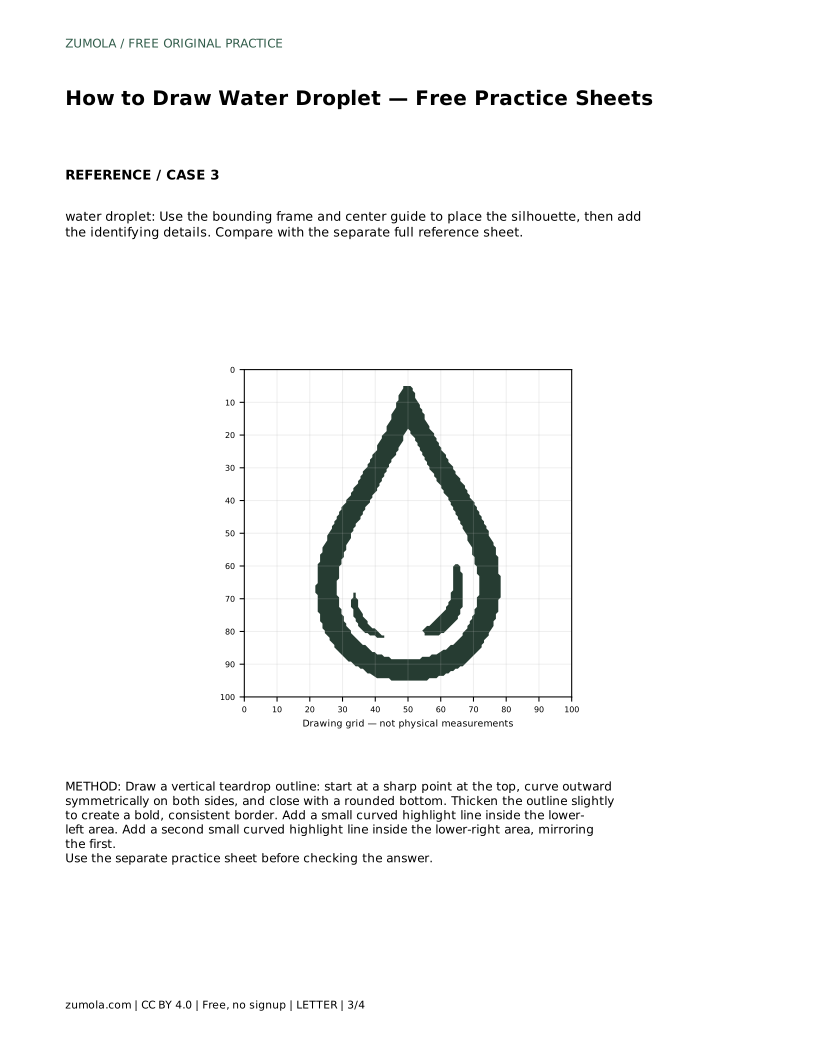
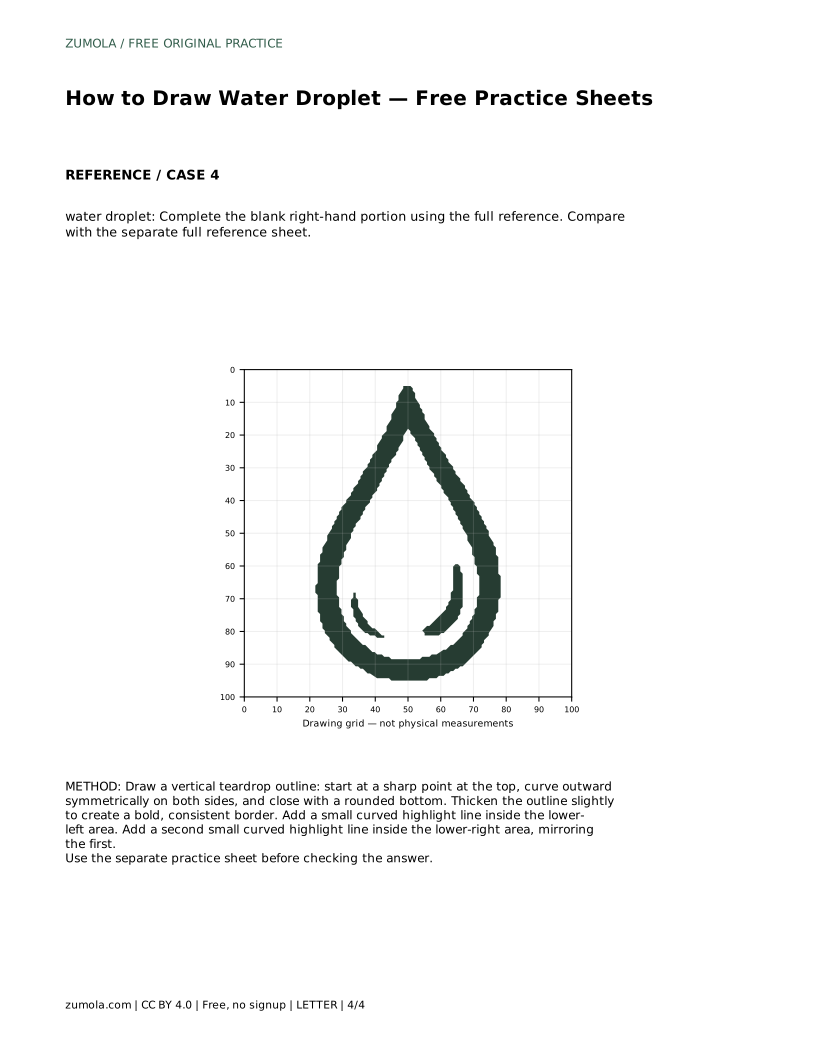
A4 · Download PDF
Free original resources
Learn to draw a water droplet with a pointed top, rounded bottom, and two curved highlights. Trace, grid, and complete-the-drawing practice sheets support independent work.
Four original cases, with reference diagrams, practice sheets and worked answers. Everything is free; no signup required.
LETTER · Download PDF
A4 · Download PDF
LETTER · Download PDF
A4 · Download PDF
LETTER · Download PDF
A4 · Download PDF
Use A4 or US Letter to match your printer. Use the stated values and conditions to solve each exercise; diagrams are not physical measuring rulers.
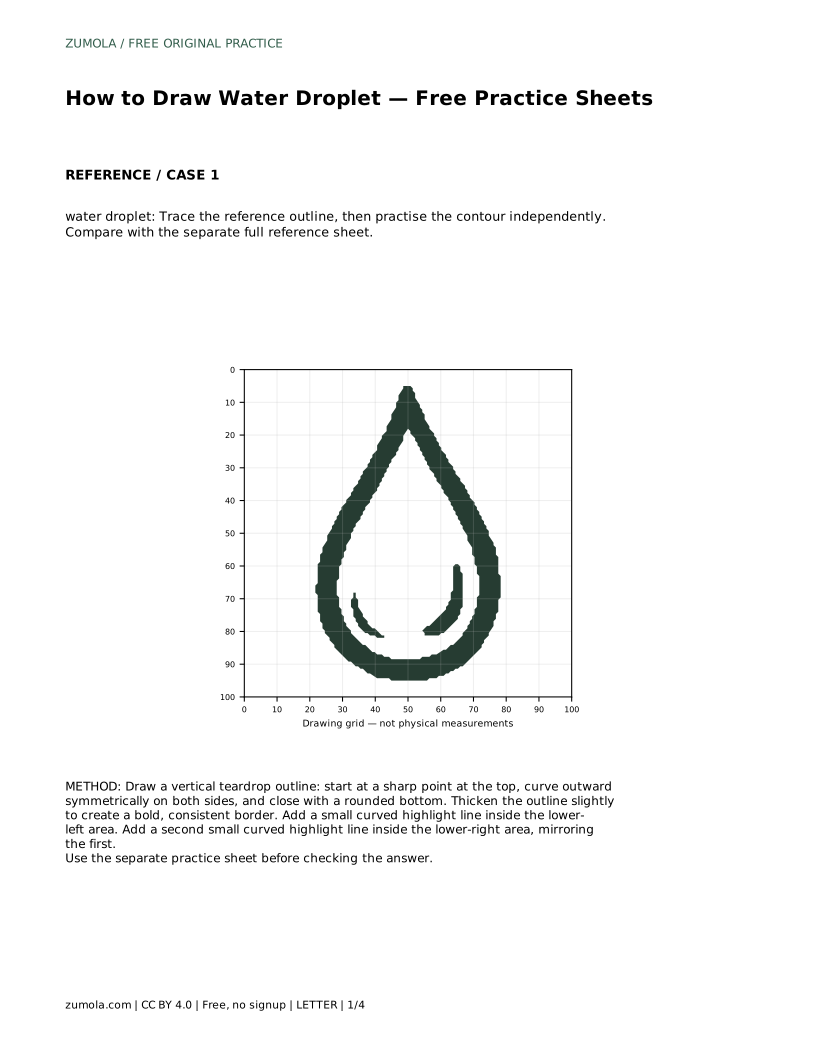
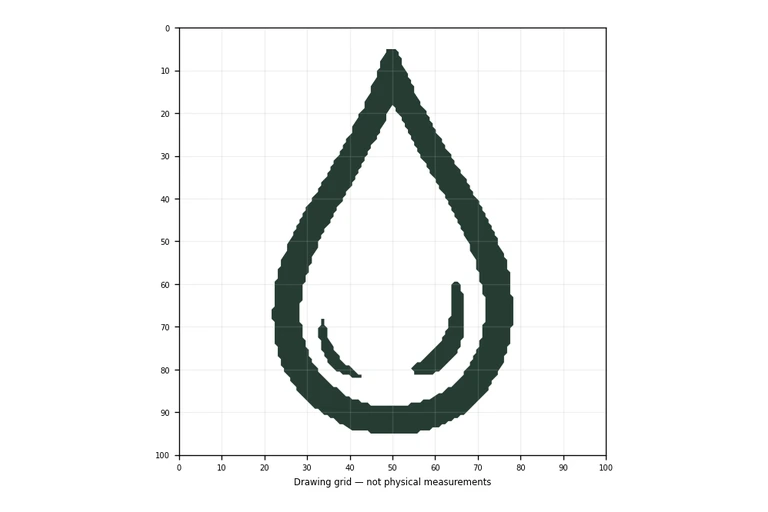
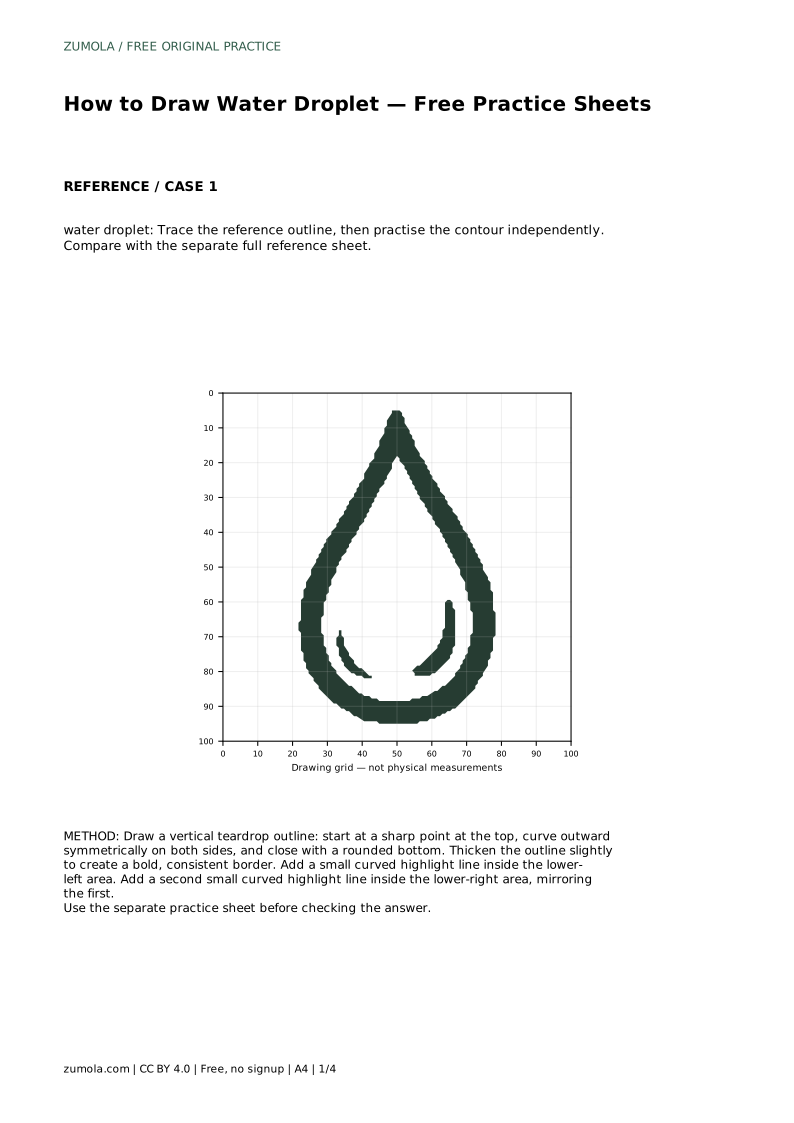
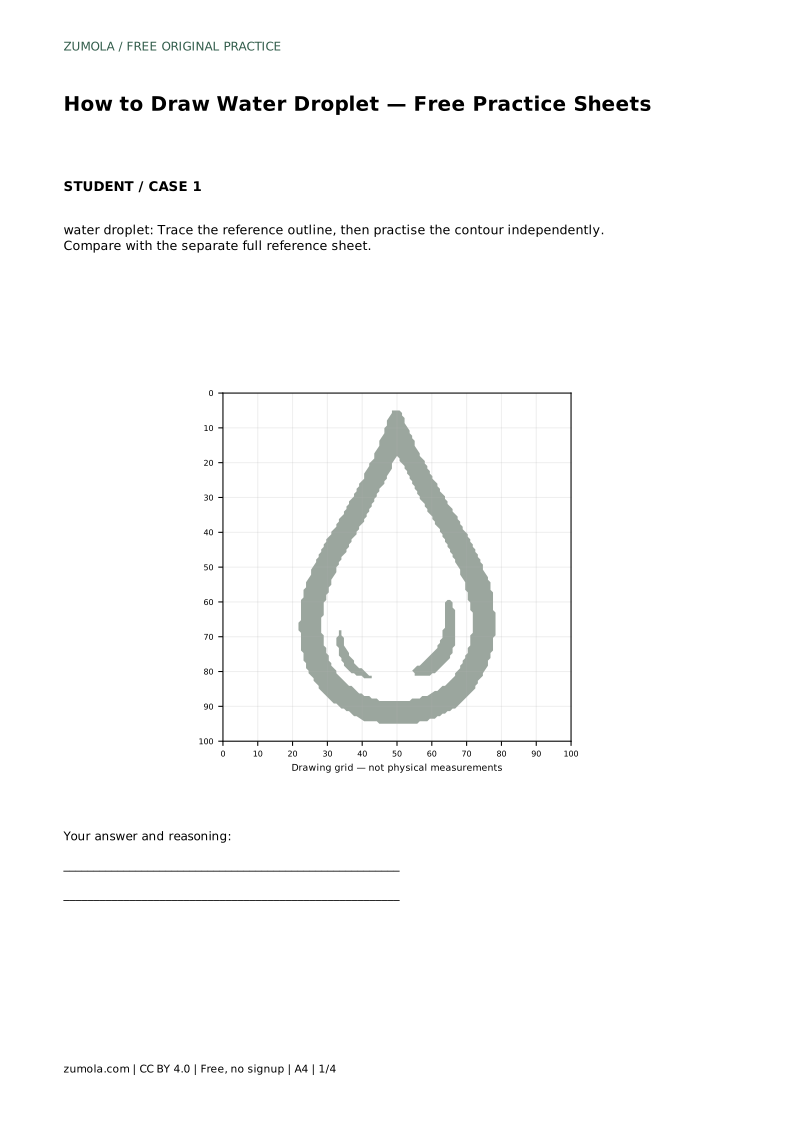
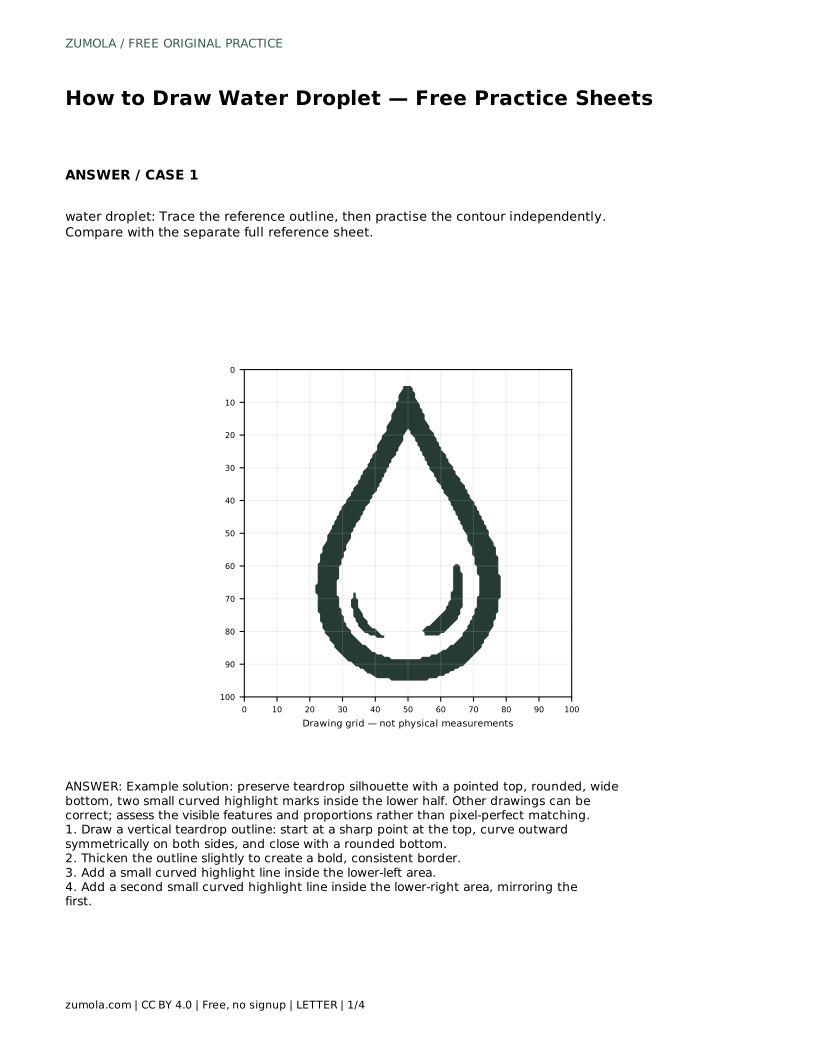
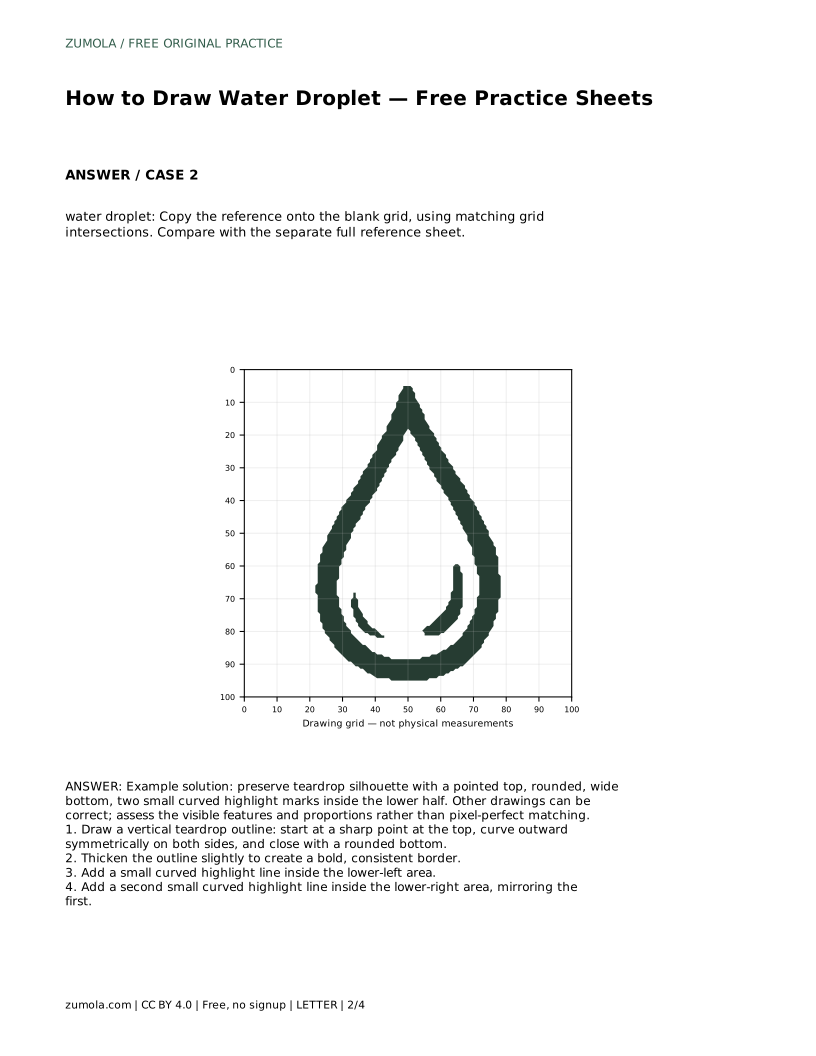
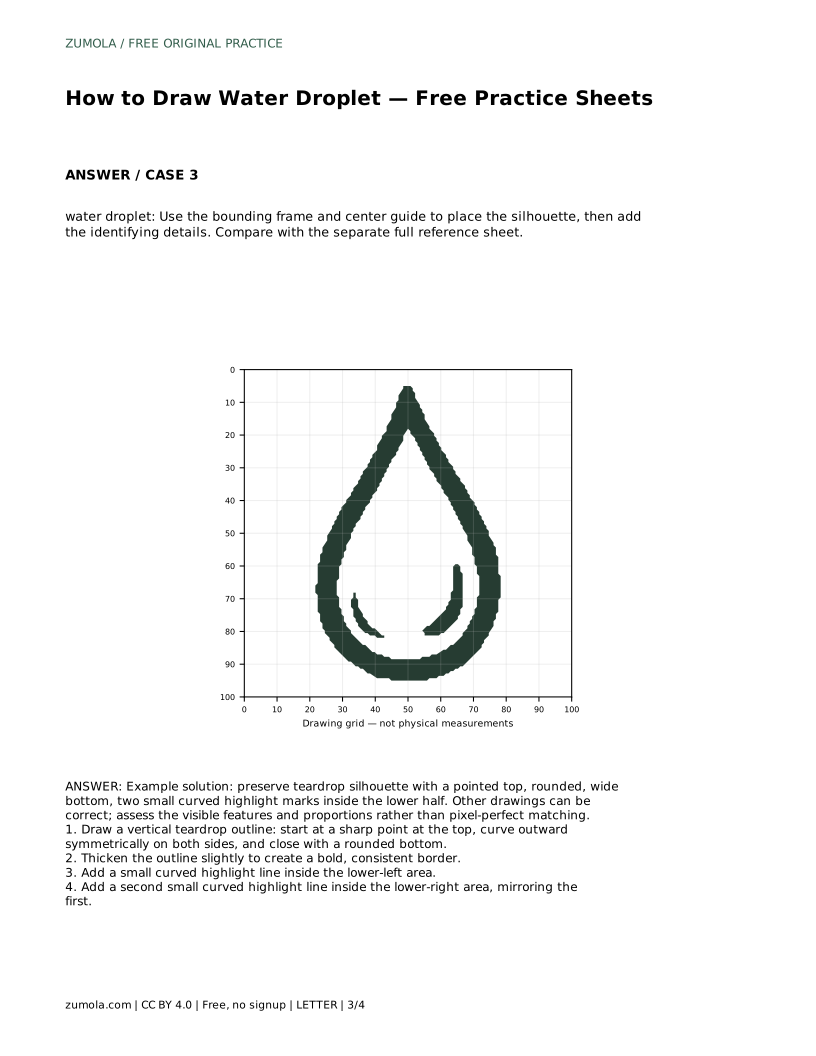
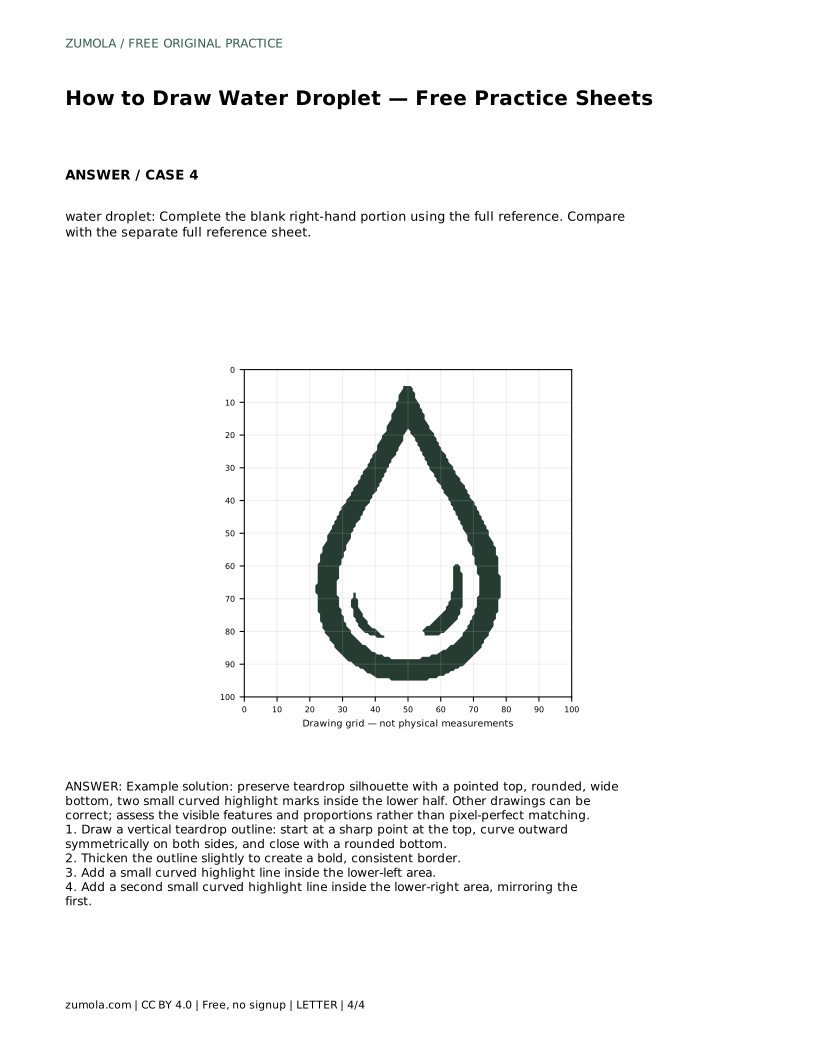
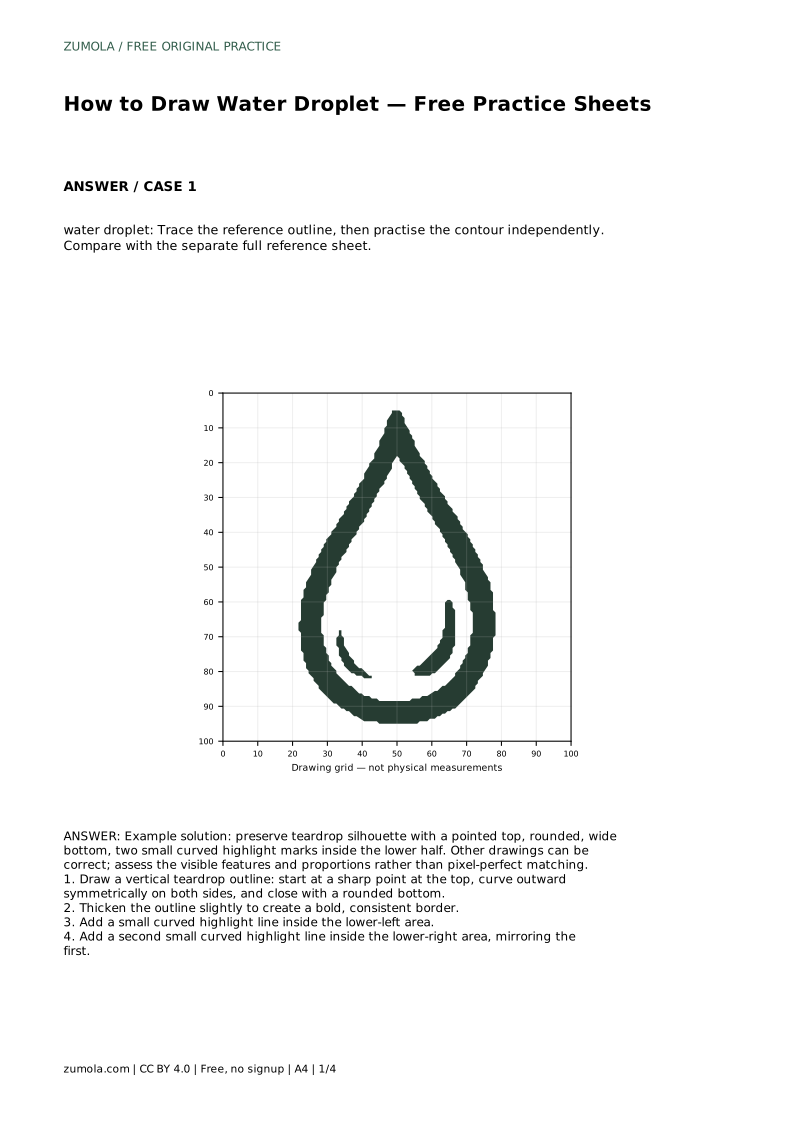
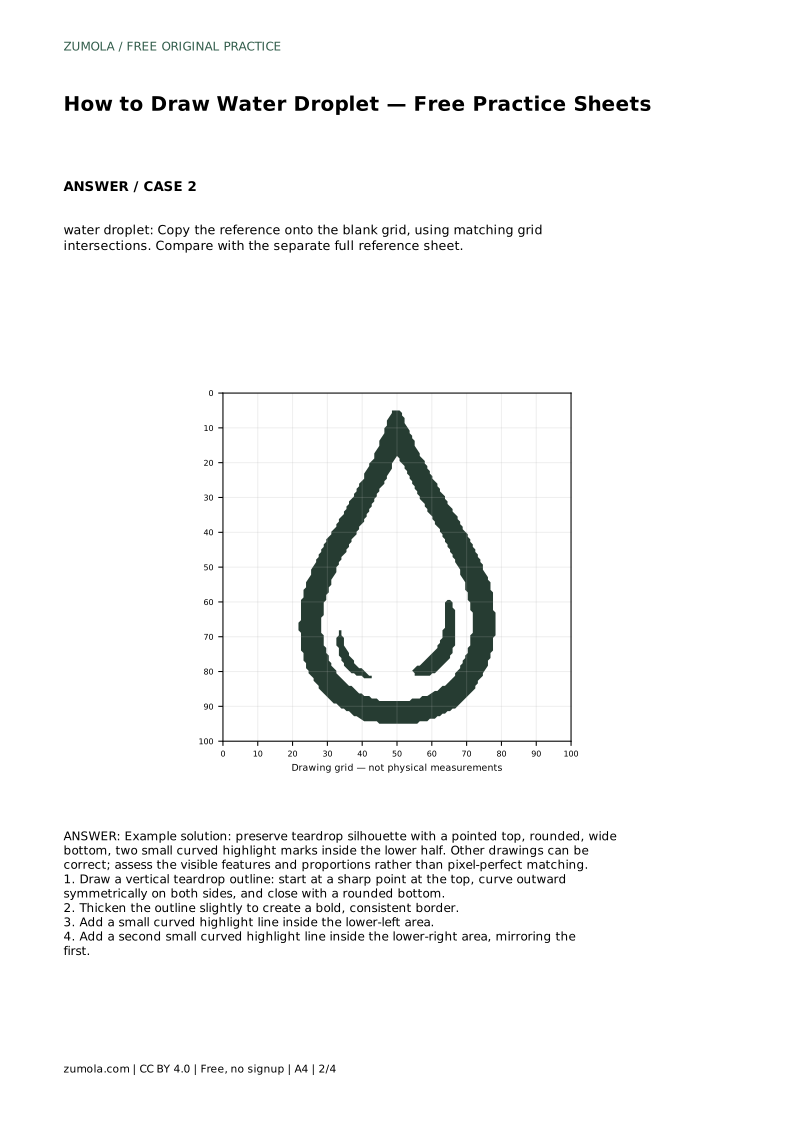
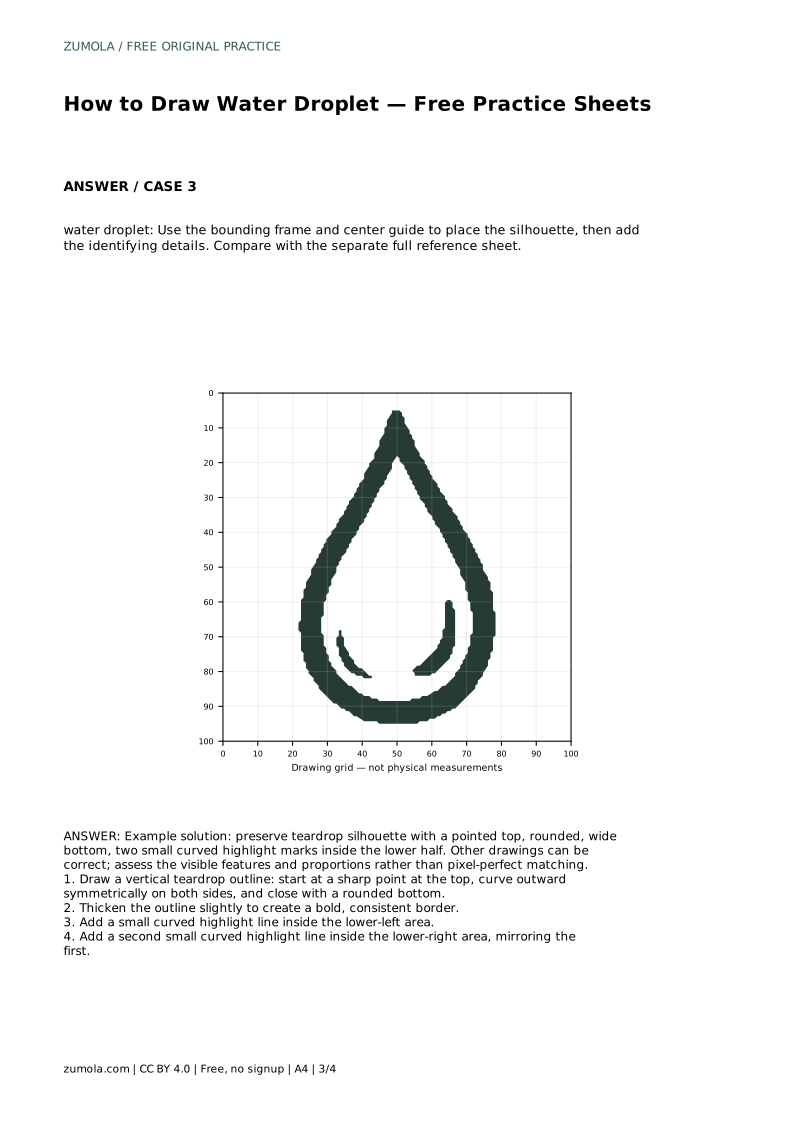
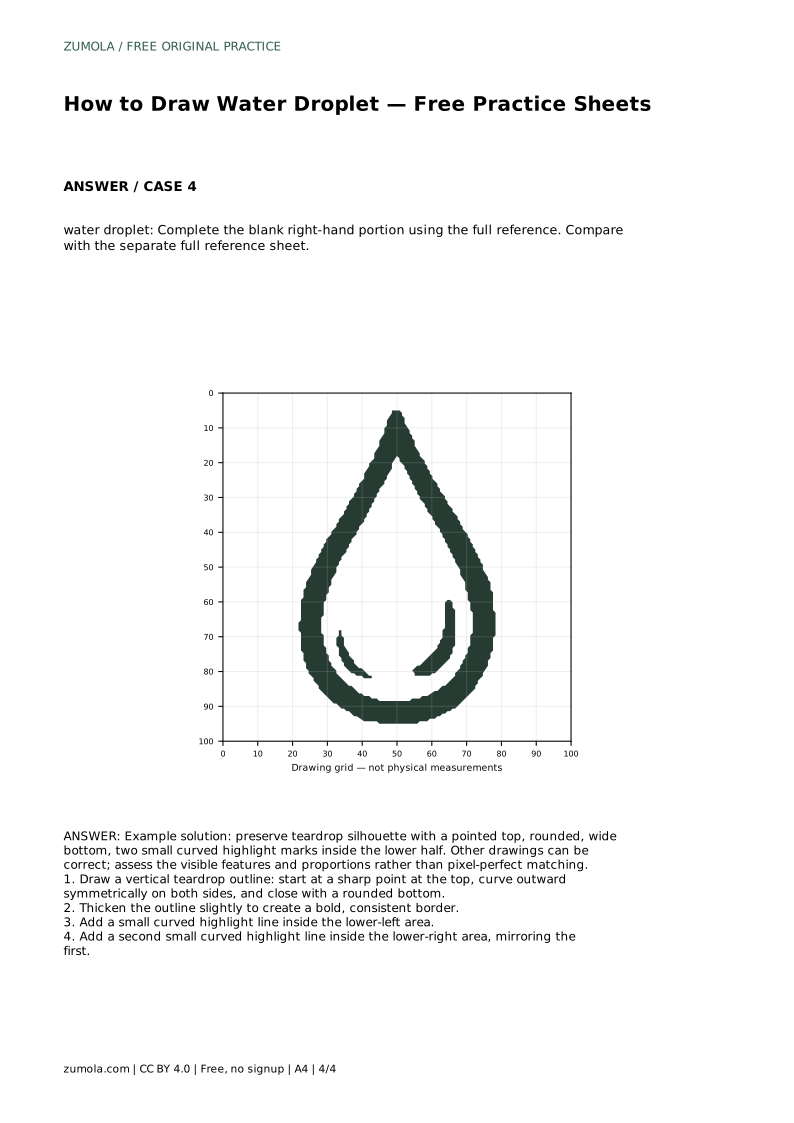
A water droplet is a simple shape with a few clear features: a sharp point at the top, sides that curve outward symmetrically, and a wide, rounded bottom. Two small curved highlight marks inside the lower half suggest reflected light. This page explains how to build that silhouette step by step, then use tracing, grid, and partial-reference practice sheets to draw it independently.
Begin with the outline before adding any interior marks. Place a starting point near the top of your page and treat it as the sharp tip of the droplet. From that point, curve outward and downward on the left side, then mirror the same curve on the right. The two sides should feel balanced, widening gradually as they descend. Close the shape with a rounded bottom that joins both sides smoothly.
Check the proportions before thickening anything. The droplet should be taller than it is wide, with the widest part near the lower third. If one side bulges more than the other, redraw that curve rather than patching it. A light first pass makes corrections easier.
Once the silhouette reads clearly, thicken the outline. Keep the line weight even around the whole shape so the droplet looks deliberate rather than sketchy. A consistent border also makes the small interior highlights easier to judge, because the outer shape no longer competes for attention.
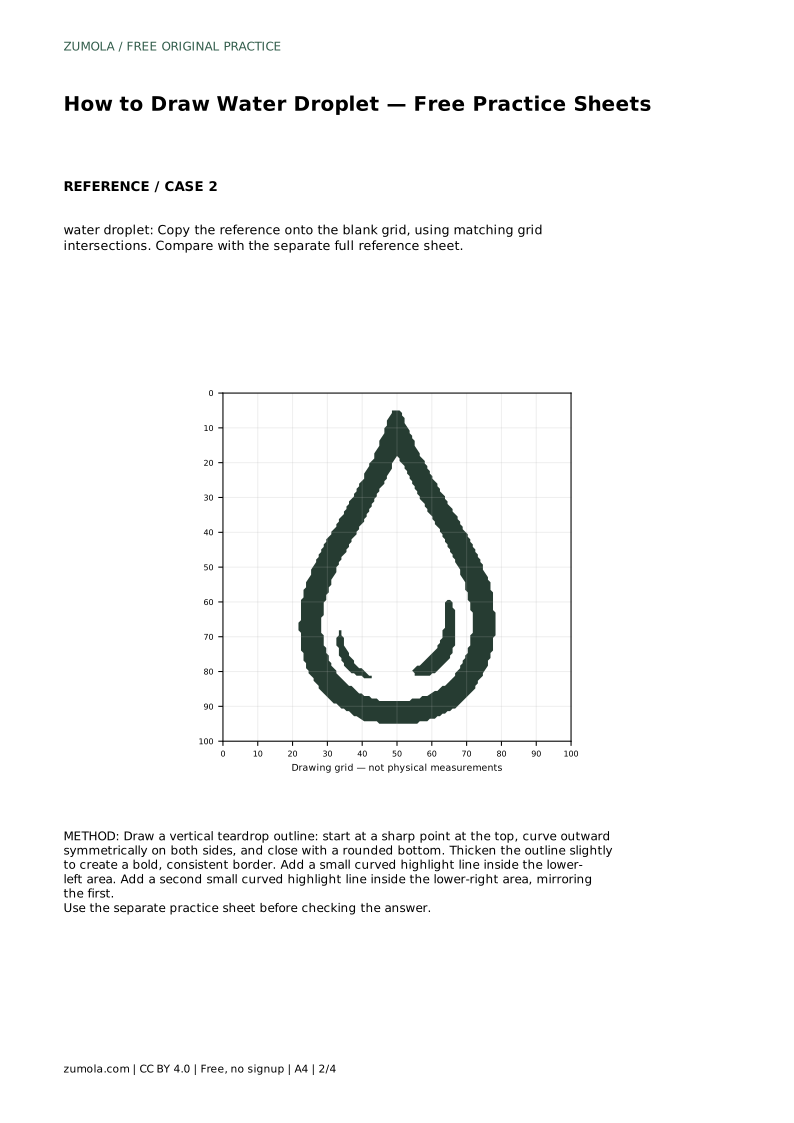
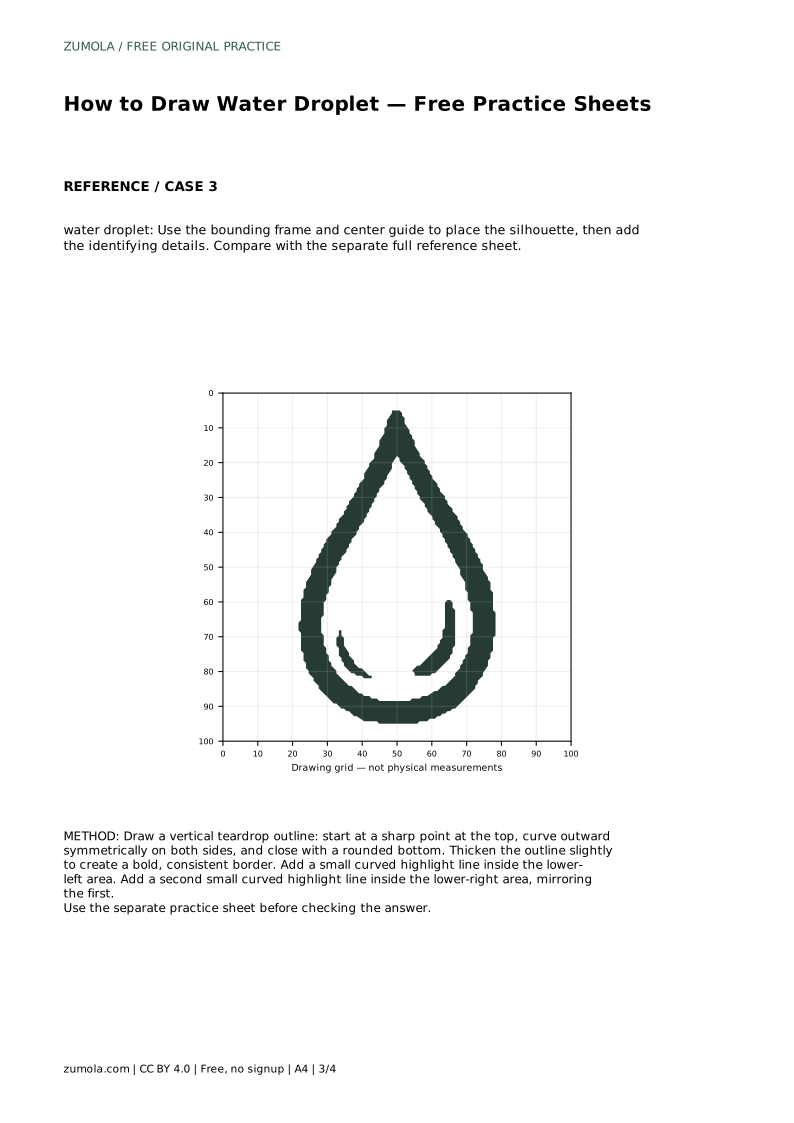
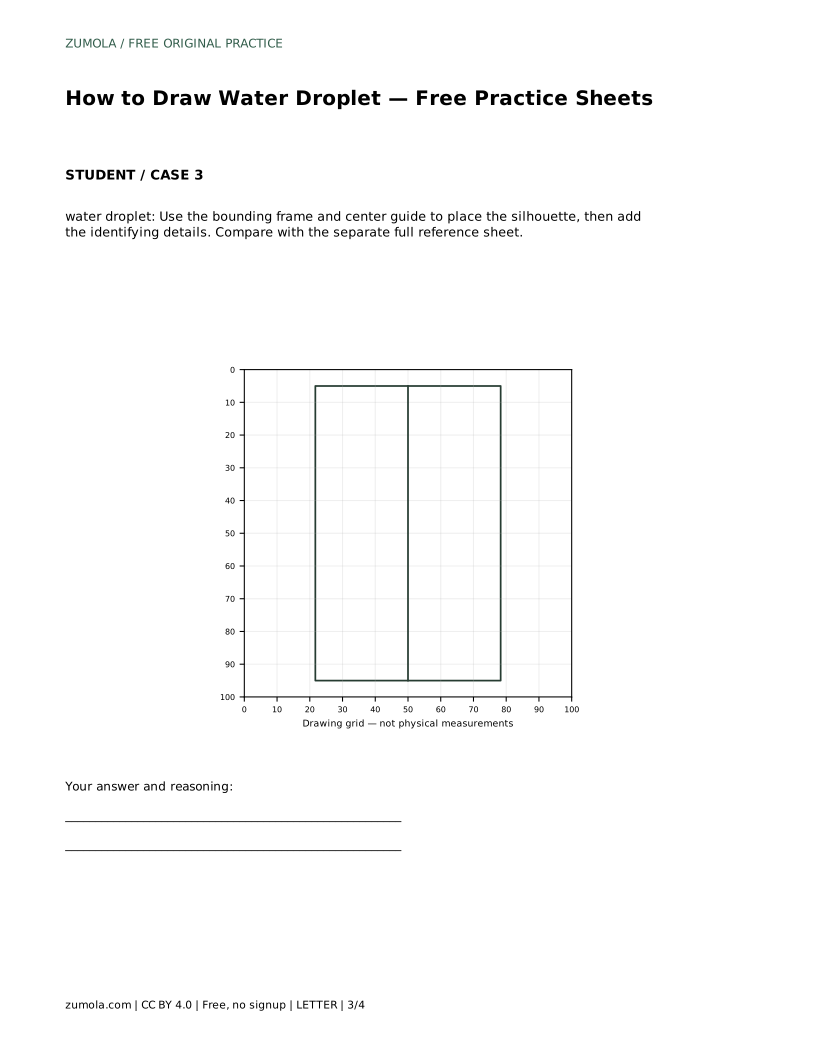
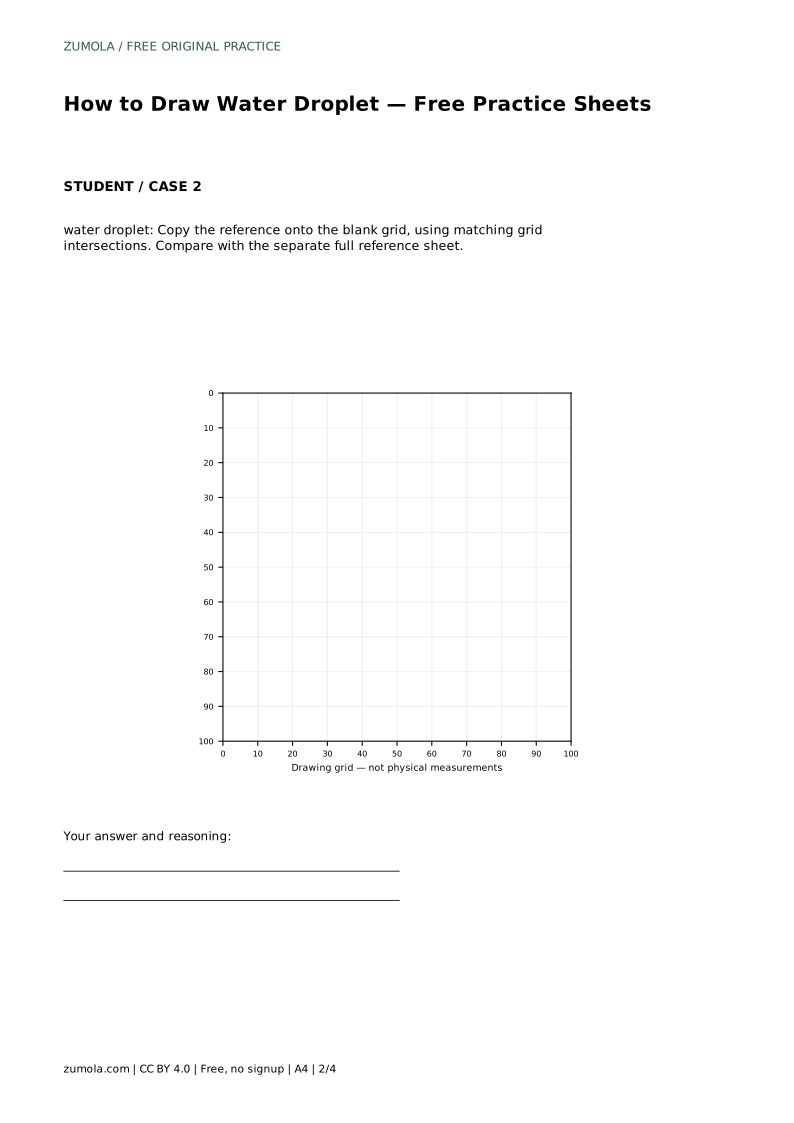
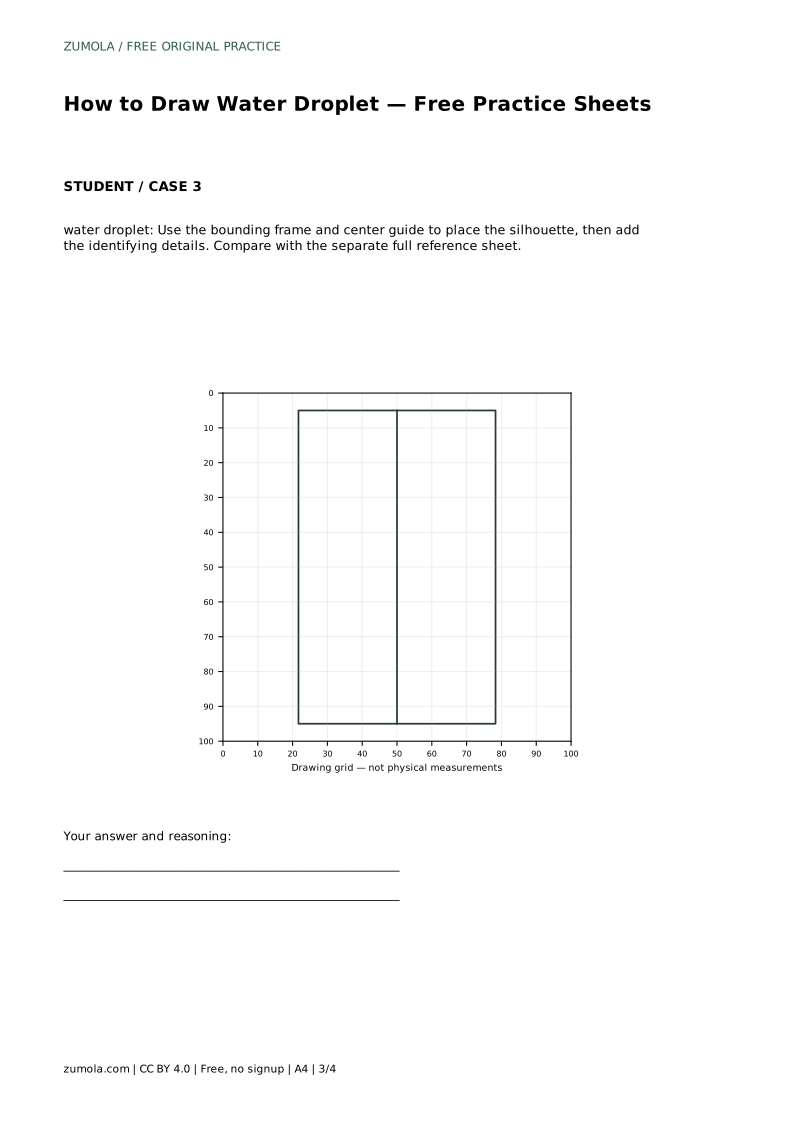
If you are working on a grid sheet, use matching grid intersections to keep the curves aligned. The grid helps you compare the left and right sides at the same height. On a bounding-frame sheet, use the center guide to keep the pointed top and rounded bottom on the vertical axis.
The highlights are small curved lines, not filled shapes. Place one inside the lower-left area and a second inside the lower-right area, mirroring the first. Both should sit within the lower half of the droplet and follow the curve of the outer edge. Keep them short and separated from the border so they read as reflections rather than gaps in the outline.
Art has multiple valid outcomes. A droplet with slightly different highlight lengths or positions can still be correct if the teardrop silhouette, pointed top, rounded bottom, and paired lower highlights are present. Assess the visible features and proportions rather than expecting a pixel-perfect match.
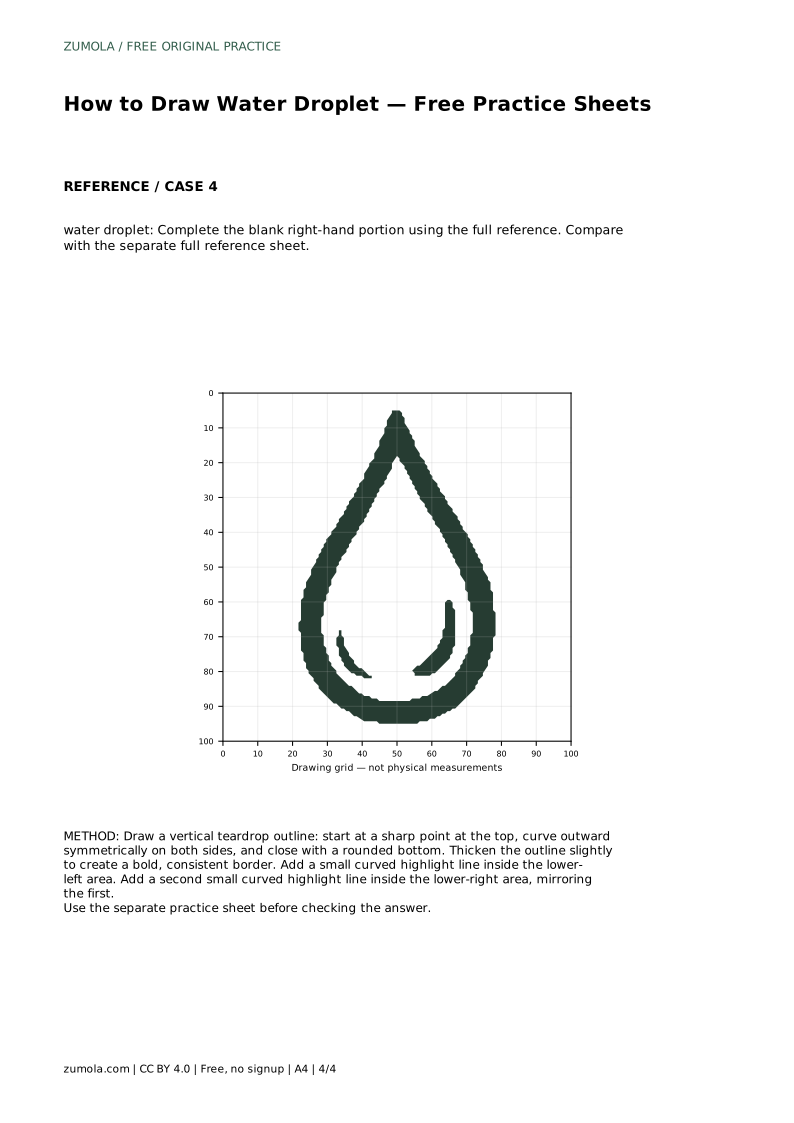
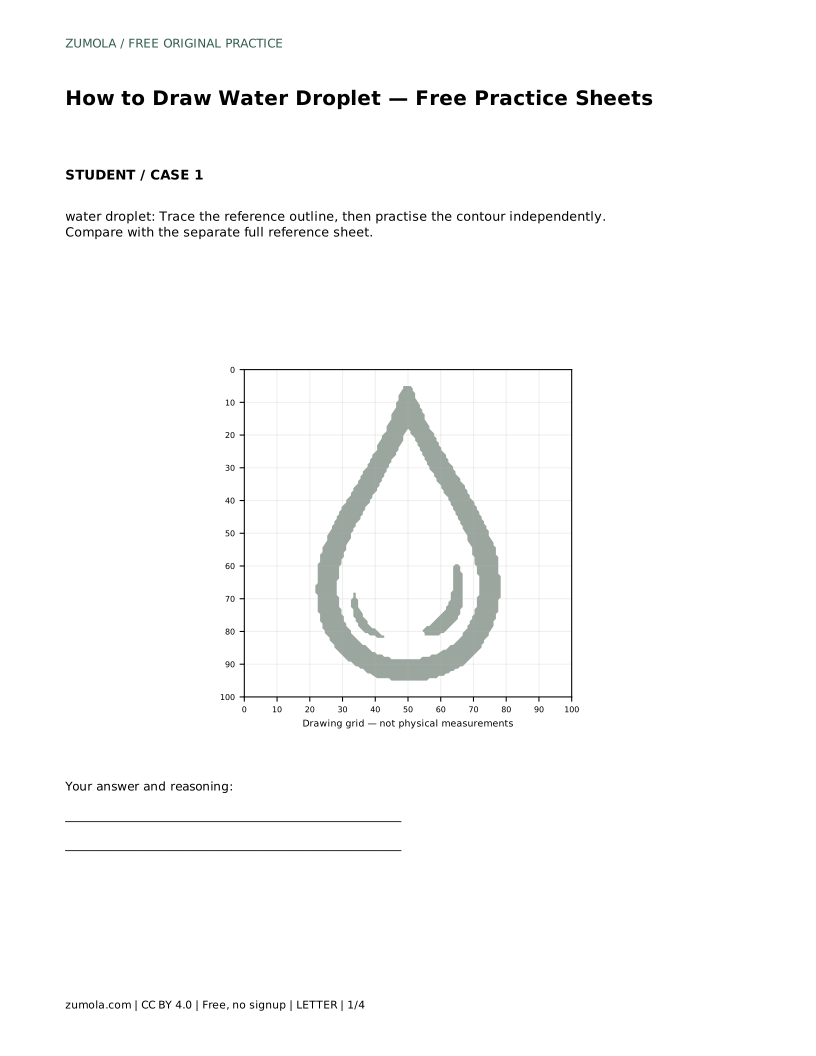
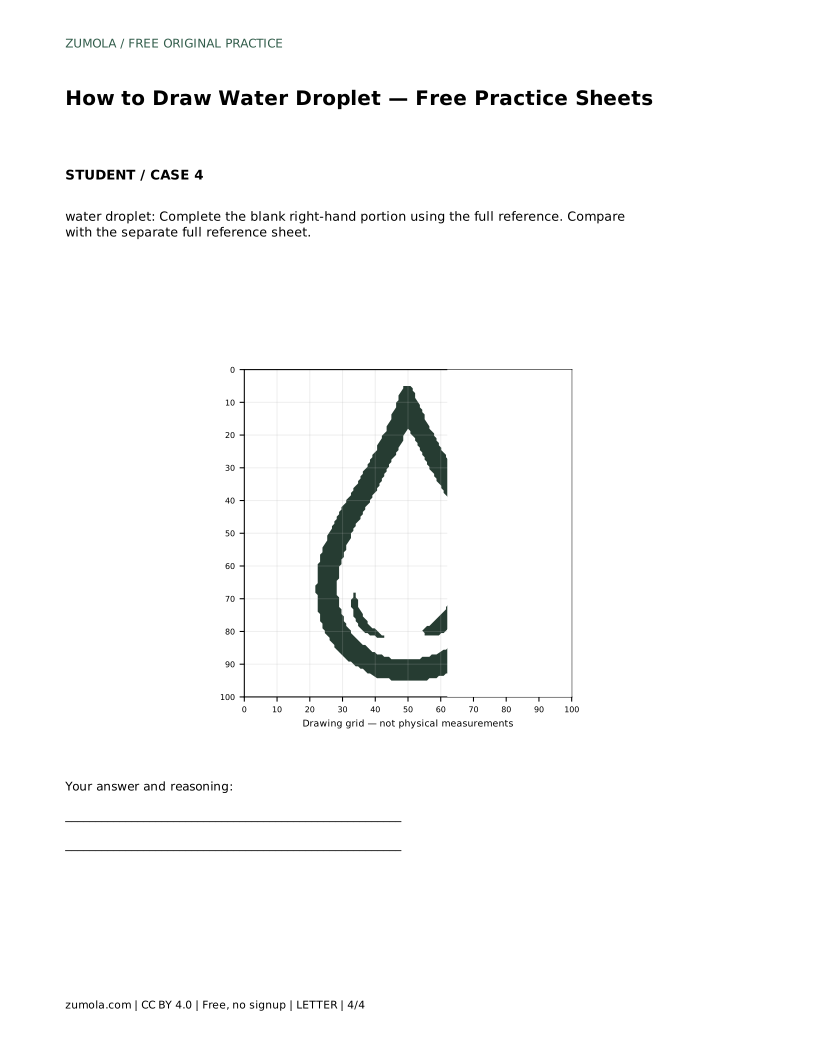
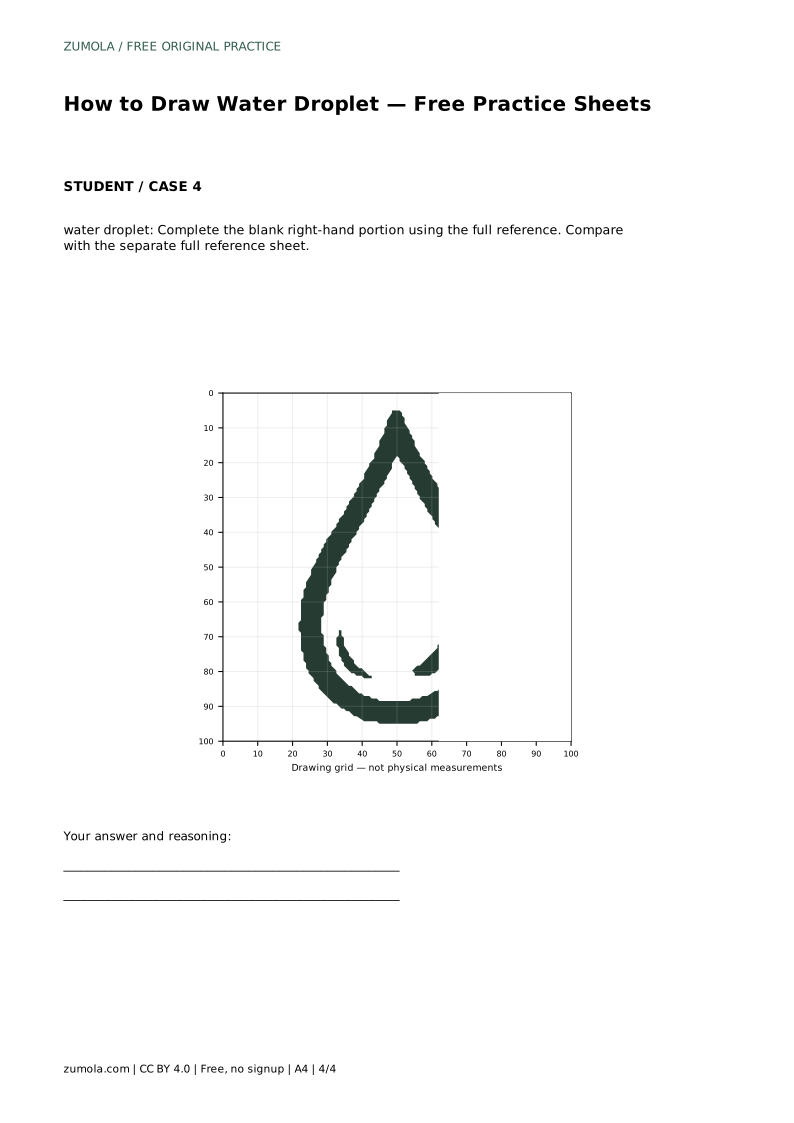
The tracing sheet asks you to follow the reference outline first, then repeat the contour independently on the blank space. The grid sheet asks you to copy the reference onto blank grid squares using matching intersections. The bounding-frame sheet gives you a frame and center guide to place the silhouette before adding details. The partial-reference sheet shows one side and asks you to complete the blank portion.
In every format, compare your finished drawing with the separate full reference sheet. Use the comparison to check the pointed top, the symmetry of the sides, the rounded bottom, and the two lower highlights. Correct one feature at a time rather than redrawing everything at once.
water droplet: Trace the reference outline, then practise the contour independently. Compare with the separate full reference sheet.
Example solution: preserve teardrop silhouette with a pointed top, rounded, wide bottom, two small curved highlight marks inside the lower half. Other drawings can be correct; assess the visible features and proportions rather than pixel-perfect matching. Draw a vertical teardrop outline: start at a sharp point at the top, curve outward symmetrically on both sides, and close with a rounded bottom. Thicken the outline slightly to create a bold, consistent border. Add a small curved highlight line inside the lower-left area. Add a second small curved highlight line inside the lower-right area, mirroring the first.
No. Small differences are acceptable, but the pointed top, outward curves, and rounded bottom should read clearly as a balanced teardrop.
Two small curved marks in the lower half, one on each side, mirroring each other. They are lines, not filled shapes.
Check the pointed top, the symmetry of both sides, the wide rounded bottom, and the two lower highlight marks.
All drawing practice · Free coordinate paper
Original resources · CC BY 4.0 · Free for personal and classroom use with attribution.