Reference diagrams
LETTER · Download PDF
A4 · Download PDF
Free original resources
Learn to draw a chickadee with its black cap, white cheek, and bib. Use trace, grid, frame, and partial-reference sheets to build accurate bird proportions.
Four original cases, with reference diagrams, practice sheets and worked answers. Everything is free; no signup required.
LETTER · Download PDF
A4 · Download PDF
LETTER · Download PDF
A4 · Download PDF
LETTER · Download PDF
A4 · Download PDF
Use A4 or US Letter to match your printer. Use the stated values and conditions to solve each exercise; diagrams are not physical measuring rulers.
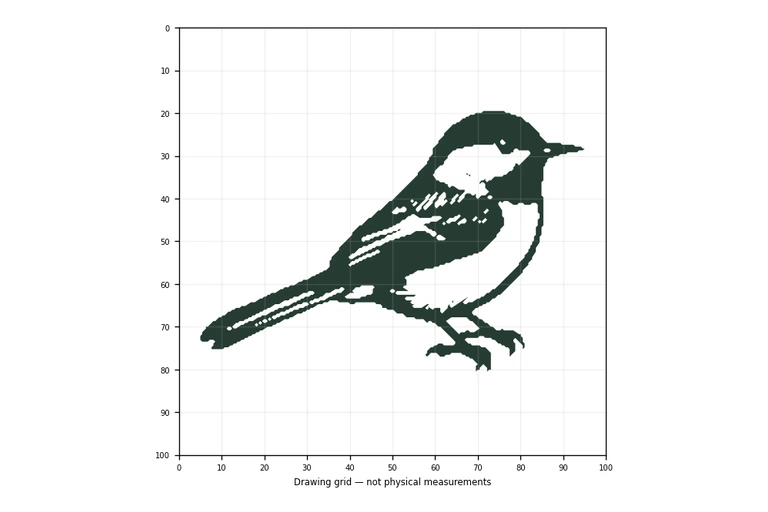
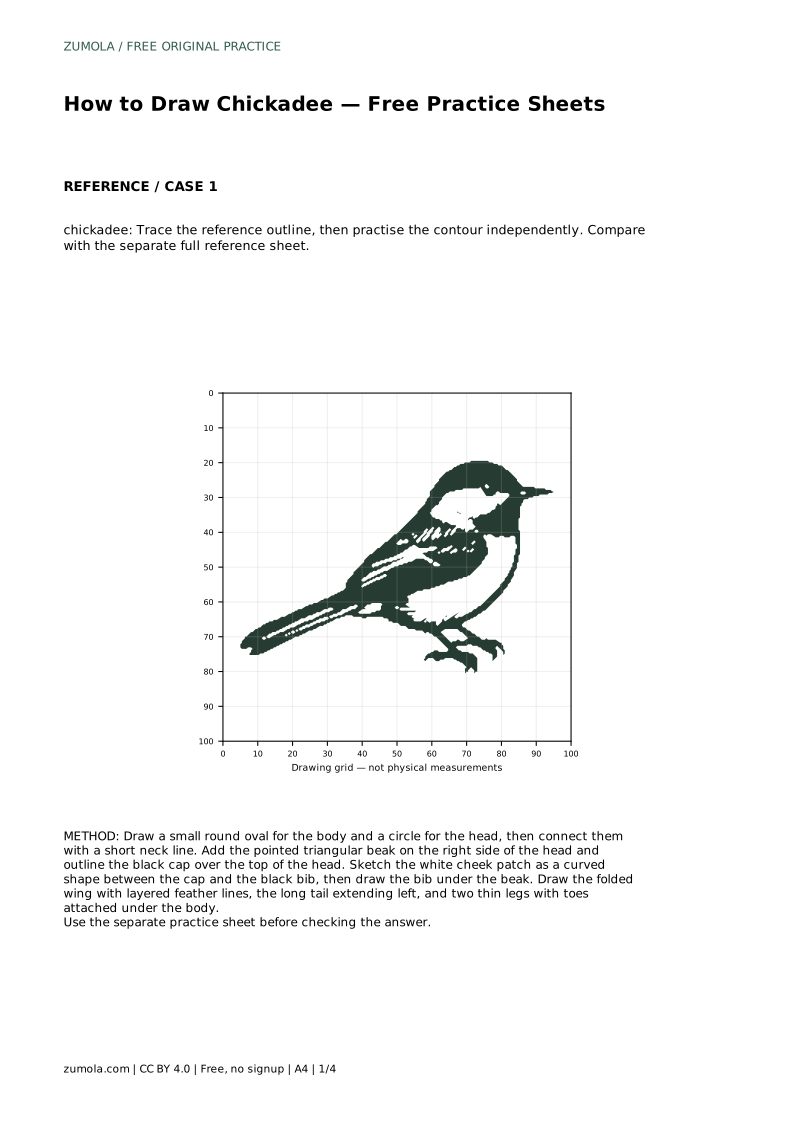
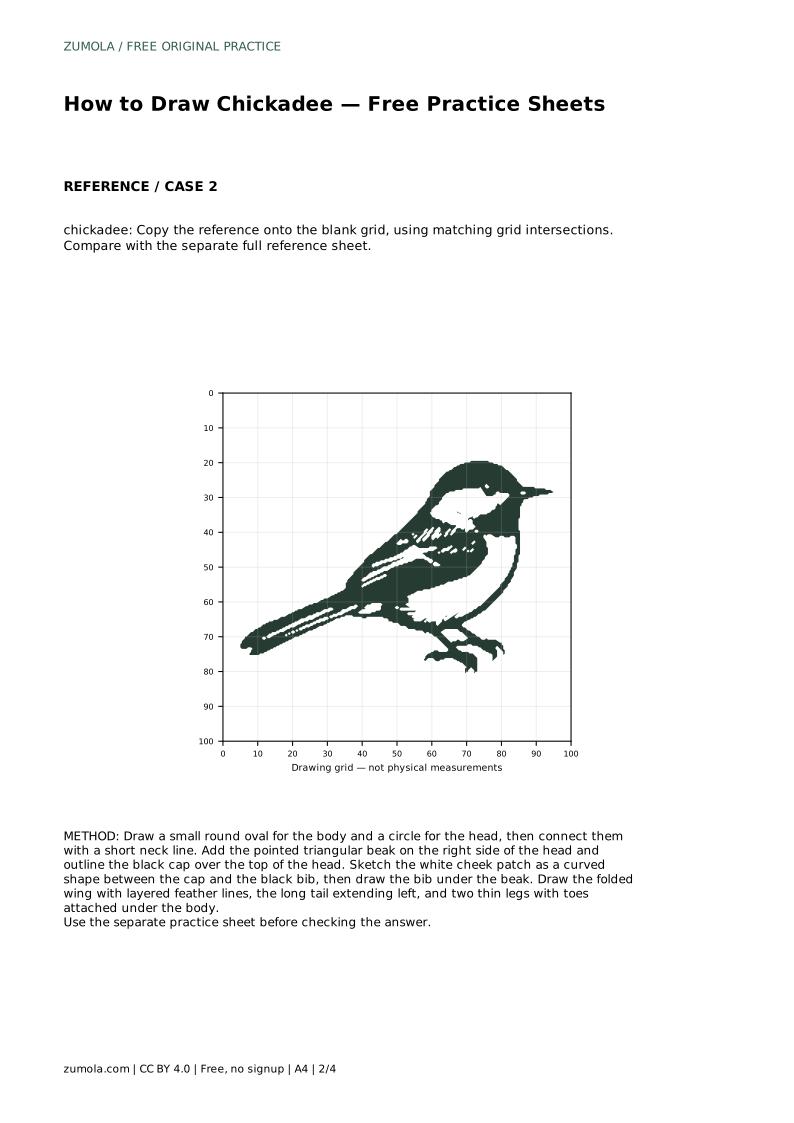
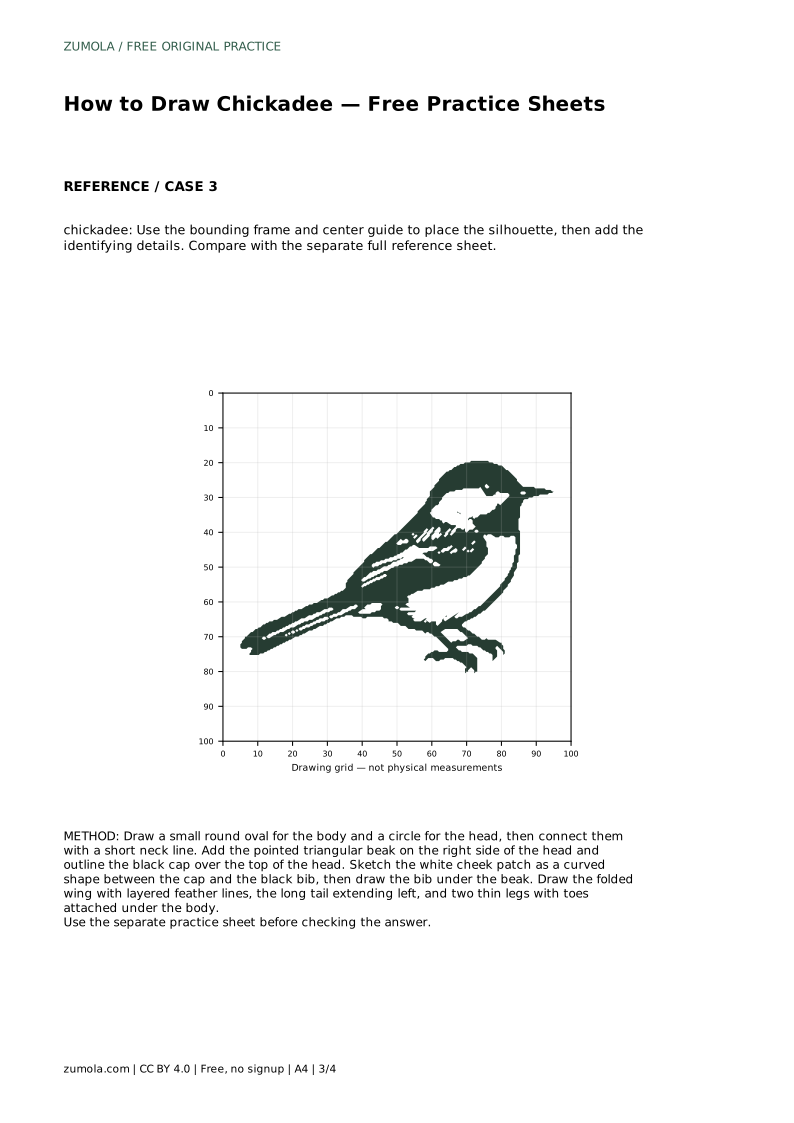
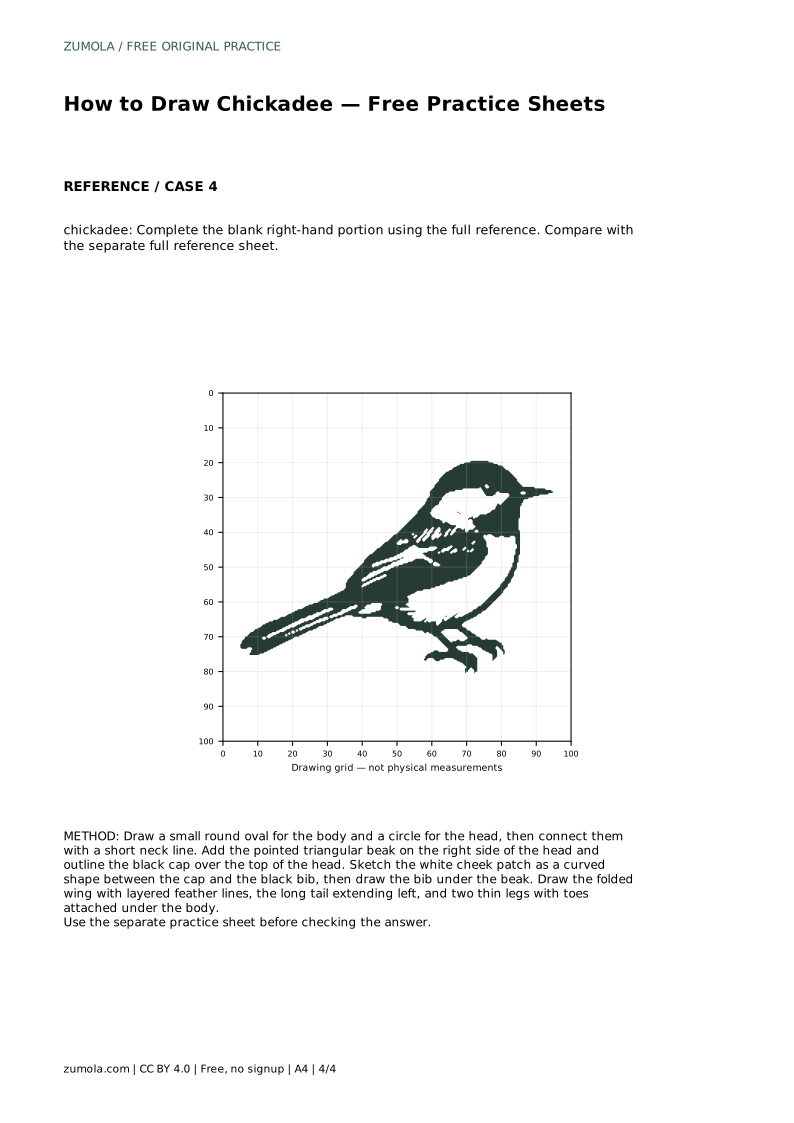
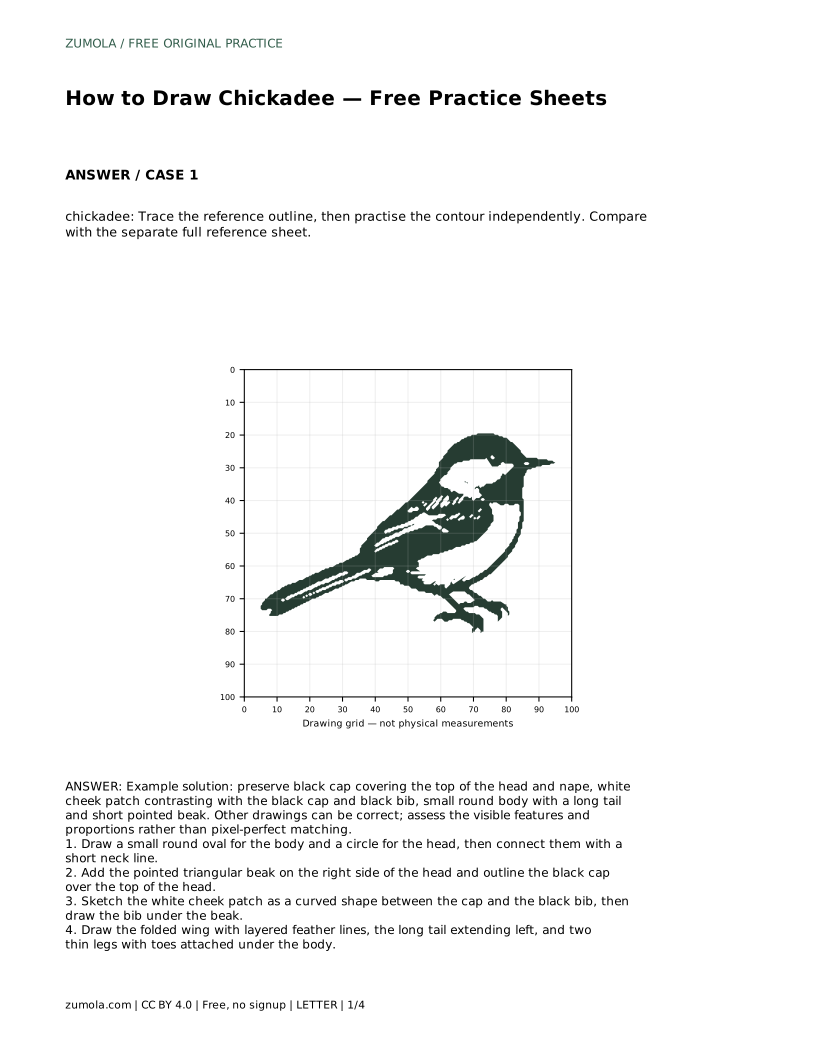
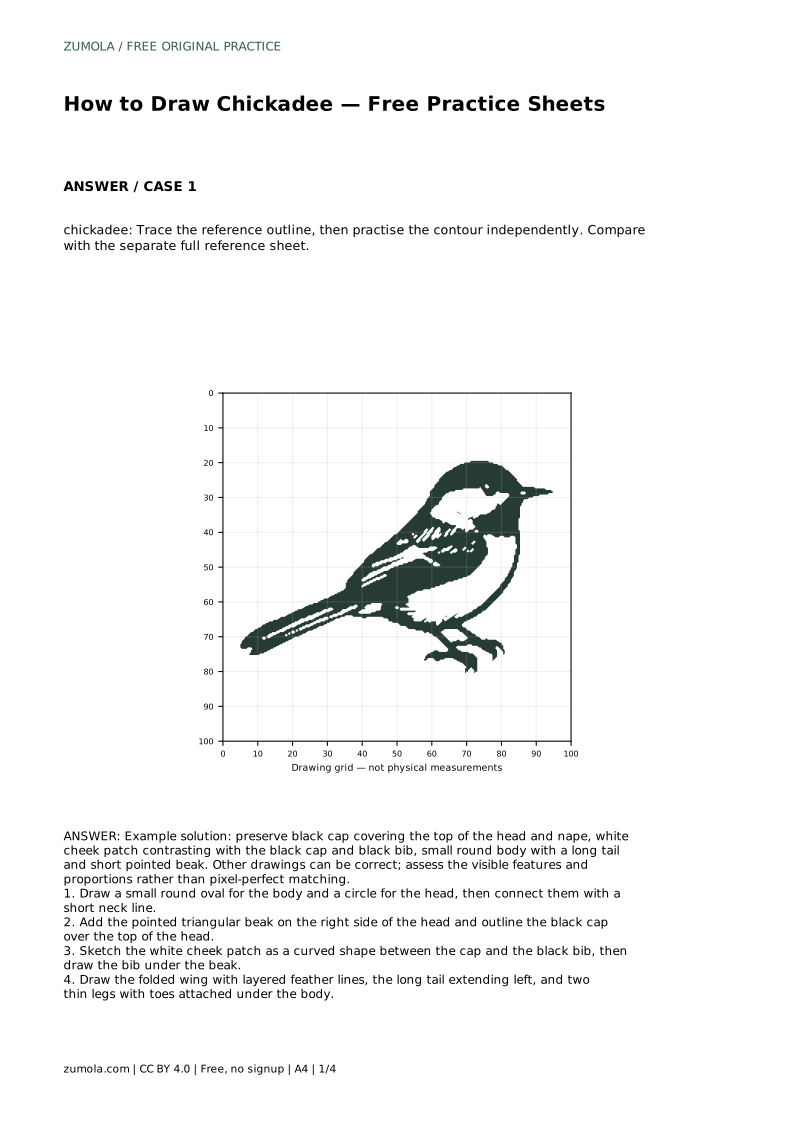
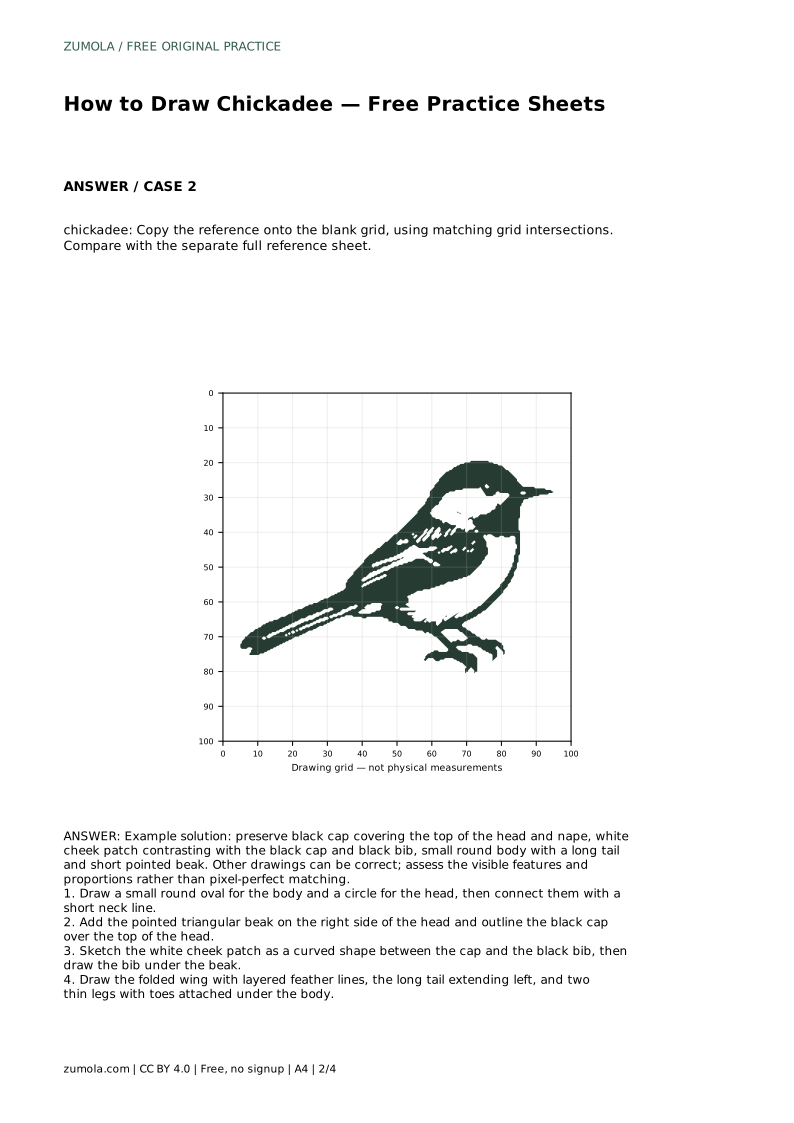
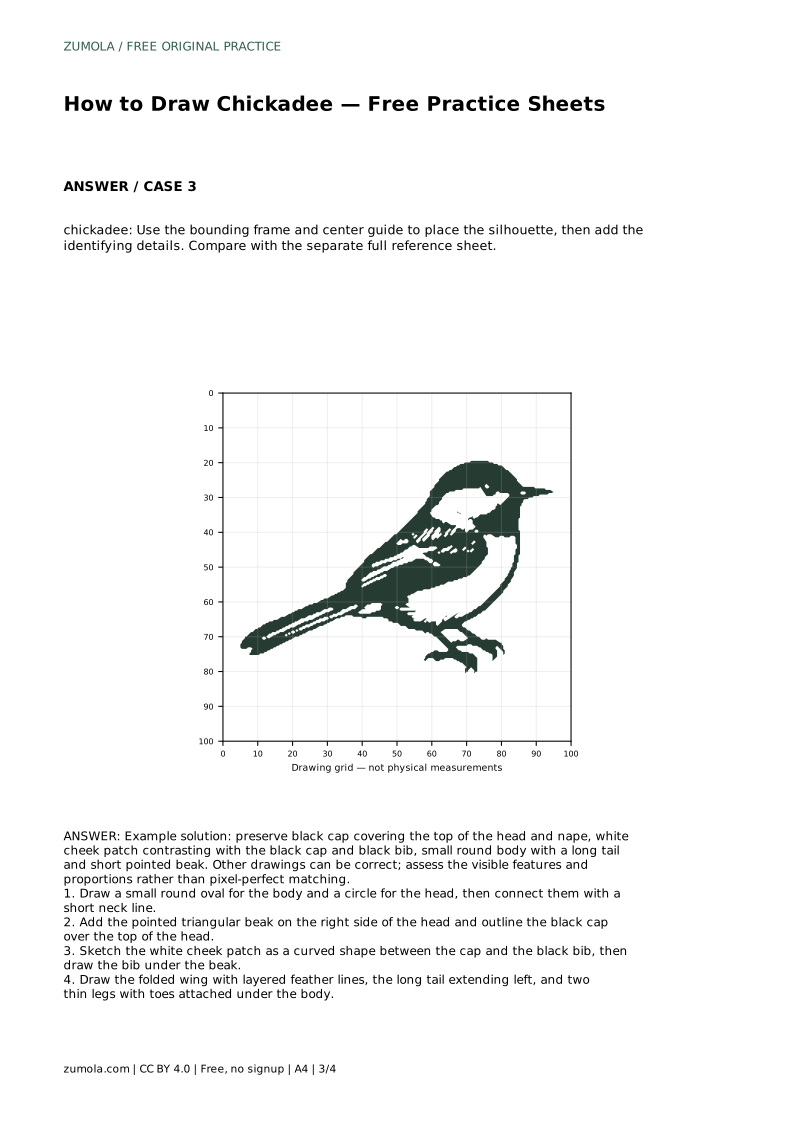
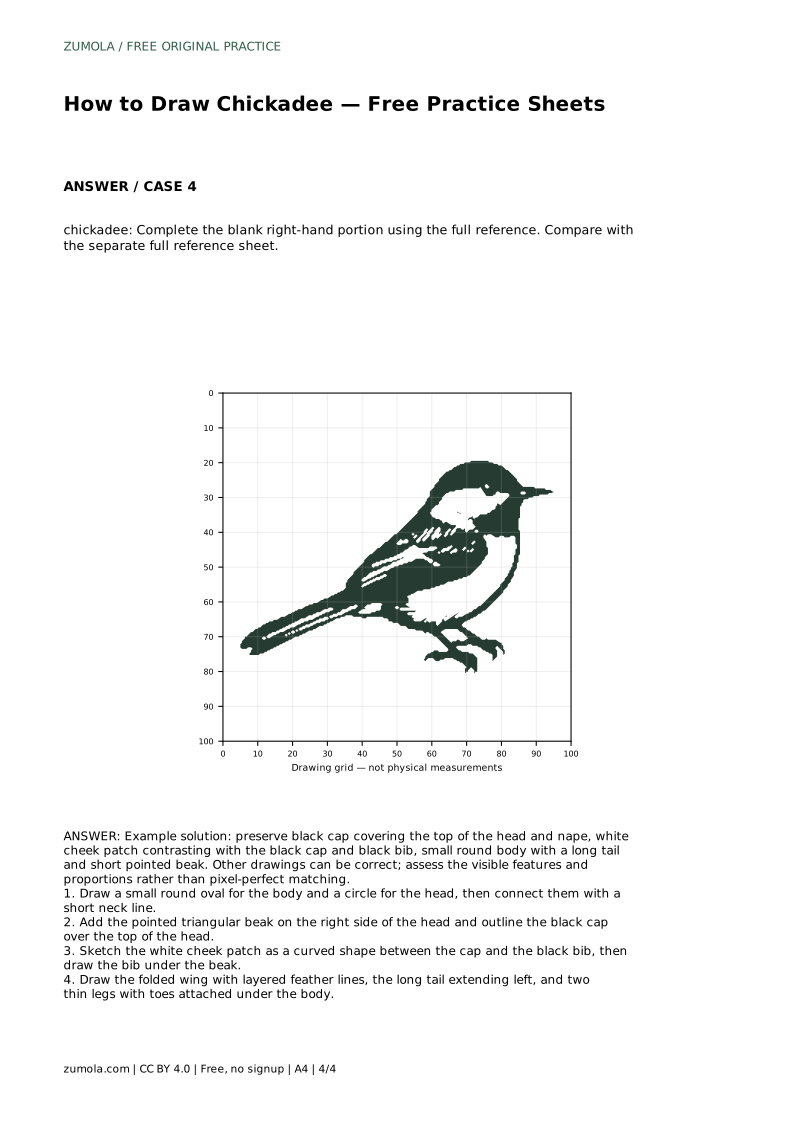
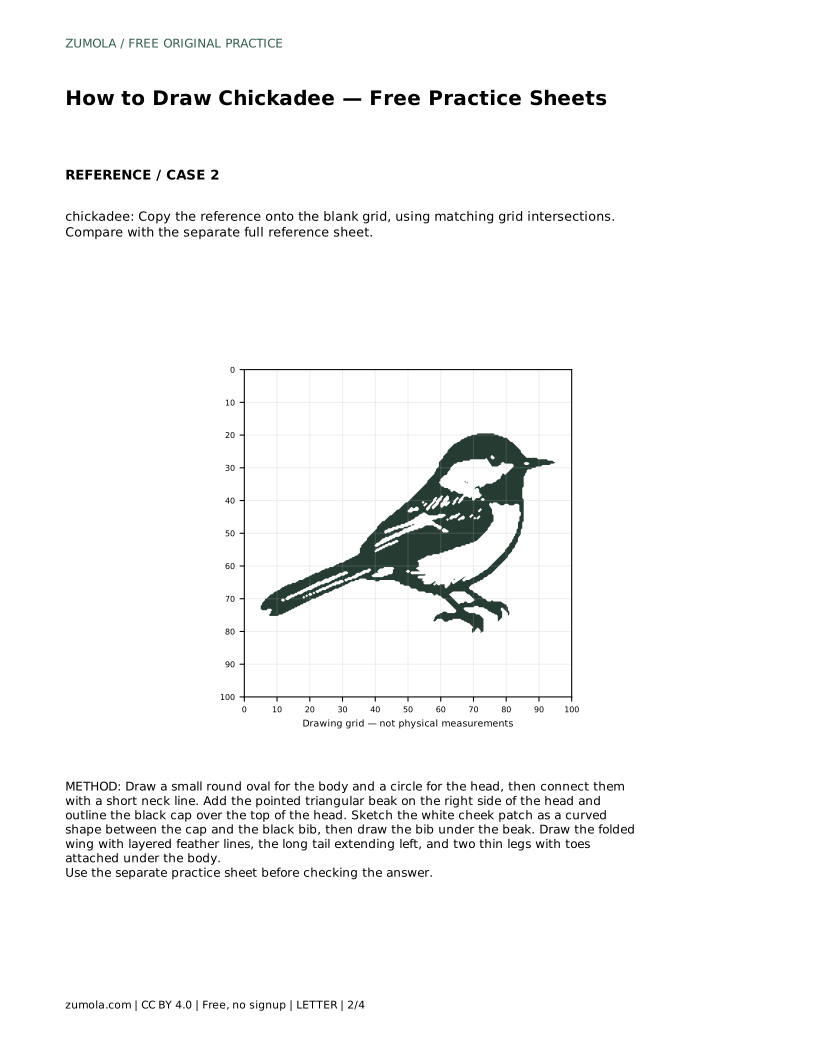
Drawing a chickadee is a study in clear, contrasting shapes: a round body, a black cap that covers the top of the head and nape, a white cheek patch, and a black bib under the beak. This guide explains how to place those features and how to use practice sheets that offer tracing, grid copying, frame guides, and partial-reference completion. Each method targets a different skill, from contour control to spatial reasoning, so you can choose the sheet that matches what you want to improve.
Begin by drawing a small round oval for the body and a circle for the head. Connect them with a short neck line so the head sits close to the body, as it does on a compact bird. Keep the body wider than the head and slightly tilted if you want a natural pose. The beak is a short pointed triangle on the right side of the head; place it at the front of the face, not on top. These simple shapes set the proportions before any markings are added.
The chickadee's face pattern is its most recognizable feature. The black cap covers the top of the head and nape, running from above the beak back to the neck. Below the cap, sketch a curved white cheek patch that sits between the cap and the black bib. The bib is a black shape under the beak, often extending down the throat. Leave clear space between the cap and bib so the white cheek reads as a distinct patch. These three areas should contrast strongly; avoid blending them into one dark mass.
Draw the folded wing along the side of the body with a few layered feather lines to suggest texture. The tail is long and extends to the left, opposite the beak, and should look like a narrow wedge. Under the body, add two thin legs with small toes; keep them short and centered so the bird looks balanced. These details complete the silhouette and help the drawing read as a chickadee rather than a generic small bird.
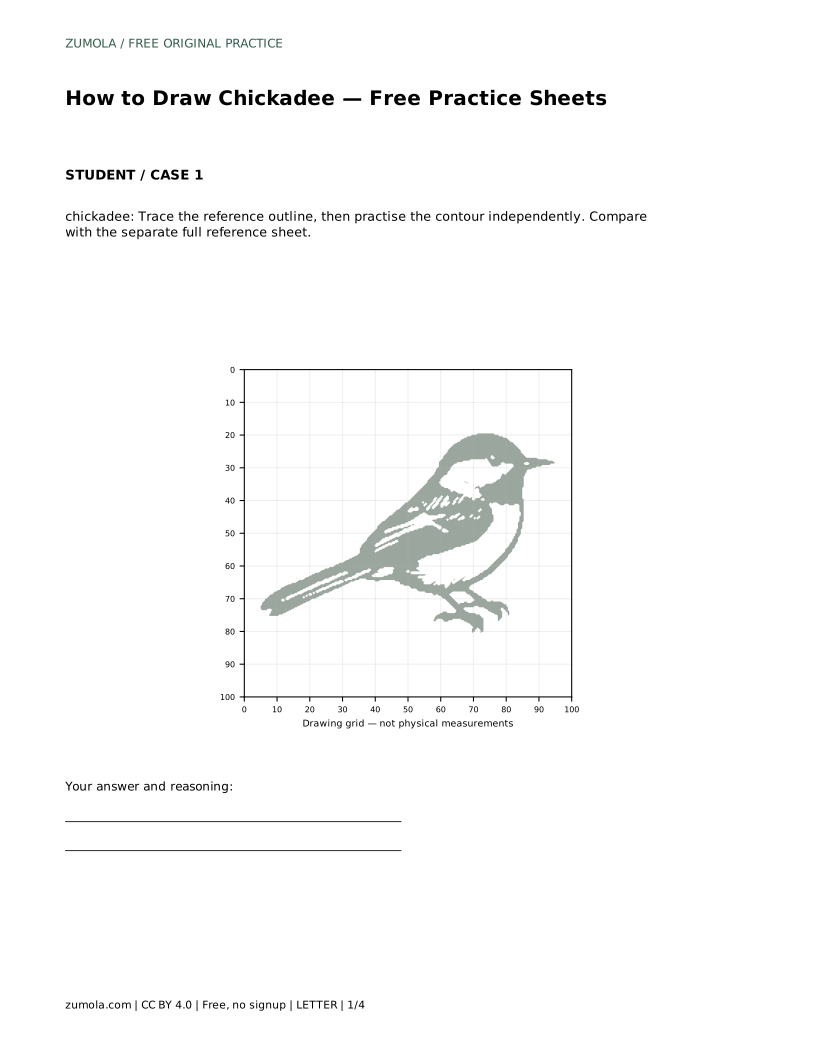
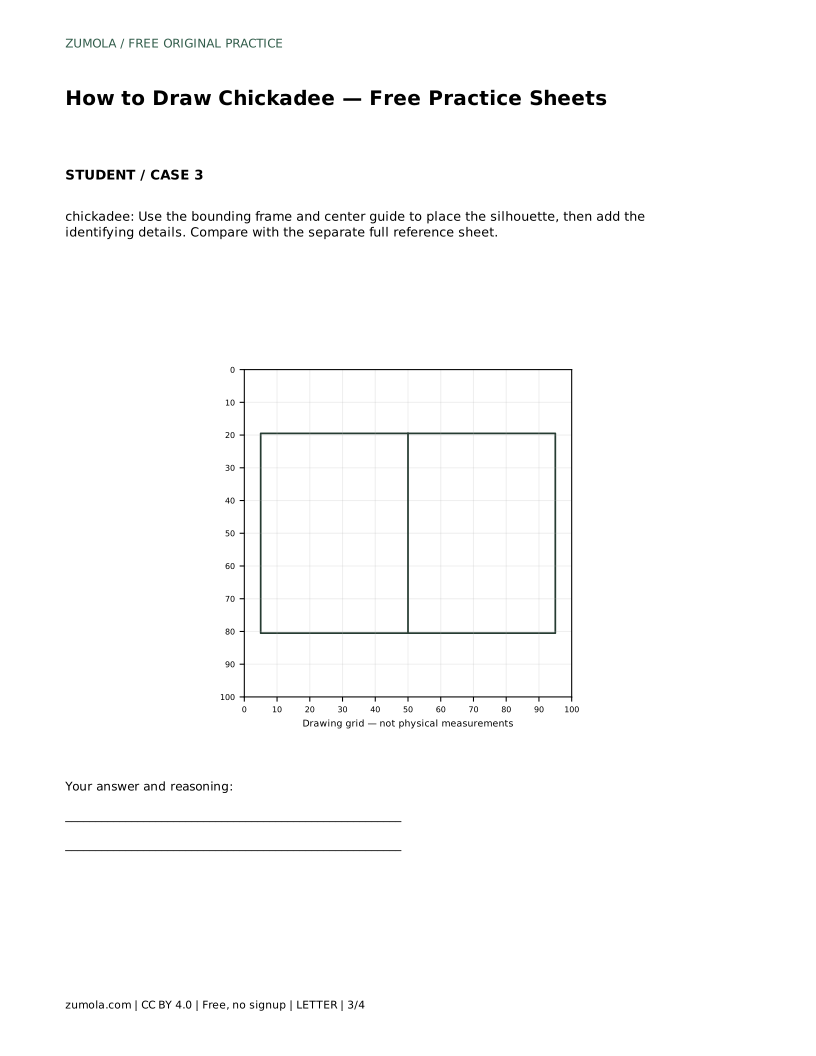
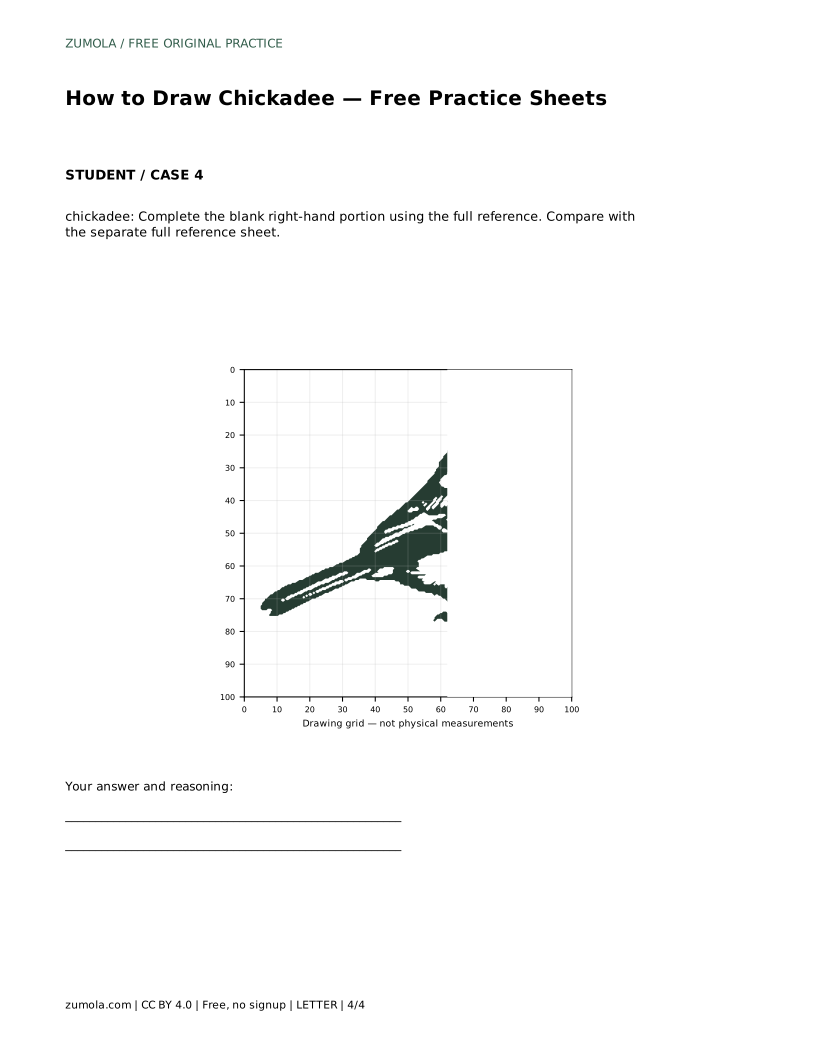
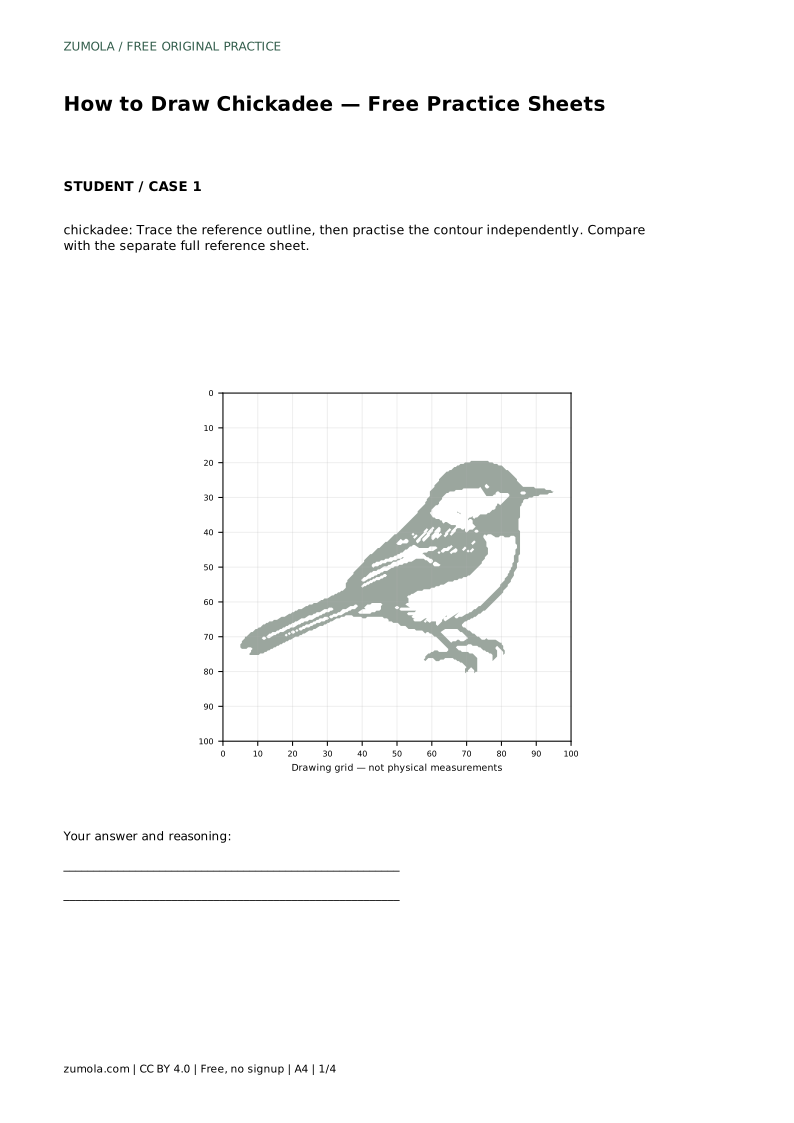
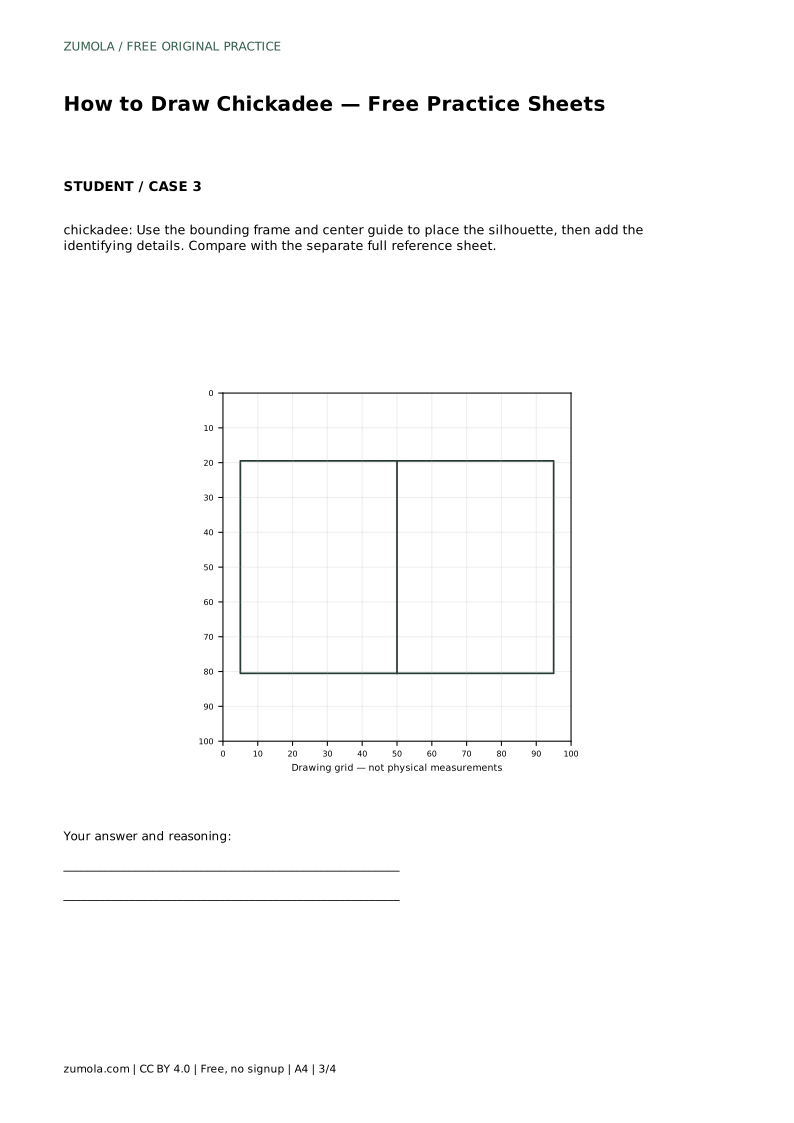
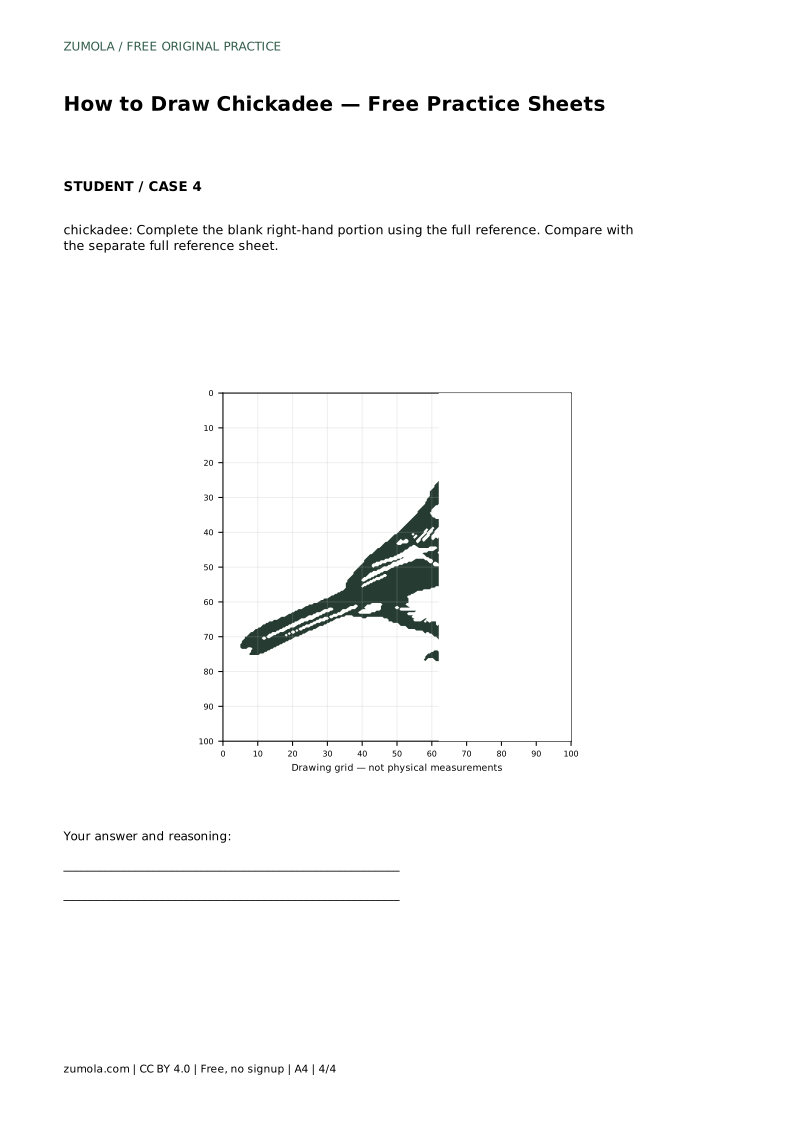
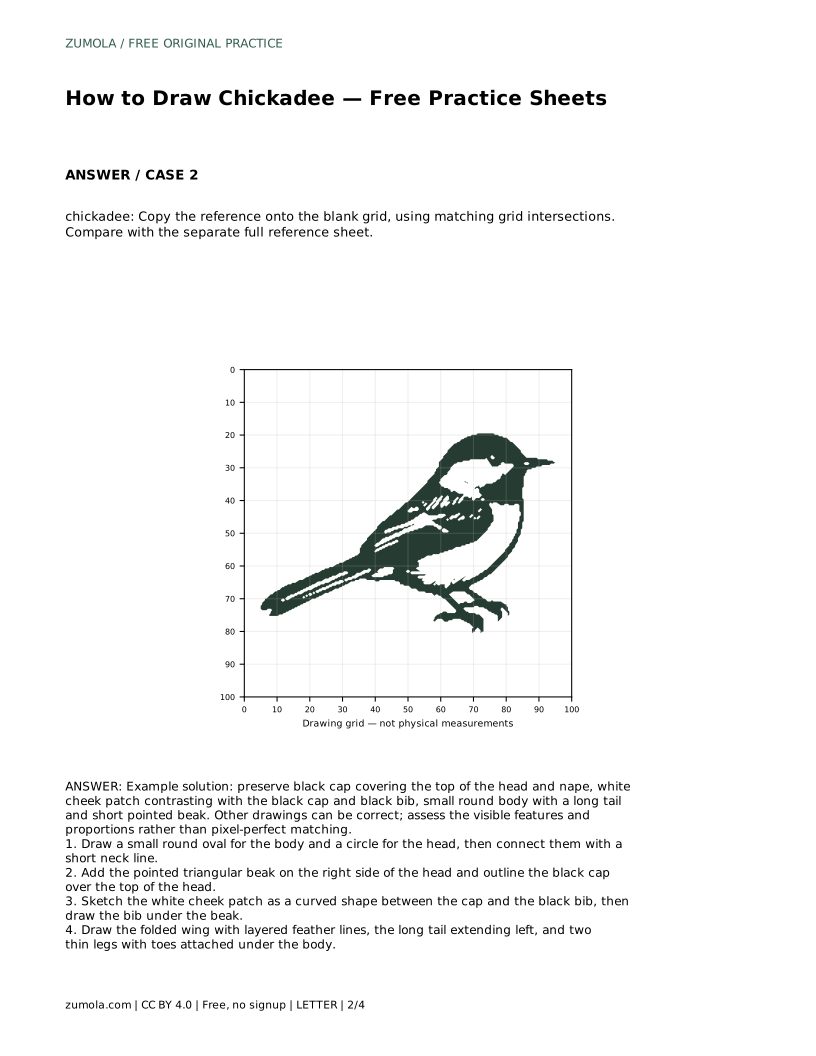
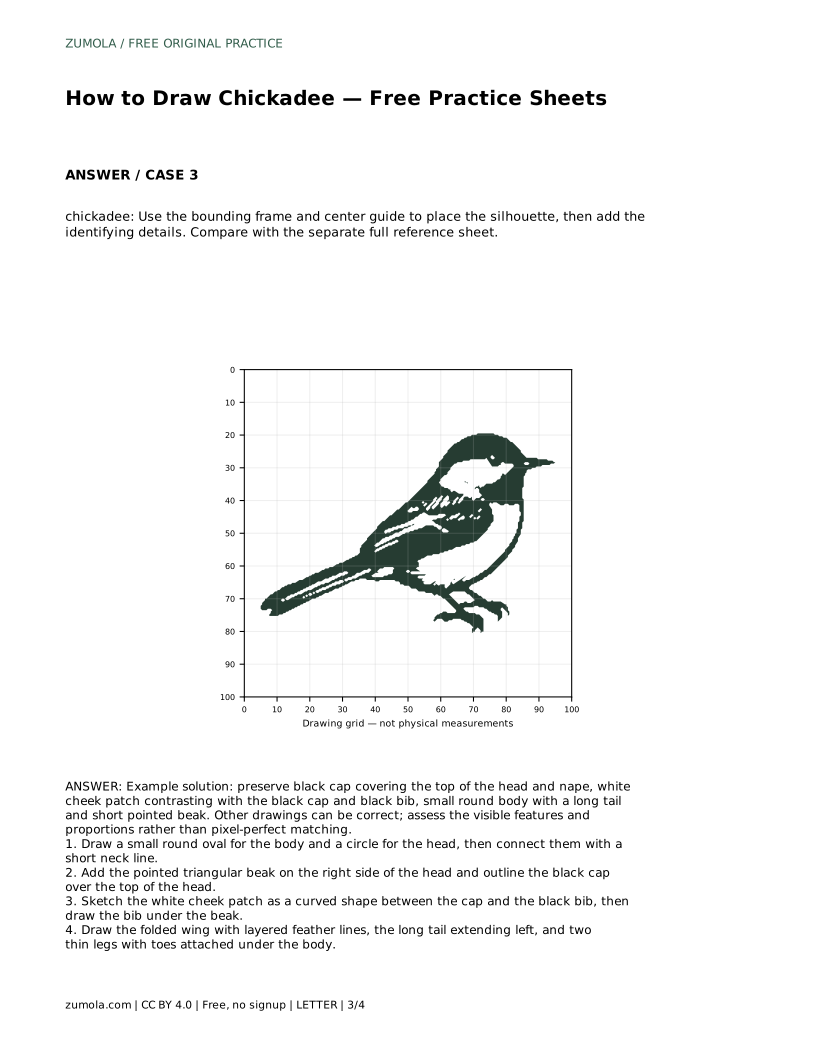
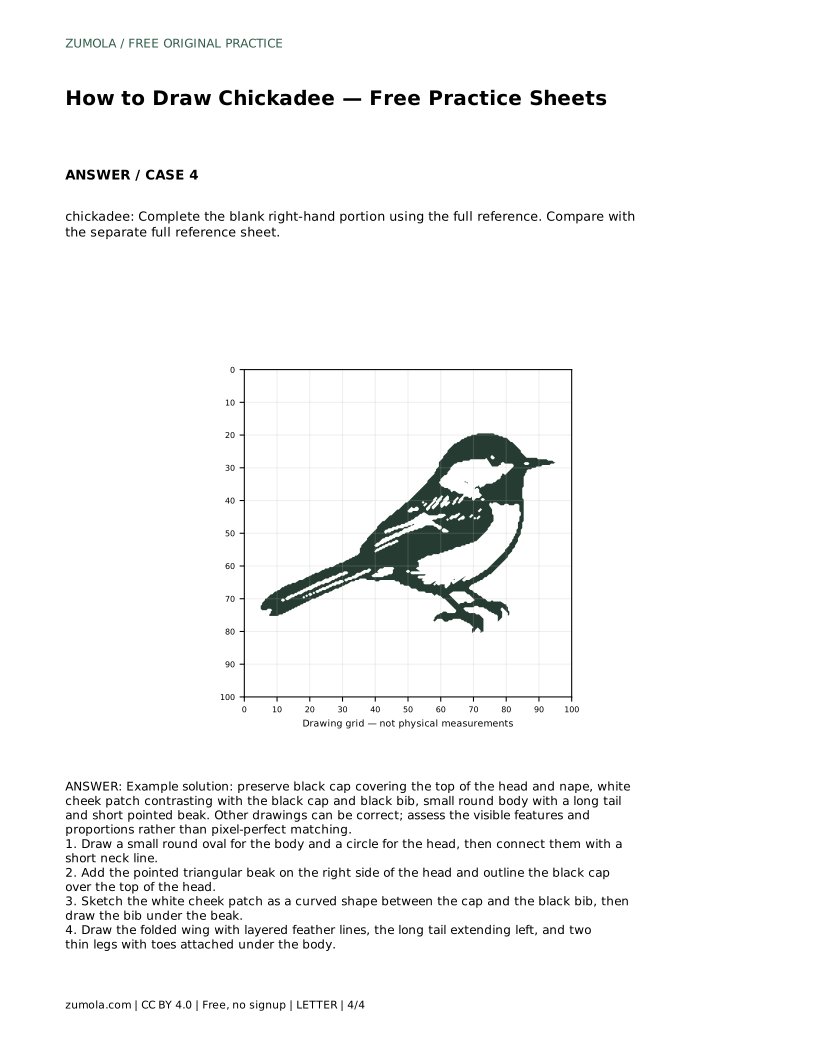
Each sheet isolates a different skill. Tracing the reference outline builds familiarity with the contour before you try it independently. Copying onto a blank grid trains you to match intersections and judge relative distances. The bounding frame and center guide help you place the silhouette within a fixed area, which is useful for proportion control. Completing the blank right-hand portion from the full reference tests whether you can infer the missing side from the visible half. After any sheet, compare your drawing with the separate full reference sheet and check the cap, cheek, bib, body roundness, tail length, and beak shape. Other drawings can be correct; assess the visible features and proportions rather than pixel-perfect matching.
chickadee: Trace the reference outline, then practise the contour independently. Compare with the separate full reference sheet.
Example solution: preserve black cap covering the top of the head and nape, white cheek patch contrasting with the black cap and black bib, small round body with a long tail and short pointed beak. Other drawings can be correct; assess the visible features and proportions rather than pixel-perfect matching. Draw a small round oval for the body and a circle for the head, then connect them with a short neck line. Add the pointed triangular beak on the right side of the head and outline the black cap over the top of the head. Sketch the white cheek patch as a curved shape between the cap and the black bib, then draw the bib under the beak. Draw the folded wing with layered feather lines, the long tail extending left, and two thin legs with toes attached under the body.
No. Use the reference to check key features and proportions. Other drawings can be correct if the cap, cheek, bib, body shape, tail, and beak are clearly represented.
Start with the trace sheet to learn the contour, then move to the grid or frame sheet to practice placement without tracing.
Compare it with the full reference sheet and check that the black cap covers the top of the head and nape, the white cheek contrasts with the cap and bib, and the body is small and round with a long tail.
All drawing practice · Free coordinate paper
Original resources · CC BY 4.0 · Free for personal and classroom use with attribution.