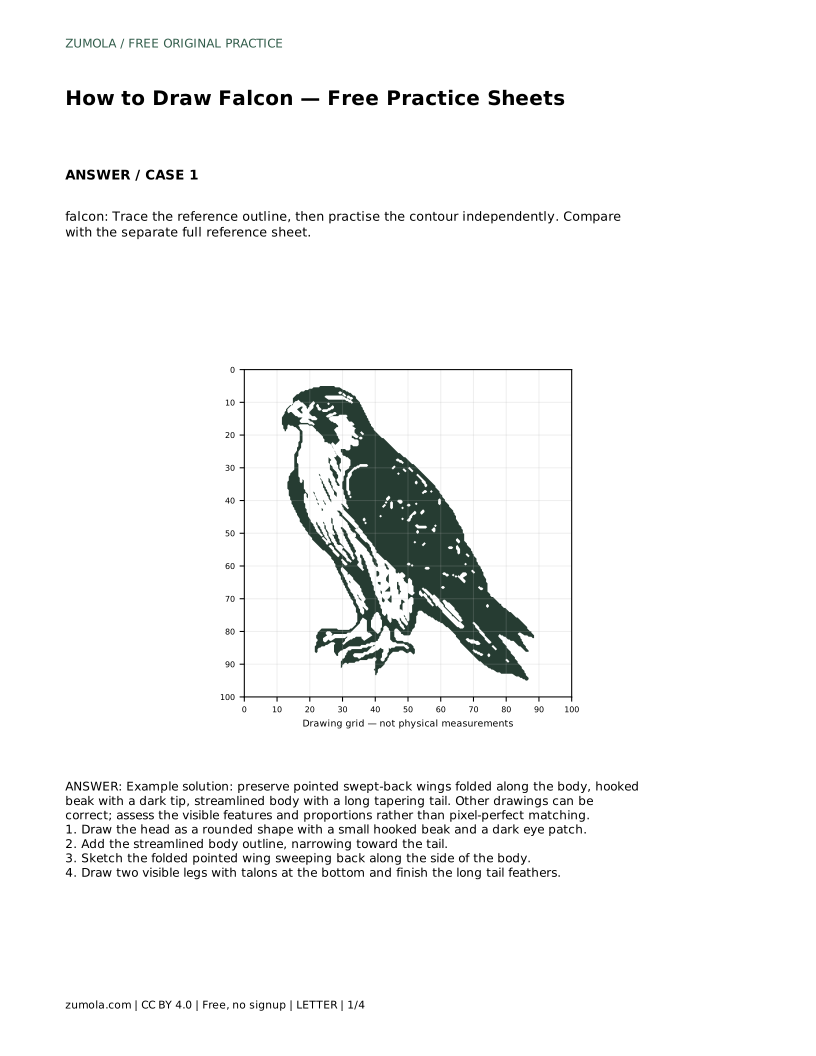
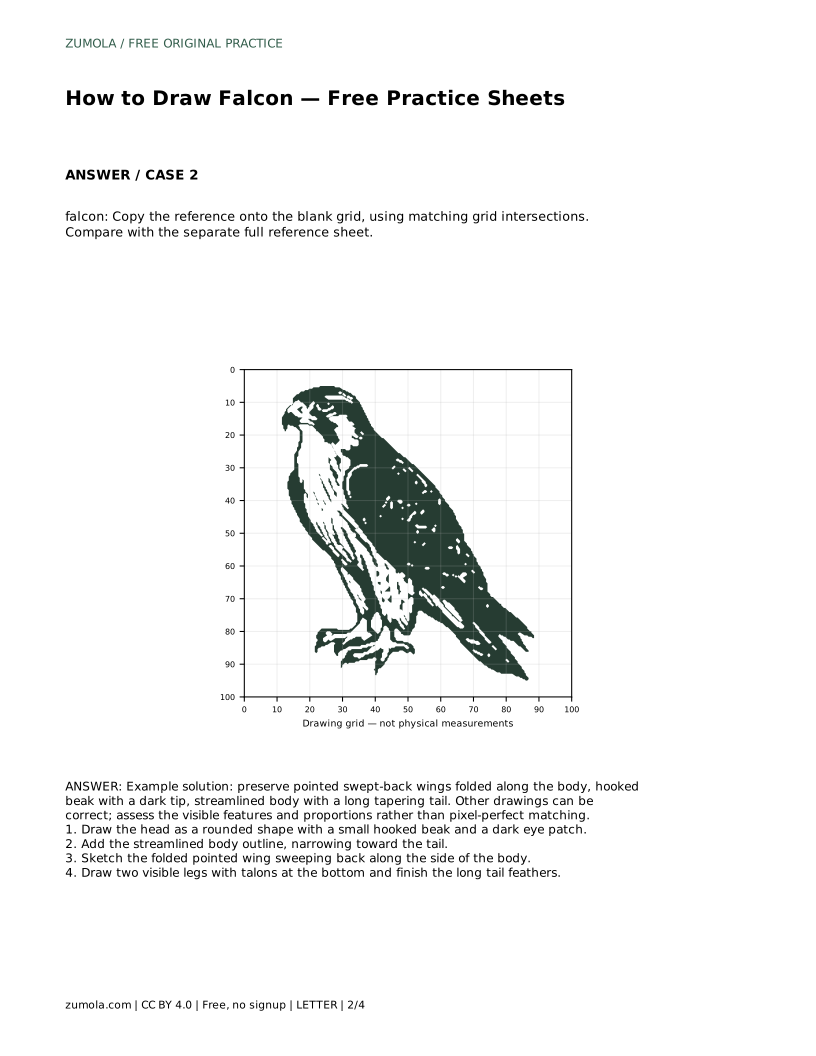
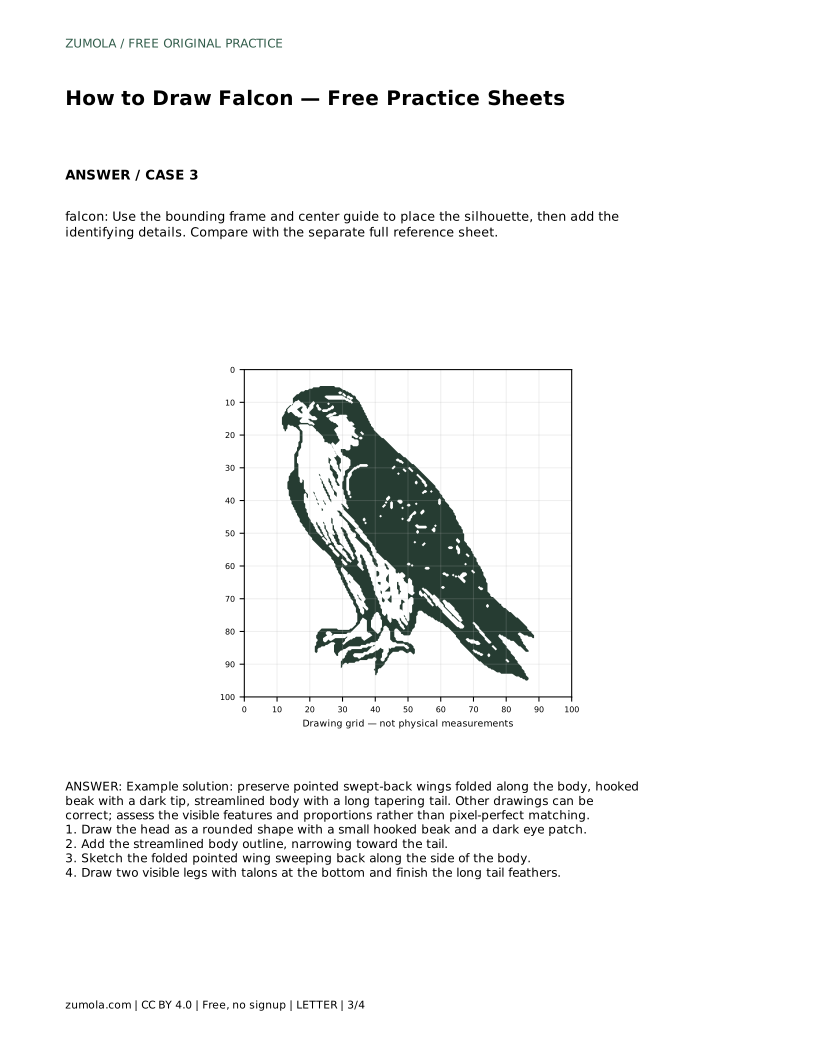
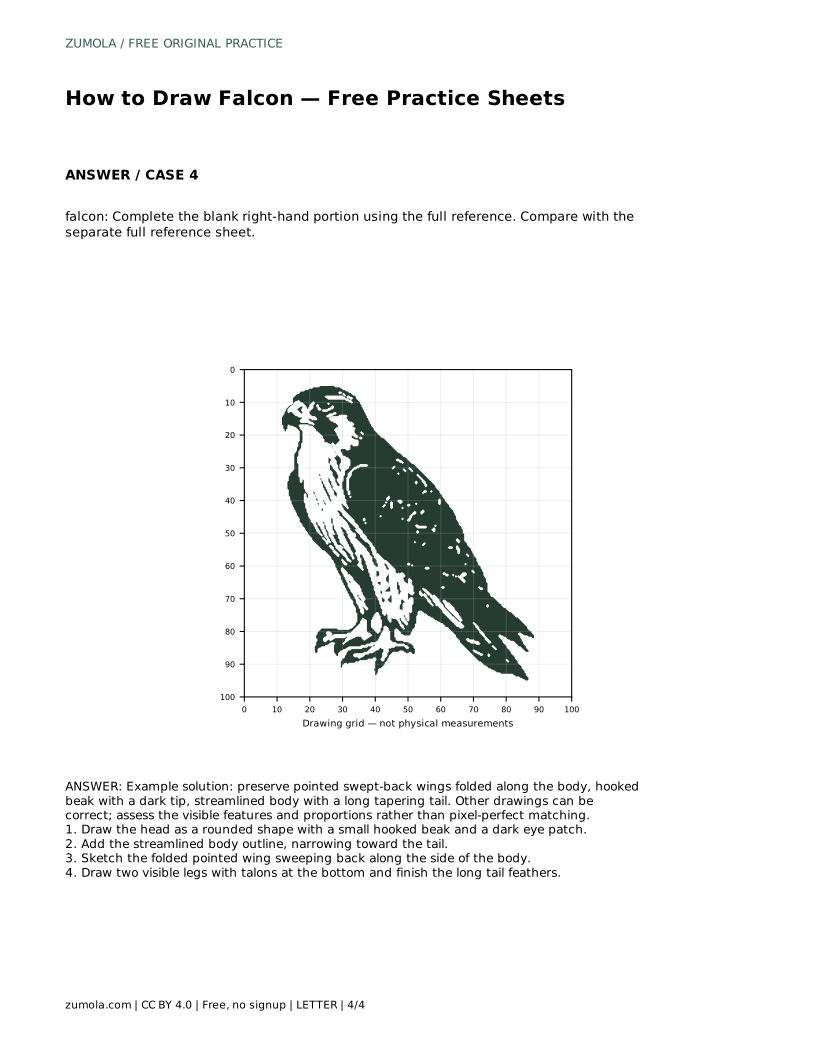
Reference diagrams
LETTER · Download PDF
A4 · Download PDF
Free original resources
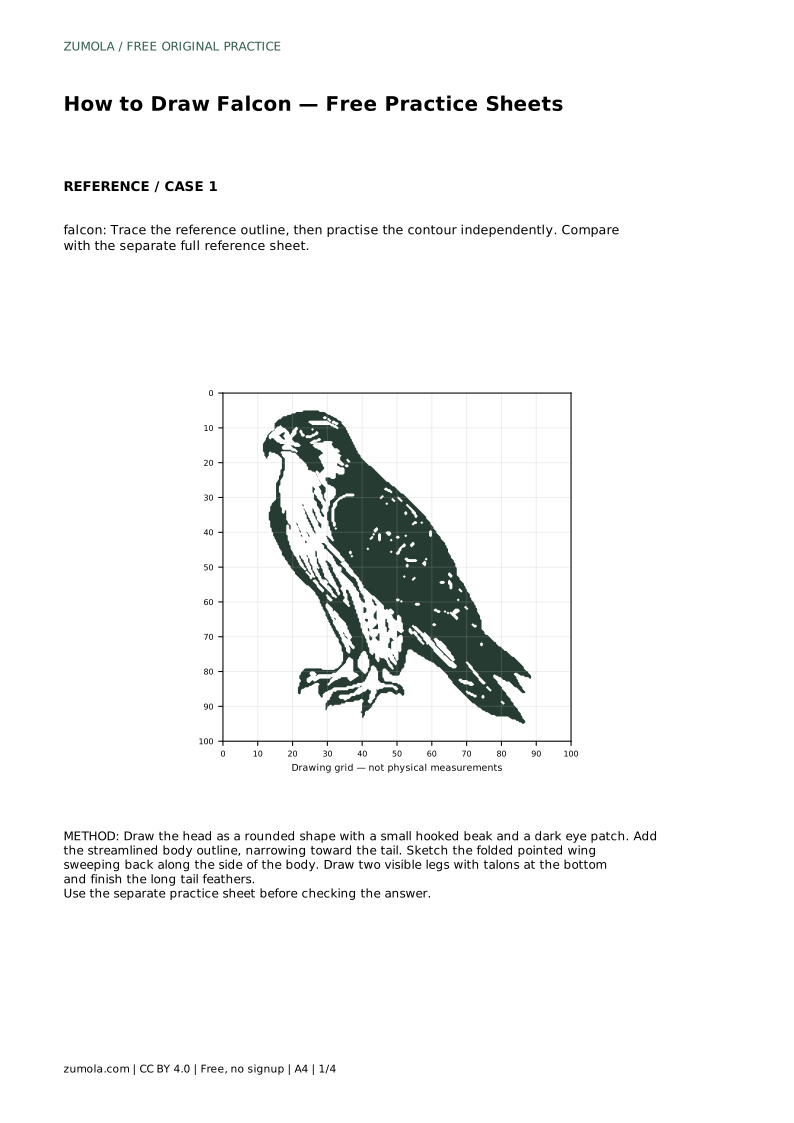
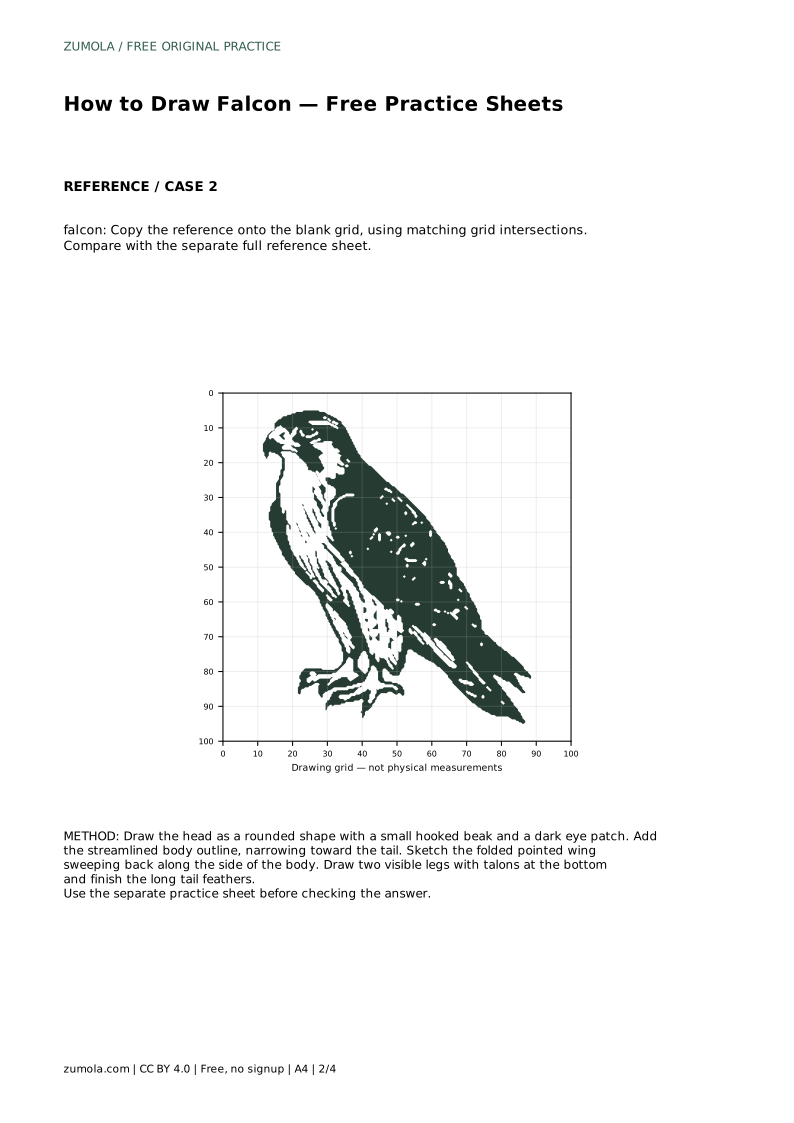
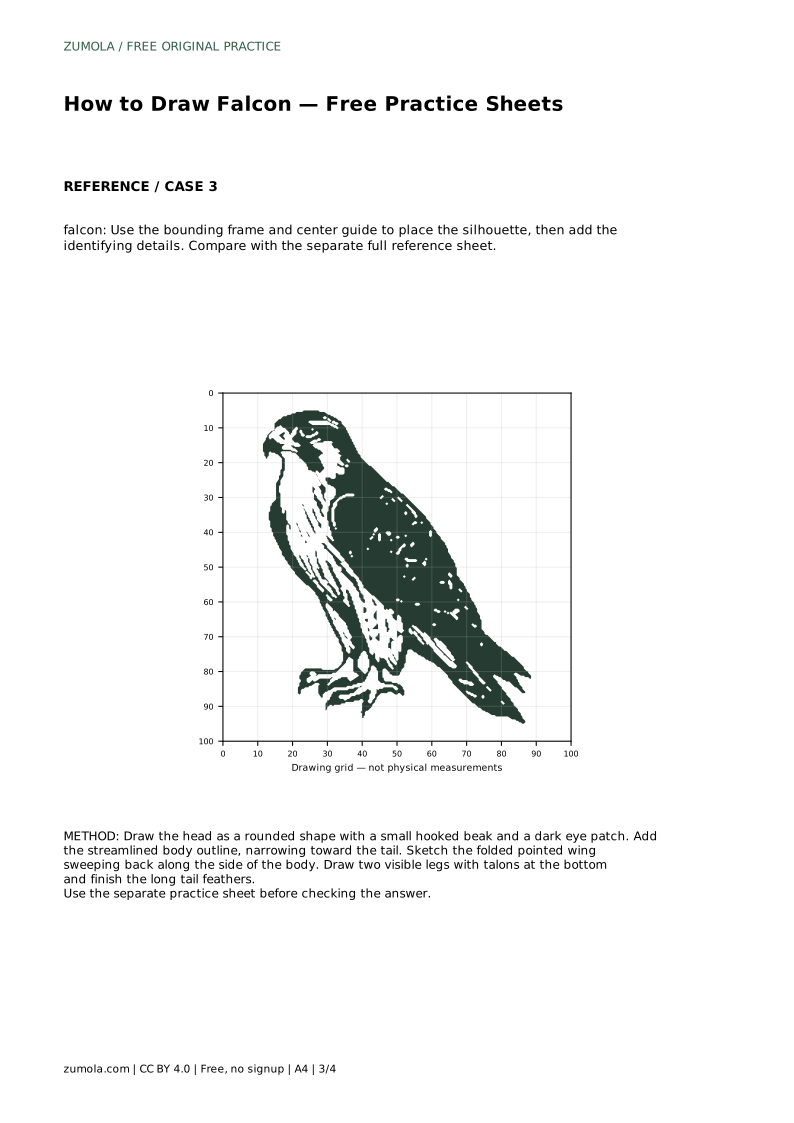
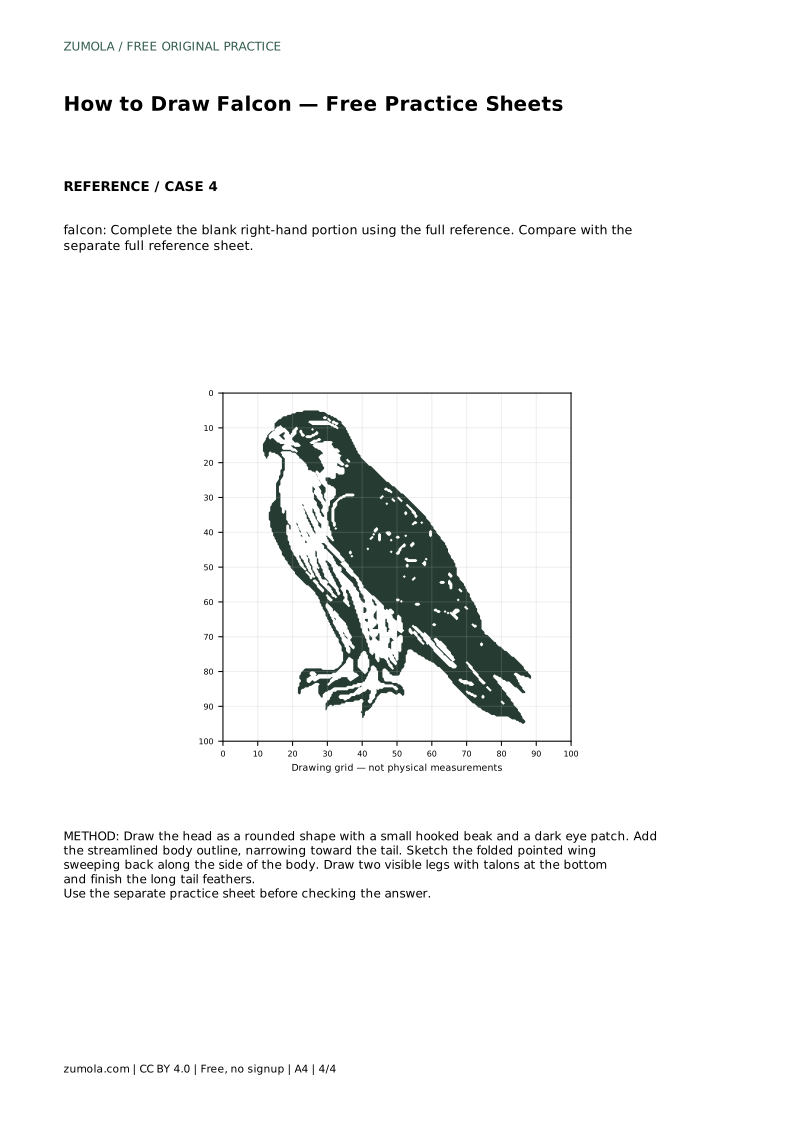
Learn to draw a falcon by building its head, hooked beak, streamlined body, folded pointed wing, legs, and long tail. Includes tracing, grid, and frame practice guidance.
Four original cases, with reference diagrams, practice sheets and worked answers. Everything is free; no signup required.
LETTER · Download PDF
A4 · Download PDF
LETTER · Download PDF
A4 · Download PDF
LETTER · Download PDF
A4 · Download PDF
Use A4 or US Letter to match your printer. Use the stated values and conditions to solve each exercise; diagrams are not physical measuring rulers.
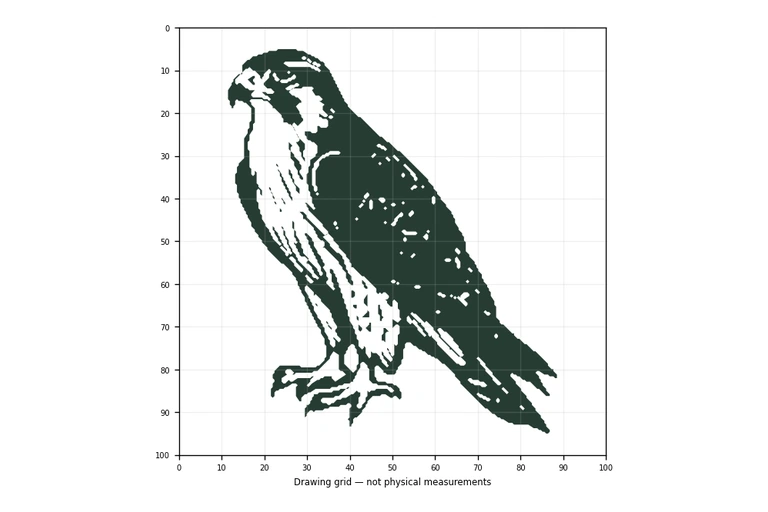
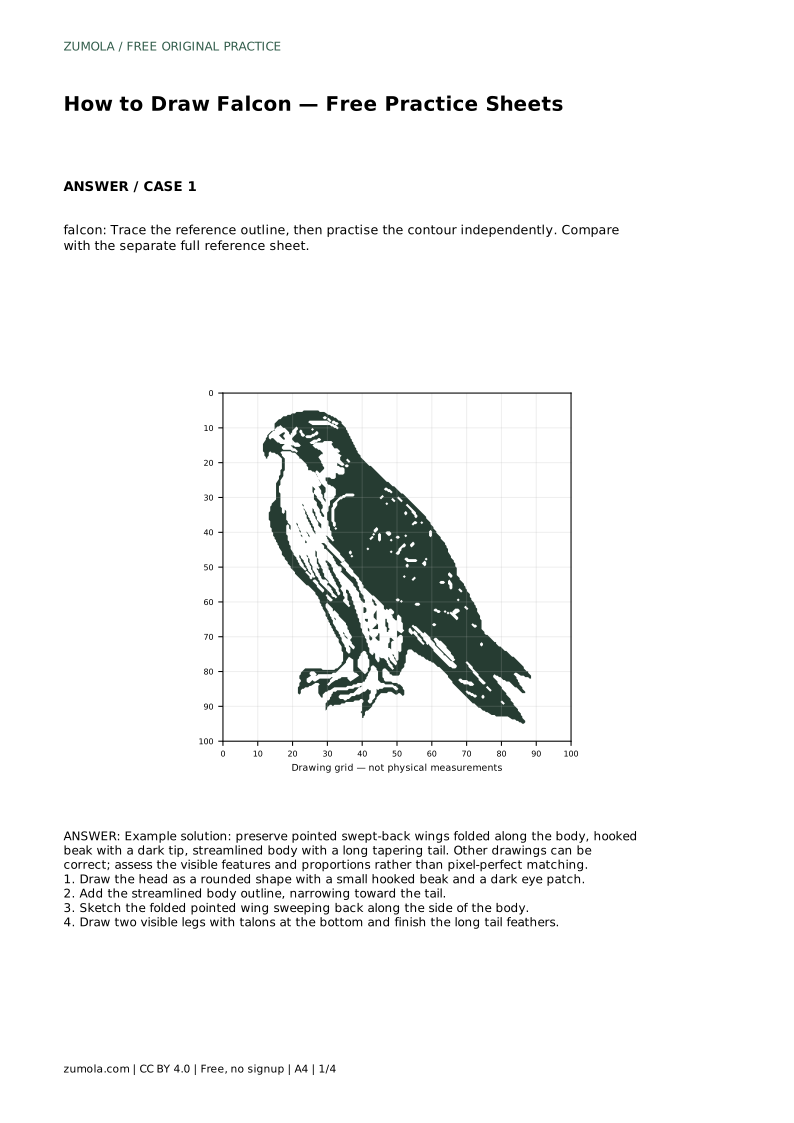
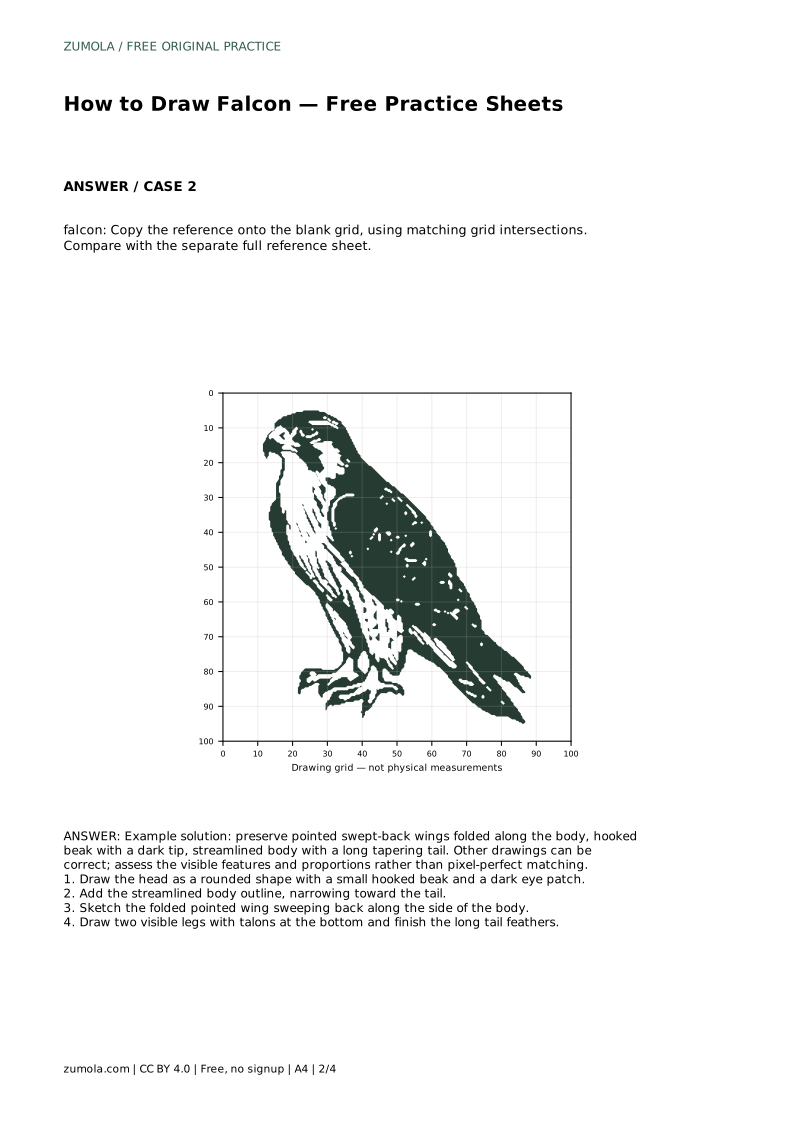
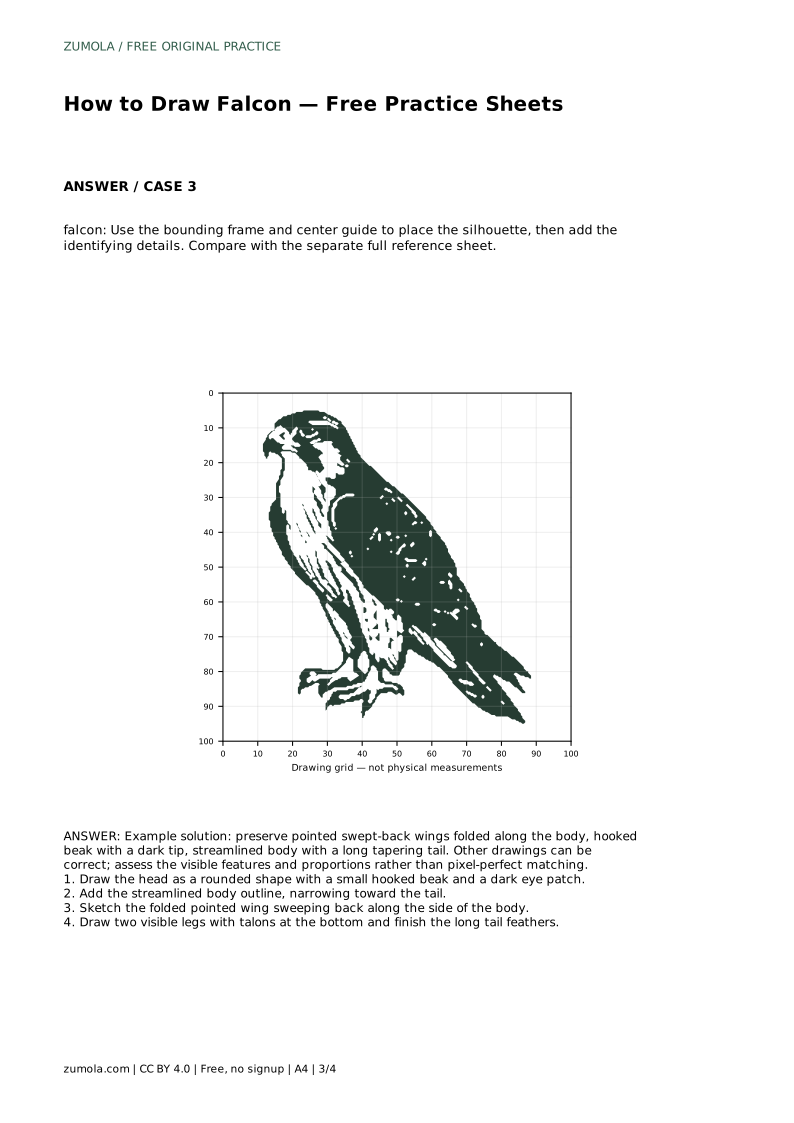
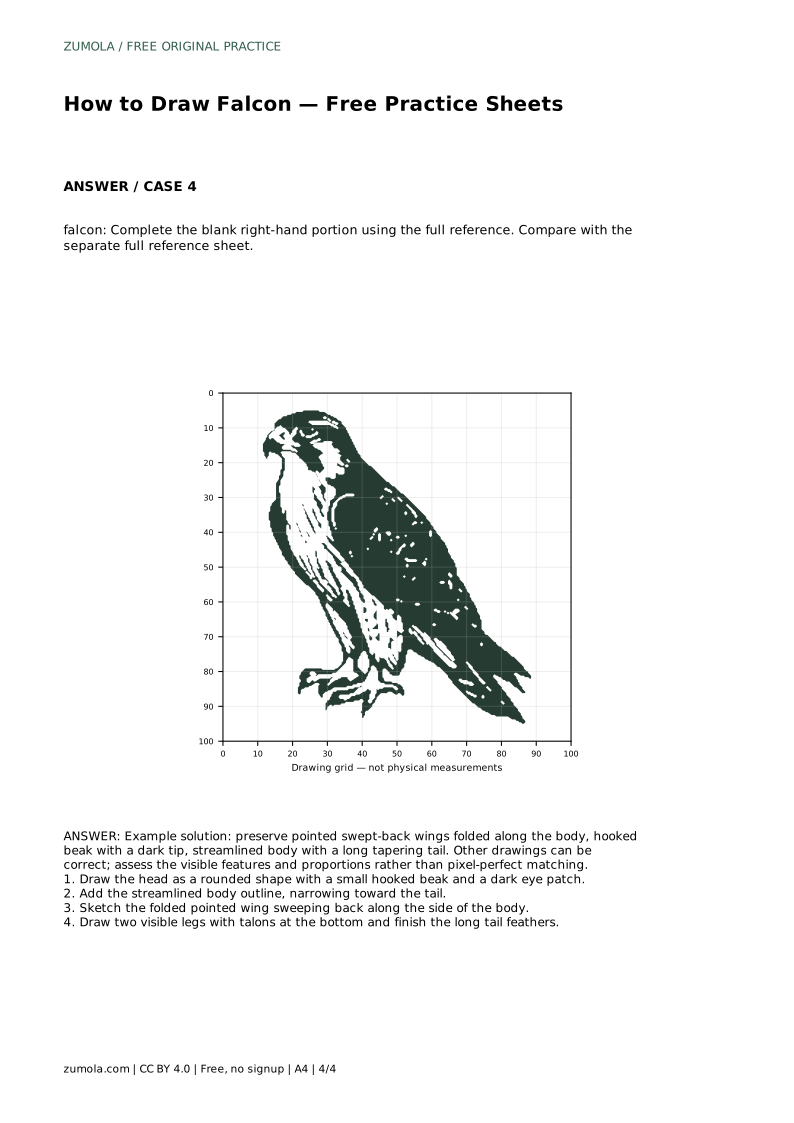
Drawing a falcon is mostly a matter of arranging a few distinctive shapes in the right order. Start with the head and beak, then build the streamlined body, add the folded wing that sweeps back along the side, and finish with legs and a long tapering tail. The practice sheets let you trace a reference outline, copy it onto a grid, place the silhouette inside a bounding frame, or complete a partially blank drawing. Compare your work with the separate full reference sheet and judge the visible features rather than pixel-perfect matching.
A falcon reads as a falcon because of a small set of visible features: a rounded head with a short hooked beak and a dark eye patch, a streamlined body that narrows toward the tail, pointed wings folded and swept back along the body, two visible legs ending in talons, and long tapering tail feathers. Treat these as your checklist. If one is missing or badly placed, the drawing will look like a generic bird even when the outline is neat.
Work from the head outward. The head is small relative to the body, so resist making it large. The beak should be short and clearly hooked, with a dark tip. The eye patch sits behind the eye and helps separate the falcon from rounder-headed birds. Once the head is settled, the body can taper smoothly into the tail without bulging.
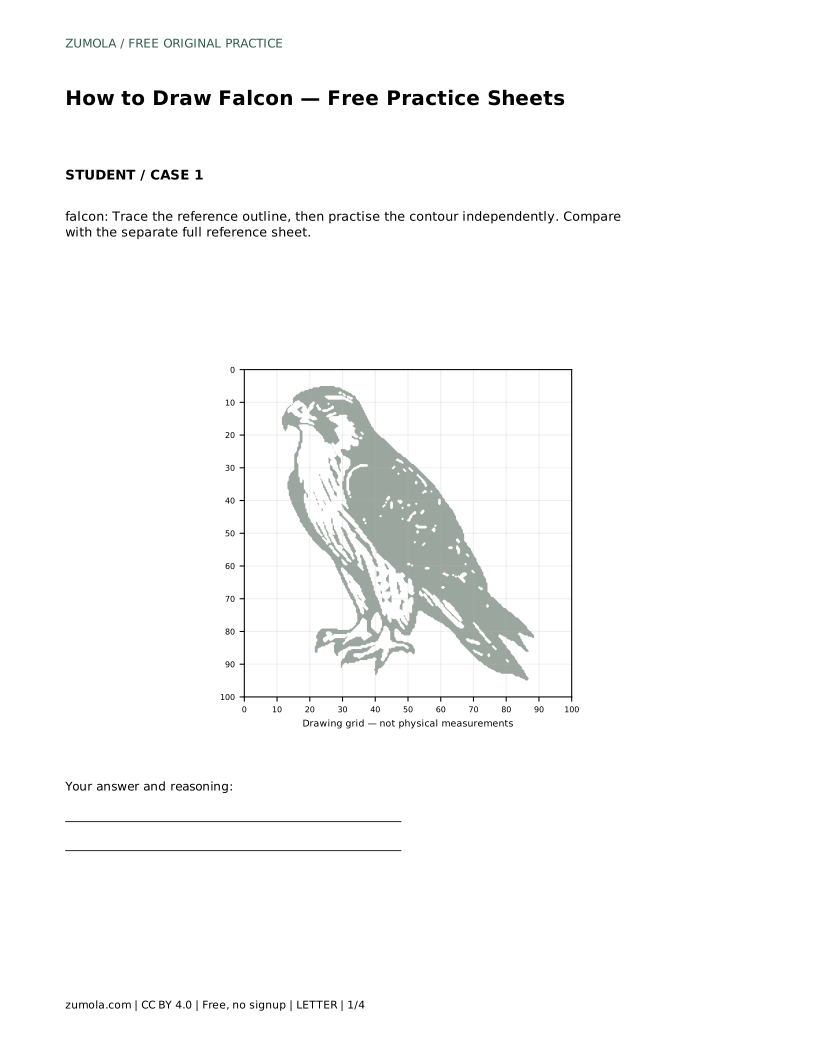
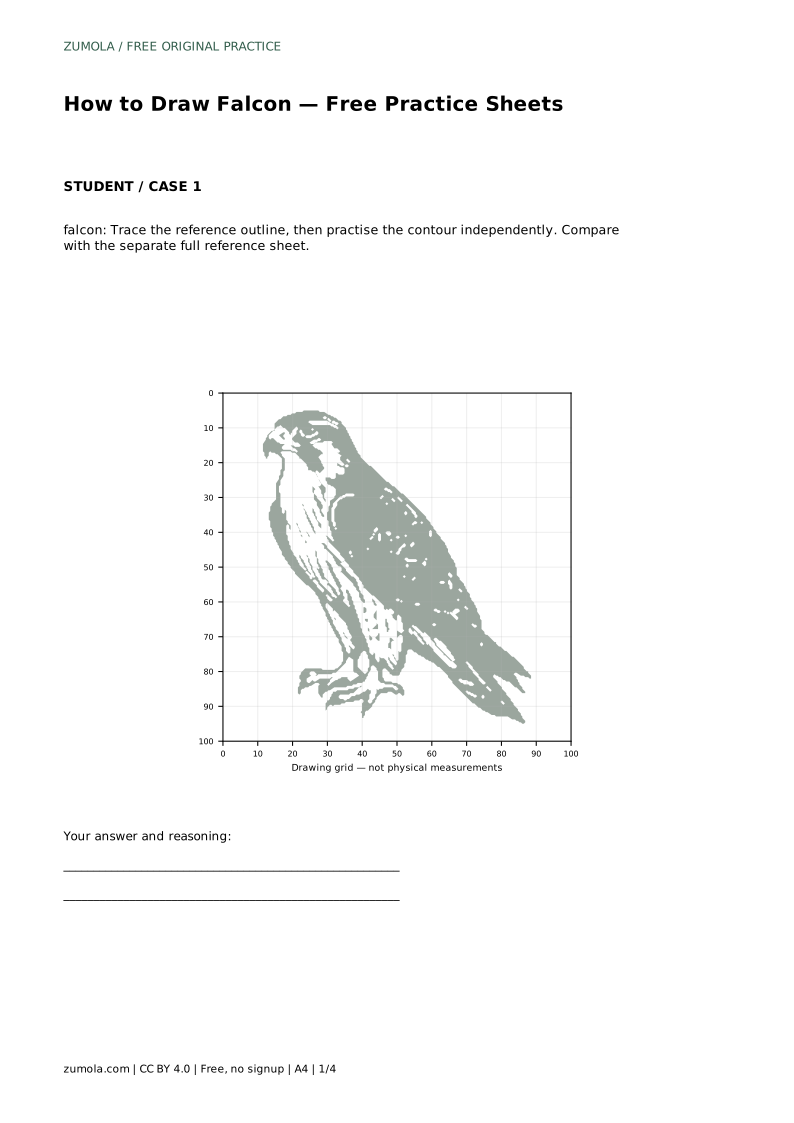
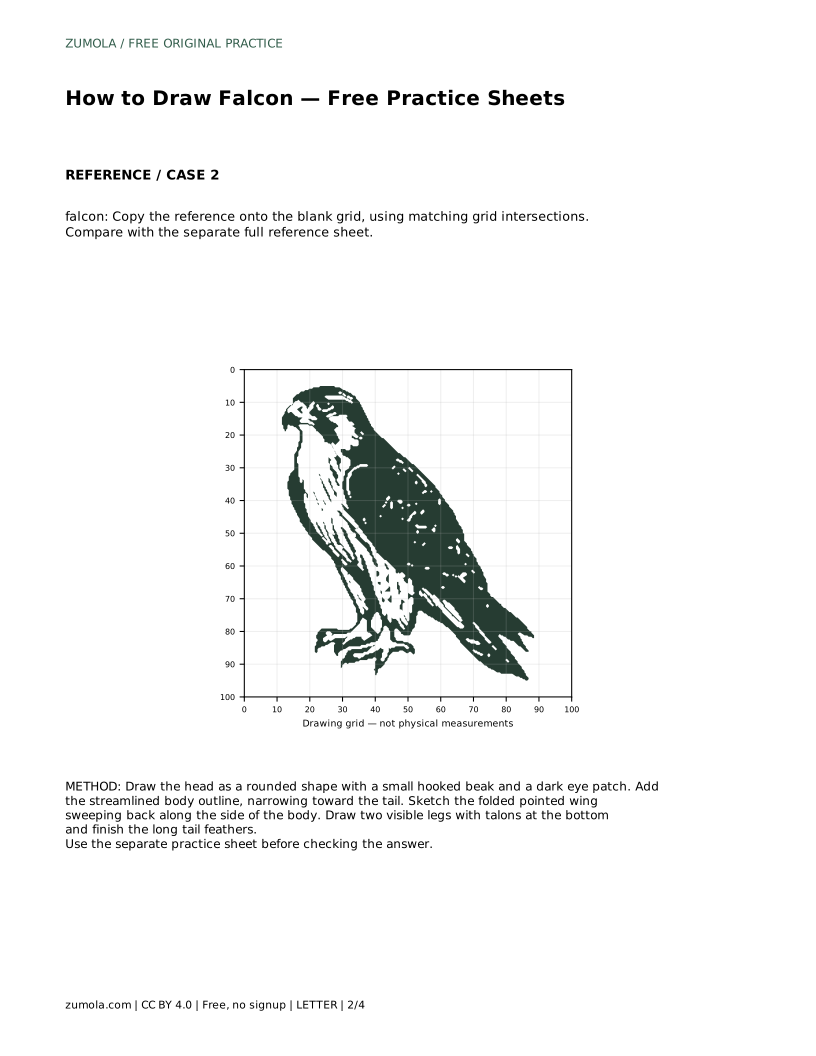
The tracing sheet asks you to follow the reference outline first, then practise the contour independently. Tracing teaches the sequence of the contour; the independent pass shows whether you can reproduce it without support. Keep the reference sheet separate so you can compare honestly afterward.
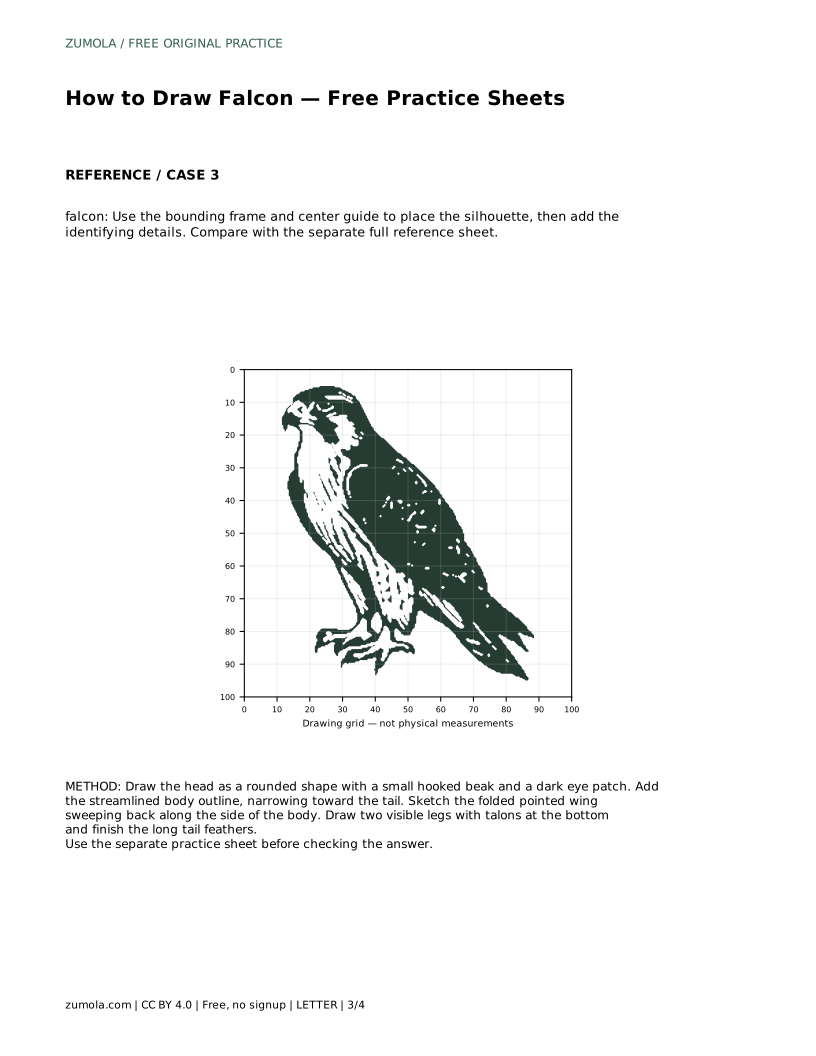
The grid sheet asks you to copy the reference onto a blank grid using matching grid intersections. Read one square at a time: note where the outline crosses each intersection, then draw that short segment. This breaks a complex silhouette into manageable pieces and makes proportions easier to hold.
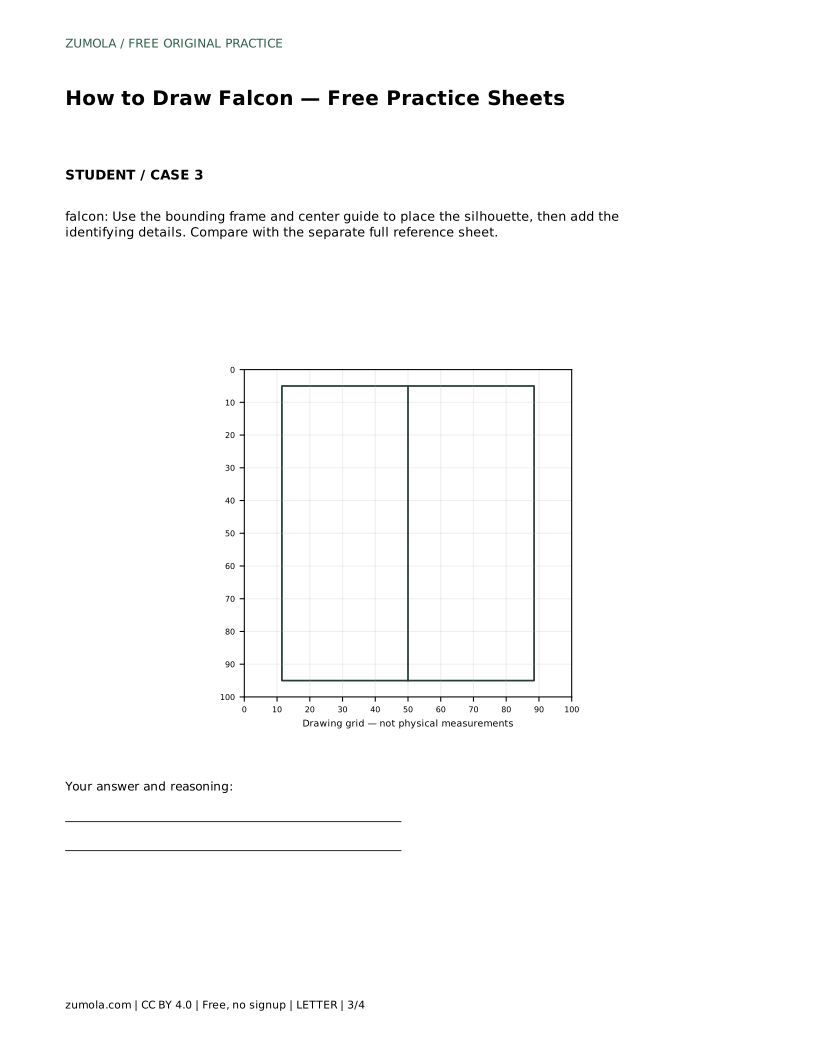
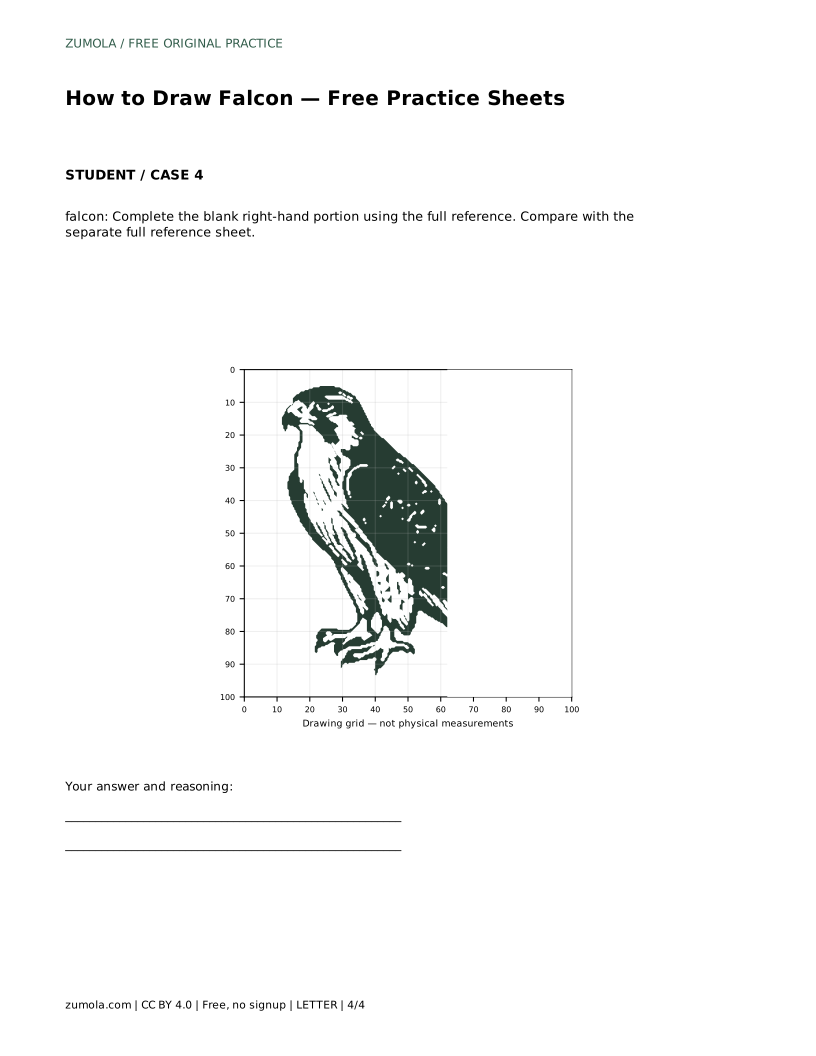
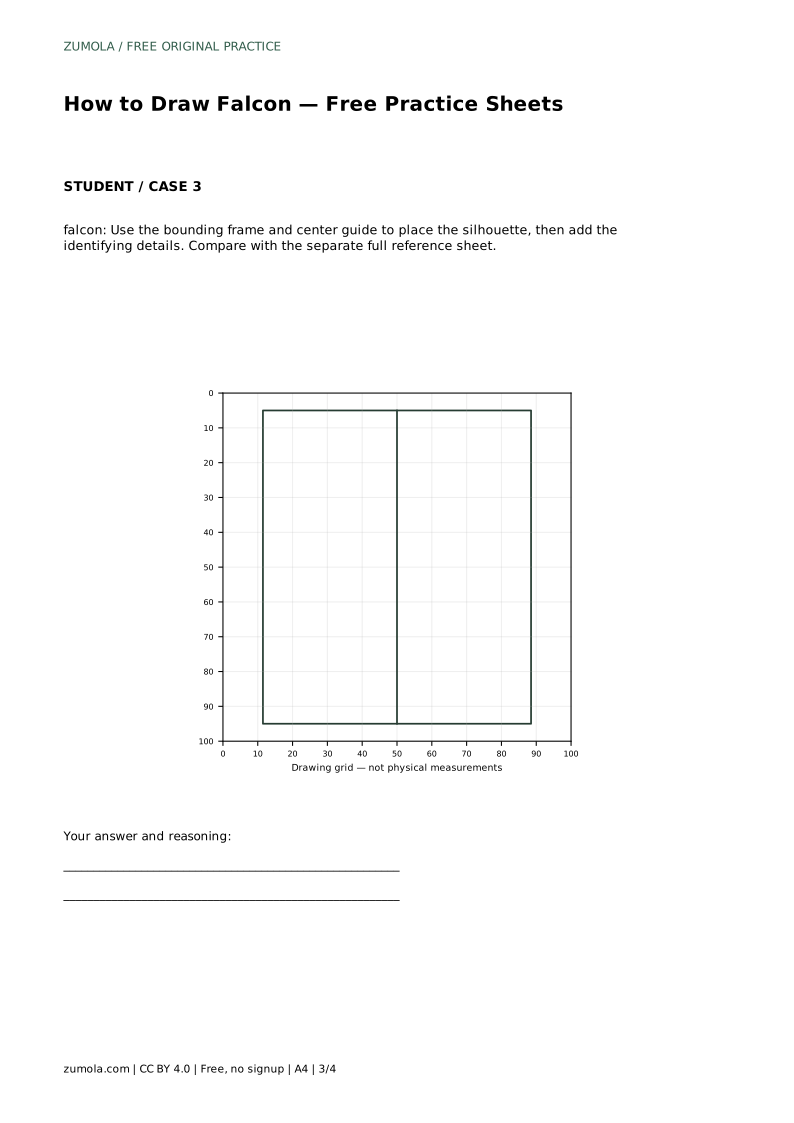
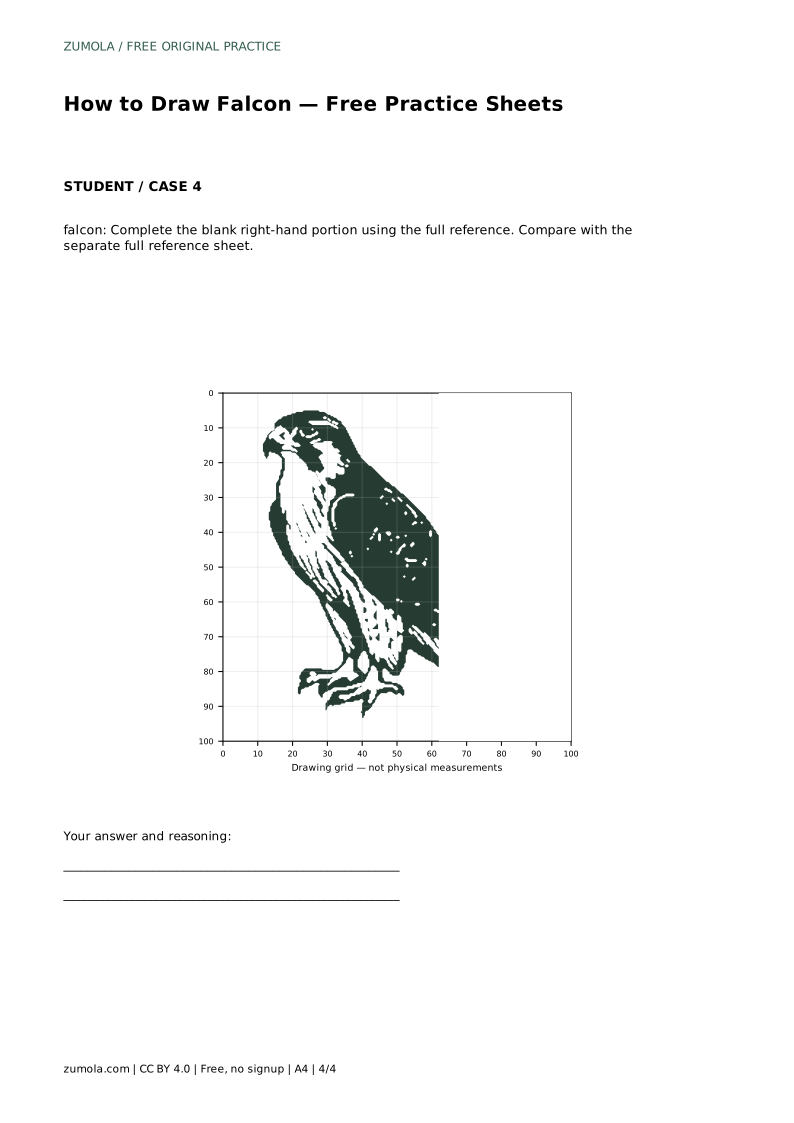
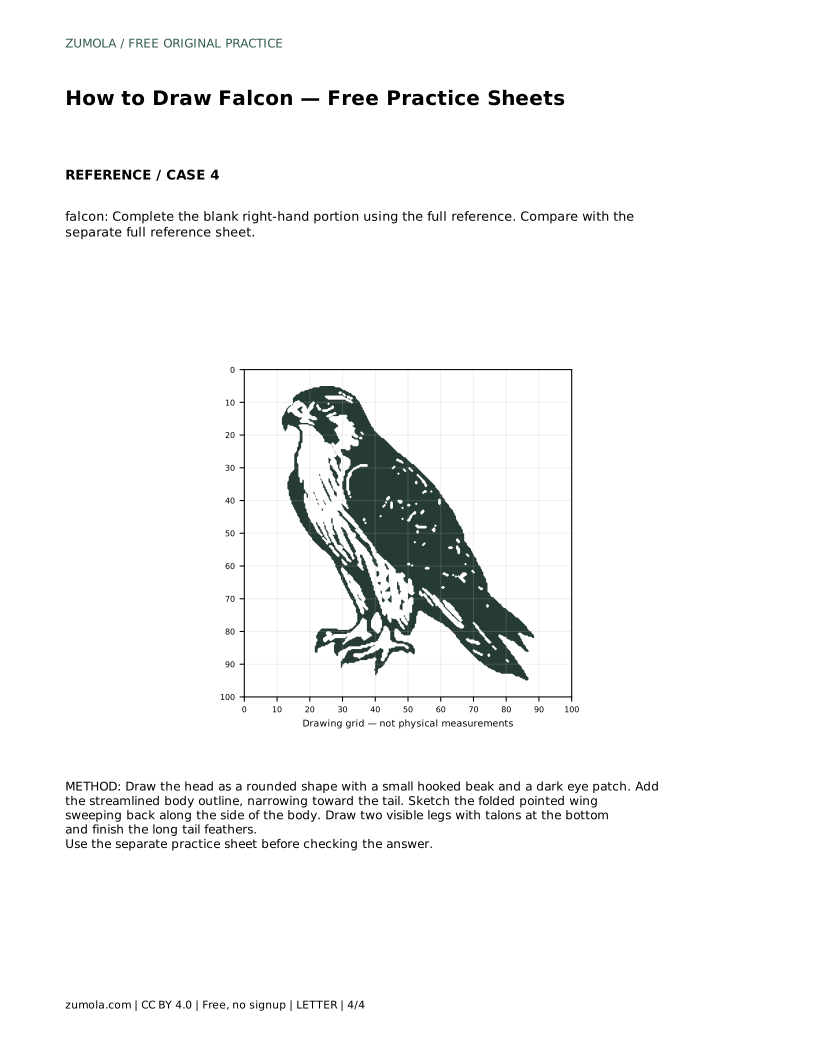
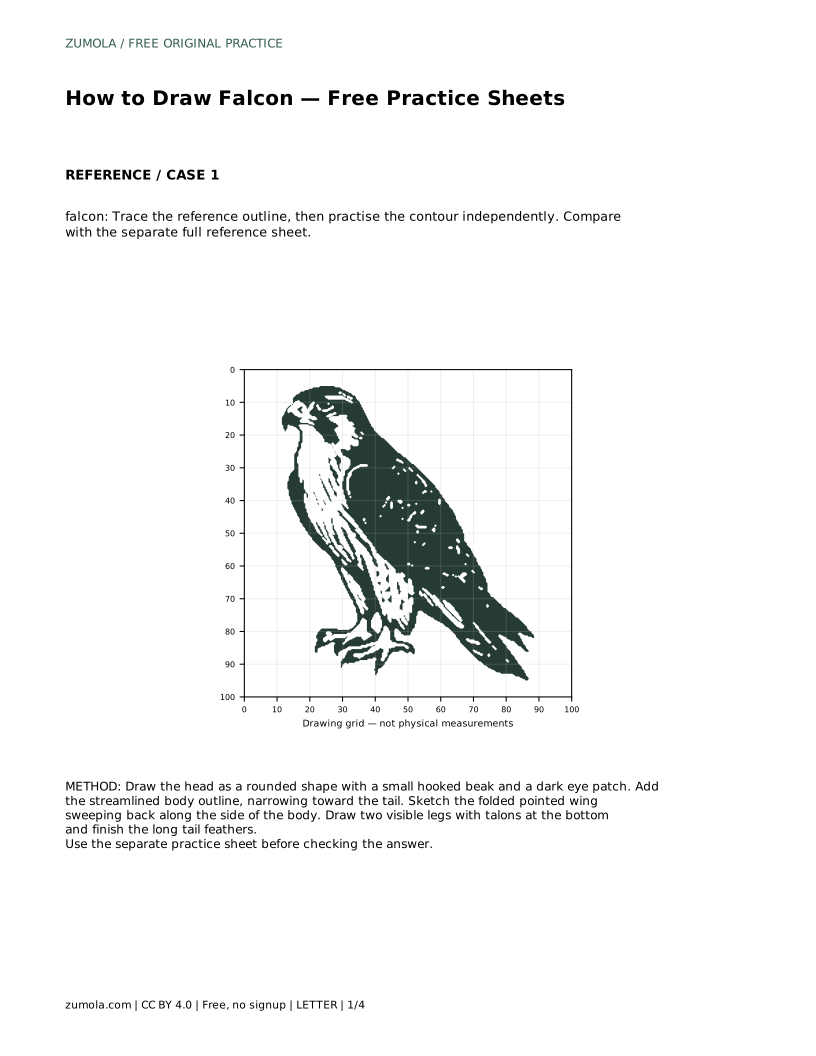
The bounding-frame sheet gives you a center guide for placing the silhouette before adding identifying details. Use the frame to fix the overall height and width, then place the head, wing, and tail inside it. The partial sheet asks you to complete the blank right-hand portion using the full reference, which tests whether you can continue an existing contour consistently.
Compare the head width to the body length, and the tail length to the body. In a folded-wing pose, the pointed wing tip usually reaches well back along the body, often toward the tail base. The legs sit low and close together beneath the body. If the wing looks stubby or the tail looks short, adjust the outline before adding feather lines.
Feather detail should follow the form, not replace it. A few lines suggesting the folded wing edge and tail separation are enough at this stage. Darkening the beak tip and eye patch gives the head its character. Keep the body outline clean so the streamlined shape stays readable.
Place your drawing beside the separate full reference sheet and look for the checklist features one at a time. Ask whether the beak is hooked, the eye patch is present, the wing is pointed and swept back, the body is streamlined, the tail tapers, and the legs show talons. Then compare proportions: head size, wing length, and tail length.
Art has multiple valid outcomes. A drawing can differ from the reference in line style, feather detail, or exact curve and still be correct. Assess the visible features and proportions rather than pixel-perfect matching. Note one feature to improve and redraw only that part on a fresh sheet.
Most falcon drawings fail on proportion or on one missing feature, not on fine detail. The fixes below are quick to apply and easy to check against the reference sheet.
falcon: Trace the reference outline, then practise the contour independently. Compare with the separate full reference sheet.
Example solution: preserve pointed swept-back wings folded along the body, hooked beak with a dark tip, streamlined body with a long tapering tail. Other drawings can be correct; assess the visible features and proportions rather than pixel-perfect matching. Draw the head as a rounded shape with a small hooked beak and a dark eye patch. Add the streamlined body outline, narrowing toward the tail. Sketch the folded pointed wing sweeping back along the side of the body. Draw two visible legs with talons at the bottom and finish the long tail feathers.
No. Art has multiple valid outcomes. Preserve the identifying features and sensible proportions, then assess your drawing with the rubric rather than expecting a pixel-perfect match.
Start with the tracing sheet to learn the contour order, then move to the grid or bounding-frame sheet to practise placement without tracing.
When the hooked beak, dark eye patch, streamlined body, pointed swept-back folded wing, two legs with talons, and long tapering tail are all visible and reasonably proportioned.
All drawing practice · Free coordinate paper
Original resources · CC BY 4.0 · Free for personal and classroom use with attribution.