Reference diagrams
LETTER · Download PDF
A4 · Download PDF
Free original resources
Learn to draw a pelican by building its long pouched bill, throat sac, stocky body, folded wing, and webbed foot. Trace, grid, and complete practice sheets included.
Four original cases, with reference diagrams, practice sheets and worked answers. Everything is free; no signup required.
LETTER · Download PDF
A4 · Download PDF
LETTER · Download PDF
A4 · Download PDF
LETTER · Download PDF
A4 · Download PDF
Use A4 or US Letter to match your printer. Use the stated values and conditions to solve each exercise; diagrams are not physical measuring rulers.
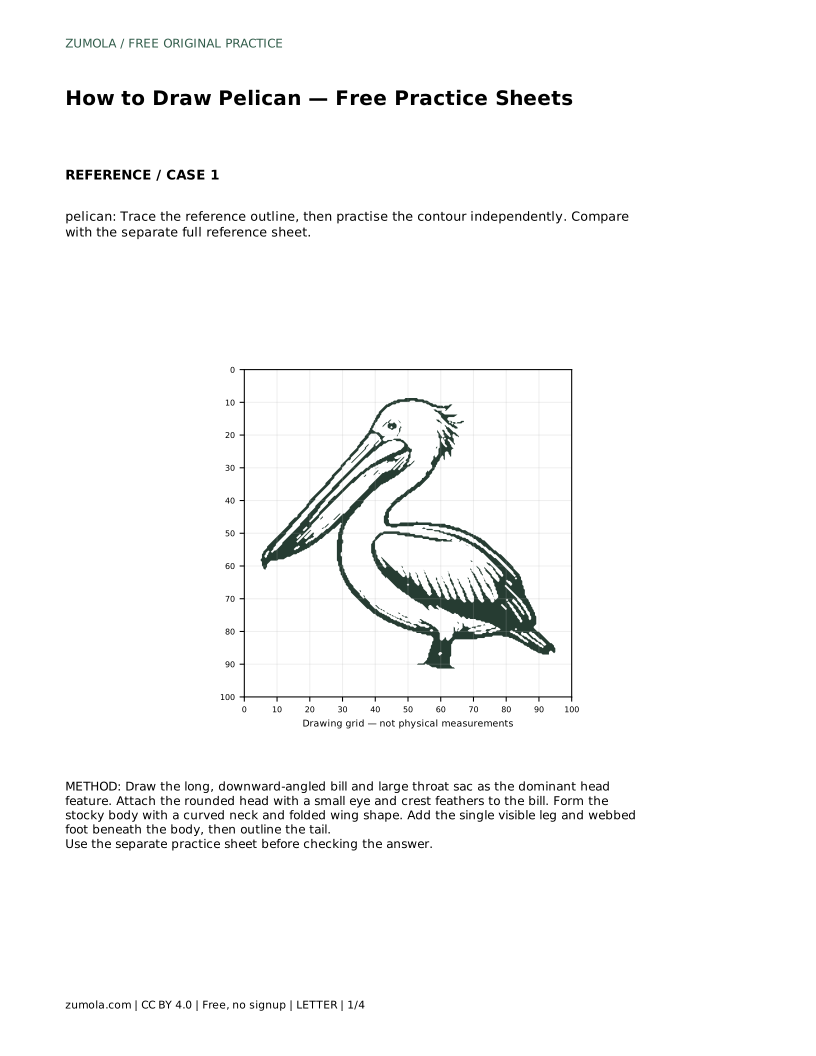
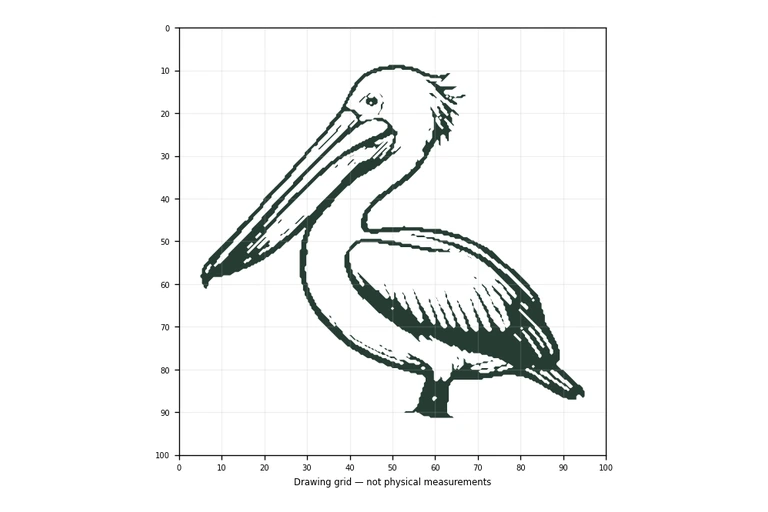
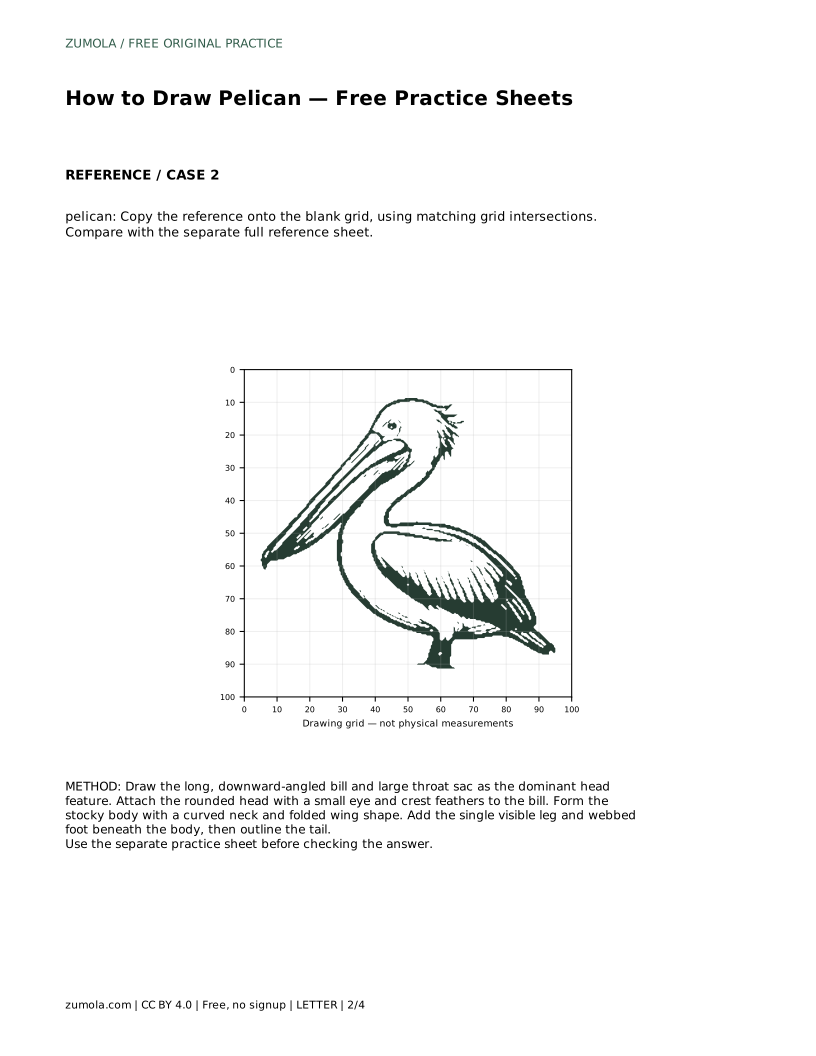
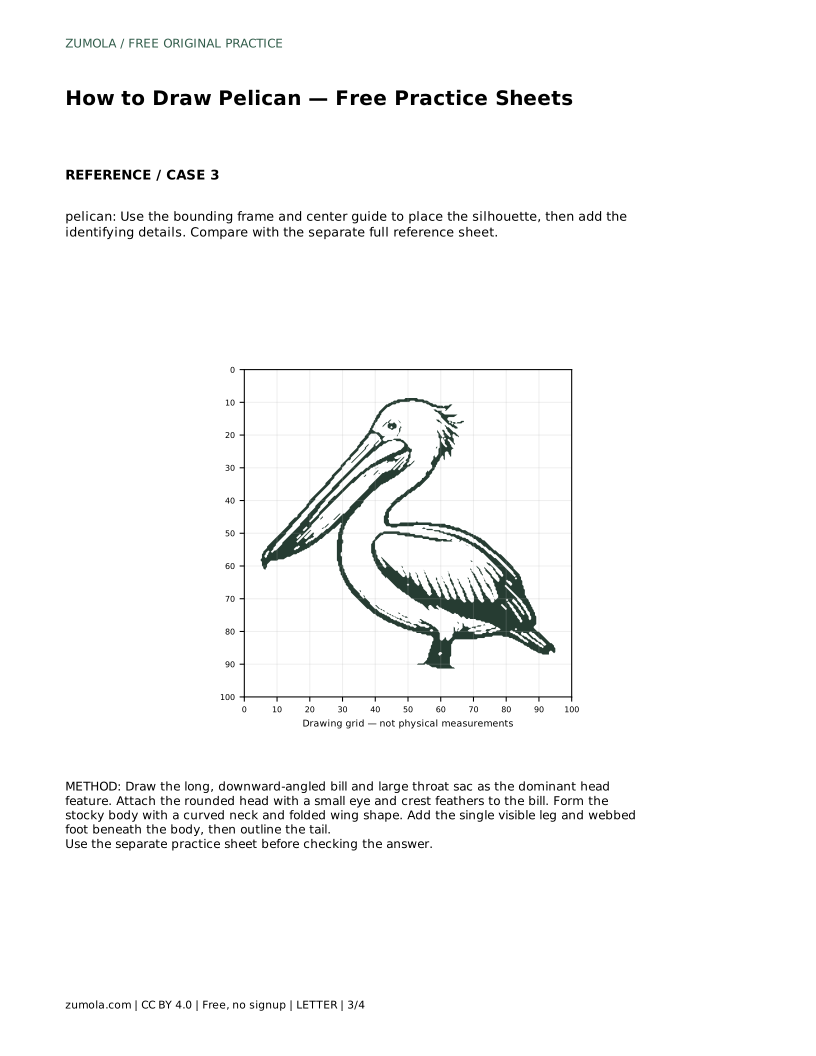
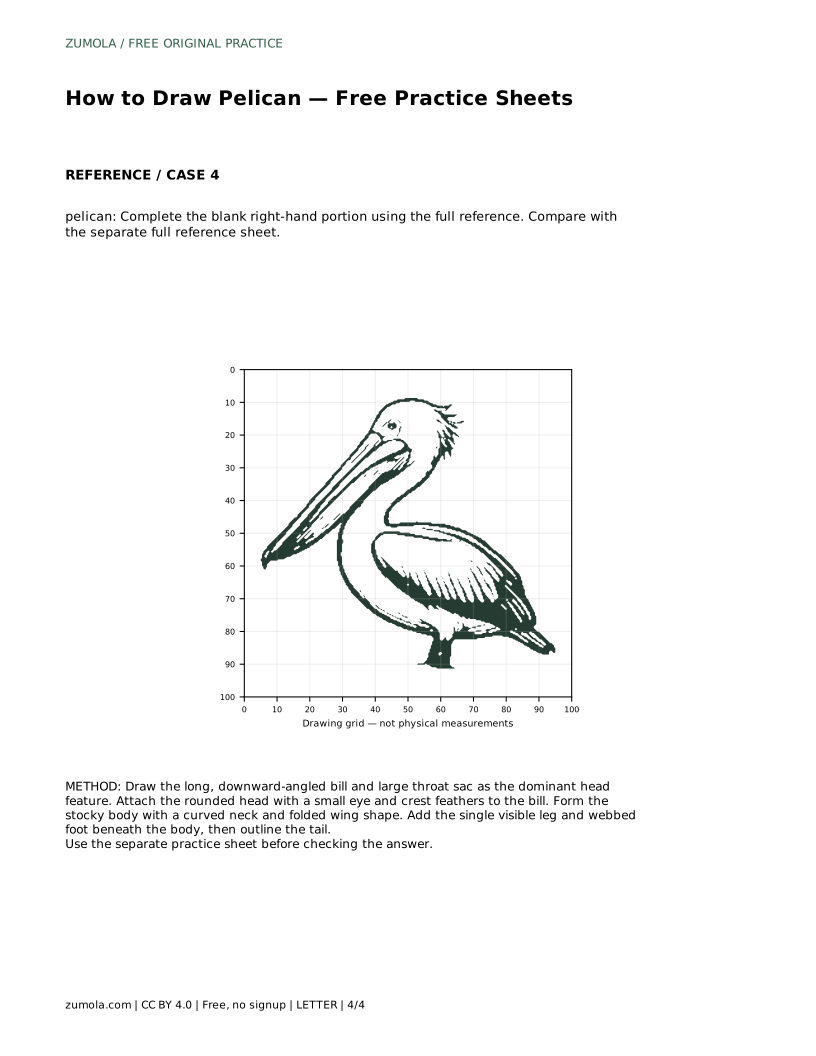
A pelican is easy to recognise but surprisingly easy to draw out of proportion. The bill and throat sac dominate the head, the body sits low and heavy, and one leg usually carries the whole silhouette. This guide breaks the drawing into four ordered stages so you can practise the contour, copy it onto a grid, place it inside a bounding frame, or complete a half-finished sheet. Each method trains the same core skill: reading the bird's visible features and keeping their relative sizes believable.
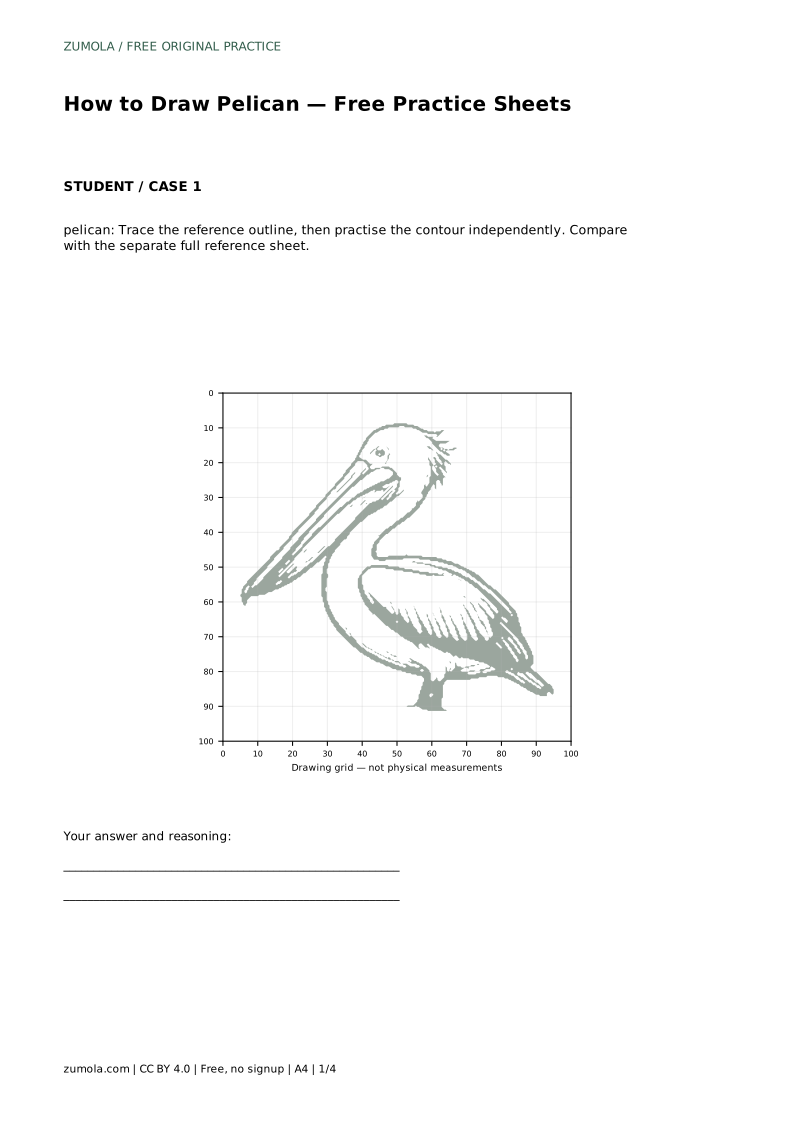
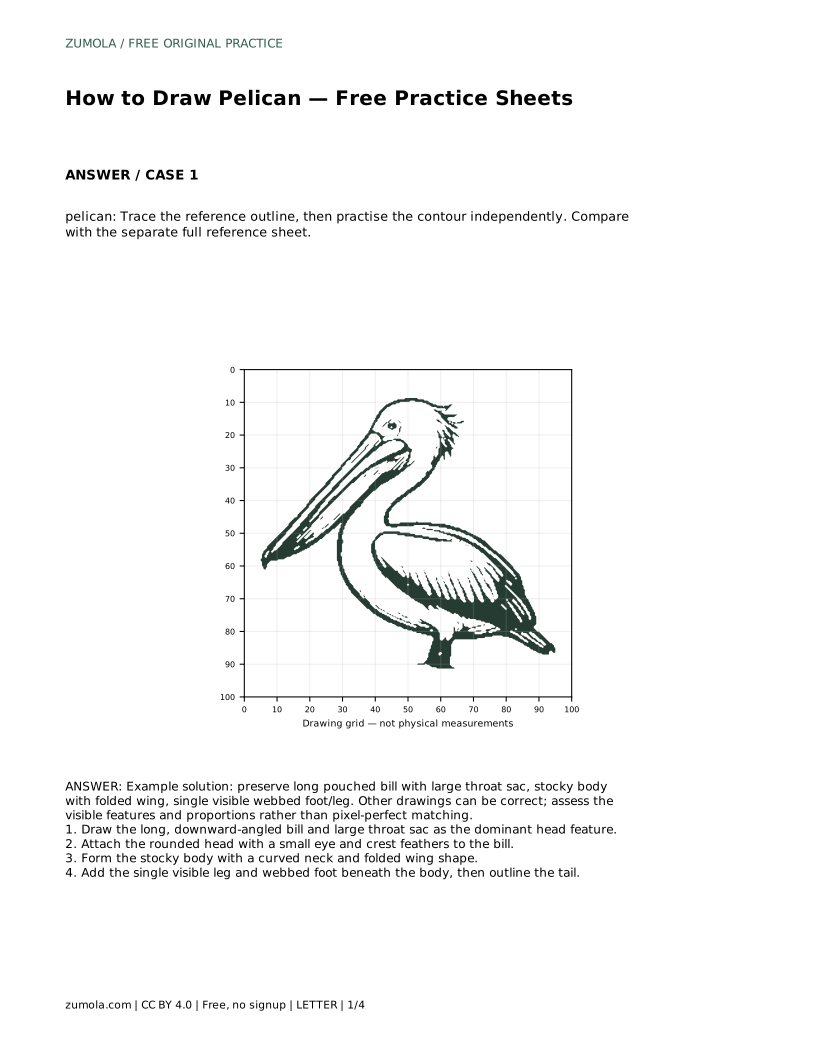
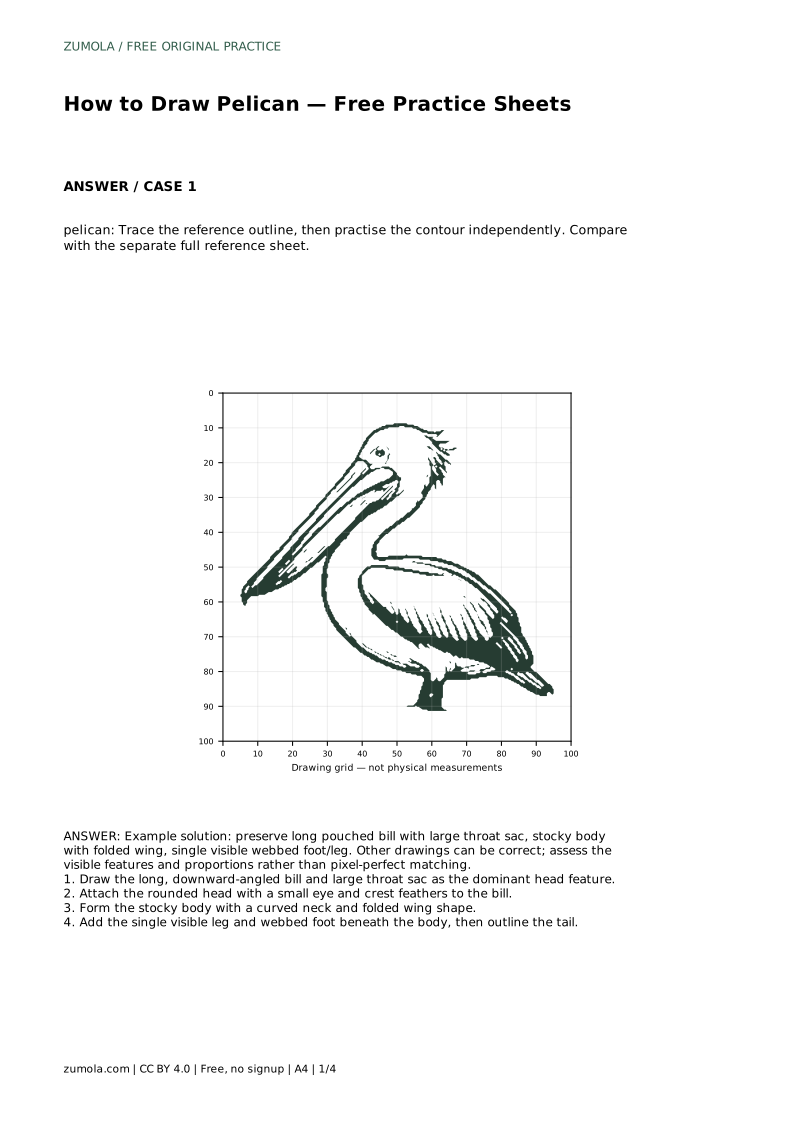
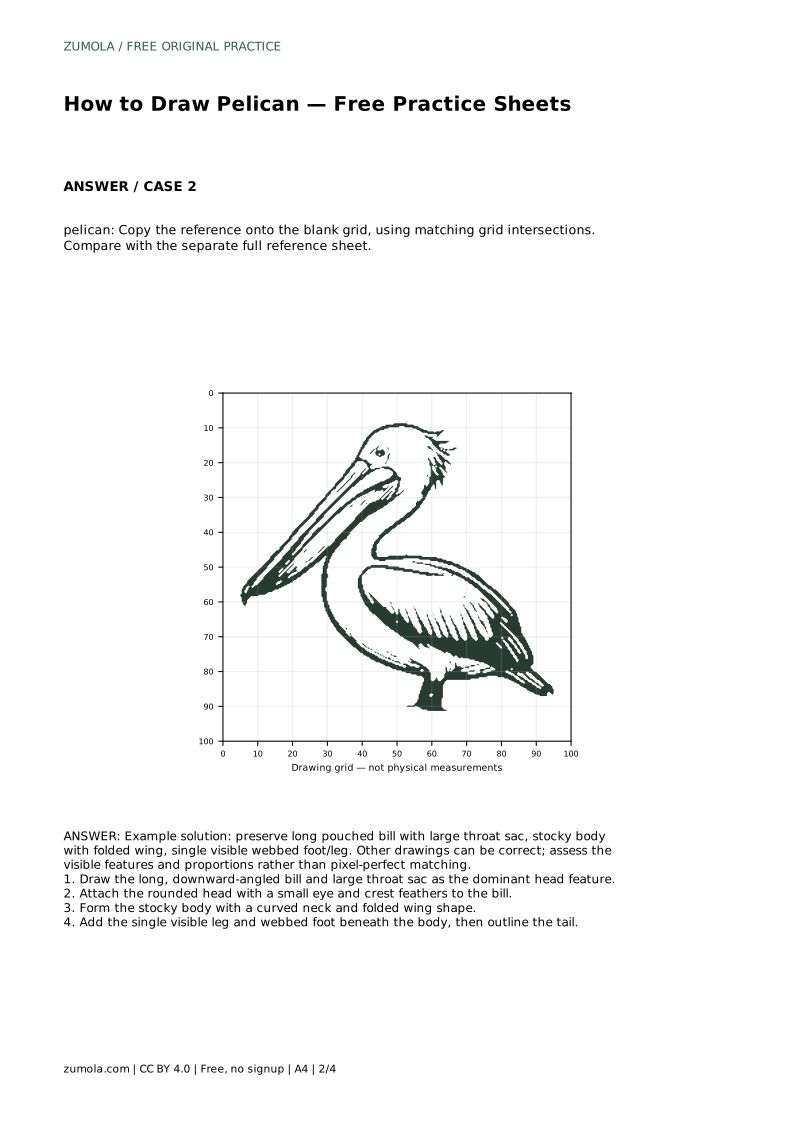
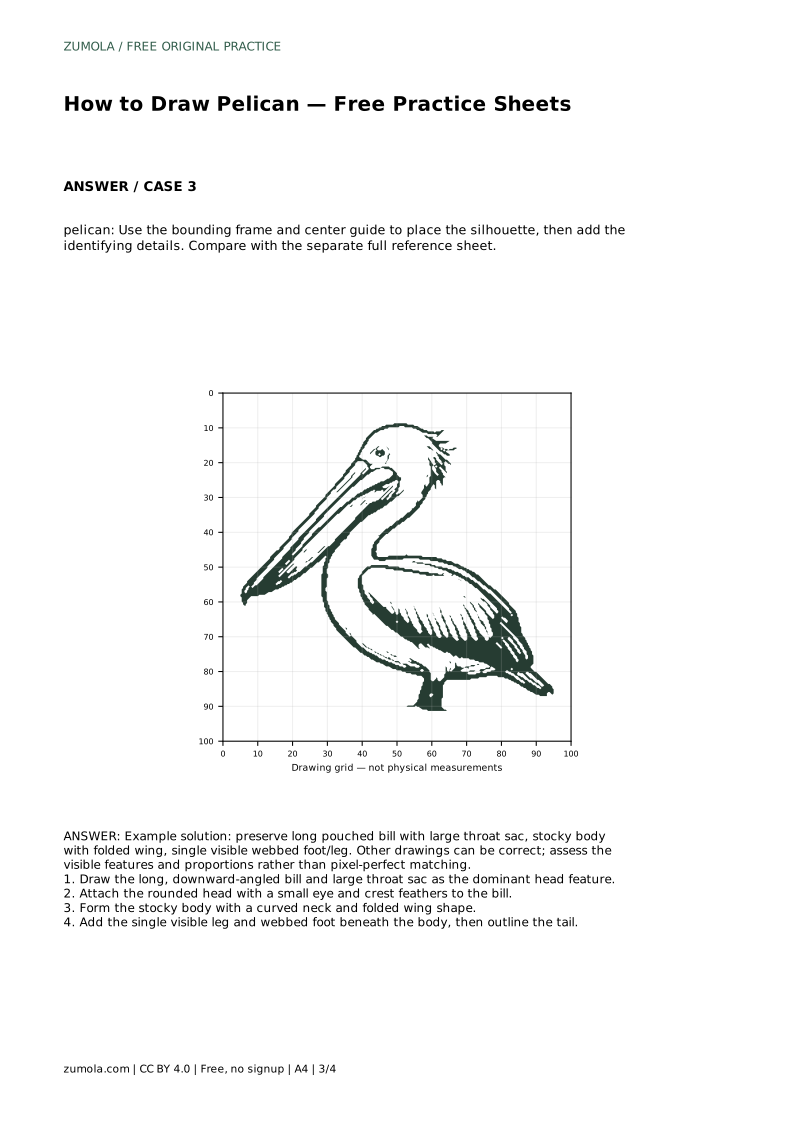
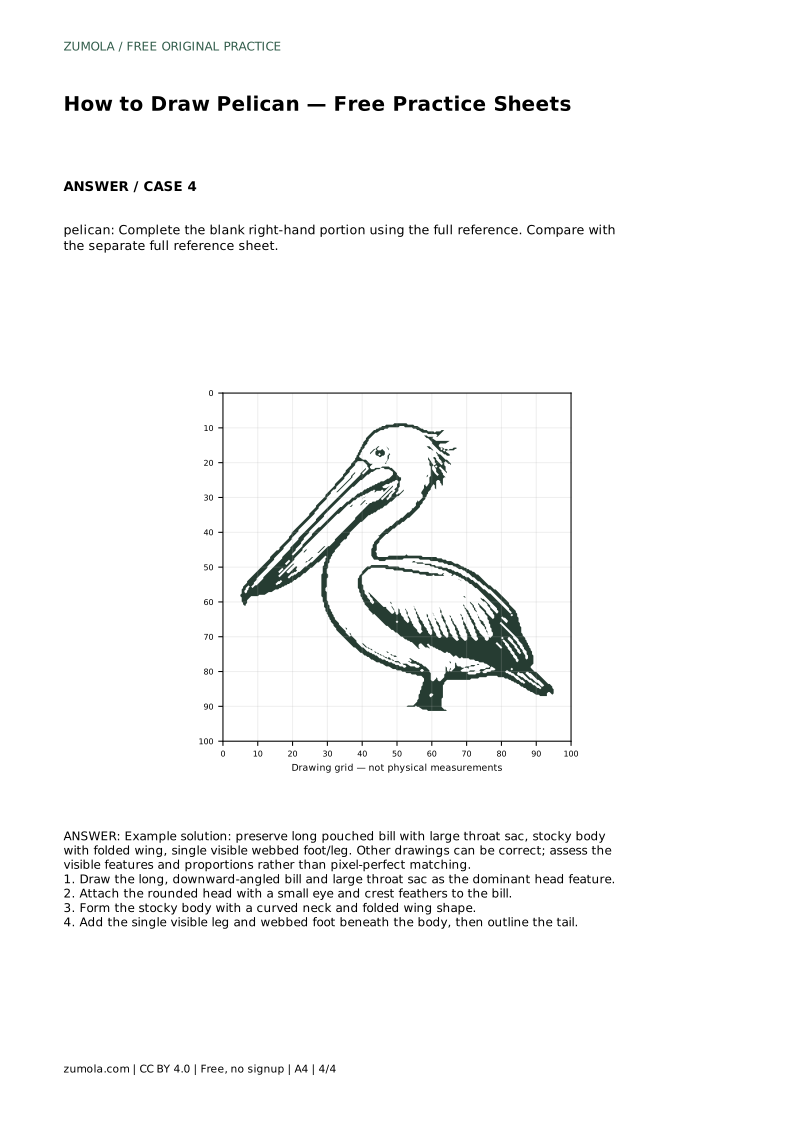
The pelican's identity lives in its bill. Draw a long, downward-angled bill first, then hang a large throat sac beneath it. The sac should feel like a soft pouch, wider near the head and tapering toward the bill tip. Keep the bill length clearly greater than the head height; if the bill looks short, the bird stops reading as a pelican.
Attach a rounded head behind the bill, add a small eye, and suggest a few crest feathers. The neck curves down into the body rather than running straight, which gives the bird its hunched, watchful posture.
The body is stocky and rounded, sitting low beneath the neck. A folded wing runs along the side as a curved shape, not a flat panel; its lower edge should follow the body's curve. Place the single visible leg beneath the body's centre of weight, ending in a webbed foot with three clear toe shapes. Finish with a short tail behind the body.
Check the overall balance: the head and bill together should not outweigh the body, and the foot should sit under the mass rather than at the very back.
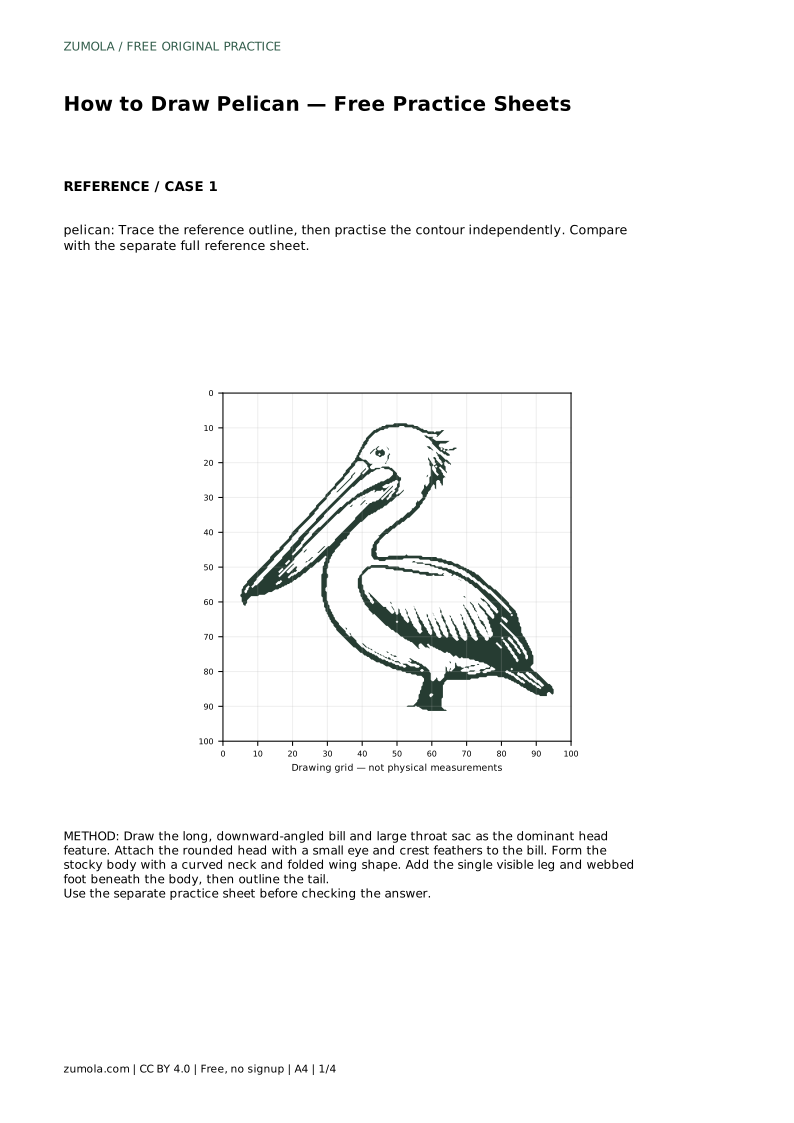
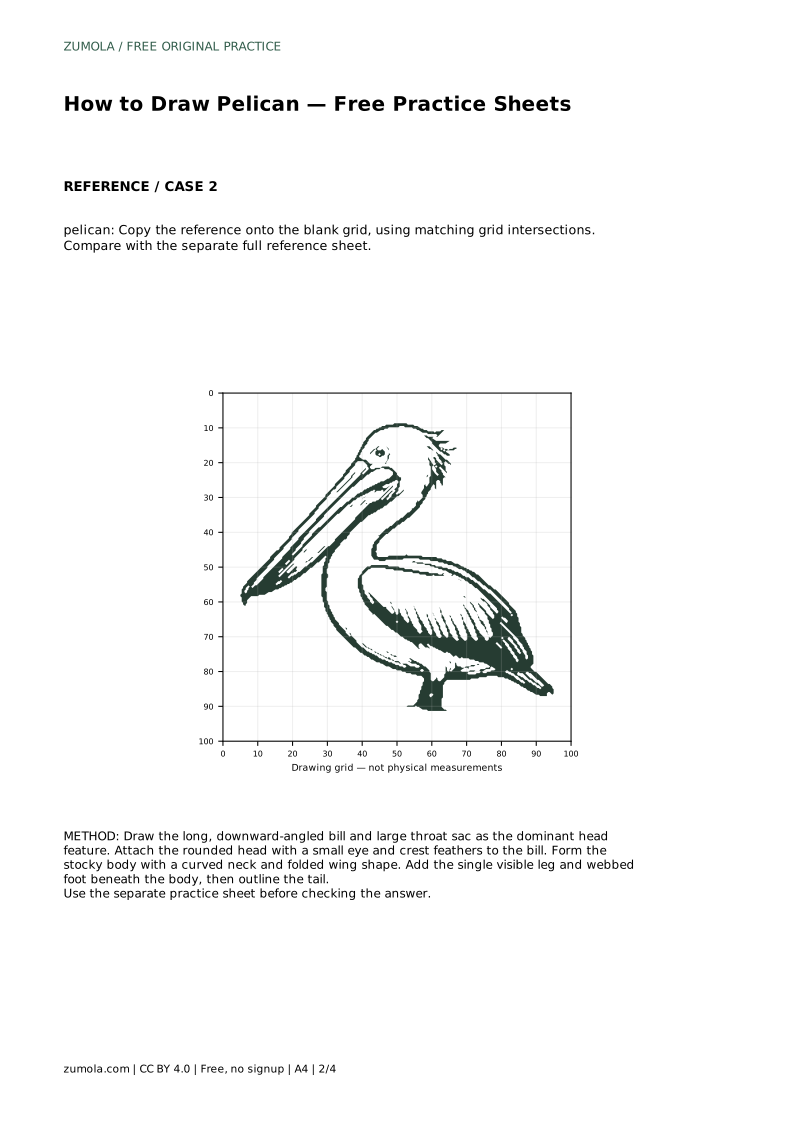
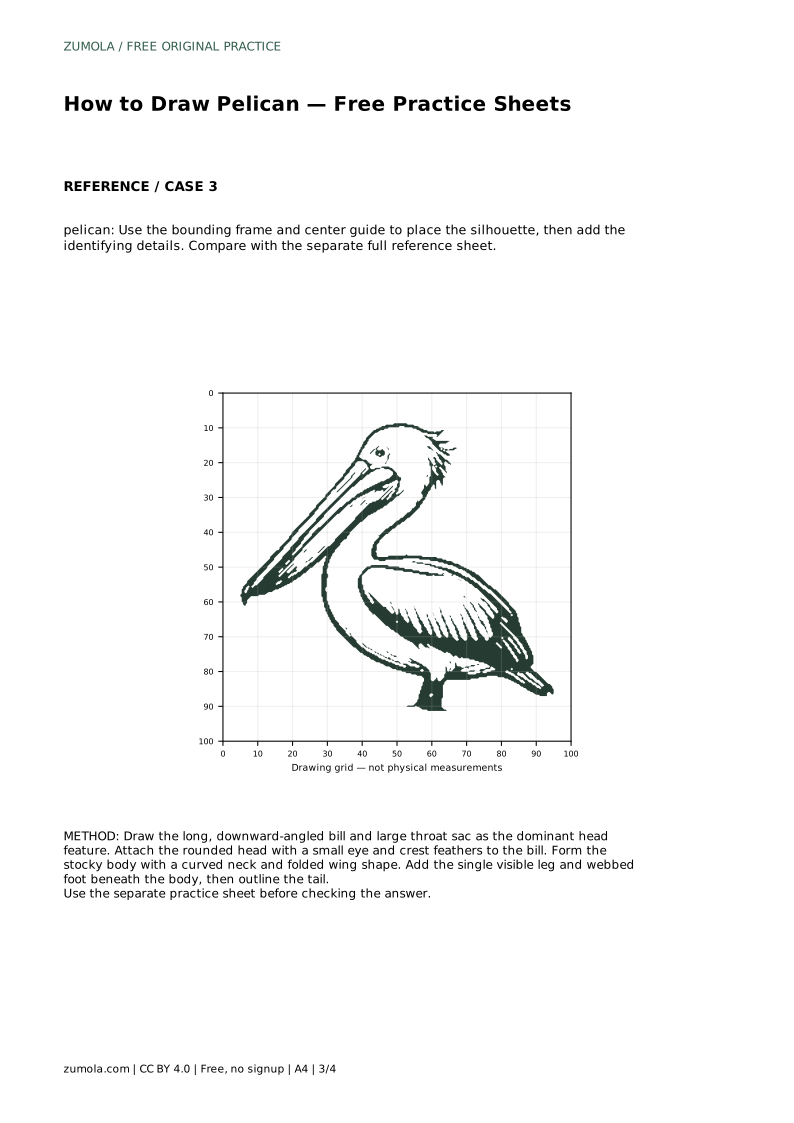
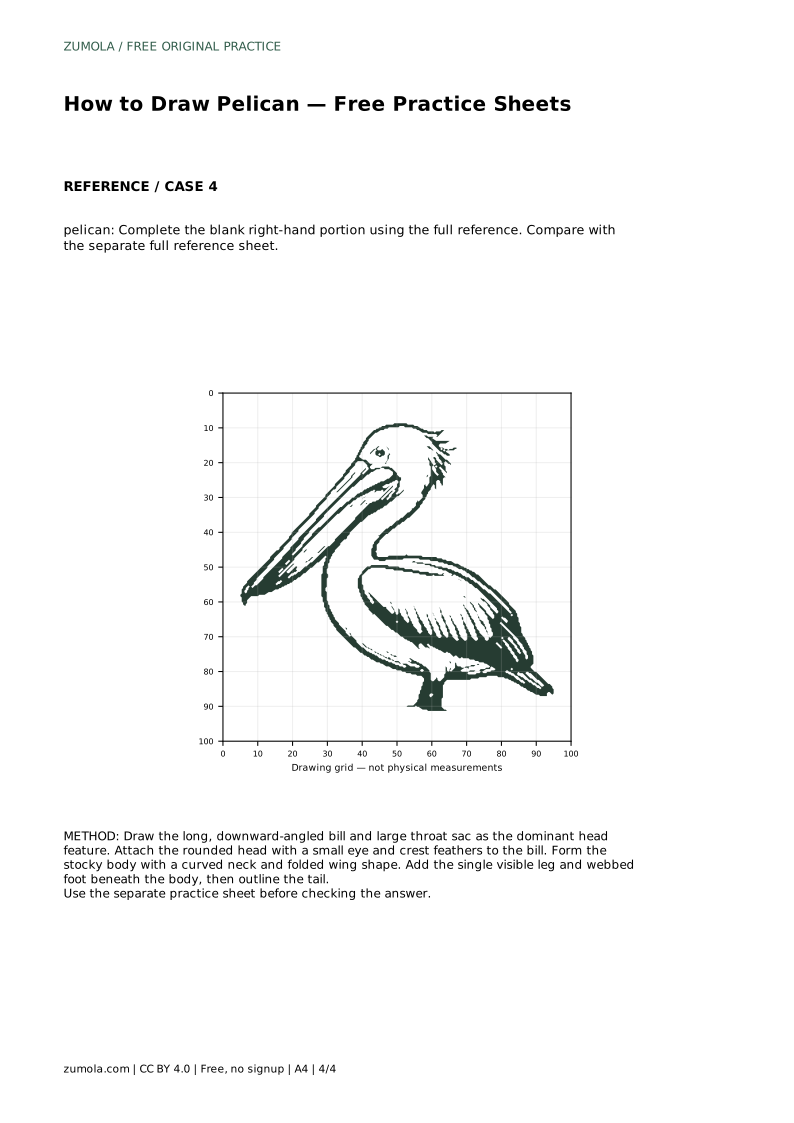
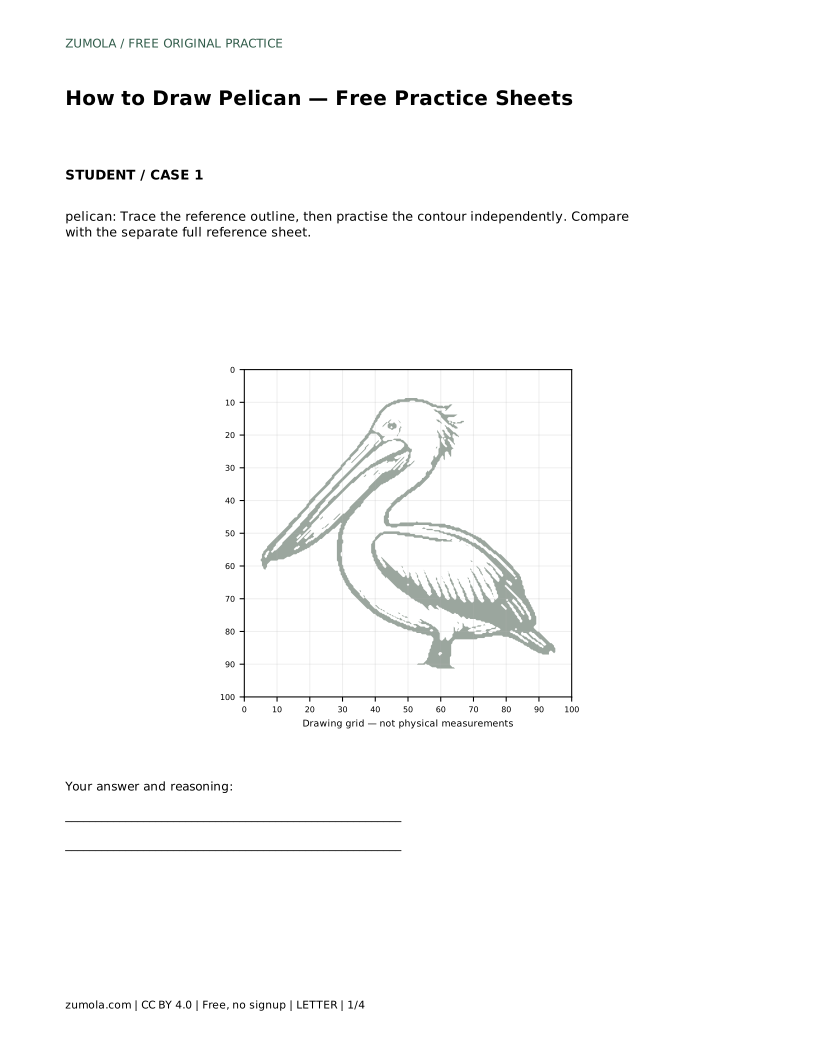
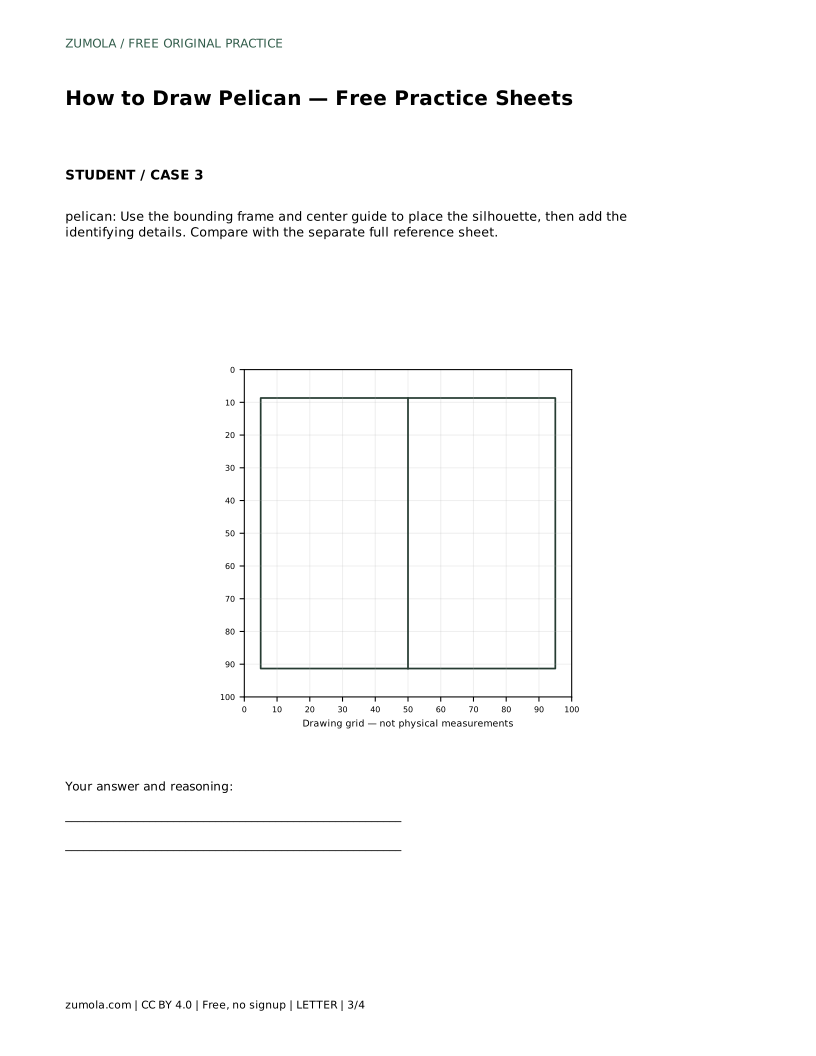
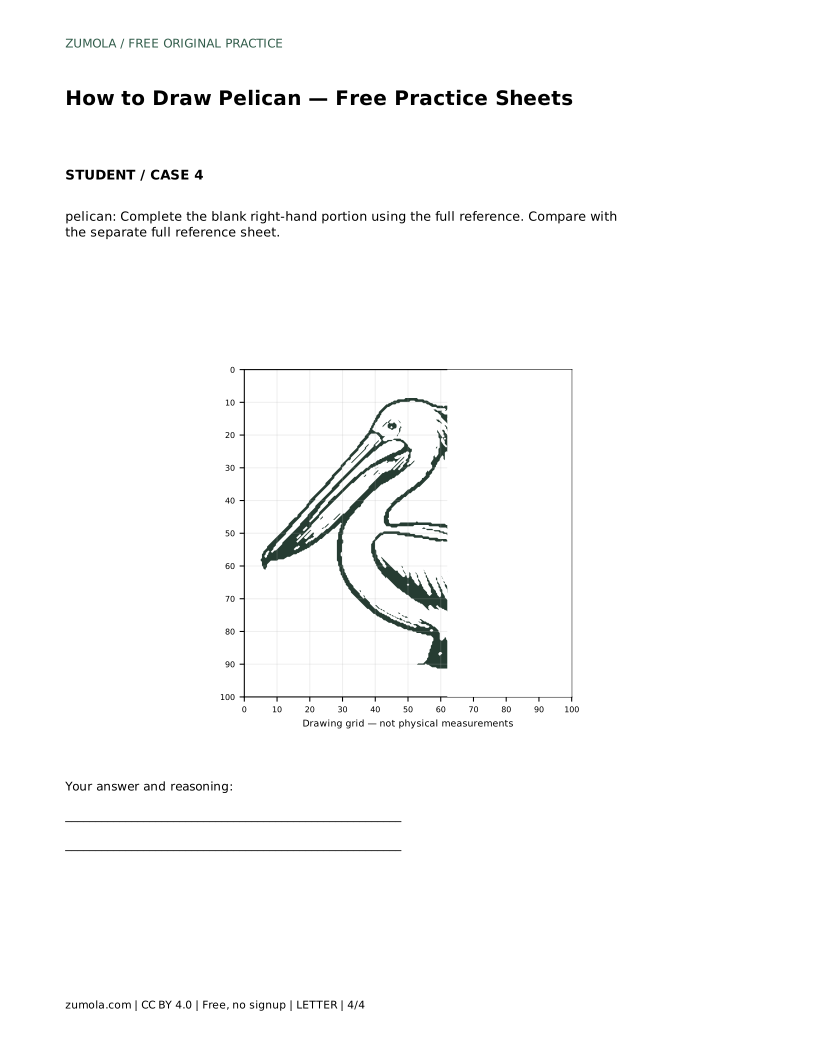
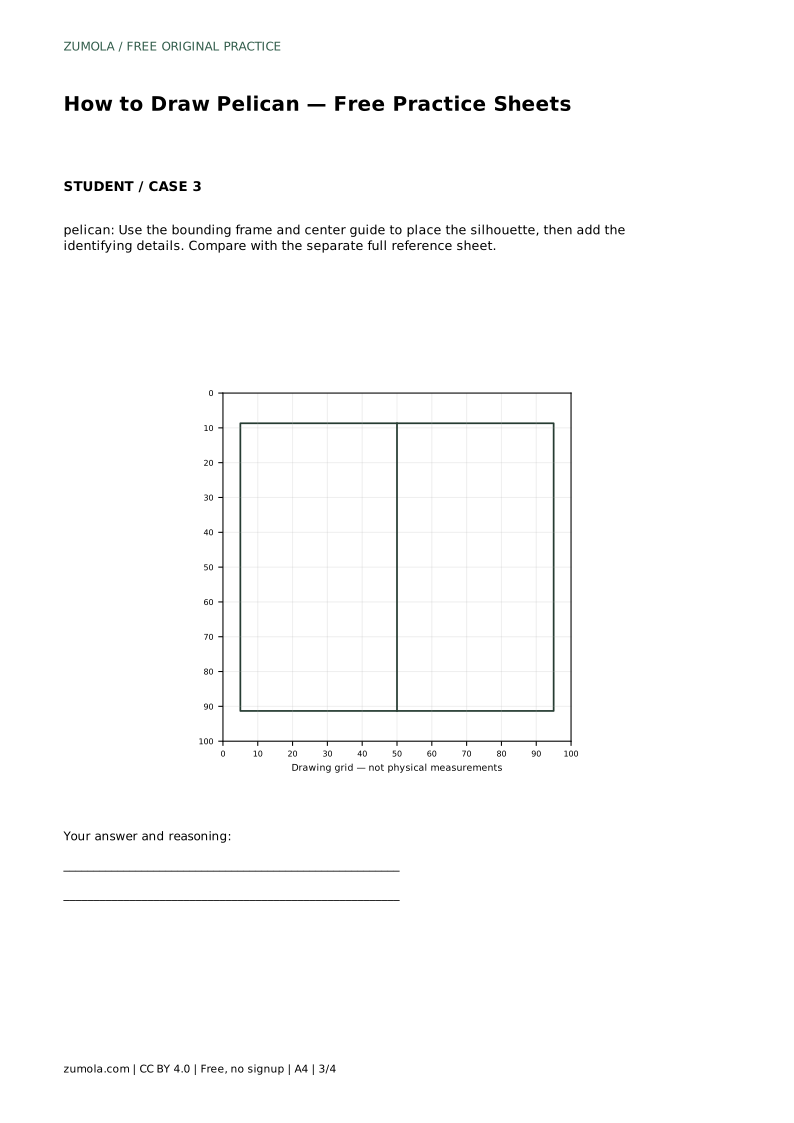
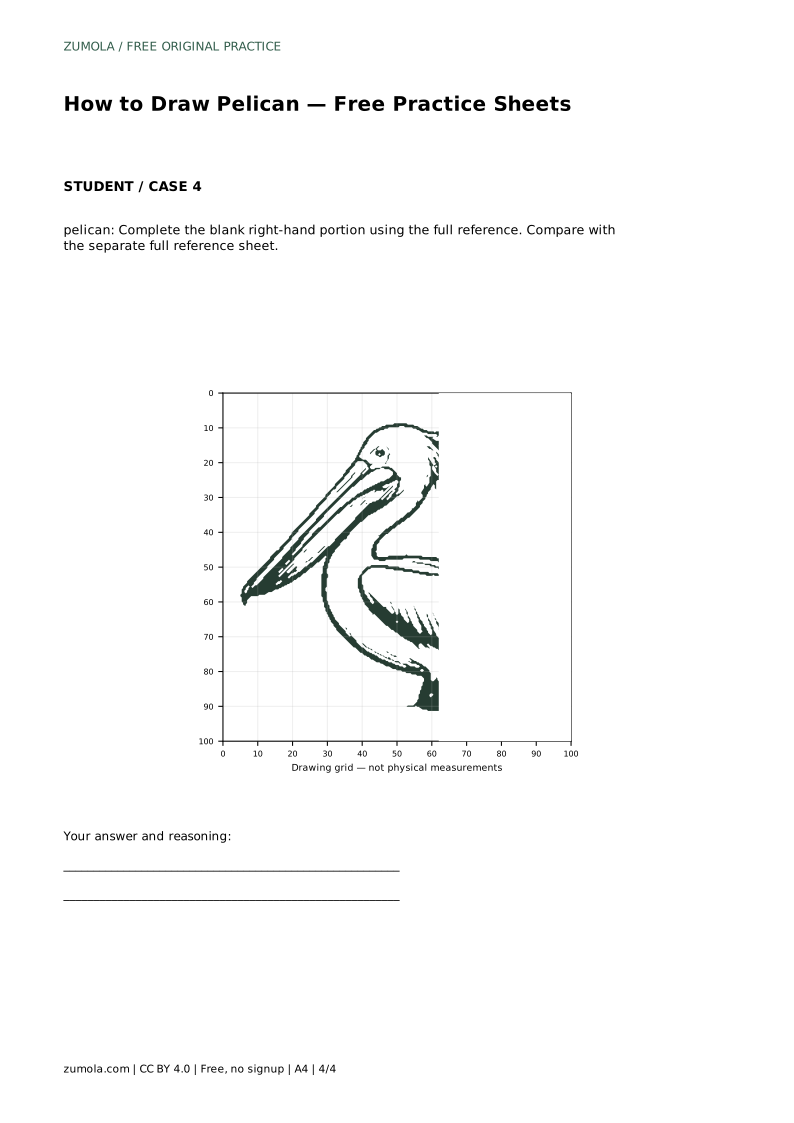
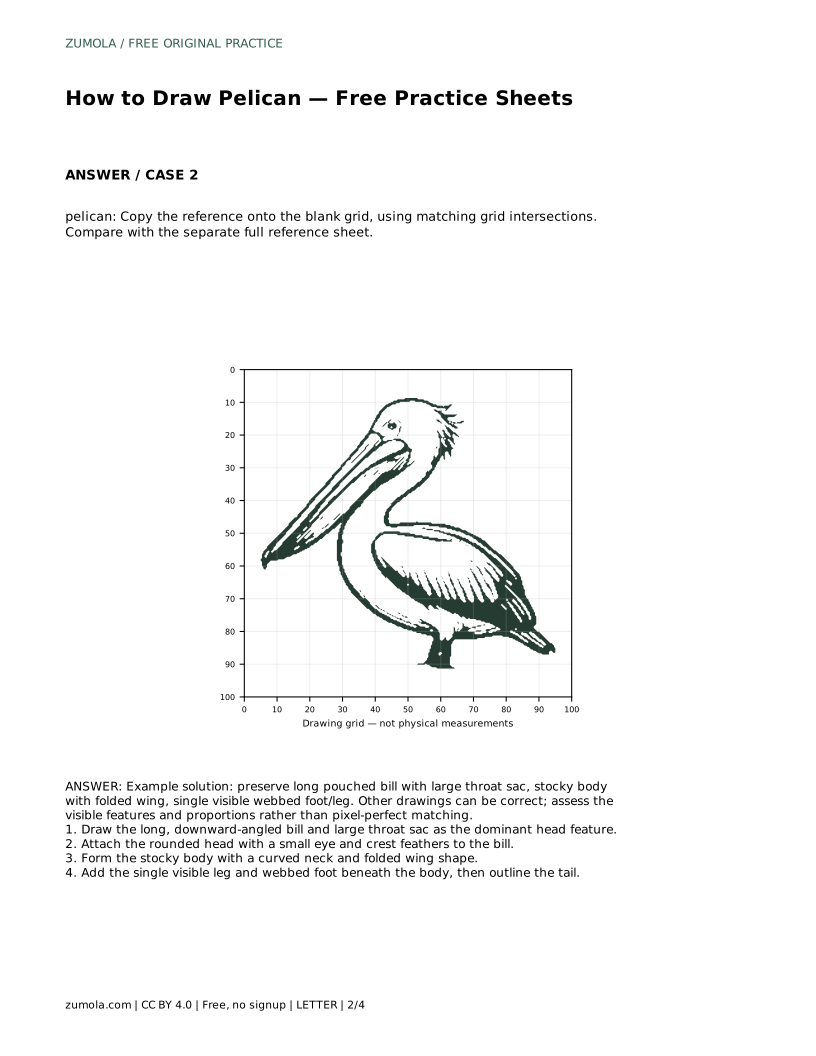
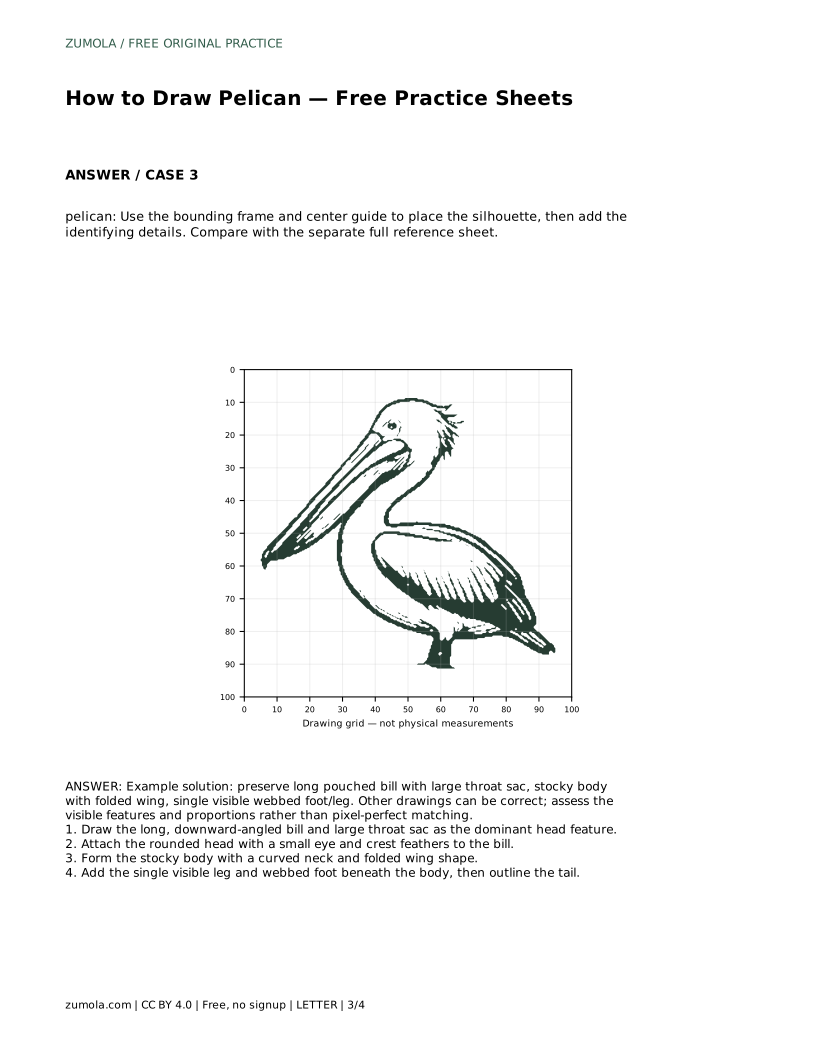
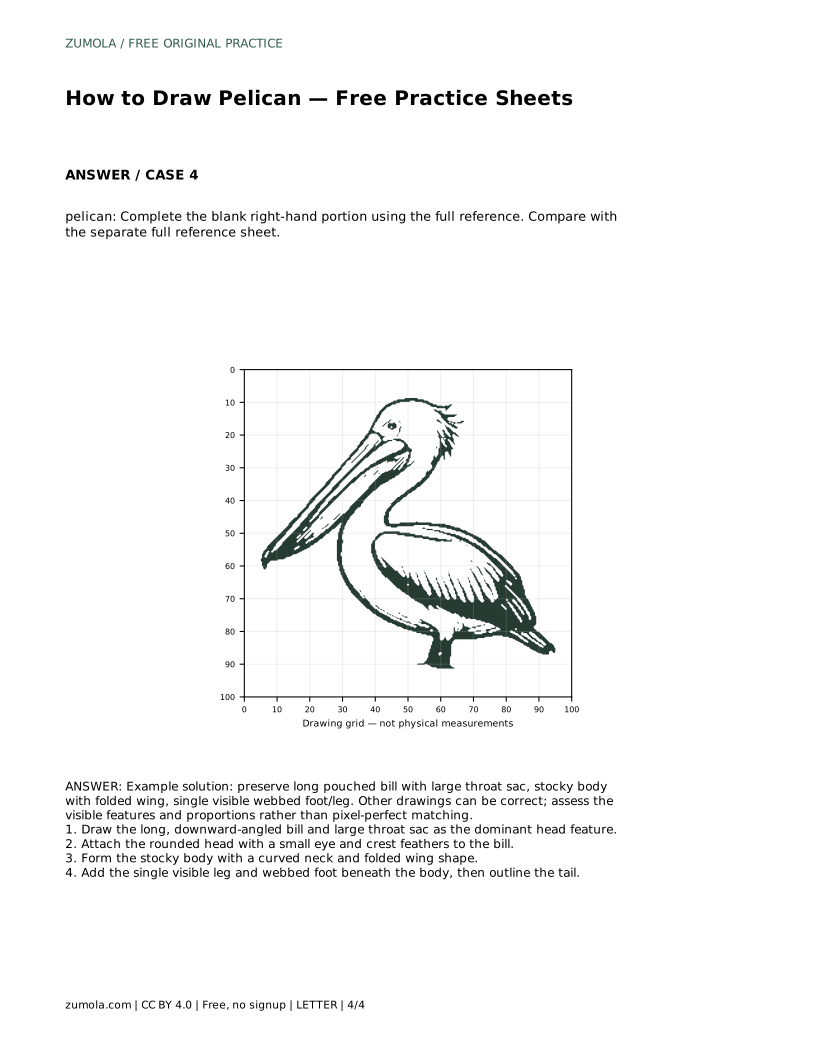
The trace sheet asks you to follow the reference outline, then repeat the contour independently before comparing with the separate full reference sheet. The grid sheet asks you to copy the reference onto blank squares, matching grid intersections so proportions stay consistent. The bounding-frame sheet gives a frame and centre guide for placing the silhouette before adding details. The half-completed sheet asks you to finish the blank right-hand portion using the full reference.
Each format targets a different skill, so treat them as separate exercises rather than one sequence. Comparison with the full reference sheet is part of every method.
Pelican drawings have many valid outcomes. A slightly different wing curve or sac shape can still be correct. Judge the visible features and proportions instead of pixel-perfect matching: a long pouched bill with a large throat sac, a stocky body with a folded wing, and a single visible webbed foot or leg. If those read clearly, the drawing succeeds even when the outline differs from the reference.
pelican: Trace the reference outline, then practise the contour independently. Compare with the separate full reference sheet.
Example solution: preserve long pouched bill with large throat sac, stocky body with folded wing, single visible webbed foot/leg. Other drawings can be correct; assess the visible features and proportions rather than pixel-perfect matching. Draw the long, downward-angled bill and large throat sac as the dominant head feature. Attach the rounded head with a small eye and crest feathers to the bill. Form the stocky body with a curved neck and folded wing shape. Add the single visible leg and webbed foot beneath the body, then outline the tail.
No. Compare visible features and proportions rather than matching every pixel. Different wing curves or sac shapes can still be correct.
Start with the trace sheet to learn the contour, then move to the grid or bounding-frame sheet to practise proportion without tracing.
Large enough to hang clearly below the bill and read as a soft pouch, tapering toward the bill tip.
All drawing practice · Free coordinate paper
Original resources · CC BY 4.0 · Free for personal and classroom use with attribution.