Reference diagrams
LETTER · Download PDF
A4 · Download PDF
Free original resources
Learn to draw a wood duck by building its crested head, short bill, white facial stripes, compact body, pointed tail, and webbed legs from simple shapes.
Four original cases, with reference diagrams, practice sheets and worked answers. Everything is free; no signup required.
LETTER · Download PDF
A4 · Download PDF
LETTER · Download PDF
A4 · Download PDF
LETTER · Download PDF
A4 · Download PDF
Use A4 or US Letter to match your printer. Use the stated values and conditions to solve each exercise; diagrams are not physical measuring rulers.
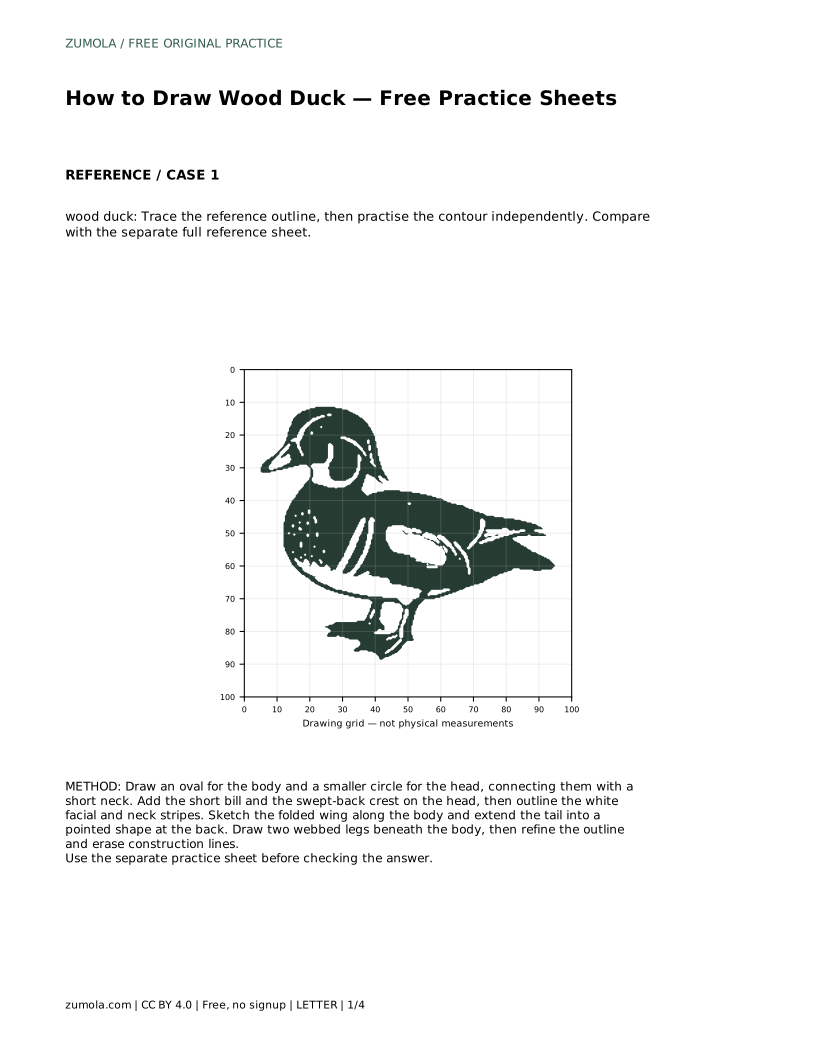
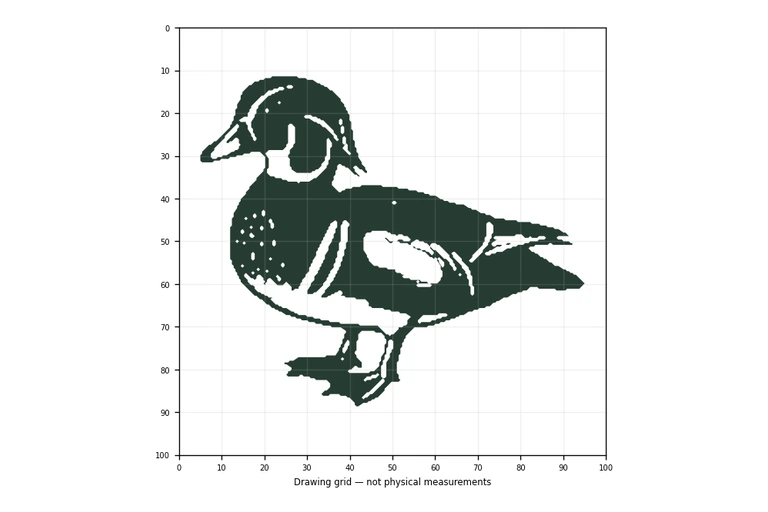
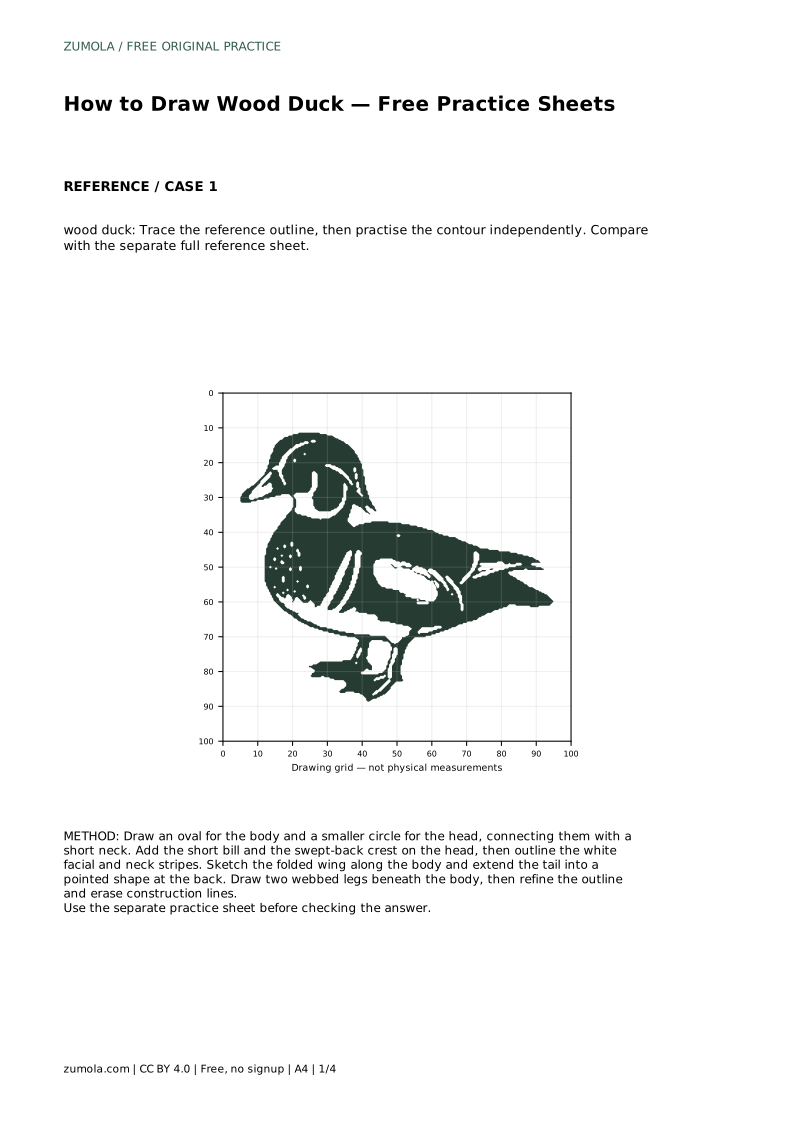
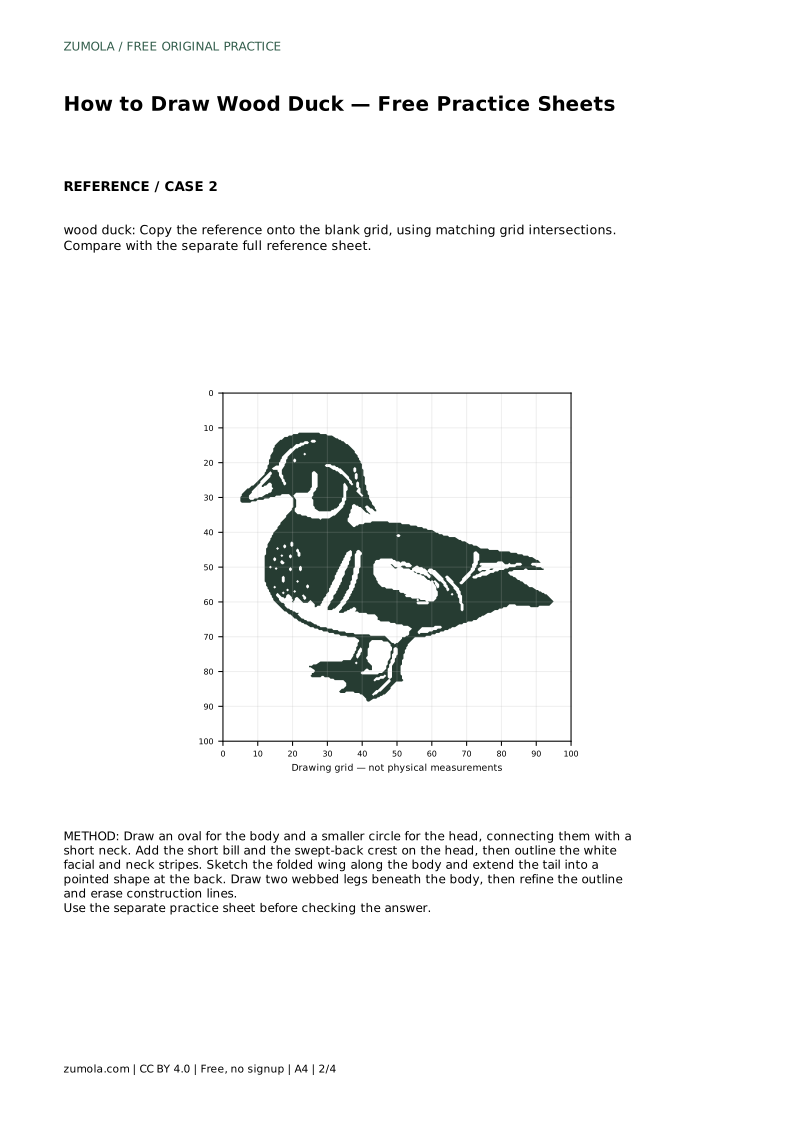
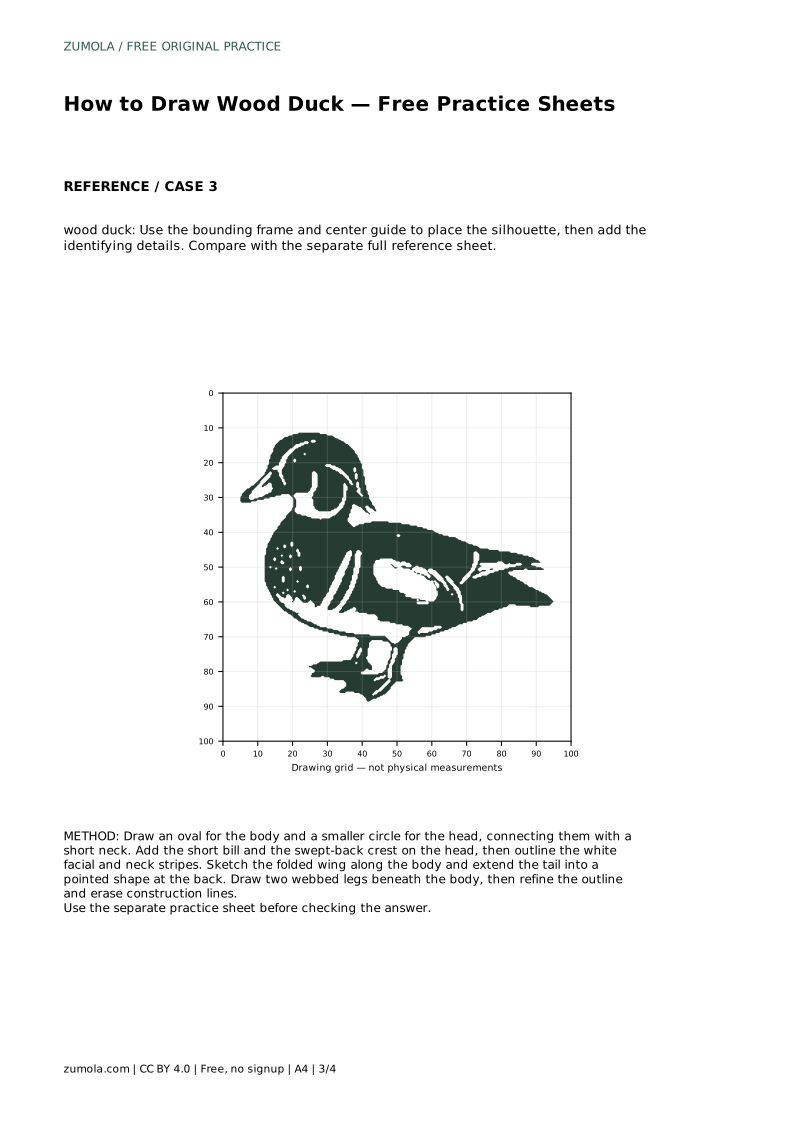
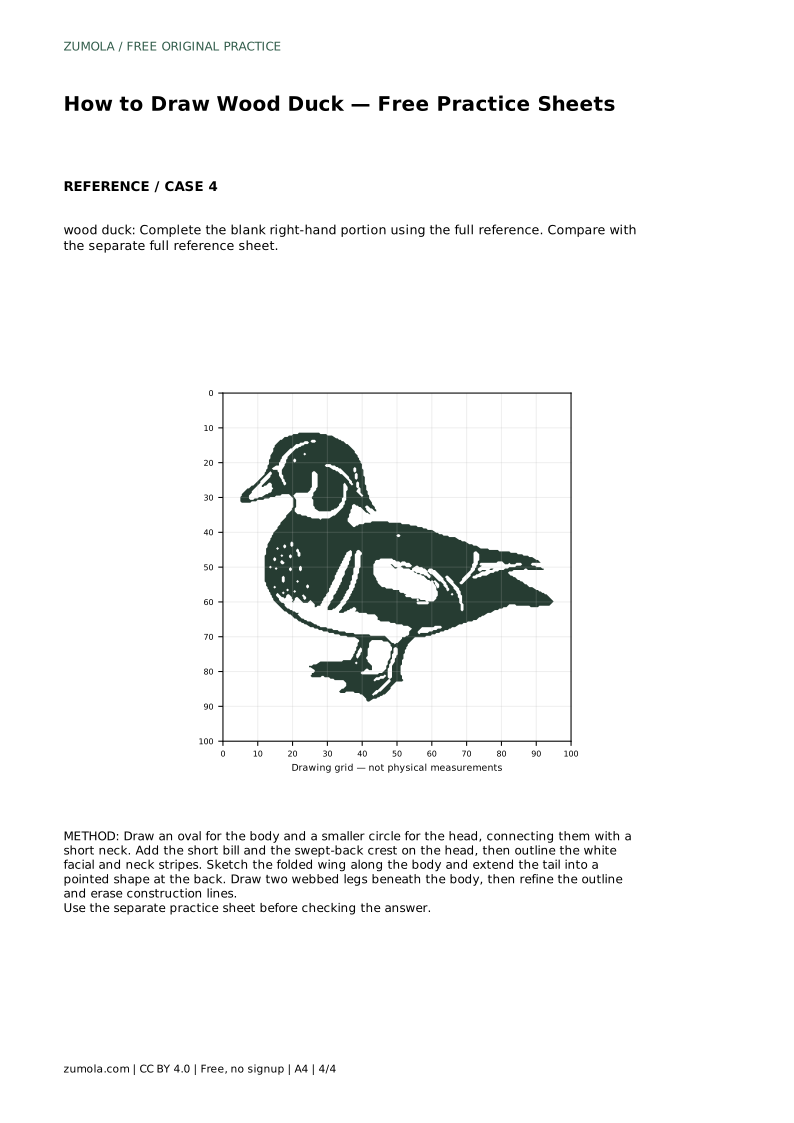
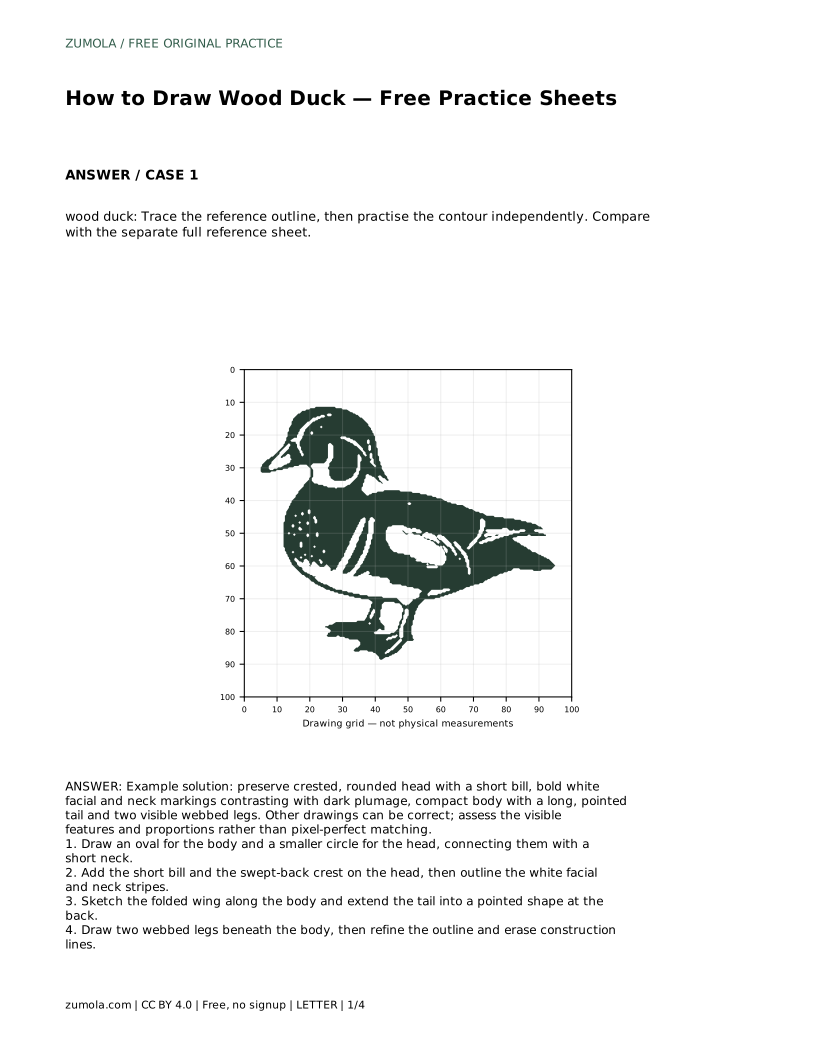
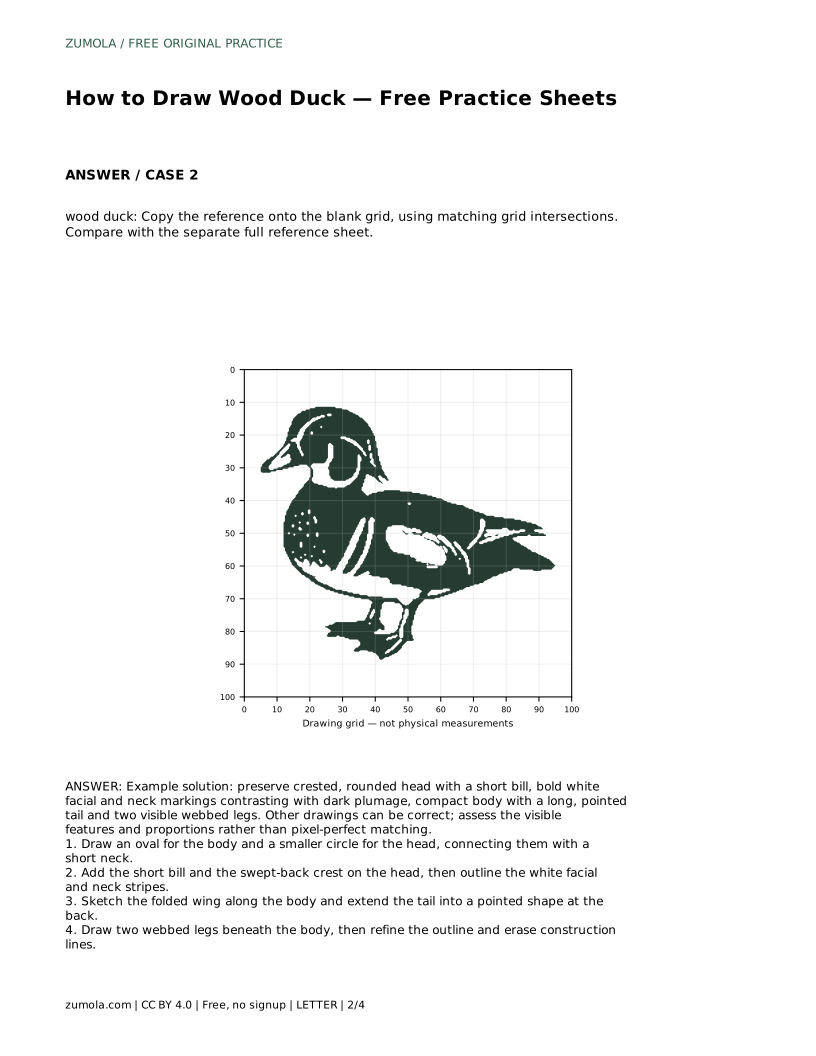
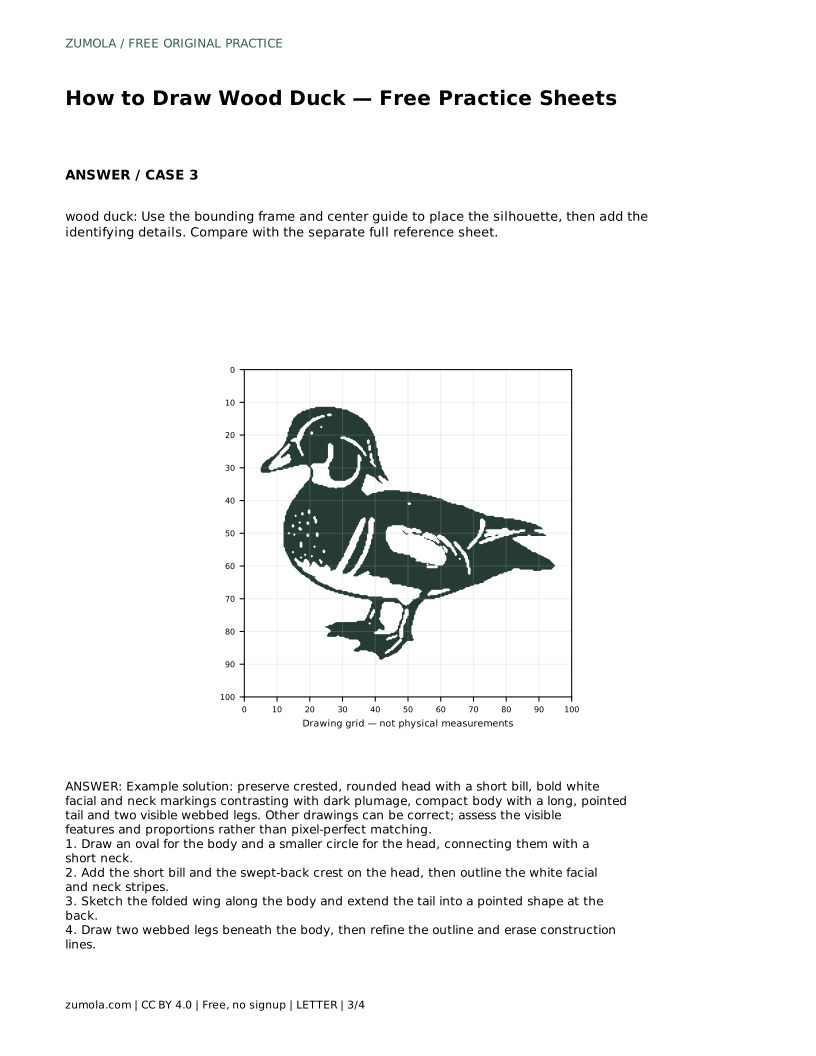
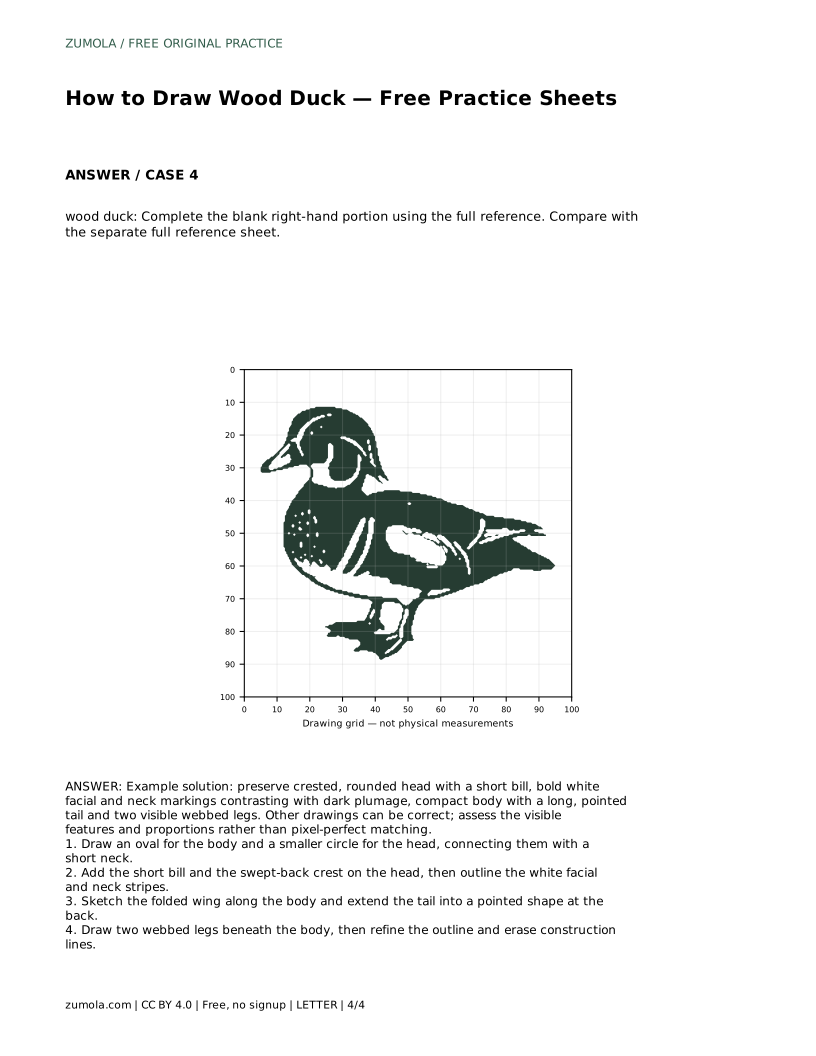
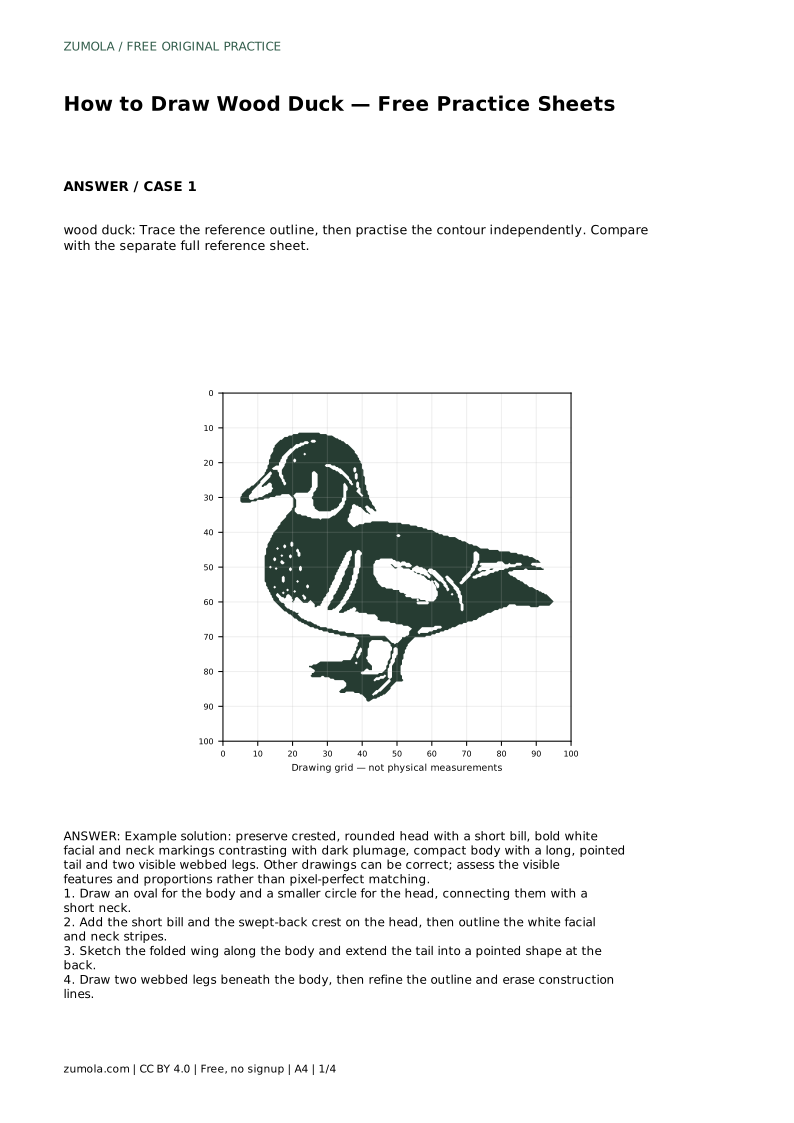
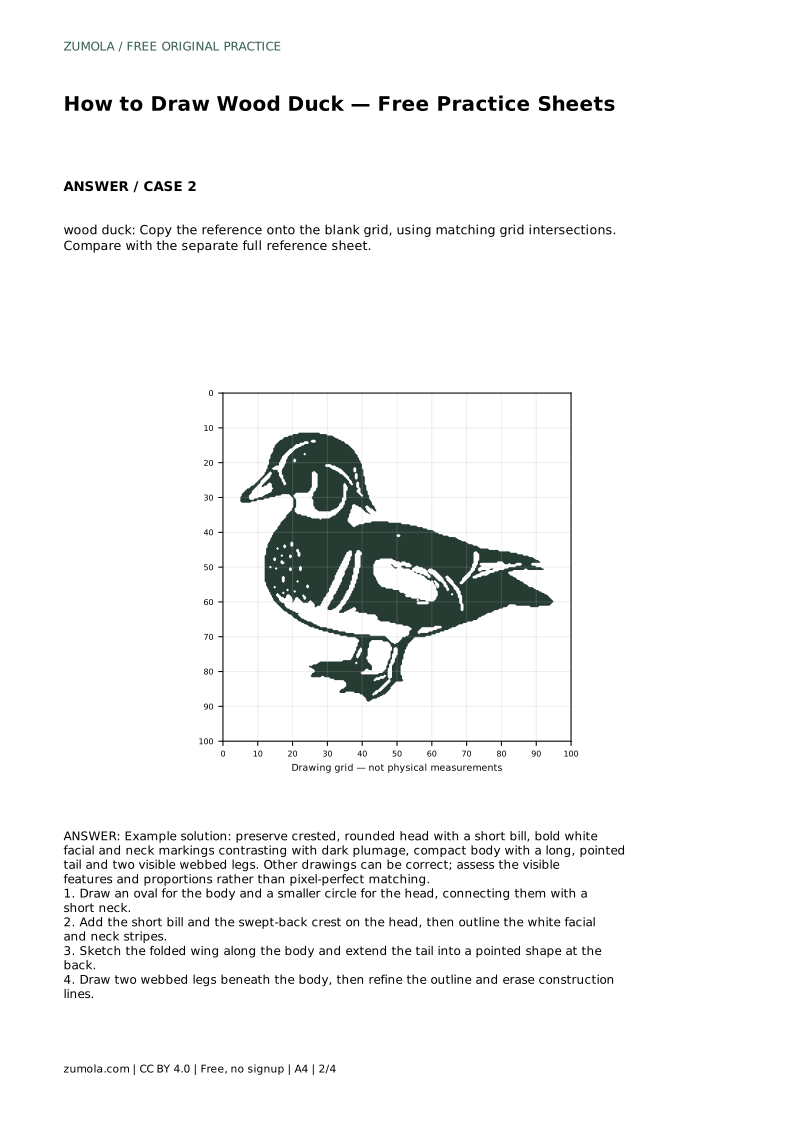
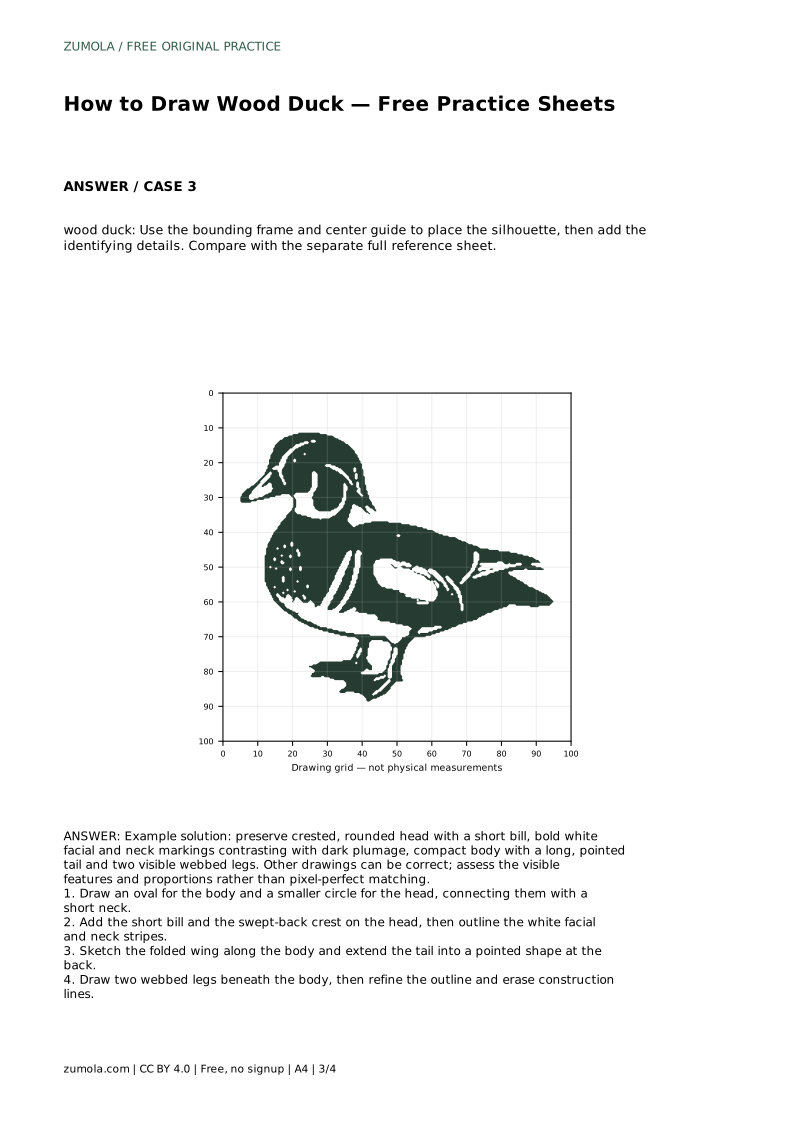
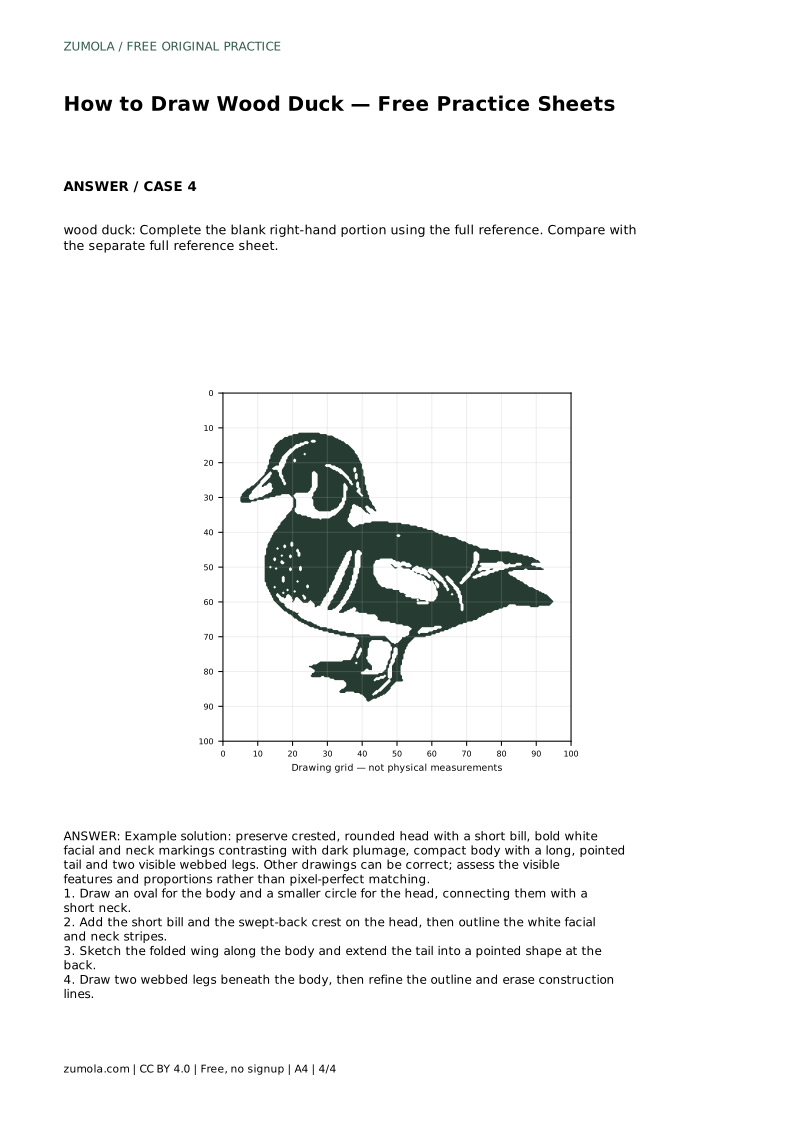
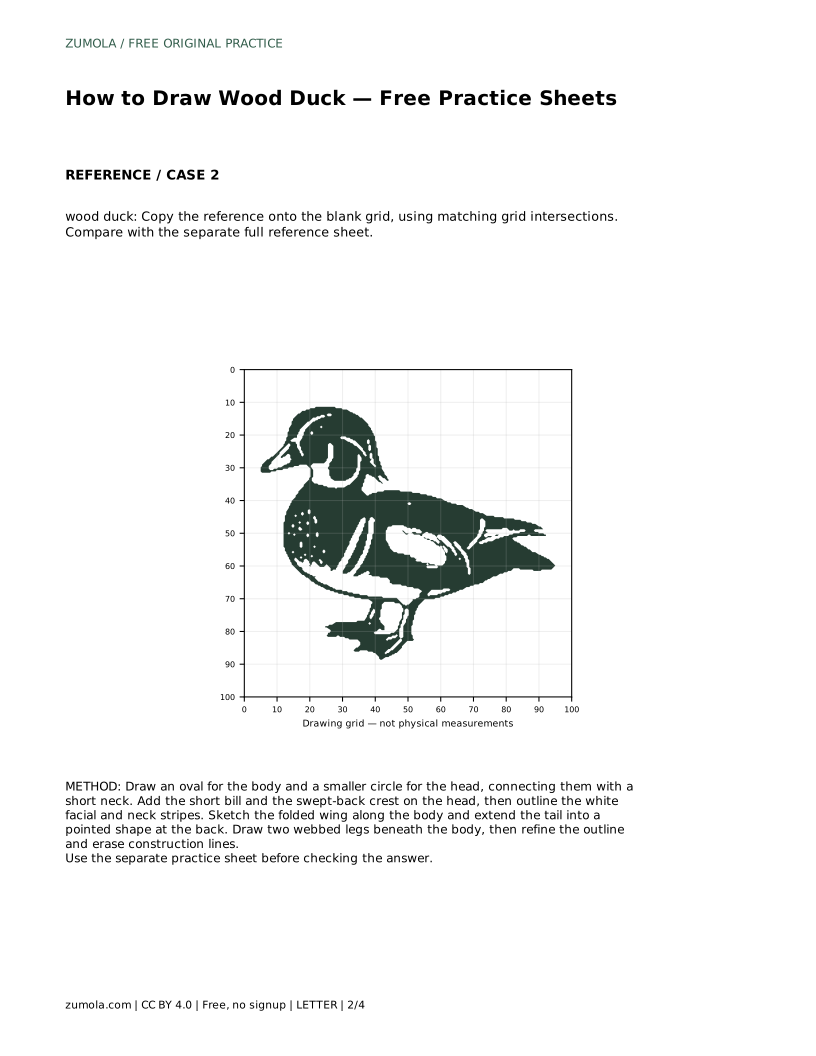
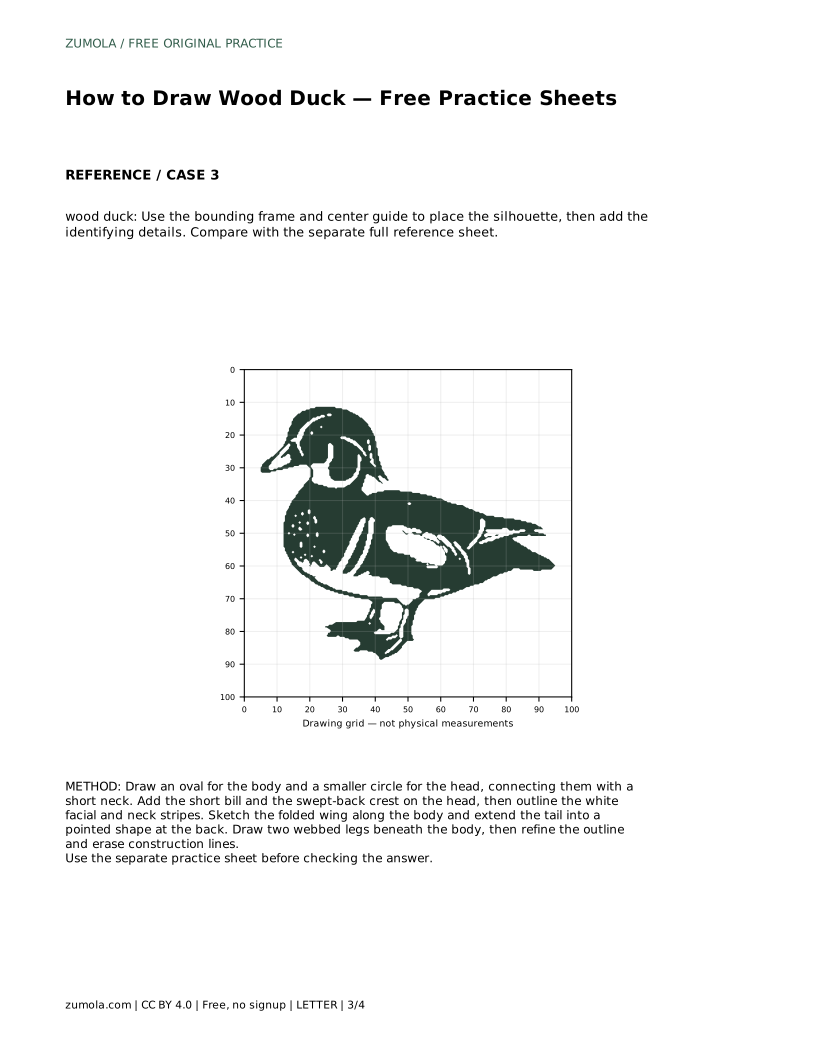
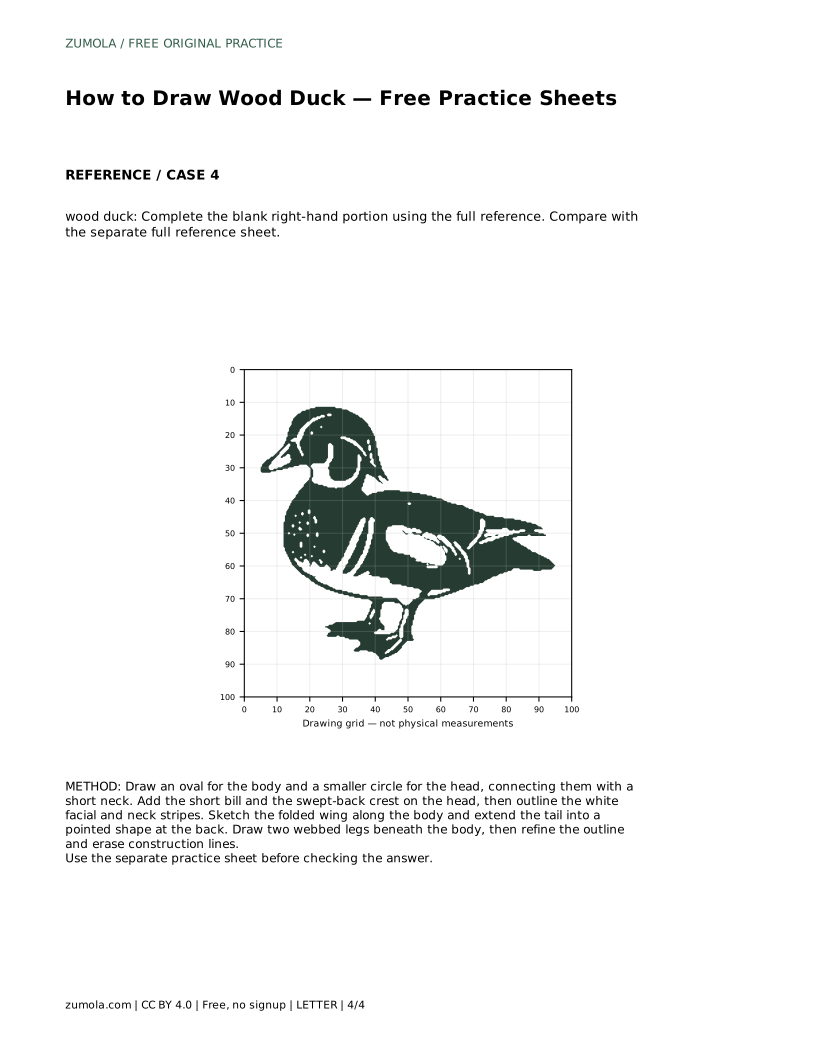
A wood duck drawing depends on a few recognizable features: a rounded, crested head, a short bill, bold white facial and neck markings against dark plumage, a compact body, a long pointed tail, and two visible webbed legs. This page shows how to build those features from simple construction shapes, then refine the outline. The practice sheets let you trace a reference outline, work independently, copy onto a grid, use a bounding frame and center guide, or complete a partially blank drawing. Because drawings can vary, judge your work by visible features and proportions rather than an exact match.
Begin with two simple construction shapes: an oval for the body and a smaller circle for the head. Place the head slightly above and forward of the body, then connect the two with a short neck. Keep the body compact; a wood duck should not look long and slender like a diving duck. The head should read as rounded, with room above the crown for the swept-back crest. Light construction lines are useful here because you will erase them later. Check that the head is not too large for the body and that the neck is short enough to keep the silhouette compact.
Add a short bill at the front of the head. The bill should be noticeably shorter than the head is wide. Next, sketch the crest sweeping back from the crown; it gives the head its characteristic shape. Then outline the bold white facial and neck stripes. These markings contrast with the darker plumage, so their placement matters more than their exact width. Keep the stripes flowing along the head and neck rather than cutting across them at sharp angles. At this stage, work lightly so you can adjust the crest and stripe shapes before committing to a final outline.
Sketch the folded wing along the side of the body, keeping it within the body oval. Extend the tail into a pointed shape at the back; the long, pointed tail is one of the wood duck's clearest identifiers. Beneath the body, draw two webbed legs. Keep both legs visible and positioned so the bird appears balanced. When the main features are in place, refine the outline, darken the final lines, and erase the construction shapes. Compare your drawing with the separate full reference sheet and check each identifying feature in turn.
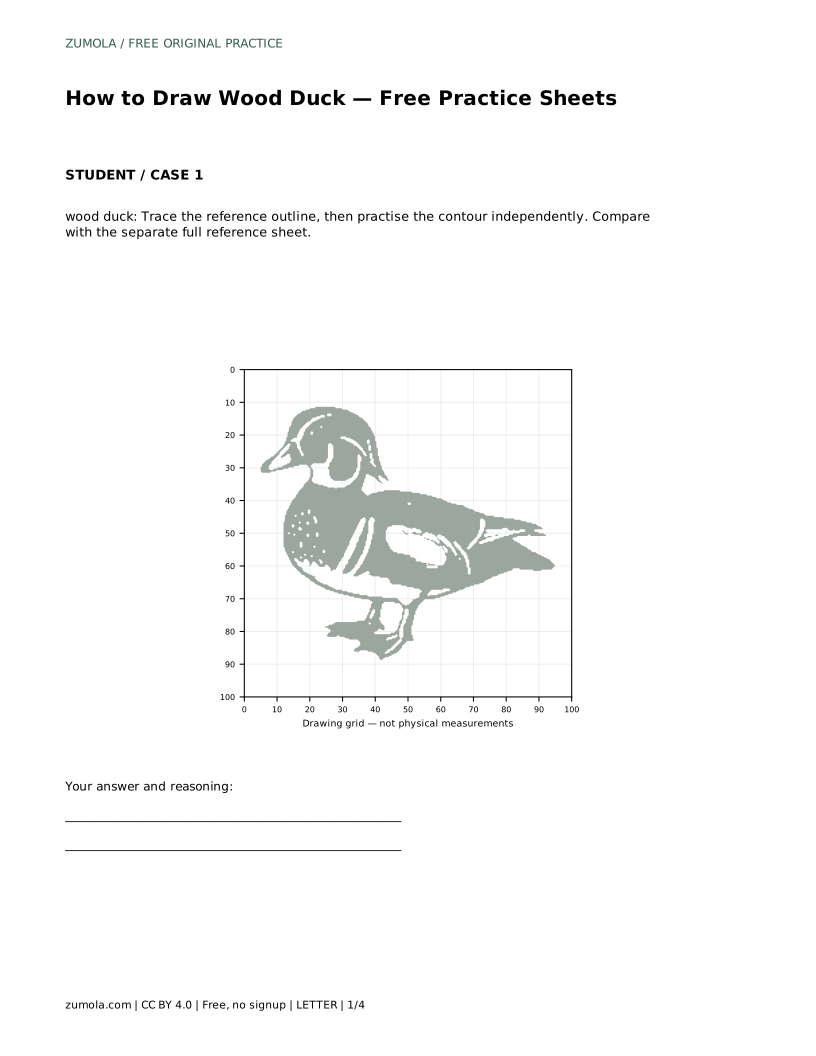
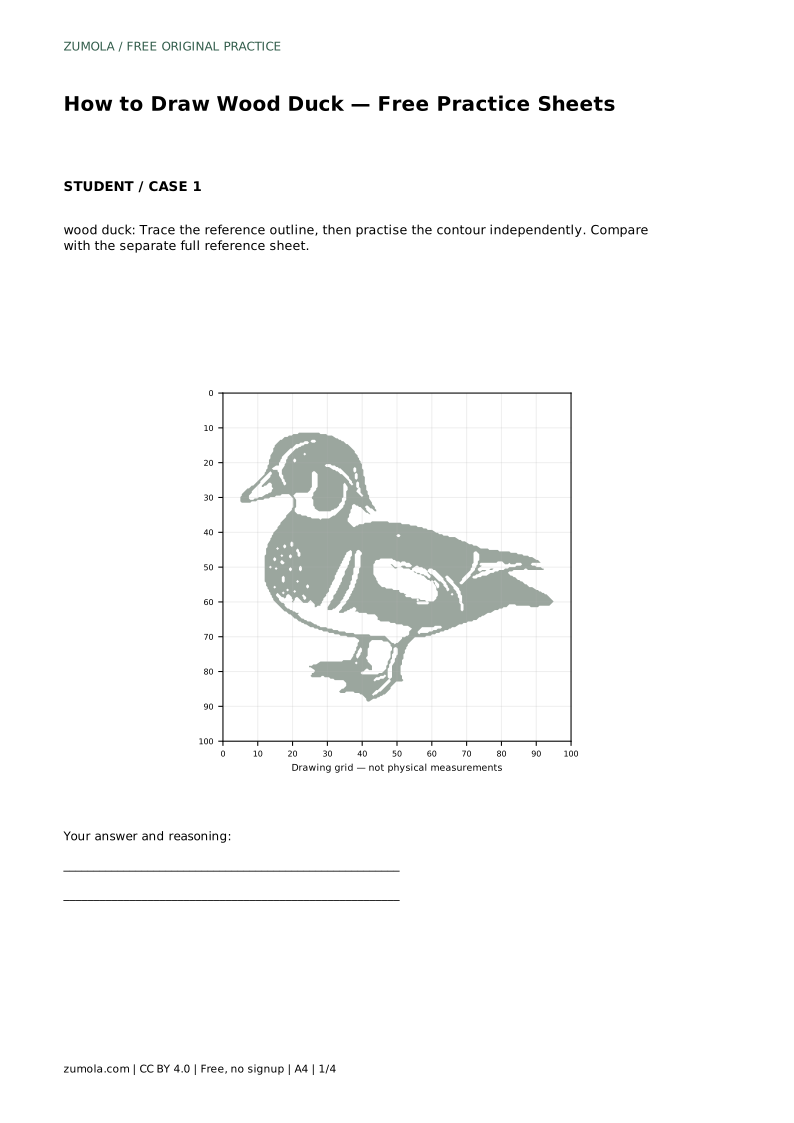
wood duck: Trace the reference outline, then practise the contour independently. Compare with the separate full reference sheet.
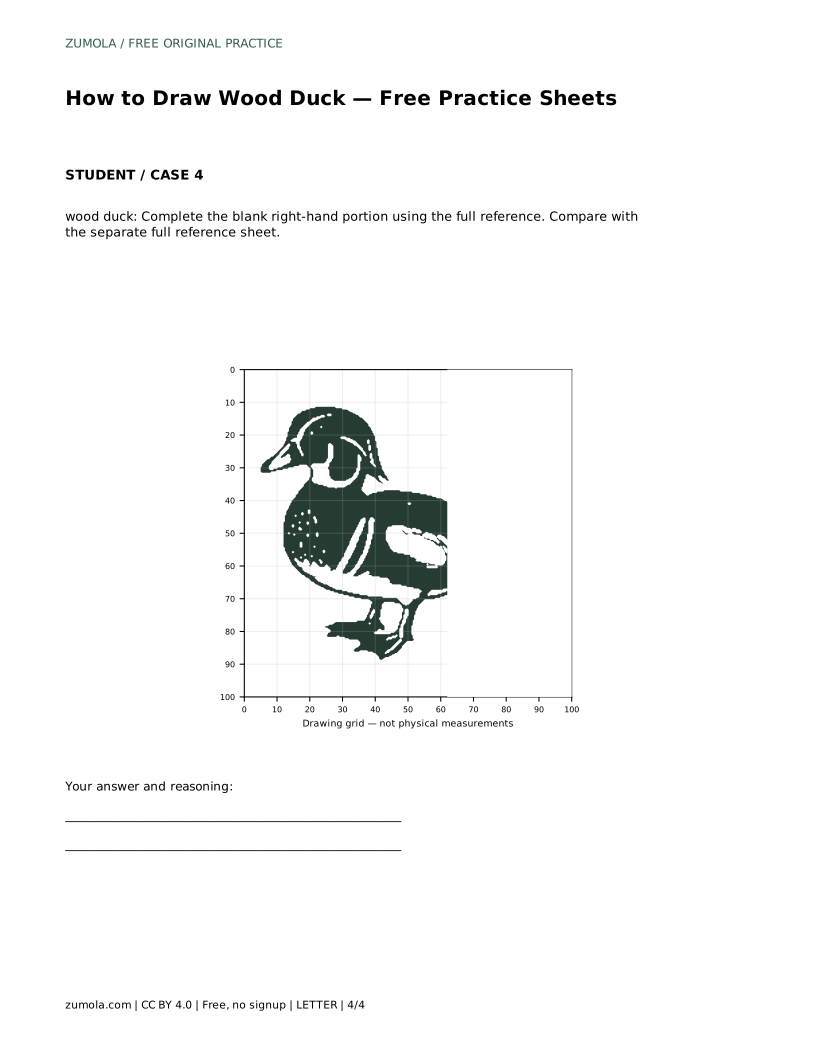
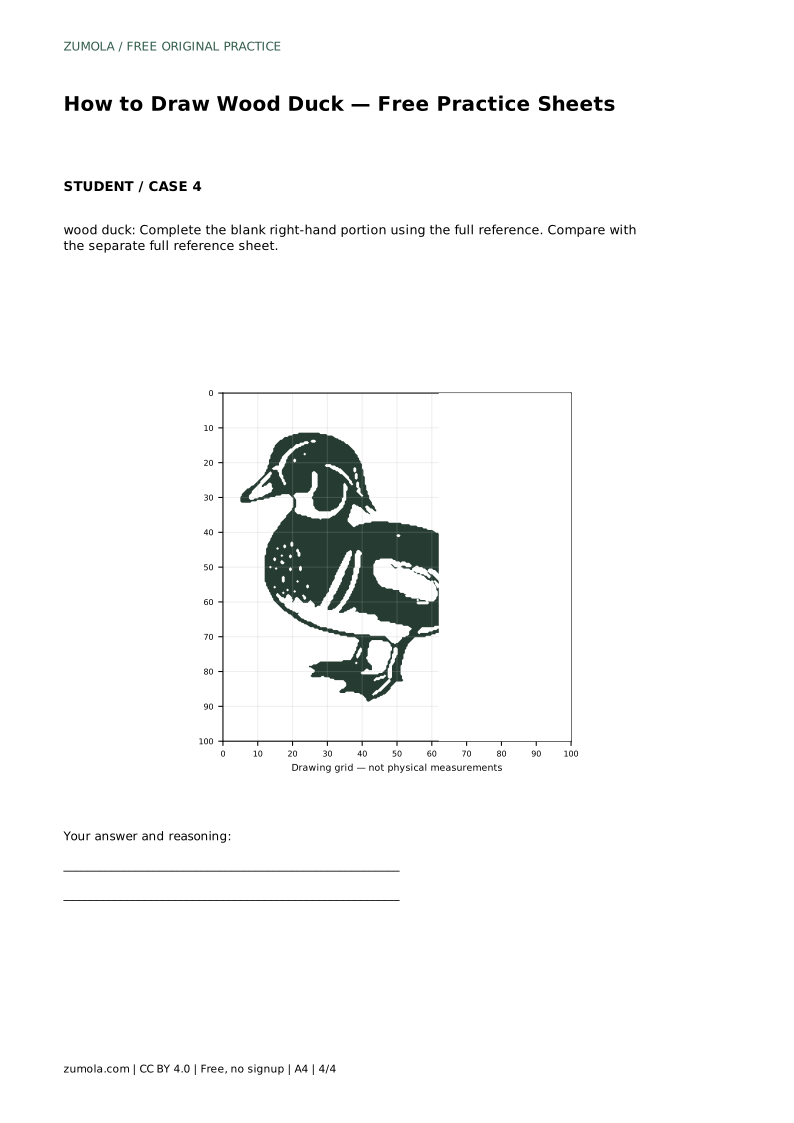
Example solution: preserve crested, rounded head with a short bill, bold white facial and neck markings contrasting with dark plumage, compact body with a long, pointed tail and two visible webbed legs. Other drawings can be correct; assess the visible features and proportions rather than pixel-perfect matching. Draw an oval for the body and a smaller circle for the head, connecting them with a short neck. Add the short bill and the swept-back crest on the head, then outline the white facial and neck stripes. Sketch the folded wing along the body and extend the tail into a pointed shape at the back. Draw two webbed legs beneath the body, then refine the outline and erase construction lines.
No. Several drawings can be correct. Assess whether the crested rounded head, short bill, white facial and neck markings, compact body, pointed tail, and two webbed legs are visible and proportionally sensible.
Check the head and bill first, then the white markings, then the body, tail, and legs. Comparing each feature separately makes it easier to spot a proportion that needs adjusting.
Yes. Tracing builds familiarity with the outline, while the grid and bounding-frame sheets ask you to place the silhouette and details yourself. Use the full reference sheet for comparison afterward.
All drawing practice · Free coordinate paper
Original resources · CC BY 4.0 · Free for personal and classroom use with attribution.