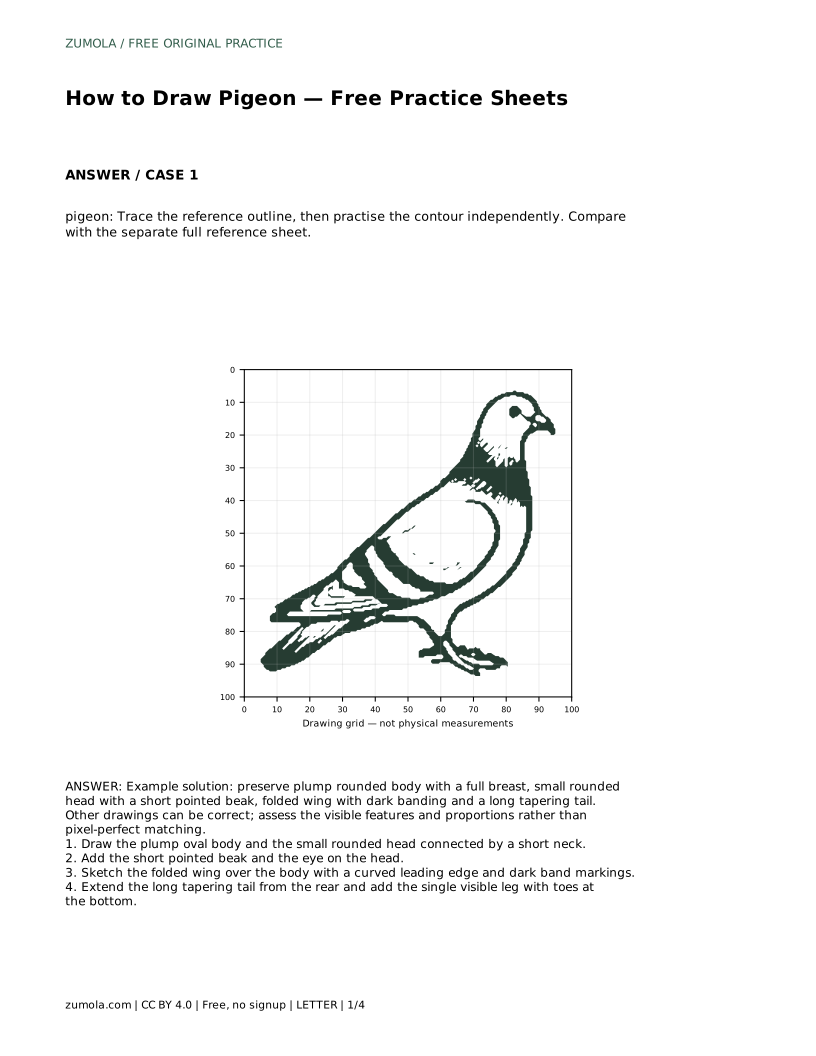
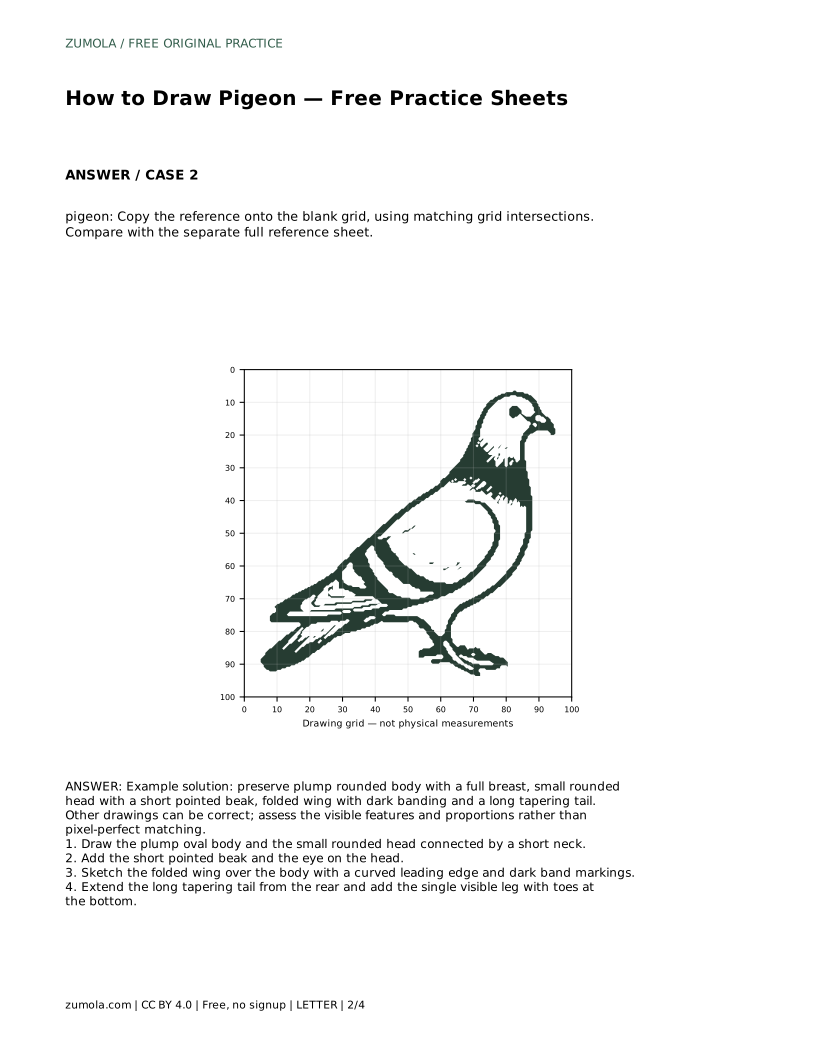
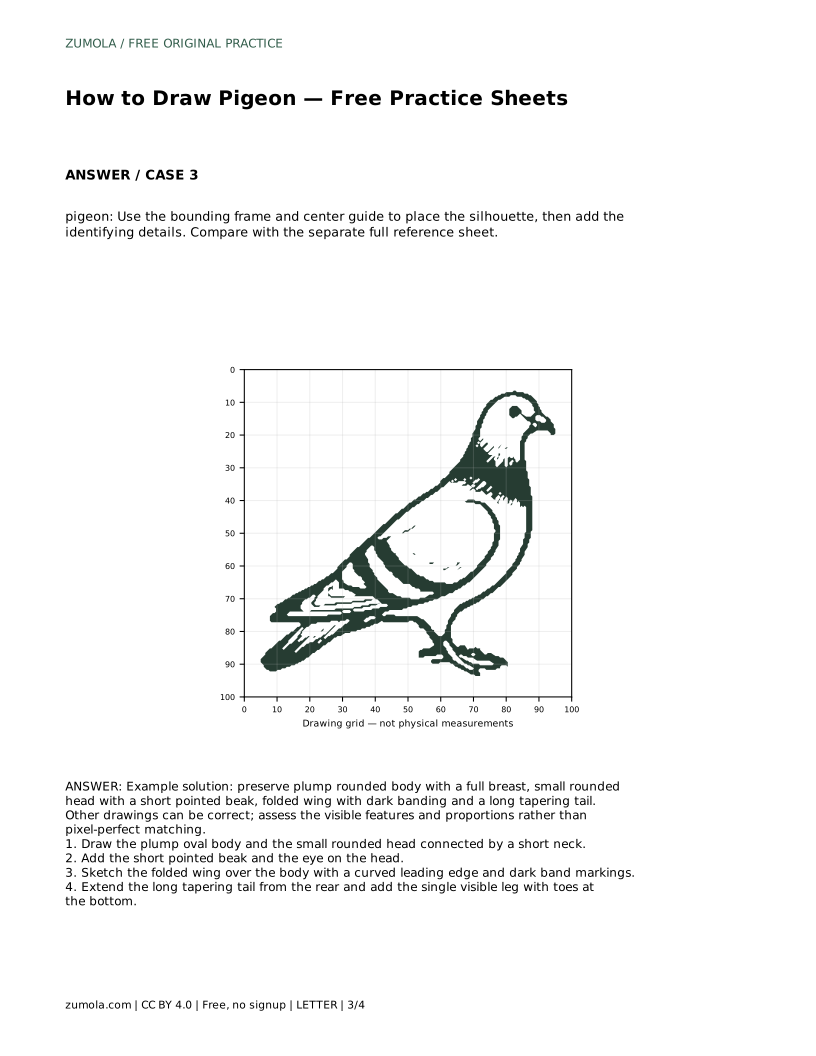
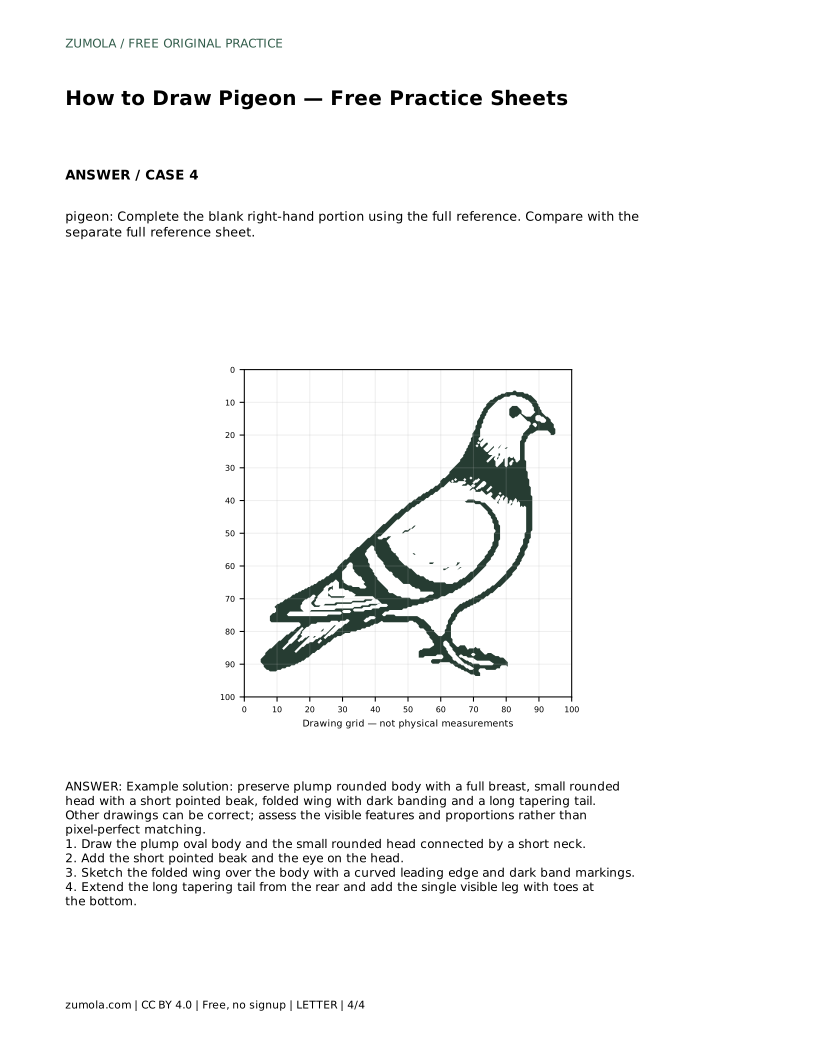
Reference diagrams
LETTER · Download PDF
A4 · Download PDF
Free original resources
Learn to draw a pigeon by building its plump body, small rounded head, short beak, banded folded wing and tapering tail, then check your work against a reference sheet.
Four original cases, with reference diagrams, practice sheets and worked answers. Everything is free; no signup required.
LETTER · Download PDF
A4 · Download PDF
LETTER · Download PDF
A4 · Download PDF
LETTER · Download PDF
A4 · Download PDF
Use A4 or US Letter to match your printer. Use the stated values and conditions to solve each exercise; diagrams are not physical measuring rulers.
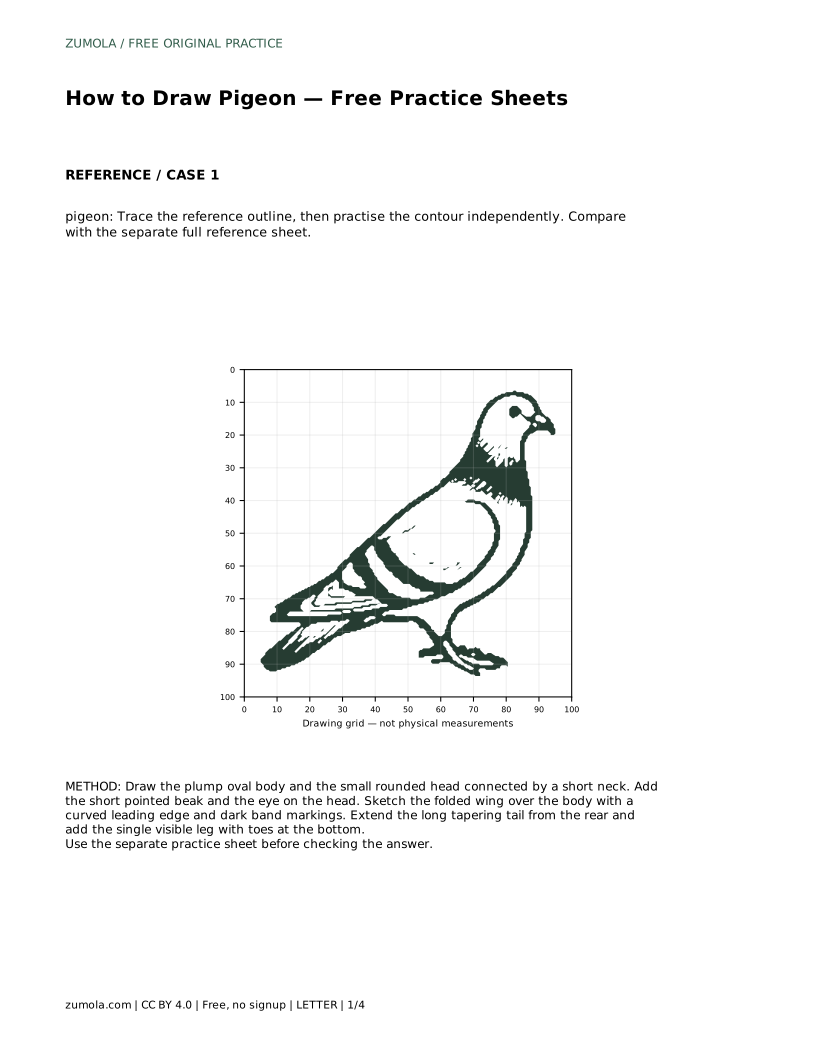
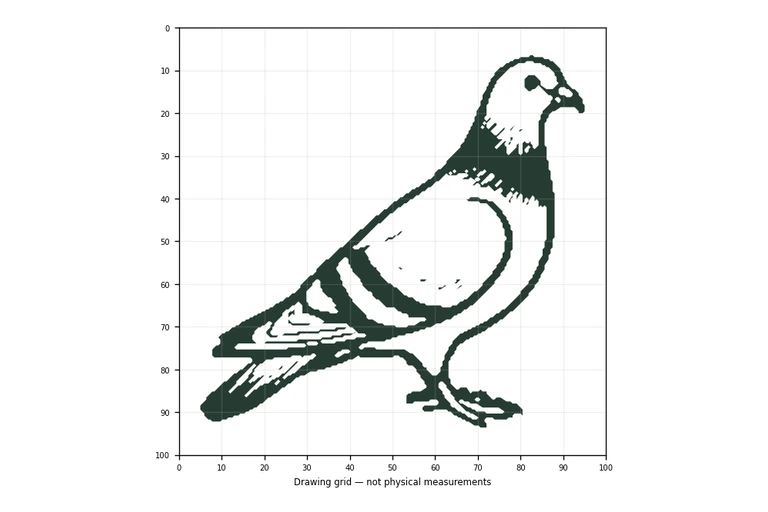
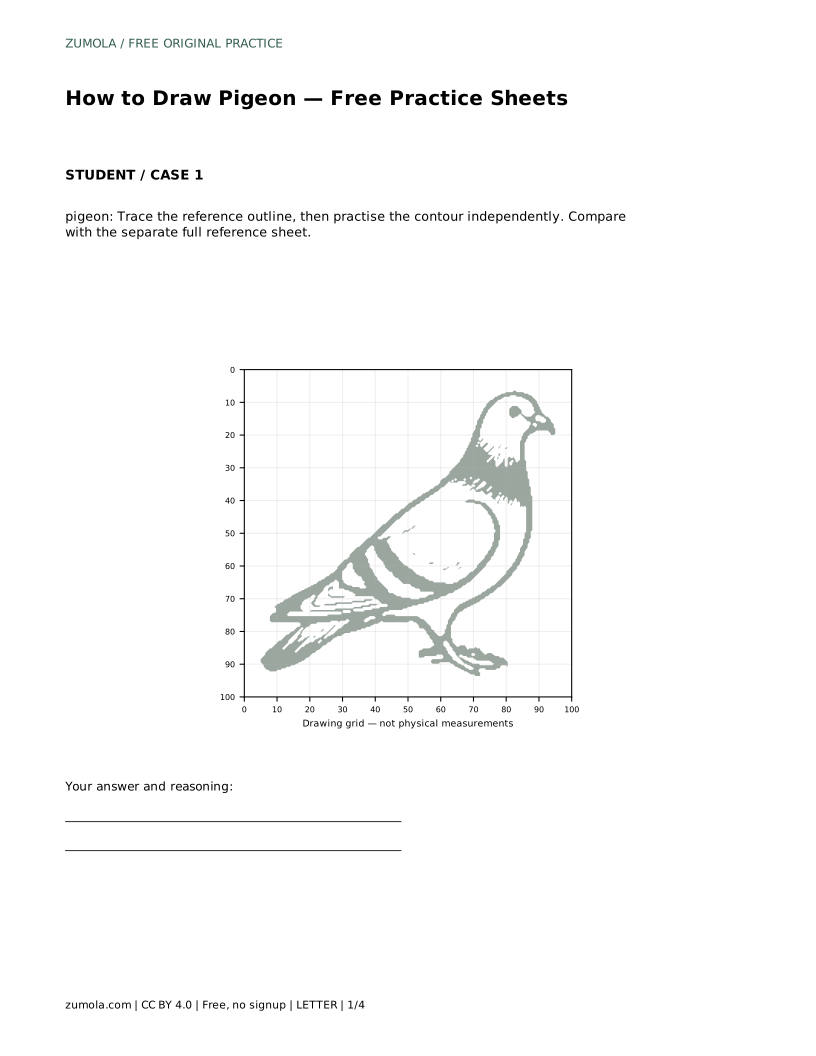
A pigeon is easy to recognise but surprisingly easy to draw as a generic bird. The features that make it a pigeon are specific: a plump, rounded body with a full breast, a small rounded head on a short neck, a short pointed beak, a folded wing marked with dark bands, and a long tapering tail. This page explains how to build those features in order, how to use tracing, grid and frame practice sheets, and how to judge your drawing fairly when several outcomes can be correct.
Begin with two simple shapes: a plump oval for the body and a small rounded circle for the head. The body should feel heavier and rounder than a songbird's, with the breast full and low. Connect the head to the body with a short neck rather than a long one; a stretched neck changes the silhouette and makes the bird look like a different species.
Place the head slightly forward of the body's centre so the bird reads as alert rather than stiff. Keep the head small relative to the body. If the head looks large, the drawing drifts toward a cartoon chick; if the body looks narrow, it drifts toward a dove or a swallow. Check the overall outline before adding any detail.
Once the outline is sound, add the short pointed beak at the front of the head and a single eye. The beak should be brief and slightly tapered, not long and hooked. Next, sketch the folded wing over the body: a curved leading edge that follows the body's contour, with dark band markings across the wing. These bands are one of the clearest pigeon signals, so place them deliberately rather than scattering marks.
Extend the long tapering tail from the rear of the body, narrowing toward the tip. Finally, add the single visible leg with toes at the bottom. Working in this order keeps proportions stable, because each new detail is measured against shapes you have already checked.
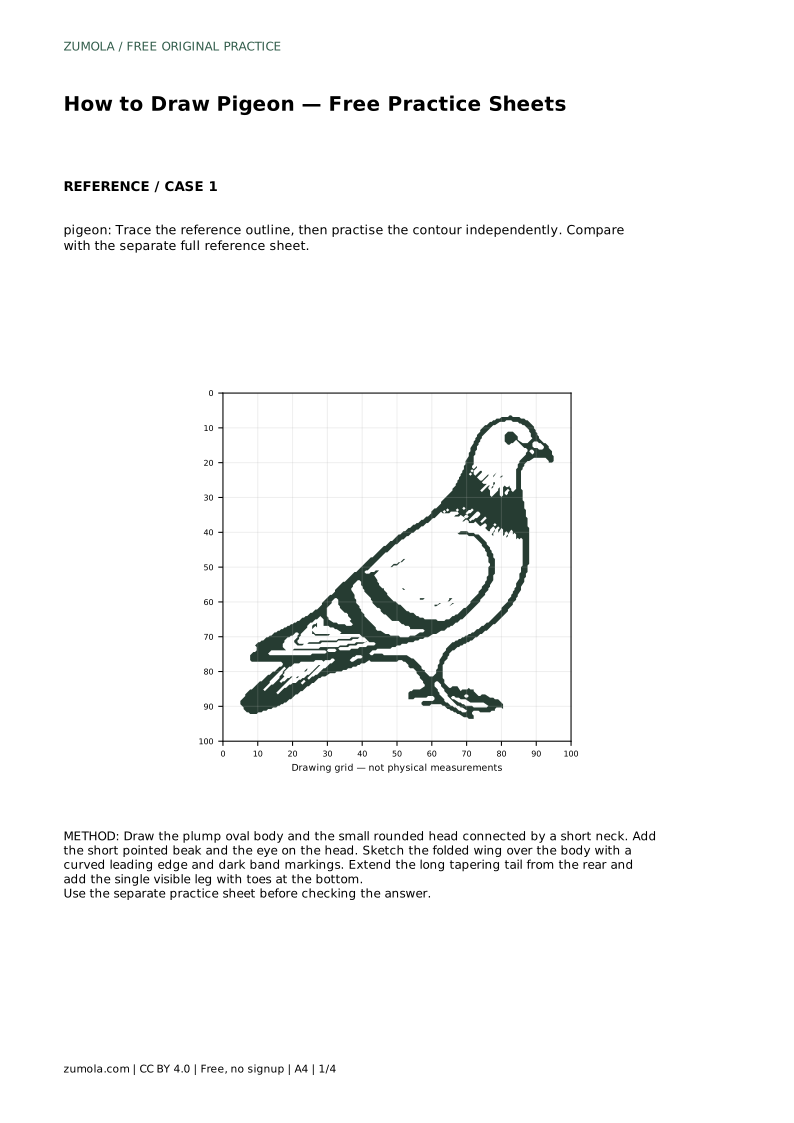
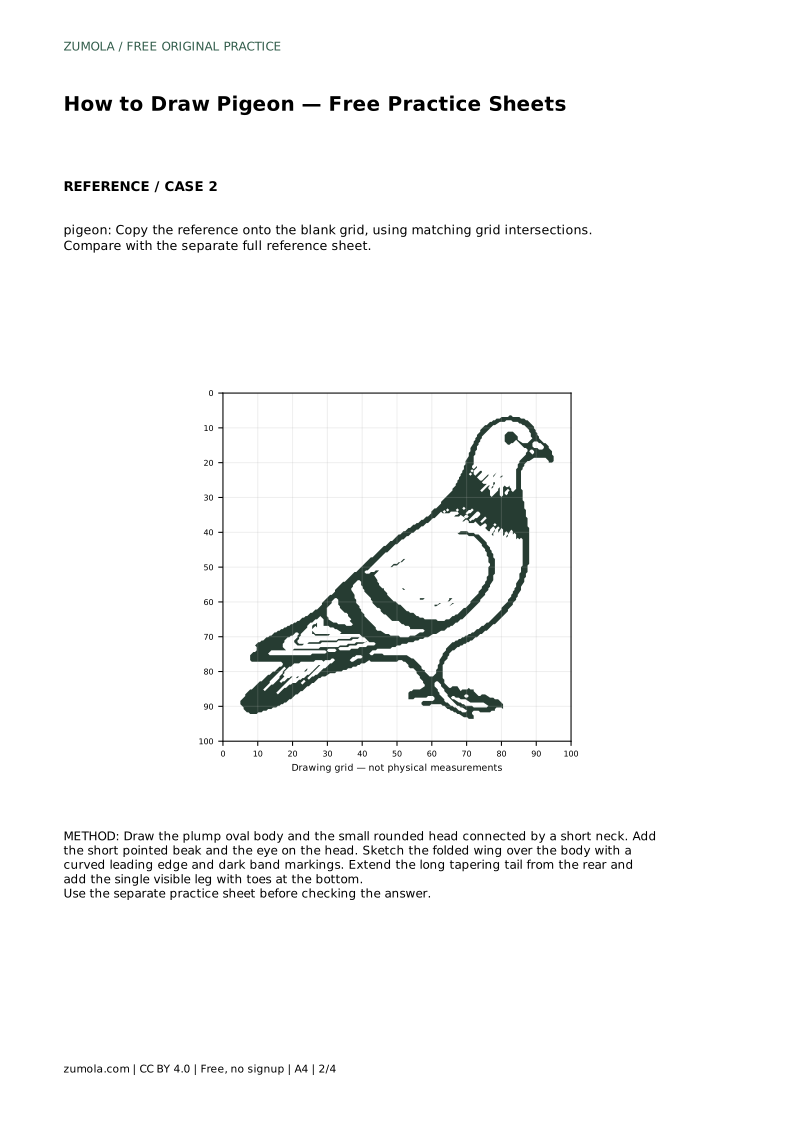
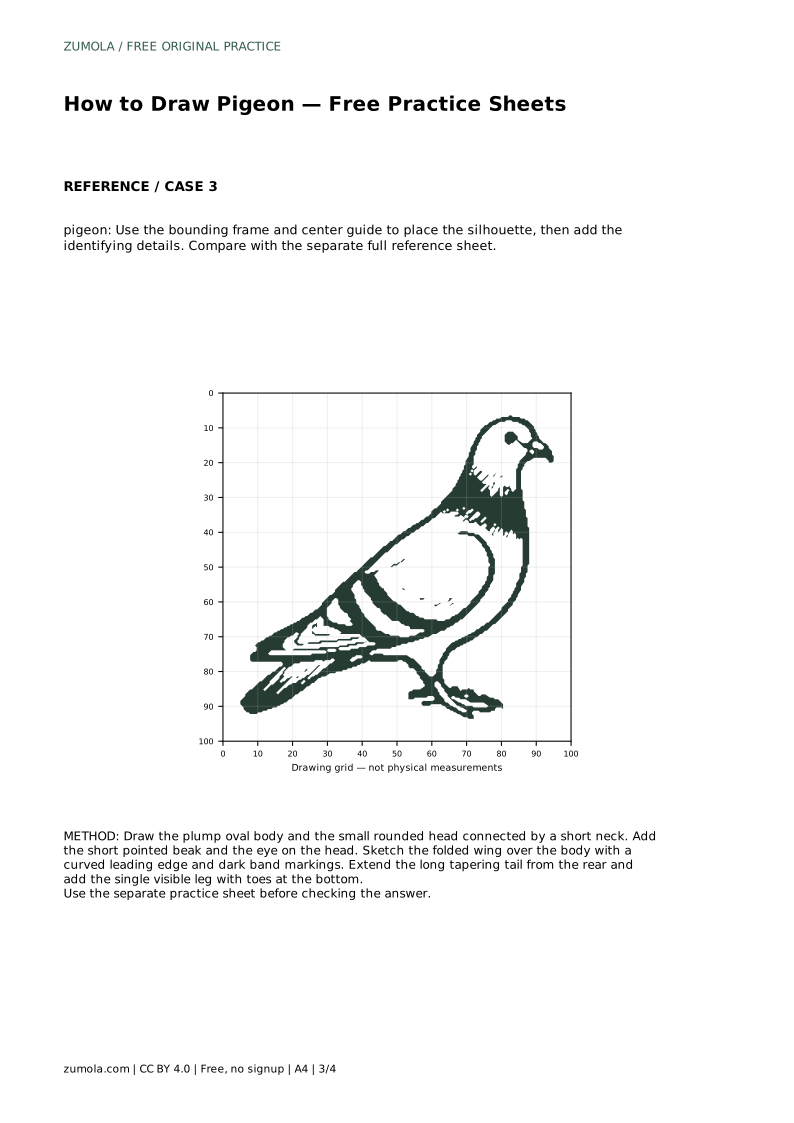
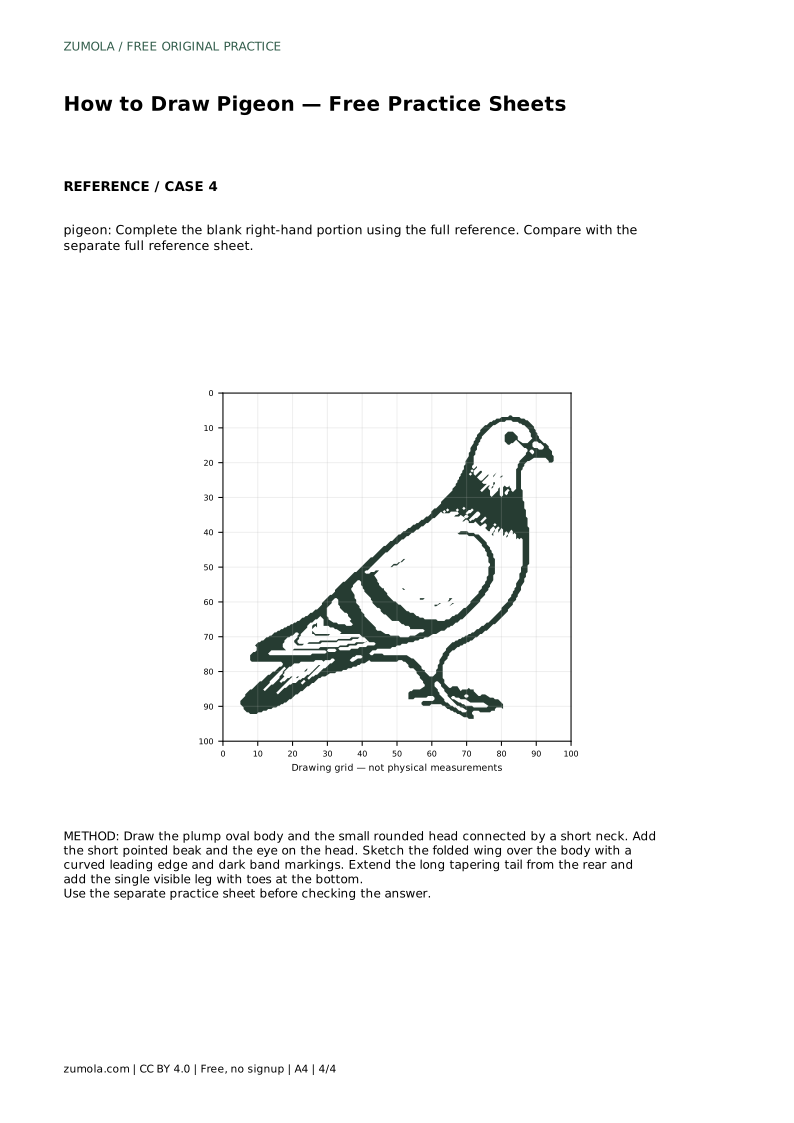
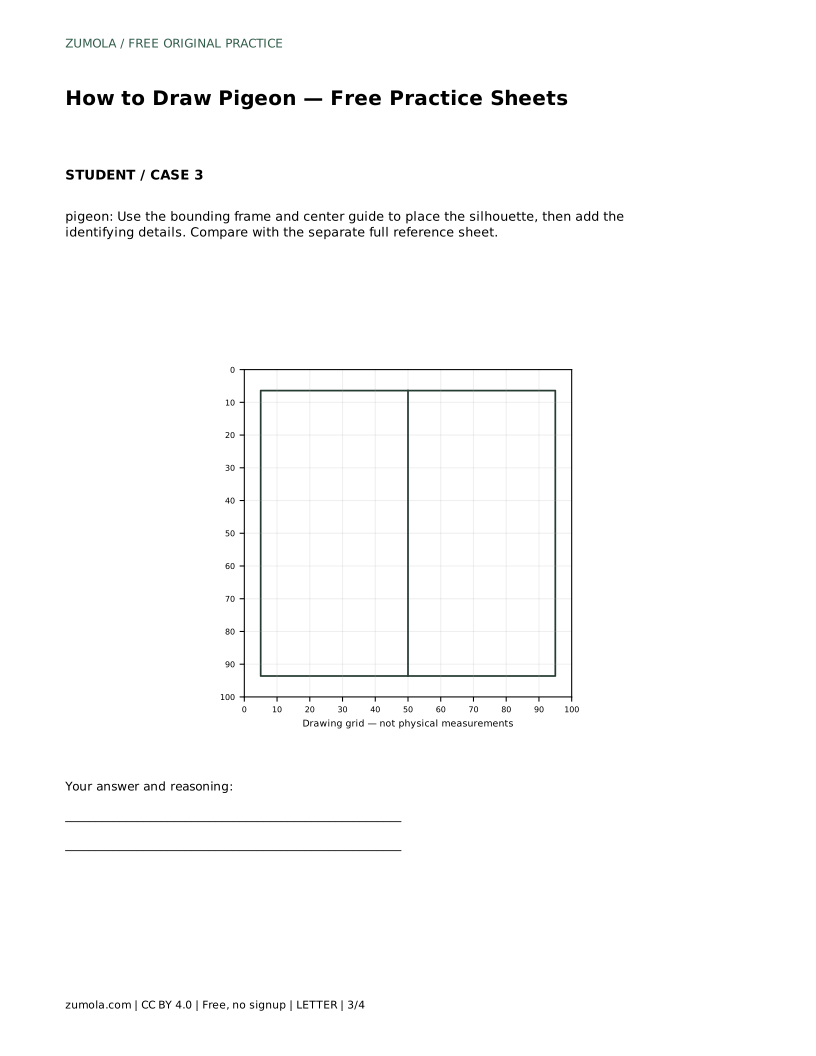
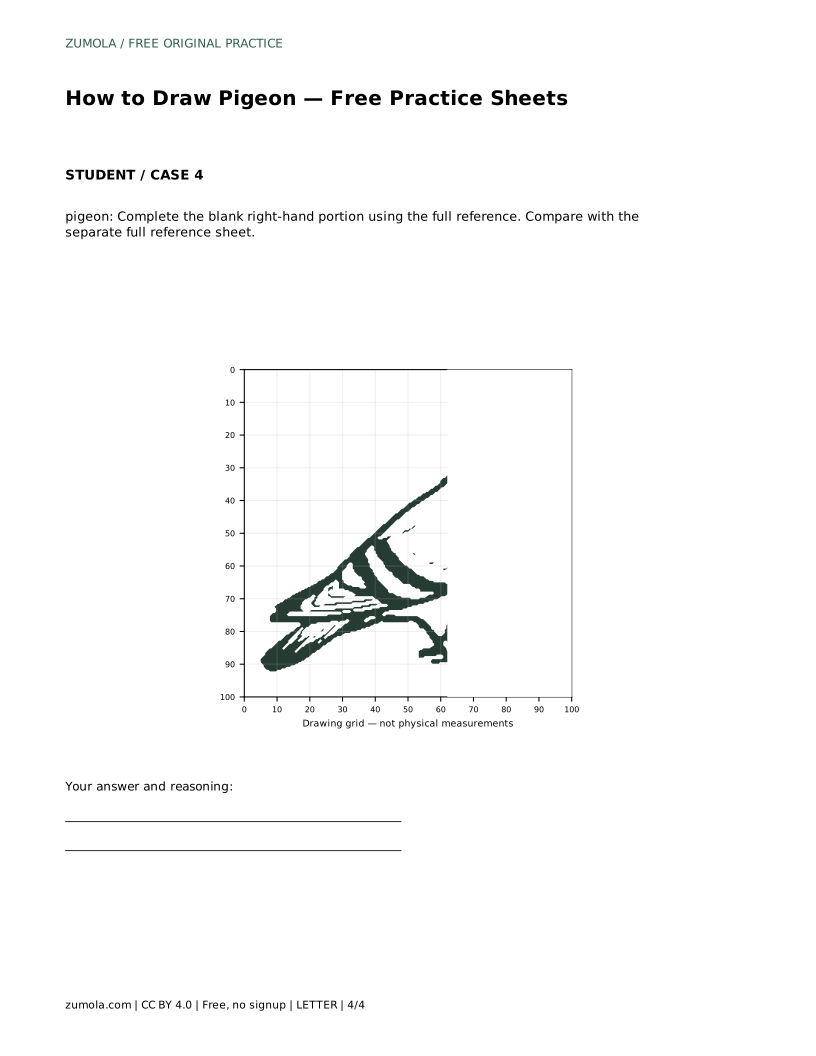
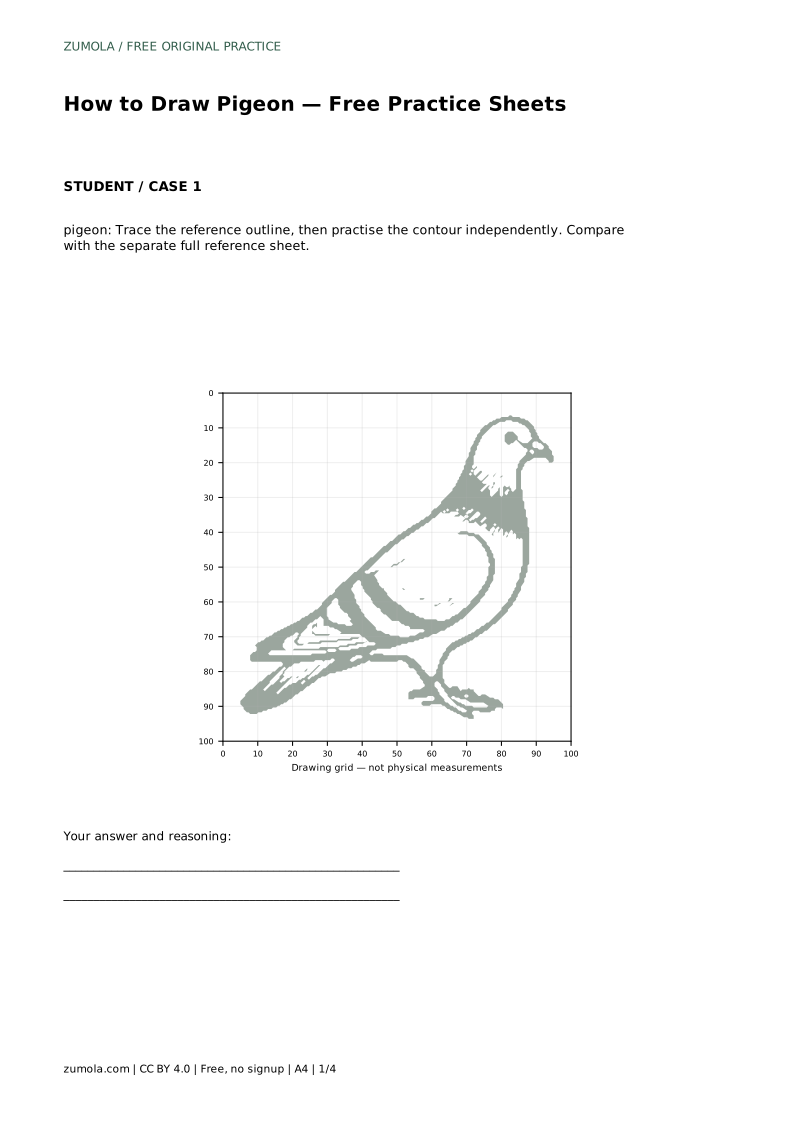
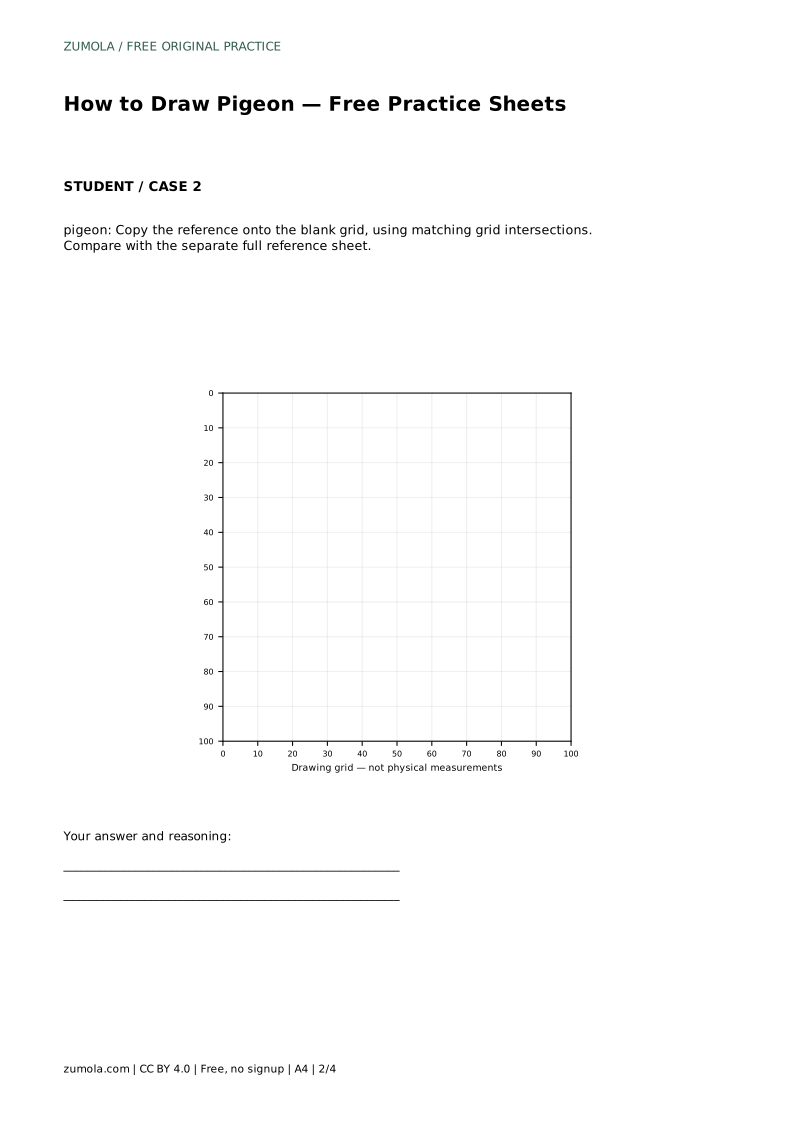
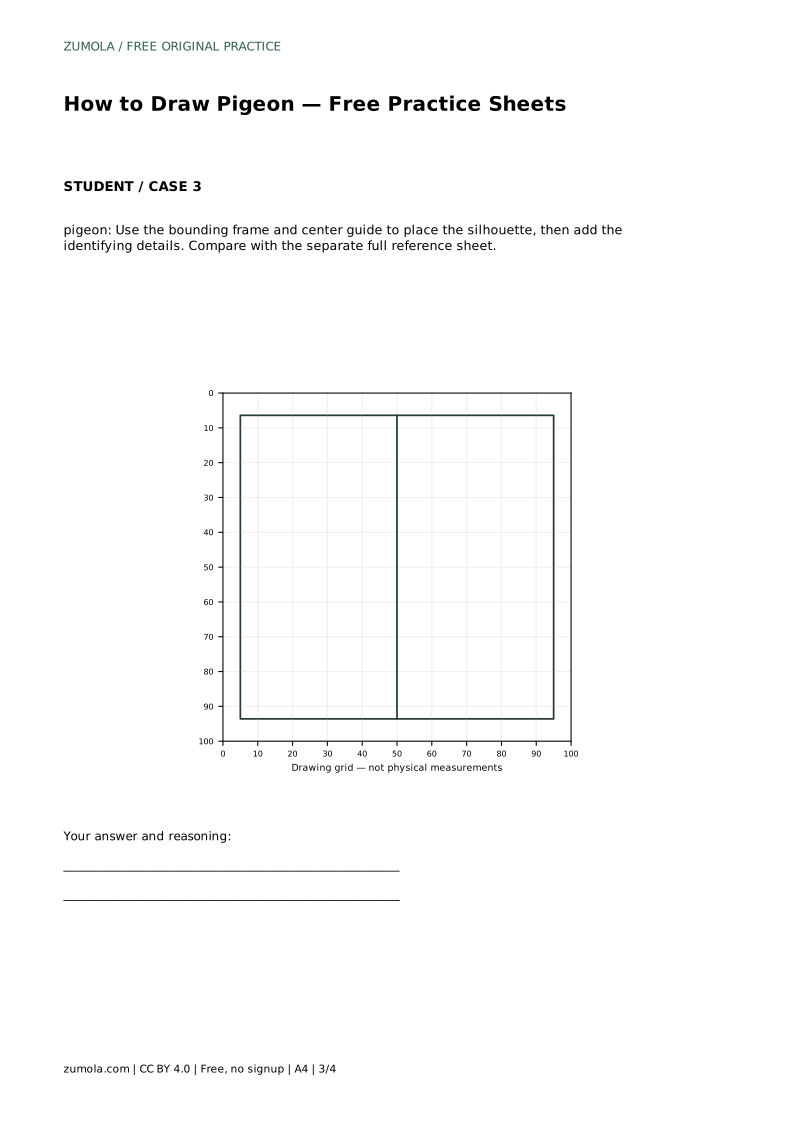
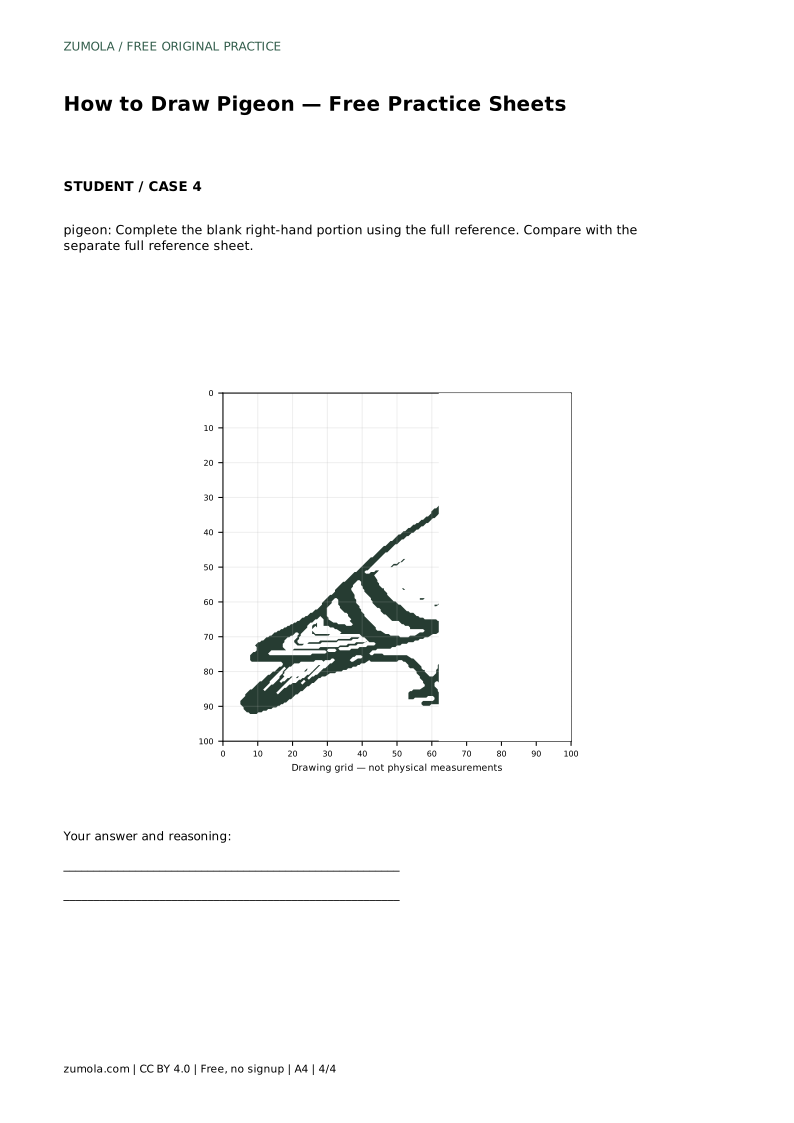
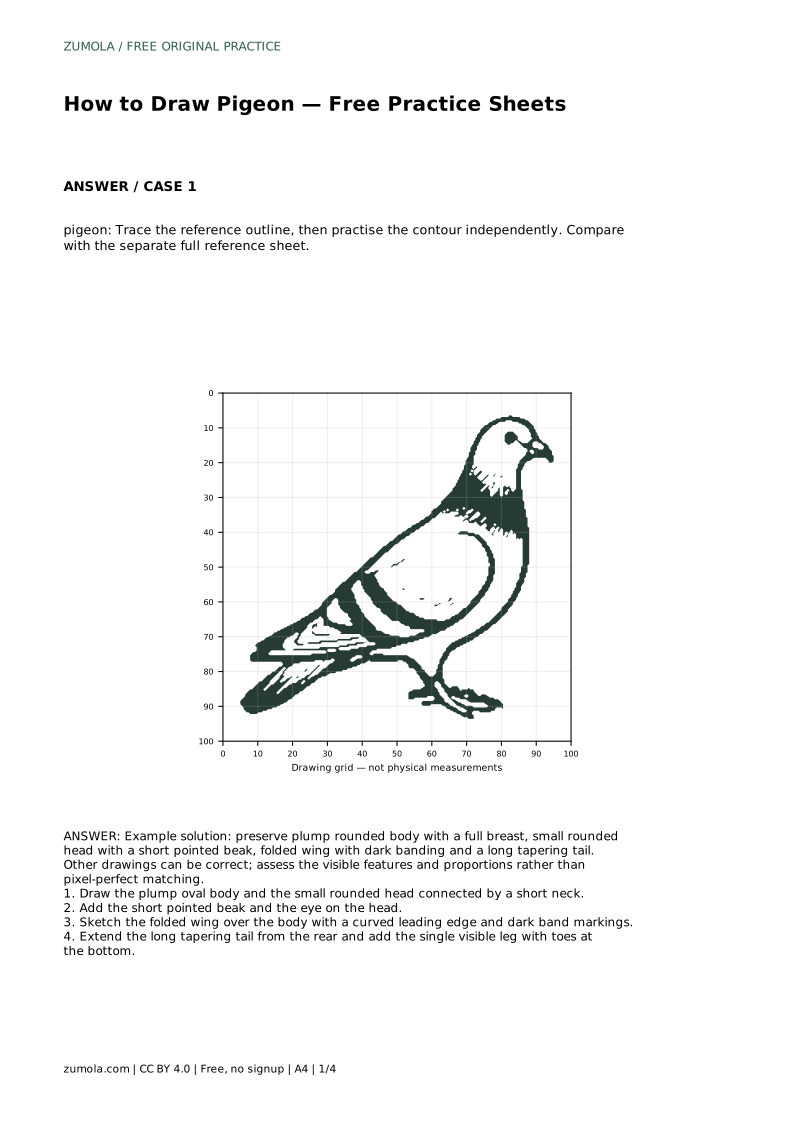
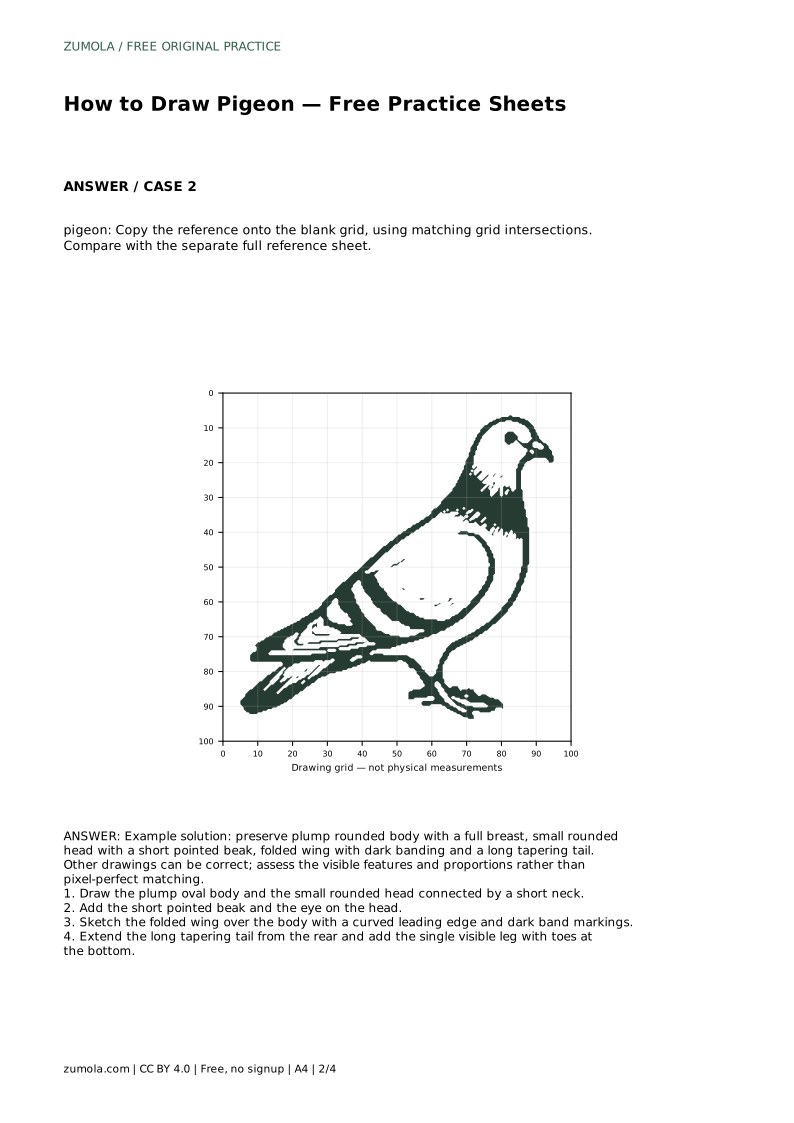
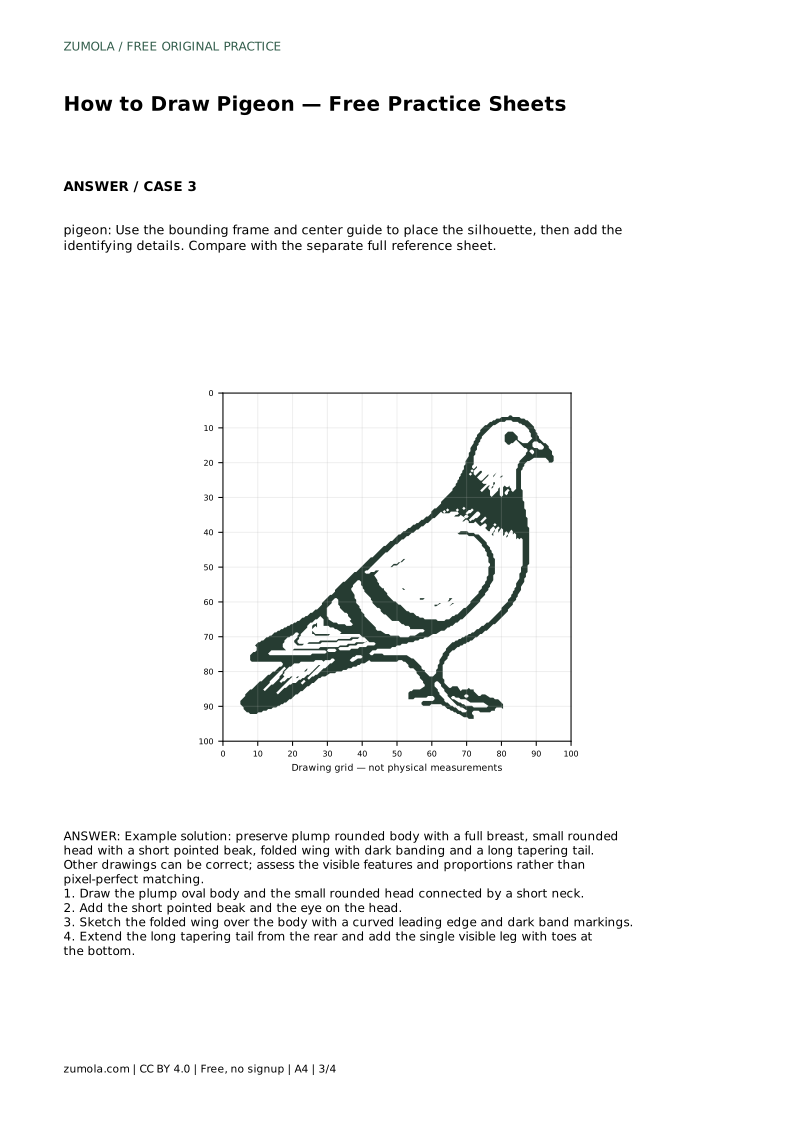
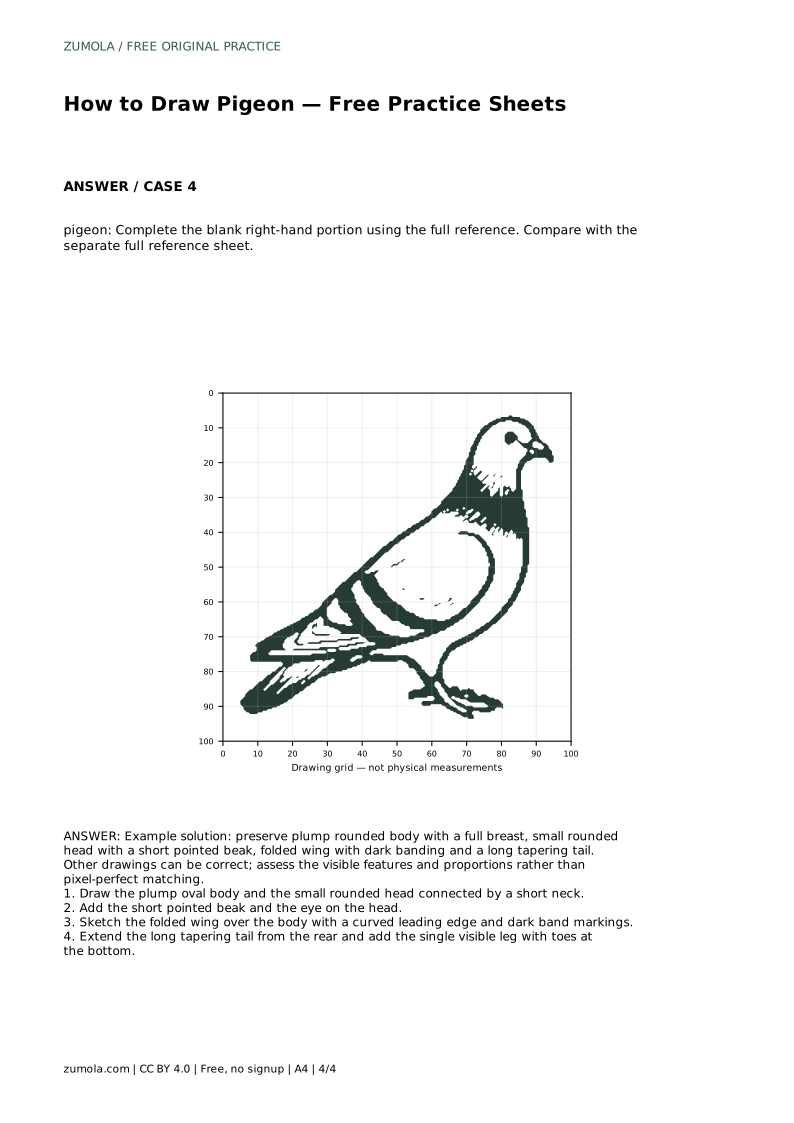
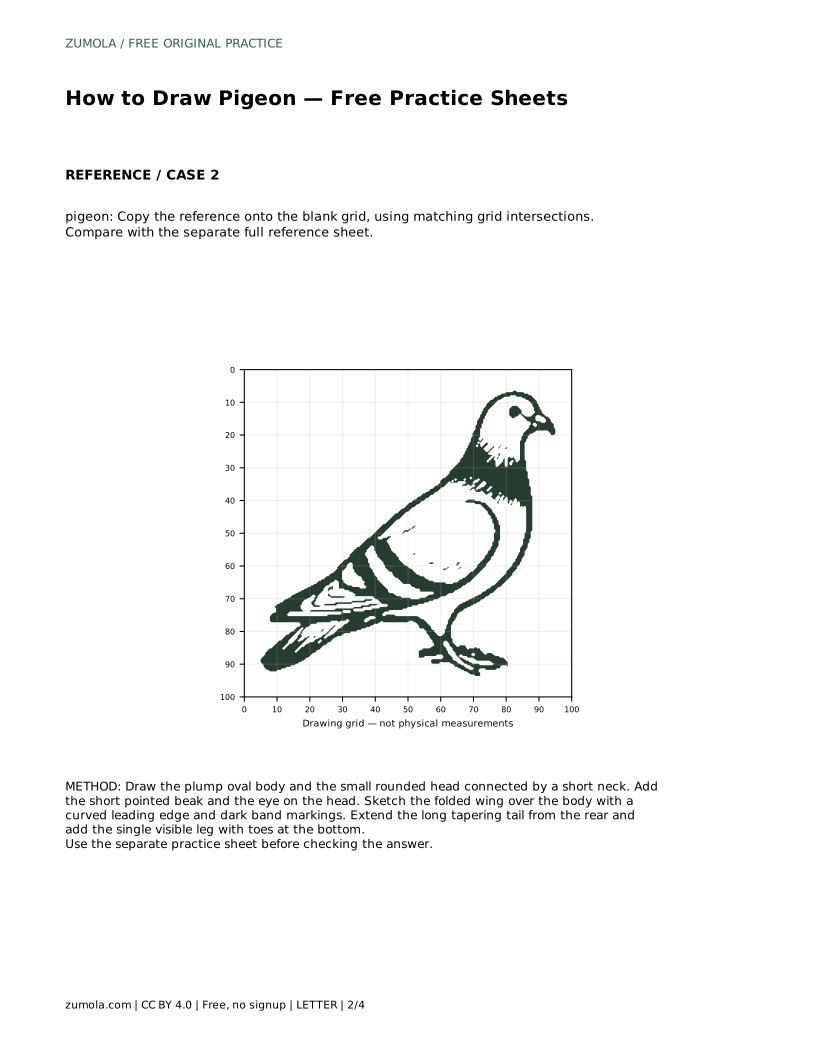
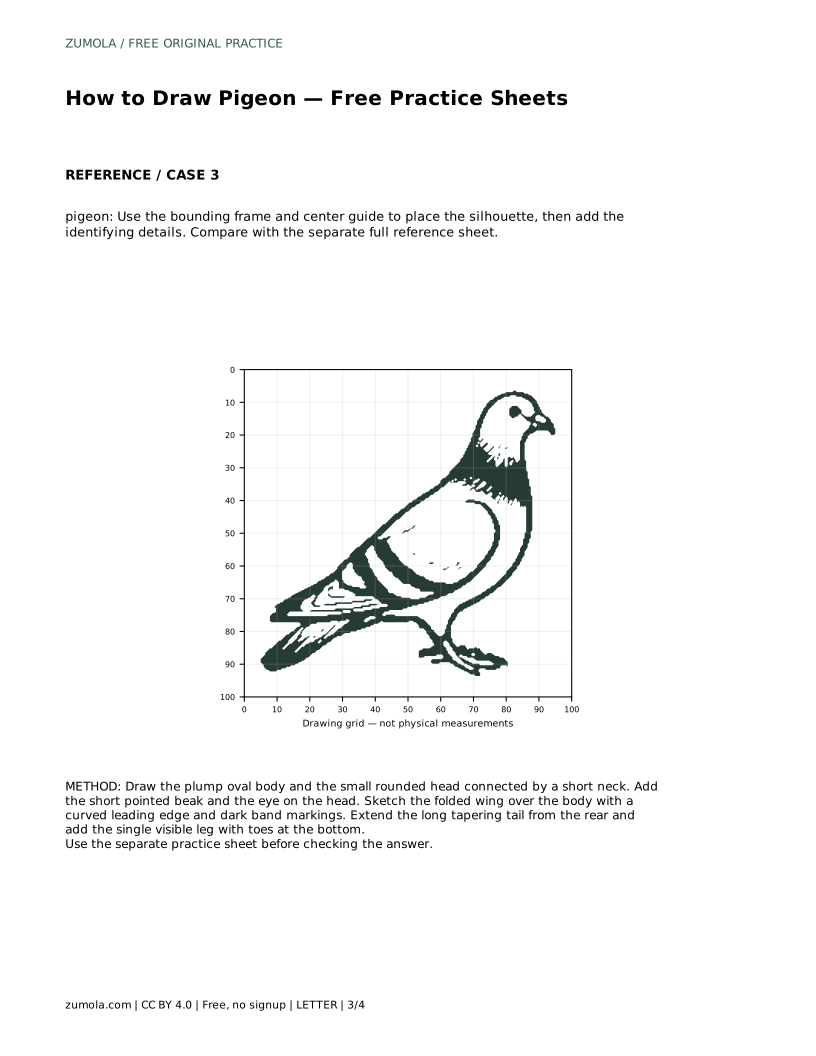
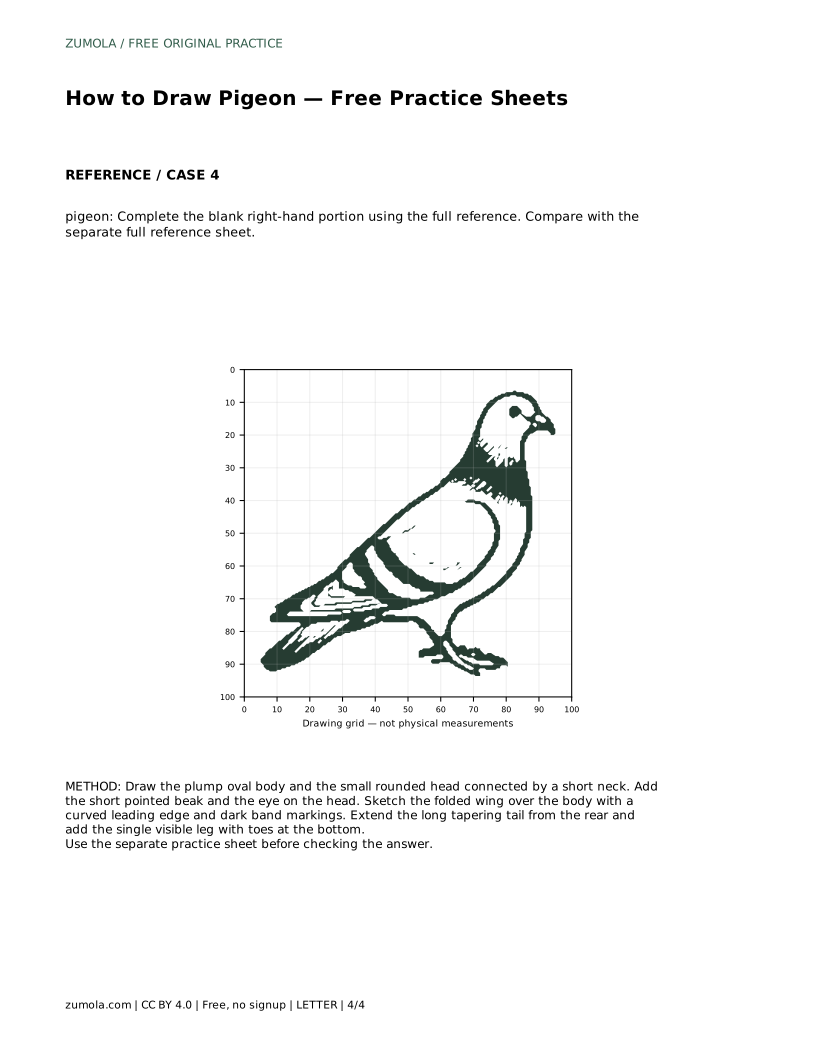
The tracing sheet asks you to follow the reference outline first, then practise the contour independently and compare with the separate full reference sheet. The grid sheet asks you to copy the reference onto the blank grid using matching grid intersections, which trains you to judge position rather than guess it. The frame sheet gives a bounding frame and centre guide so you can place the silhouette before adding details. The partial sheet gives you the left portion and asks you to complete the blank right-hand portion from the full reference.
Each format tests a different skill, so treat them as separate exercises. Tracing builds familiarity with the contour; the grid builds proportional judgement; the frame builds placement; the partial sheet builds recall. In every case, compare your finished drawing with the full reference sheet rather than with your memory of it.
A pigeon drawing has many valid outcomes, so do not chase a pixel-perfect match. Instead, check whether the visible features and proportions are present. Ask whether the body is plump with a full breast, whether the head is small and rounded on a short neck, whether the beak is short and pointed, whether the folded wing shows dark banding, and whether the tail tapers long from the rear.
Line quality and confidence matter too, but they are separate from accuracy. A drawing with slightly wobbly lines can still be a correct pigeon if the features and proportions hold. Use the rubric below to assess your work honestly and to decide which feature to practise next.
pigeon: Trace the reference outline, then practise the contour independently. Compare with the separate full reference sheet.
Example solution: preserve plump rounded body with a full breast, small rounded head with a short pointed beak, folded wing with dark banding and a long tapering tail. Other drawings can be correct; assess the visible features and proportions rather than pixel-perfect matching. Draw the plump oval body and the small rounded head connected by a short neck. Add the short pointed beak and the eye on the head. Sketch the folded wing over the body with a curved leading edge and dark band markings. Extend the long tapering tail from the rear and add the single visible leg with toes at the bottom.
Tracing first is useful for learning the contour, but follow it with an independent attempt and compare both against the full reference sheet.
Check the visible features and proportions: plump body, full breast, small rounded head, short pointed beak, folded wing with dark banding and a long tapering tail.
Yes. Art has multiple valid outcomes, so assess the identifying features and proportions rather than expecting an exact match.
All drawing practice · Free coordinate paper
Original resources · CC BY 4.0 · Free for personal and classroom use with attribution.