Reference diagrams
LETTER · Download PDF
A4 · Download PDF
Free original resources
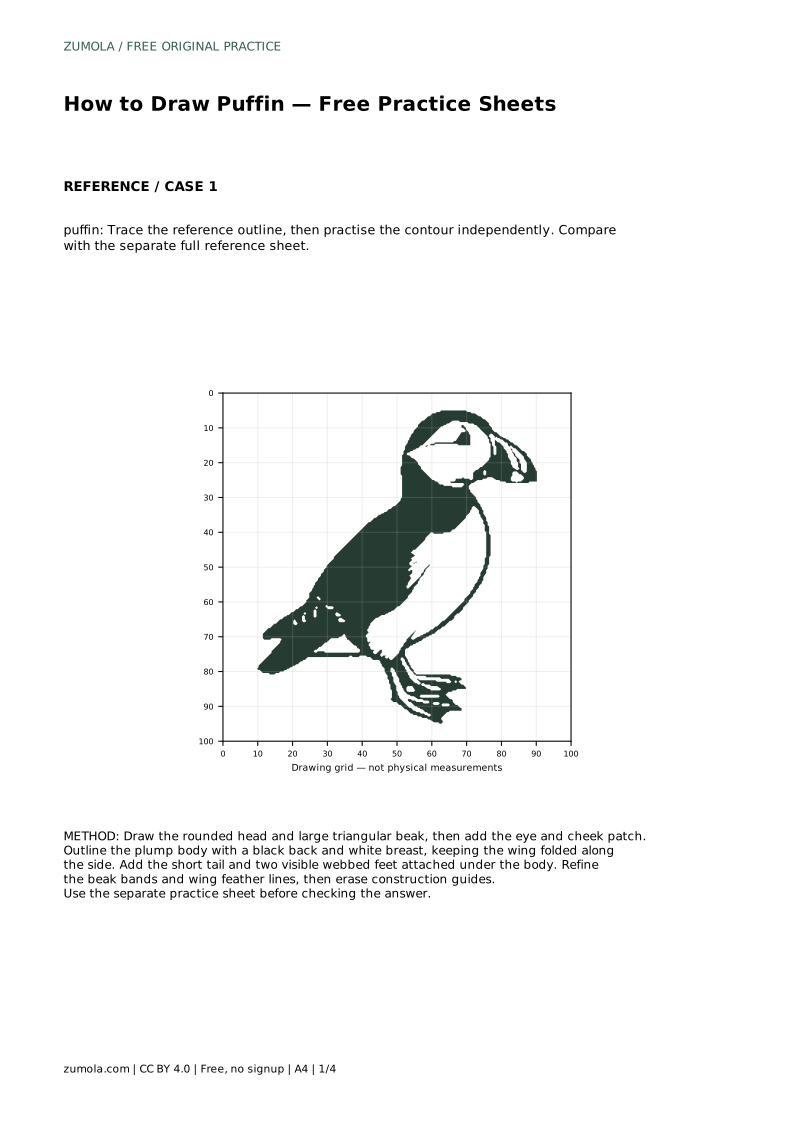
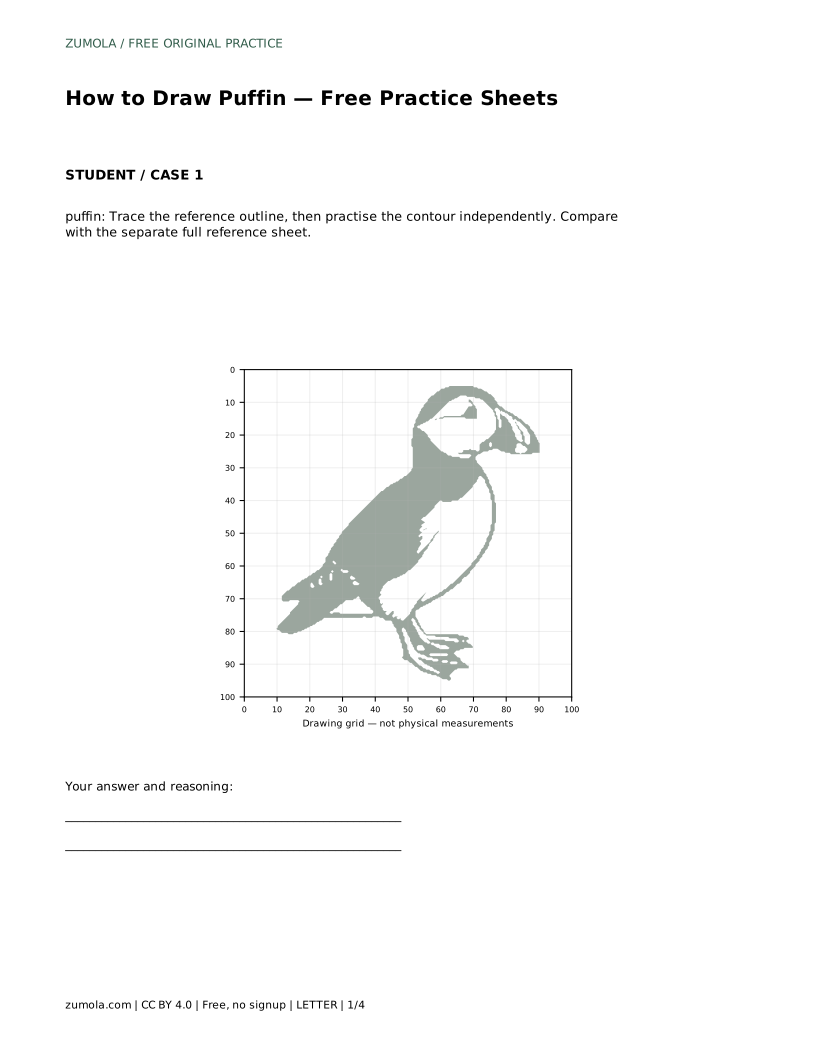
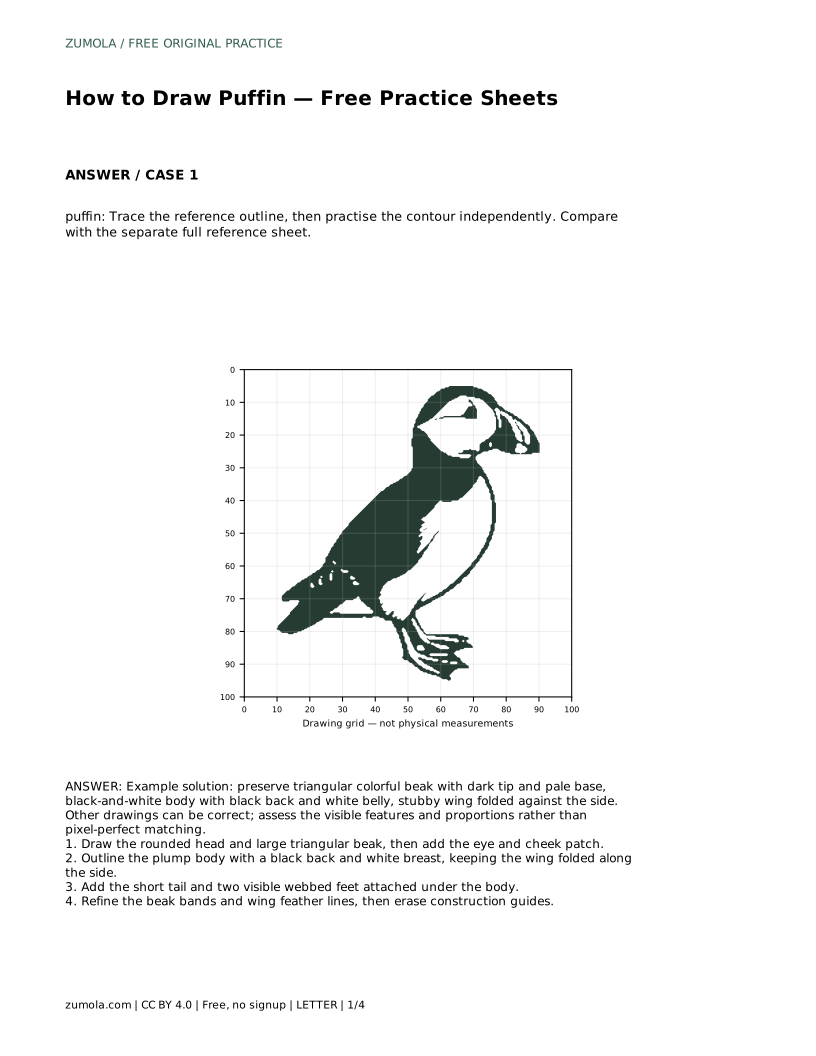
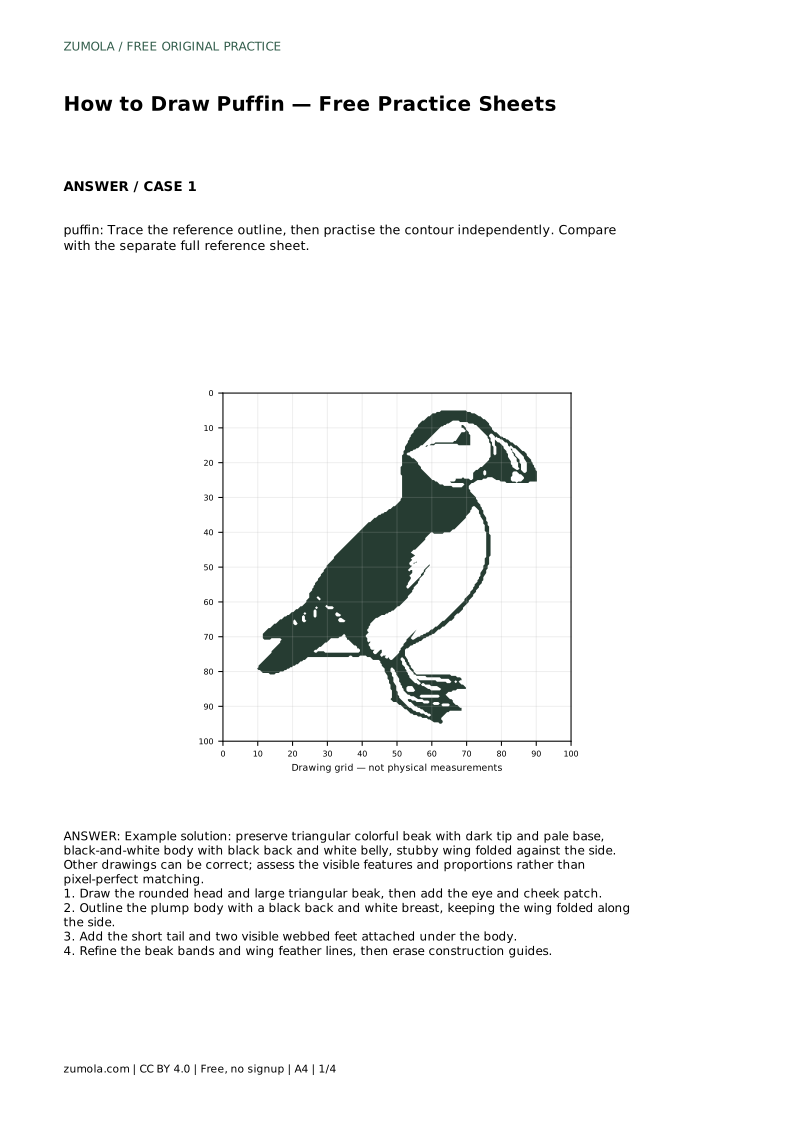
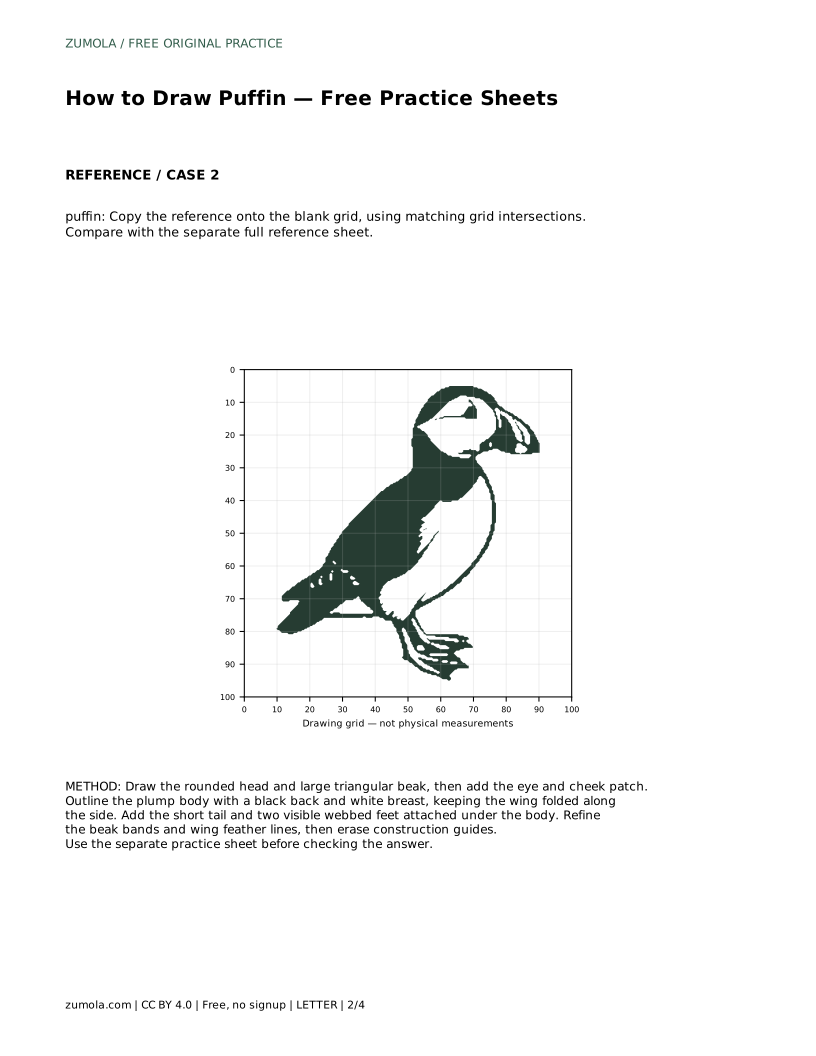
Learn to draw a puffin by tracing its outline, then repeating the contour freehand. Focus on the triangular beak, black back, white belly, folded wing and webbed feet.
Four original cases, with reference diagrams, practice sheets and worked answers. Everything is free; no signup required.
LETTER · Download PDF
A4 · Download PDF
LETTER · Download PDF
A4 · Download PDF
LETTER · Download PDF
A4 · Download PDF
Use A4 or US Letter to match your printer. Use the stated values and conditions to solve each exercise; diagrams are not physical measuring rulers.
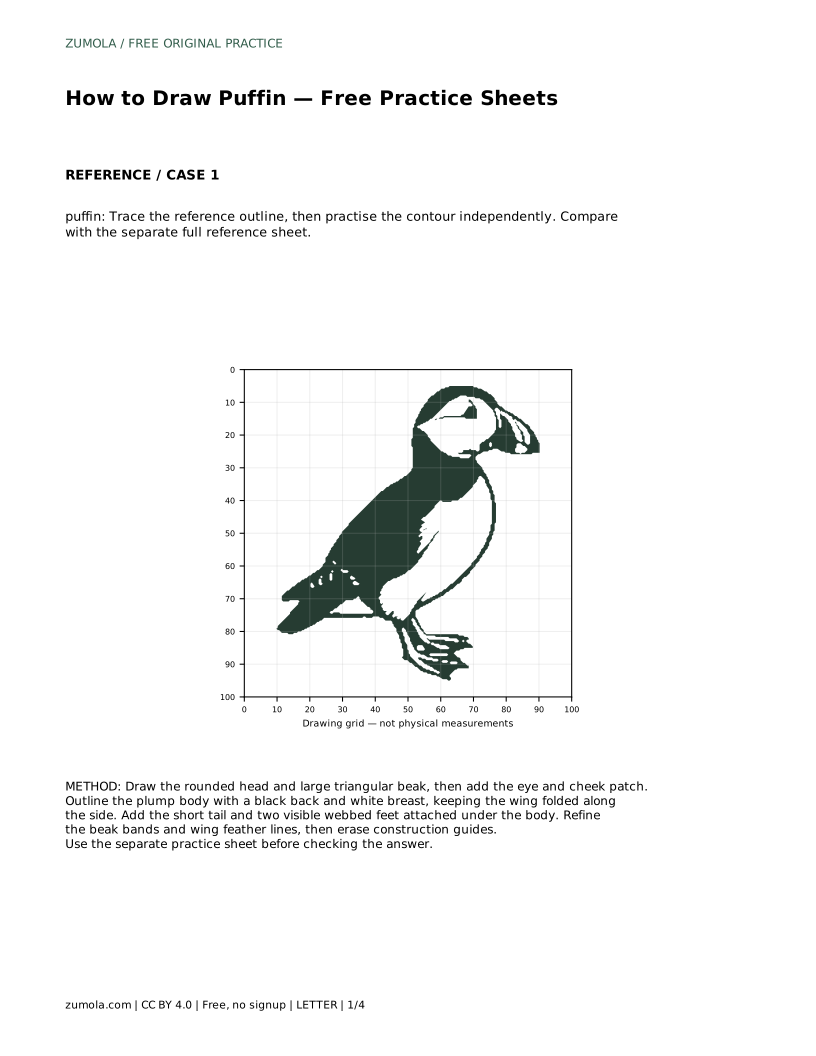
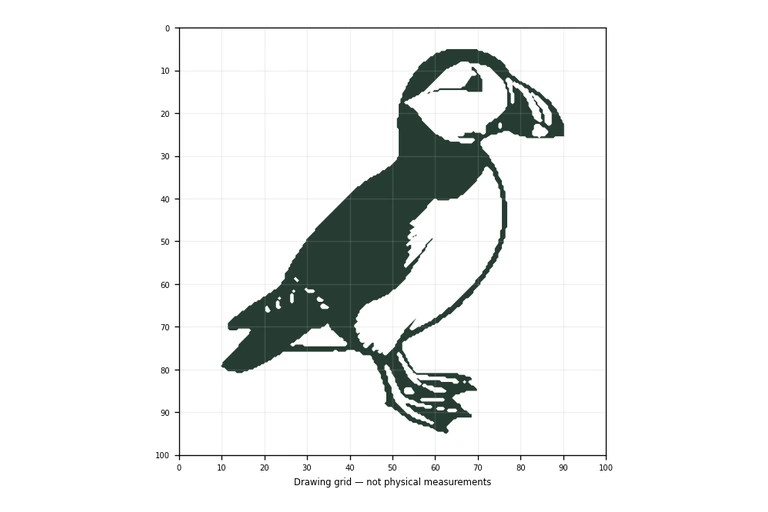
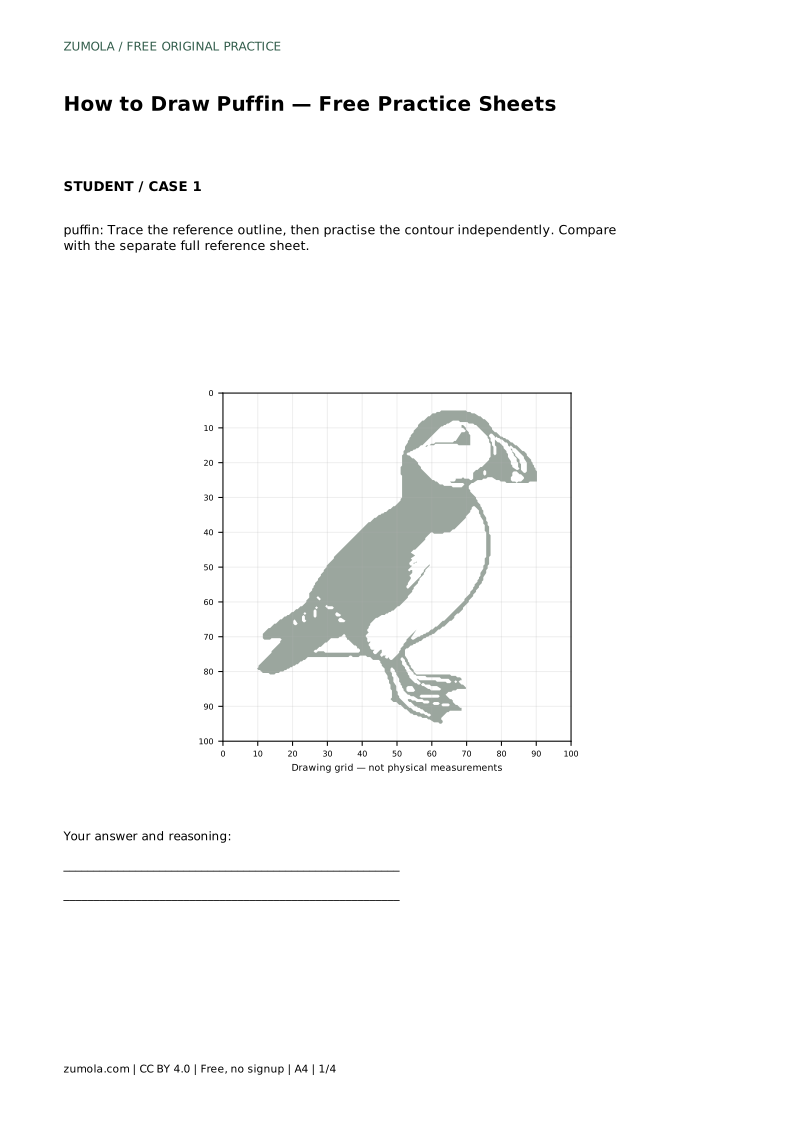
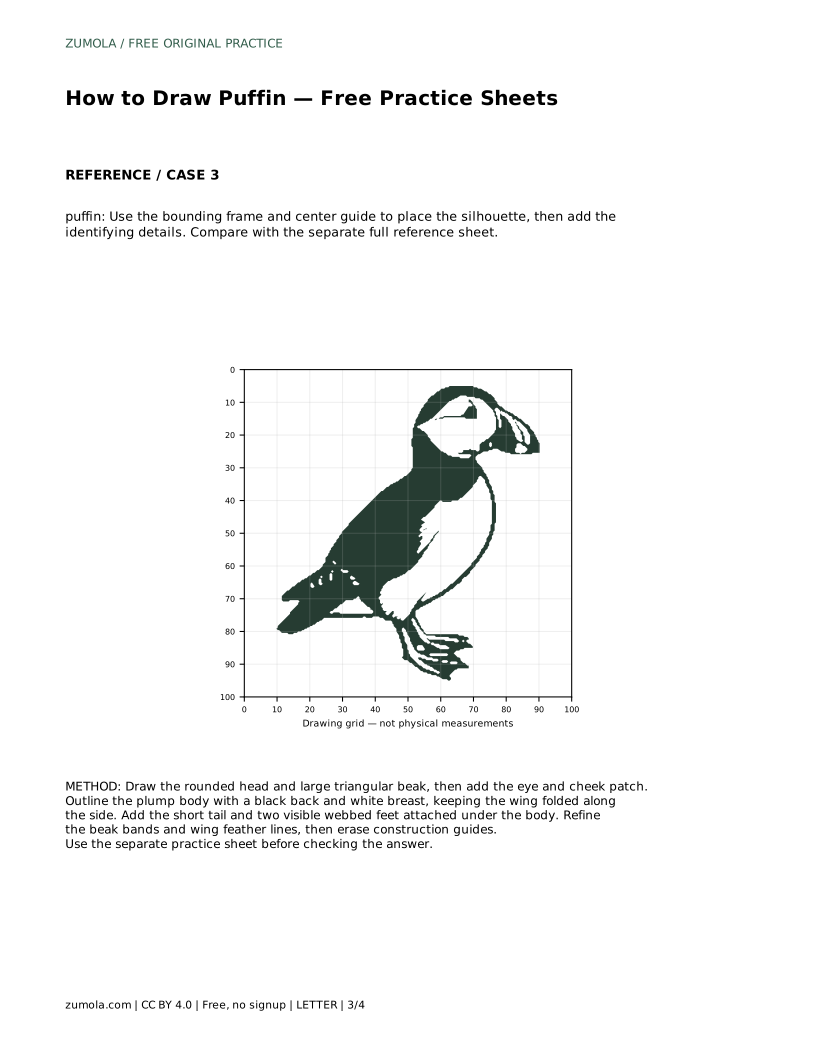
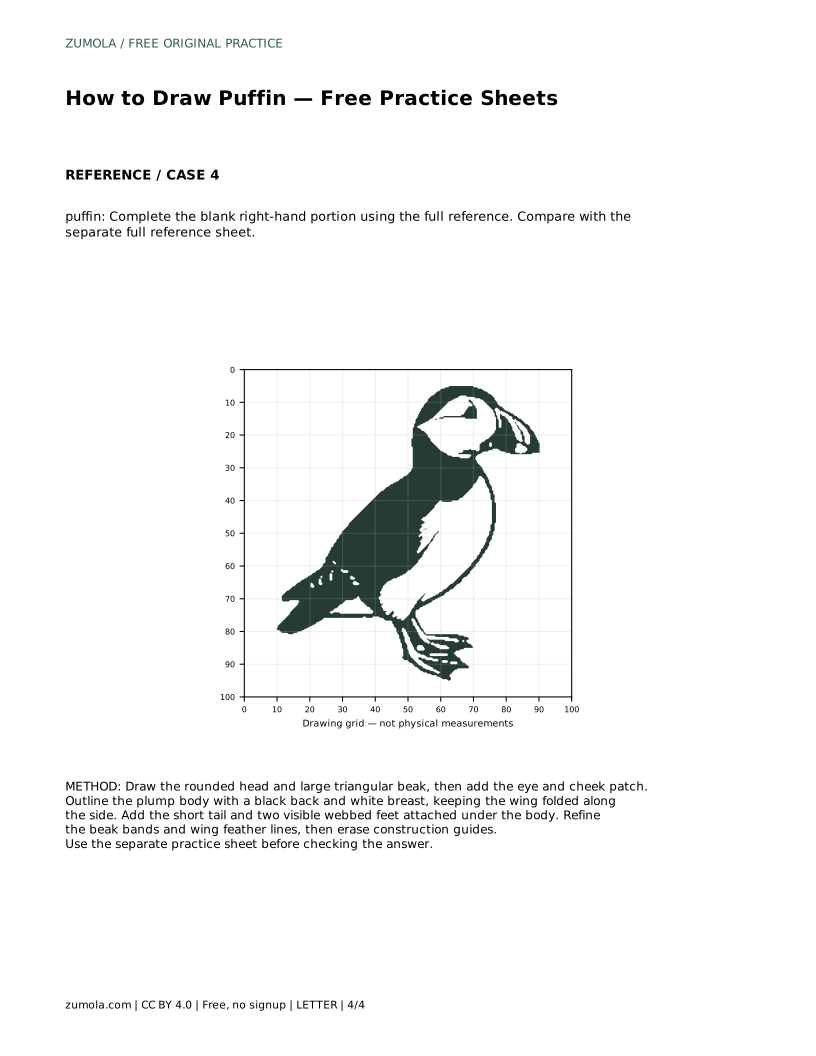
A puffin is easy to recognise but easy to draw vaguely: a rounded head, a large triangular beak, a plump black-and-white body, a folded wing and short webbed feet. This page uses tracing as a first pass, then asks you to draw the same contour without the outline. The goal is not a pixel-perfect copy. The goal is a drawing where the puffin's identifying features and proportions are clearly visible and can be checked against a separate full reference sheet.
Begin with the head because the beak sets the puffin apart from other seabirds. Draw a rounded head, then attach a large triangular beak that points forward. The beak is not a plain triangle: it has a dark tip and a pale base, with colour bands between them. Add the eye above the beak and a small cheek patch behind it. Keep the head modest in size relative to the body; a puffin looks compact, not long-necked.
When tracing, follow the reference outline slowly and notice where the beak meets the head. When you repeat the contour independently, draw the same junction first, then build outward. Compare your result with the separate full reference sheet rather than with your traced copy alone.
Outline a plump body beneath the head. The back is black and the breast is white, so plan where that division runs before adding detail. Keep the stubby wing folded along the side rather than spread; a folded wing reads as a smooth shape with a few feather lines. Add a short tail at the back and two visible webbed feet attached under the body. Feet should sit below the body mass, not float beside it.
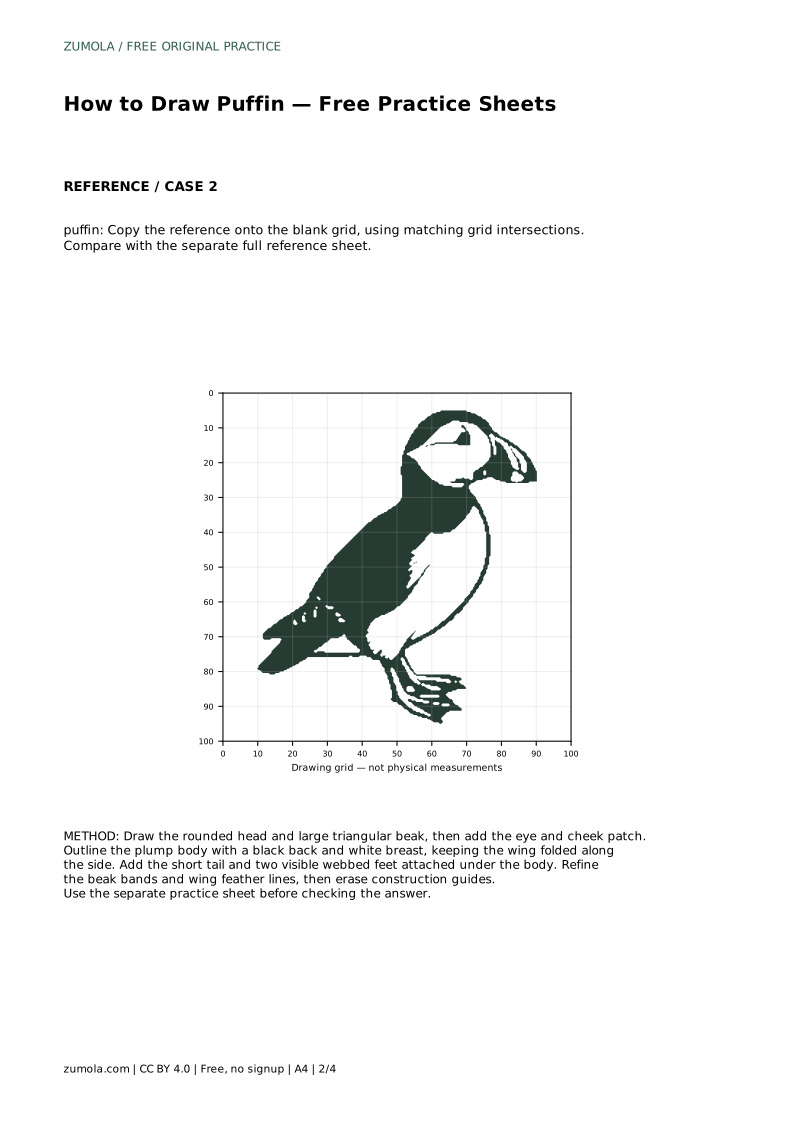
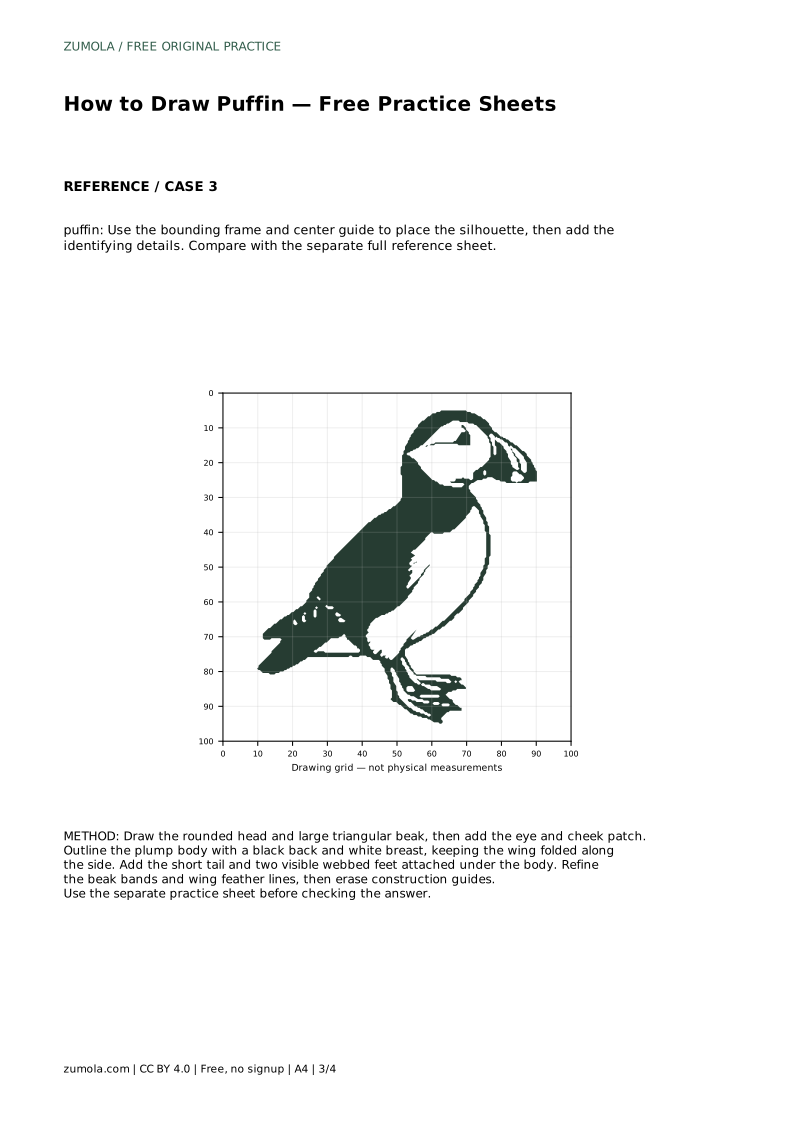
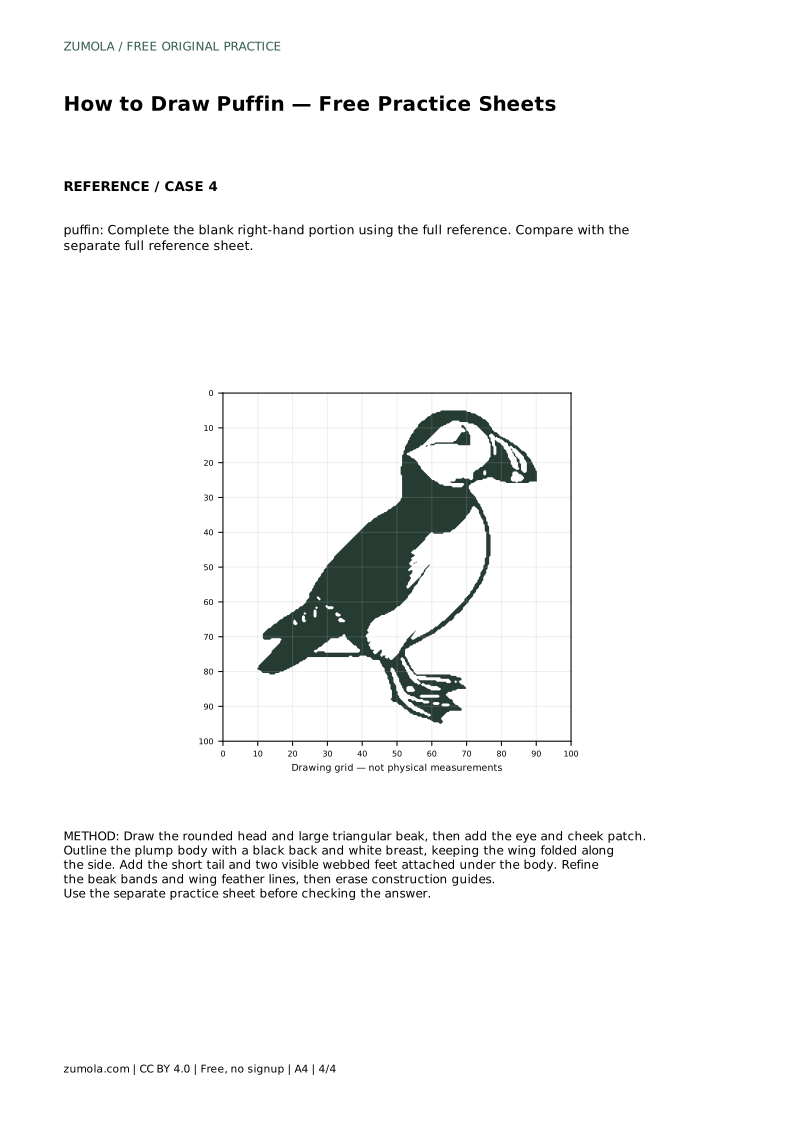
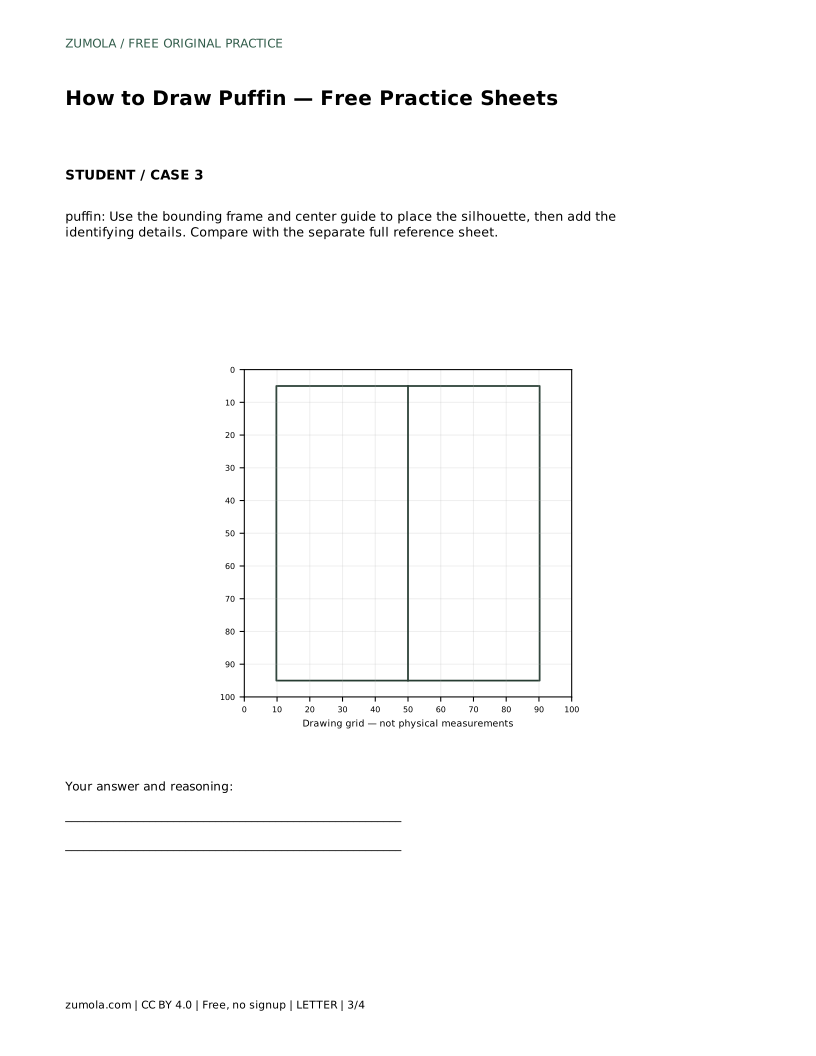
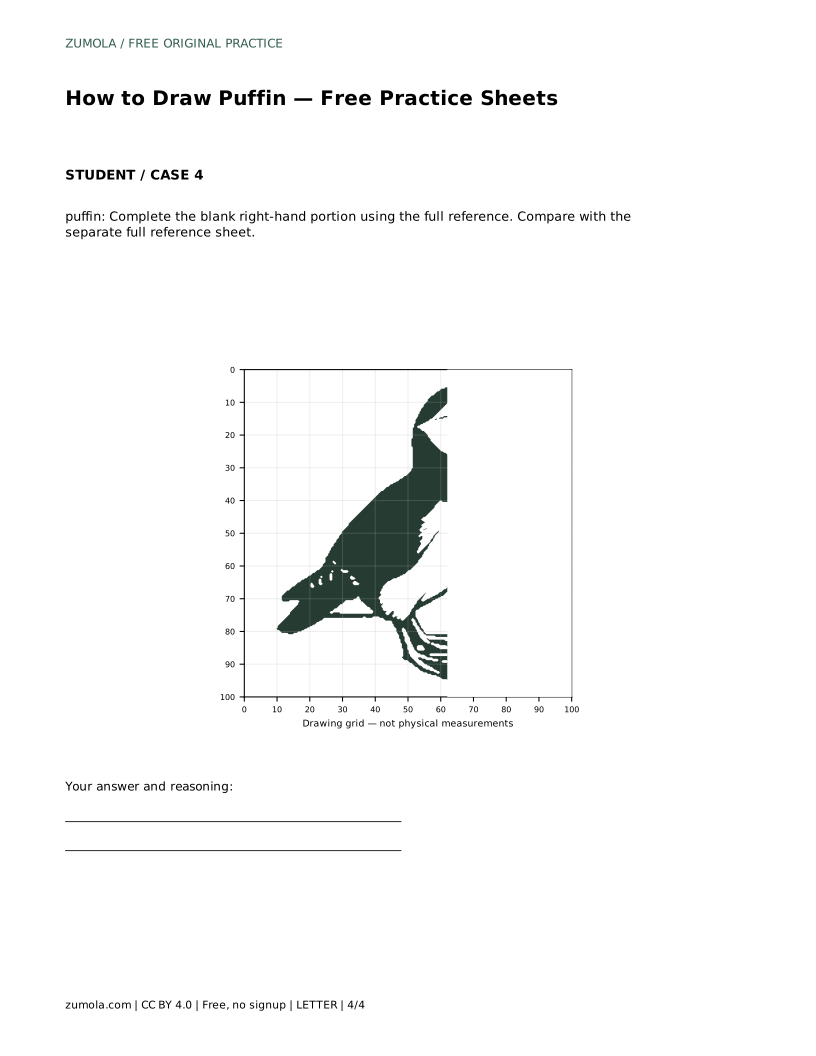
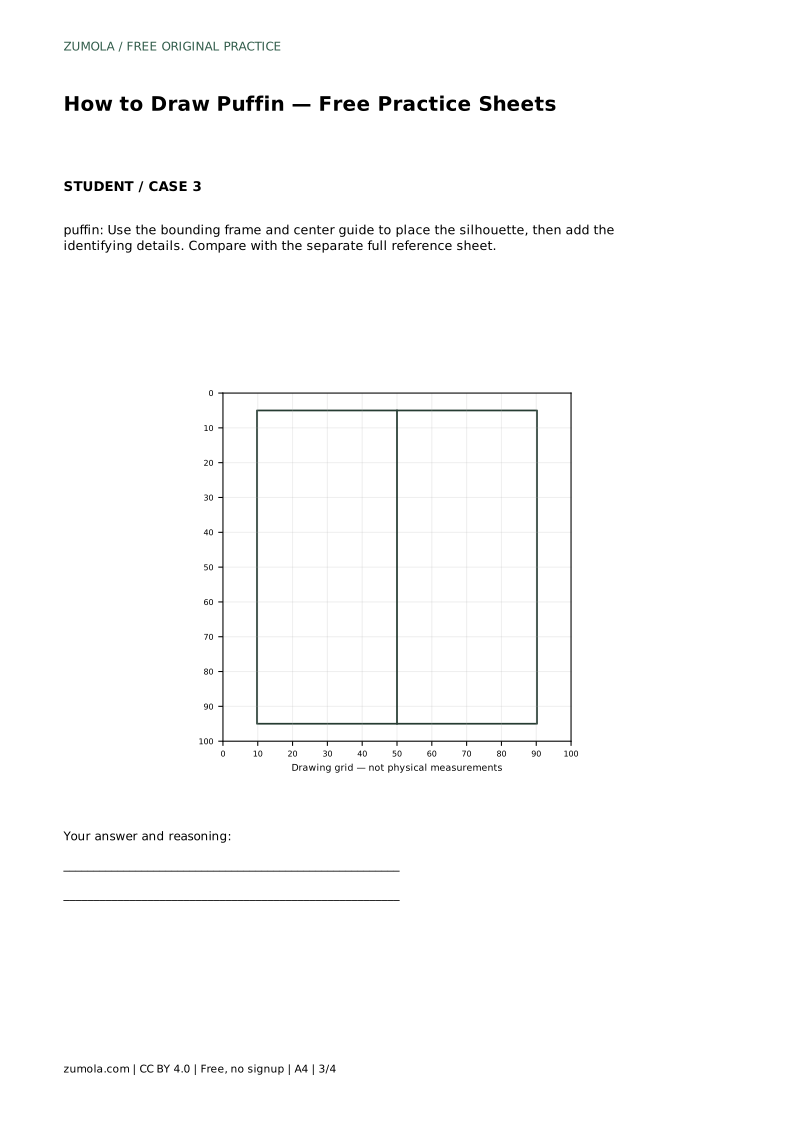
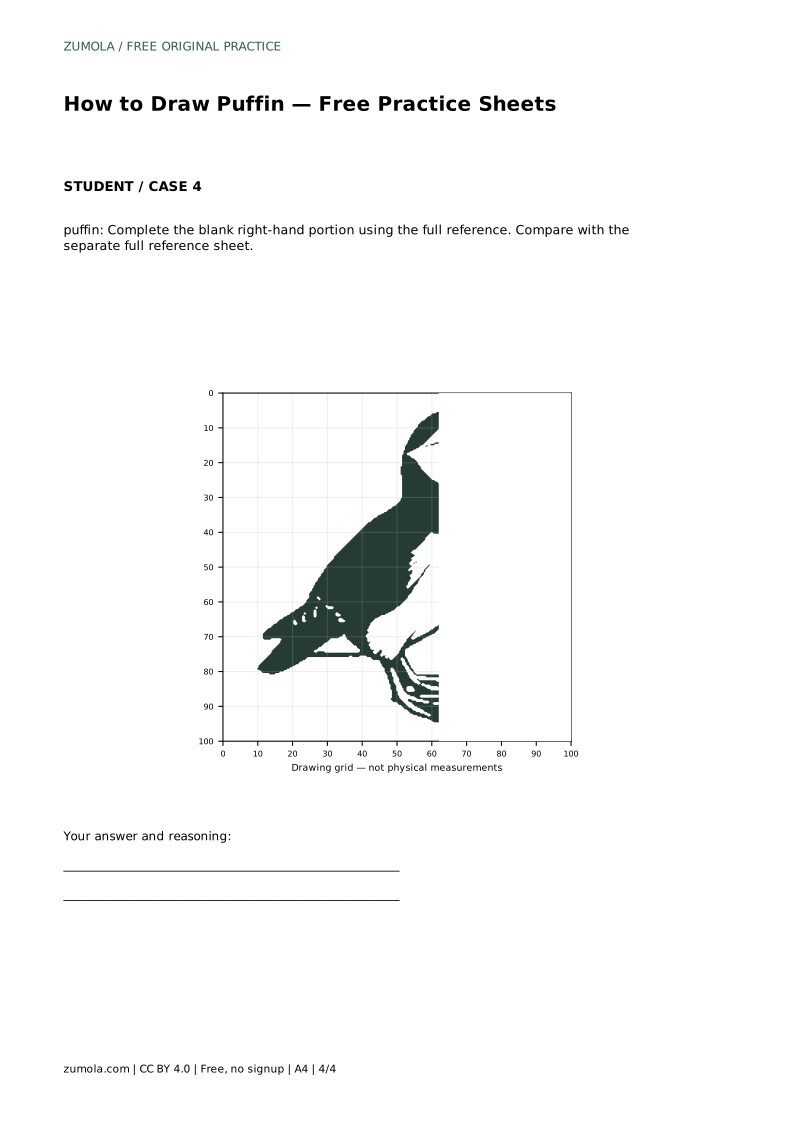
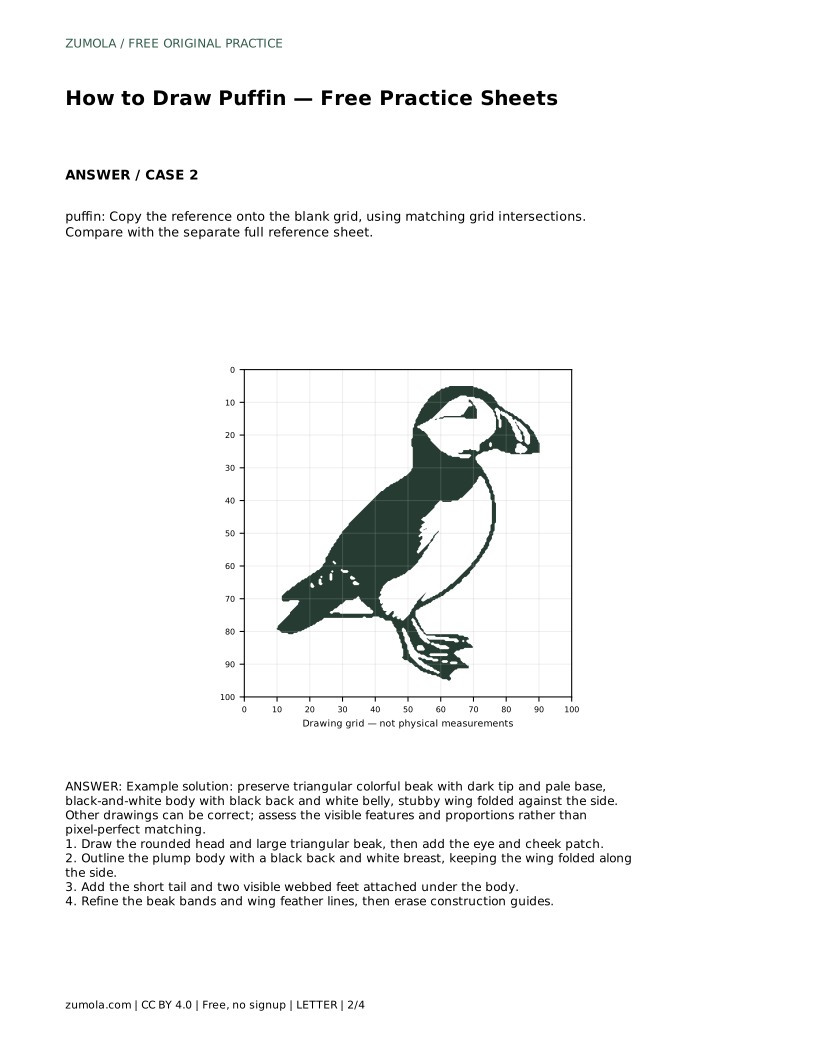
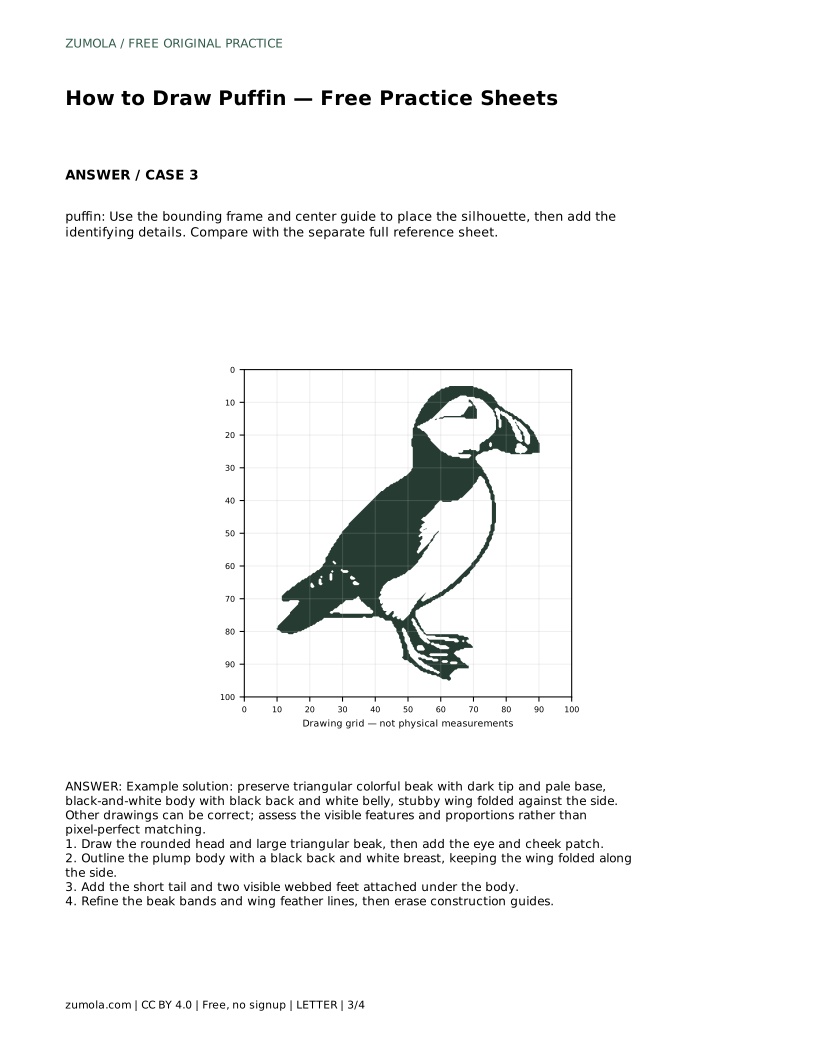
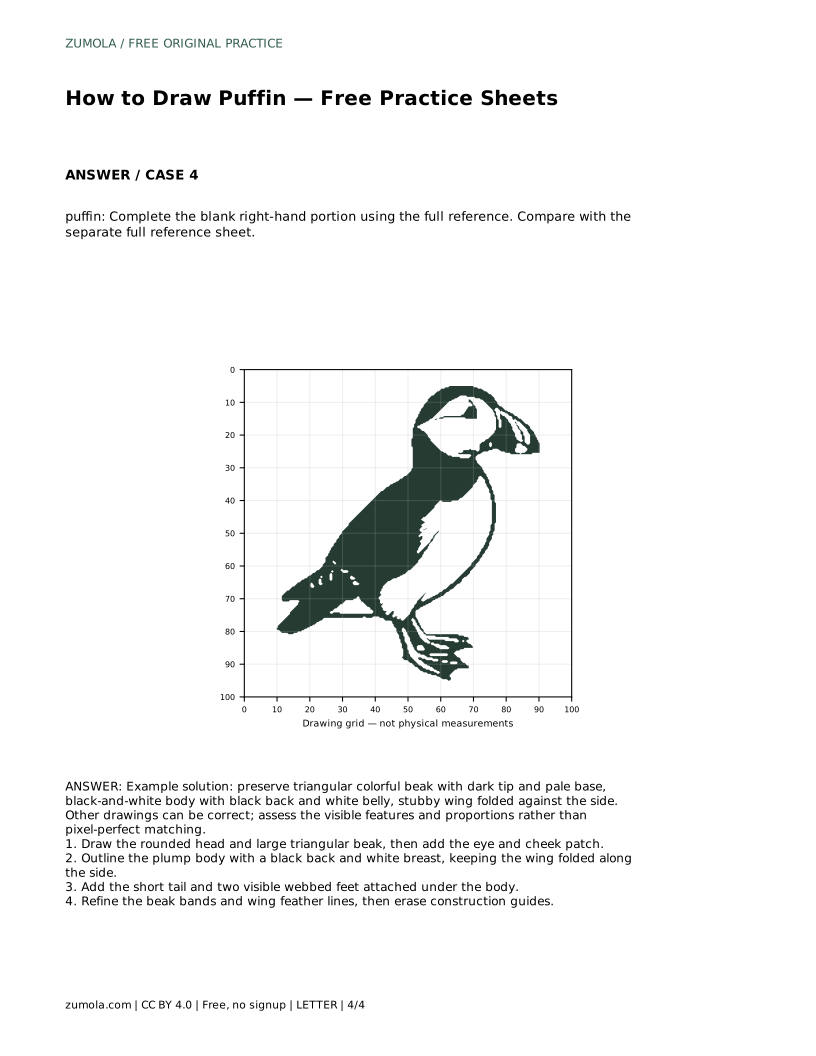
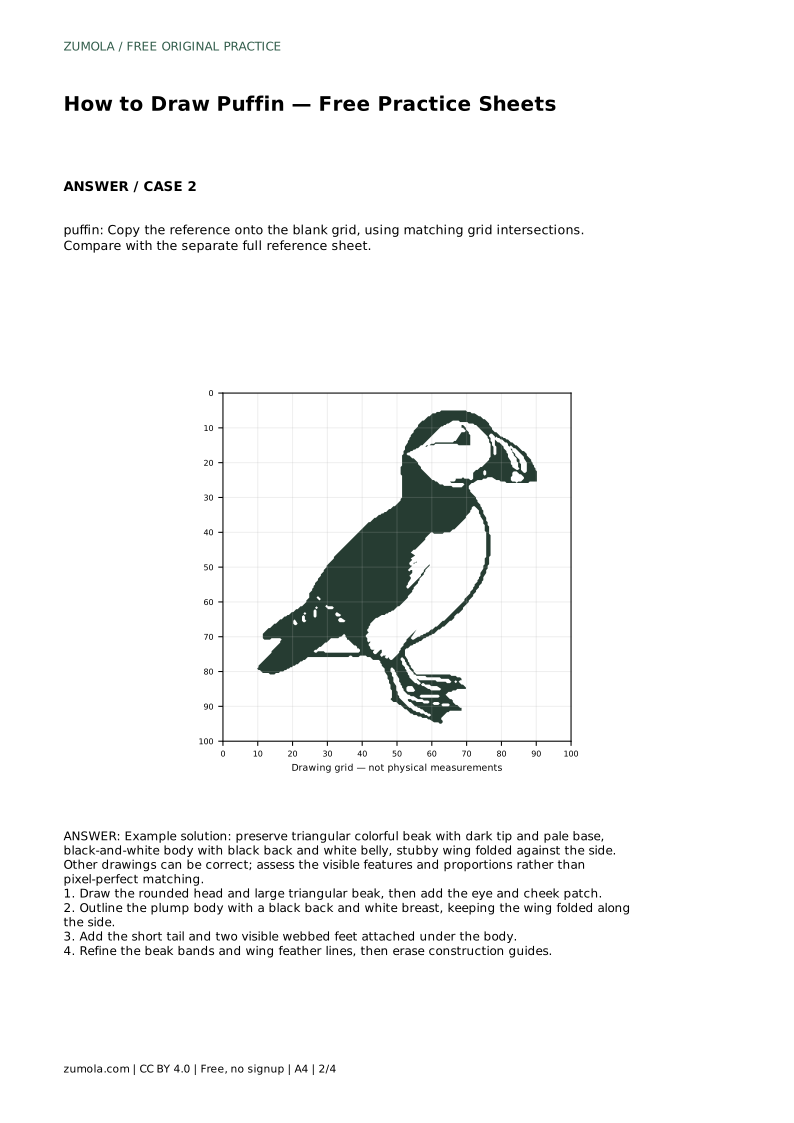
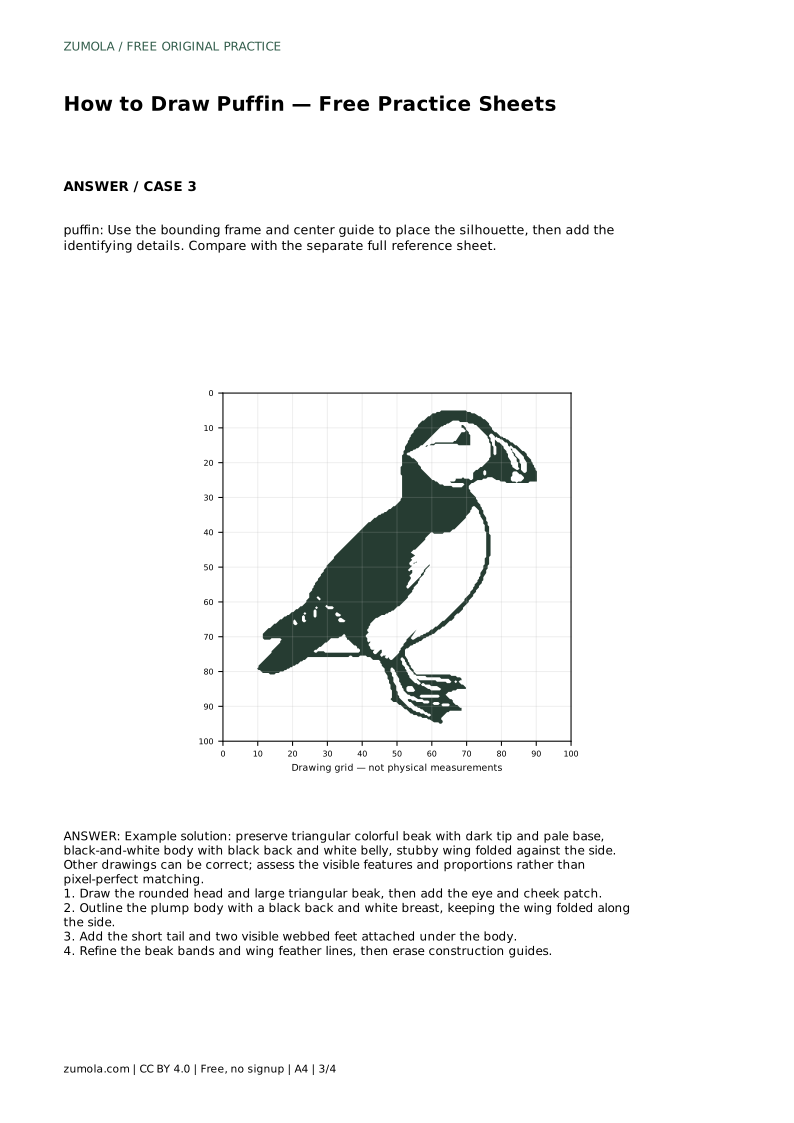
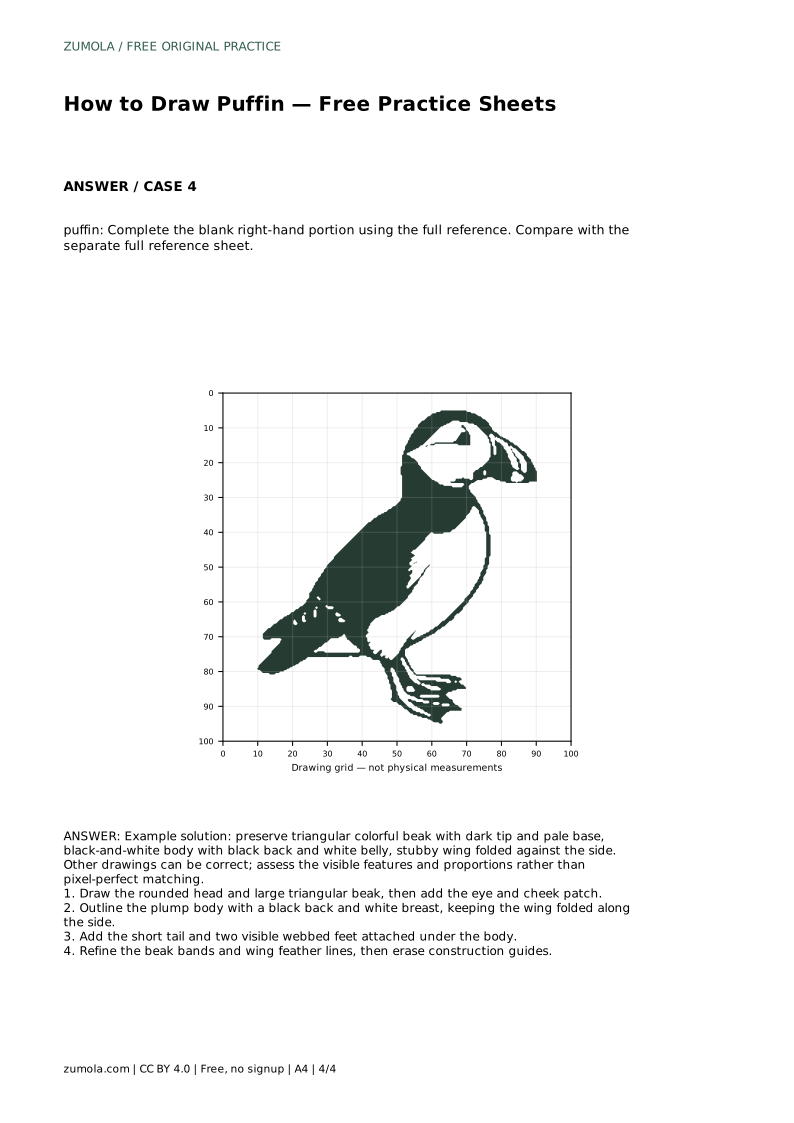
If you are copying onto a blank grid, use matching grid intersections to place the head, beak tip, wing edge and feet. If you are using a bounding frame and centre guide, place the silhouette inside the frame first, then add the identifying details. For a half-completed sheet, use the full reference to finish the blank portion, matching the scale of the drawn side.
Because drawings can be correct in different ways, judge visible features rather than exact matching. Ask whether the beak is triangular with a dark tip and pale base, whether the body is black-backed and white-bellied, whether the wing is folded, and whether two webbed feet attach under the body. Proportions matter too: the head should look rounded and the body plump.
Use the separate full reference sheet for comparison. If a feature is missing or misplaced, redraw that part rather than starting over. Small corrections to the beak angle or foot position often fix the whole drawing.
puffin: Trace the reference outline, then practise the contour independently. Compare with the separate full reference sheet.
Example solution: preserve triangular colorful beak with dark tip and pale base, black-and-white body with black back and white belly, stubby wing folded against the side. Other drawings can be correct; assess the visible features and proportions rather than pixel-perfect matching. Draw the rounded head and large triangular beak, then add the eye and cheek patch. Outline the plump body with a black back and white breast, keeping the wing folded along the side. Add the short tail and two visible webbed feet attached under the body. Refine the beak bands and wing feather lines, then erase construction guides.
No. Other drawings can be correct. Assess the visible features and proportions rather than pixel-perfect matching.
Check the triangular beak with its dark tip and pale base, then the black back and white belly, the folded wing and the two webbed feet under the body.
Use whichever sheet matches your practice goal. Each one supports placing the silhouette and adding identifying details, and each is compared with the separate full reference sheet.
All drawing practice · Free coordinate paper
Original resources · CC BY 4.0 · Free for personal and classroom use with attribution.