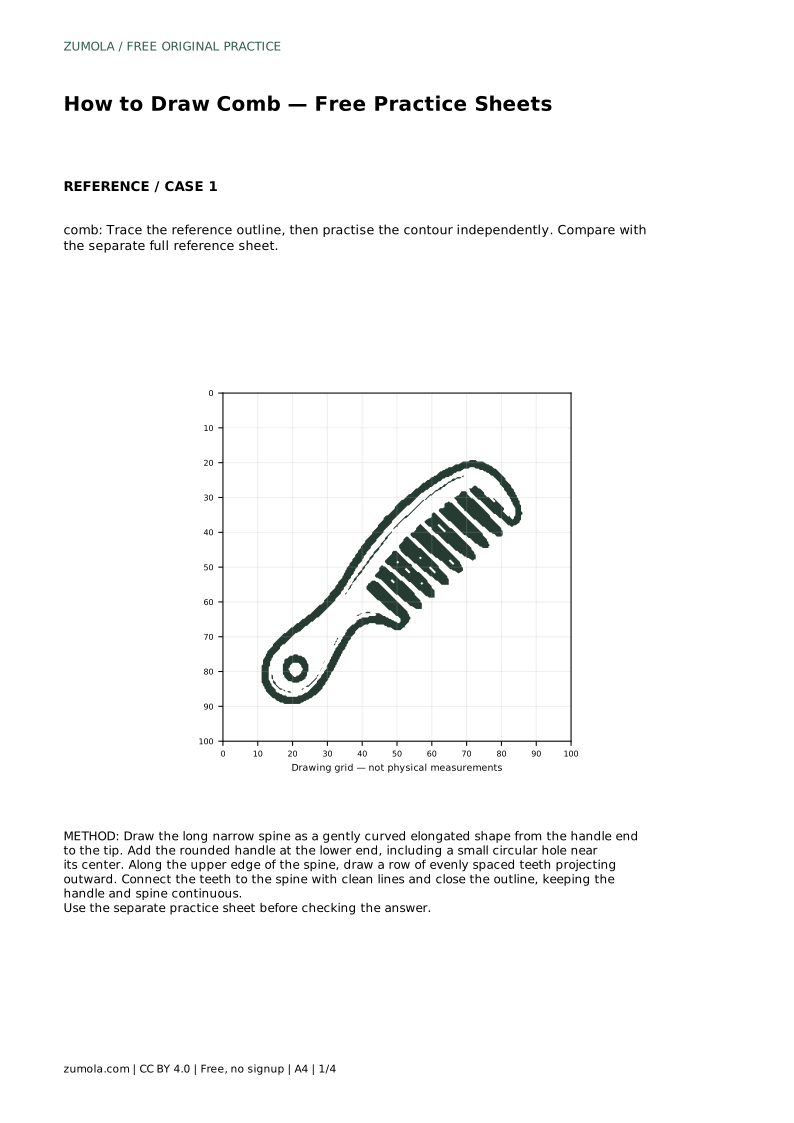
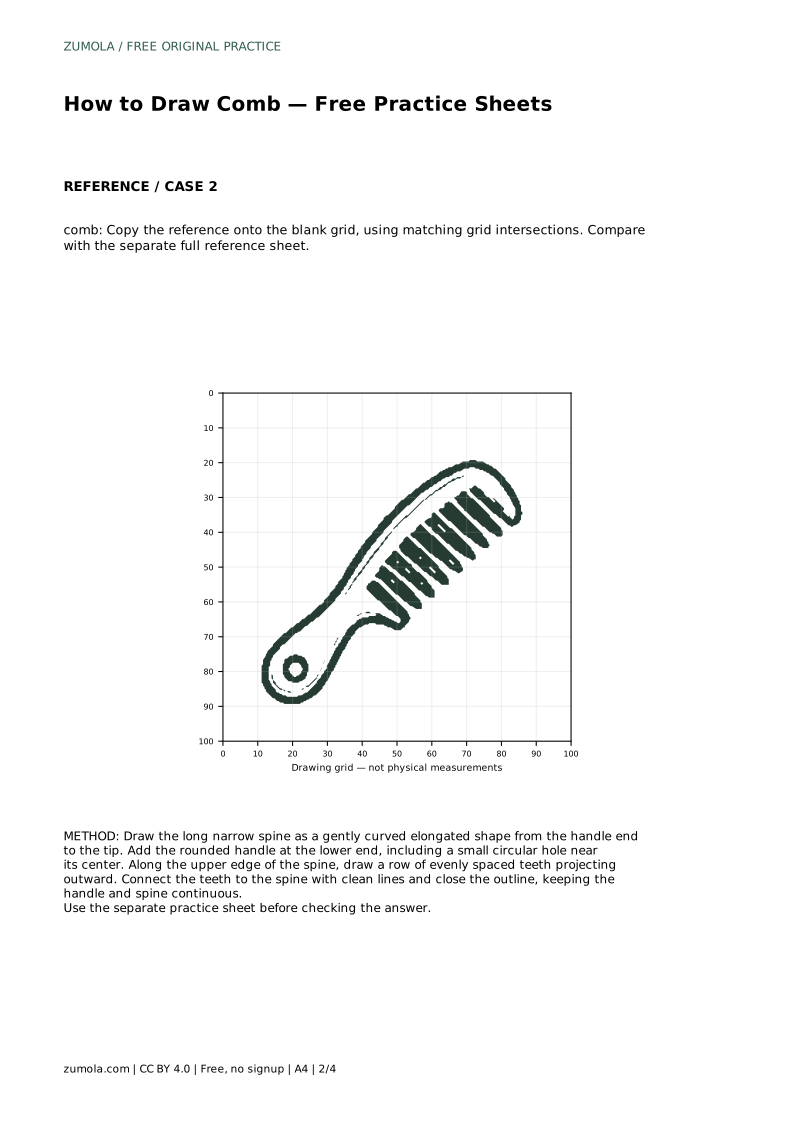
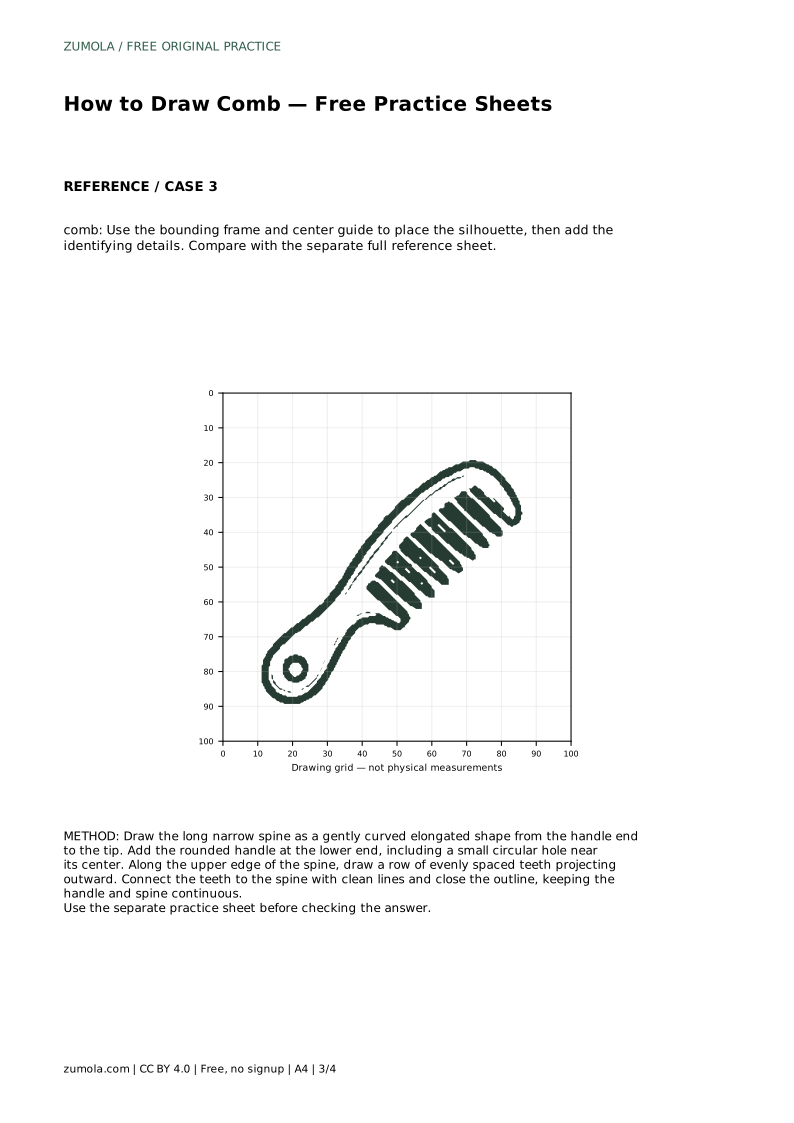
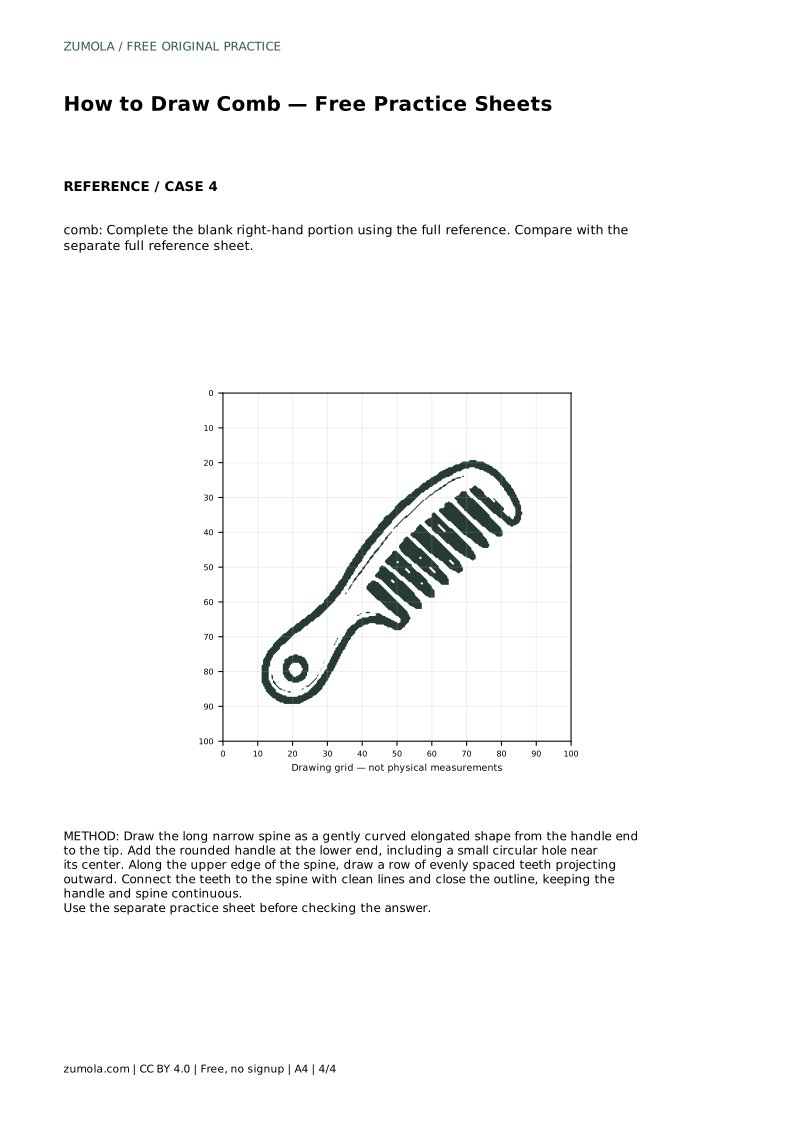
Reference diagrams
LETTER · Download PDF
A4 · Download PDF
Free original resources
Learn to draw a comb by building its spine, rounded handle, hole, and evenly spaced teeth. Free printable practice sheets support tracing, grids, and guided outlines.
Four original cases, with reference diagrams, practice sheets and worked answers. Everything is free; no signup required.
LETTER · Download PDF
A4 · Download PDF
LETTER · Download PDF
A4 · Download PDF
LETTER · Download PDF
A4 · Download PDF
Use A4 or US Letter to match your printer. Use the stated values and conditions to solve each exercise; diagrams are not physical measuring rulers.
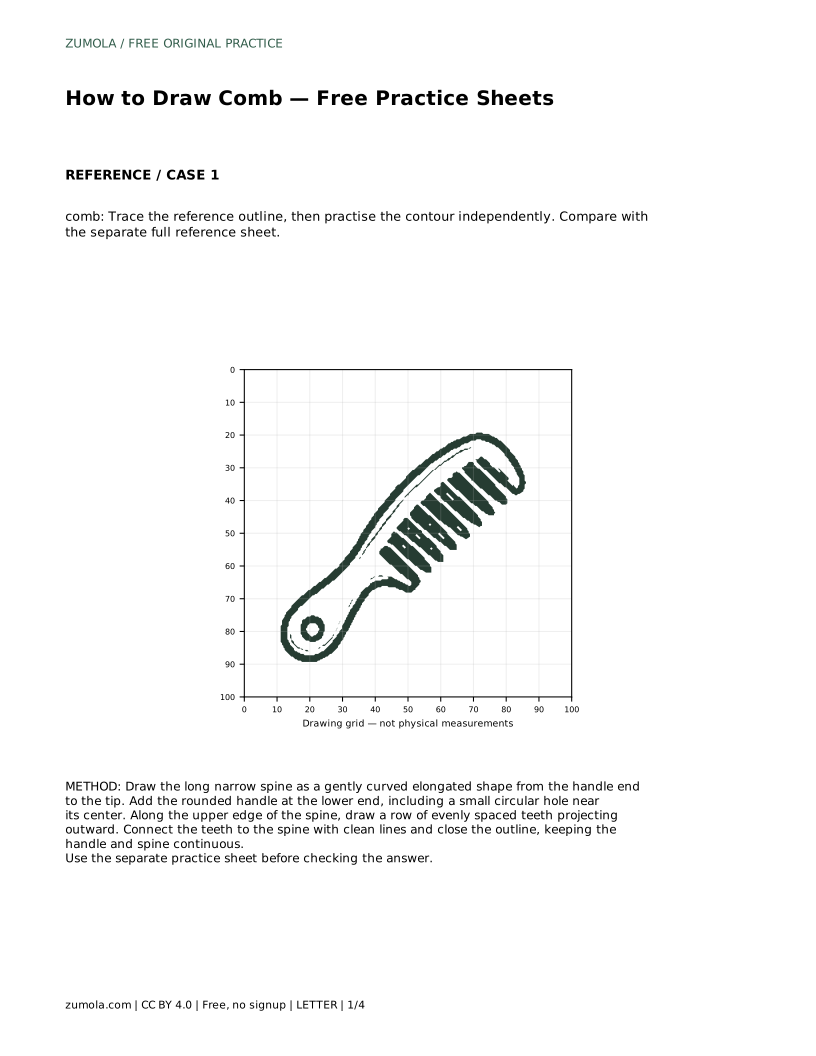
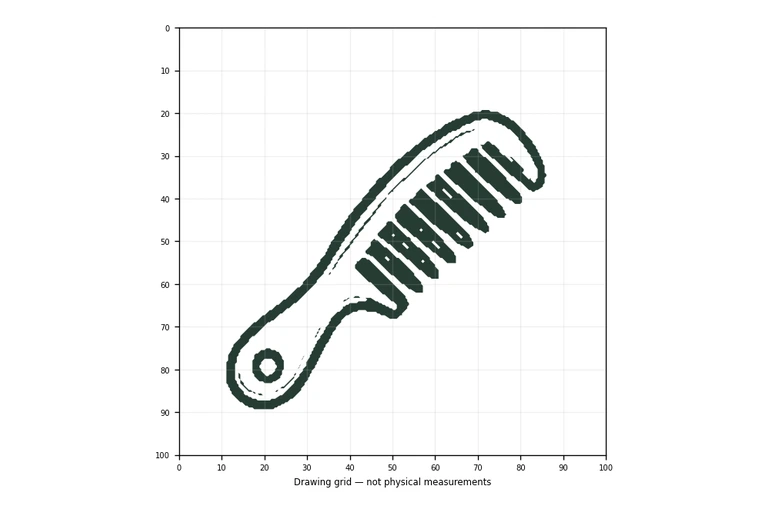
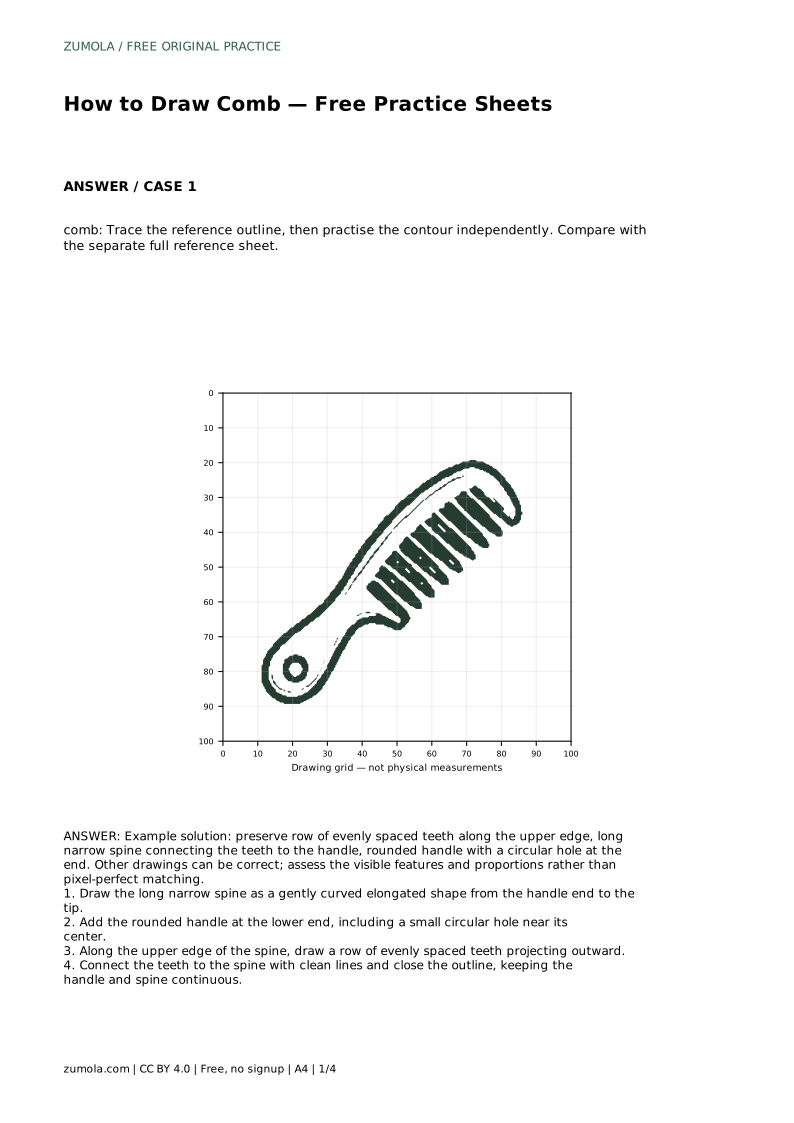
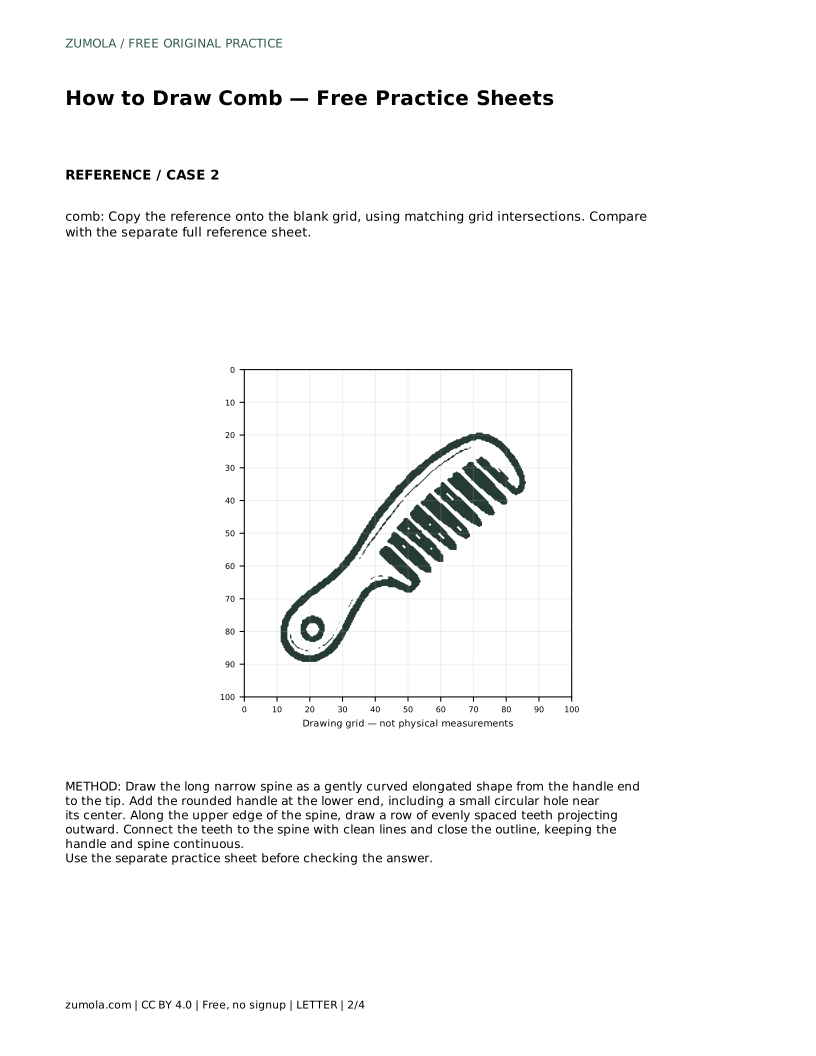
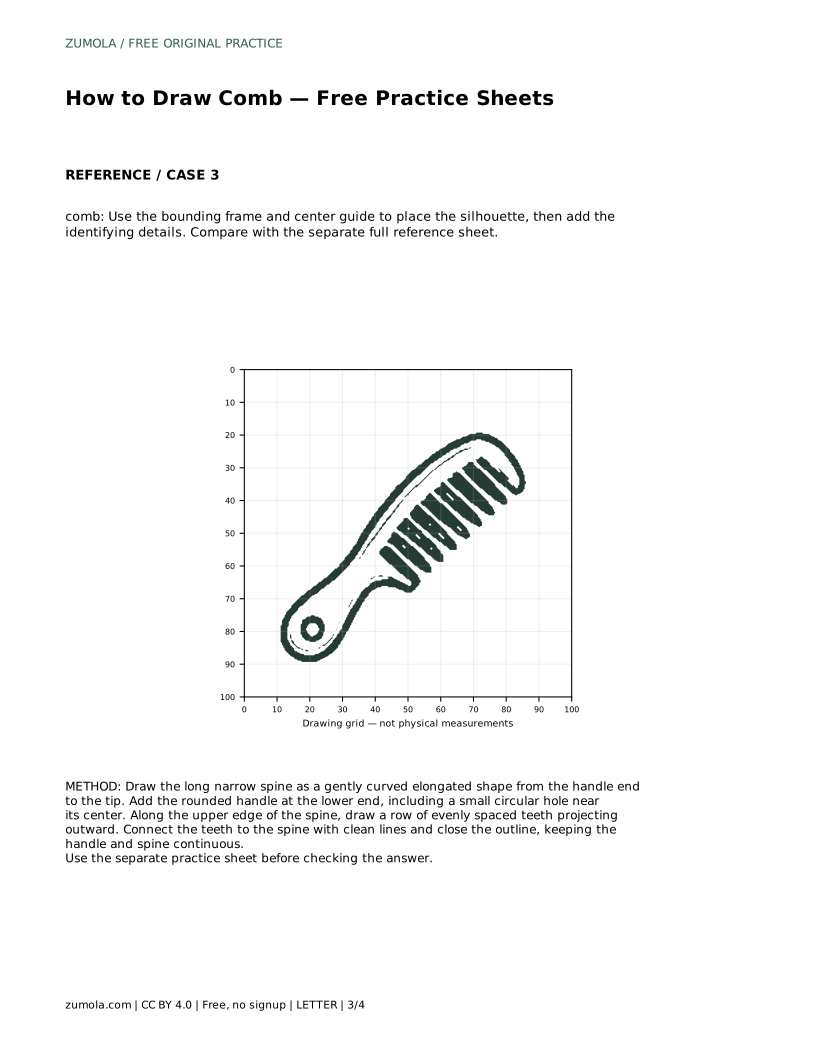
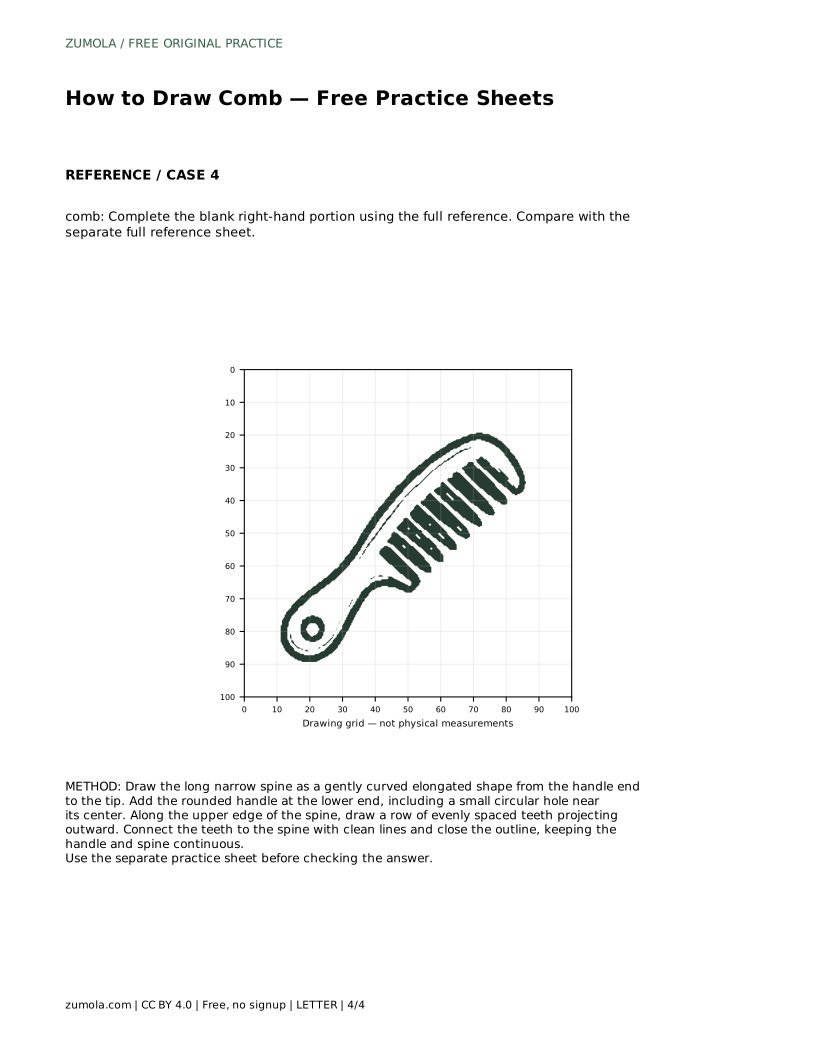
A comb is a simple object with a clear structure: a long narrow spine, a rounded handle with a small hole, and a row of evenly spaced teeth along the upper edge. Drawing it well depends on proportion and rhythm rather than artistic flair. This guide explains how to build the shape step by step, then use the free practice sheets to trace, copy, and complete the drawing independently.
Begin with the largest continuous part: the spine. Draw it as a long, narrow, gently curved elongated shape running from the handle end toward the tip. Keep the curve shallow so the comb still reads as a single object rather than a bent strip. The spine is the backbone of the drawing, and every tooth will attach to it.
At the lower end, add the rounded handle. It should feel like a natural widening of the spine, not a separate blob stuck on. Place a small circular hole near the center of the handle. Keep the hole modest in size; a large hole changes the proportions and makes the handle look weak. Check that the handle and spine connect without a pinch or gap.
Along the upper edge of the spine, draw a row of teeth projecting outward. Spacing matters more than speed: if the gaps between teeth vary wildly, the comb looks broken even when the outline is neat. Mark the tooth positions lightly before committing to full lines, then draw each tooth to a similar length.
Connect each tooth to the spine with clean lines and close the outline. The teeth should sit on the same side of the spine and point in a consistent direction. Keep the base of each tooth attached to the spine rather than floating above it. When the outline is closed, the comb should read as one connected shape with a clear top edge of teeth and a solid lower body.
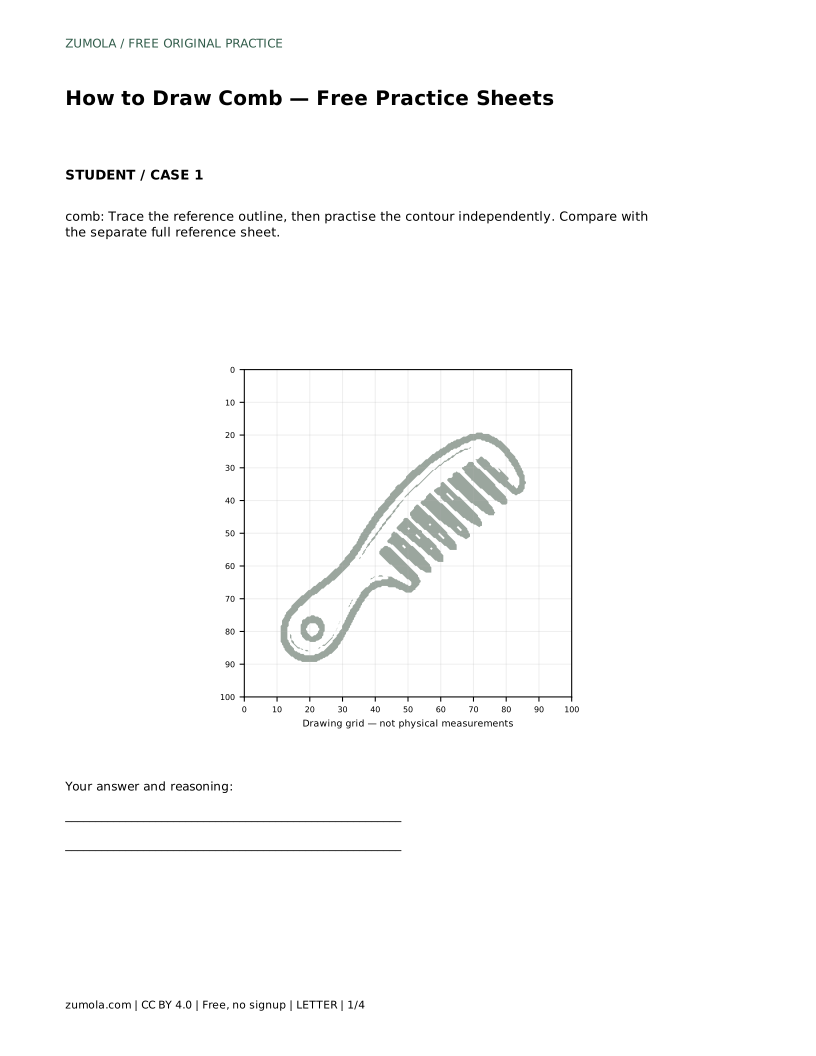
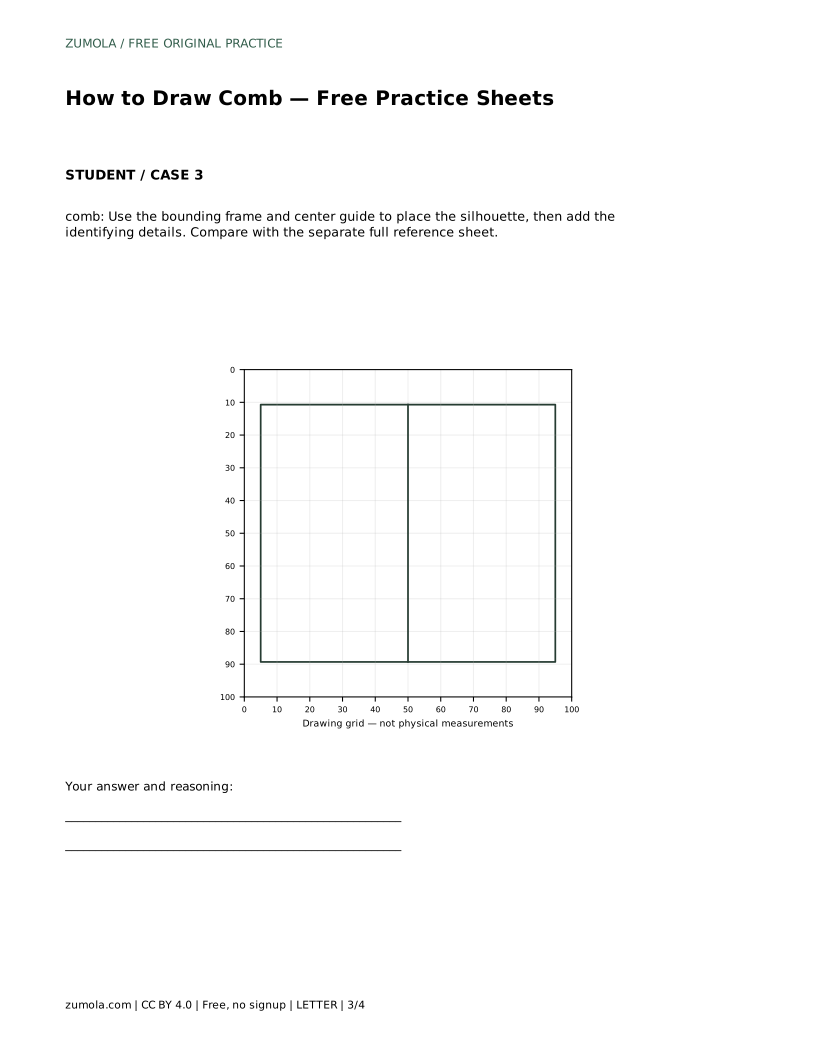
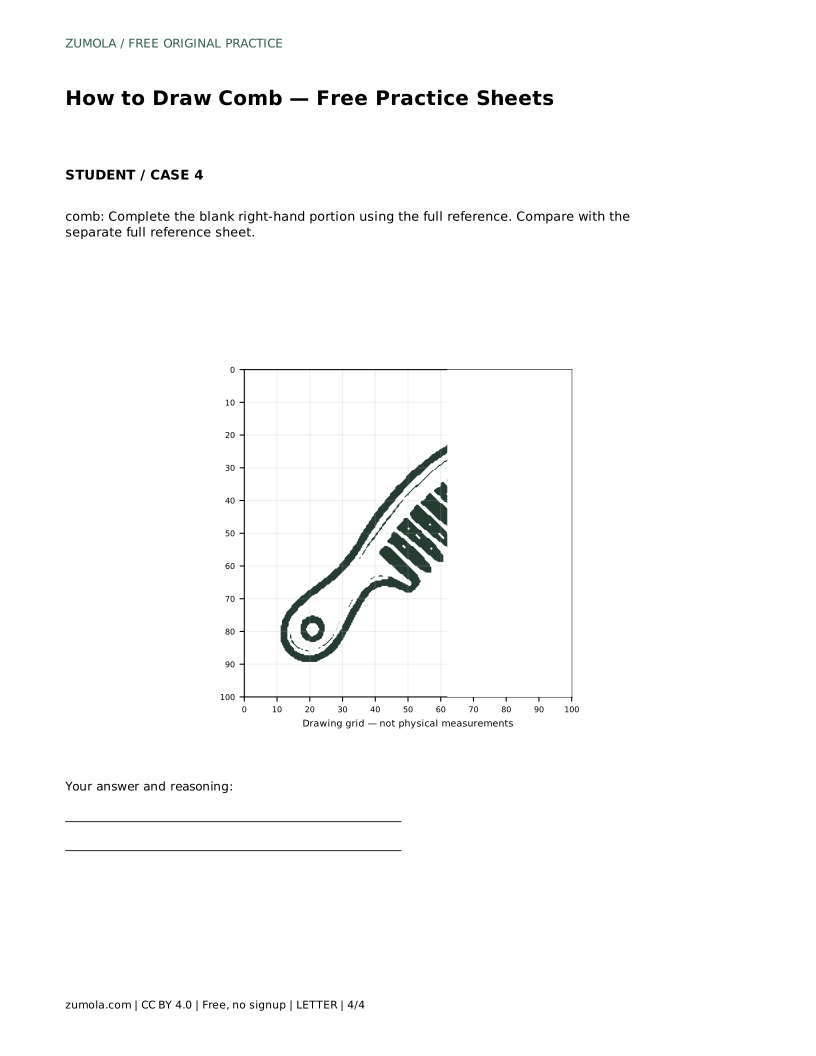
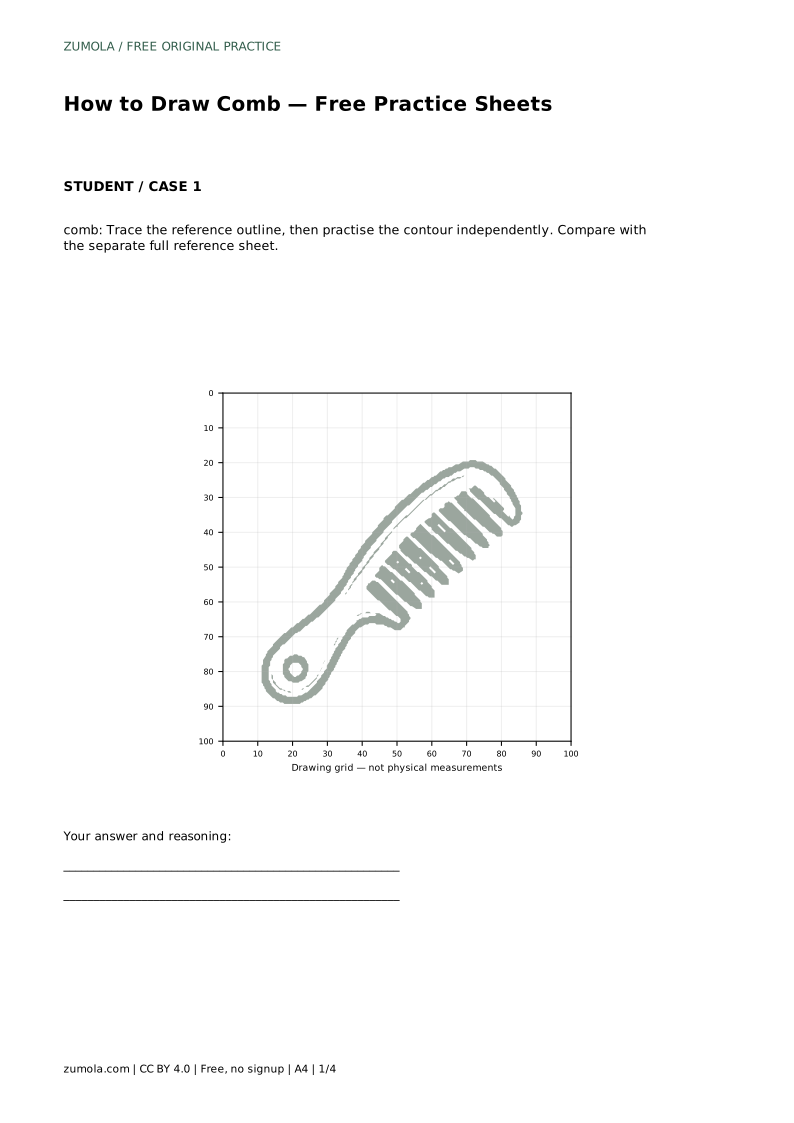
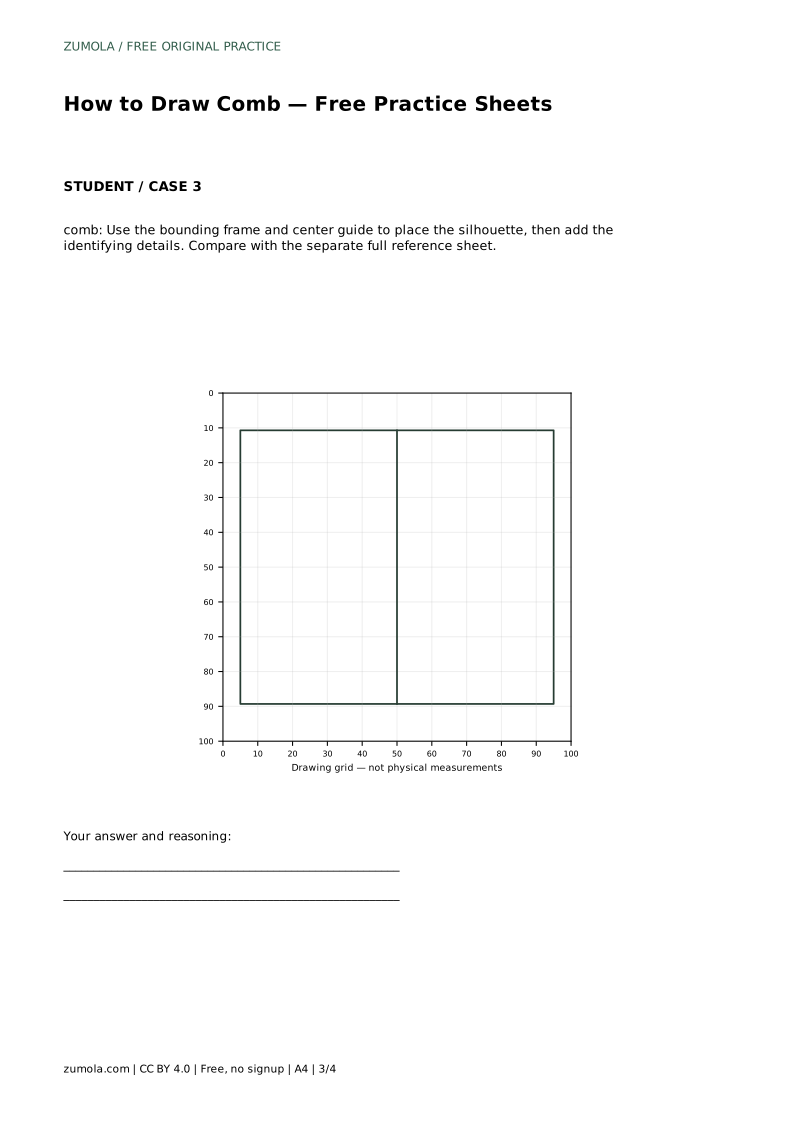
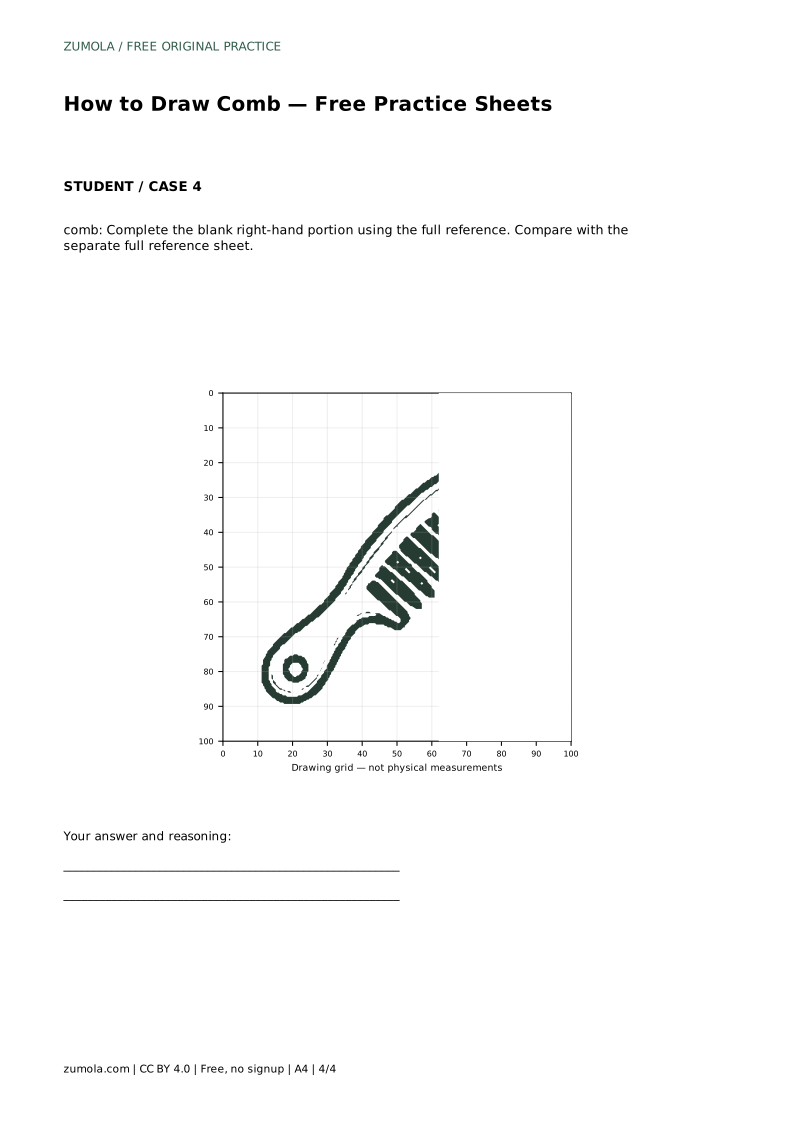
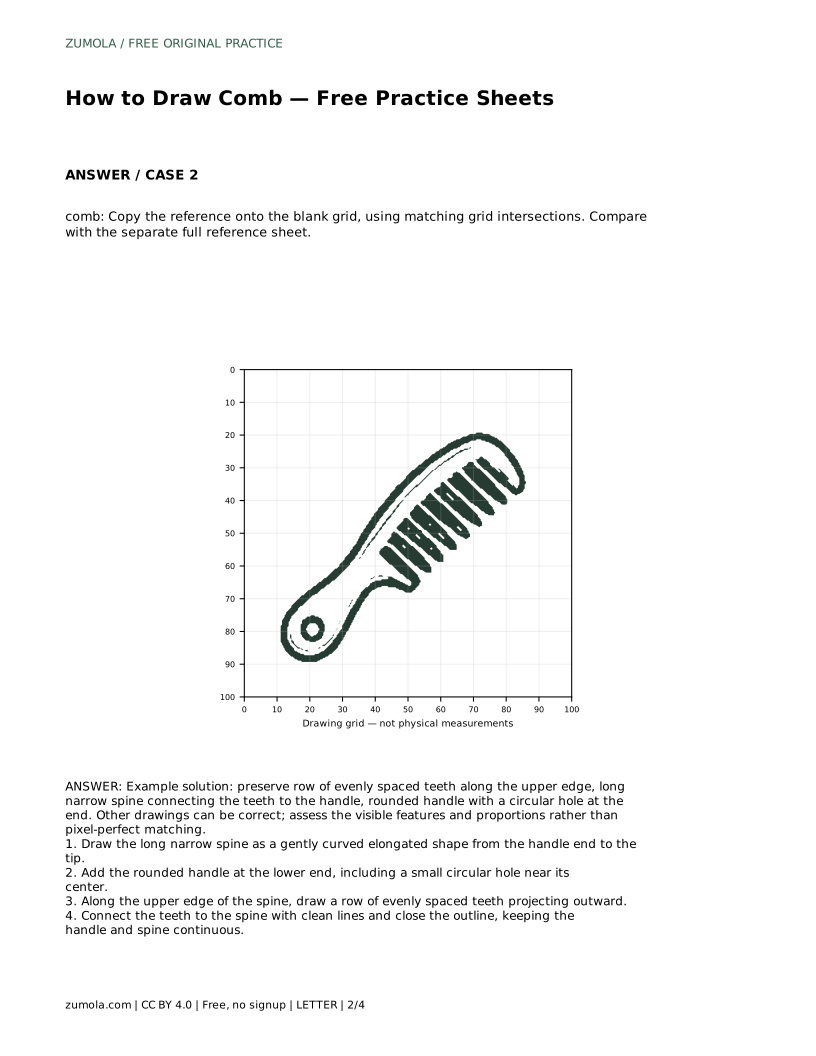
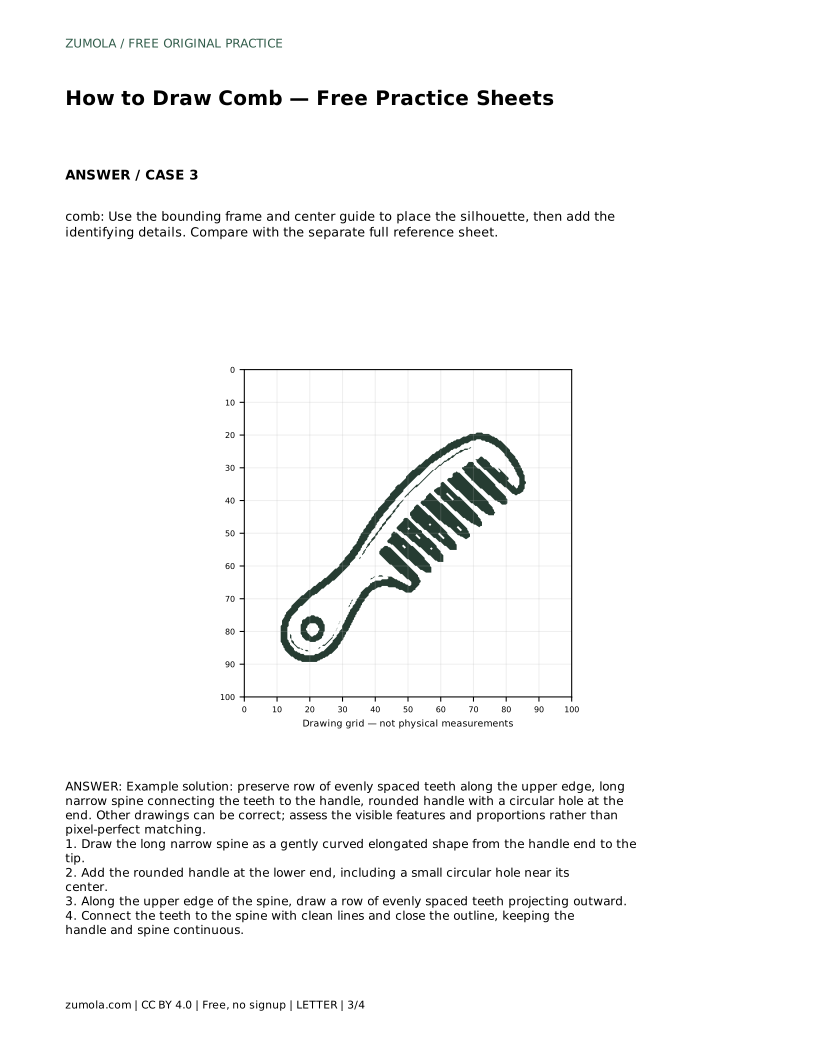
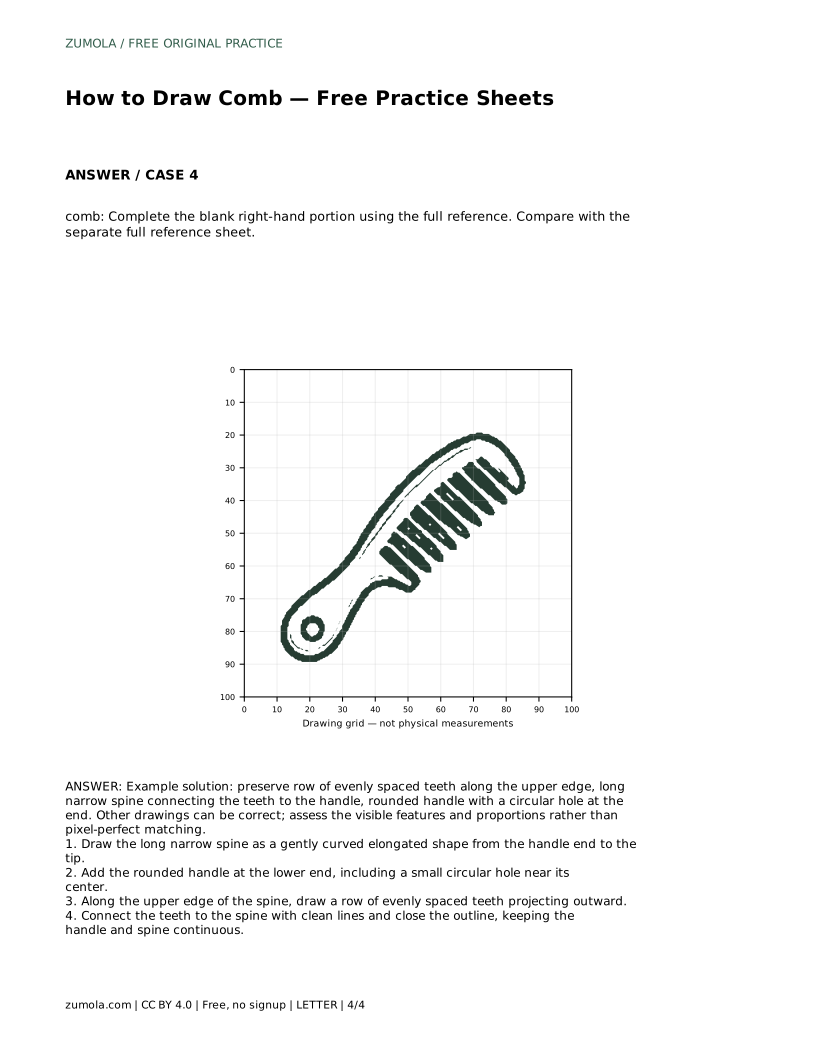
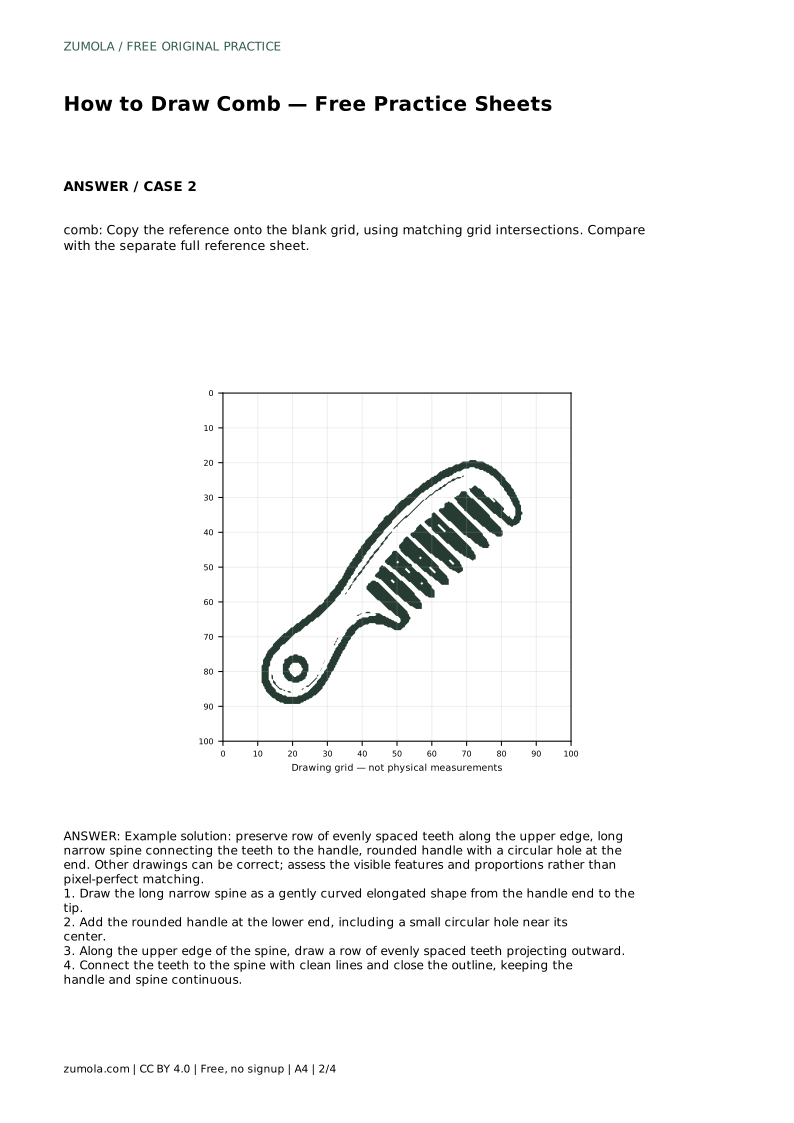
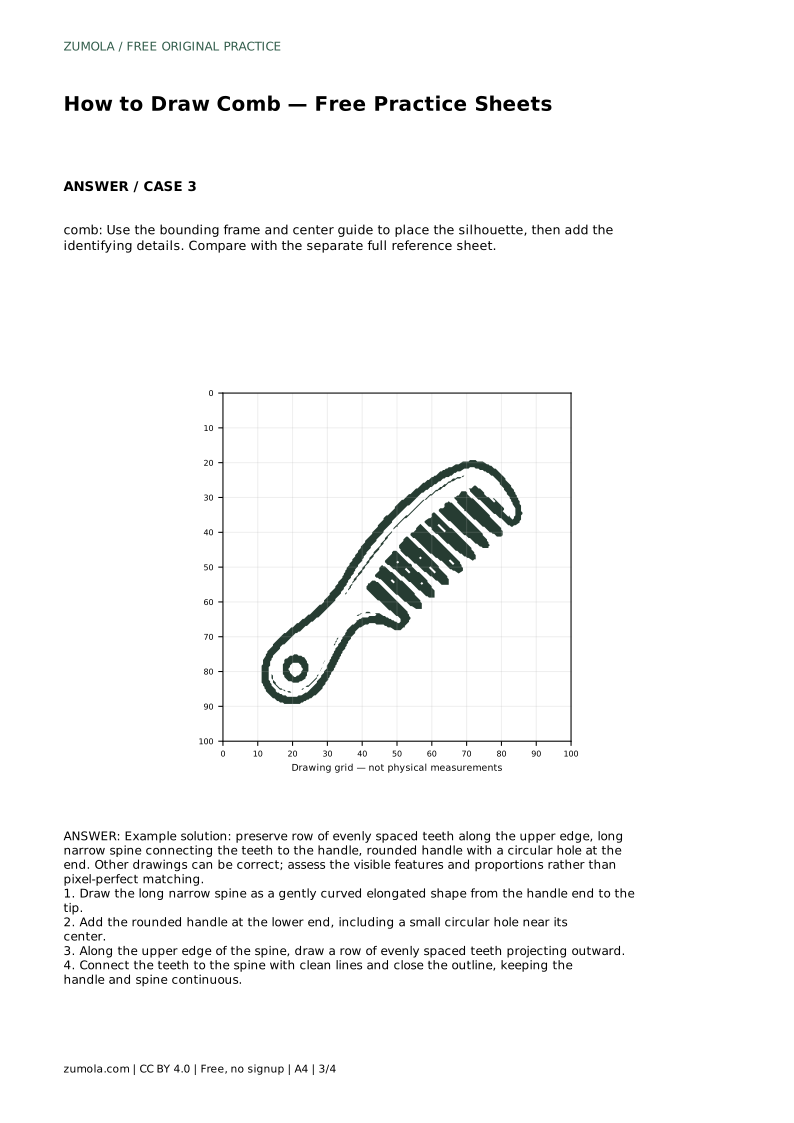
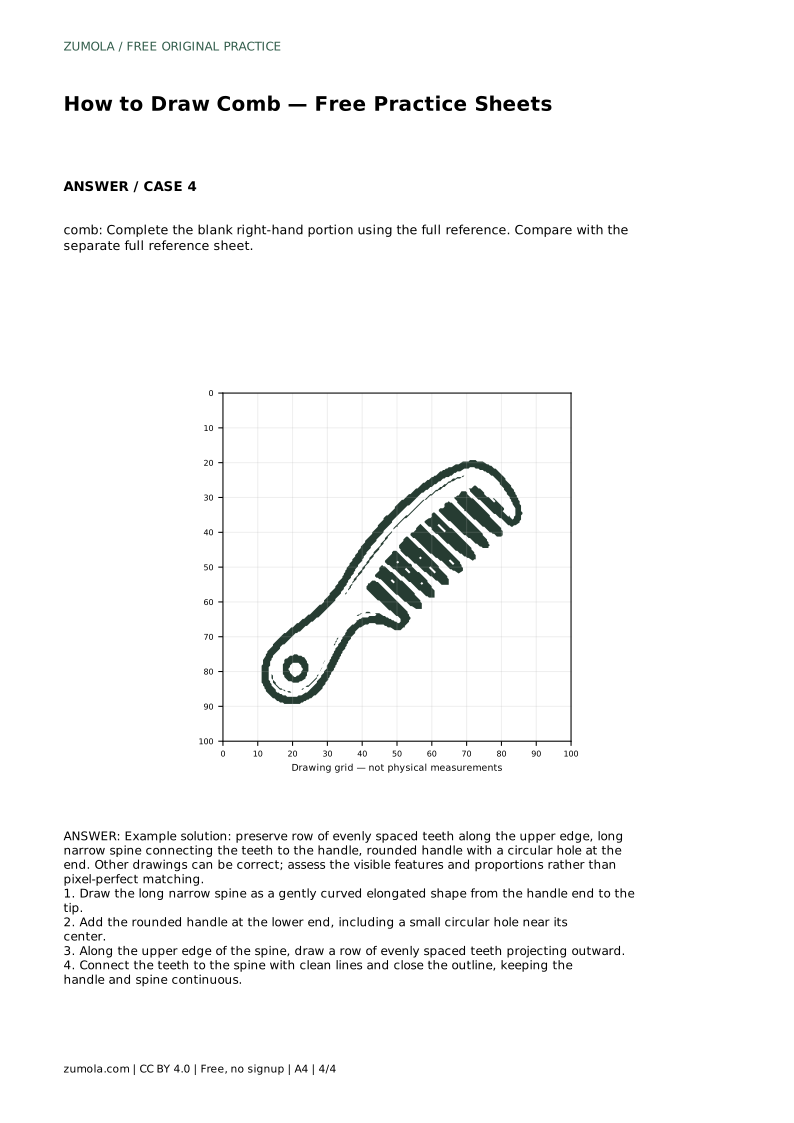
The practice sheets offer different levels of support. One asks you to trace the reference outline, then practise the contour independently. Another asks you to copy the reference onto a blank grid using matching grid intersections. A third uses a bounding frame and center guide to help you place the silhouette before adding details. A fourth gives you the left portion and asks you to complete the blank right-hand portion from the full reference.
After each attempt, compare your drawing with the separate full reference sheet. Look for the row of evenly spaced teeth along the upper edge, the long narrow spine connecting the teeth to the handle, and the rounded handle with a circular hole at the end. Other drawings can be correct, so assess the visible features and proportions rather than pixel-perfect matching.
A useful check is to ask whether a viewer would recognise the object without a label. The teeth should be visible as a row, the spine should be long and narrow, and the handle should be rounded with a hole. If one feature is missing, the drawing loses its identity. If the teeth are uneven, the comb looks damaged rather than stylised.
Proportion is the second check. The handle should not dominate the spine, and the teeth should not be so long that they overwhelm the body. Compare the length of the spine with the width of the handle and the height of the teeth. Small adjustments to these relationships often improve the drawing more than adding detail.
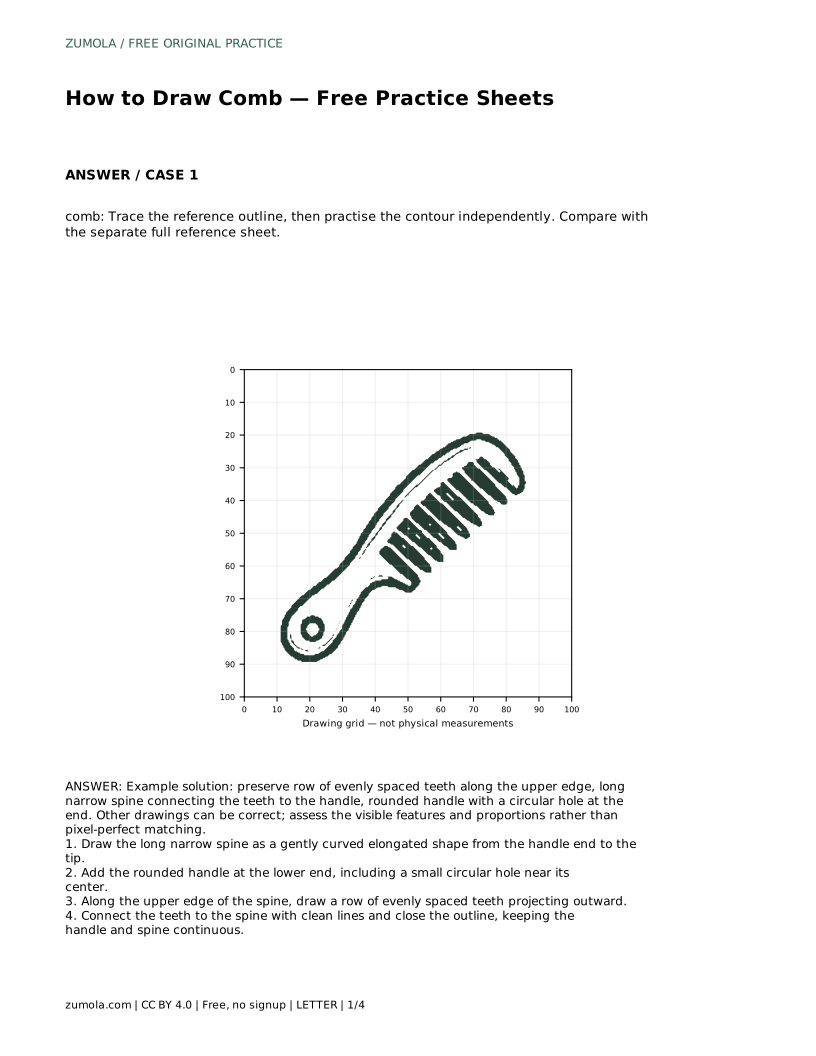
comb: Trace the reference outline, then practise the contour independently. Compare with the separate full reference sheet.
Example solution: preserve row of evenly spaced teeth along the upper edge, long narrow spine connecting the teeth to the handle, rounded handle with a circular hole at the end. Other drawings can be correct; assess the visible features and proportions rather than pixel-perfect matching. Draw the long narrow spine as a gently curved elongated shape from the handle end to the tip. Add the rounded handle at the lower end, including a small circular hole near its center. Along the upper edge of the spine, draw a row of evenly spaced teeth projecting outward. Connect the teeth to the spine with clean lines and close the outline, keeping the handle and spine continuous.
No. The goal is consistent spacing and similar length so the row reads as a comb. Small differences are acceptable; large variation in spacing or length weakens the shape.
Start with the tracing sheet if you are new to the shape, then move to the grid, frame, and completion sheets as your confidence grows. Each sheet supports a different part of the drawing process.
Check for the visible features: a row of evenly spaced teeth along the upper edge, a long narrow spine, and a rounded handle with a circular hole. Other drawings can be correct, so judge features and proportions rather than exact matching.
All drawing practice · Free coordinate paper
Original resources · CC BY 4.0 · Free for personal and classroom use with attribution.