Reference diagrams
LETTER · Download PDF
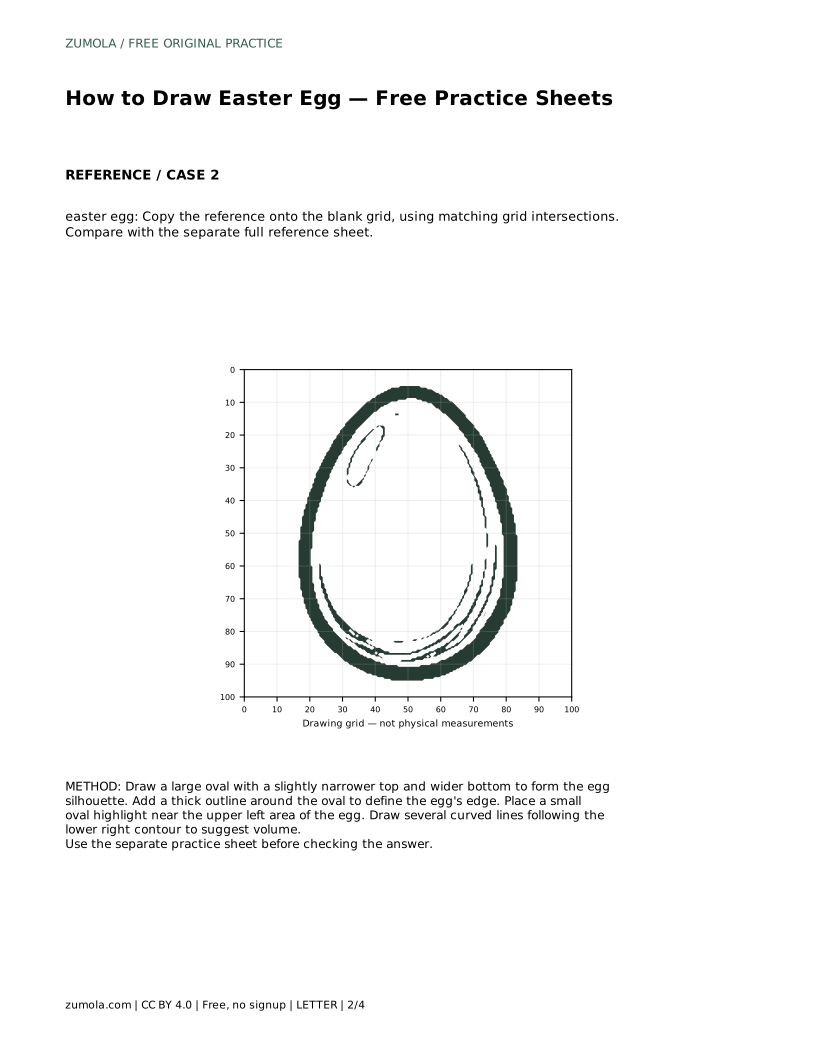
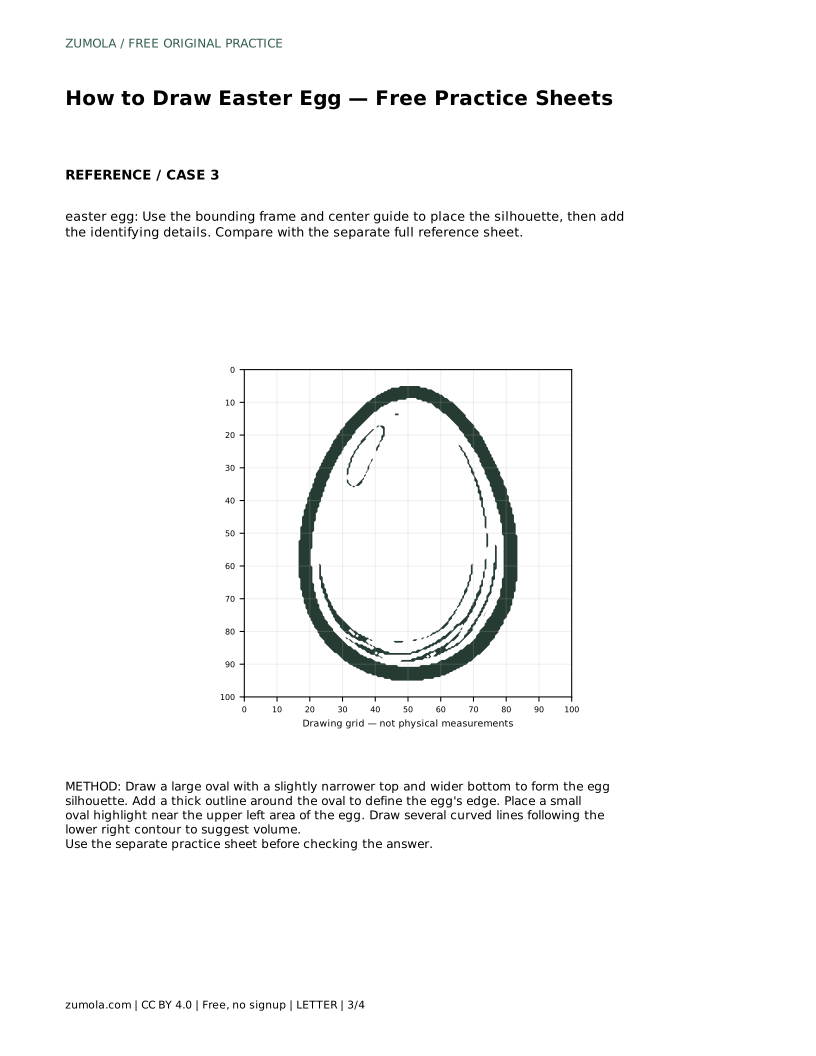
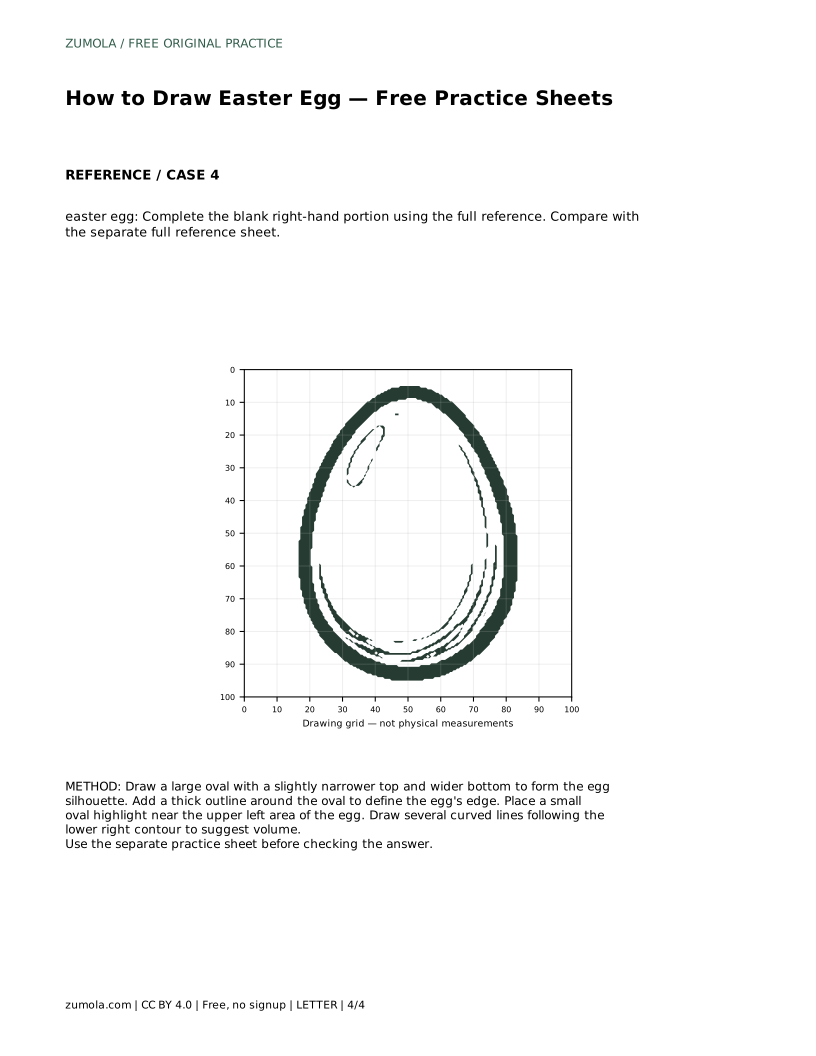
A4 · Download PDF
Free original resources
Learn to draw an Easter egg with a narrow top, wide bottom, thick outline, highlight, and contour lines. Free printable practice sheets support tracing, grids, and half-drawings.
Four original cases, with reference diagrams, practice sheets and worked answers. Everything is free; no signup required.
LETTER · Download PDF
A4 · Download PDF
LETTER · Download PDF
A4 · Download PDF
LETTER · Download PDF
A4 · Download PDF
Use A4 or US Letter to match your printer. Use the stated values and conditions to solve each exercise; diagrams are not physical measuring rulers.
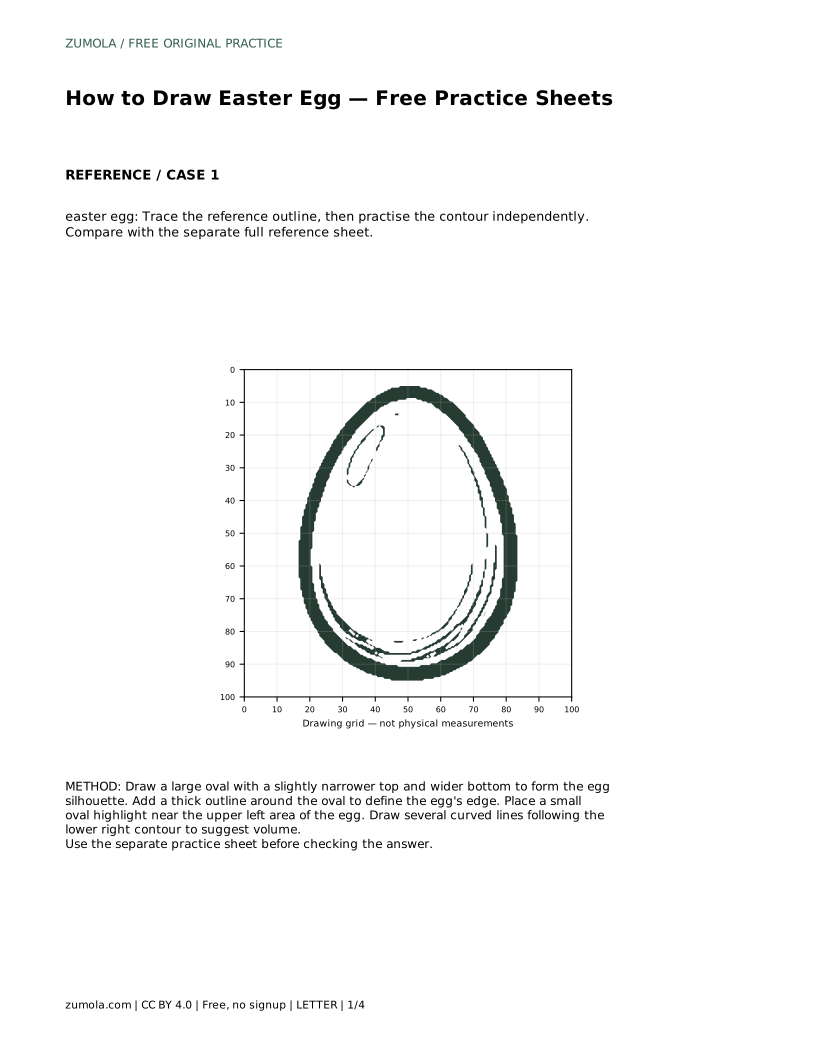
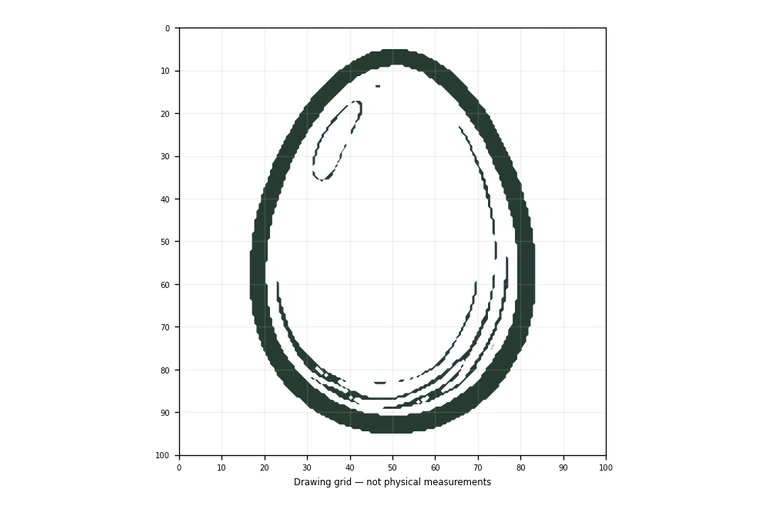
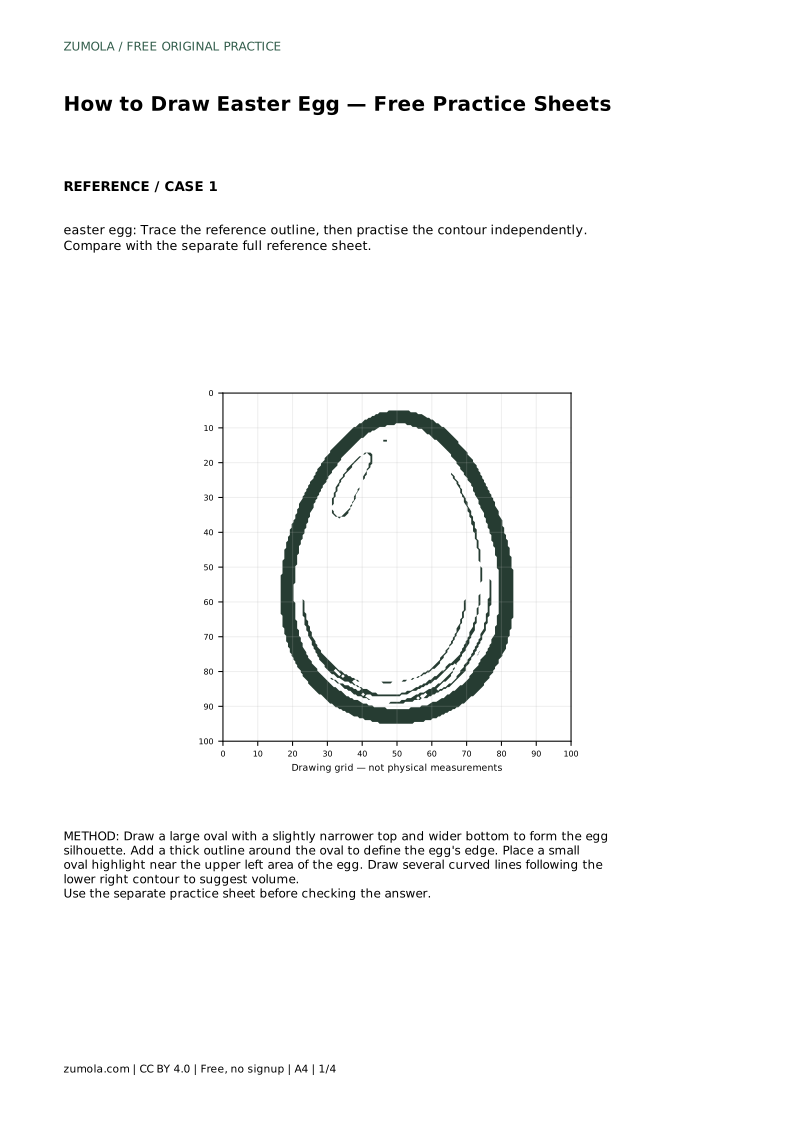
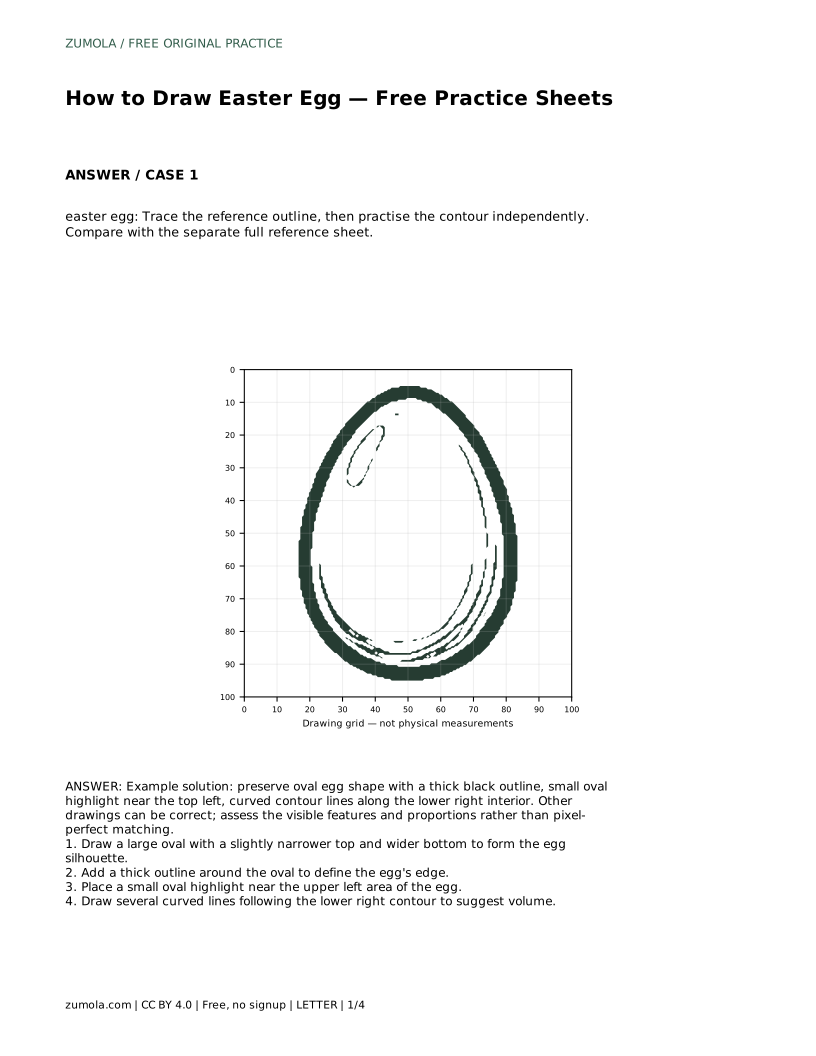
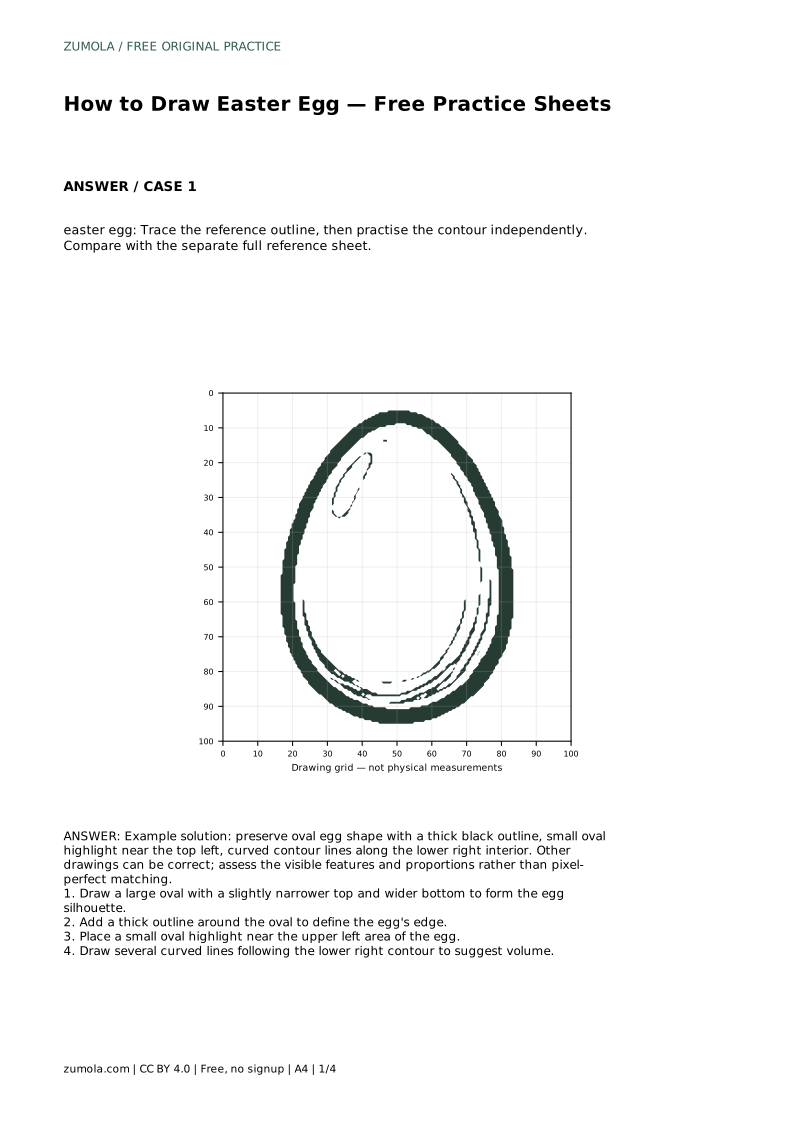
An Easter egg drawing is mostly a study in a single rounded shape. The silhouette is an oval that narrows slightly toward the top and widens toward the bottom, so it reads as an egg rather than a circle. Once that shape is in place, a thick outline, a small highlight, and a few curved interior lines give the drawing weight and volume. The practice sheets let you trace, copy, or complete the same form in different ways.
Begin by drawing one large oval. Make the top a little narrower than the bottom and keep the sides smooth and continuous. Check the balance before adding anything else: the widest point should sit below the middle, and the curve should flow without flat spots or sharp corners.
When the oval looks right, go over it with a thick outline. This heavy edge defines the egg's boundary and makes the shape feel solid. Keep the outline even around the whole form so the egg does not appear lopsided.
A small oval highlight near the upper left suggests where light strikes the surface. Keep it modest in size and place it inside the egg, not on the outline. The highlight is a shape, not a smudge, so draw its edge cleanly.
Curved lines along the lower right interior suggest the egg's roundness. These contour lines should follow the outer curve rather than cut across it. A few well-spaced curves do more than many crowded ones, so leave breathing room between them.
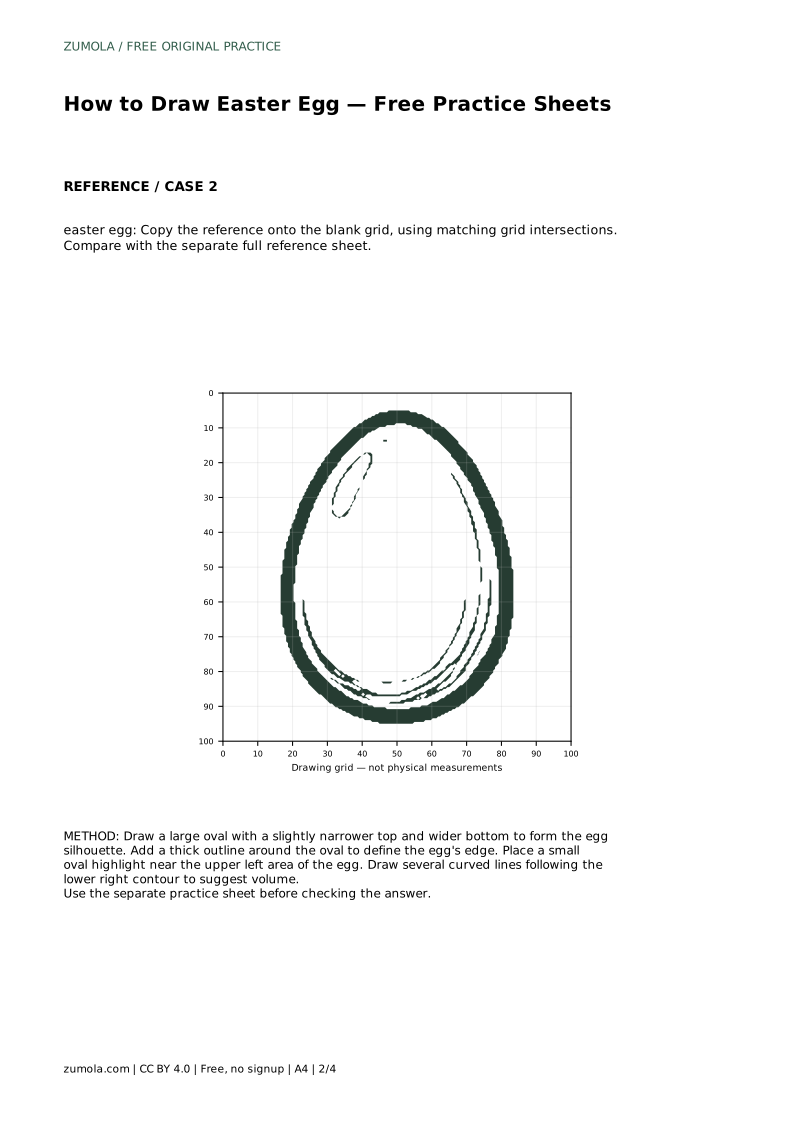
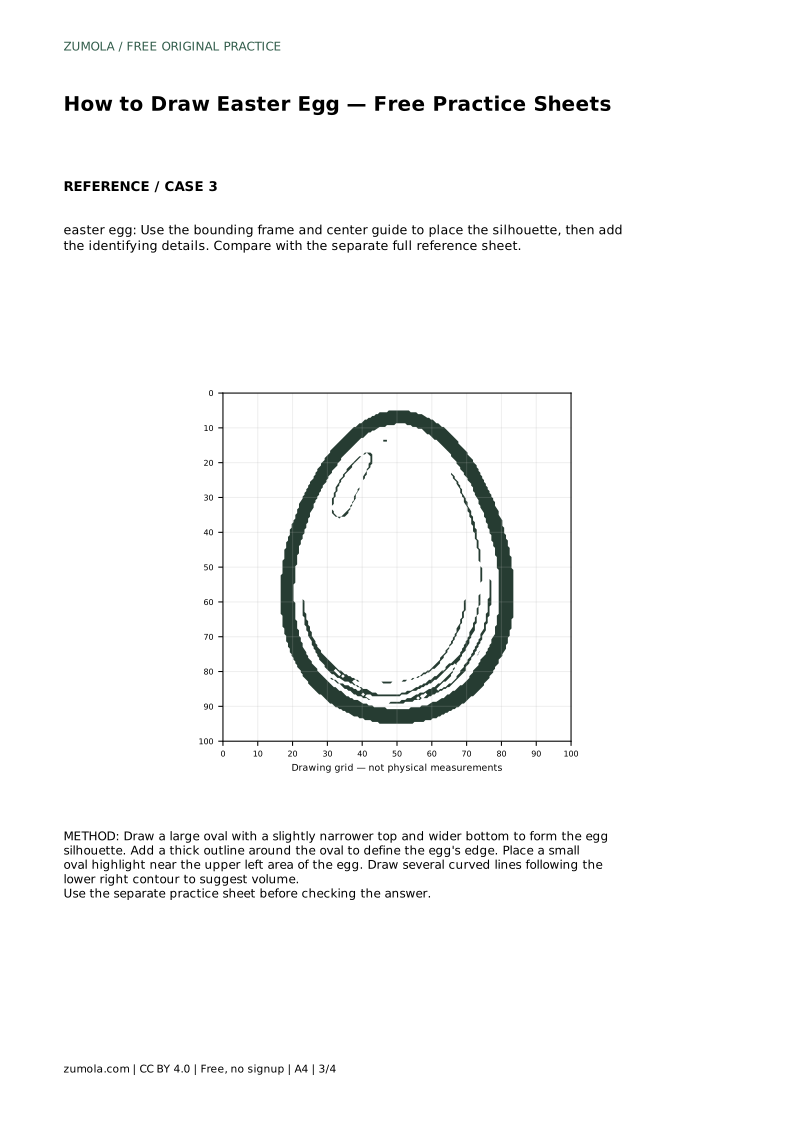
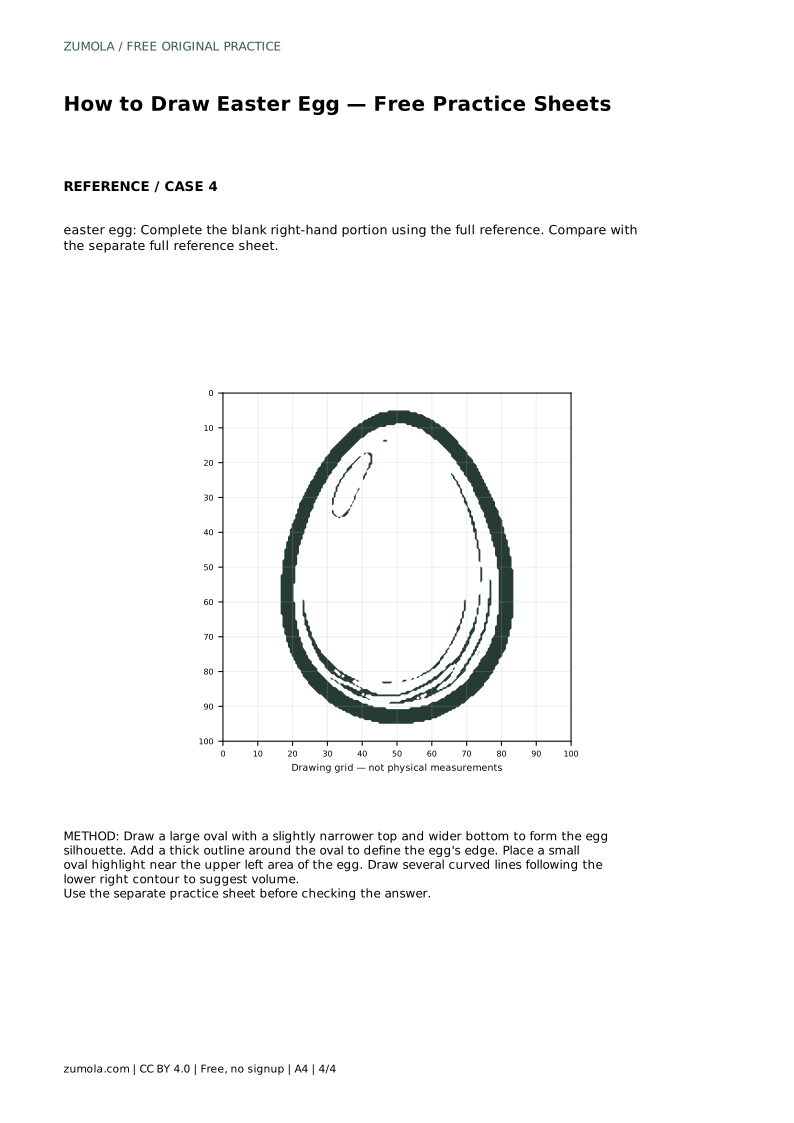
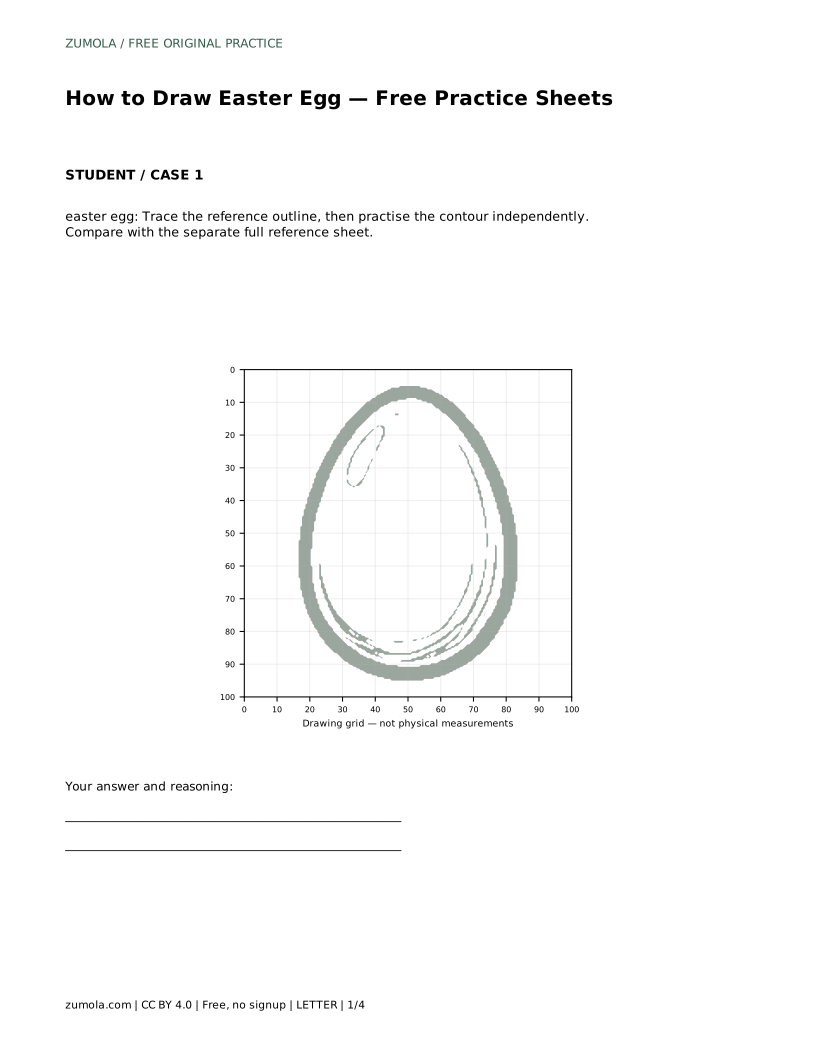
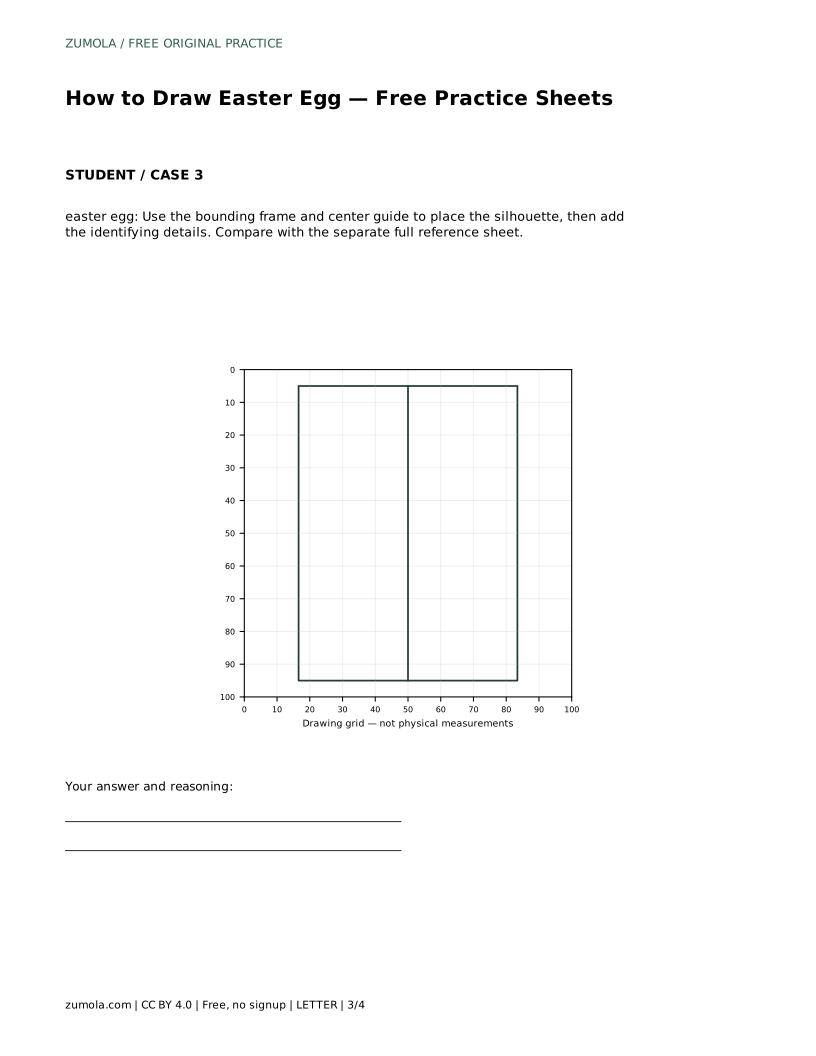
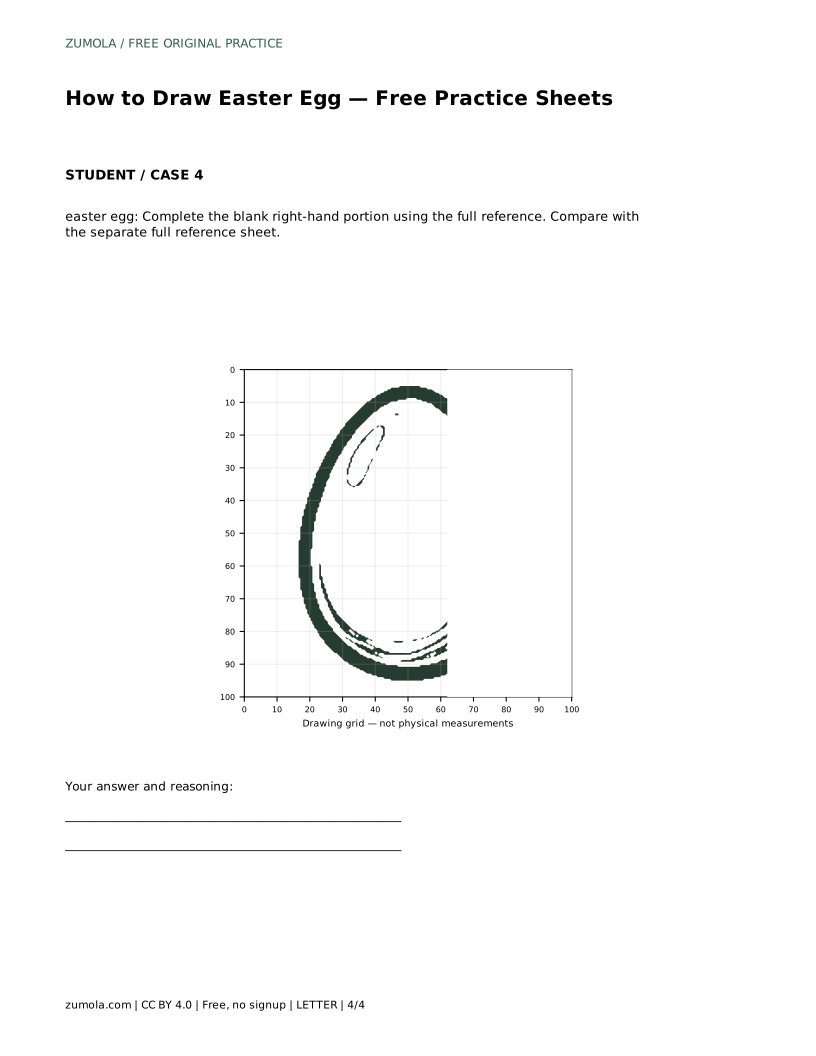
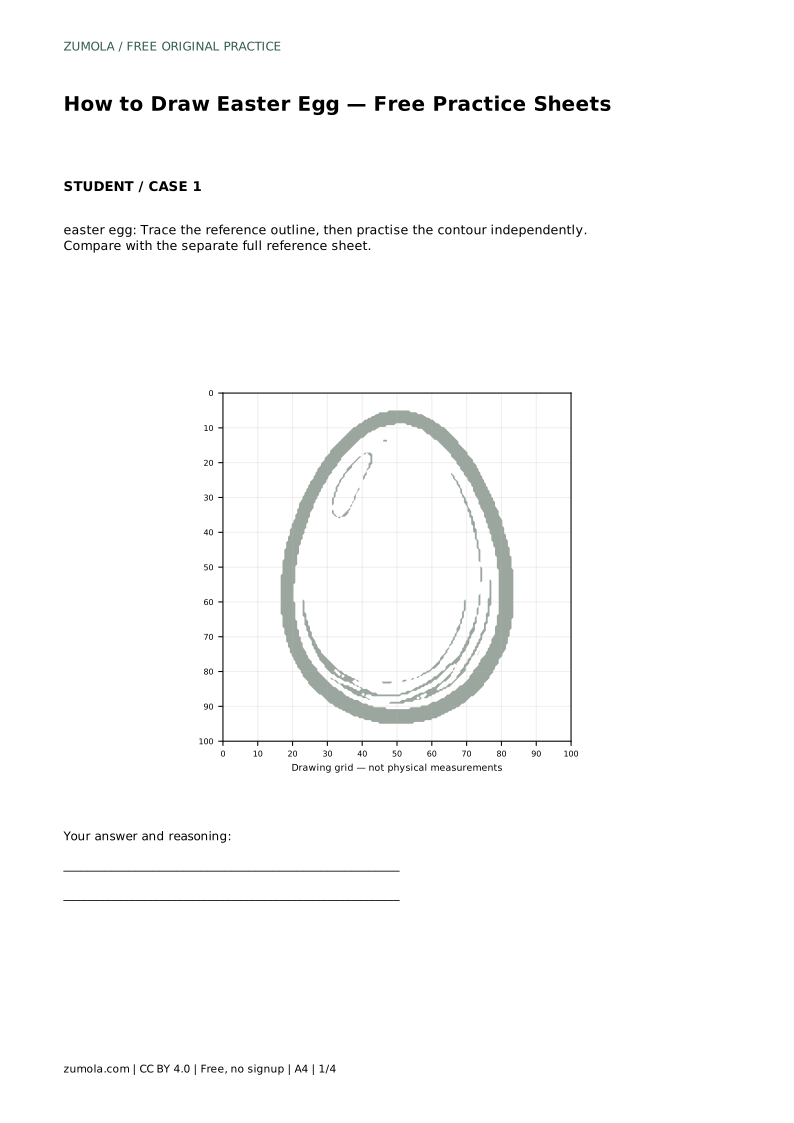
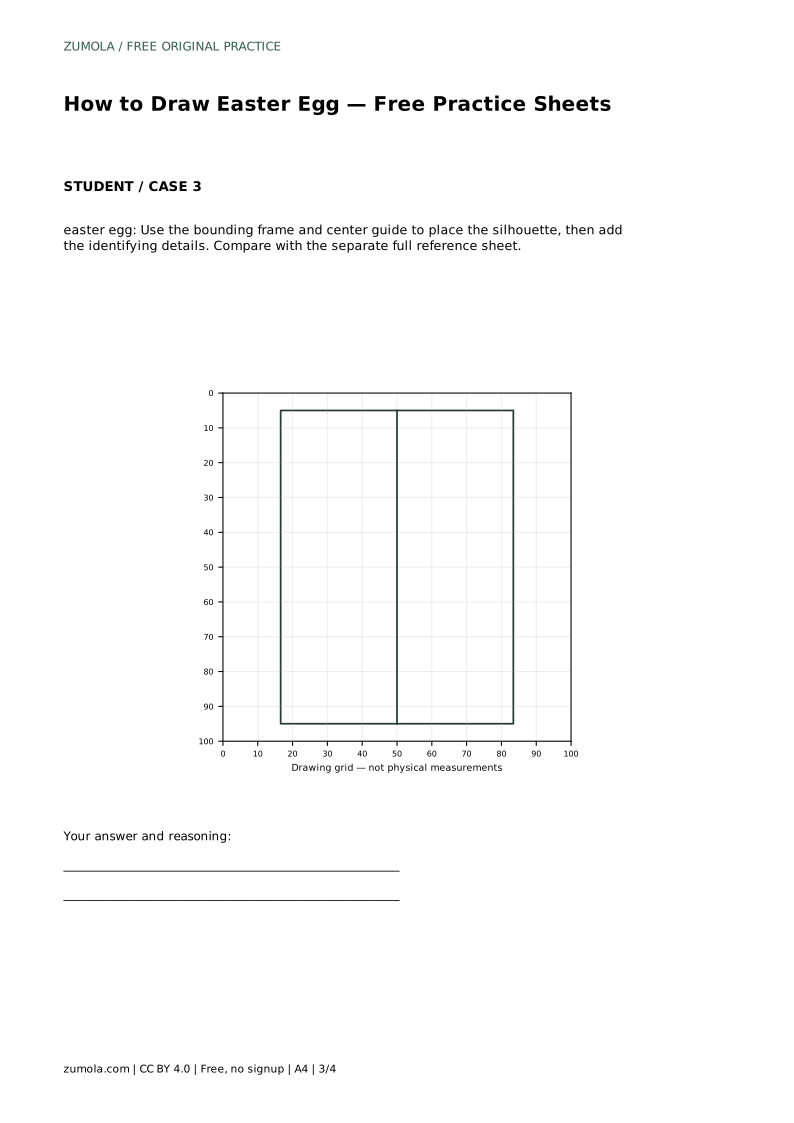
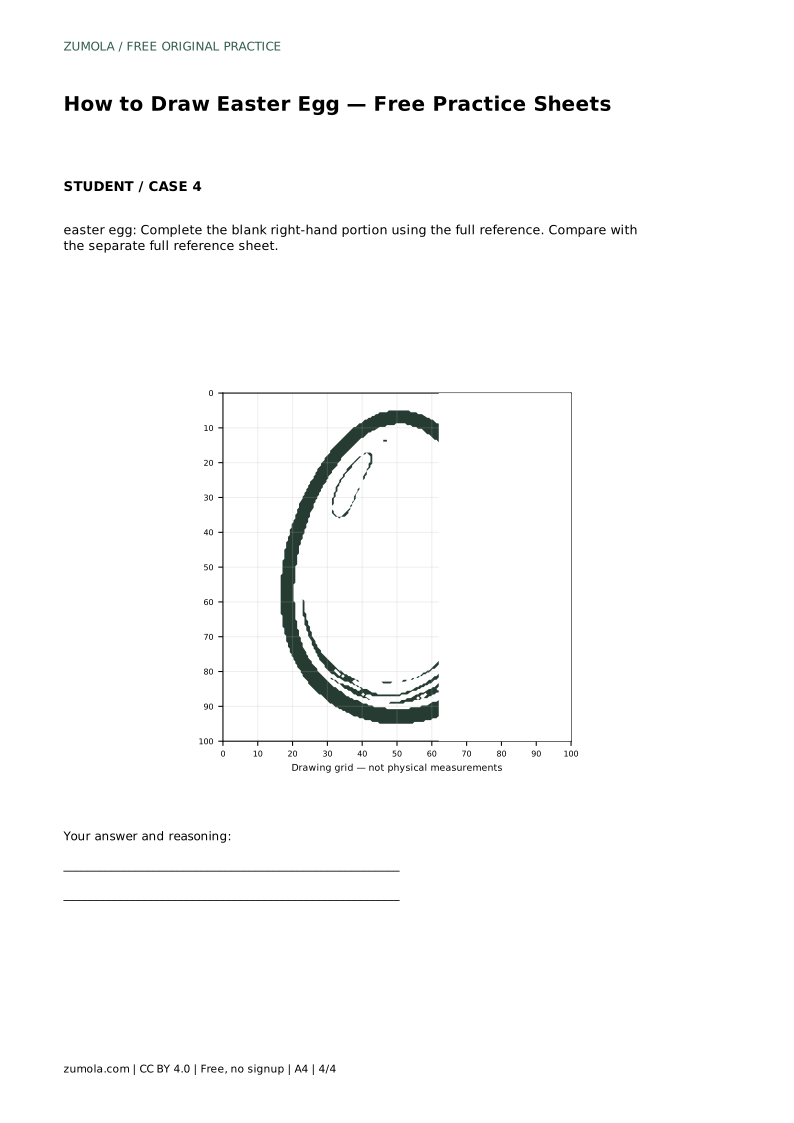
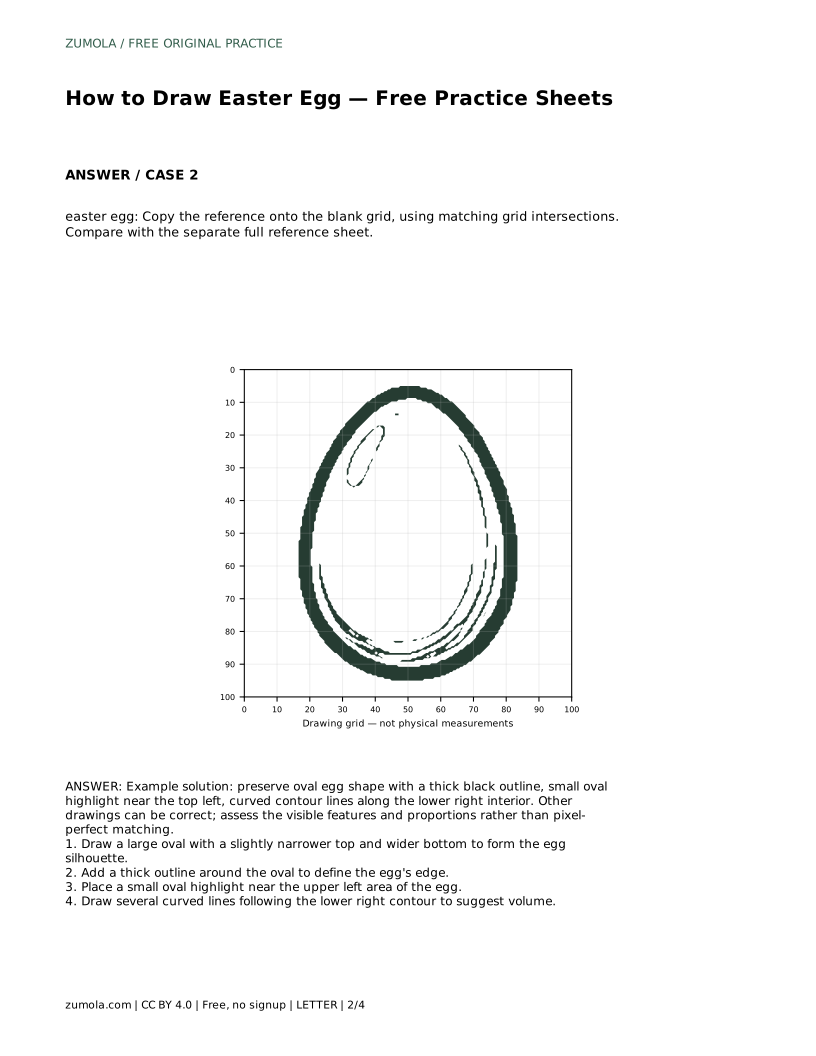
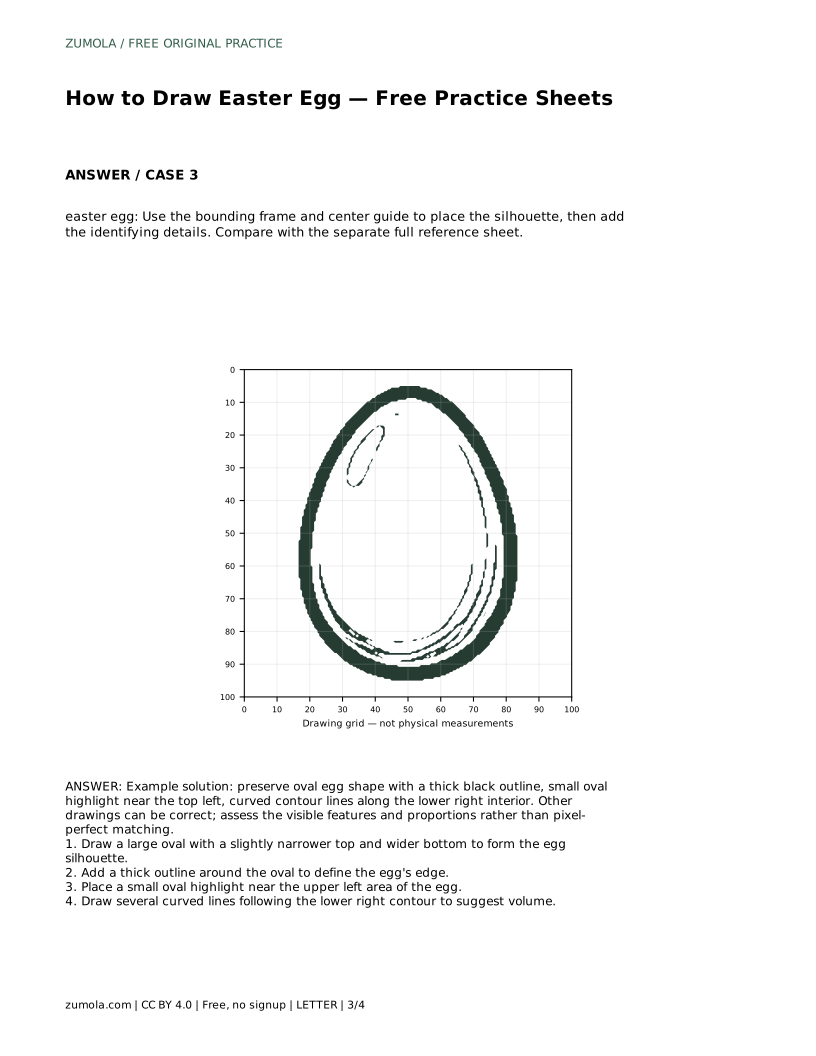
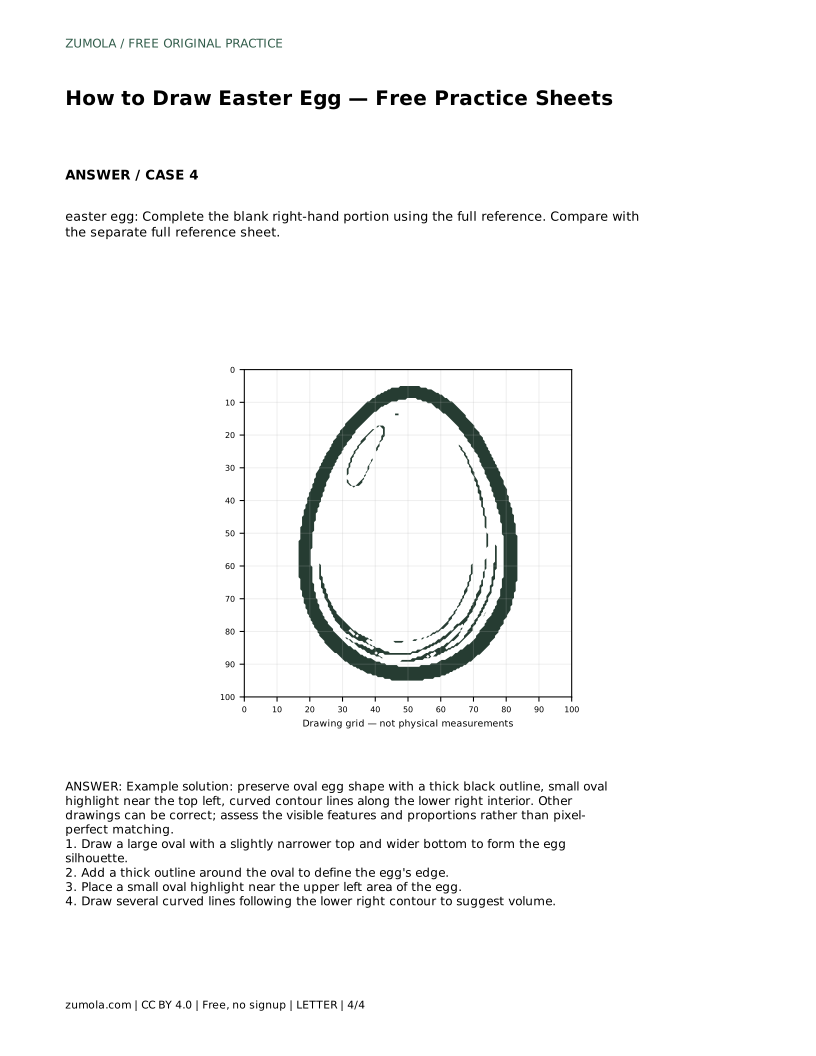
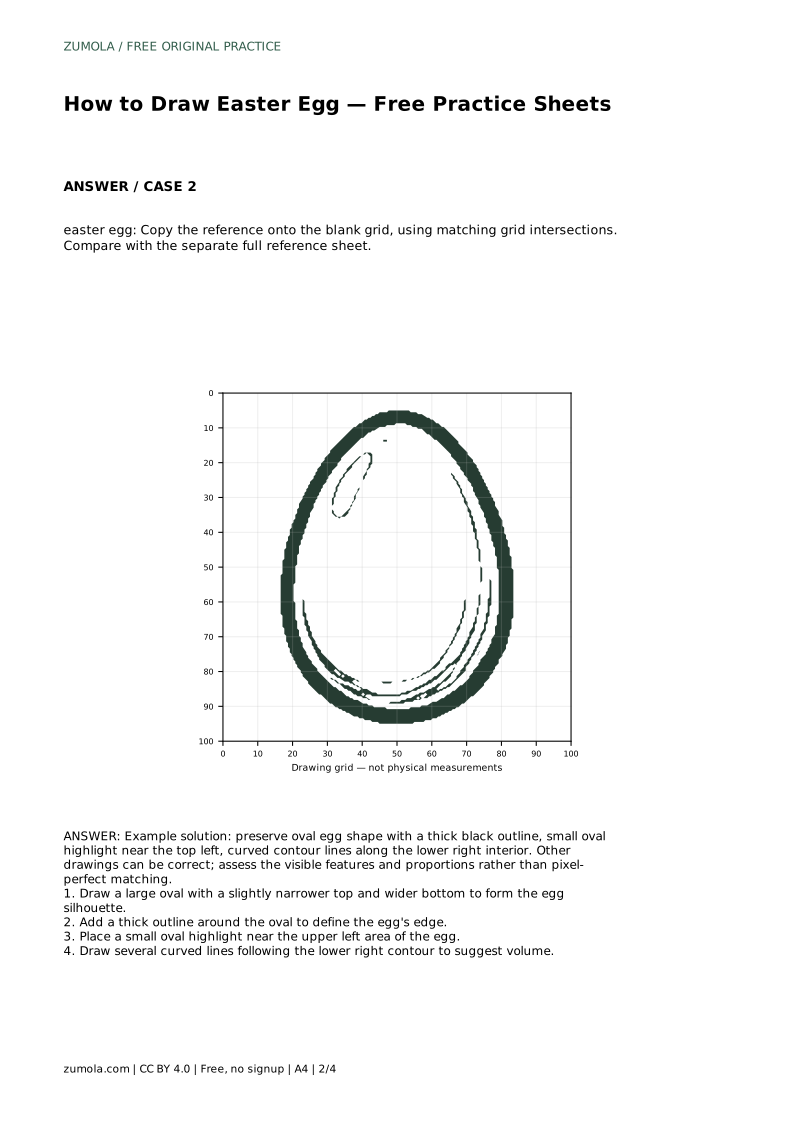
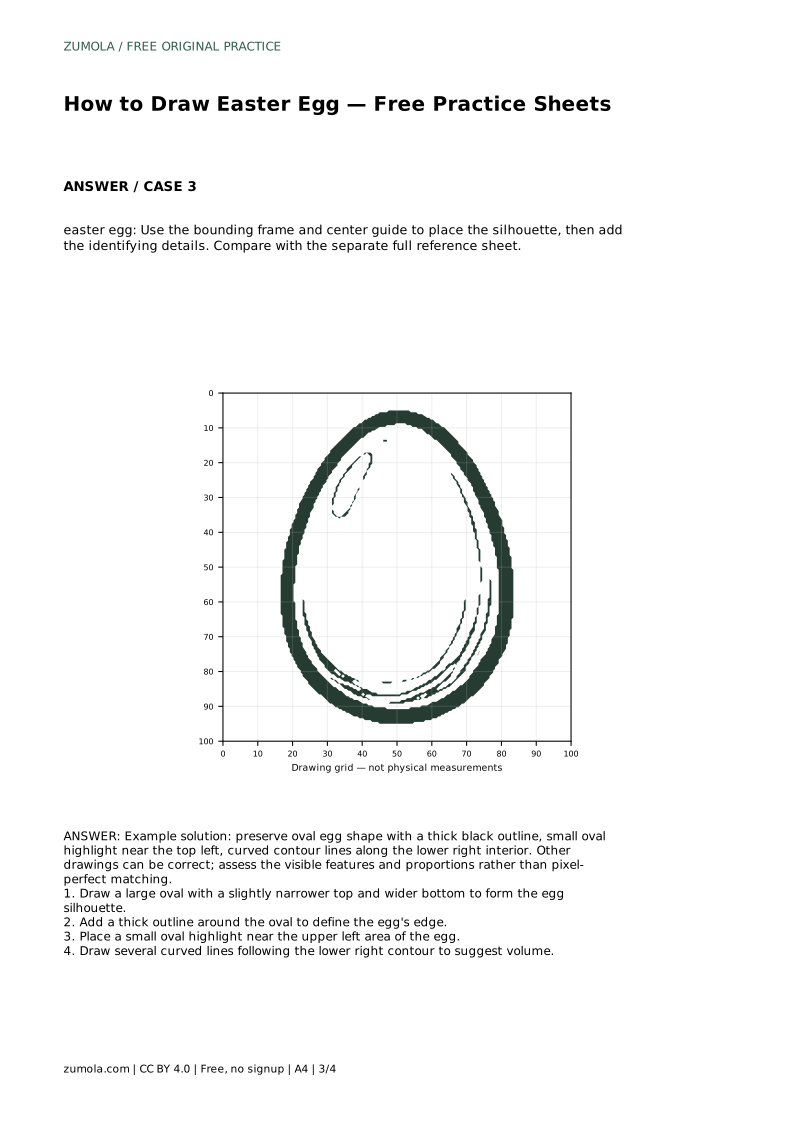
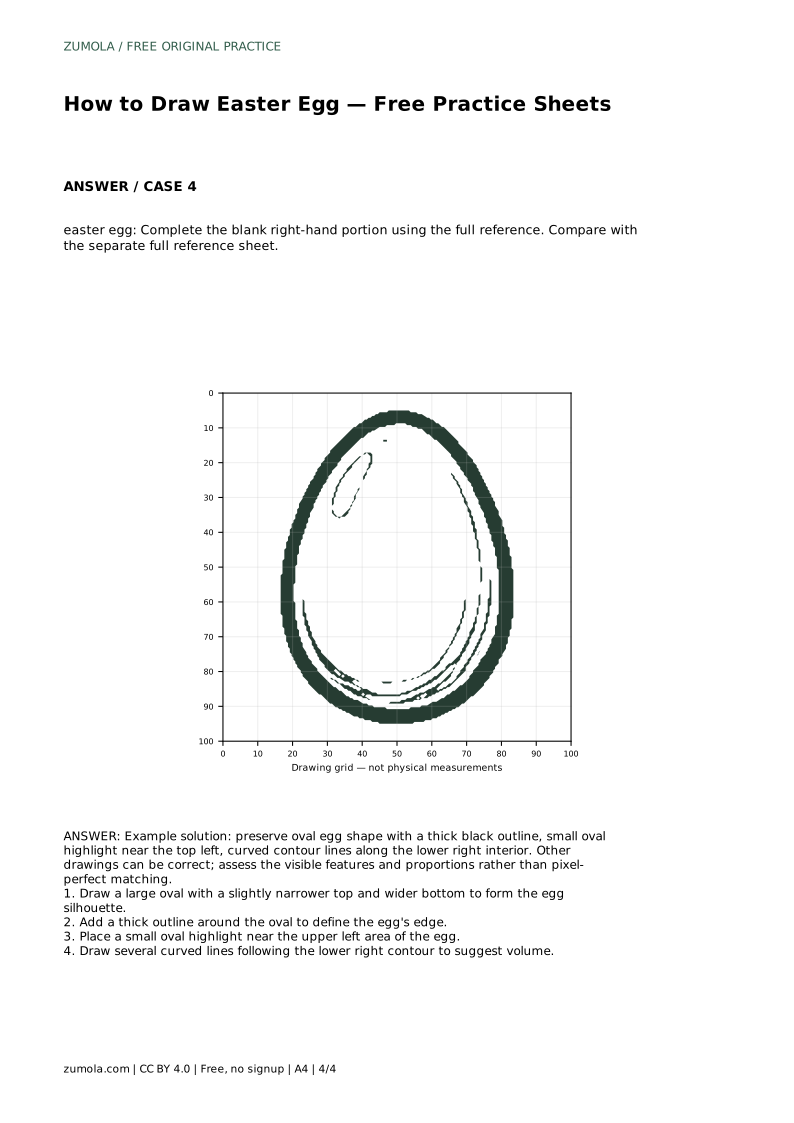
The tracing sheet asks you to follow the reference outline first, then repeat the contour independently. The grid sheet asks you to copy the reference onto blank squares, matching where the shape crosses each grid intersection. The frame-and-center-guide sheet helps you position the silhouette before adding details. The half-drawing sheet gives you one side and asks you to complete the other.
Each format trains a different skill: tracing builds familiarity, grids build proportion, guides build placement, and half-drawings build symmetry. Compare your finished drawing with the separate full reference sheet rather than judging it from memory.
Egg drawings have many valid outcomes. A drawing can differ in line weight, highlight size, or the number of contour lines and still be correct. Judge the visible features and proportions instead of demanding a pixel-perfect match.
Ask whether the silhouette reads as an egg, whether the outline is thick and even, whether the highlight sits near the upper left, and whether the contour lines follow the lower right curve. These are the features the reference demonstrates.
Most problems come from the silhouette. A top that is too wide makes the shape look like a circle; a bottom that is too narrow makes it look like an egg standing on its point. Redraw the oval before adding details if the proportions feel off.
Outline problems are also common. A thin or broken outline weakens the edge, and a highlight placed on the outline blurs the boundary. Keep the outline separate from the interior marks.
easter egg: Trace the reference outline, then practise the contour independently. Compare with the separate full reference sheet.
Example solution: preserve oval egg shape with a thick black outline, small oval highlight near the top left, curved contour lines along the lower right interior. Other drawings can be correct; assess the visible features and proportions rather than pixel-perfect matching. Draw a large oval with a slightly narrower top and wider bottom to form the egg silhouette. Add a thick outline around the oval to define the egg's edge. Place a small oval highlight near the upper left area of the egg. Draw several curved lines following the lower right contour to suggest volume.
No. Egg drawings have multiple valid outcomes. Assess the visible features and proportions, such as the narrow top, wide bottom, thick outline, highlight, and contour lines, rather than pixel-perfect matching.
Place a small oval highlight near the upper left area of the egg, inside the outline rather than on it.
Curved lines along the lower right interior follow the egg's roundness and suggest volume. Keep them inside the outline and spaced apart.
All drawing practice · Free coordinate paper
Original resources · CC BY 4.0 · Free for personal and classroom use with attribution.