Reference diagrams
LETTER · Download PDF
A4 · Download PDF
Free original resources
Learn to draw an iron by building the triangular soleplate, open handle grip, rear cord loop, and top controls. Free practice sheets support tracing, grids, and guided placement.
Four original cases, with reference diagrams, practice sheets and worked answers. Everything is free; no signup required.
LETTER · Download PDF
A4 · Download PDF
LETTER · Download PDF
A4 · Download PDF
LETTER · Download PDF
A4 · Download PDF
Use A4 or US Letter to match your printer. Use the stated values and conditions to solve each exercise; diagrams are not physical measuring rulers.
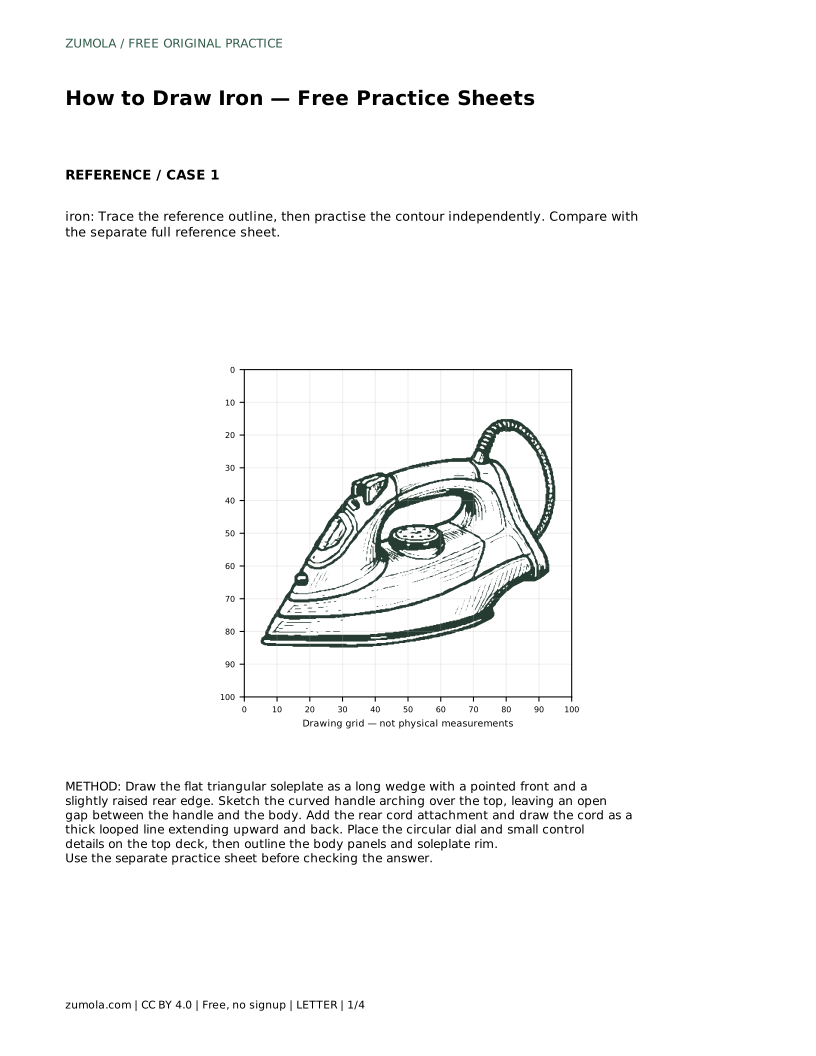
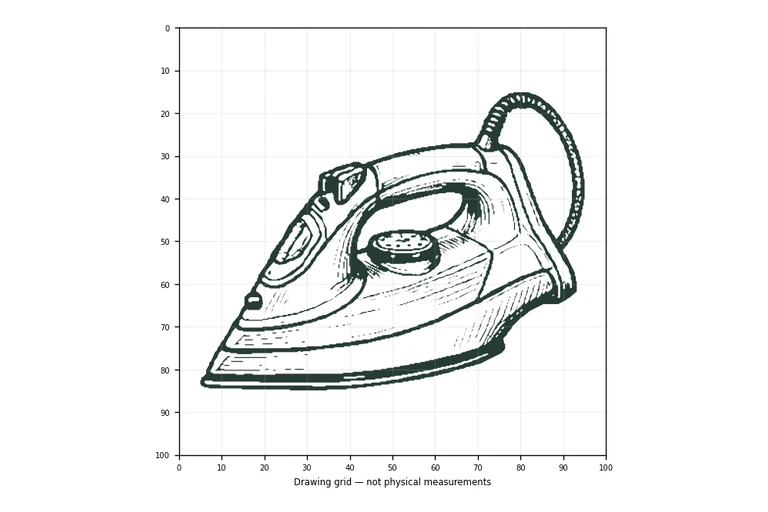
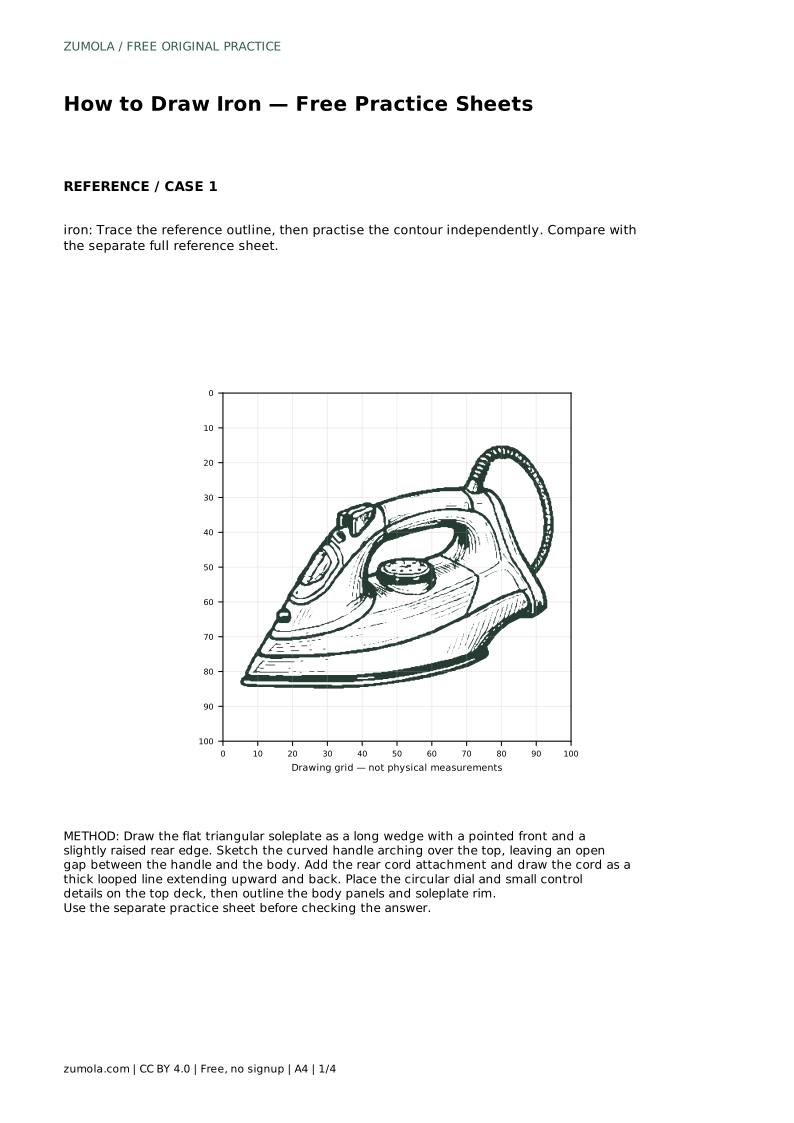
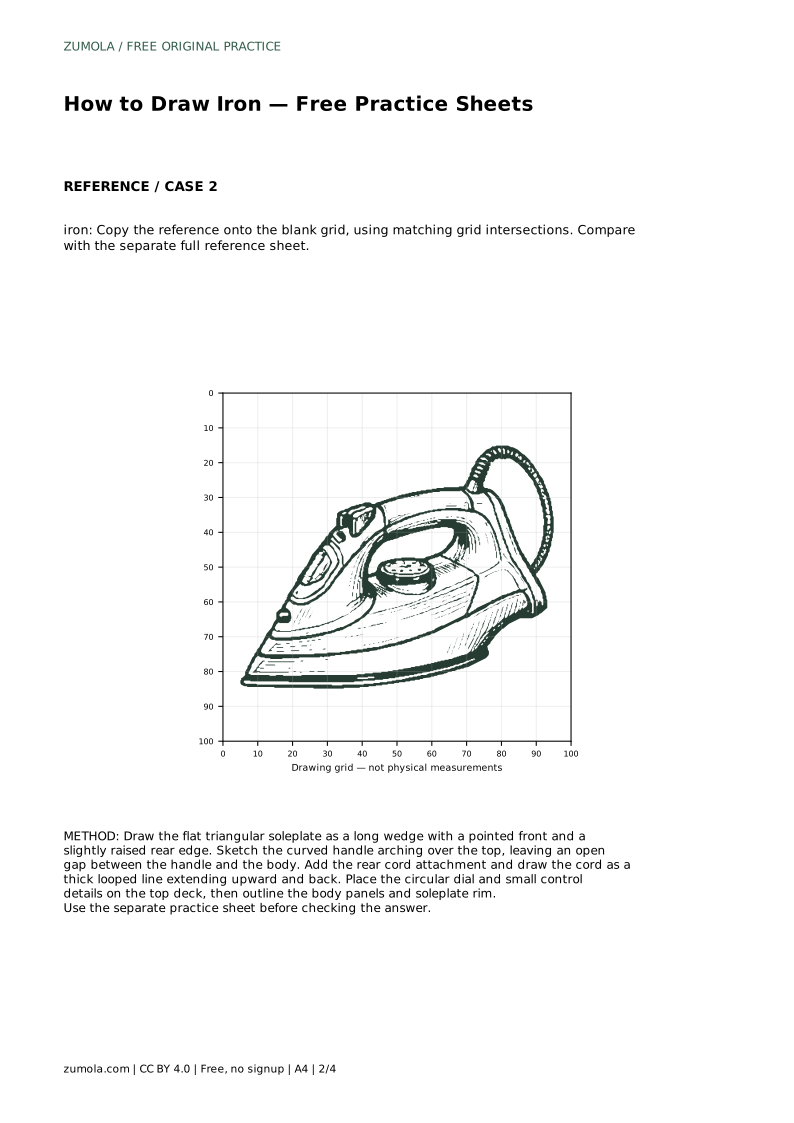
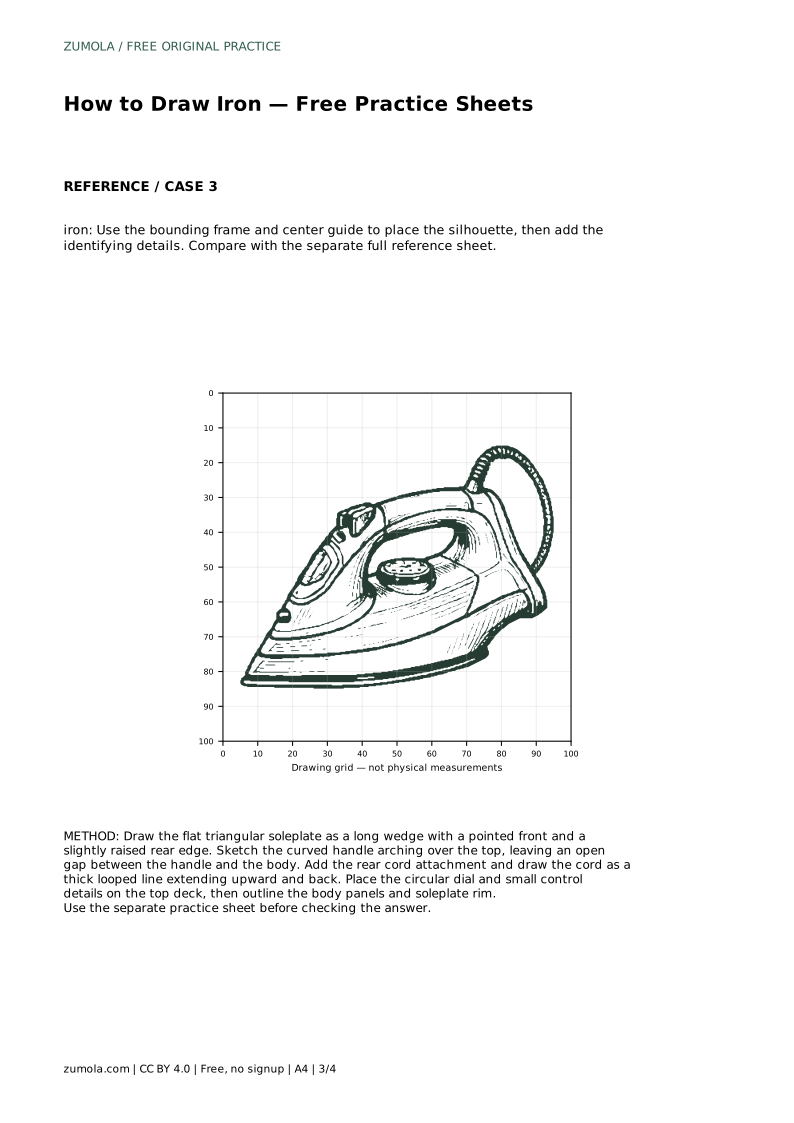
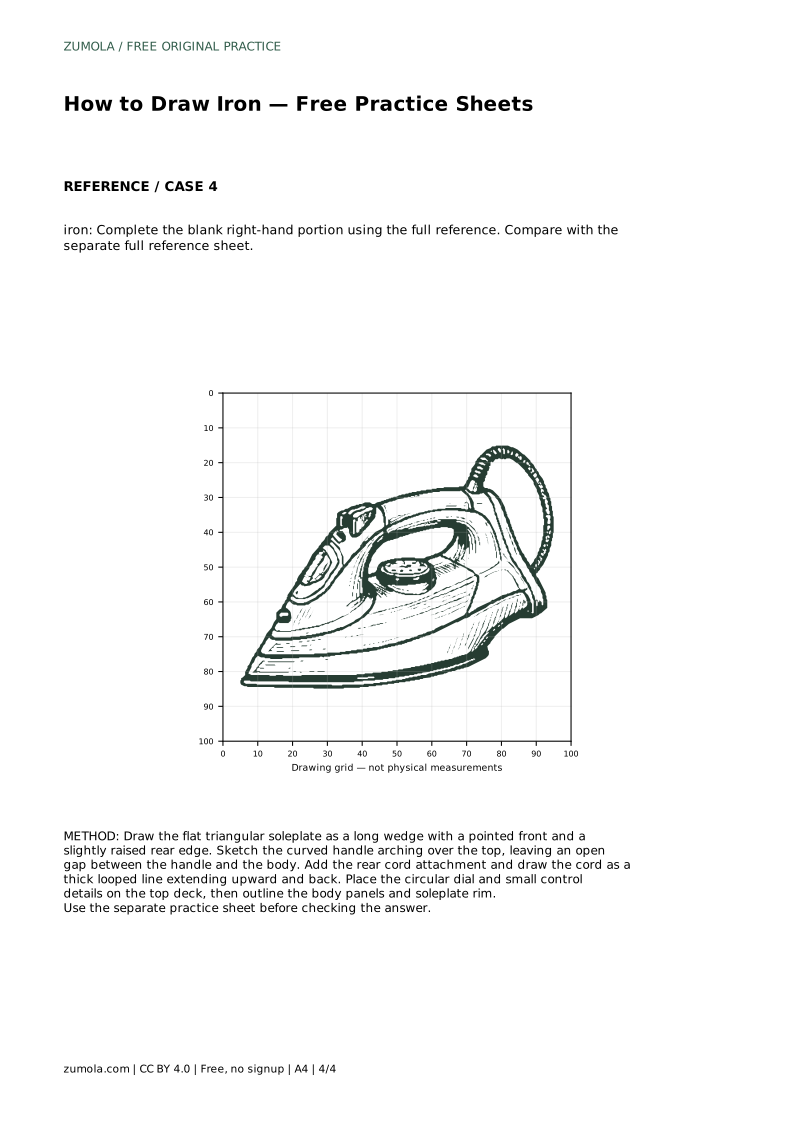
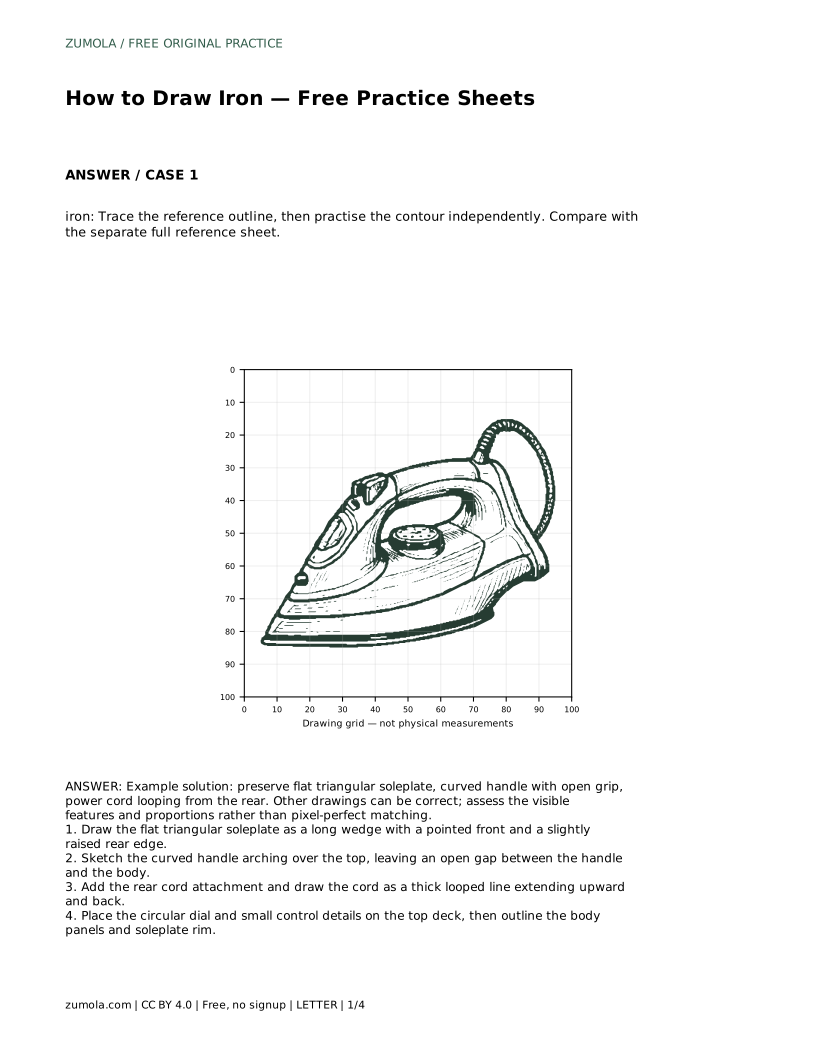
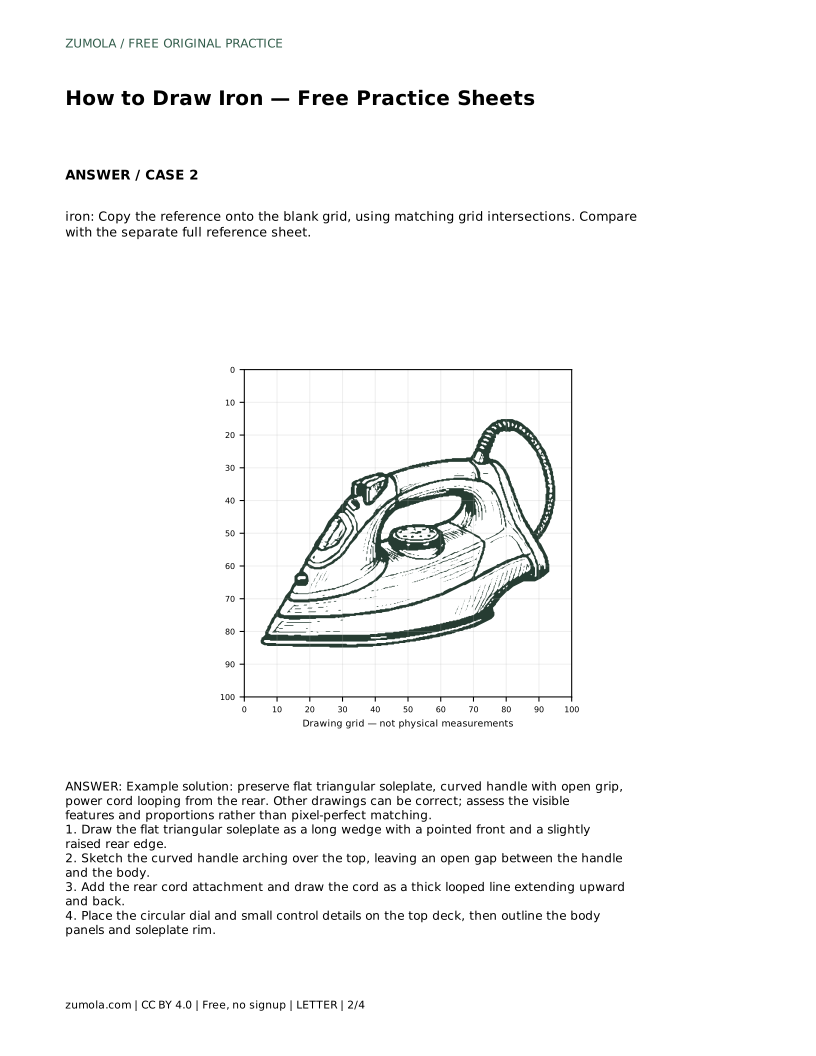
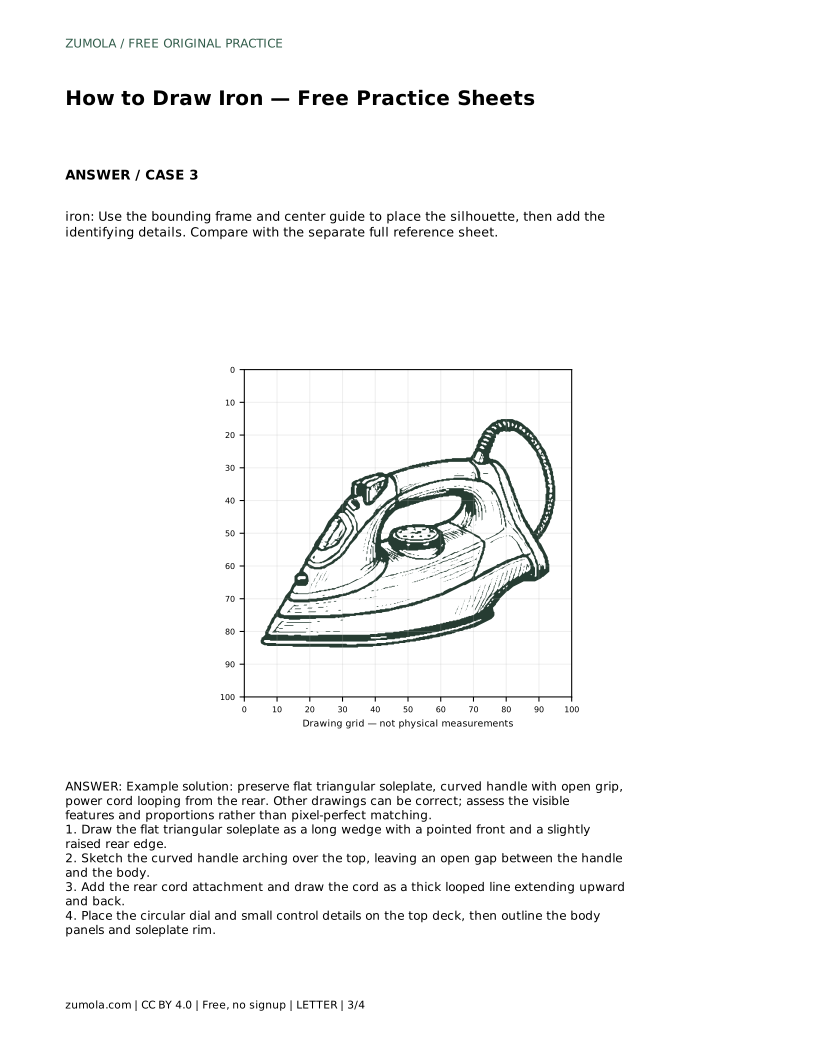
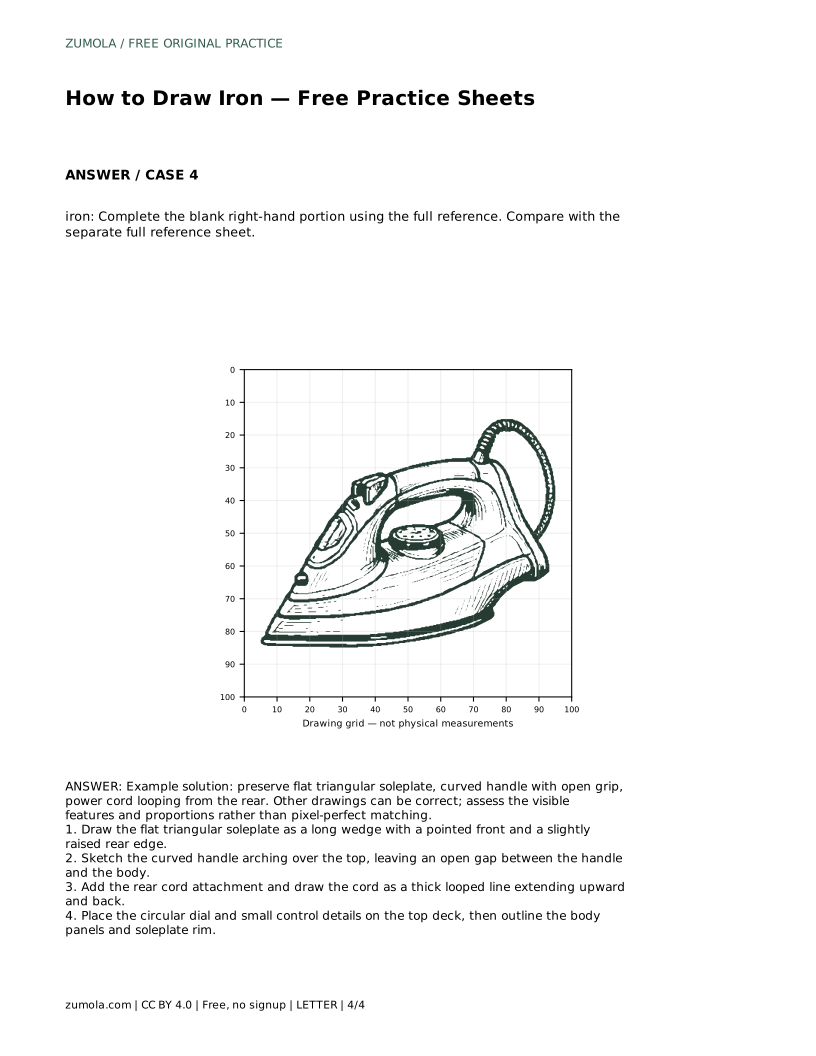
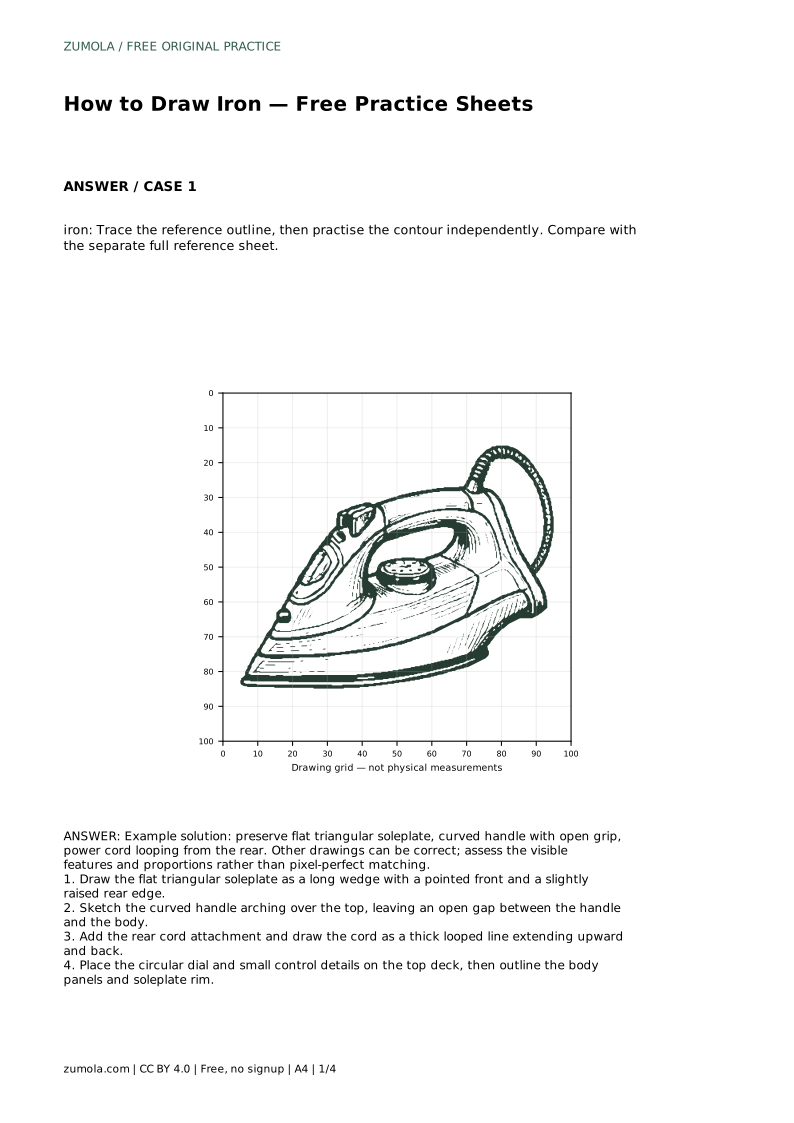
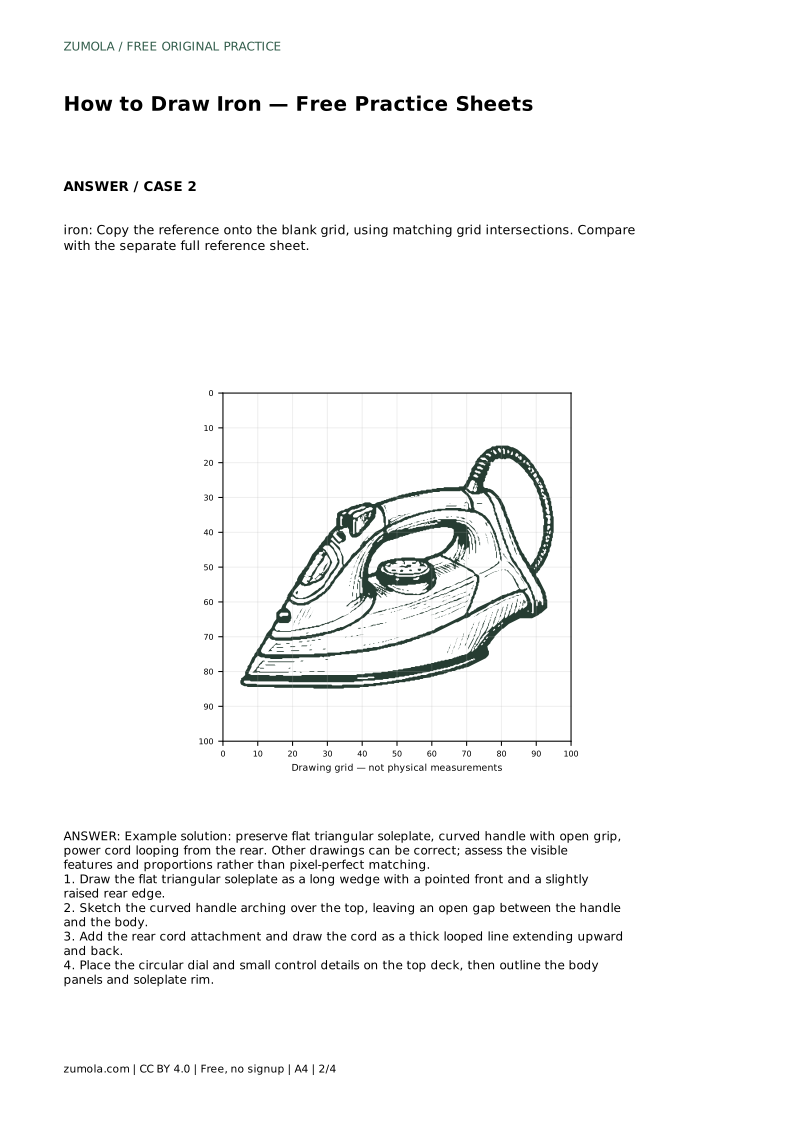
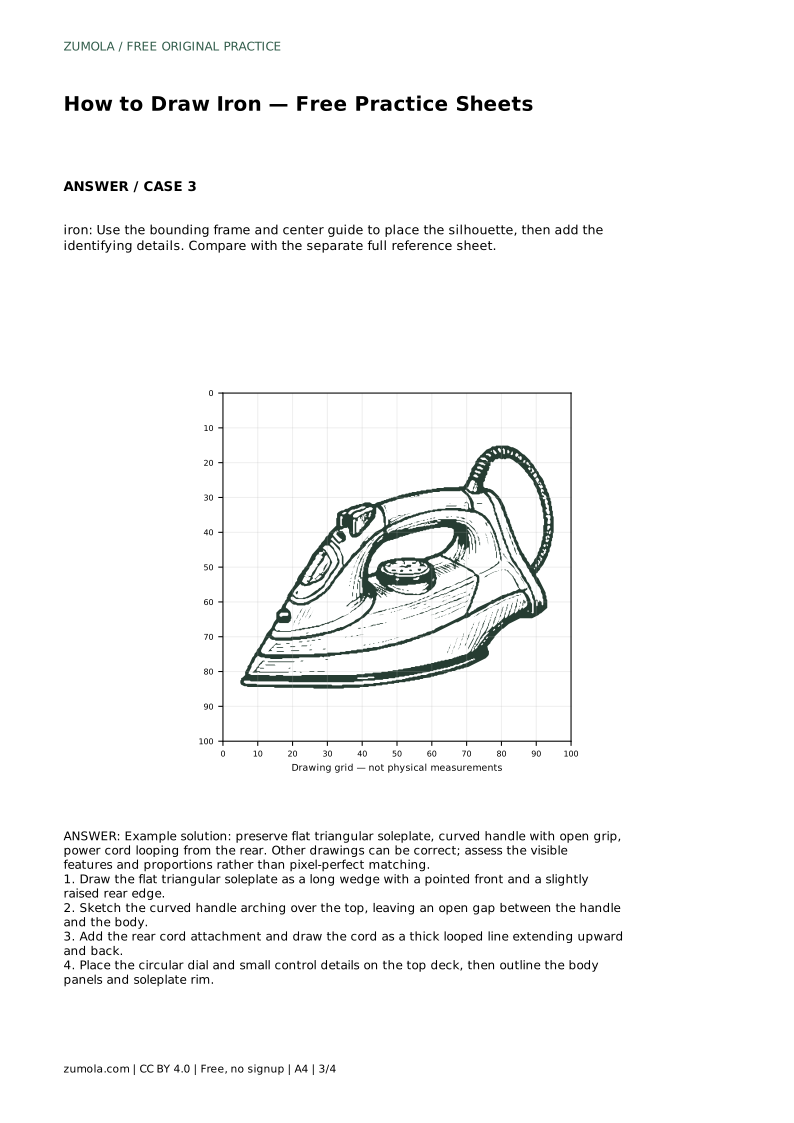
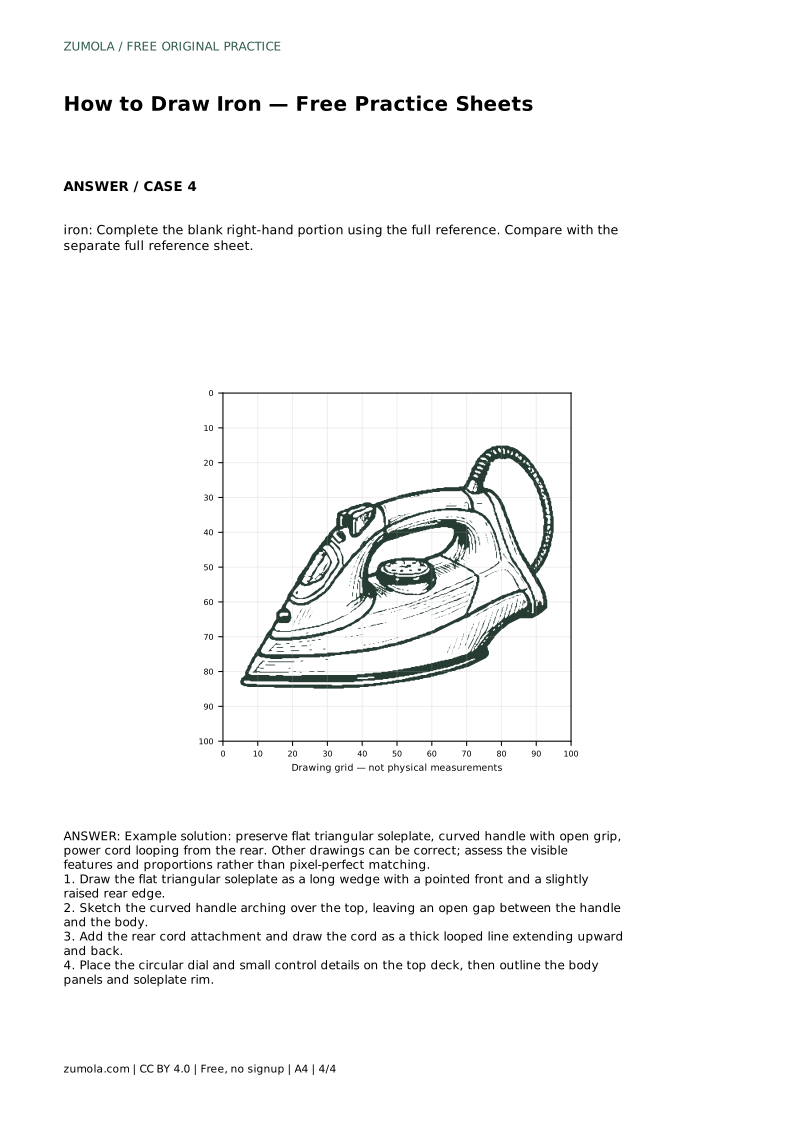
Drawing an iron is mostly a lesson in clear silhouette and believable proportions. The shape depends on a long, flat soleplate, a handle that arches above the body with a visible open gap, and a cord that leaves from the rear. This page explains how to construct those parts in order, then how to check your drawing against a reference sheet. The practice formats let you trace, copy onto a grid, or place the outline using a frame and center guide.
Begin with the soleplate because it sets the iron's overall direction and width. Draw it as a long wedge: a pointed front, two side edges that widen slightly toward the rear, and a rear edge that sits a little higher than the front tip. Keep the bottom line straight and level, since a flat soleplate is the feature that makes the object read as an iron rather than a generic wedge.
Build the body above the soleplate as a low mass that follows the same taper. The body should sit inside the soleplate outline rather than overhang it. Leave room at the top for the handle and at the rear for the cord attachment. Light construction lines are useful here; erase or soften them once the main proportions feel settled.
The handle is the second key identifier. Draw it as a curved arch rising over the top deck, with a clear open gap between the handle and the body. That gap matters: if the handle sits directly on the body, the iron looks like a solid block. Keep the arch smooth and check that both ends meet the body at believable attachment points.
Next, add the rear cord attachment and draw the cord as a thick looped line extending upward and back. A simple loop with one or two gentle bends is enough; avoid a tangle of overlapping lines. On the top deck, place a circular dial and a few small control details. Finish by outlining the body panels and the soleplate rim so the separate parts are easy to read.
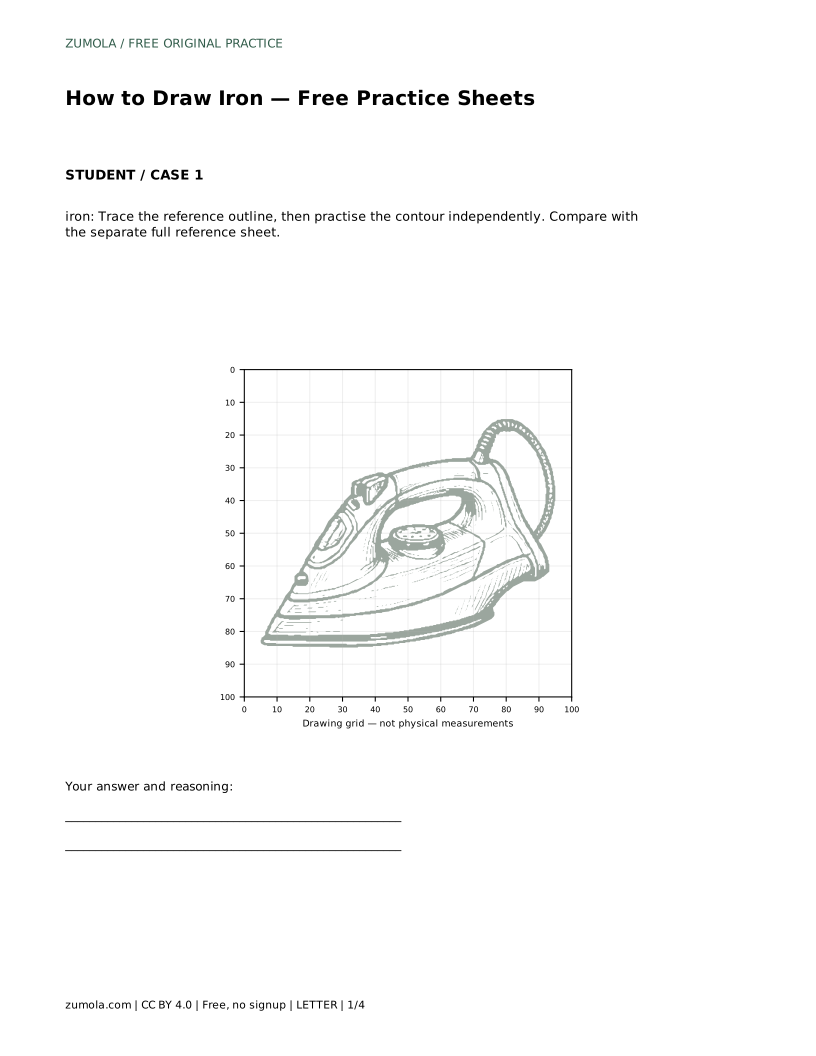
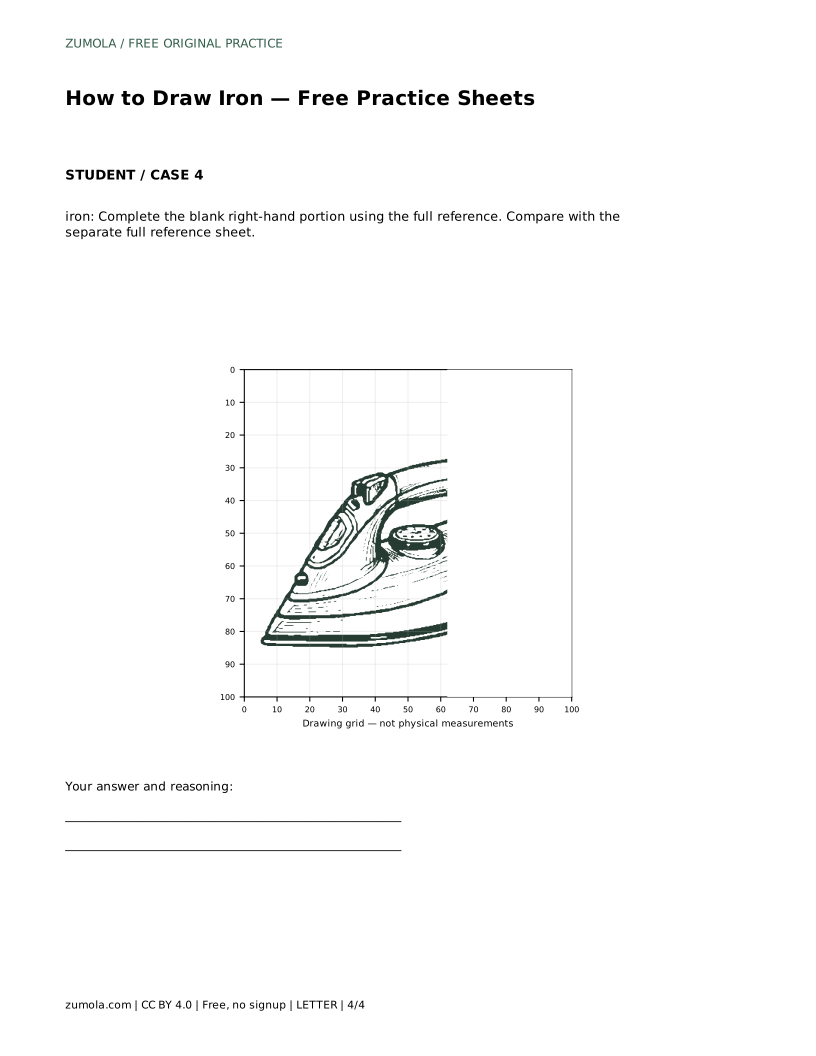
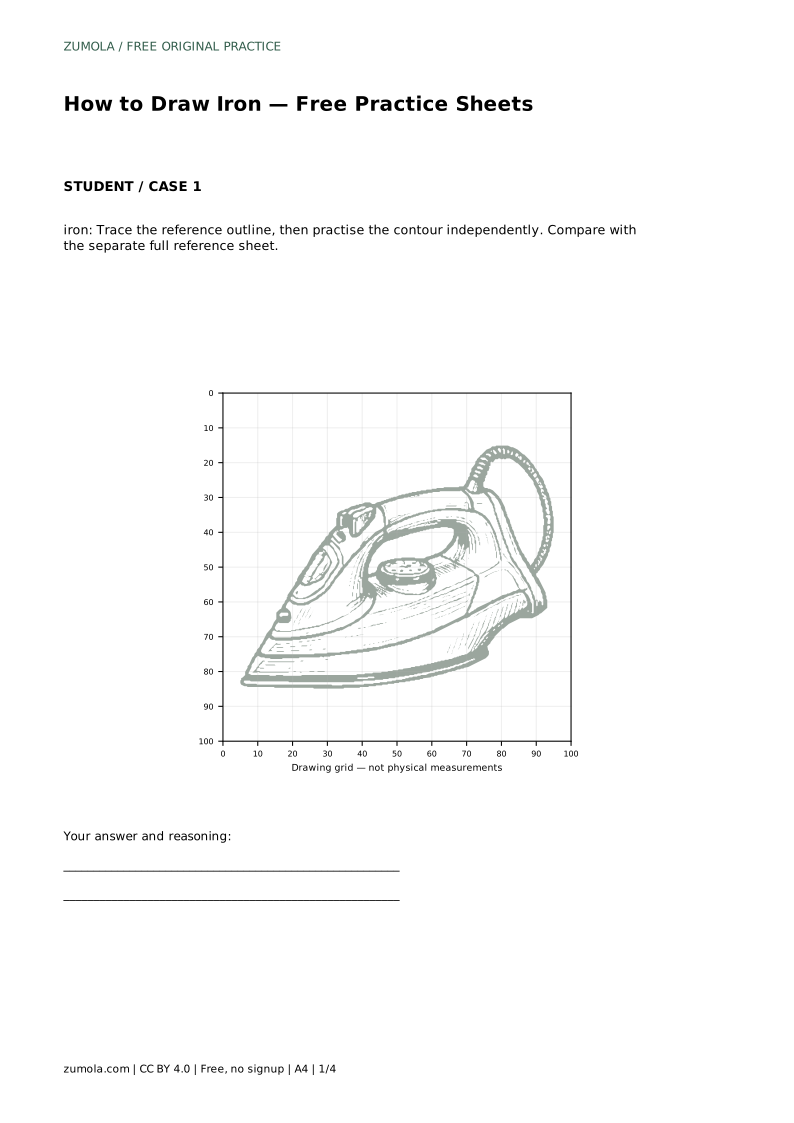
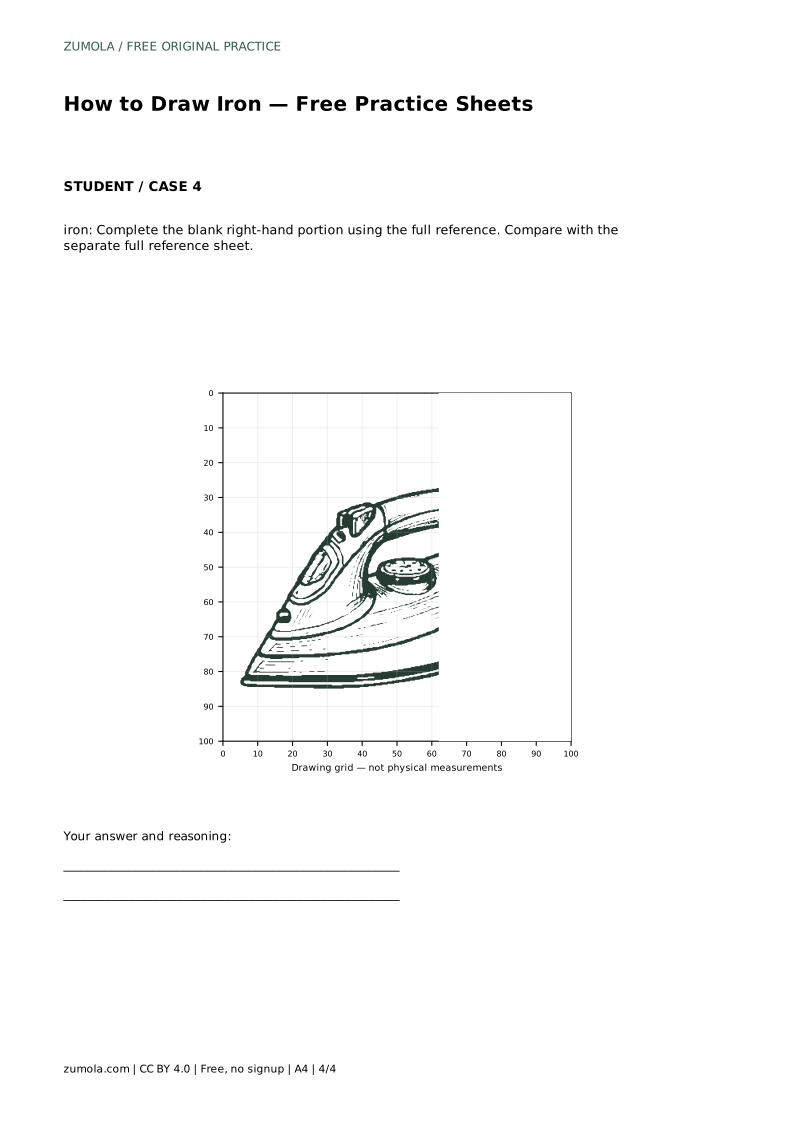
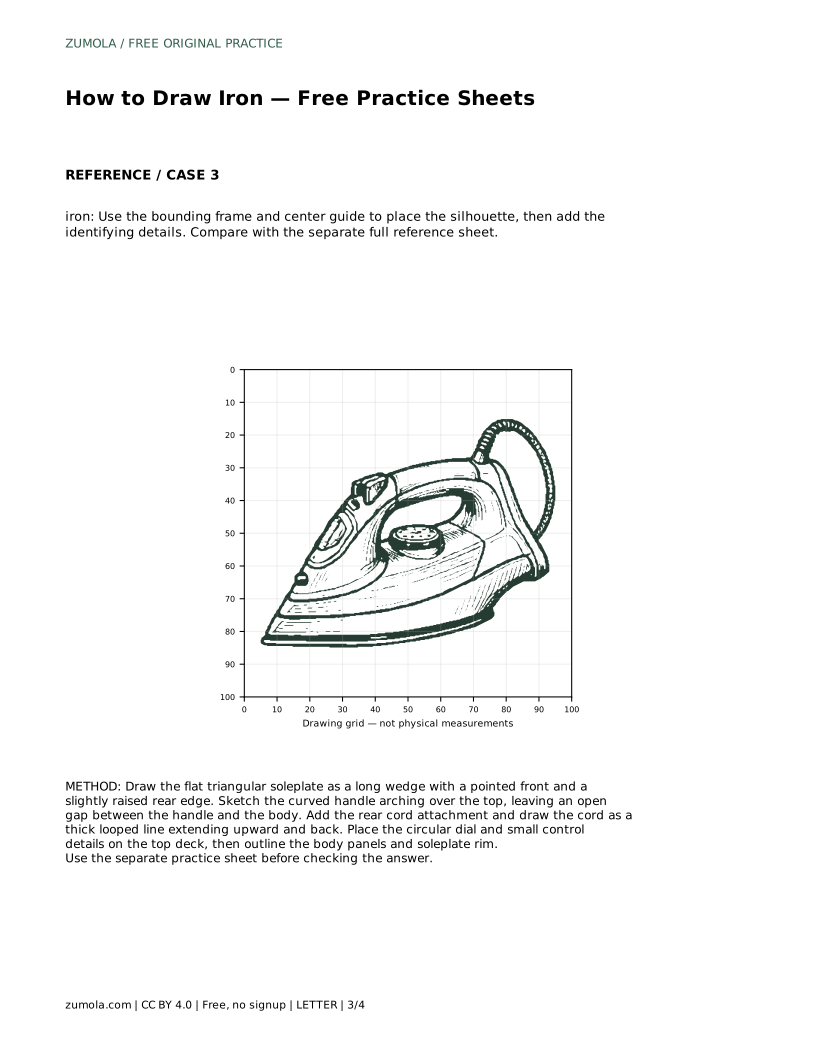
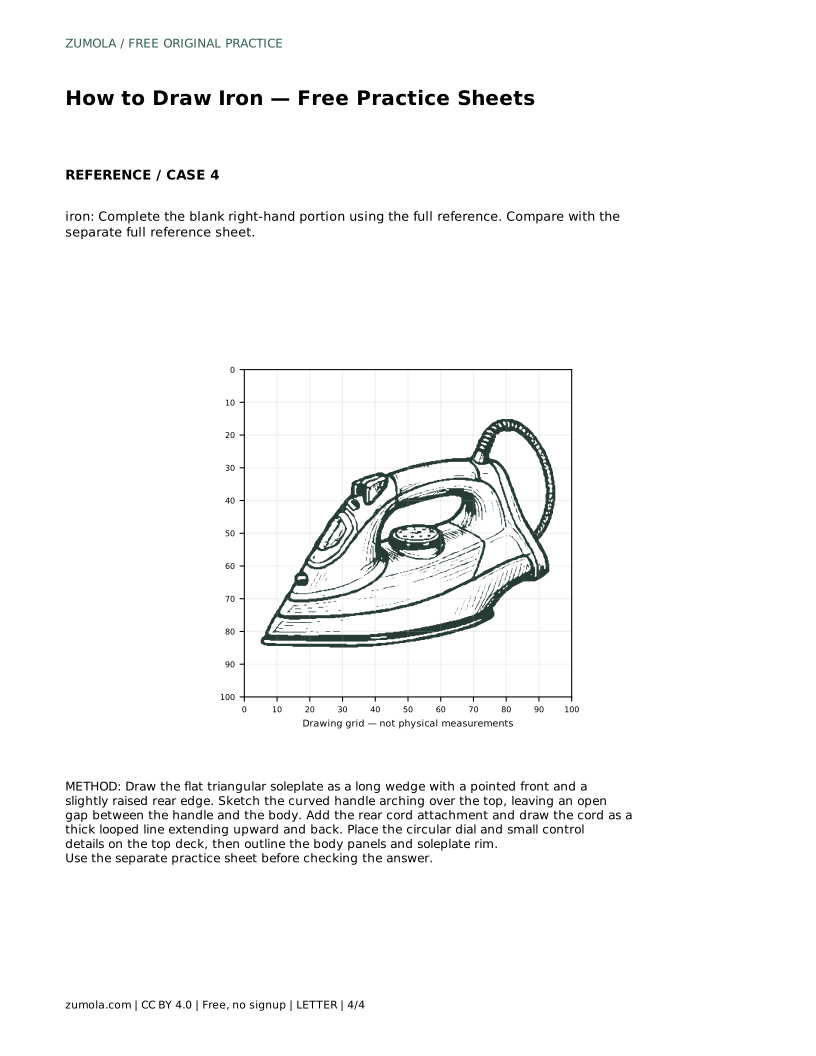
The tracing format asks you to follow the reference outline first, then repeat the contour on your own. The grid format asks you to copy the reference onto a blank grid using matching intersections, which helps with proportion. The frame-and-center-guide format asks you to place the silhouette first, then add identifying details. The partial format gives you the left portion and asks you to complete the blank right-hand side from the full reference.
In every format, compare your finished drawing with the separate full reference sheet. Check the soleplate angle, the handle gap, the cord direction, and the dial position. Small differences are normal; the goal is a recognizable iron with consistent proportions, not a pixel-perfect copy.
A useful check is to look at your drawing from a short distance. The soleplate should read as flat and pointed, the handle should read as an open arch, and the cord should clearly leave from the rear. If one of those features is unclear, redraw that part rather than adding more detail elsewhere.
Because drawings can be correct in different ways, assess visible features and proportions rather than exact line placement. A slightly different handle curve or cord loop can still be a successful iron drawing if the main parts are present and clearly related.
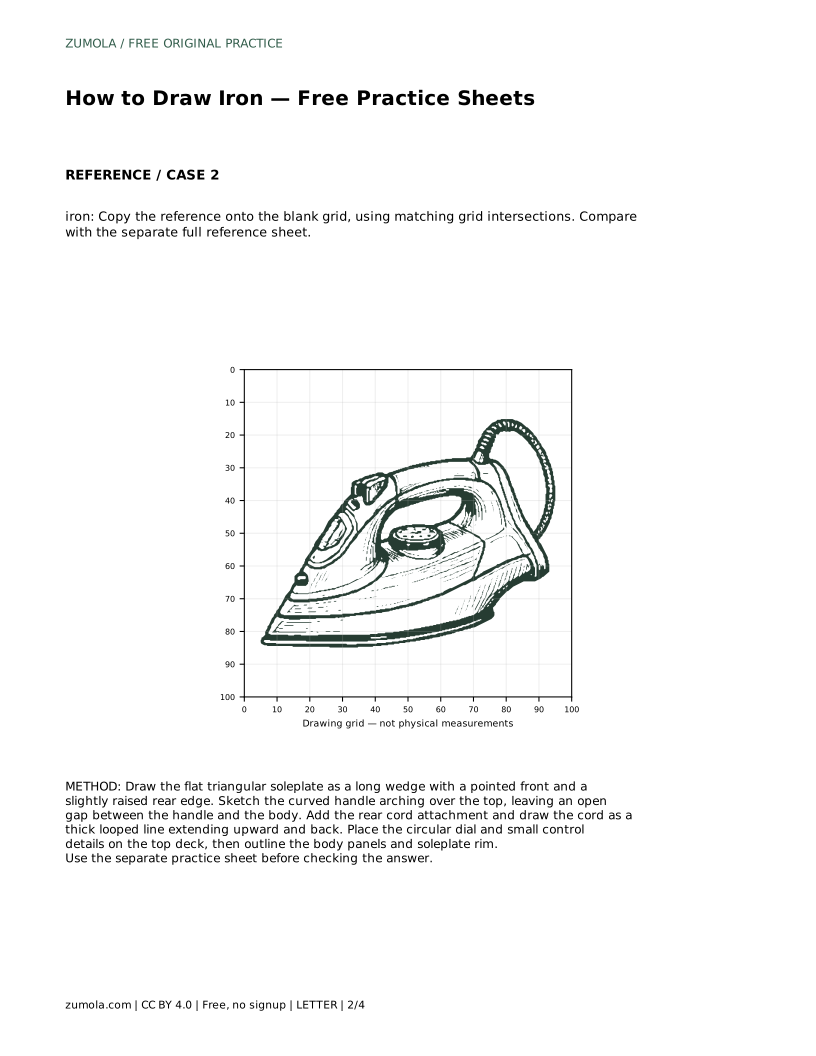
iron: Trace the reference outline, then practise the contour independently. Compare with the separate full reference sheet.
Example solution: preserve flat triangular soleplate, curved handle with open grip, power cord looping from the rear. Other drawings can be correct; assess the visible features and proportions rather than pixel-perfect matching. Draw the flat triangular soleplate as a long wedge with a pointed front and a slightly raised rear edge. Sketch the curved handle arching over the top, leaving an open gap between the handle and the body. Add the rear cord attachment and draw the cord as a thick looped line extending upward and back. Place the circular dial and small control details on the top deck, then outline the body panels and soleplate rim.
A flat triangular soleplate, a curved handle with an open grip, and a cord looping from the rear. These visible features and their proportions matter more than exact line matching.
Yes. The grid format is designed for copying the reference onto a blank grid using matching intersections, so tracing is not required.
Compare it with the separate full reference sheet and check the soleplate angle, handle gap, cord direction, and dial position. Assess the visible features rather than expecting a pixel-perfect match.
All drawing practice · Free coordinate paper
Original resources · CC BY 4.0 · Free for personal and classroom use with attribution.