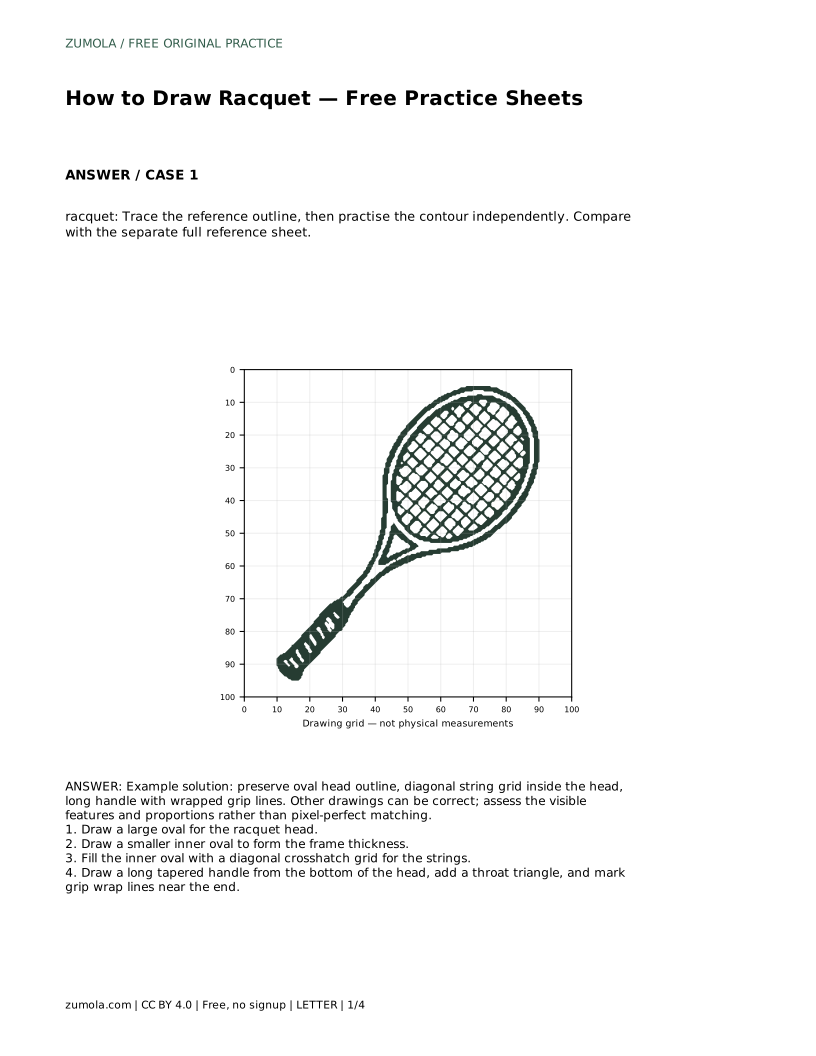
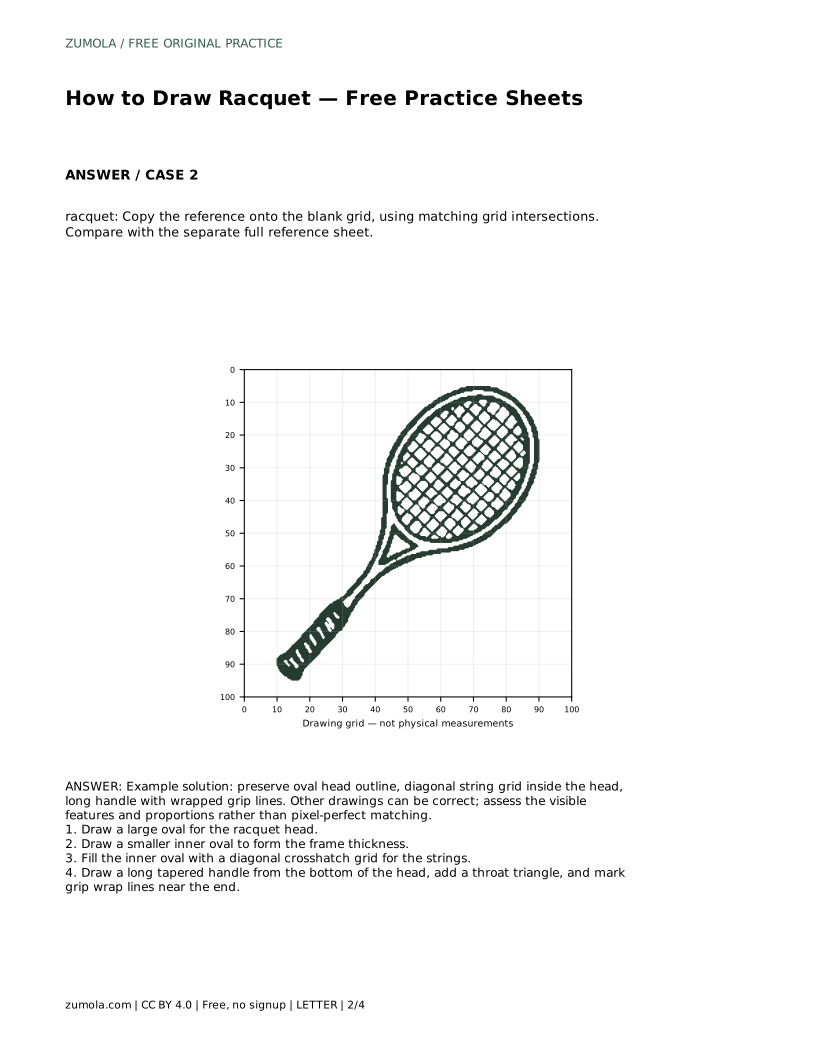
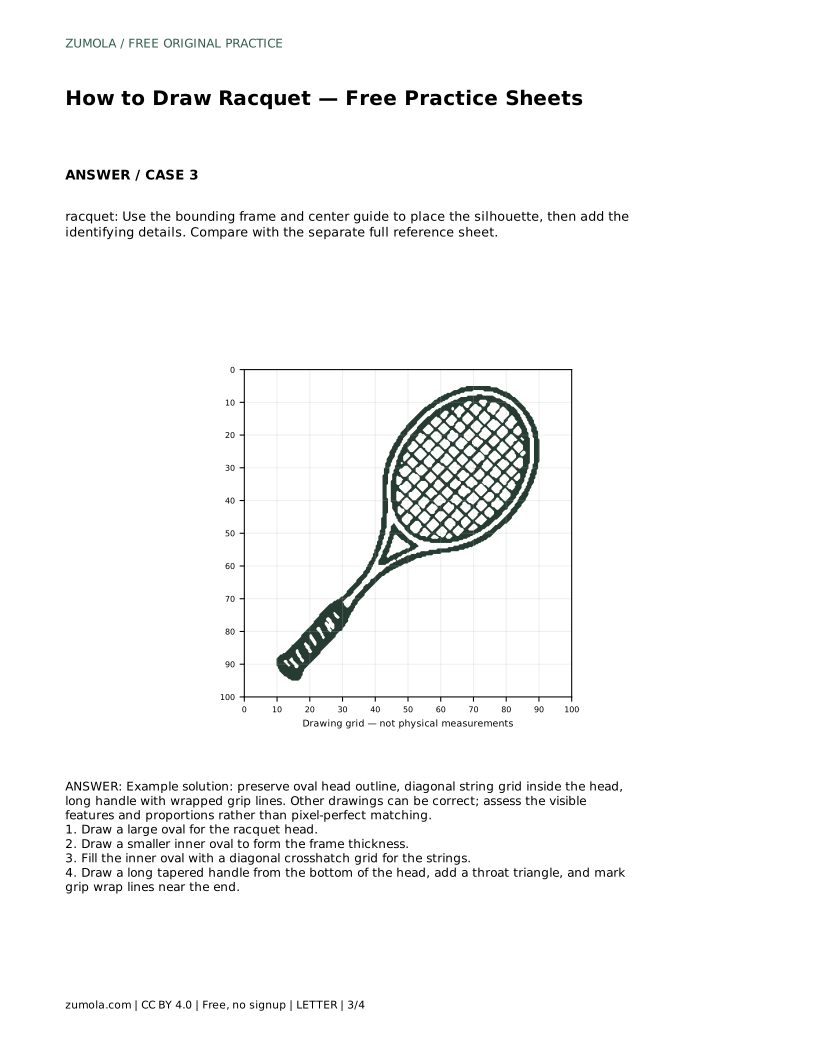
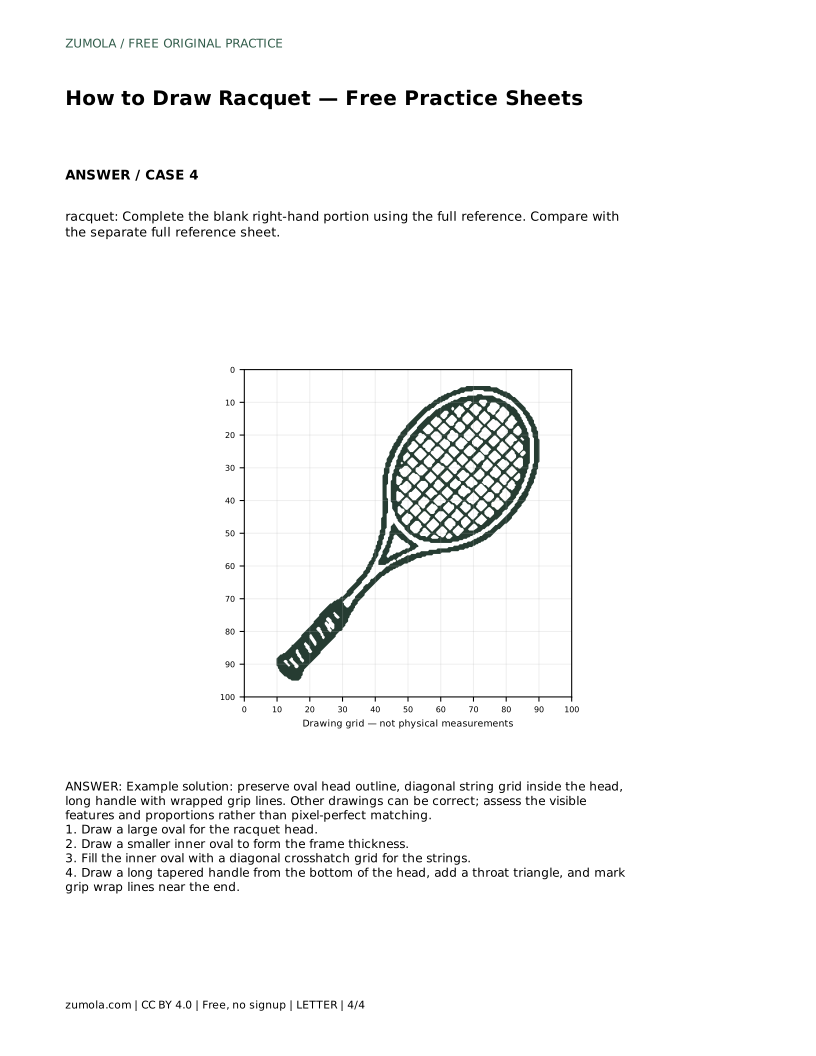
Reference diagrams
LETTER · Download PDF
A4 · Download PDF
Free original resources
Learn to draw a racquet by building the oval head, frame thickness, diagonal string grid, throat, and wrapped grip. Includes a worked example and rubric.
Four original cases, with reference diagrams, practice sheets and worked answers. Everything is free; no signup required.
LETTER · Download PDF
A4 · Download PDF
LETTER · Download PDF
A4 · Download PDF
LETTER · Download PDF
A4 · Download PDF
Use A4 or US Letter to match your printer. Use the stated values and conditions to solve each exercise; diagrams are not physical measuring rulers.
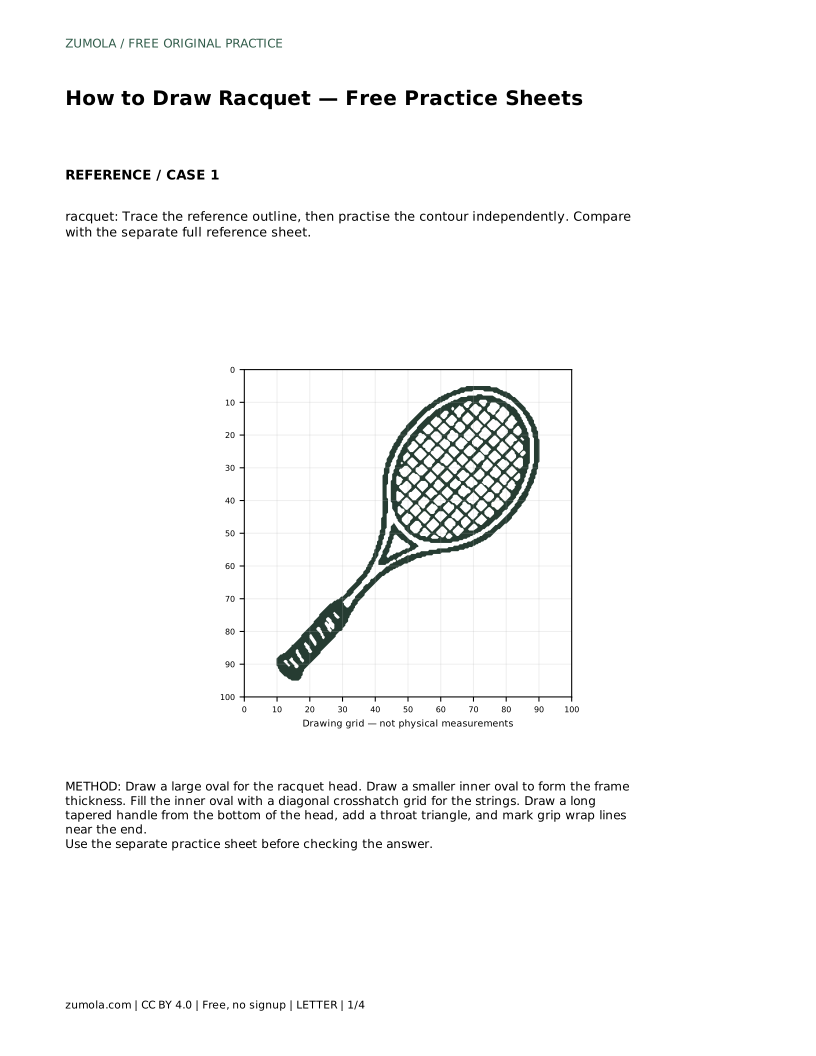
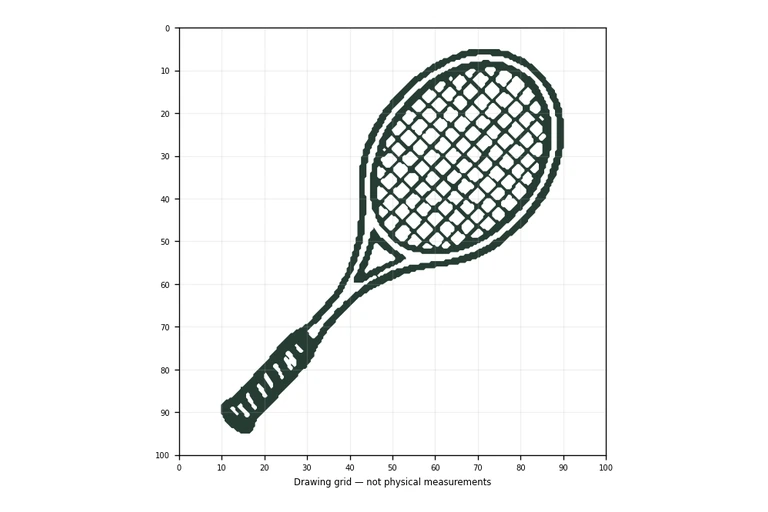
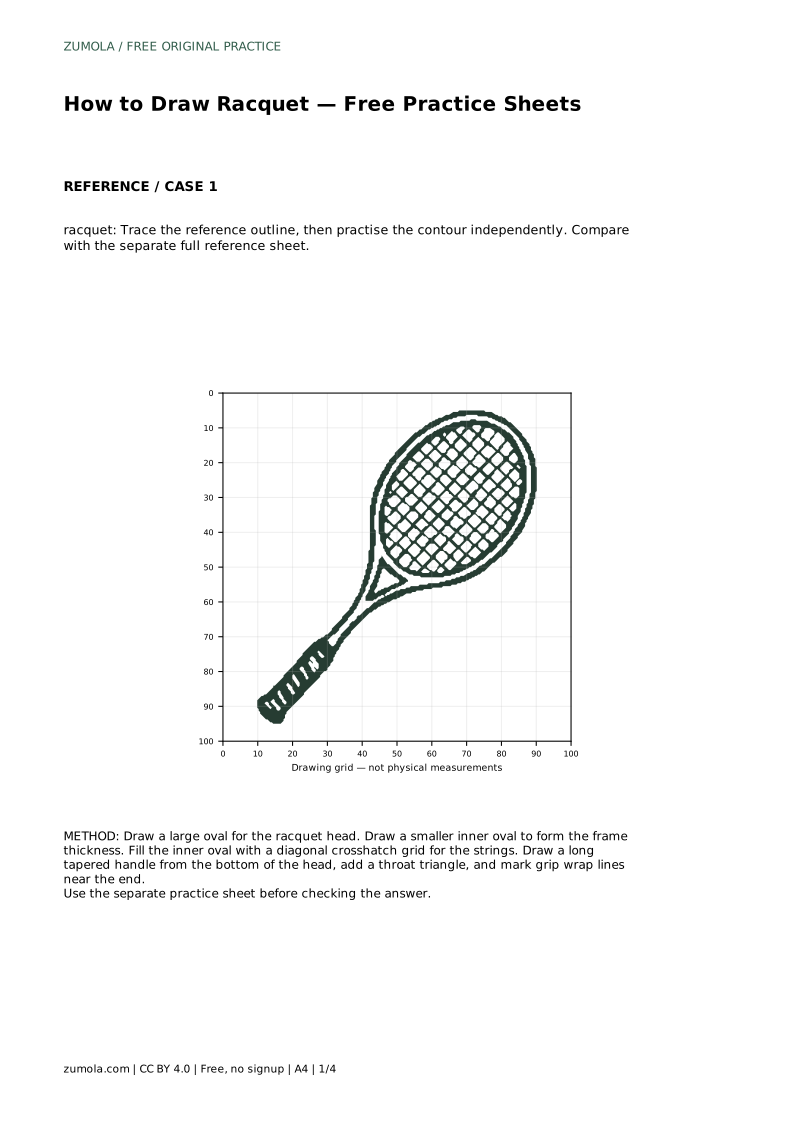
A racquet is easy to recognise but surprisingly easy to draw out of proportion. The head is a broad oval, the frame has visible thickness, the strings form a diagonal grid, and the handle tapers into a throat before ending in a wrapped grip. This page explains a reliable order for drawing those parts and describes how to use the practice sheet formats: tracing the outline, copying onto a blank grid, placing the silhouette with a bounding frame and centre guide, and completing a blank right-hand portion.
Begin with the largest shape: a single oval for the racquet head. Keep it wider than it is tall only if your reference shows that; many racquet heads are close to circular or slightly elongated, so check the reference before committing. Draw lightly, because the oval sets the proportion for everything below it.
Inside the first oval, draw a smaller oval that follows the same curve. The gap between the two outlines is the frame thickness. Keep that gap even around the whole head; an uneven gap makes the frame look bent. Do not fill the inner oval yet, because the strings belong there.
Inside the inner oval, draw one set of evenly spaced diagonal lines in one direction, then a second set crossing them in the other direction. The result is a crosshatch grid that reads as strings. Keep the lines inside the inner oval so they do not spill onto the frame.
Spacing matters more than count. If the lines crowd together at one edge and spread apart at the other, the grid will look warped. Aim for consistent gaps, and stop each line at the inner oval rather than letting it run past the frame.
From the bottom of the head, draw a long tapered handle. The taper should narrow gradually toward the end. Where the handle meets the head, add a throat triangle: two short lines that connect the lower frame to the top of the handle and form a V or triangular junction. This junction is what makes the drawing read as a racquet rather than a lollipop.
Near the end of the handle, mark grip wrap lines. These are short diagonal lines that suggest overlapping tape. Keep them within the handle width and space them evenly. The handle should be long enough to look usable; compare its length with the head in your reference before finalising.
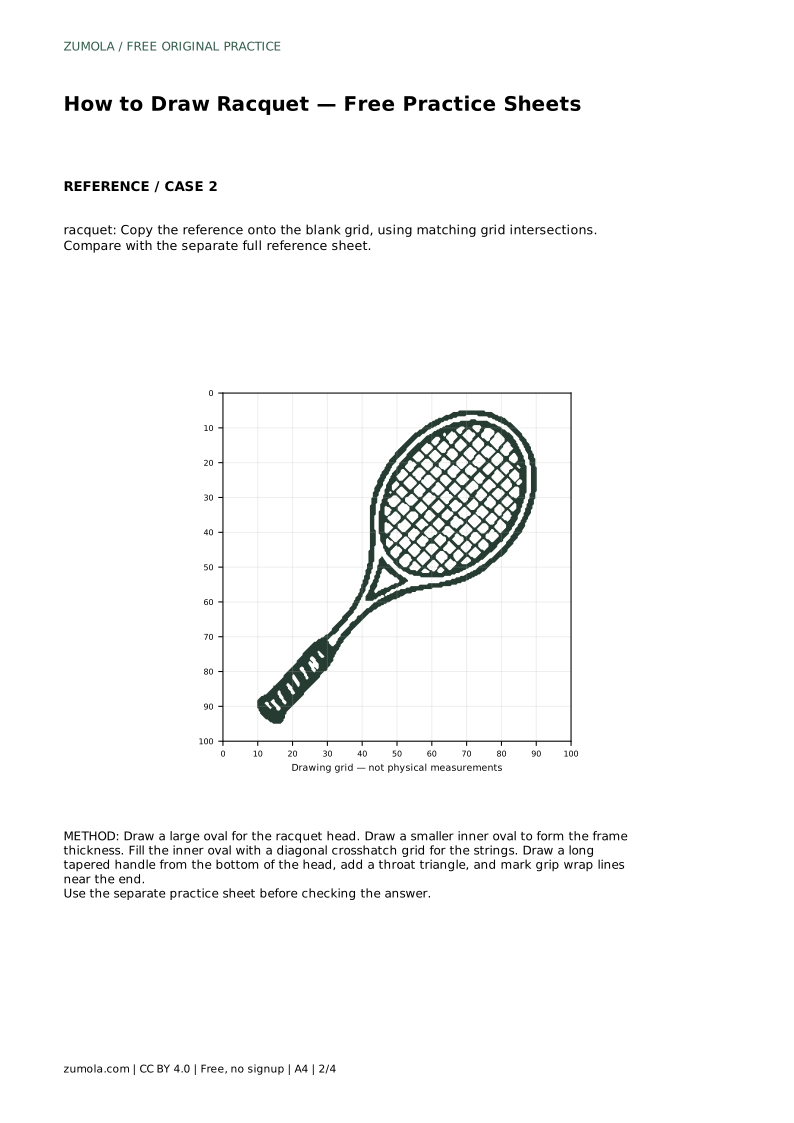
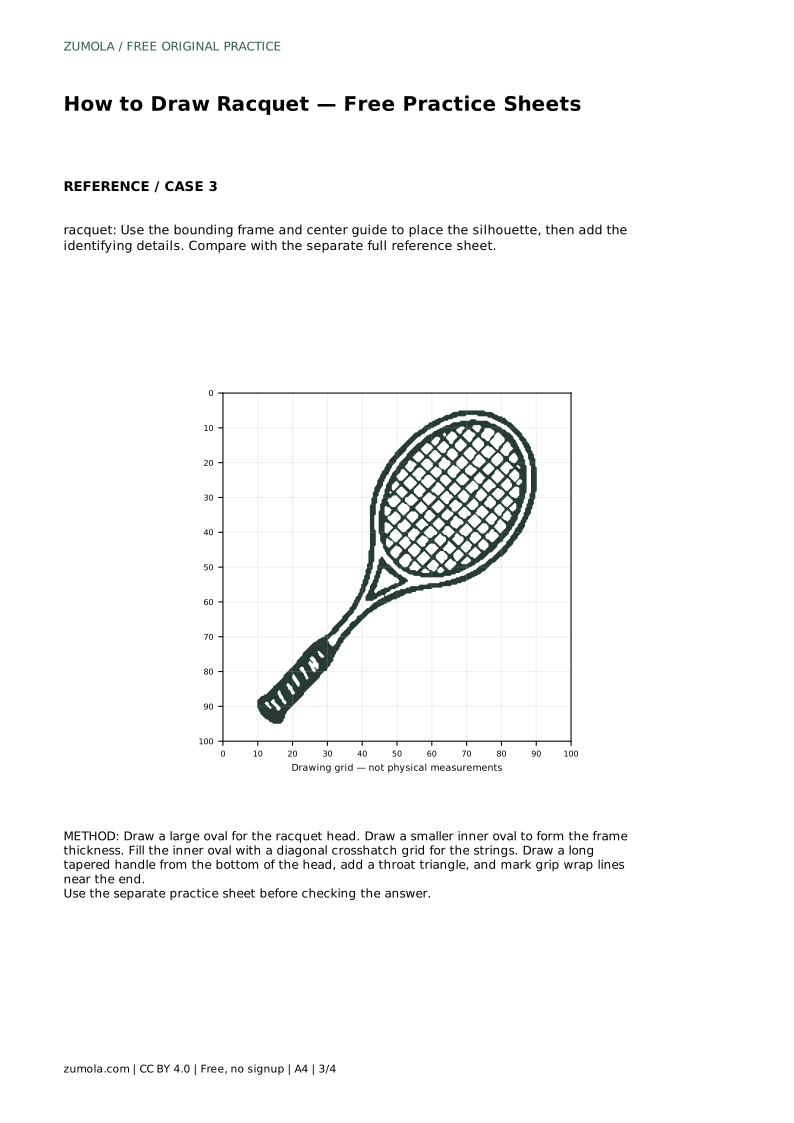
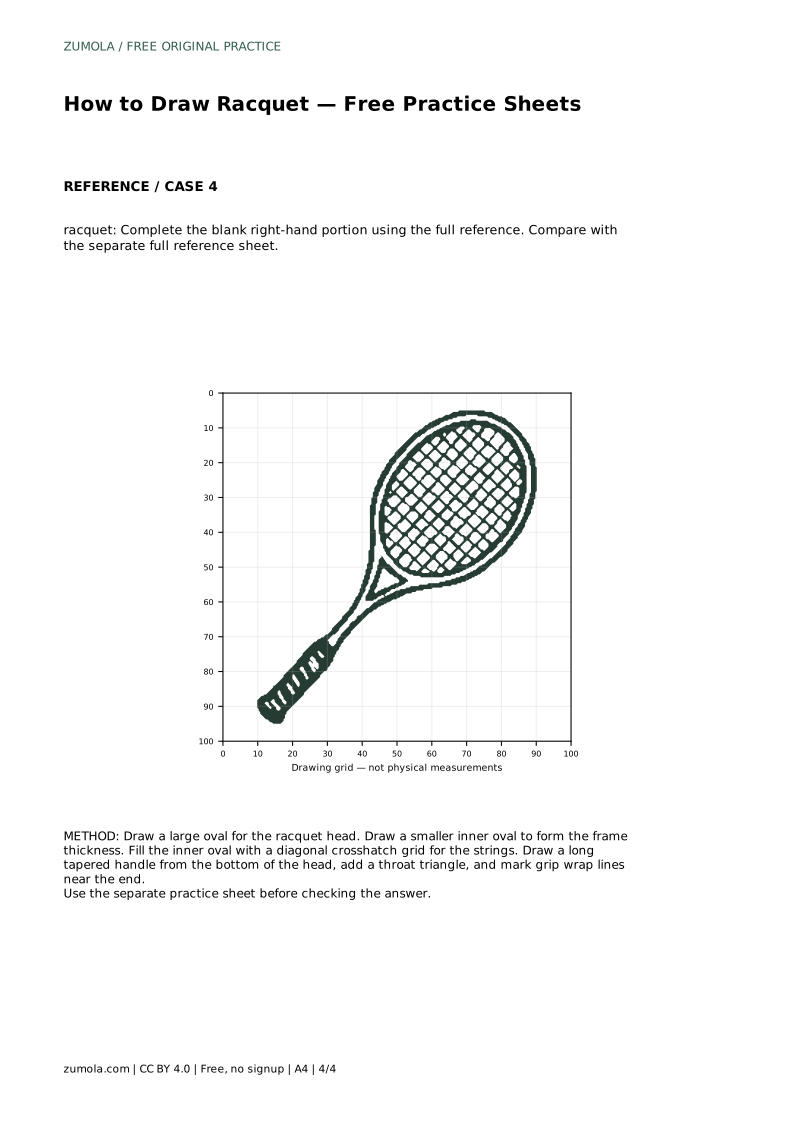
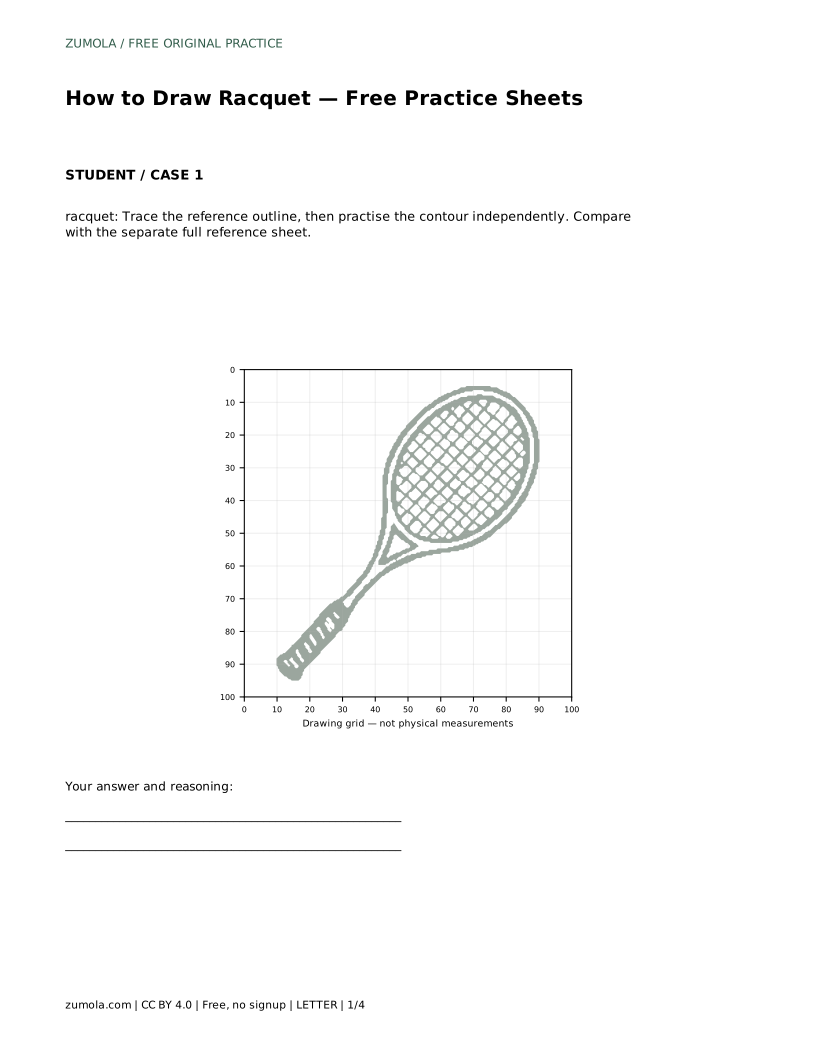
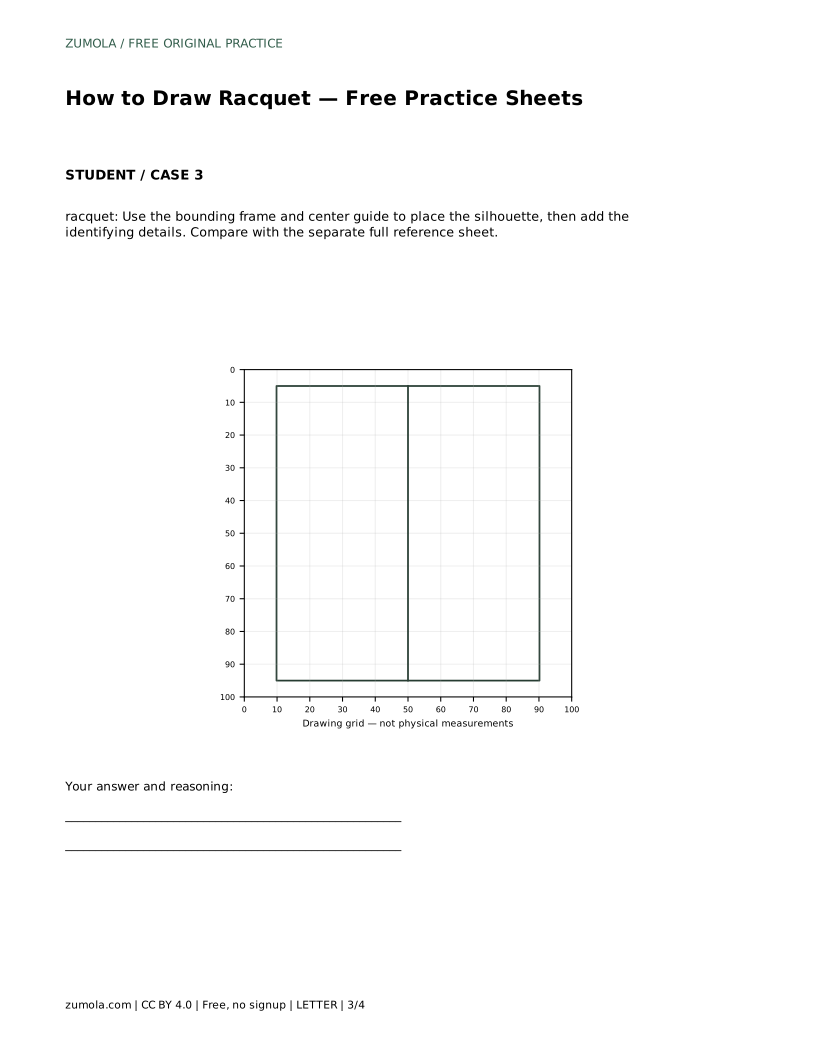
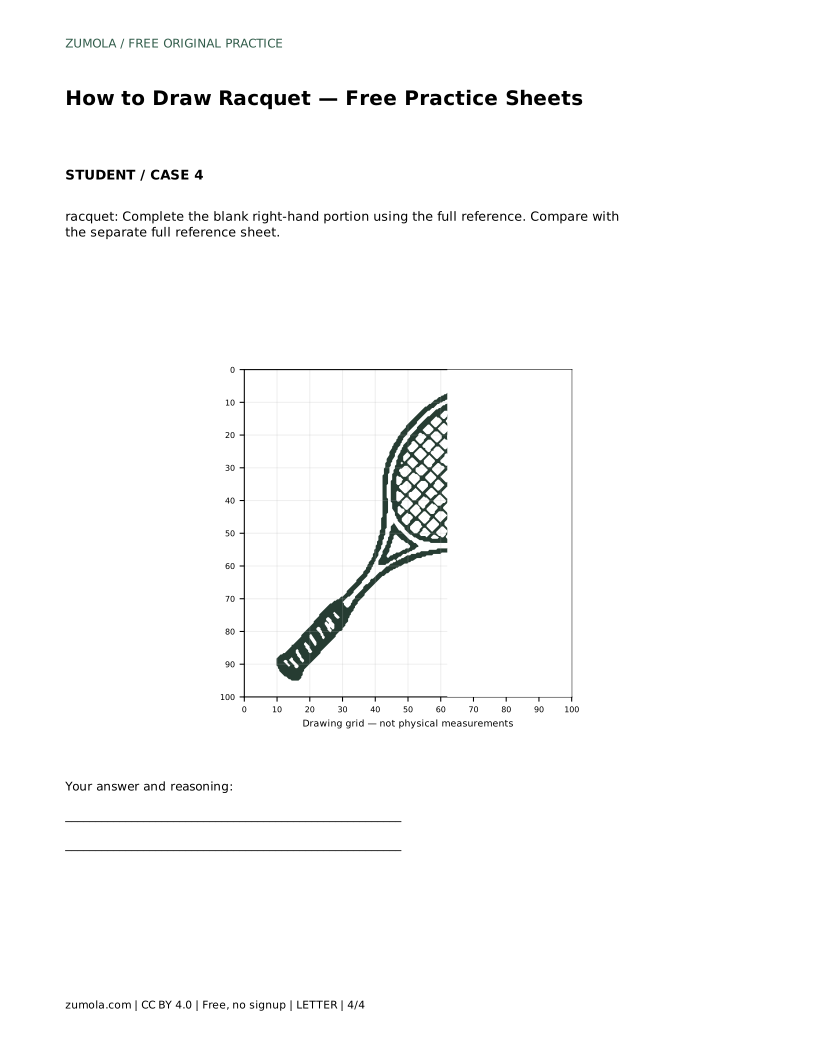
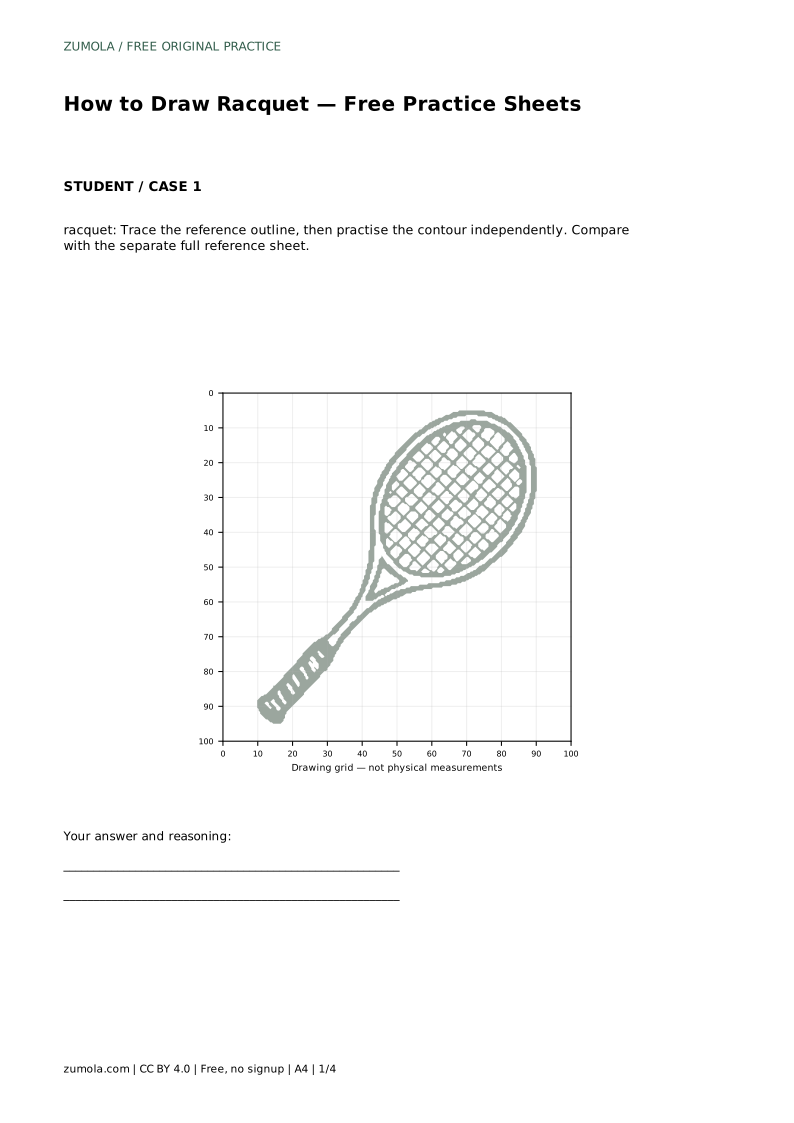
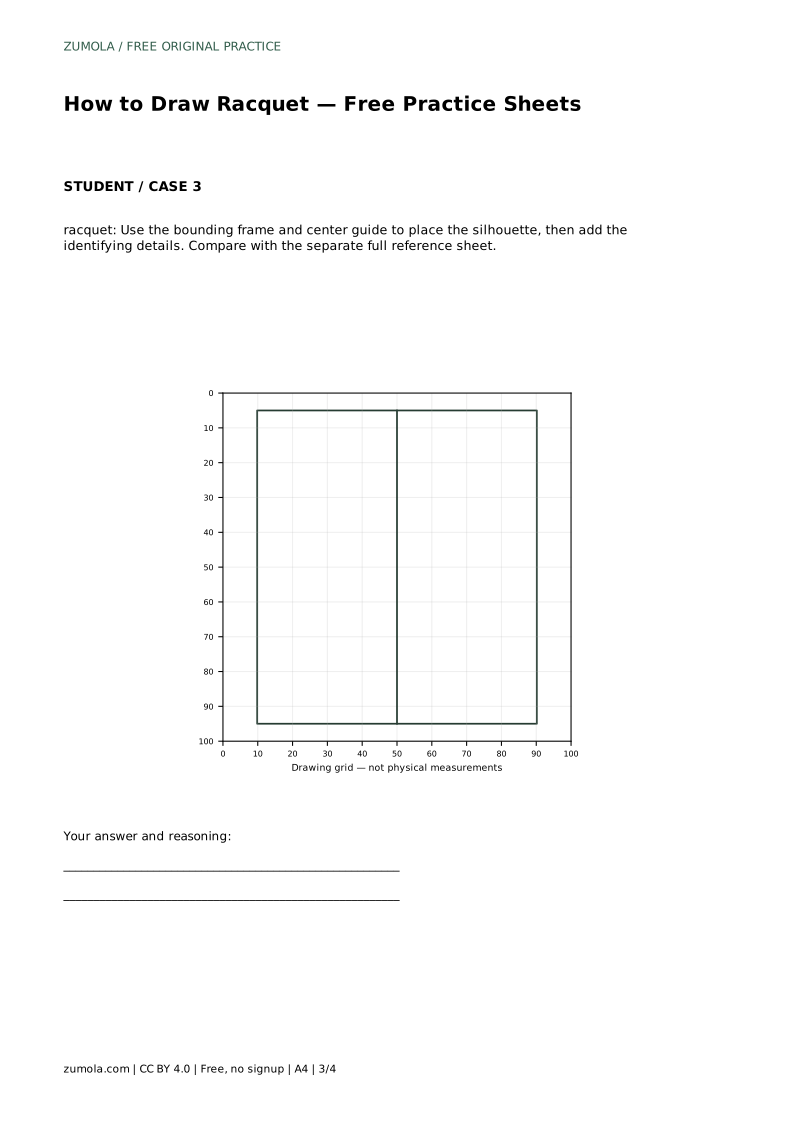
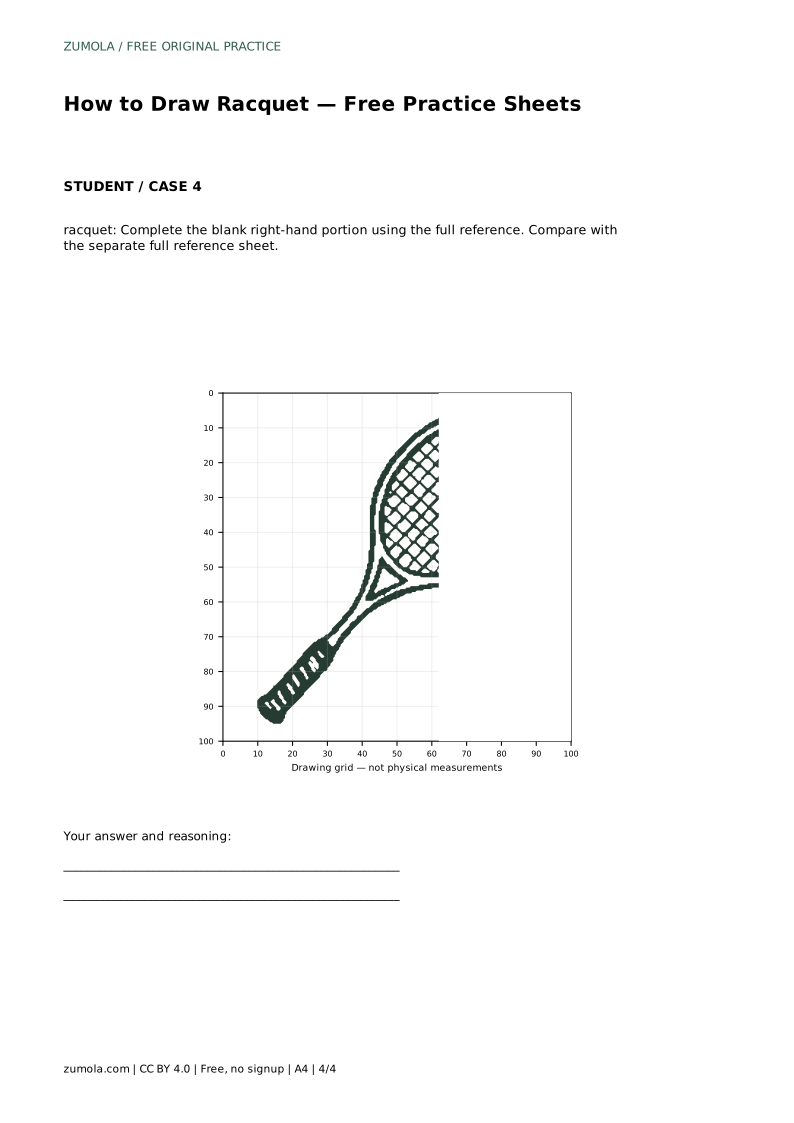
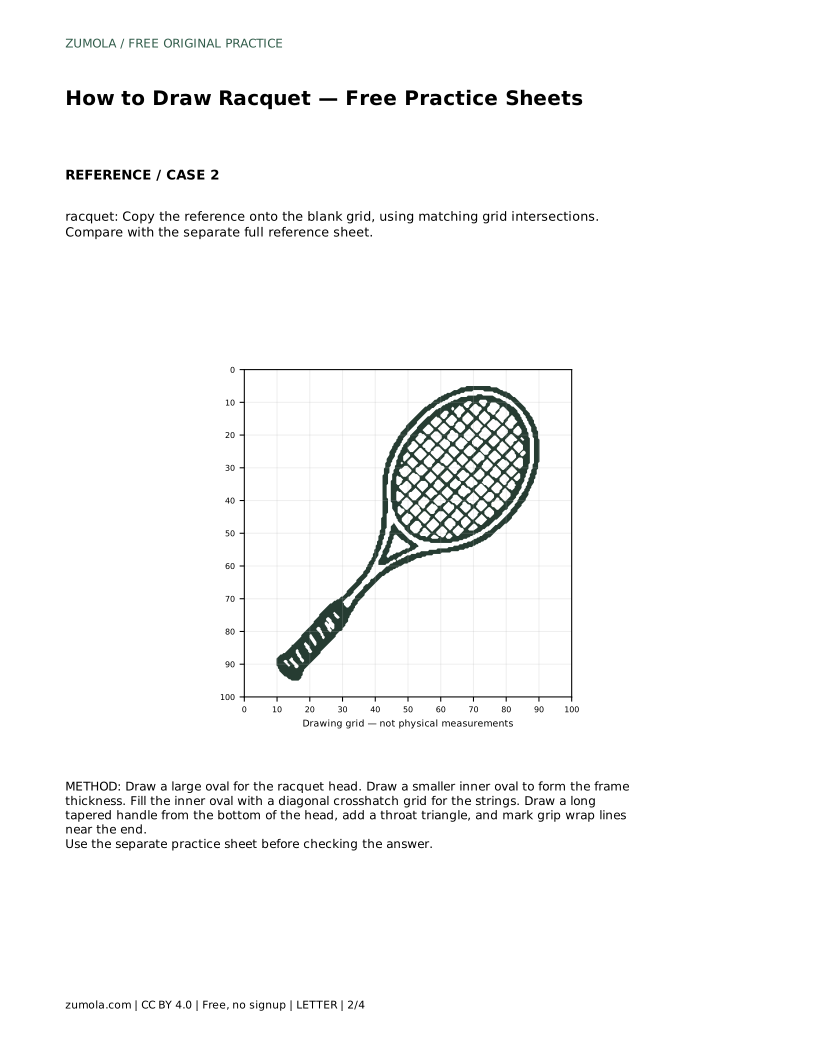
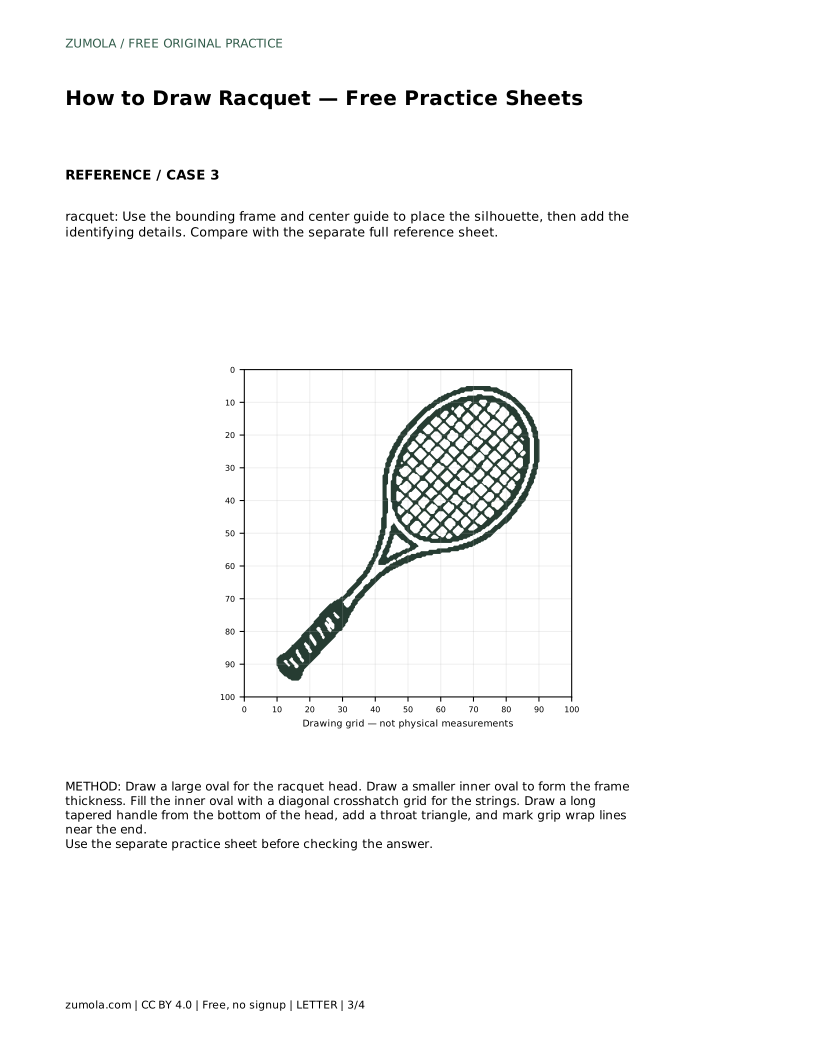
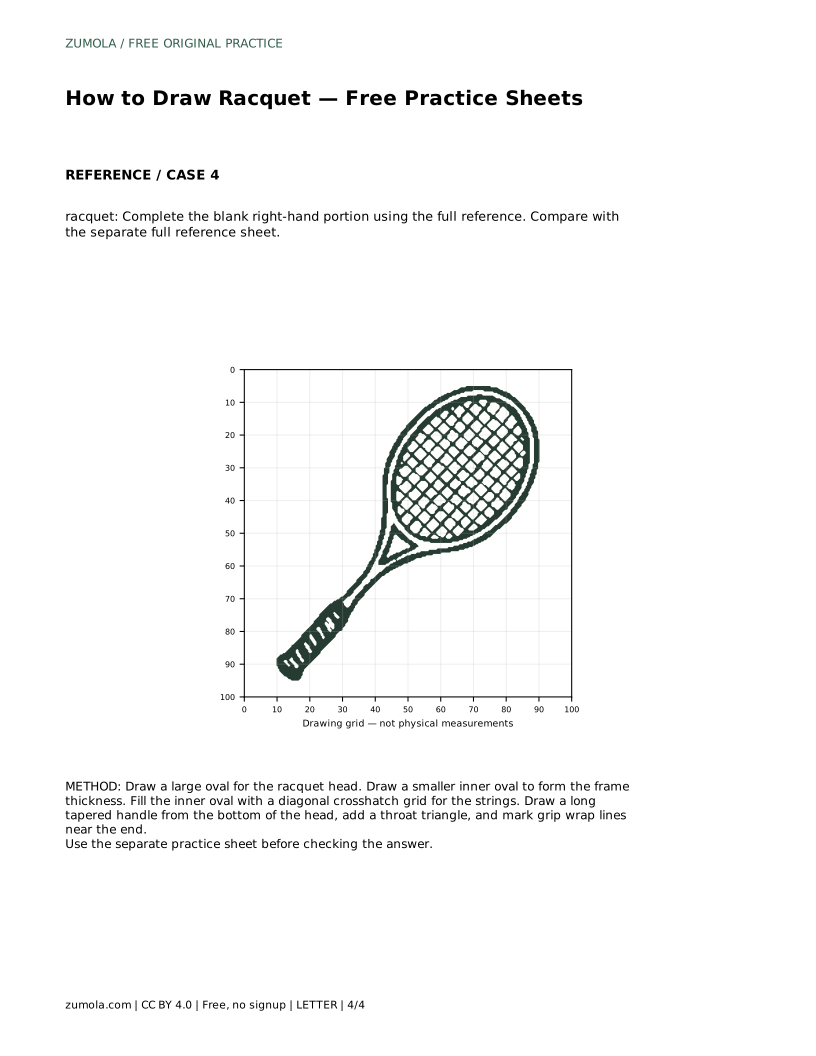
Each sheet format isolates a different drawing skill. Tracing the reference outline builds familiarity with the contour; then practise the contour independently and compare with the separate full reference sheet. Copying onto a blank grid trains you to match grid intersections, which helps with proportion. The bounding frame and centre guide help you place the silhouette before adding identifying details. The blank right-hand portion asks you to complete the missing side using the full reference.
In every format, compare your drawing with the reference by checking visible features and proportions rather than pixel-perfect matching. Different line weights, string densities, and grip patterns can all be correct.
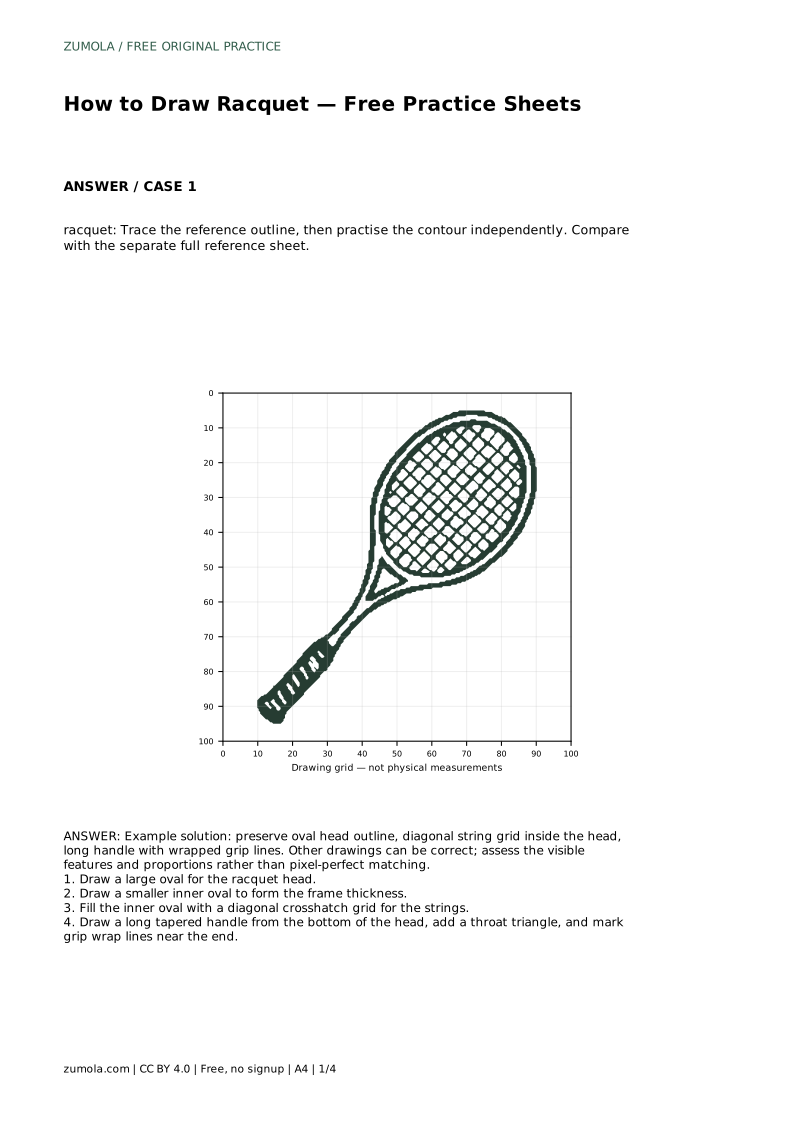
racquet: Trace the reference outline, then practise the contour independently. Compare with the separate full reference sheet.
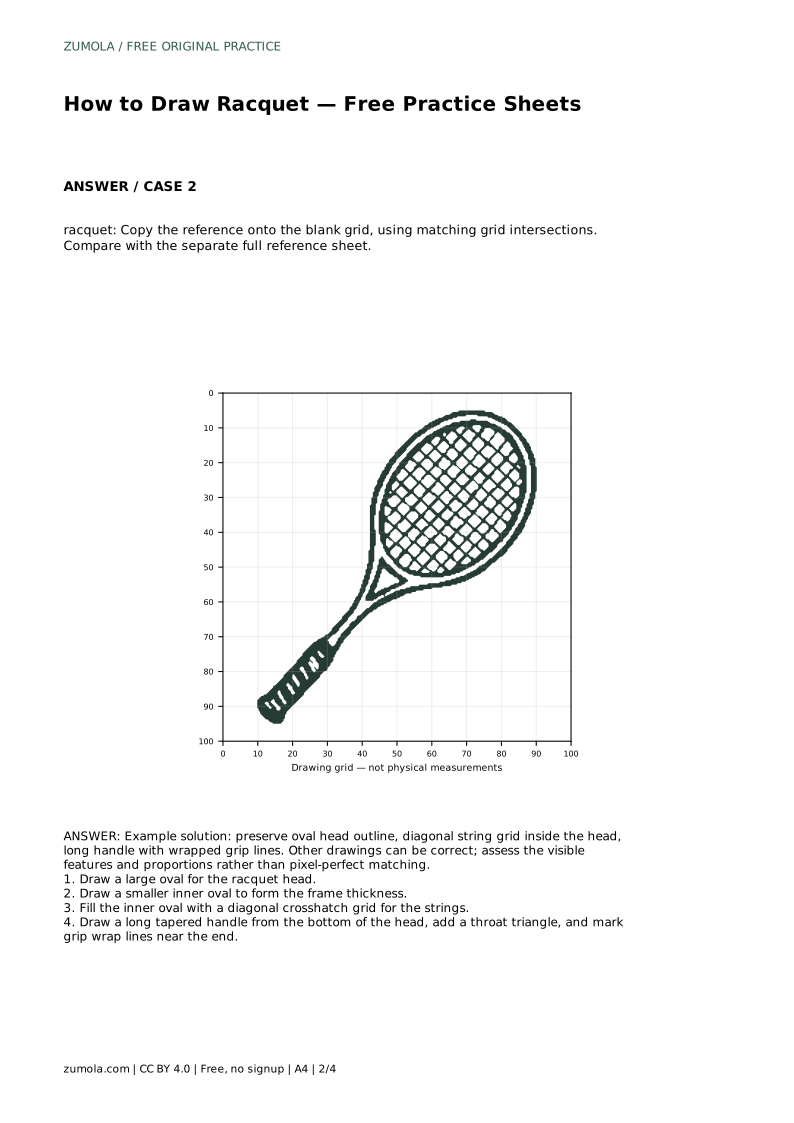
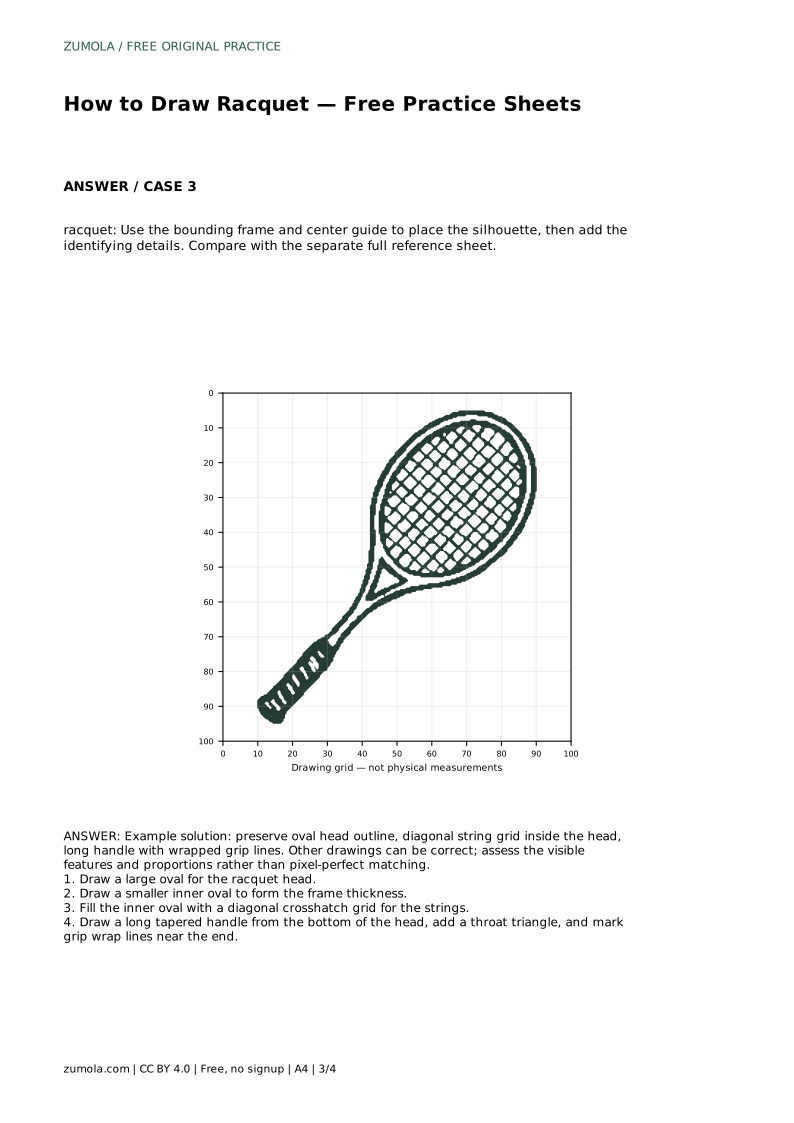
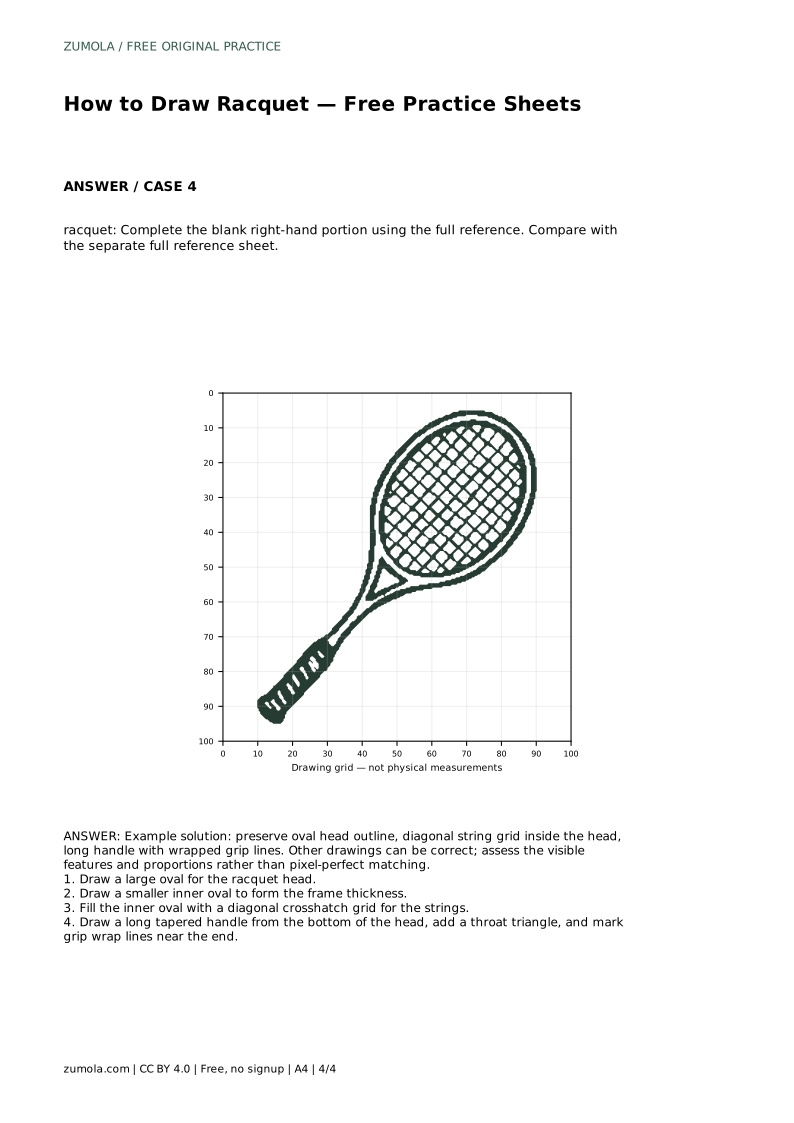
Example solution: preserve oval head outline, diagonal string grid inside the head, long handle with wrapped grip lines. Other drawings can be correct; assess the visible features and proportions rather than pixel-perfect matching. Draw a large oval for the racquet head. Draw a smaller inner oval to form the frame thickness. Fill the inner oval with a diagonal crosshatch grid for the strings. Draw a long tapered handle from the bottom of the head, add a throat triangle, and mark grip wrap lines near the end.
No. Match the reference you are using. Keep the outer and inner outlines parallel so the frame thickness stays even.
There is no fixed count. Use even spacing and keep the grid inside the inner oval; density can vary and still be correct.
Yes. Grip wrap lines can vary in angle and spacing. Keep them inside the handle width and evenly spaced.
All drawing practice · Free coordinate paper
Original resources · CC BY 4.0 · Free for personal and classroom use with attribution.