Reference diagrams
LETTER · Download PDF
A4 · Download PDF
Free original resources
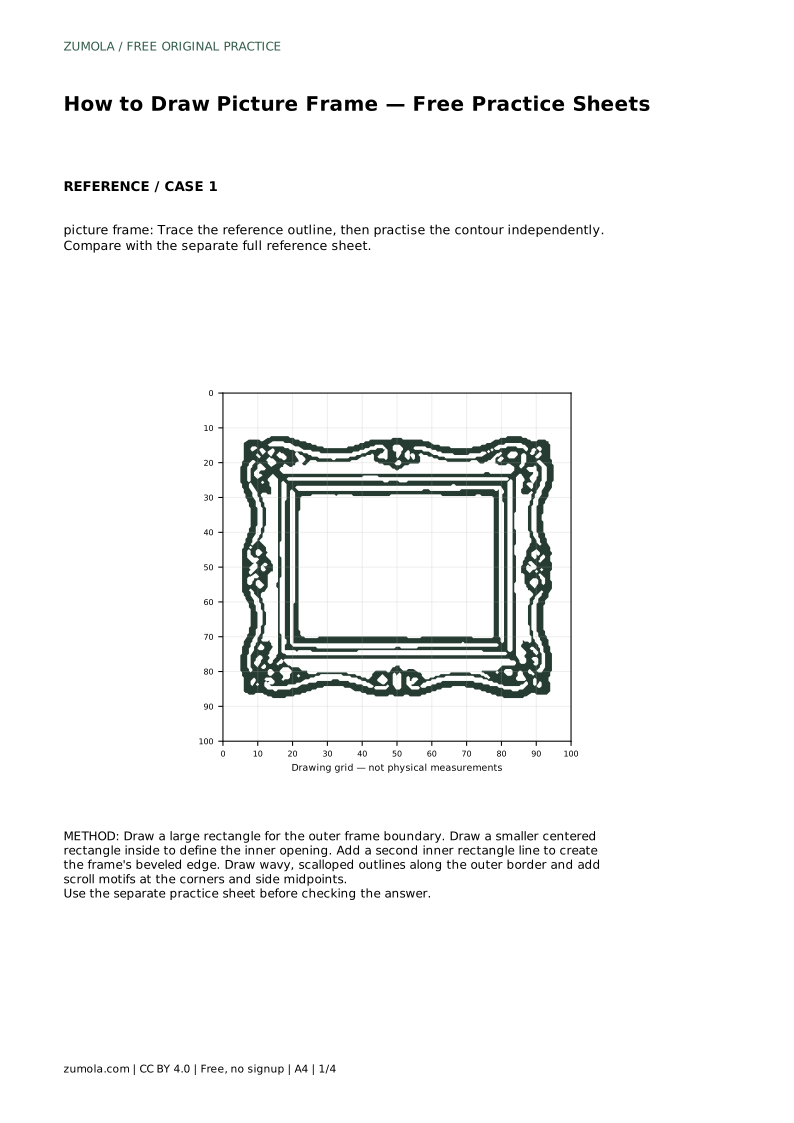
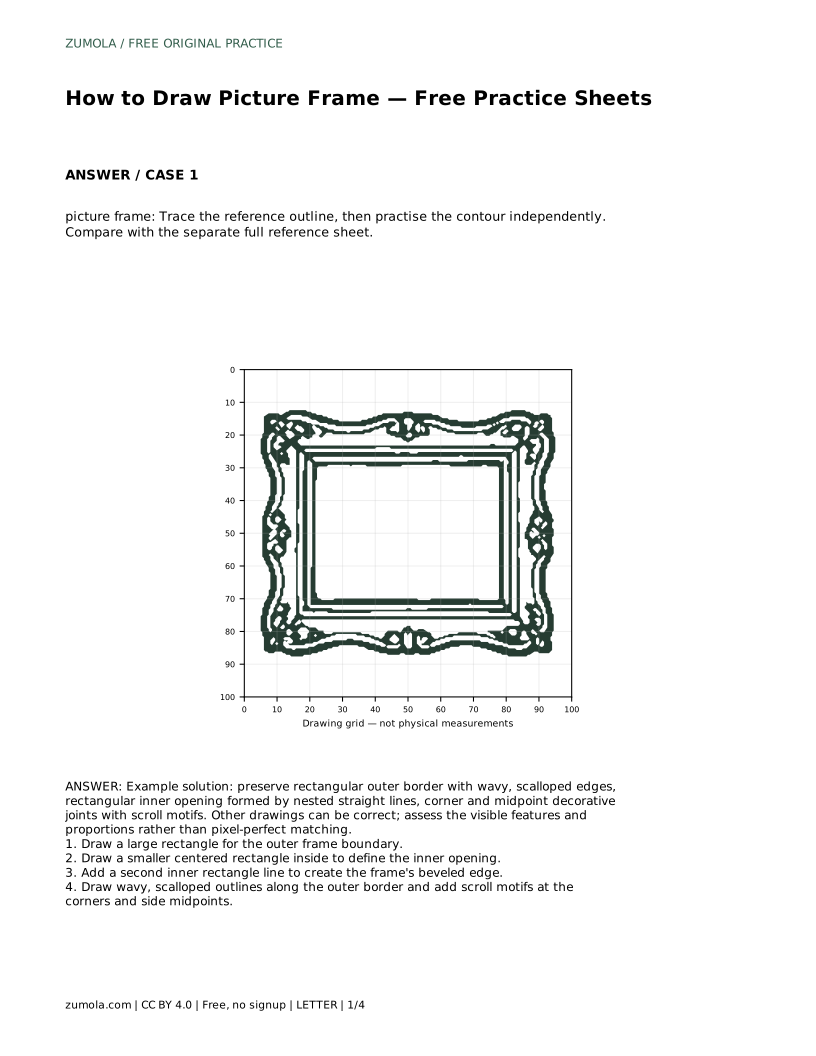
Learn to draw a decorative picture frame with a rectangular opening, beveled inner edge, scalloped border, and scroll motifs using trace, grid, and partial-reference practice sheets.
Four original cases, with reference diagrams, practice sheets and worked answers. Everything is free; no signup required.
LETTER · Download PDF
A4 · Download PDF
LETTER · Download PDF
A4 · Download PDF
LETTER · Download PDF
A4 · Download PDF
Use A4 or US Letter to match your printer. Use the stated values and conditions to solve each exercise; diagrams are not physical measuring rulers.
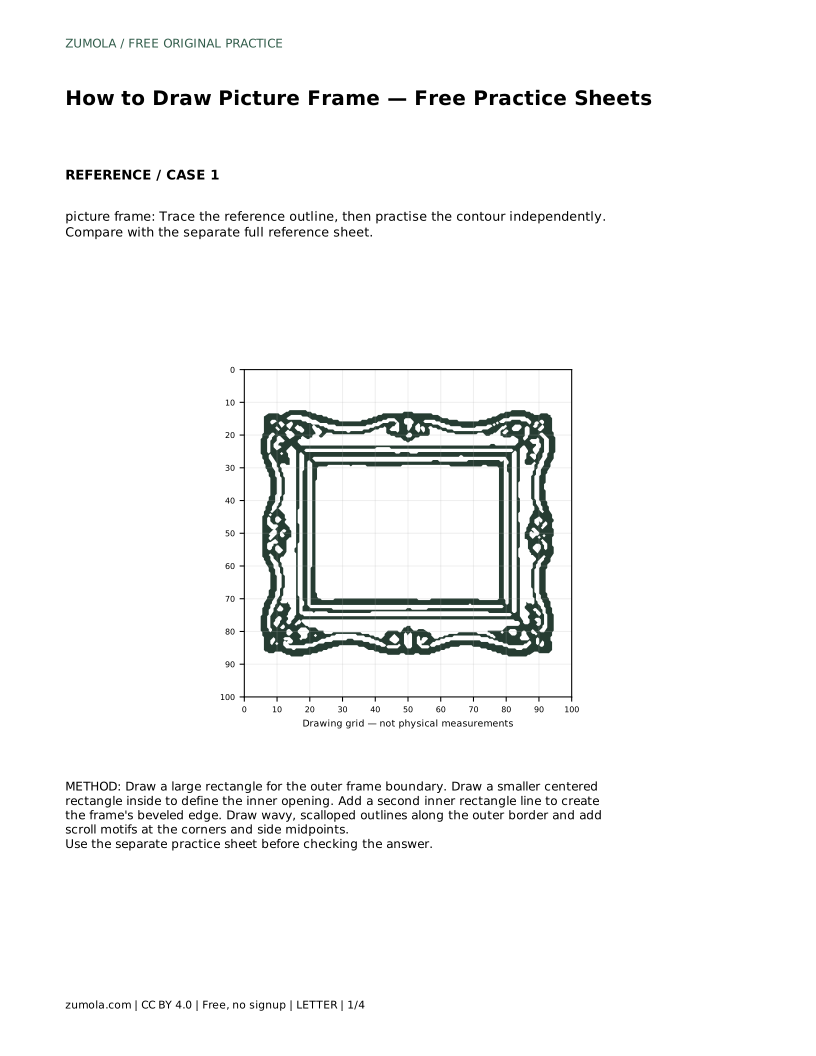
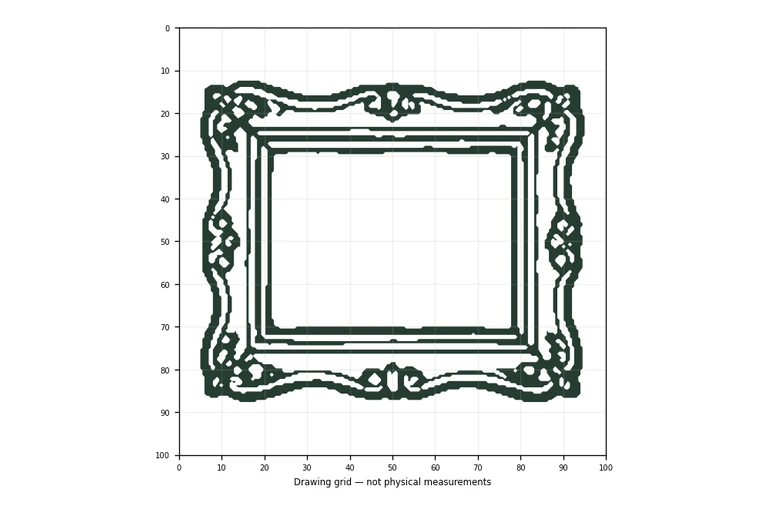
A picture frame drawing depends on clear structure: a strong outer boundary, a centered opening, and a consistent inner edge that suggests depth. This page explains how to build that structure step by step, then add decorative details such as scalloped edges and scroll motifs. The practice sheets offer different levels of support, from tracing to completing a partial drawing, so you can choose the amount of guidance that suits you.
Begin with the large rectangle that marks the outer boundary of the frame. Keep its sides straight and its corners square, because this rectangle controls the overall proportion of the drawing. Next, draw a smaller rectangle inside it, centered so the border width looks even on all four sides. Check the gaps between the outer and inner rectangles at the top, bottom, left, and right before going further.
Add a second line just inside the opening to create a beveled edge. This line should run parallel to the inner rectangle and stay close to it, suggesting the slanted lip of a frame. Keeping these nested rectangles parallel is what makes the frame read as a solid object rather than a flat outline.
Once the rectangles are in place, replace or overlay the straight outer edge with a wavy, scalloped outline. Work around the border in one direction so the scallops stay evenly spaced and similar in size. Keep the scallops attached to the outer boundary rather than drifting inward, or the frame will lose its rectangular character.
Place scroll motifs at the four corners and at the midpoint of each side. These joints should sit on the border and connect visually to the scalloped edge. Draw the scrolls lightly first, then darken the curves you want to keep. Because decorative drawing has many valid outcomes, judge your result by visible features and proportions rather than an exact match.
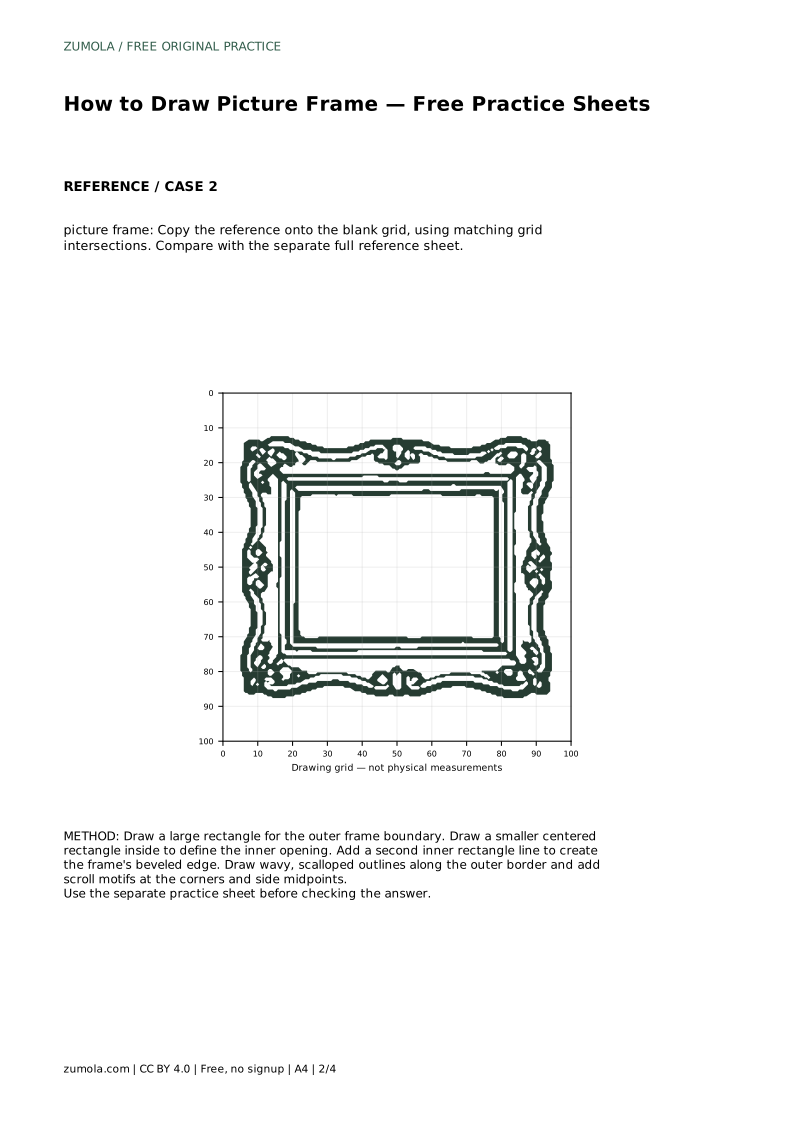
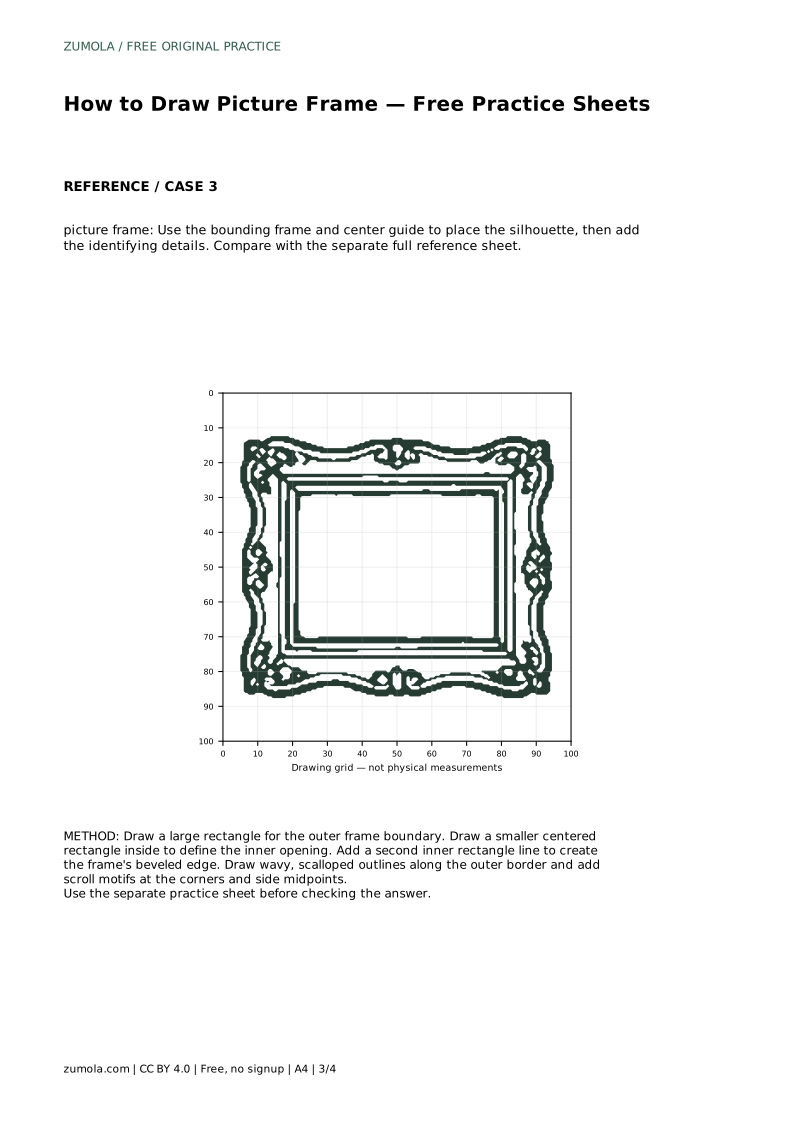
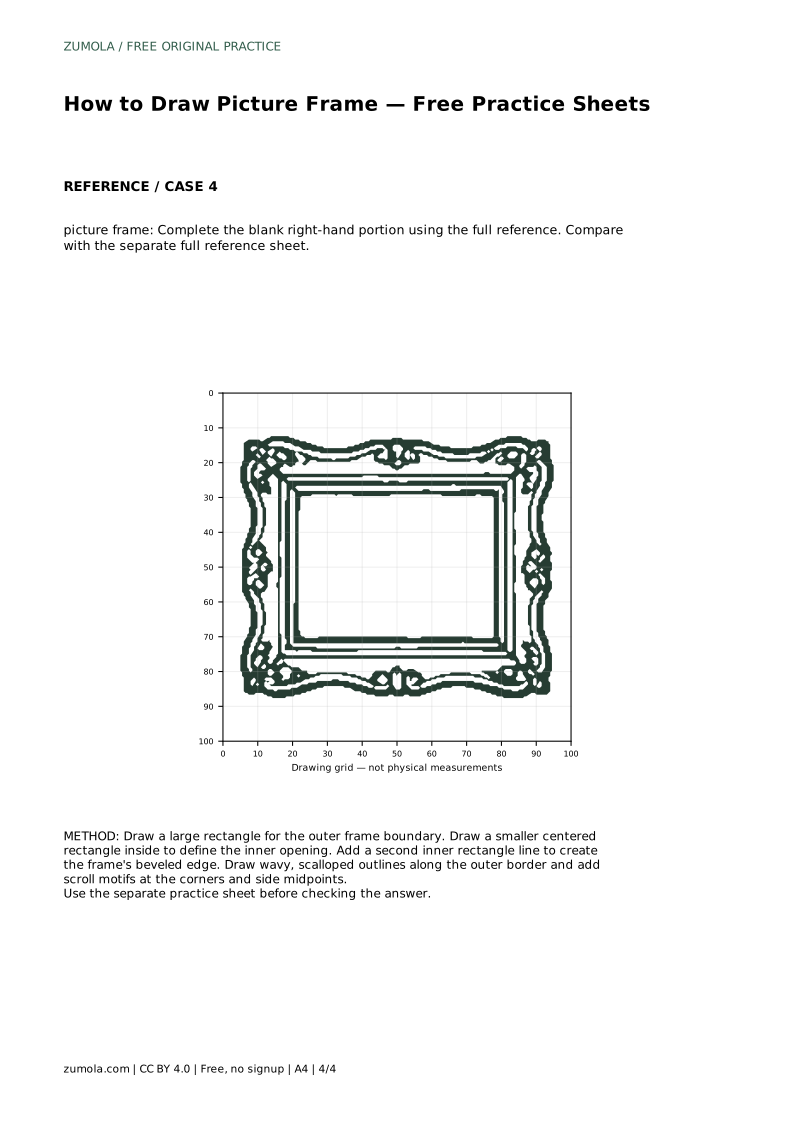
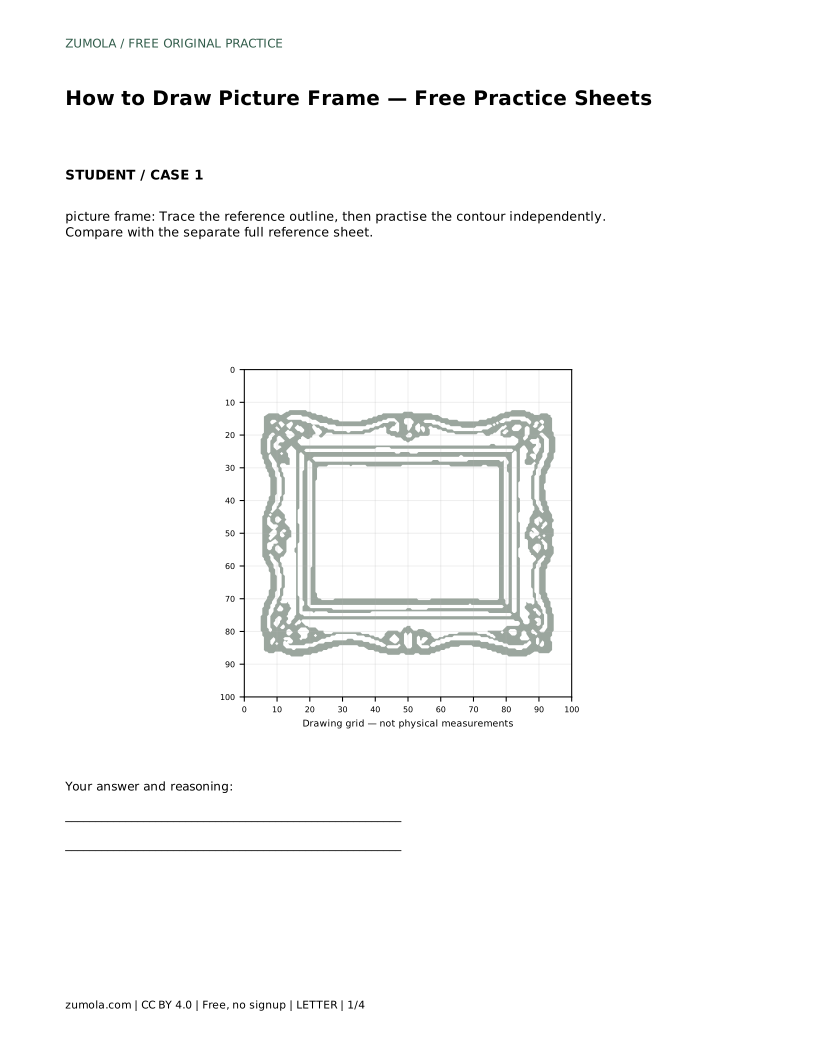
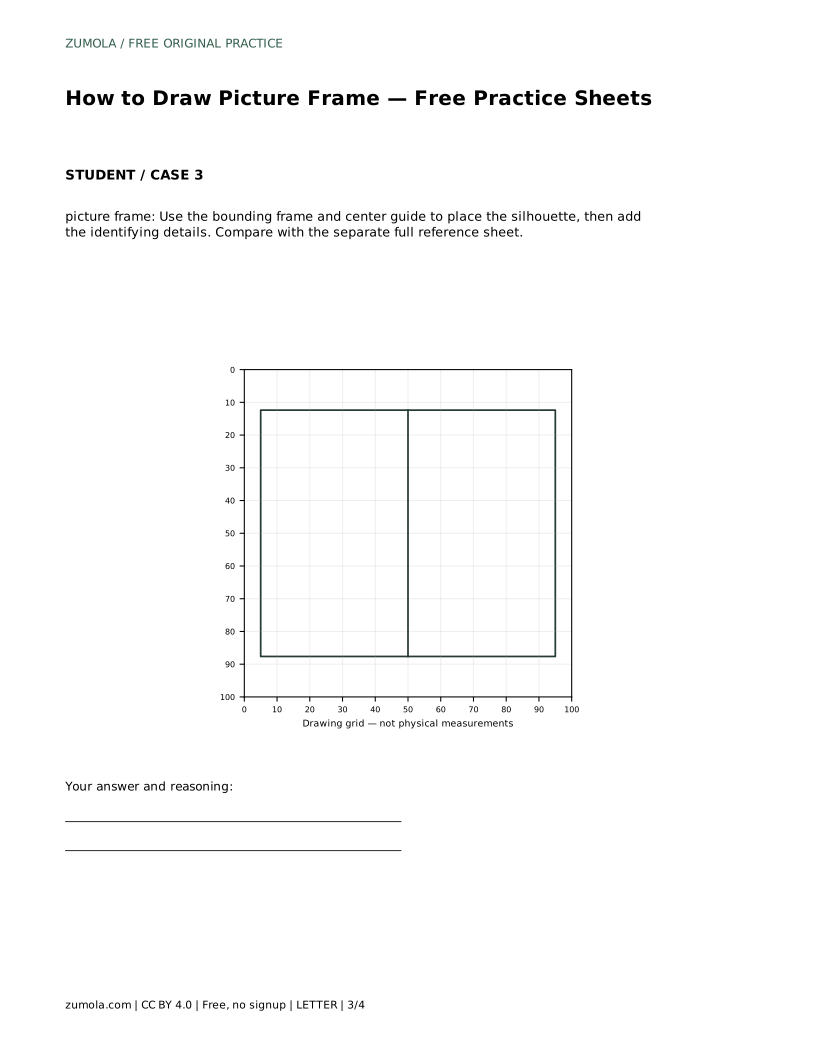
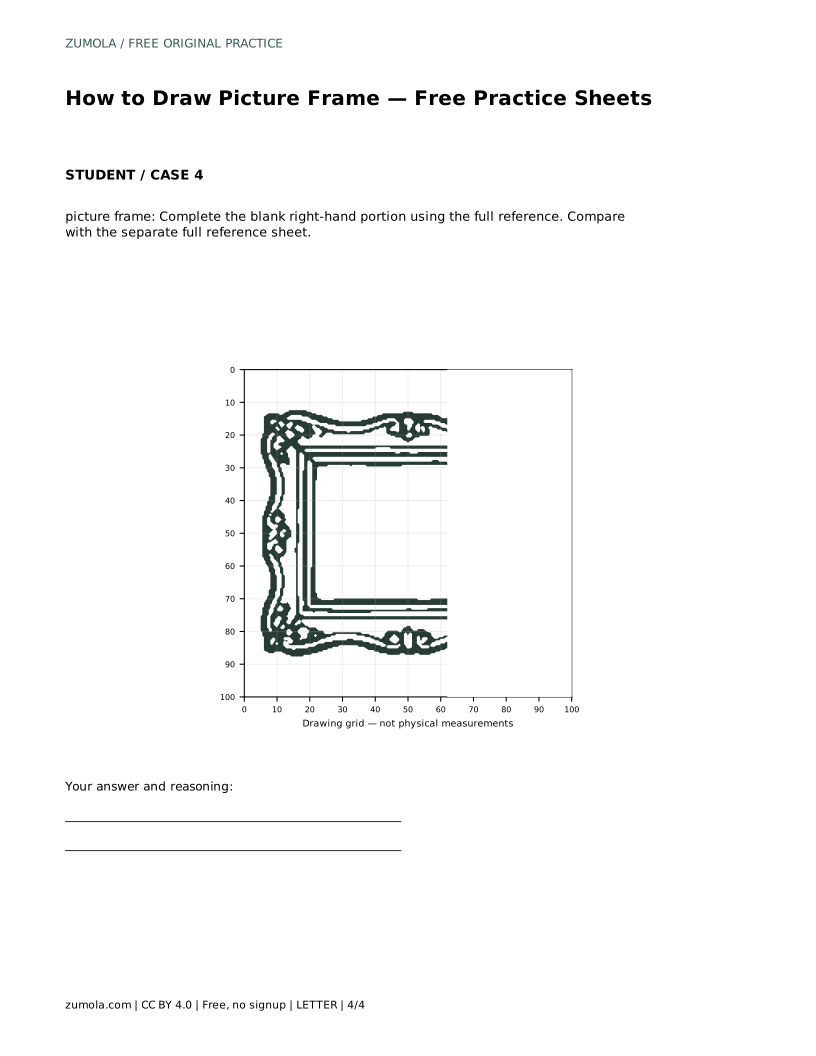
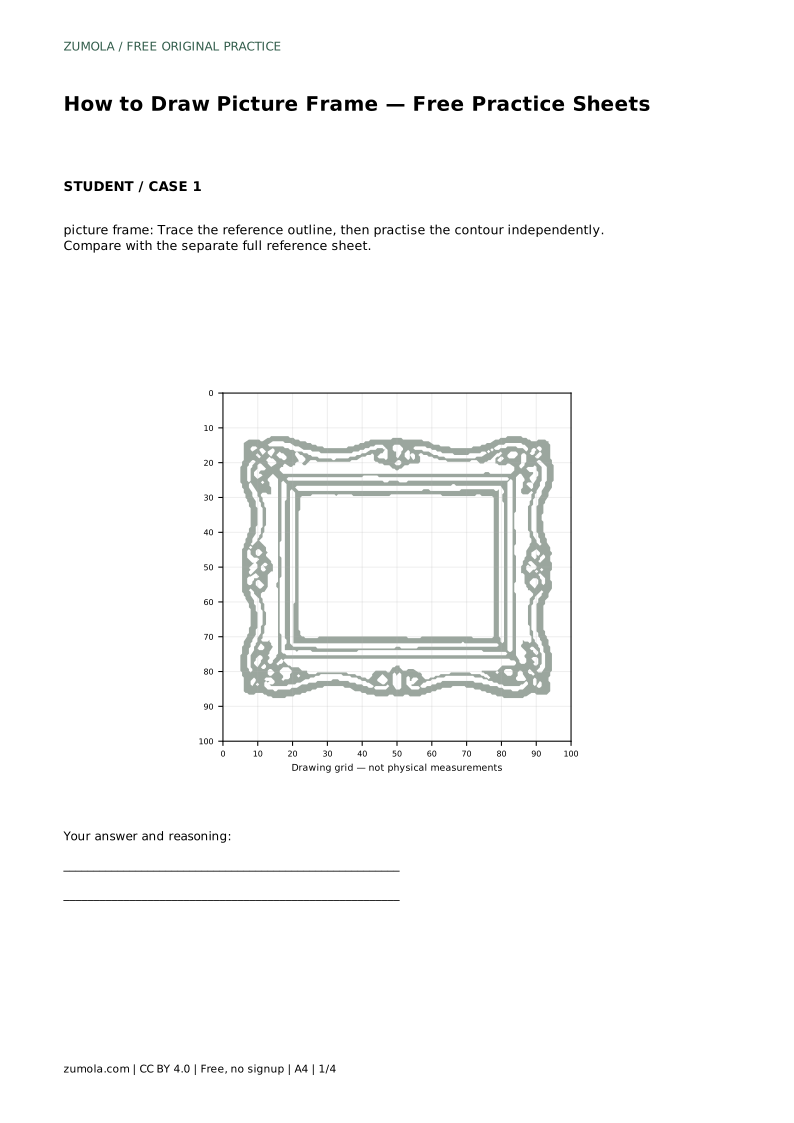
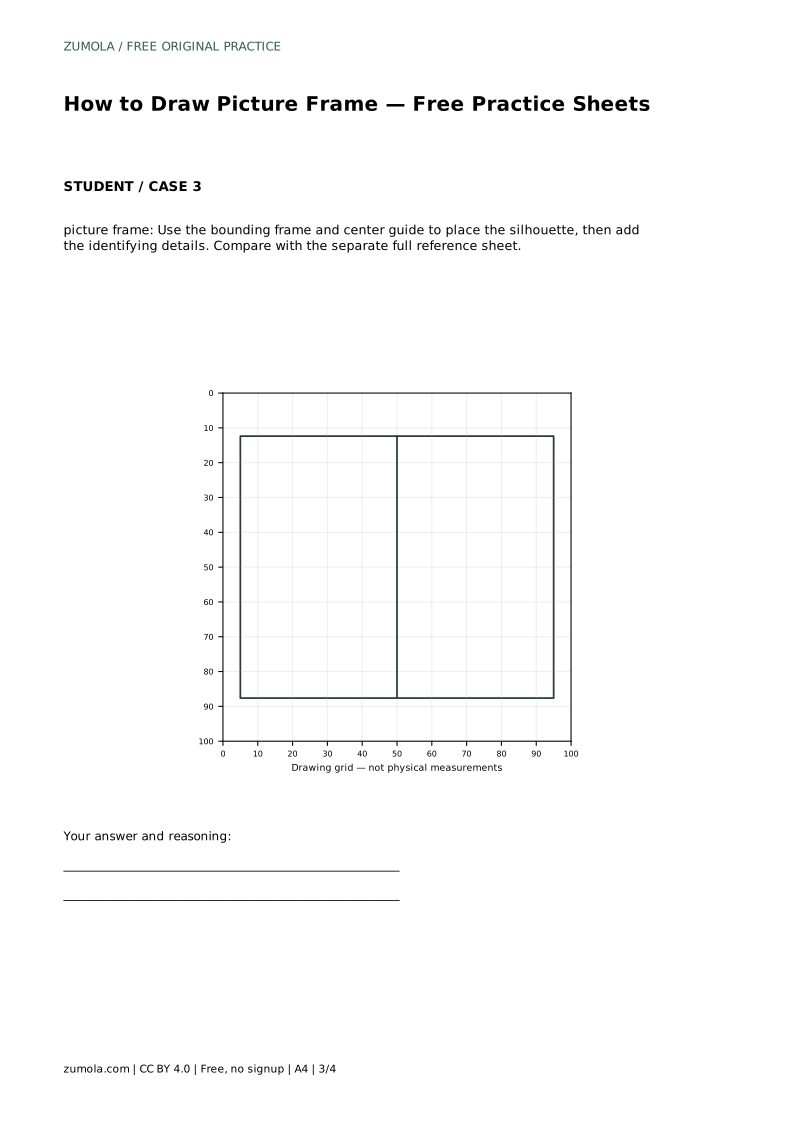
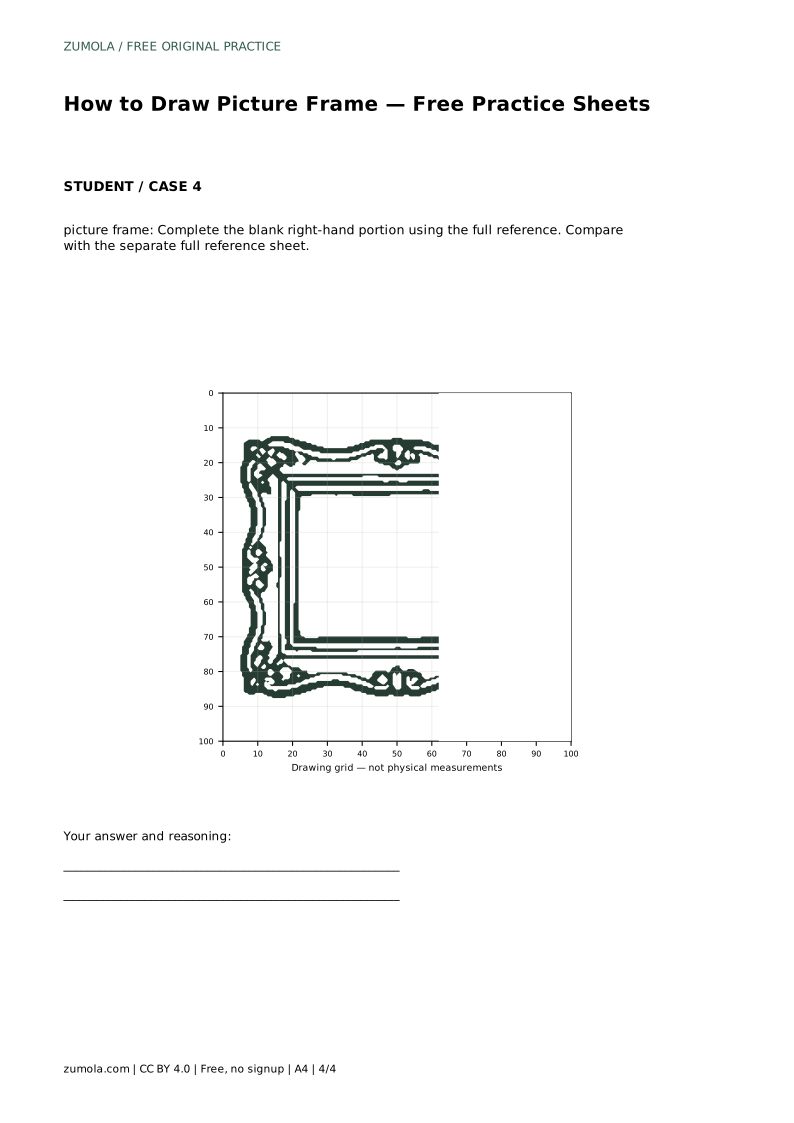
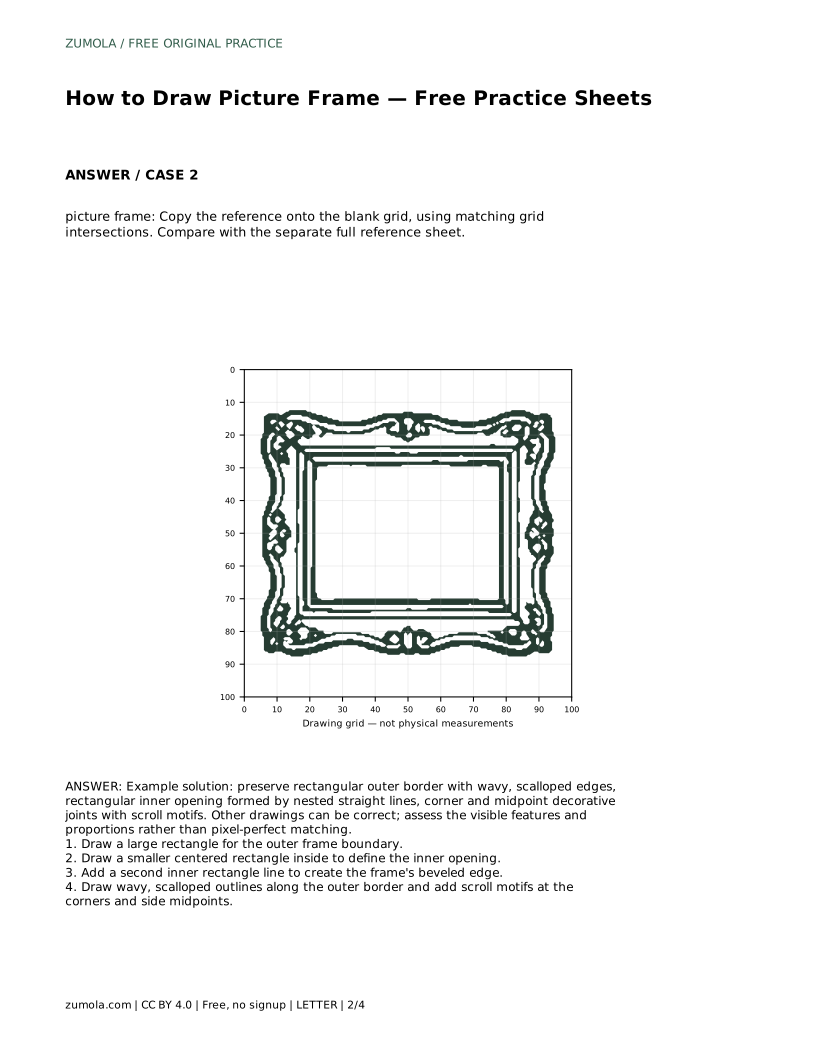
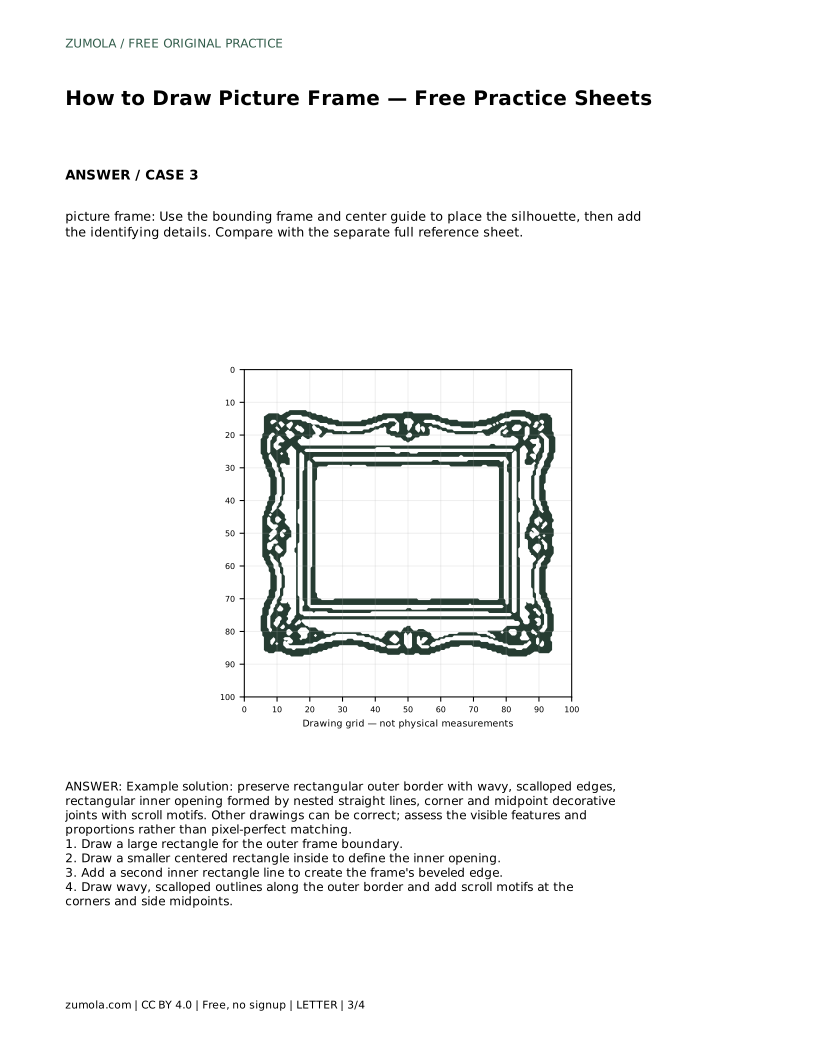
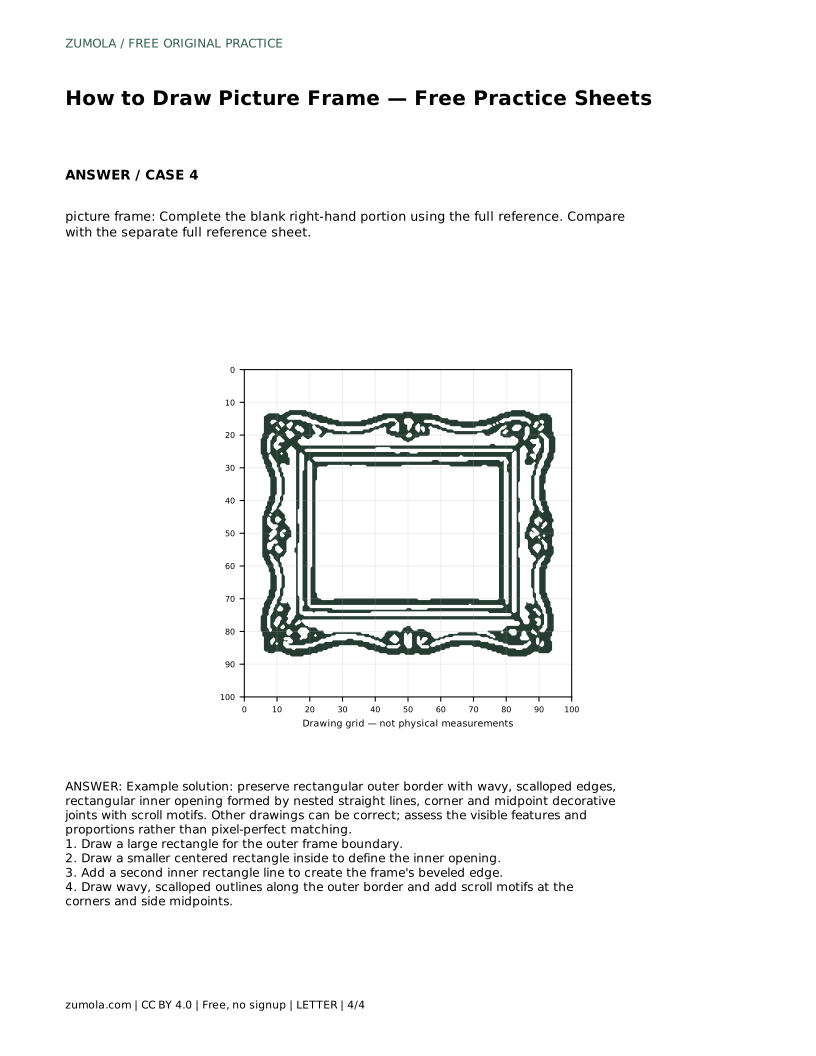
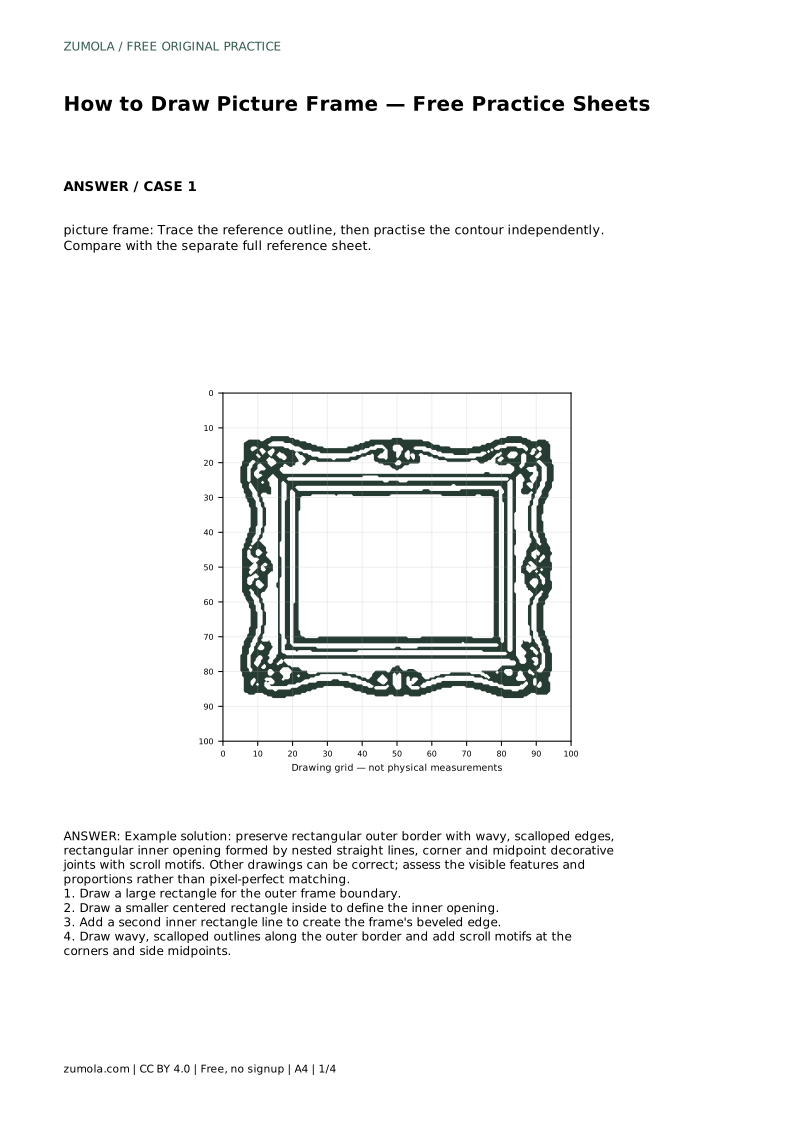
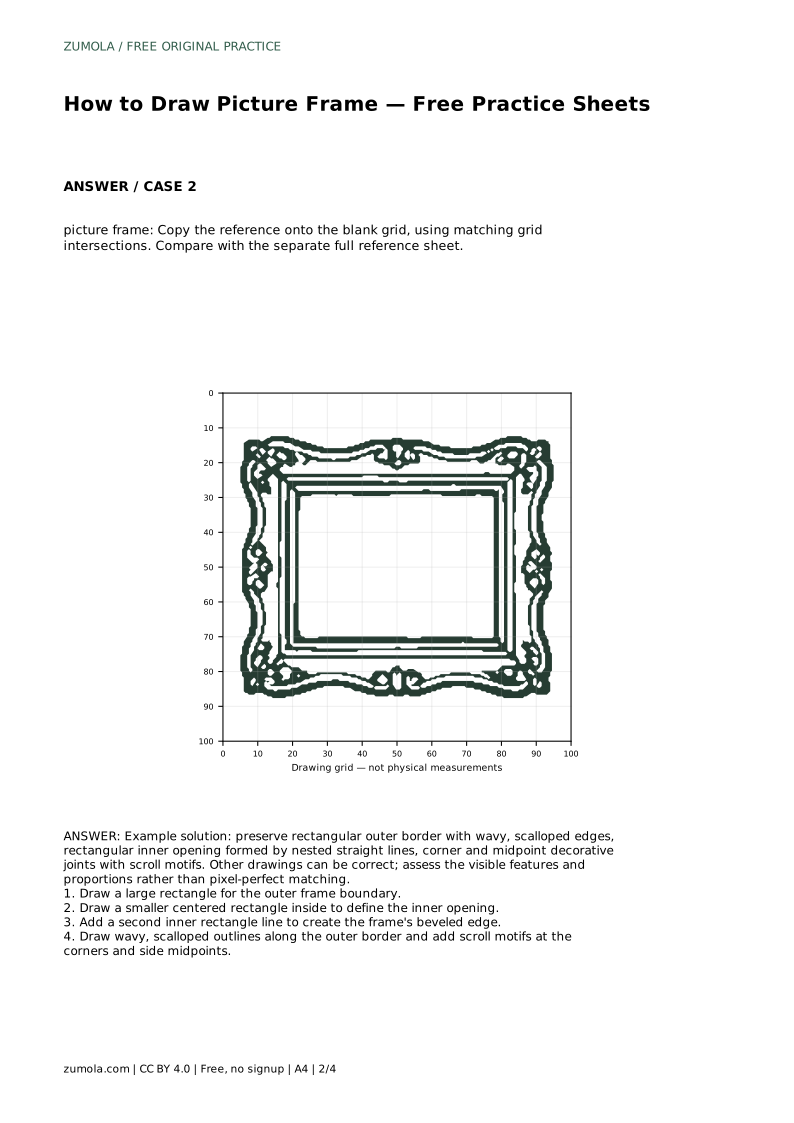
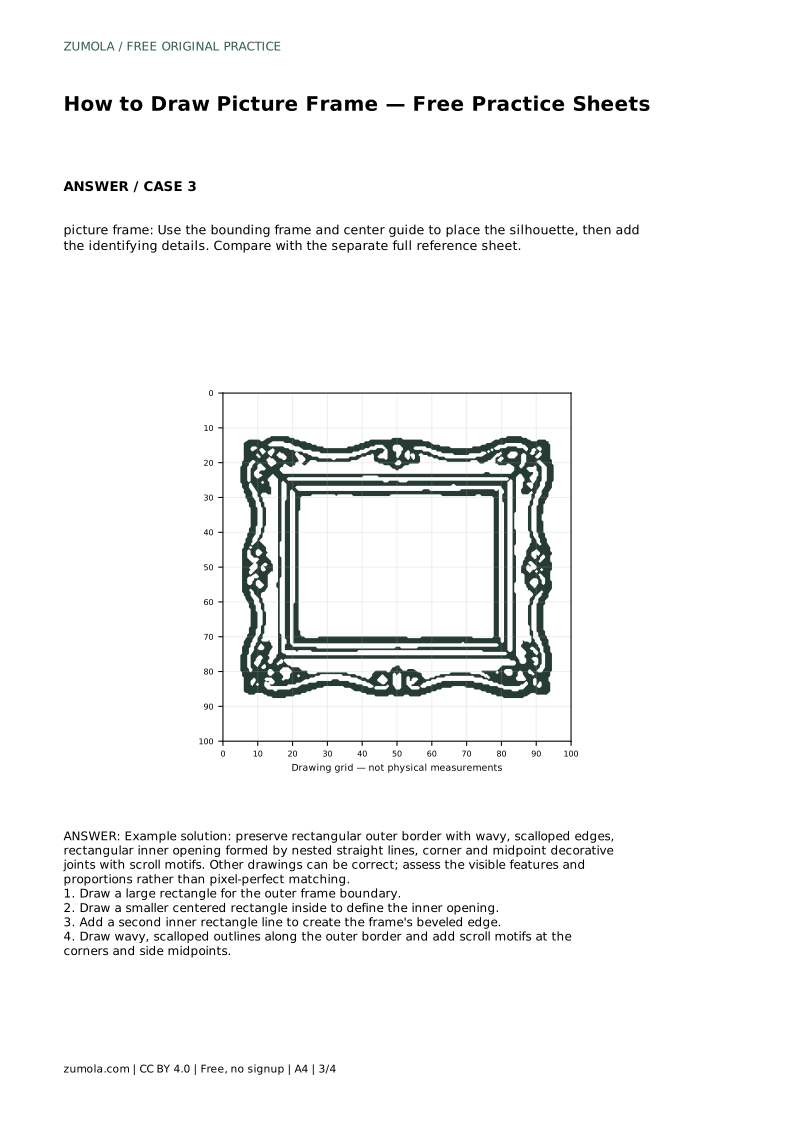
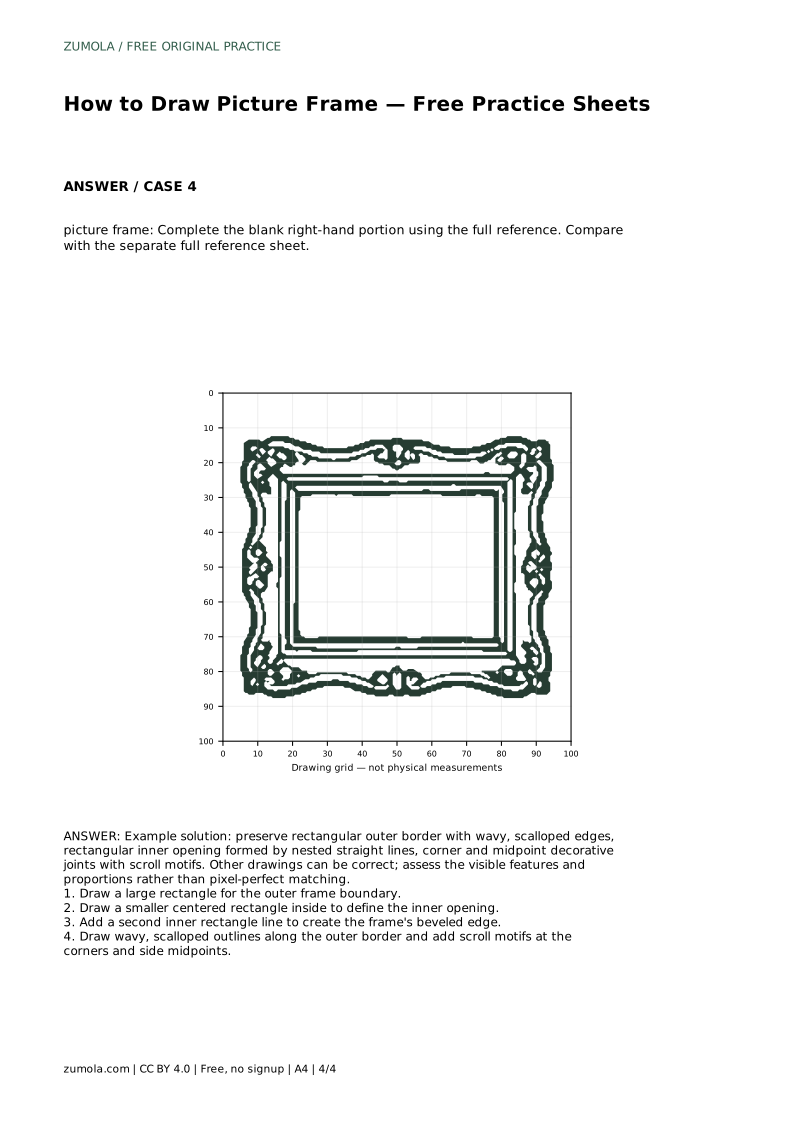
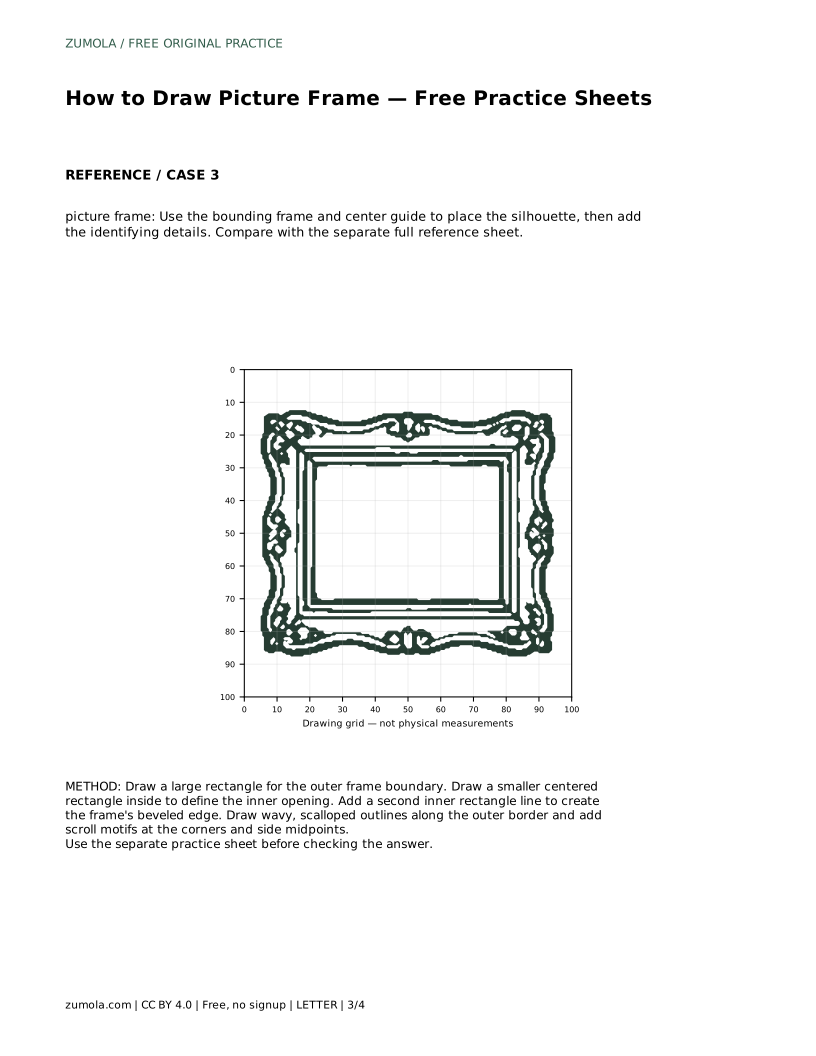
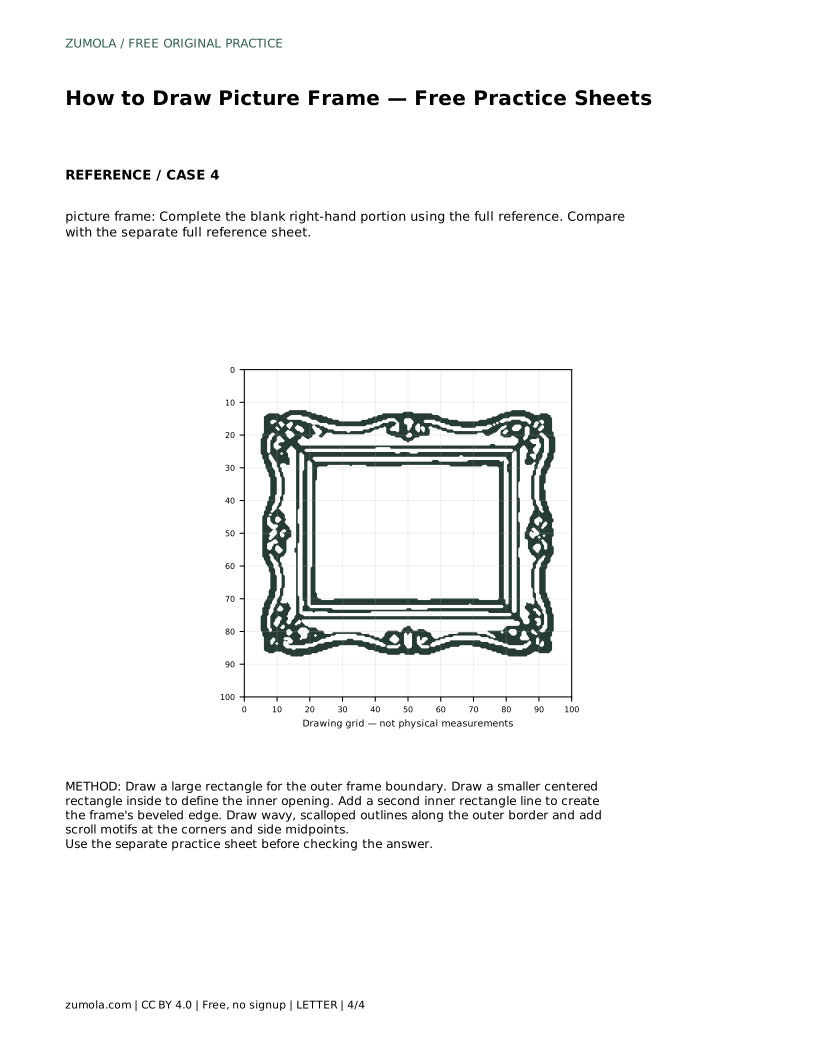
The trace sheet asks you to follow the reference outline, then practise the contour independently before comparing with the separate full reference sheet. The grid sheet asks you to copy the reference onto the blank grid using matching grid intersections, which helps you judge spacing and alignment. The bounding-frame sheet gives you a center guide for placing the silhouette before adding identifying details. The partial sheet asks you to complete the blank right-hand portion using the full reference.
Each variant tests a different skill, so do not assume the conditions of one carry over to another. On the trace sheet, focus on contour control. On the grid sheet, focus on proportion. On the partial sheet, focus on matching the style and spacing of the existing half.
Review the finished drawing against the reference by checking the outer border, the centered opening, the nested inner line, the scalloped edge, and the scroll placement. Small differences in curve shape are acceptable; large shifts in the opening's position or the border width are worth correcting.
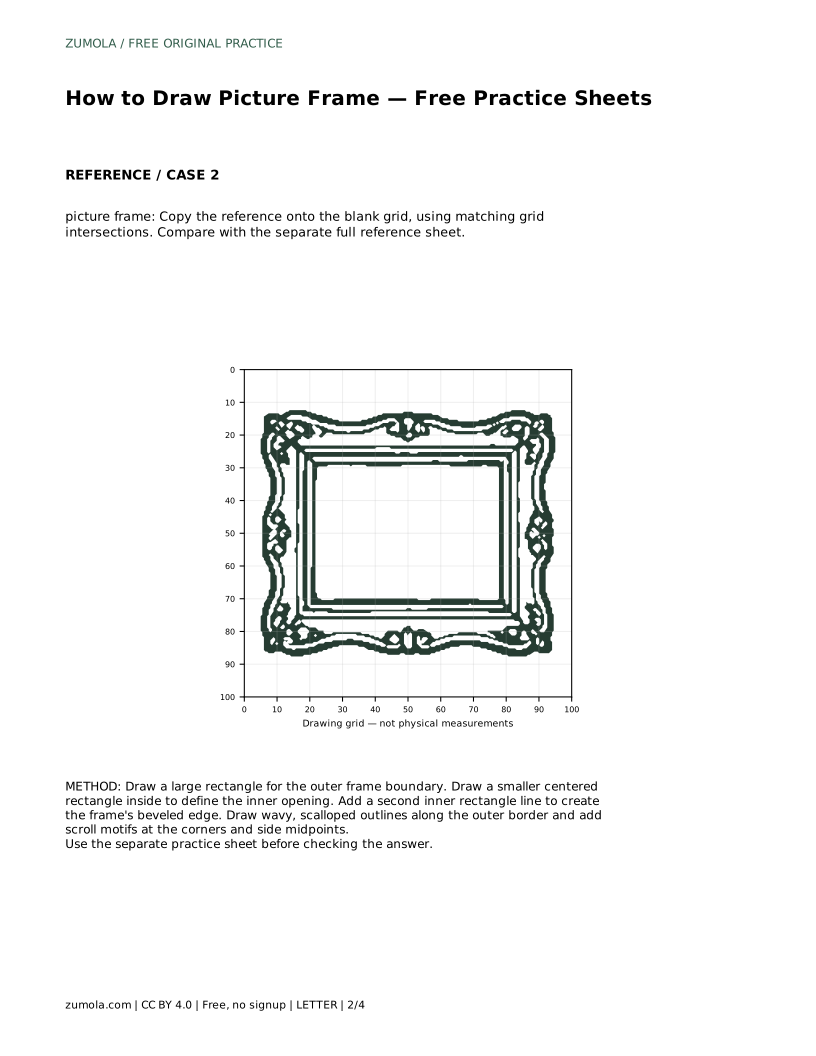
picture frame: Trace the reference outline, then practise the contour independently. Compare with the separate full reference sheet.
Example solution: preserve rectangular outer border with wavy, scalloped edges, rectangular inner opening formed by nested straight lines, corner and midpoint decorative joints with scroll motifs. Other drawings can be correct; assess the visible features and proportions rather than pixel-perfect matching. Draw a large rectangle for the outer frame boundary. Draw a smaller centered rectangle inside to define the inner opening. Add a second inner rectangle line to create the frame's beveled edge. Draw wavy, scalloped outlines along the outer border and add scroll motifs at the corners and side midpoints.
No. A drawing of a picture frame can be correct with different curve shapes and scroll details. Assess the visible features and proportions instead of aiming for a pixel-perfect match.
Draw the outer rectangle, then the centered inner opening, then the beveled inner line, and finally the scalloped border and scroll motifs. This order keeps the structure stable while you add decoration.
Compare the border width on opposite sides. If the top and bottom gaps match and the left and right gaps match, the opening is centered.
All drawing practice · Free coordinate paper
Original resources · CC BY 4.0 · Free for personal and classroom use with attribution.