Reference diagrams
LETTER · Download PDF
A4 · Download PDF
Free original resources
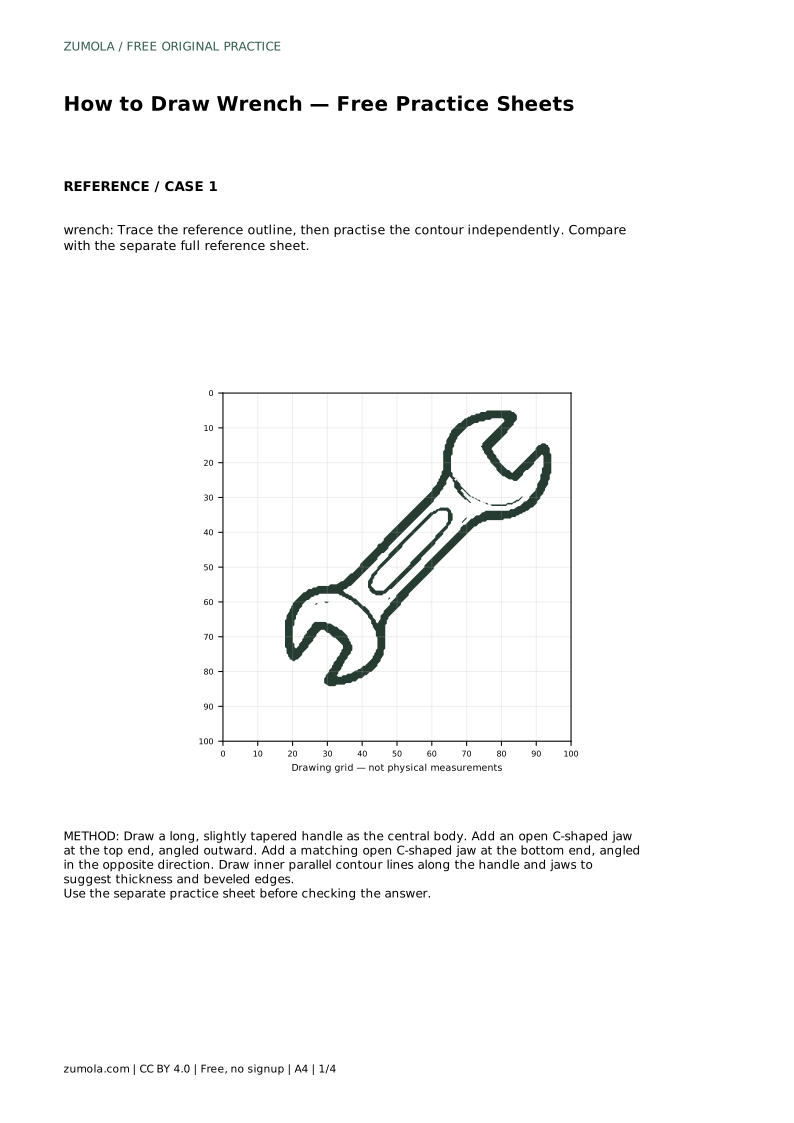
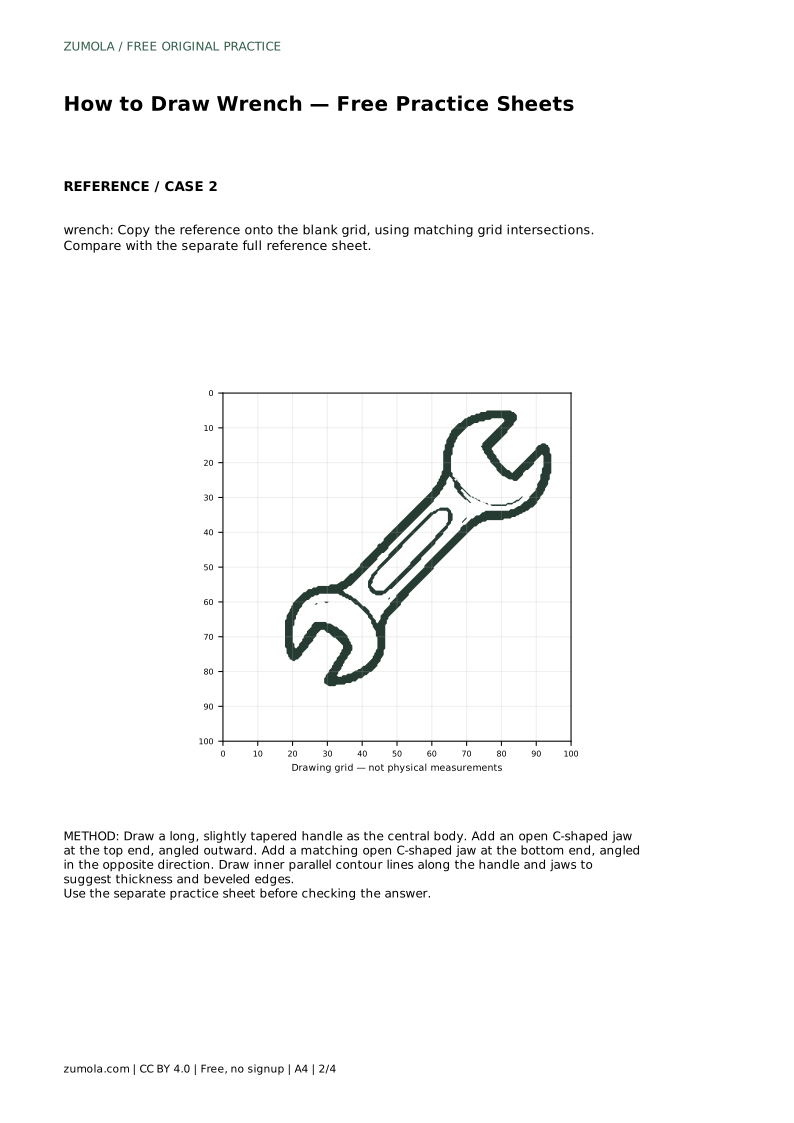
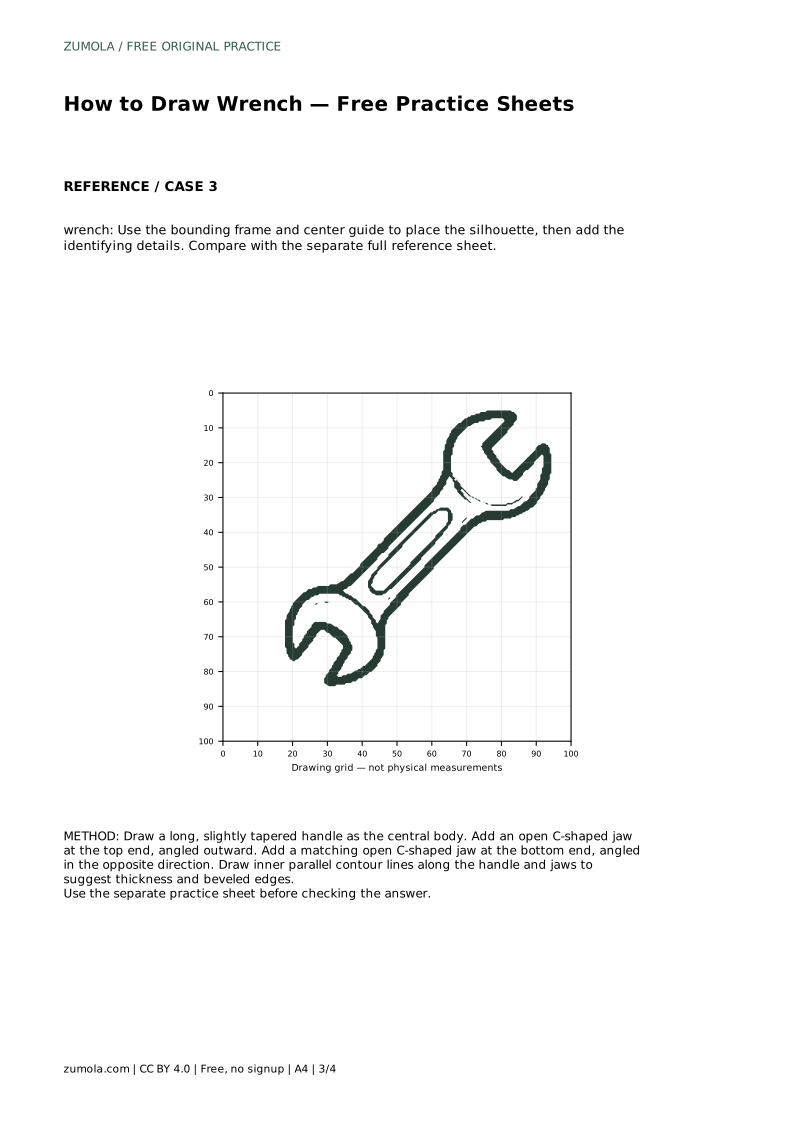
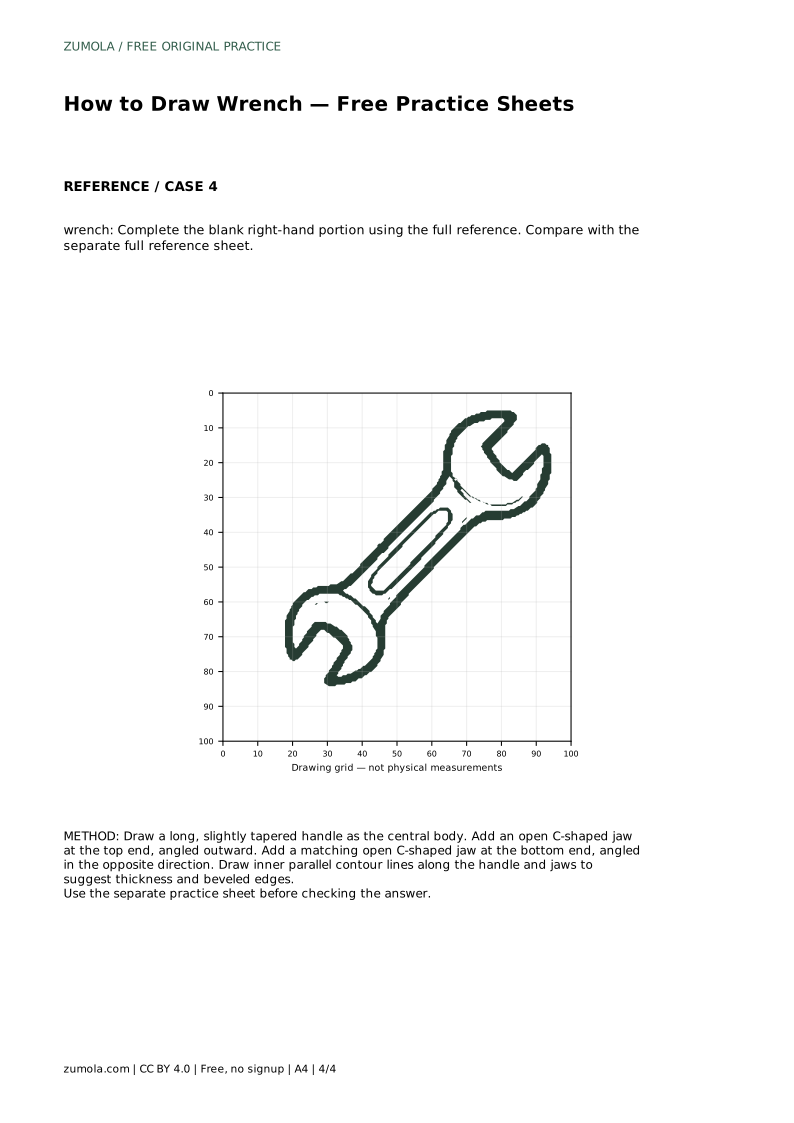
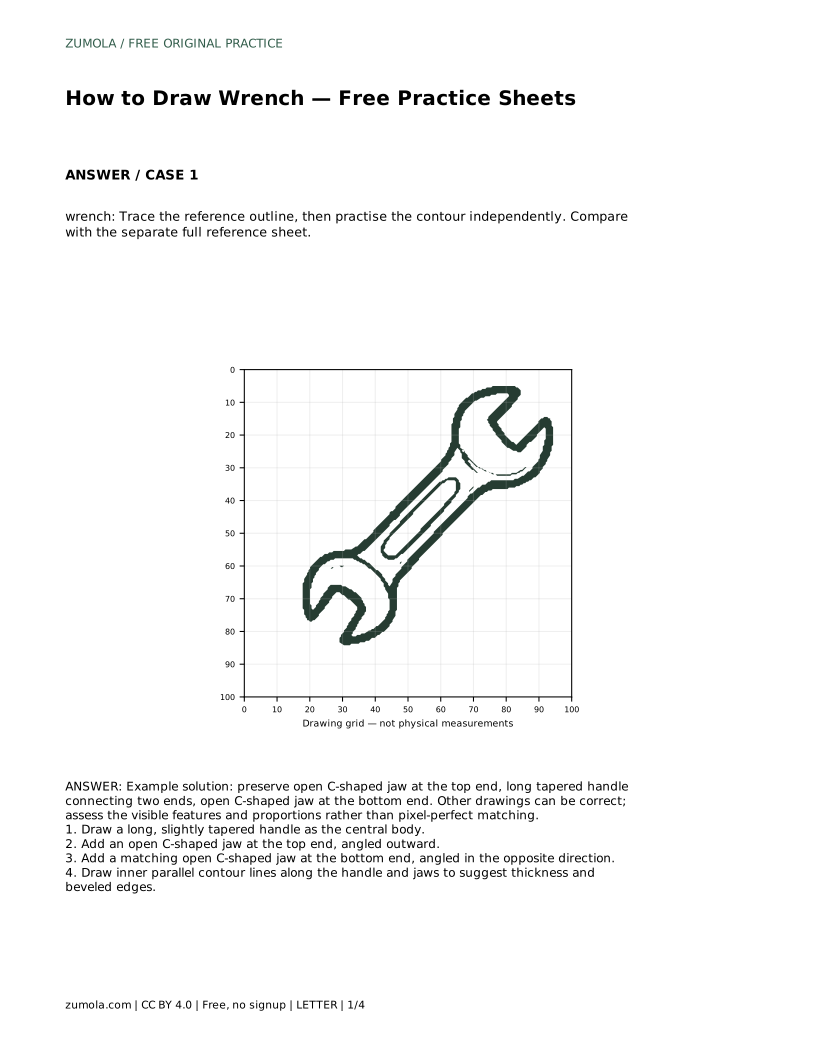
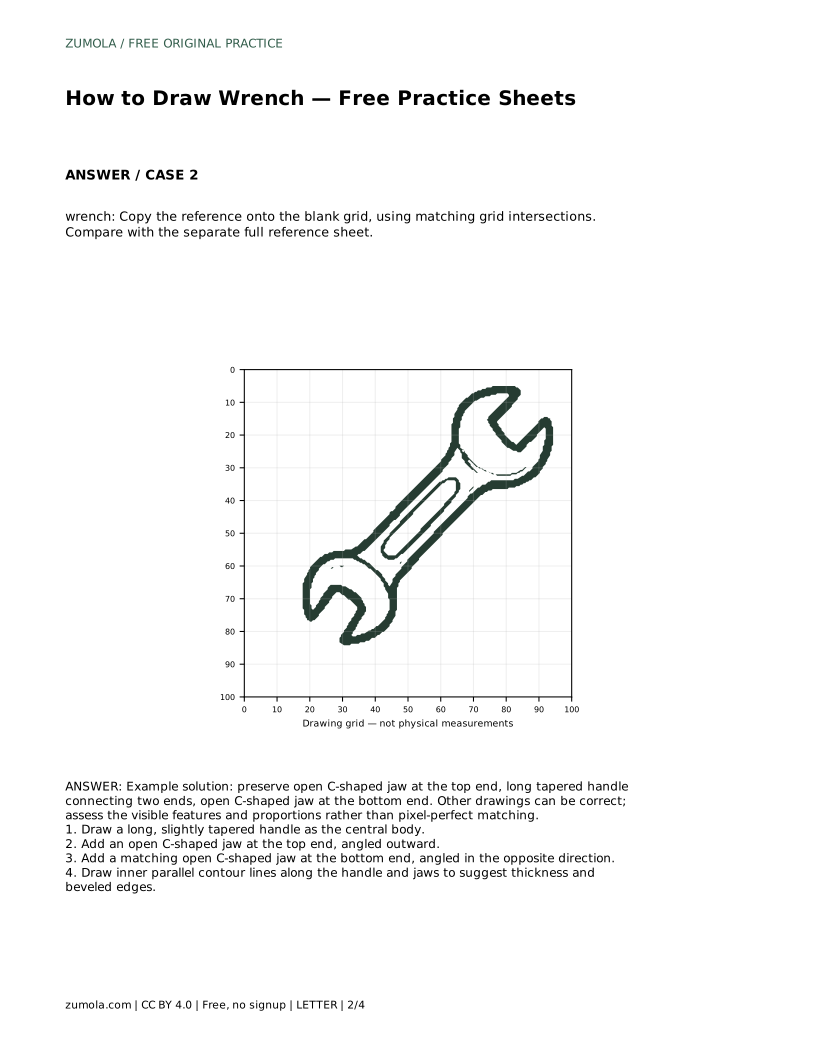
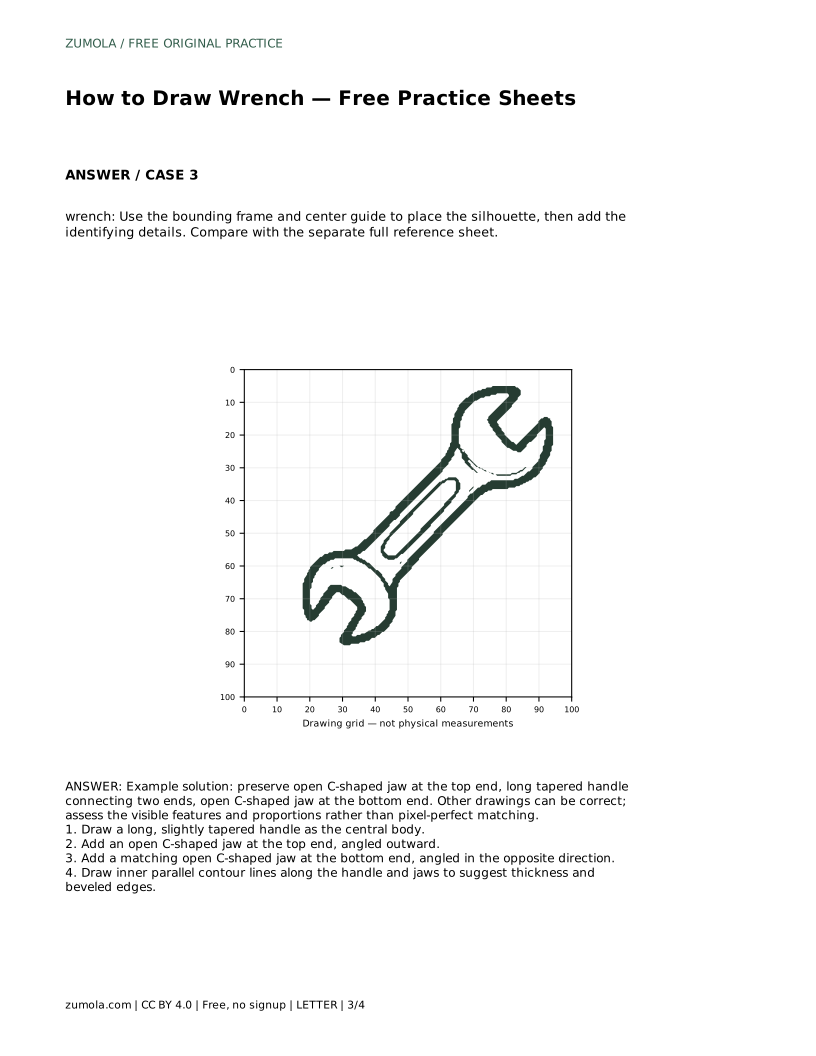
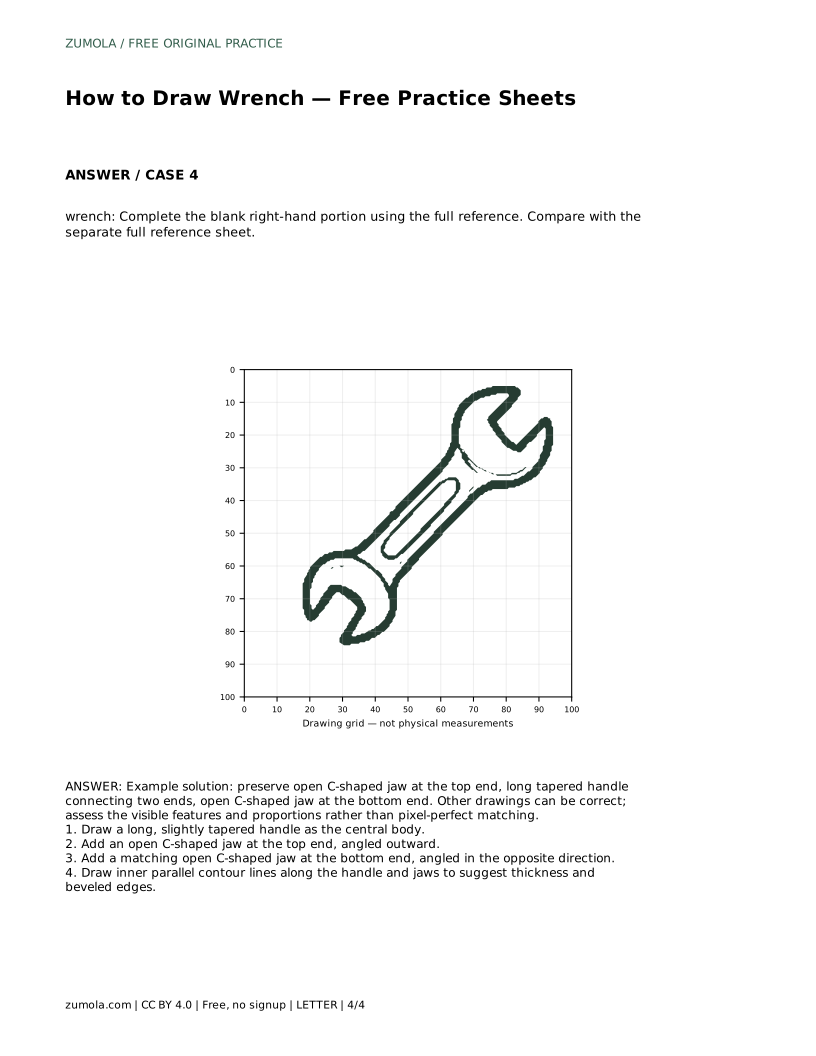
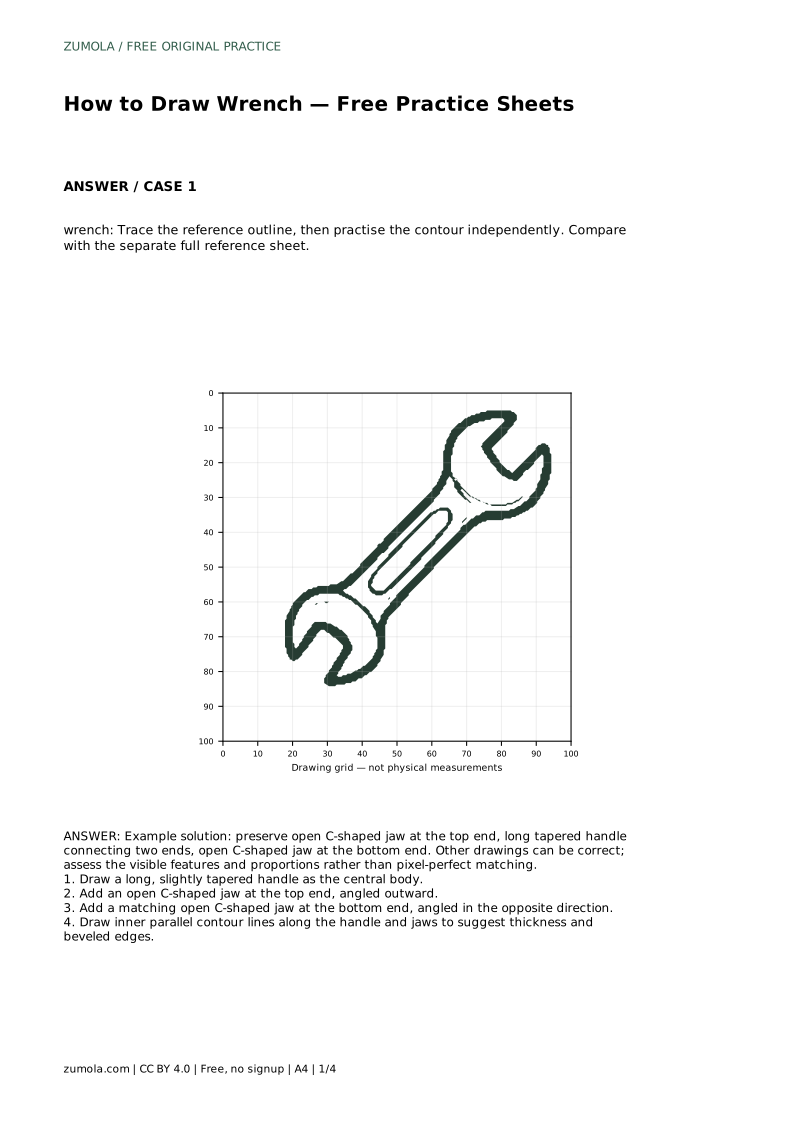
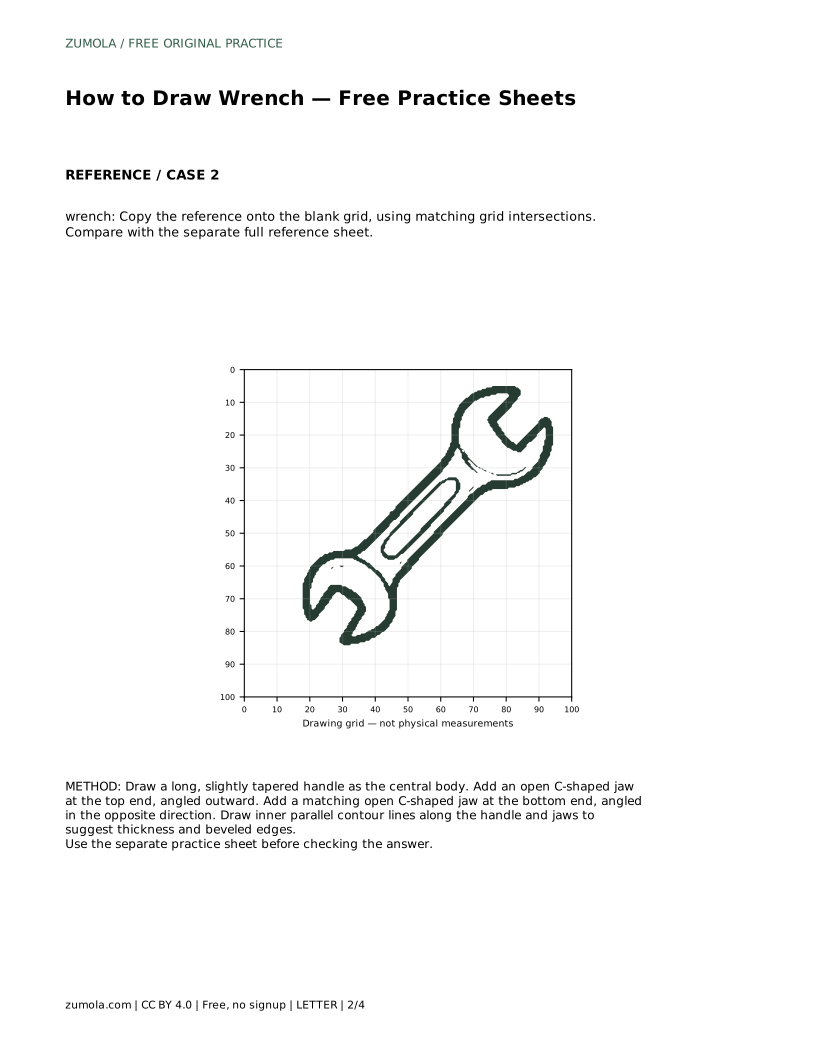
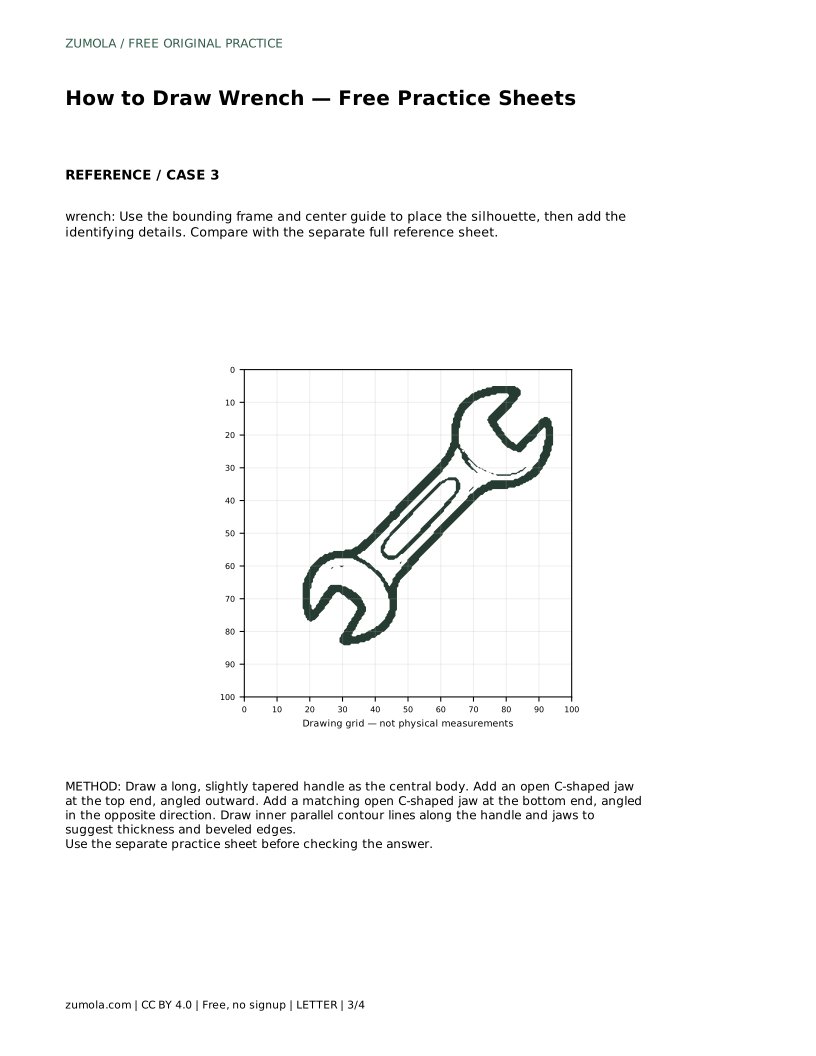
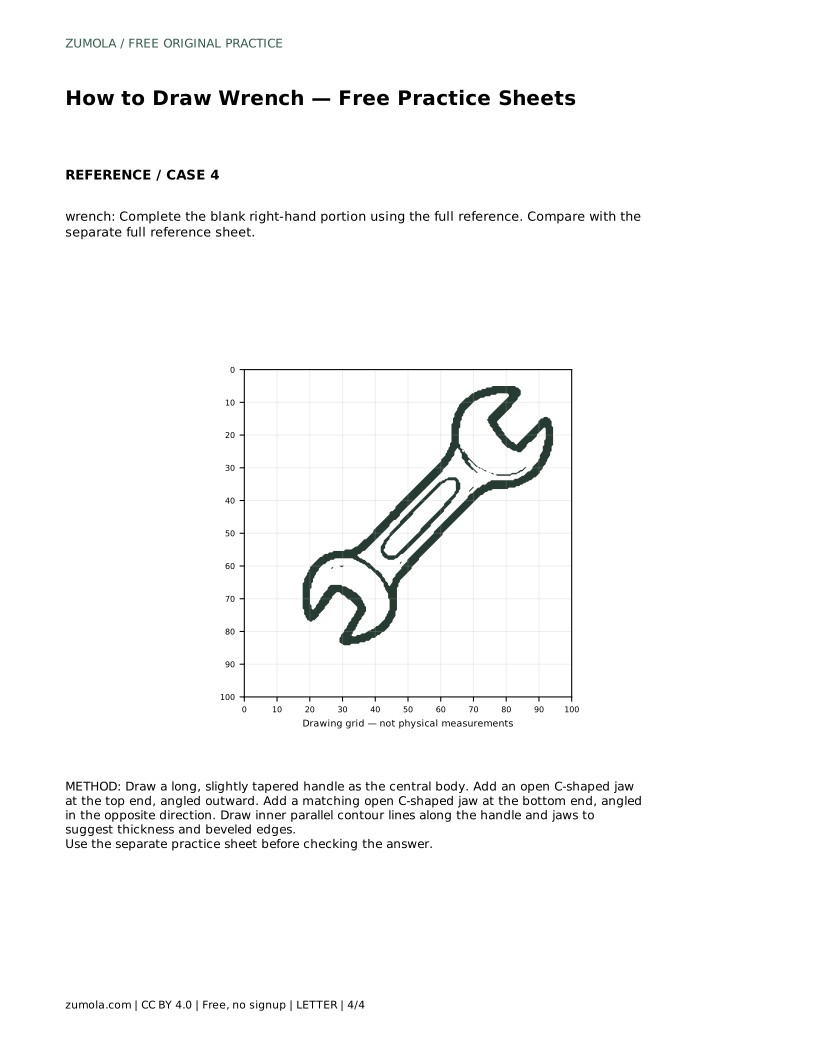
Learn to draw a wrench by building a tapered handle and two open C-shaped jaws, then check your contour, proportions and inner edge lines against a reference sheet.
Four original cases, with reference diagrams, practice sheets and worked answers. Everything is free; no signup required.
LETTER · Download PDF
A4 · Download PDF
LETTER · Download PDF
A4 · Download PDF
LETTER · Download PDF
A4 · Download PDF
Use A4 or US Letter to match your printer. Use the stated values and conditions to solve each exercise; diagrams are not physical measuring rulers.
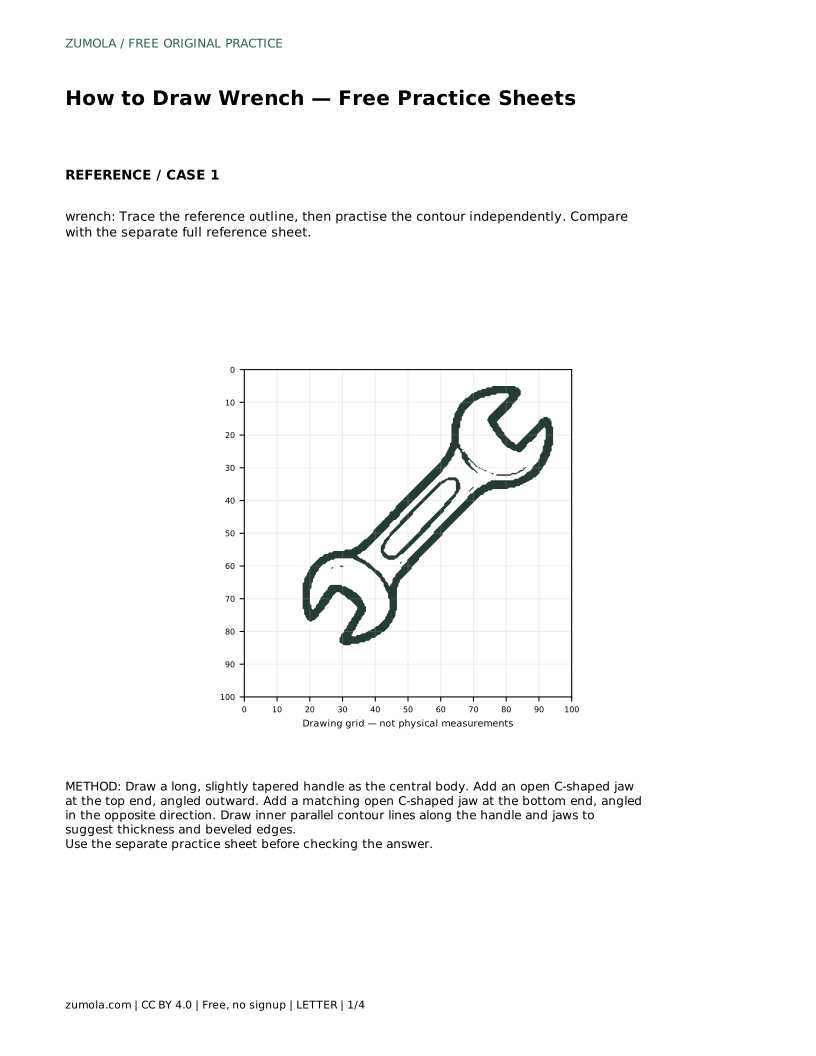
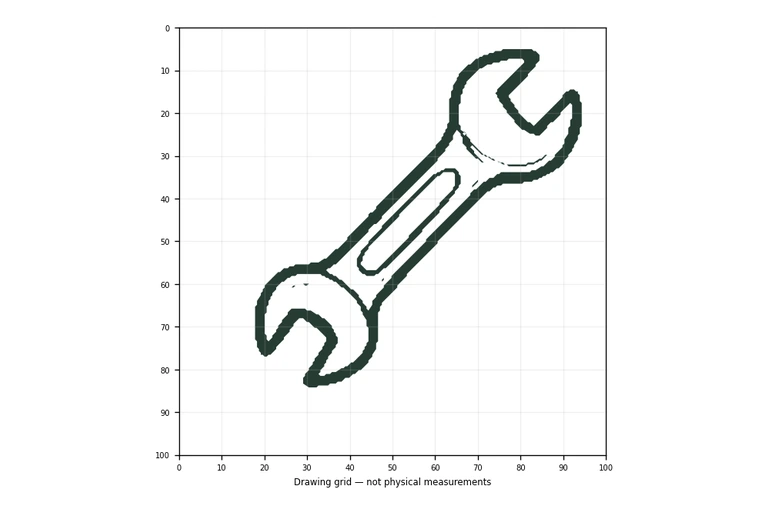
A wrench is a good subject for practising long straight edges, curved openings and consistent thickness. This page explains how to construct the basic silhouette first, then refine the jaws and handle so the drawing reads clearly as a wrench. The practice sheets offer different levels of support, from tracing to completing a blank section, and each one is checked against a separate full reference sheet. Because drawings can vary, judge your work by visible features and proportions rather than exact matching.
Start with the largest shape: a long handle that runs between two ends. The handle should be slightly tapered, meaning it is a little wider near the jaws and narrows gently toward the middle or one end. Keep the two long sides roughly parallel in direction even if the width changes. This gives the wrench a stable central body before any detail is added.
Next, place an open C-shaped jaw at the top end. The opening should face outward, away from the handle, and the jaw should look like a thick hook with a gap. Add a matching open C-shaped jaw at the bottom end, angled in the opposite direction. The two jaws do not need to be identical in size, but they should belong to the same tool and sit at sensible angles to the handle.
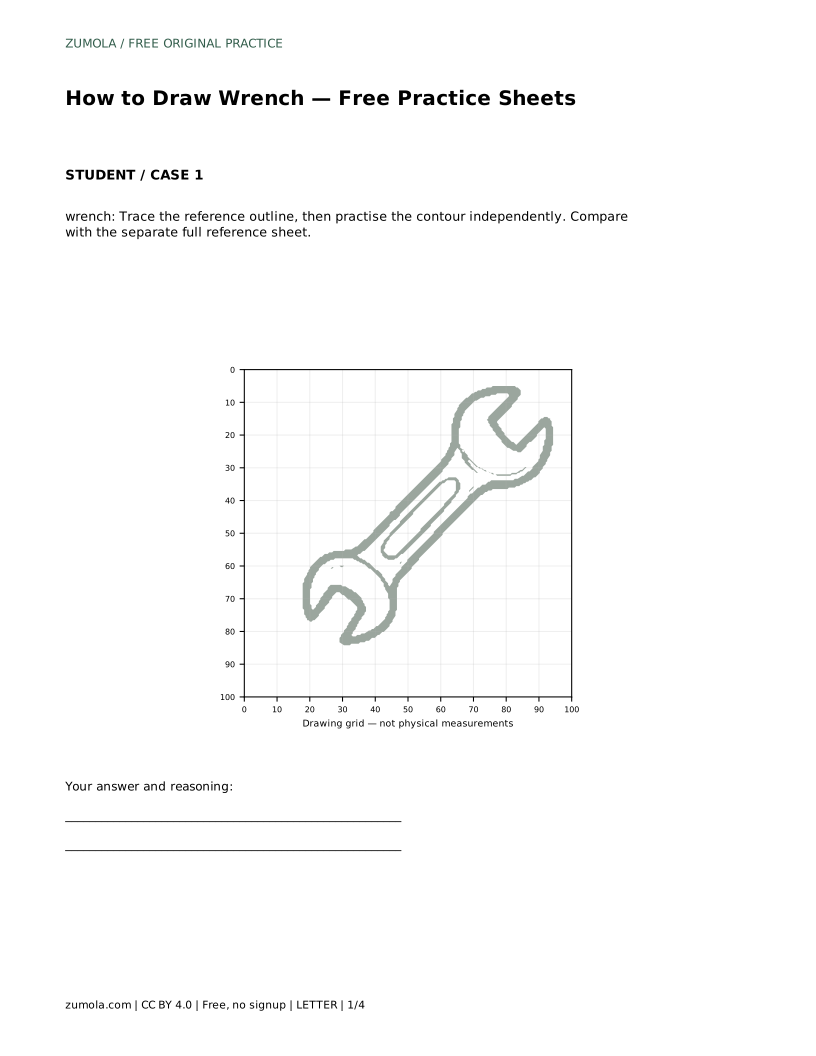
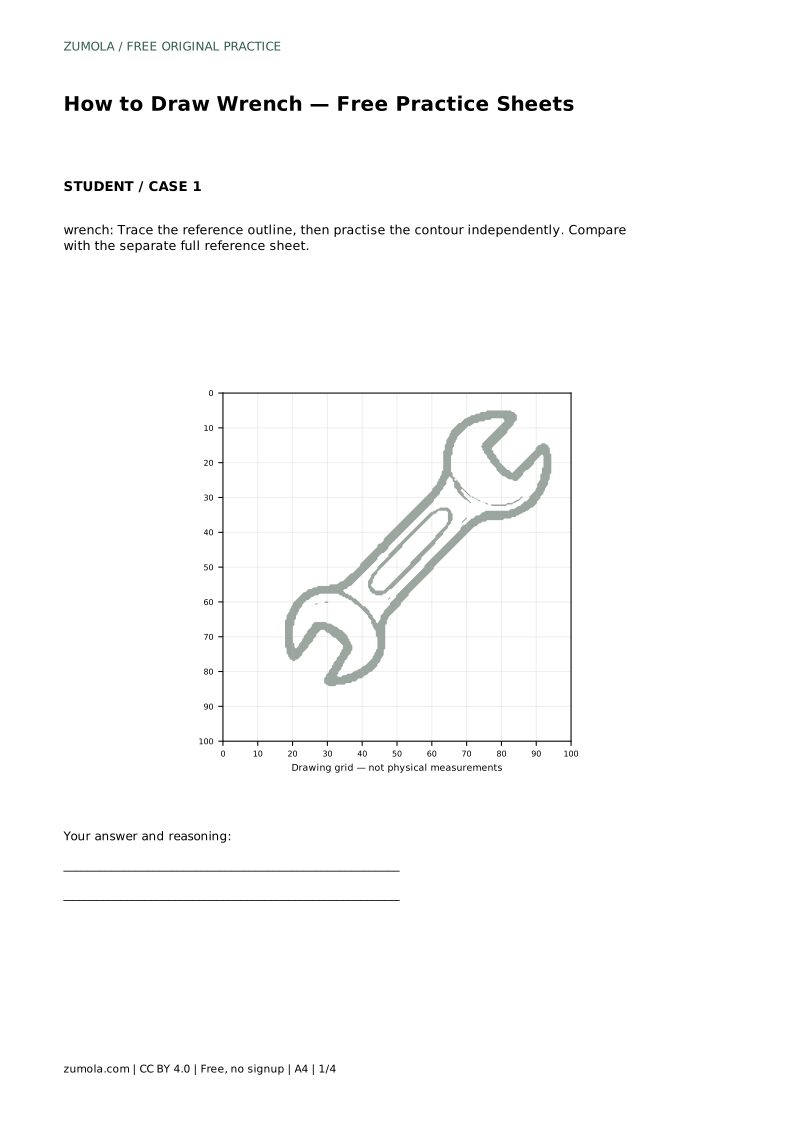
The trace sheet asks you to follow the reference outline first, then practise the contour independently. Tracing helps you feel the sequence of straight and curved edges, but the independent attempt is where you learn to place them yourself. Compare your free drawing with the separate full reference sheet, not with your traced line.
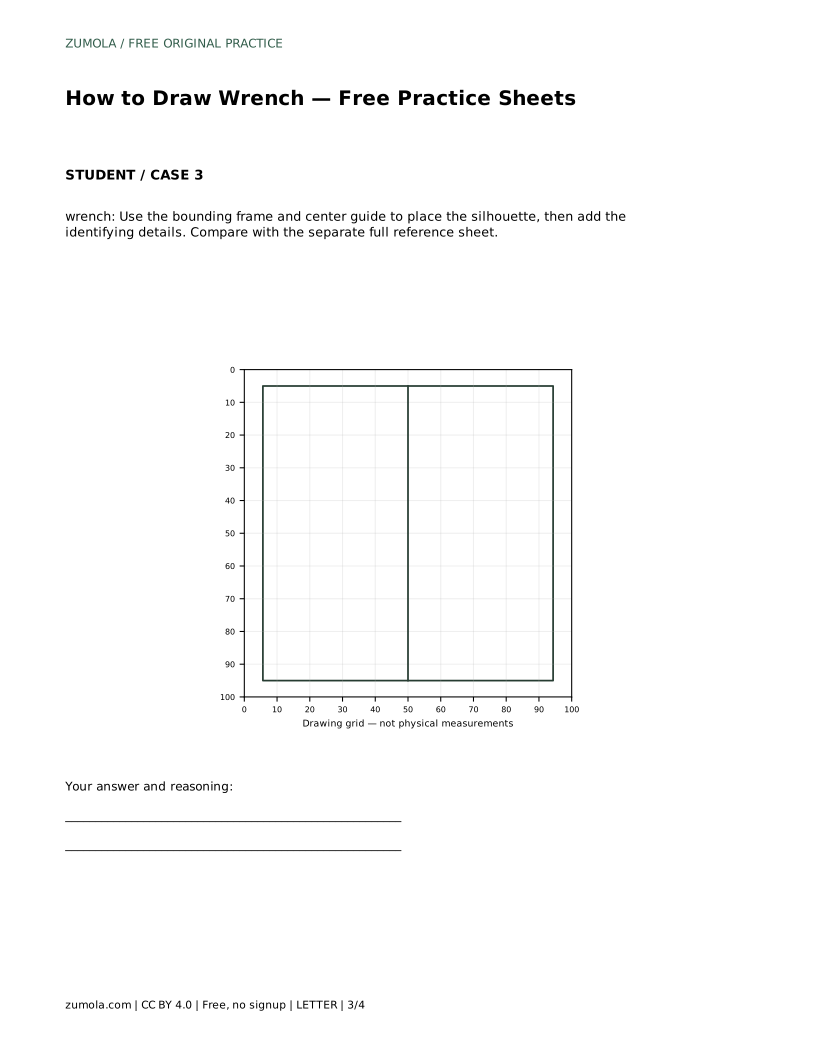
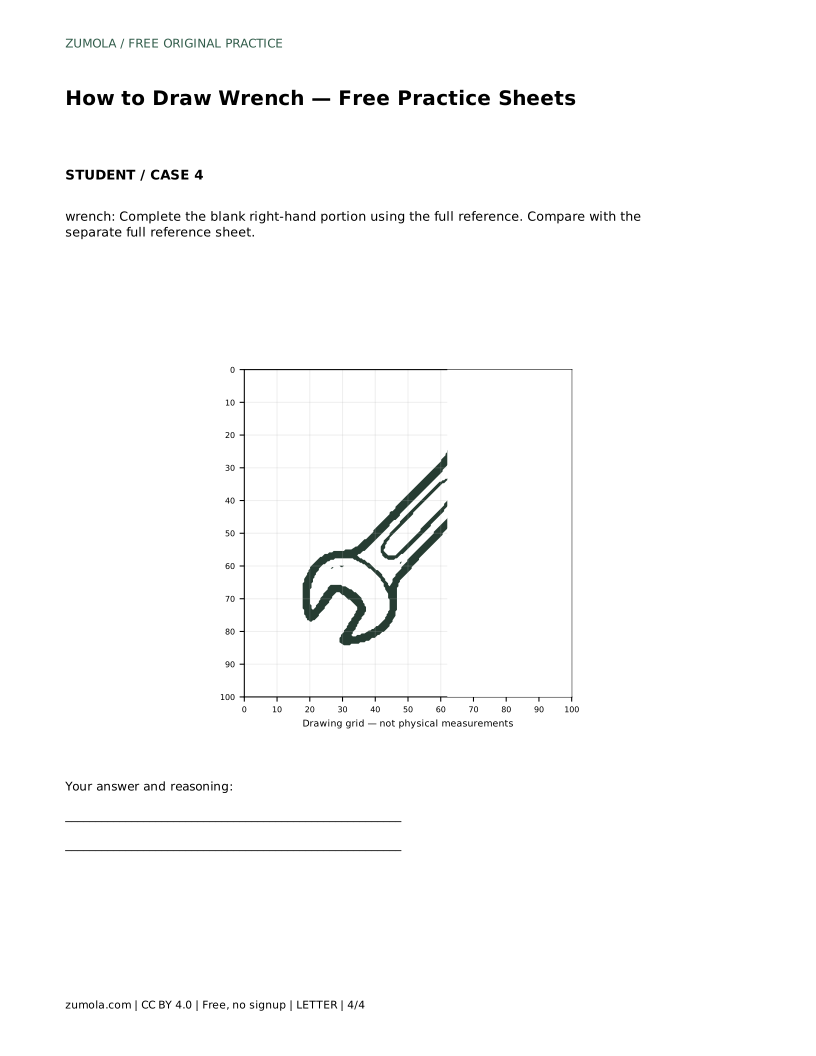
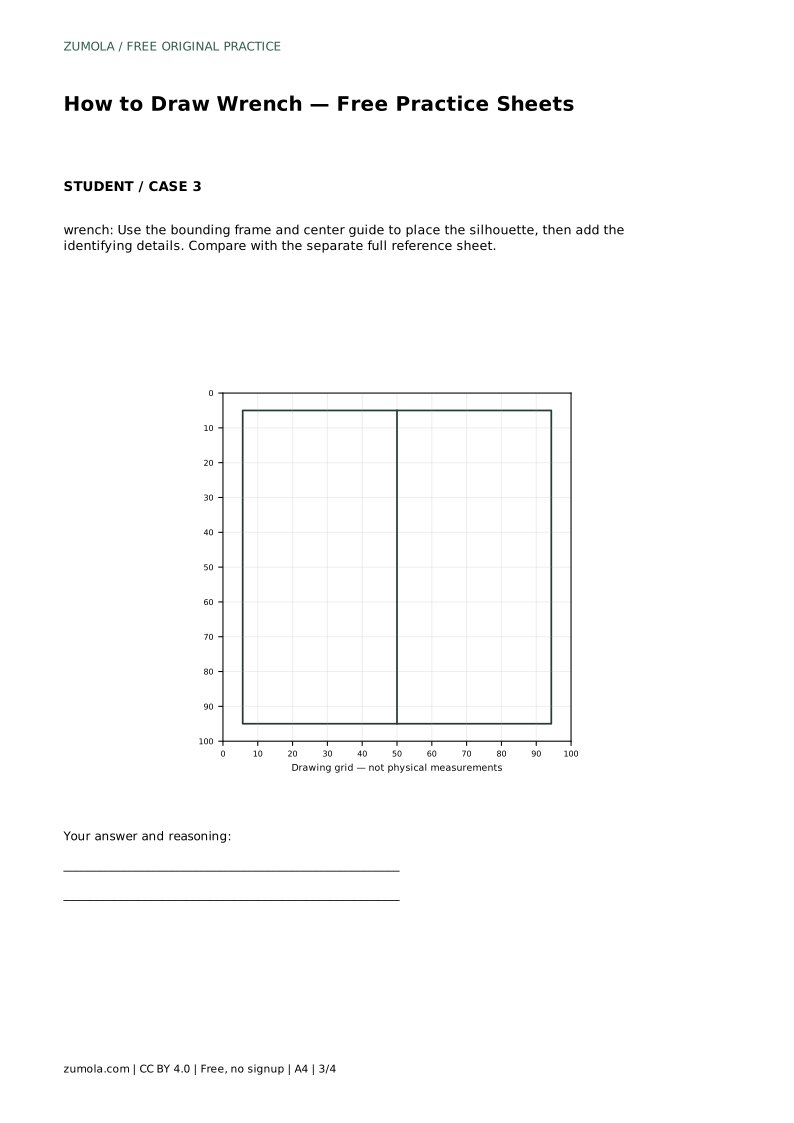
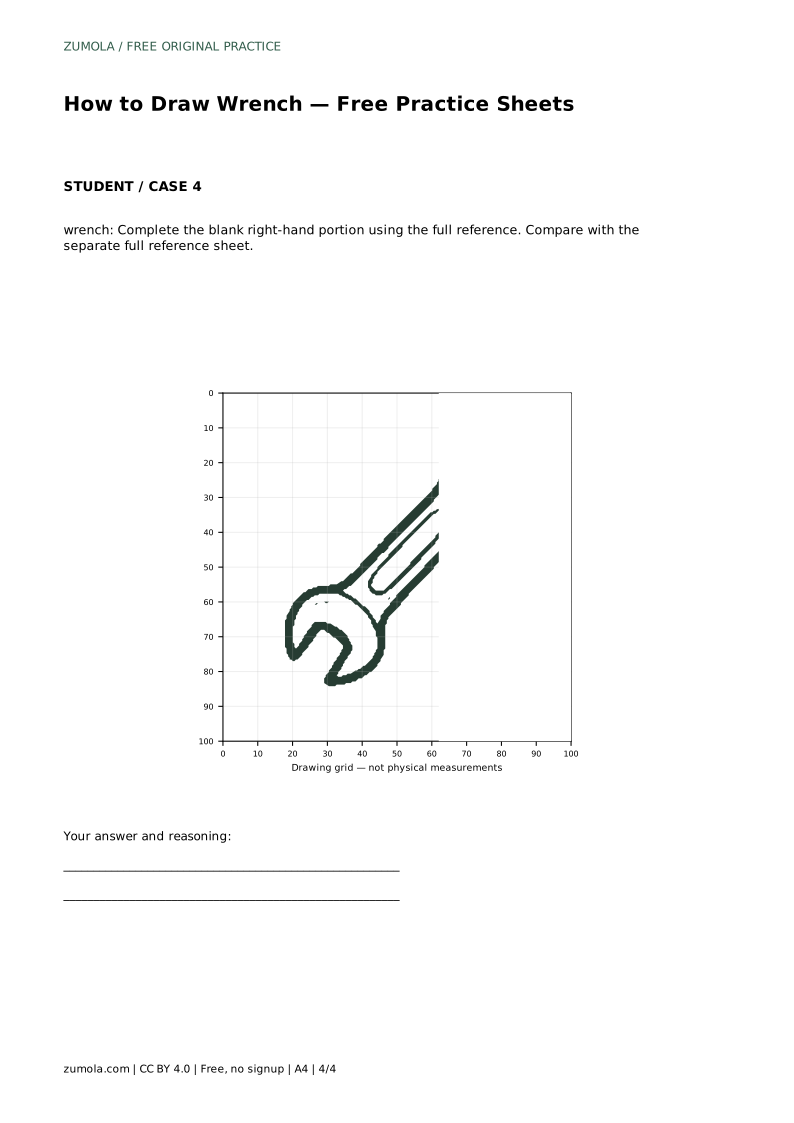
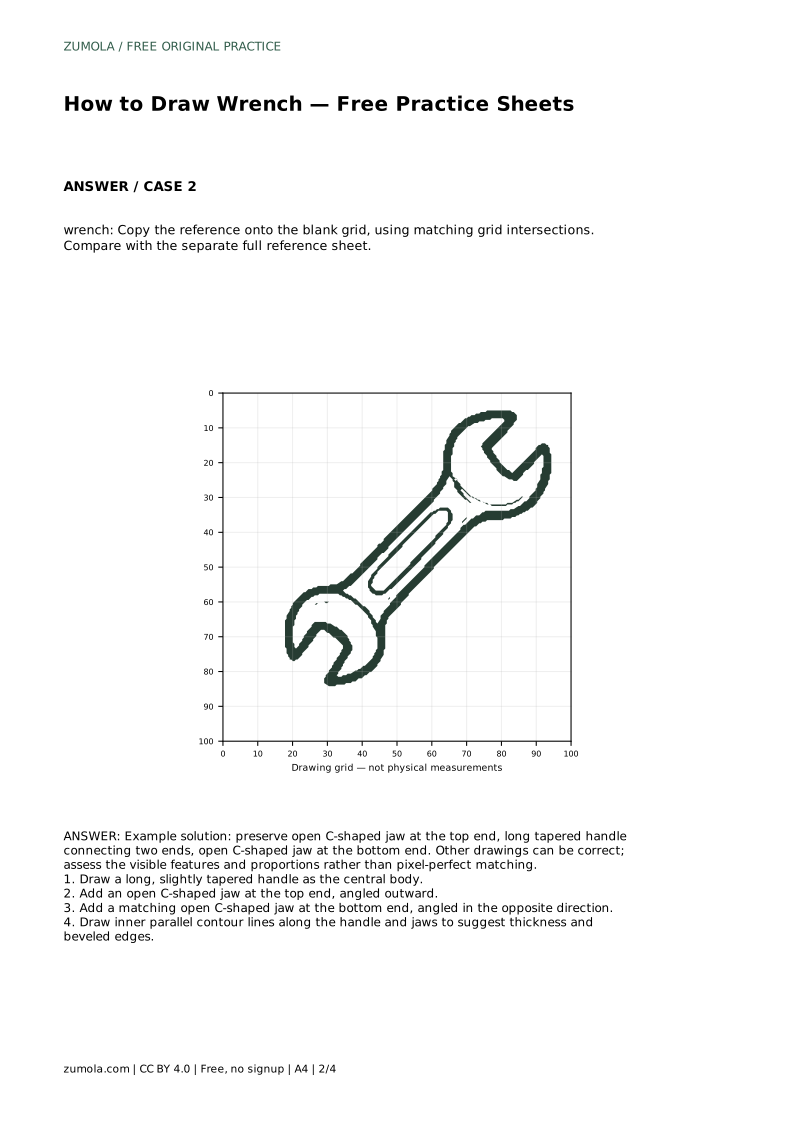
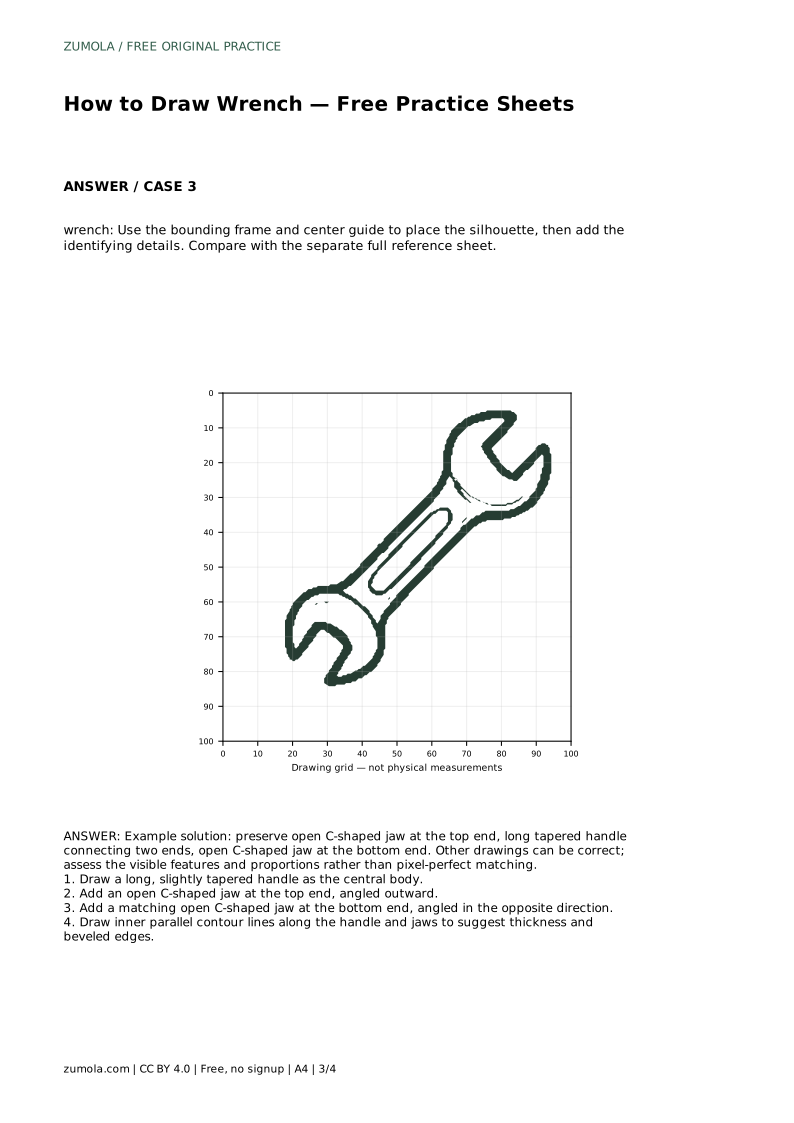
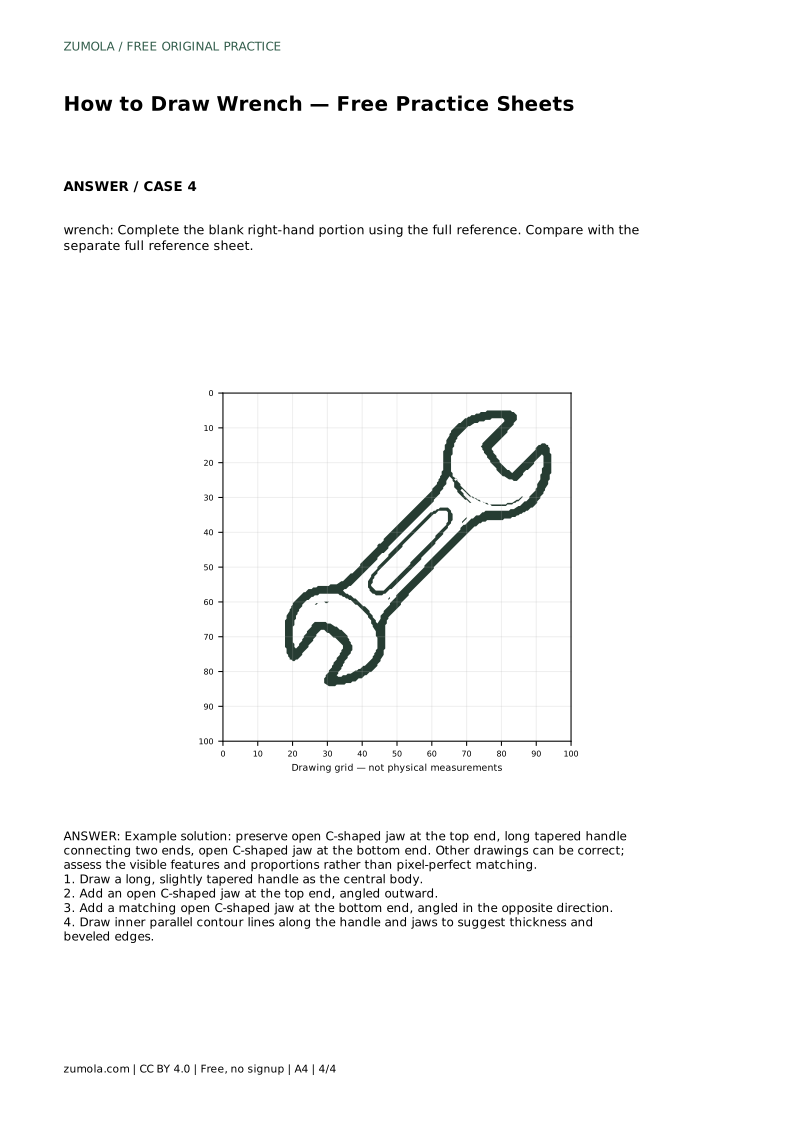
The grid sheet asks you to copy the reference onto a blank grid using matching grid intersections. Use the grid to judge where the handle begins and ends, how far each jaw extends, and how the openings align. The bounding-frame sheet gives you an outer frame and a center guide so you can place the silhouette before adding identifying details. The partial sheet gives you the left side and asks you to complete the blank right-hand portion from the full reference. In every case, the goal is a recognisable wrench with consistent proportions, not a pixel-perfect copy.
Once the silhouette is in place, add inner parallel contour lines along the handle and jaws. These lines suggest thickness and beveled edges. Keep them roughly parallel to the outer contour, and leave a consistent gap so the tool does not look paper-thin in one place and bulky in another. On the jaws, the inner line should follow the curve of the opening rather than cutting across it.
Check that the jaw openings remain open. A common problem is closing the C-shape accidentally while adding thickness lines. Also check that the handle connects cleanly to both jaws without a sudden step or gap. Small differences in jaw size or angle are acceptable if the overall tool still reads as a wrench.
A wrench drawing can be correct in many ways. Instead of looking for one exact answer, assess whether the visible features are present and whether the proportions make sense. Use the rubric below to review your work, then make one or two targeted corrections rather than redrawing everything.
wrench: Trace the reference outline, then practise the contour independently. Compare with the separate full reference sheet.
Example solution: preserve open C-shaped jaw at the top end, long tapered handle connecting two ends, open C-shaped jaw at the bottom end. Other drawings can be correct; assess the visible features and proportions rather than pixel-perfect matching. Draw a long, slightly tapered handle as the central body. Add an open C-shaped jaw at the top end, angled outward. Add a matching open C-shaped jaw at the bottom end, angled in the opposite direction. Draw inner parallel contour lines along the handle and jaws to suggest thickness and beveled edges.
No. Other drawings can be correct. Assess the visible features and proportions rather than pixel-perfect matching.
Start with the trace sheet if you are new to the shape, then move to the grid or bounding-frame sheet for independent placement. The partial sheet is useful once you can draw the full silhouette.
Check that both jaws are open C-shapes, that the handle tapers gently, and that the inner contour lines stay parallel to the outer edges.
All drawing practice · Free coordinate paper
Original resources · CC BY 4.0 · Free for personal and classroom use with attribution.