Reference diagrams
LETTER · Download PDF
A4 · Download PDF
Free original resources
Learn to draw a donut with a clear ring shape, central hole, wavy glaze line, and sprinkles. Use the practice sheets to trace, copy, and complete the drawing.
Four original cases, with reference diagrams, practice sheets and worked answers. Everything is free; no signup required.
LETTER · Download PDF
A4 · Download PDF
LETTER · Download PDF
A4 · Download PDF
LETTER · Download PDF
A4 · Download PDF
Use A4 or US Letter to match your printer. Use the stated values and conditions to solve each exercise; diagrams are not physical measuring rulers.
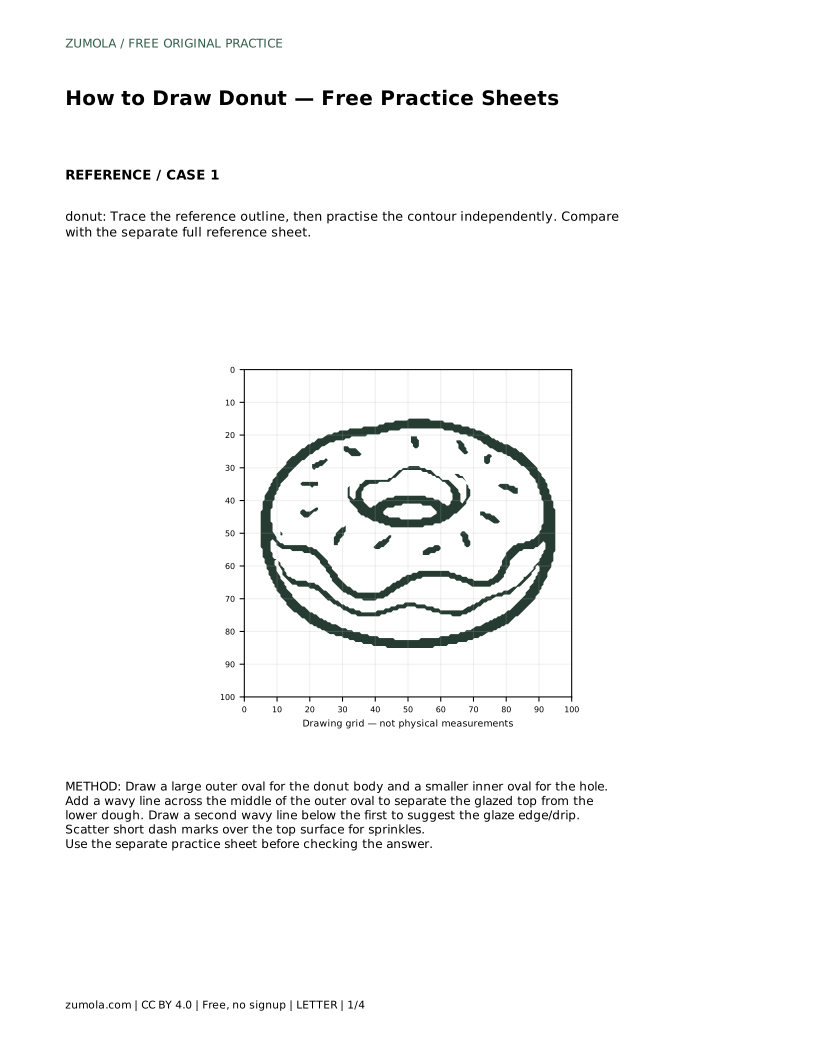
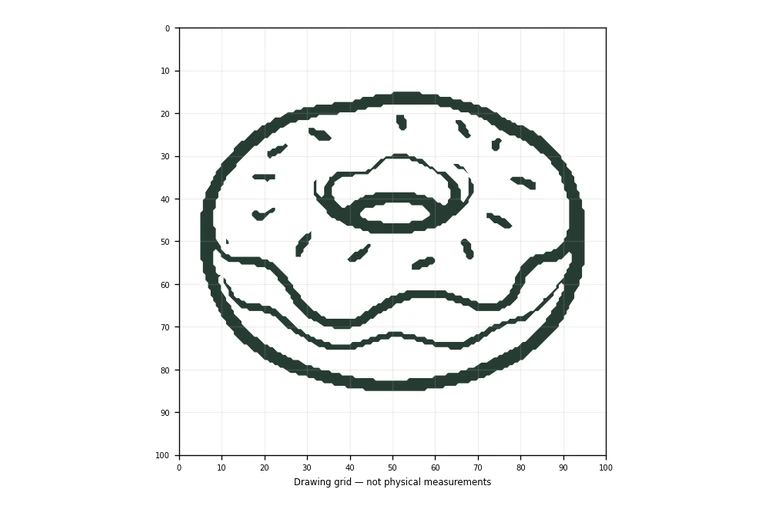
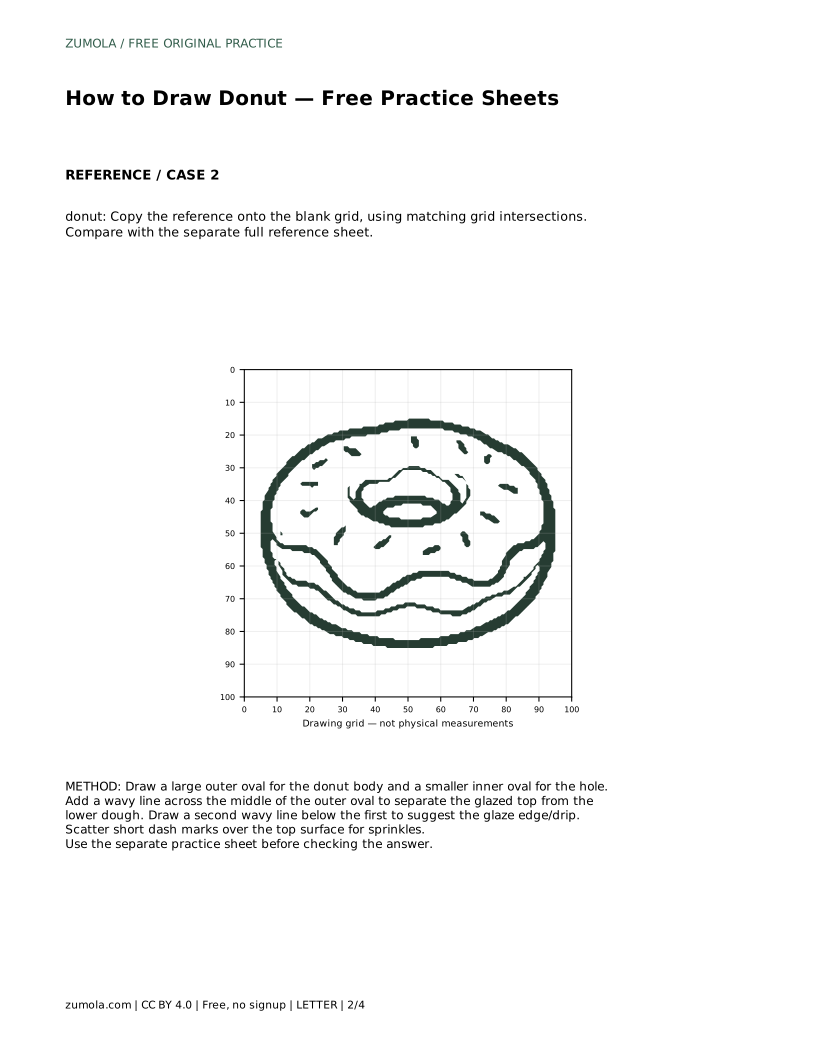
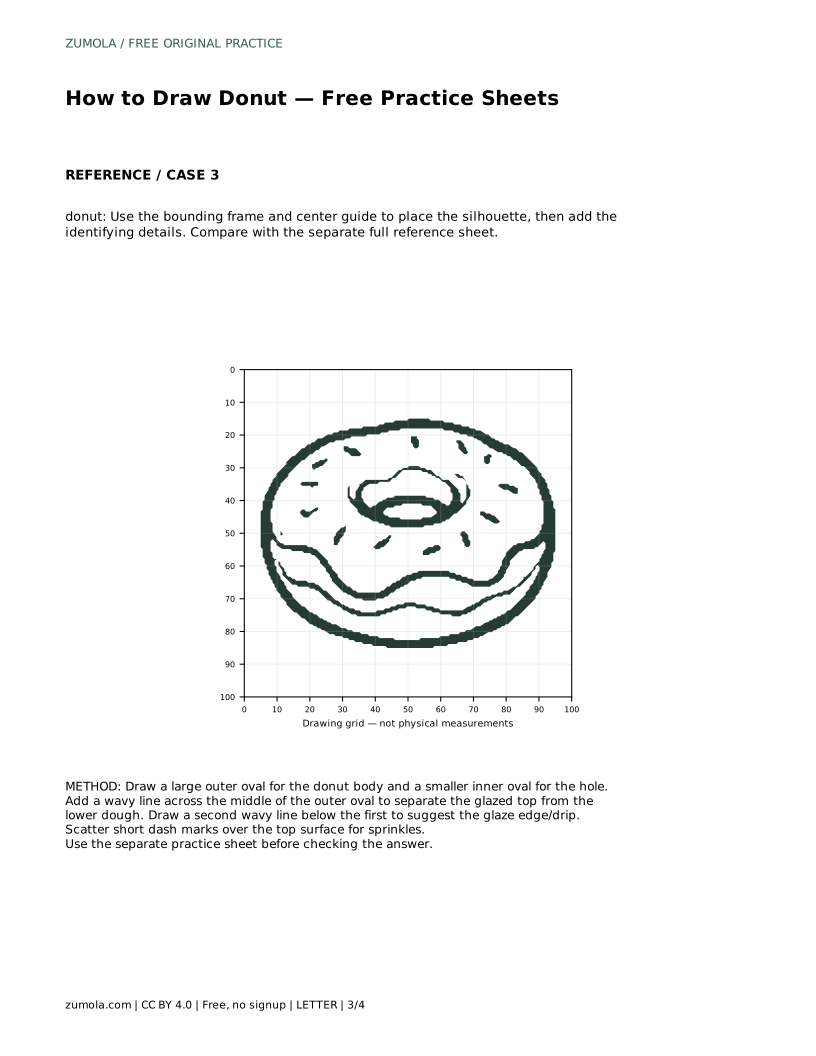
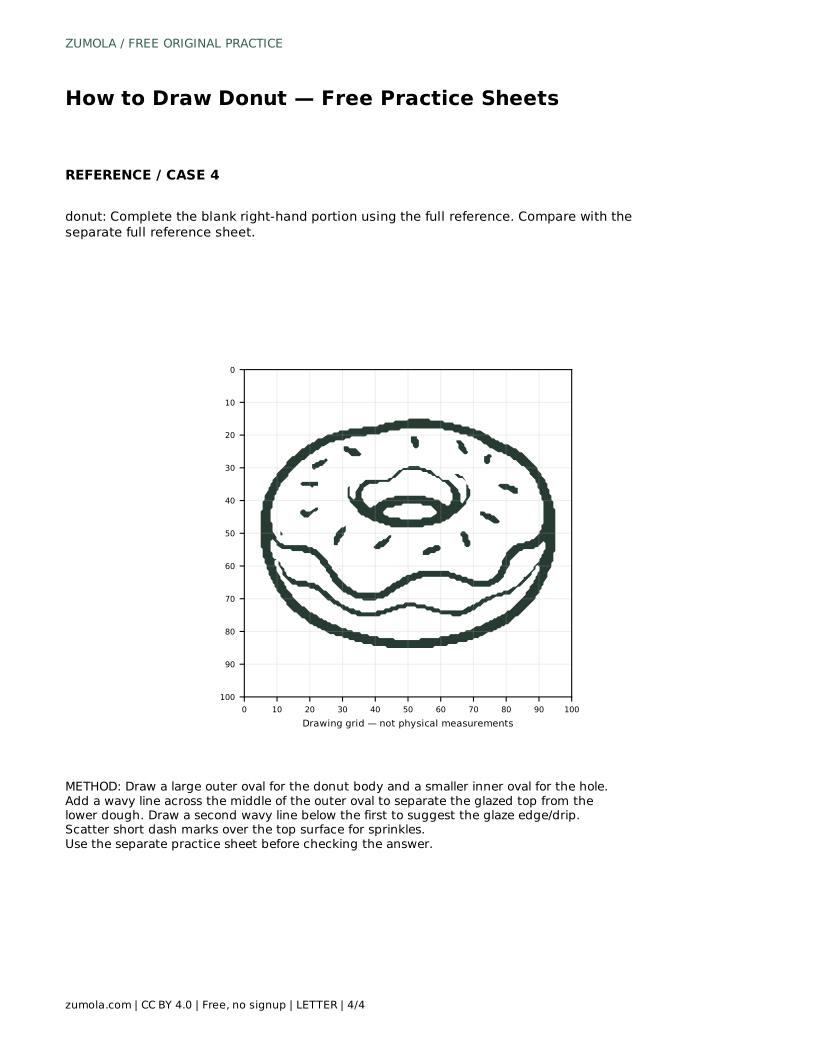
A donut is easy to recognize because of three features: a rounded ring with a hole in the middle, a glaze line that follows the upper surface, and small sprinkles scattered across the top. This page explains how to build those features in order, then use the practice sheets to trace the outline, copy it onto a grid, place it inside a frame, or complete a partly drawn version. The goal is a clear, well-proportioned drawing, not an exact copy.
Begin with the overall shape before adding any surface detail. Draw a large oval for the outside of the donut, then a smaller oval inside it for the hole. Keep the inner oval roughly centered so the ring has an even thickness all the way around. A donut seen from slightly above looks like two ovals, not two perfect circles, because the surface tilts toward the viewer.
Check the proportions before going further. The hole should be clearly smaller than the outer oval but large enough to read as an opening. If the ring looks too thin on one side, adjust the inner oval rather than redrawing everything. Light pencil lines are easier to correct at this stage.
The glaze sits on the upper surface of the donut, so its edge runs across the middle of the outer oval rather than around the outside. Draw a wavy line from one side of the outer oval to the other, passing above the hole. The wave should be gentle and irregular, like a soft drip rather than a zigzag.
Add a second wavy line just below the first to suggest the thickness of the glaze edge. Keep the gap between the two lines fairly even, and let the lower line dip slightly in a few places to suggest drips. The glaze line should stay inside the outer oval; it marks a surface boundary, not the outline of the donut itself.
Sprinkles are short dash marks placed only on the glazed top, above the glaze line. Scatter them unevenly rather than lining them up in rows, and vary their direction slightly so the surface looks natural. Keep them small relative to the donut, and leave some open space between them.
When the drawing is finished, step back and check the three identifying features: a ring with a visible central hole, a wavy glaze edge across the upper surface, and sprinkles confined to the glazed area. Compare your drawing with the separate full reference sheet if you are using a practice page. Different drawings can all be correct, so judge the visible features and proportions rather than pixel-perfect matching.
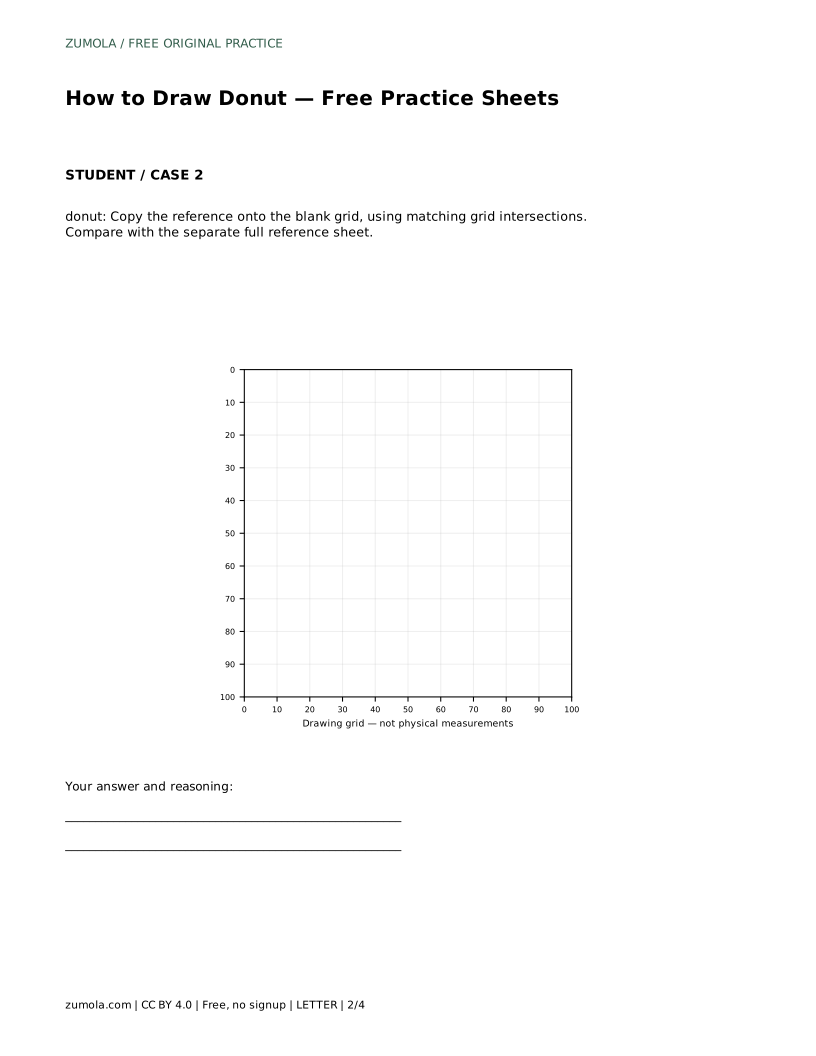
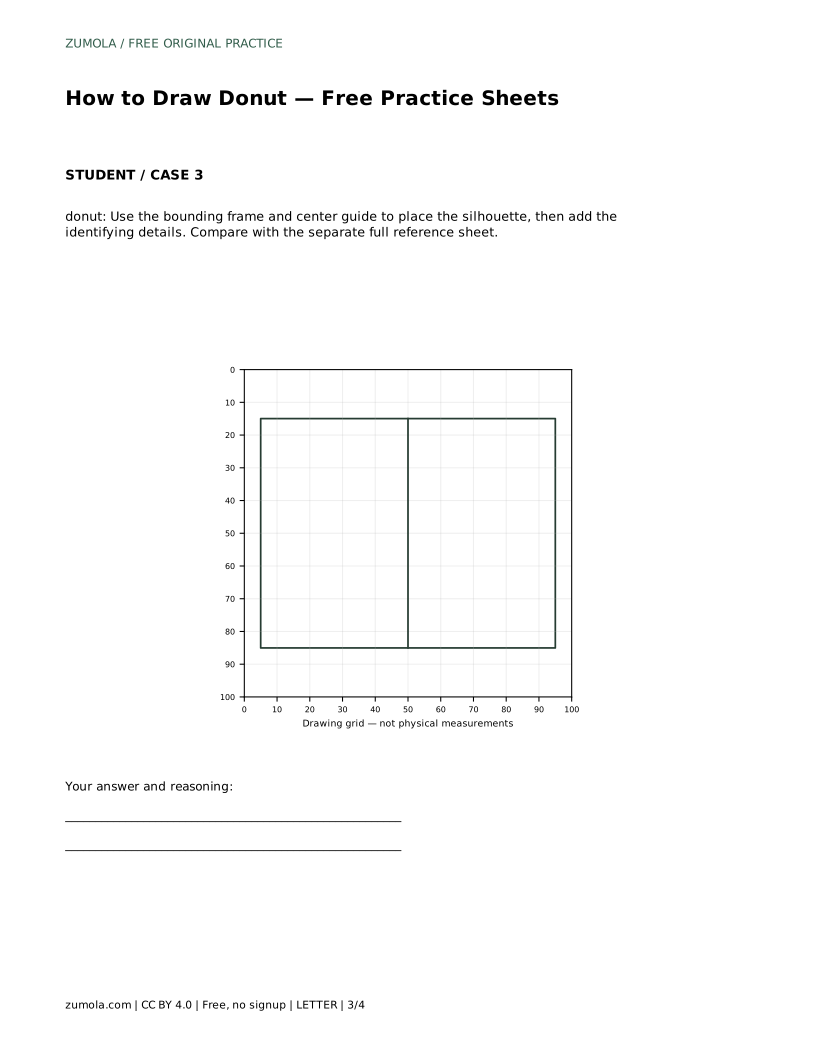
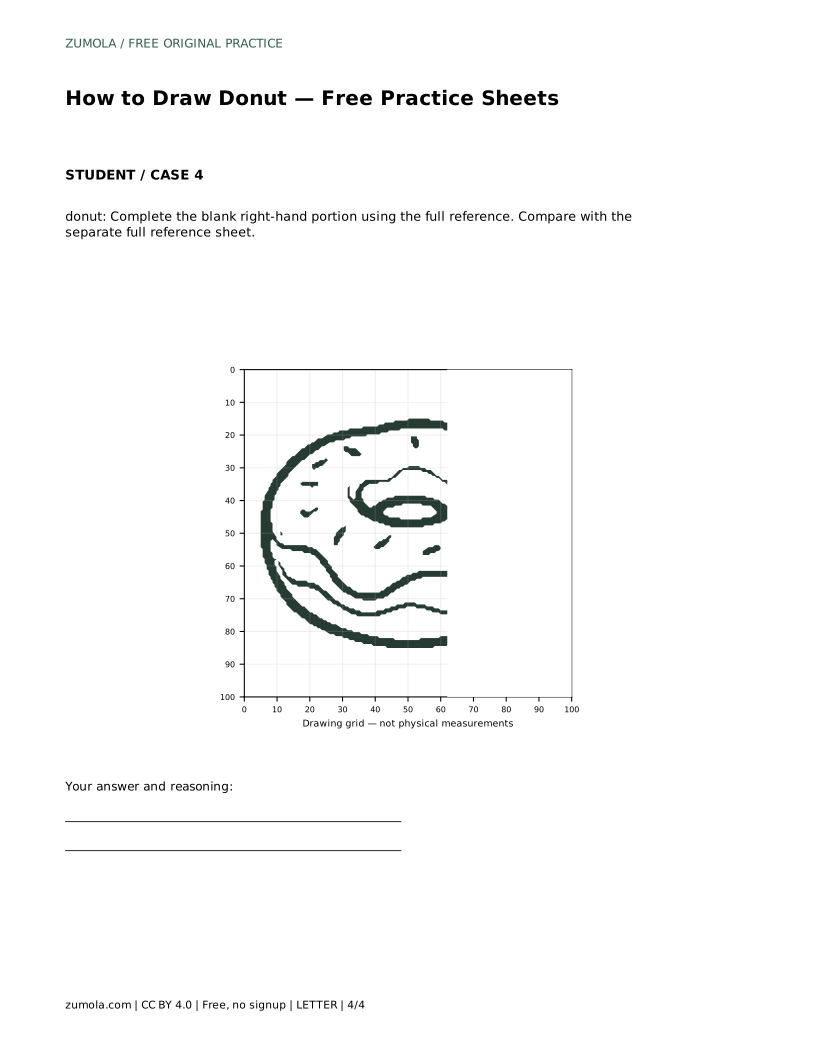
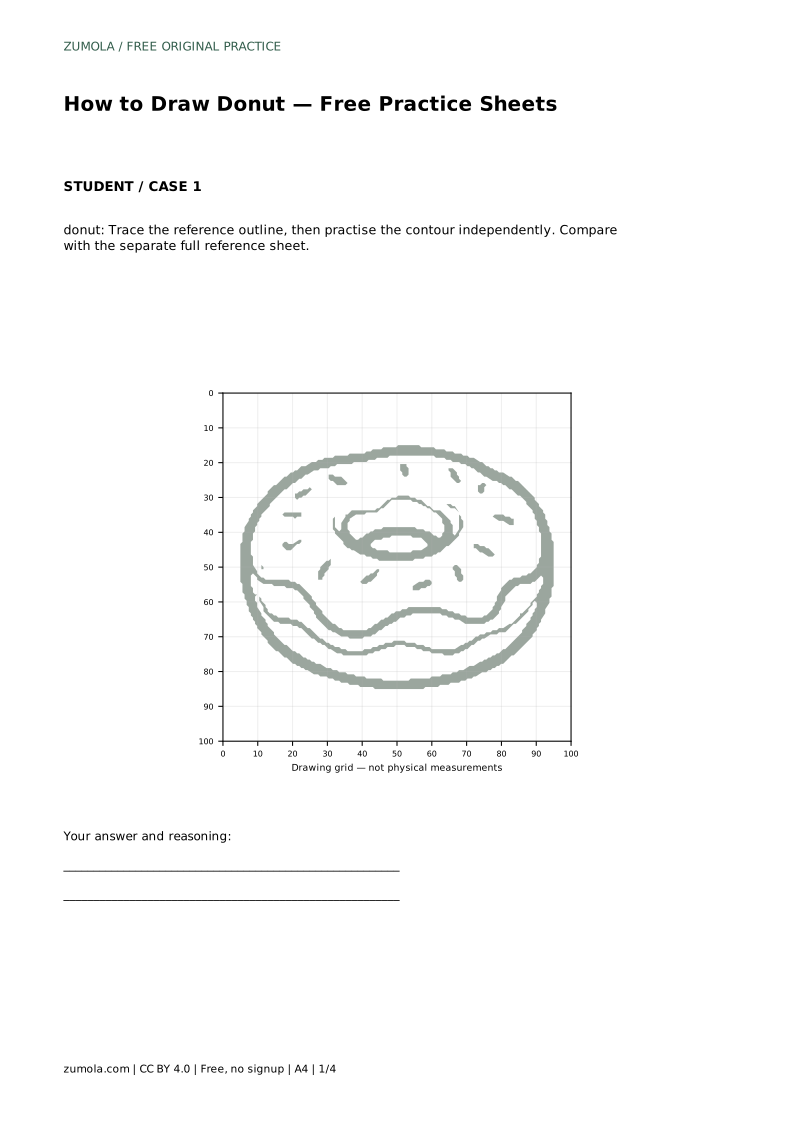
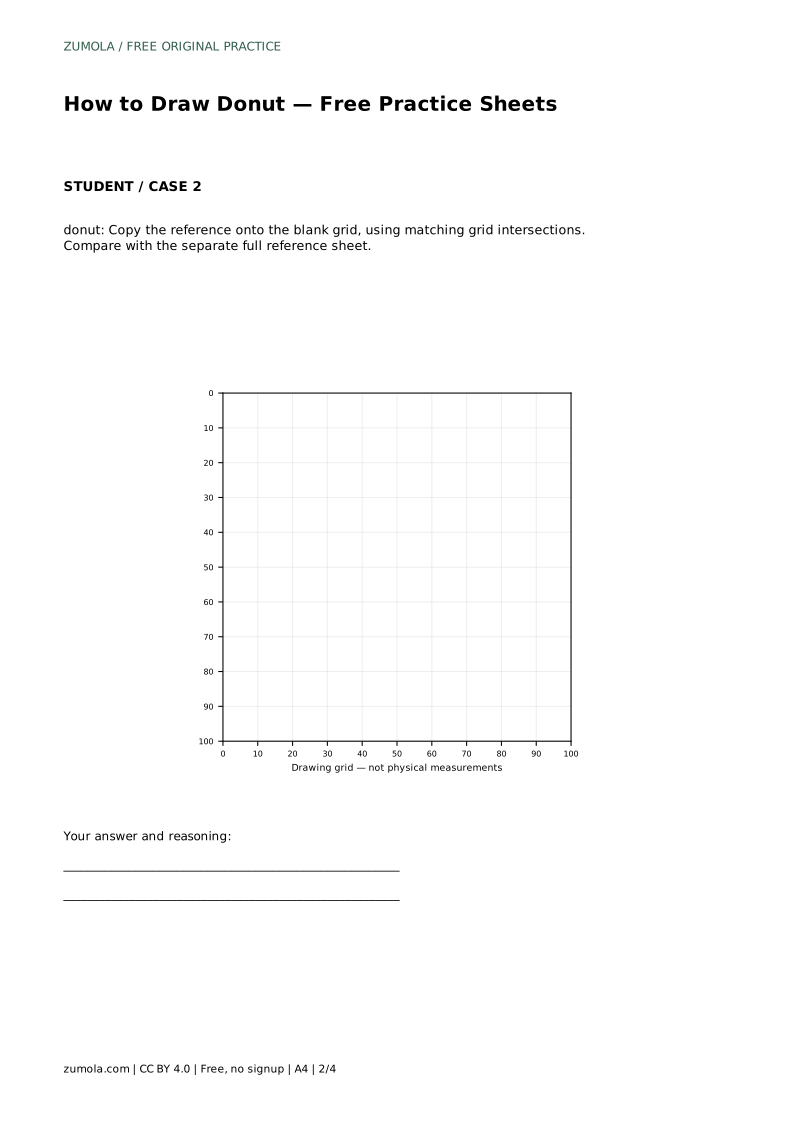
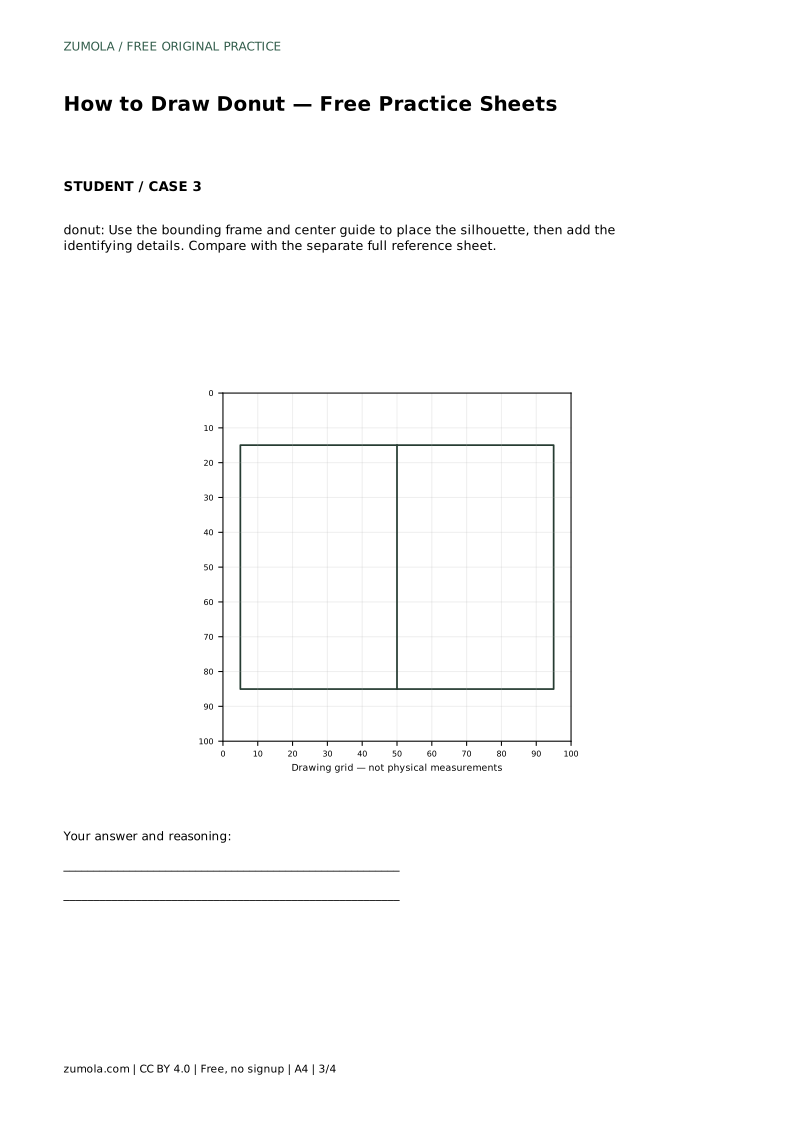
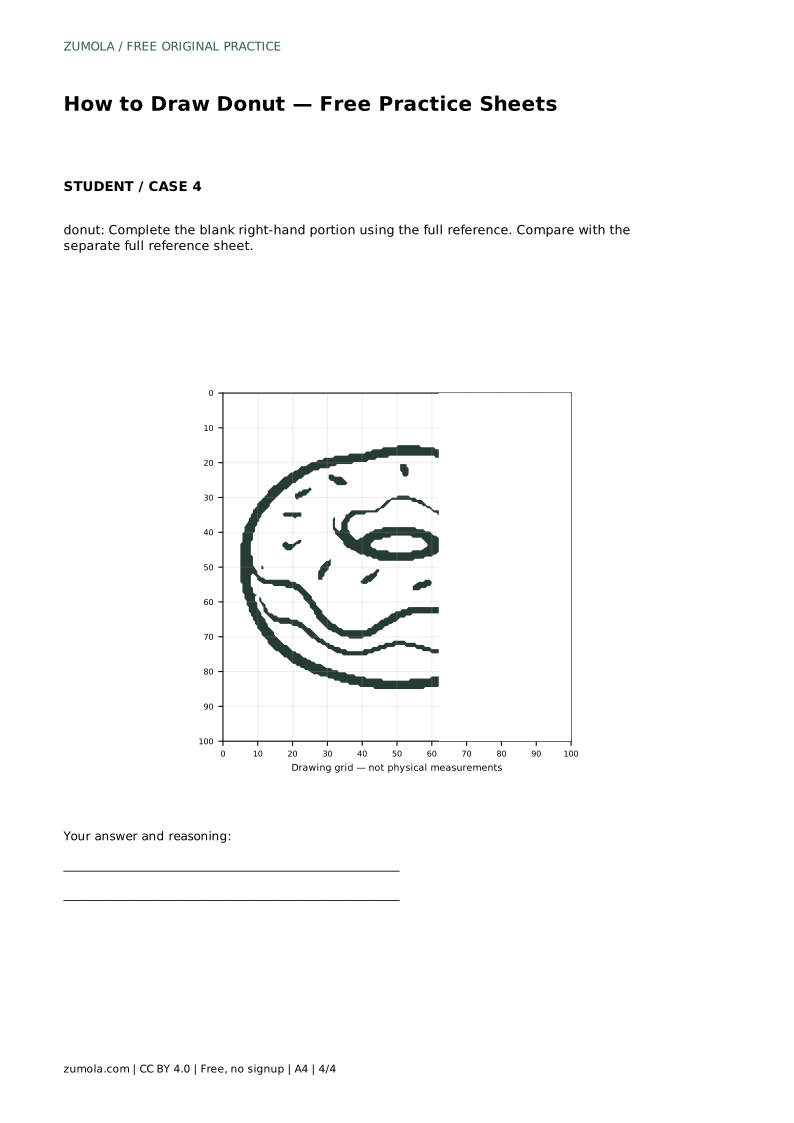
Each practice sheet asks for the same drawing skill in a different way. On the tracing sheet, follow the reference outline first, then try the contour independently on the blank space. On the grid sheet, copy the drawing onto the blank grid by matching grid intersections, which helps you judge where each curve sits. On the frame sheet, use the bounding frame and center guide to place the silhouette before adding details. On the partial sheet, complete the blank right-hand portion using the full reference.
Work through one sheet at a time and compare your result with the separate full reference sheet afterward. If a feature is missing or misplaced, redraw just that part rather than starting over.
Most donut drawings go wrong in the same few places: the hole drifts off center, the glaze line runs around the outside edge instead of across the top, or the sprinkles spill onto the lower dough. Checking these three points before finishing will fix most of the drawing.
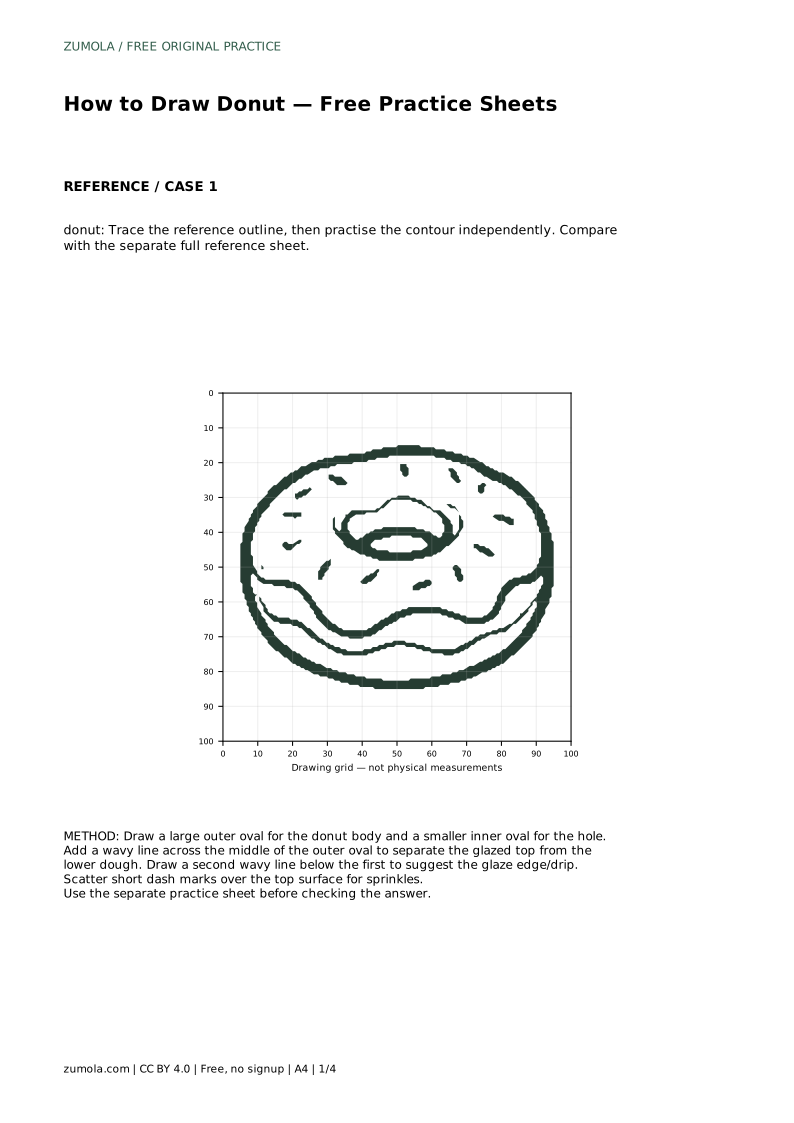
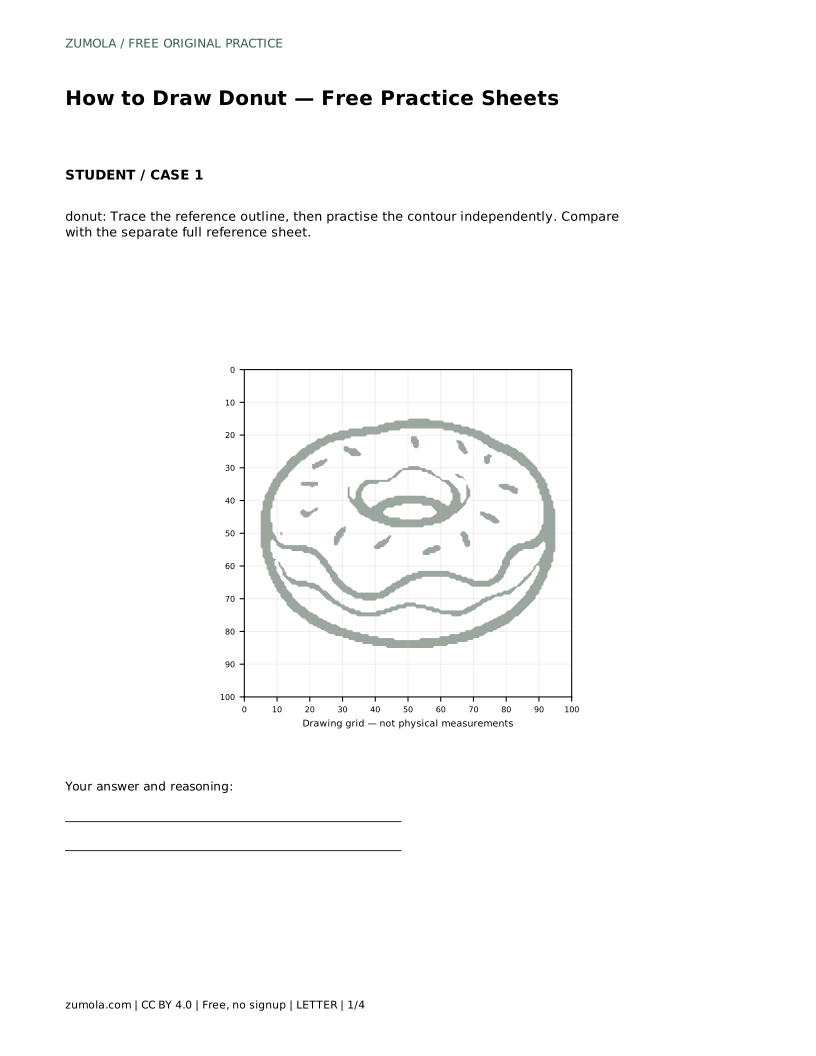
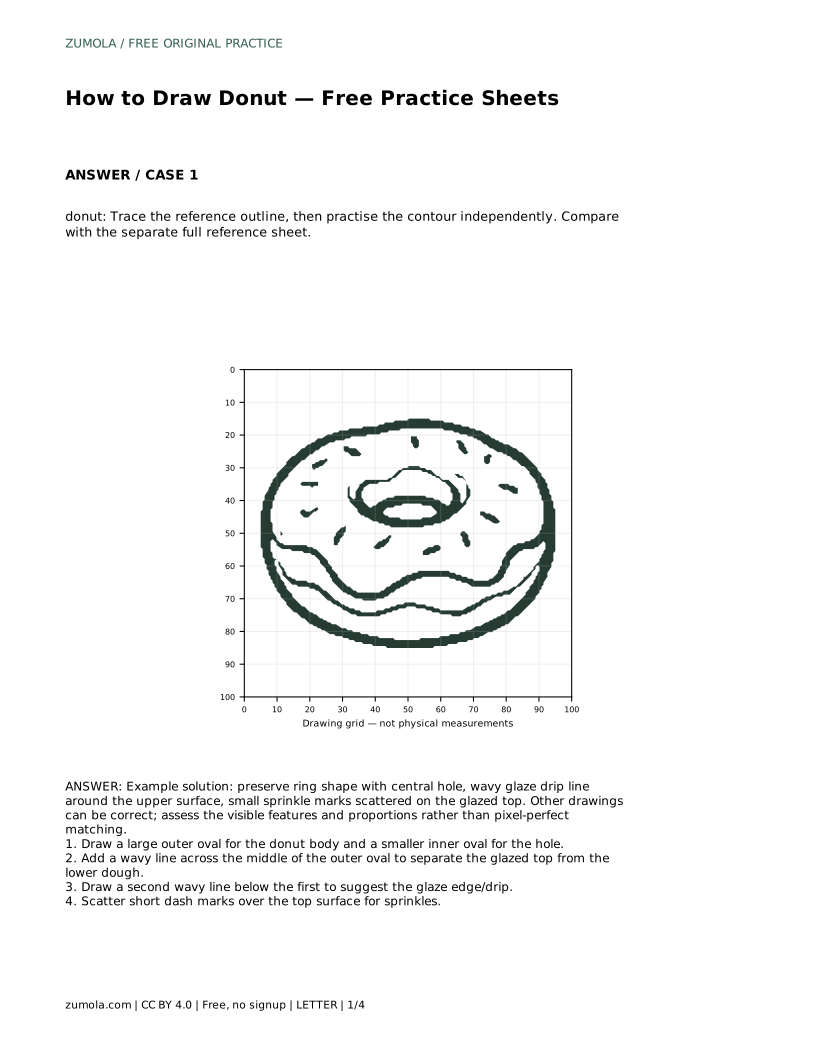
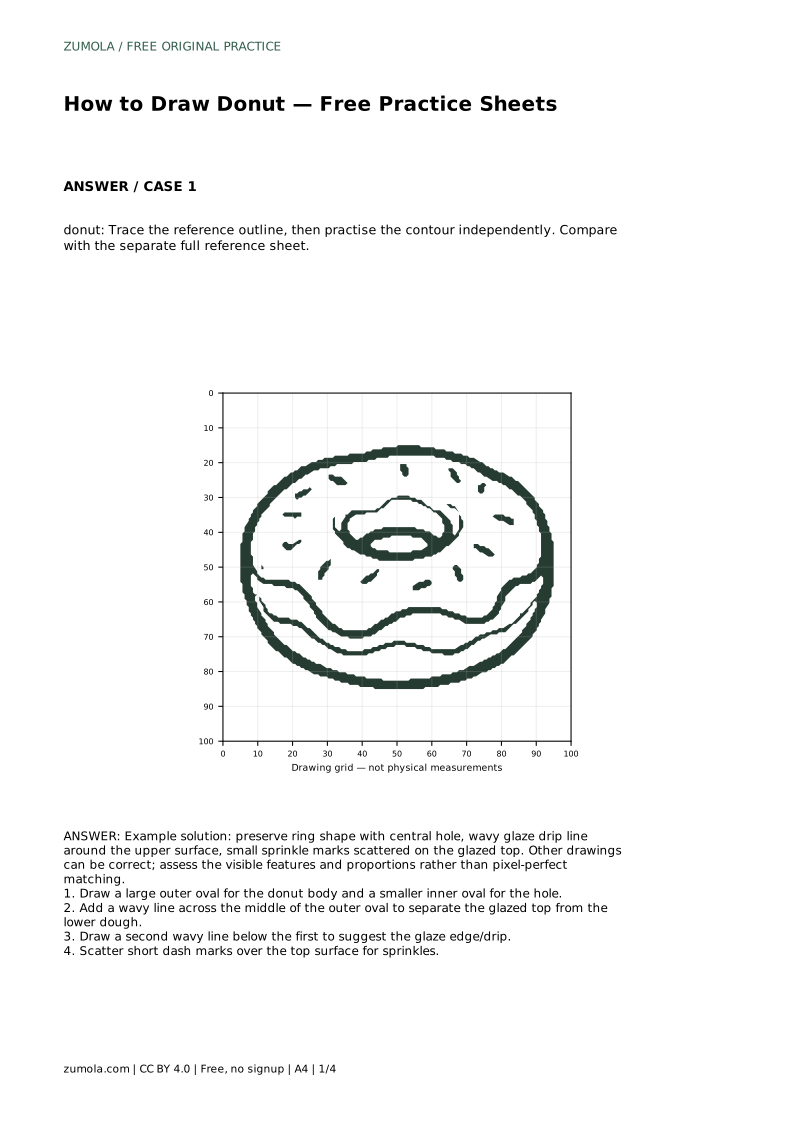
donut: Trace the reference outline, then practise the contour independently. Compare with the separate full reference sheet.
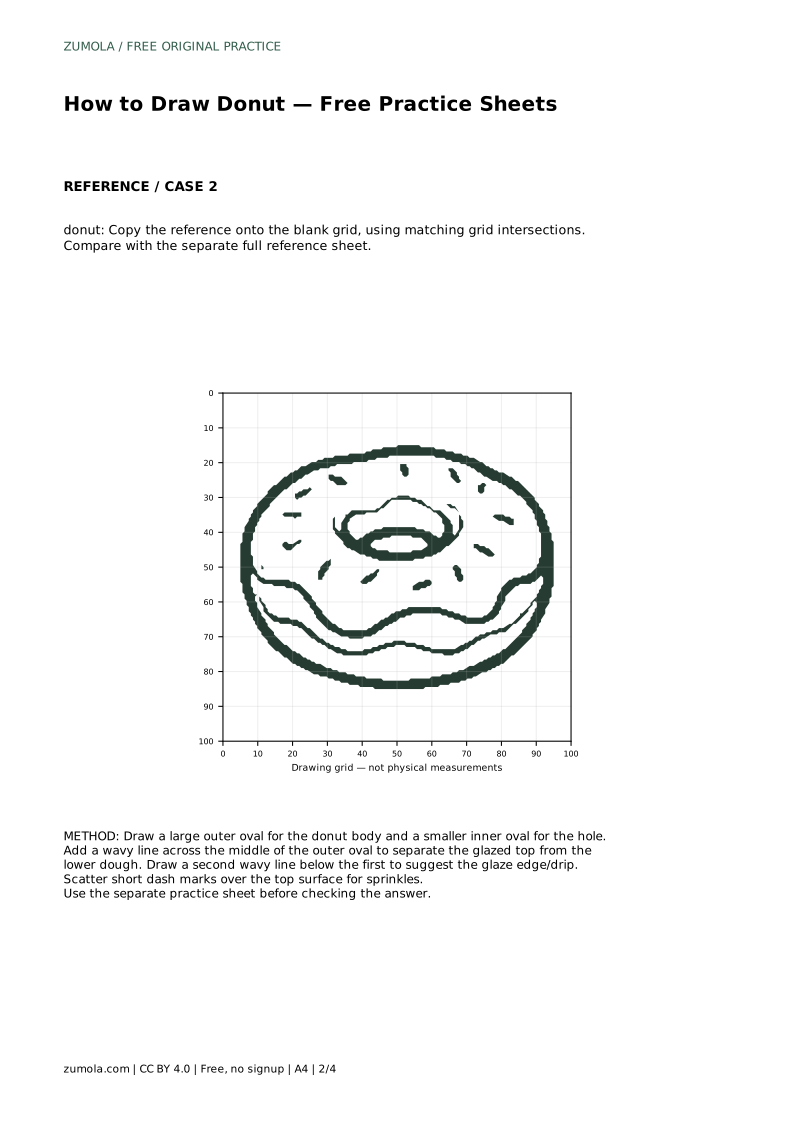
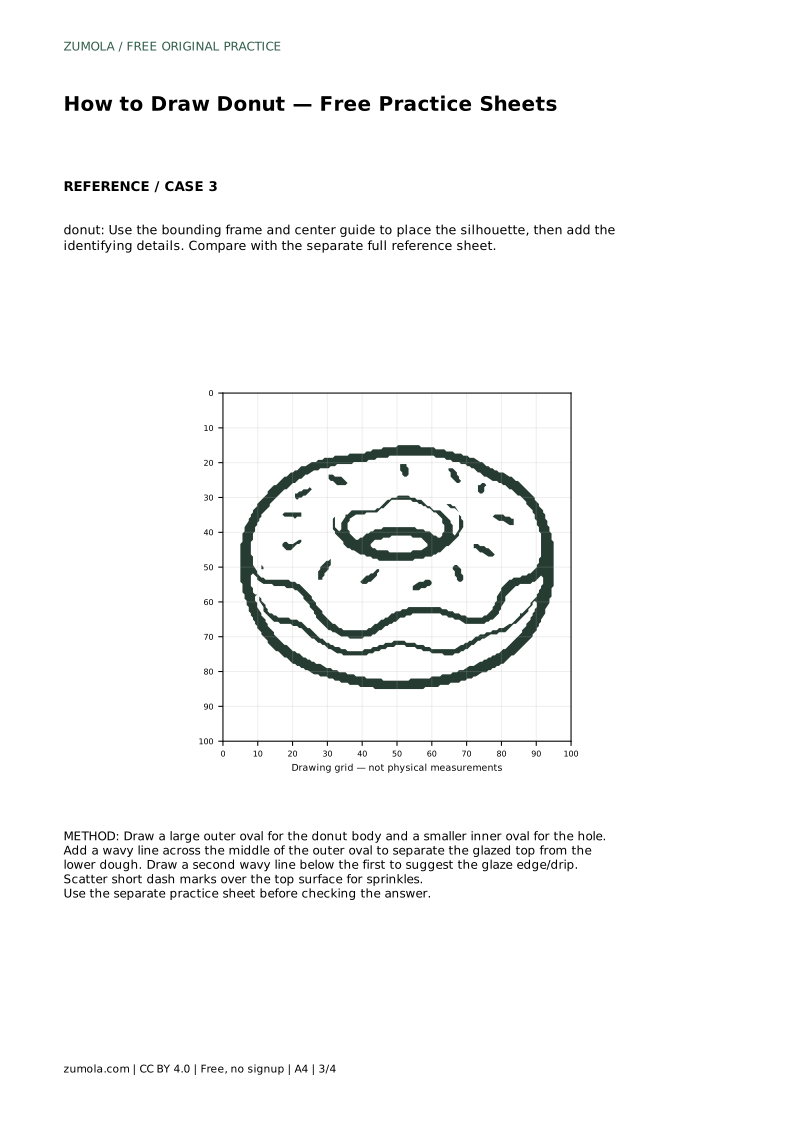
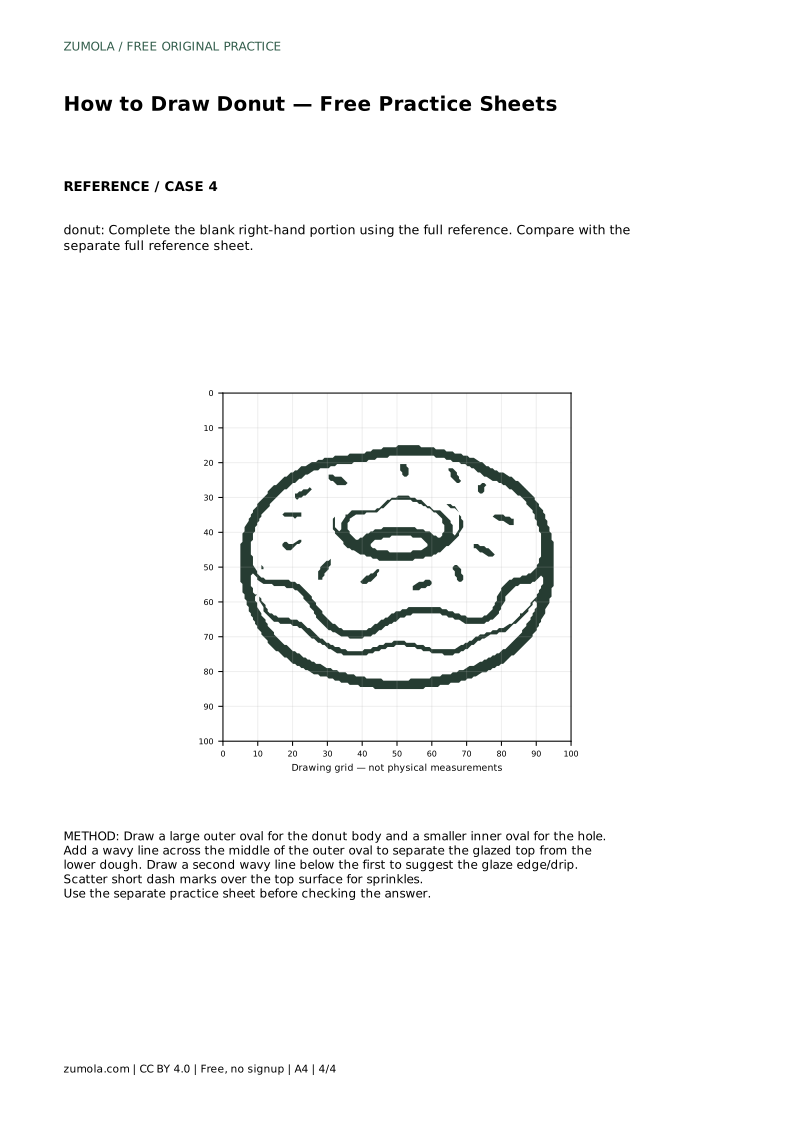
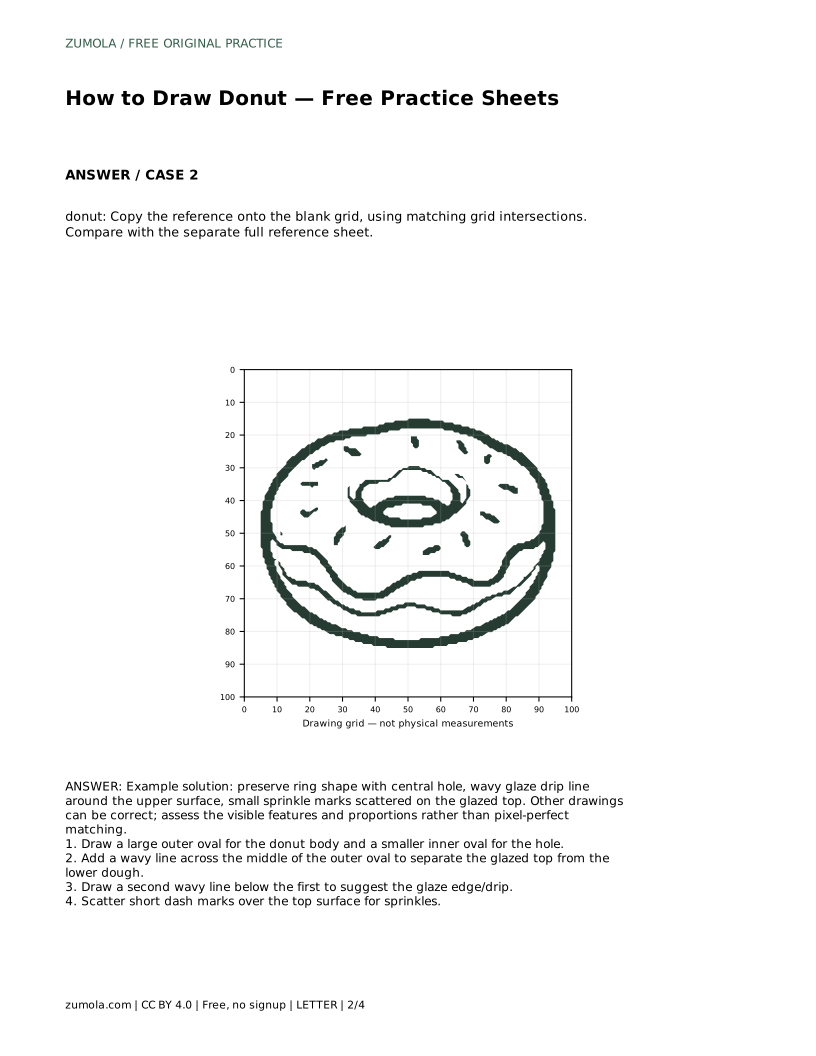
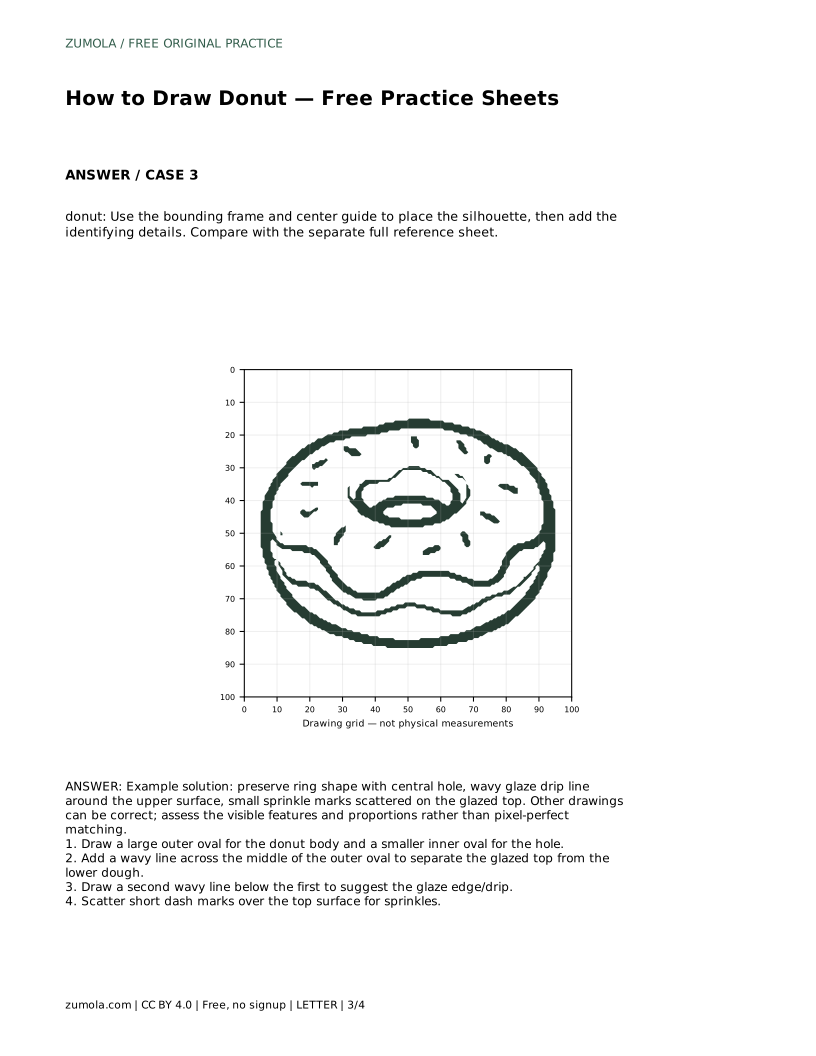
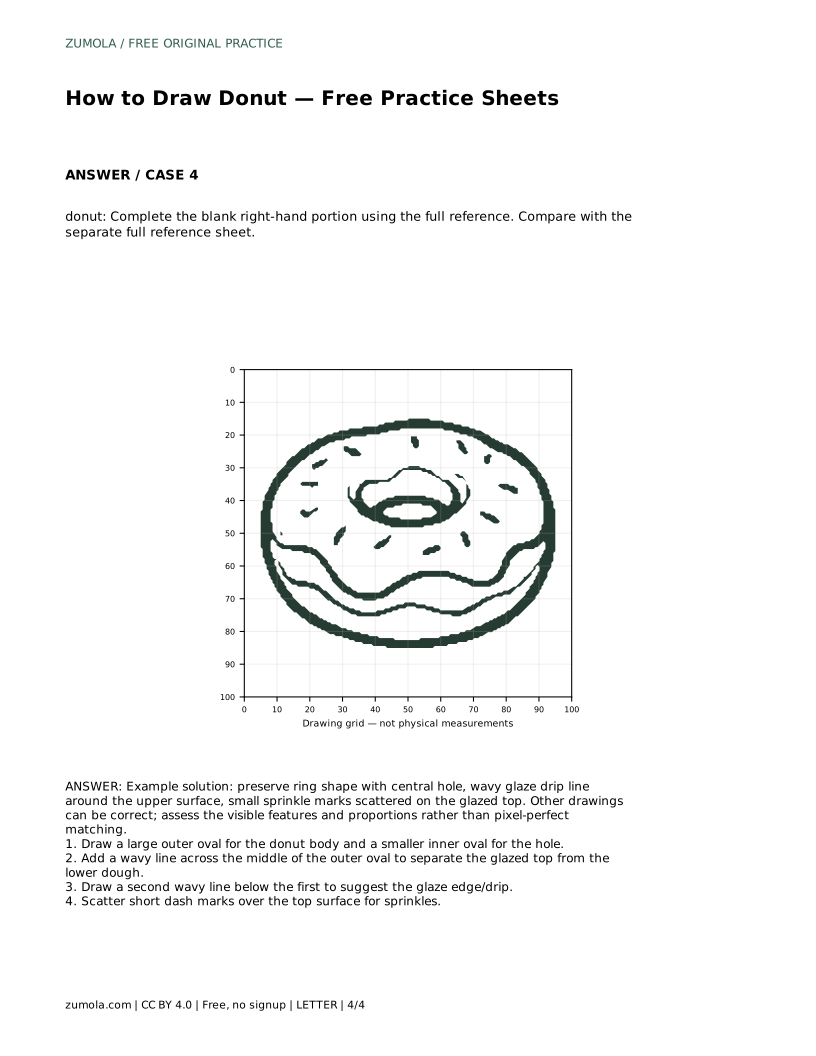
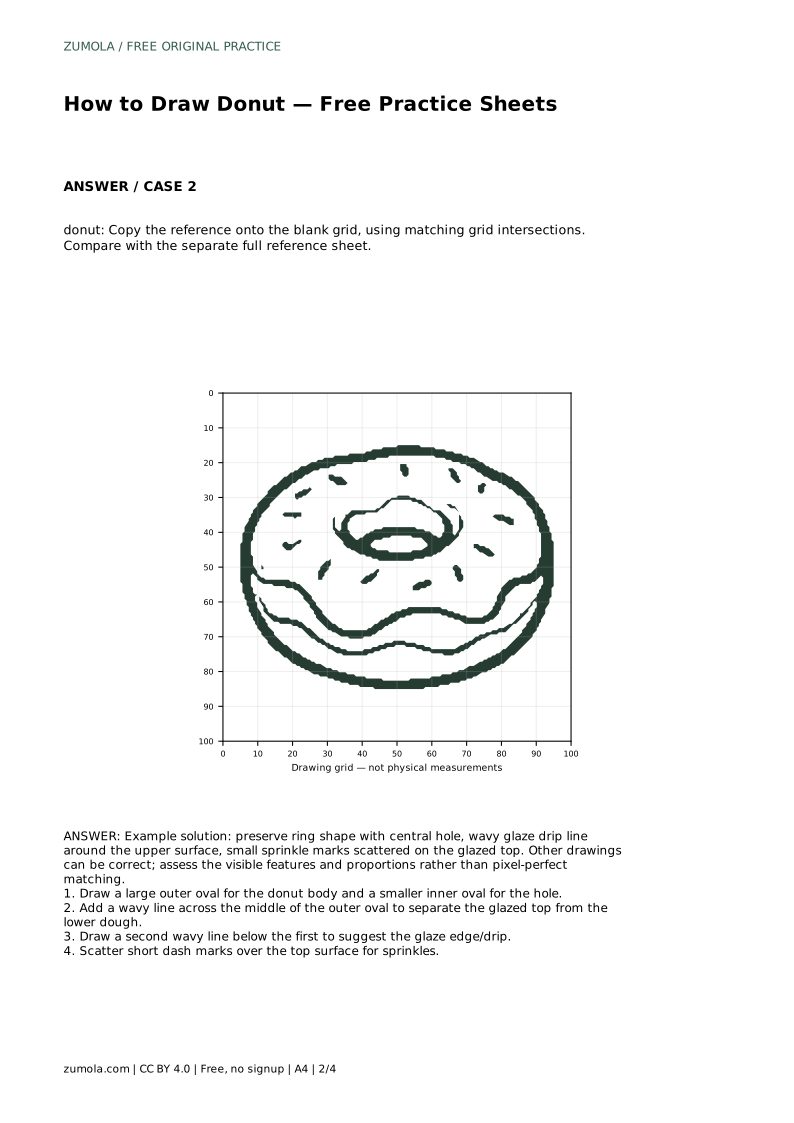
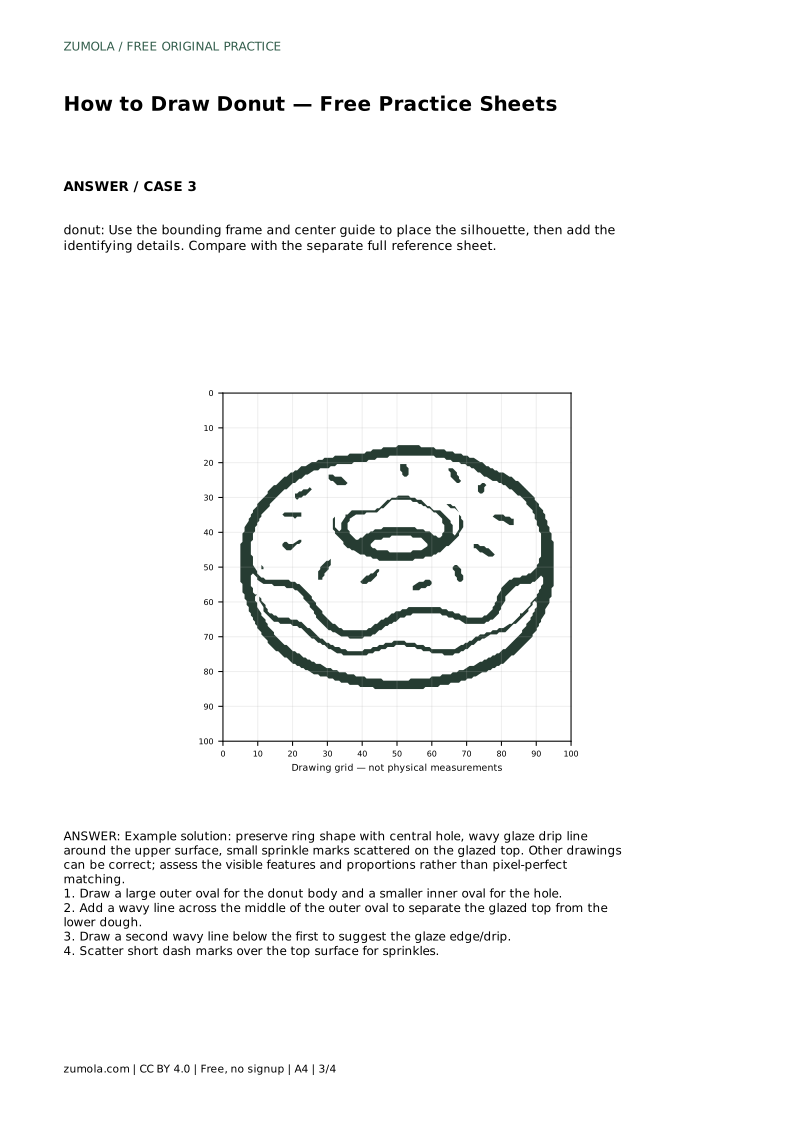
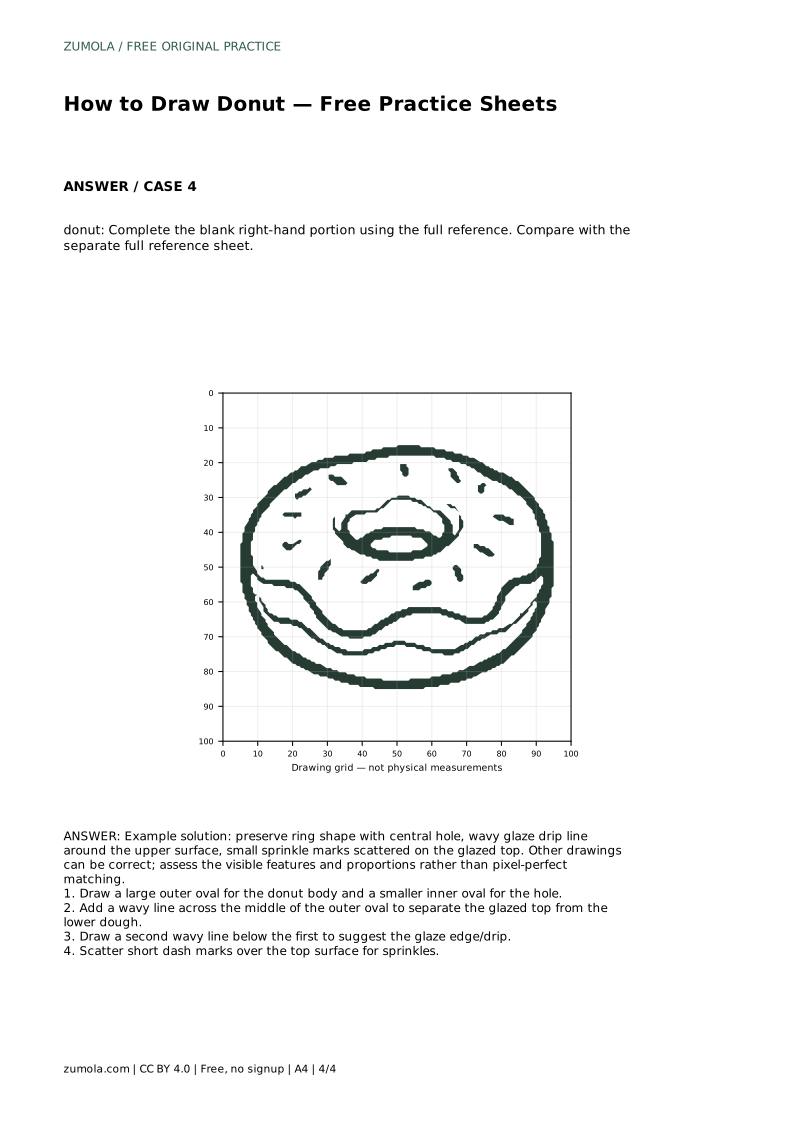
Example solution: preserve ring shape with central hole, wavy glaze drip line around the upper surface, small sprinkle marks scattered on the glazed top. Other drawings can be correct; assess the visible features and proportions rather than pixel-perfect matching. Draw a large outer oval for the donut body and a smaller inner oval for the hole. Add a wavy line across the middle of the outer oval to separate the glazed top from the lower dough. Draw a second wavy line below the first to suggest the glaze edge/drip. Scatter short dash marks over the top surface for sprinkles.
No. Several drawings can be correct. Check that the ring shape, central hole, wavy glaze line, and sprinkle placement are all present and reasonably proportioned.
Usually not. A donut viewed from slightly above shows two ovals, so an oval hole reads more naturally than a perfect circle.
Only on the glazed top, above the glaze line. Keep them small, unevenly spaced, and varied in direction.
All drawing practice · Free coordinate paper
Original resources · CC BY 4.0 · Free for personal and classroom use with attribution.