Reference diagrams
LETTER · Download PDF
A4 · Download PDF
Free original resources
Learn to draw a koi fish by building a streamlined body, split tail fin, ray lines, barbels, and a diamond-grid scale pattern, then check proportions against a reference.
Four original cases, with reference diagrams, practice sheets and worked answers. Everything is free; no signup required.
LETTER · Download PDF
A4 · Download PDF
LETTER · Download PDF
A4 · Download PDF
LETTER · Download PDF
A4 · Download PDF
Use A4 or US Letter to match your printer. Use the stated values and conditions to solve each exercise; diagrams are not physical measuring rulers.
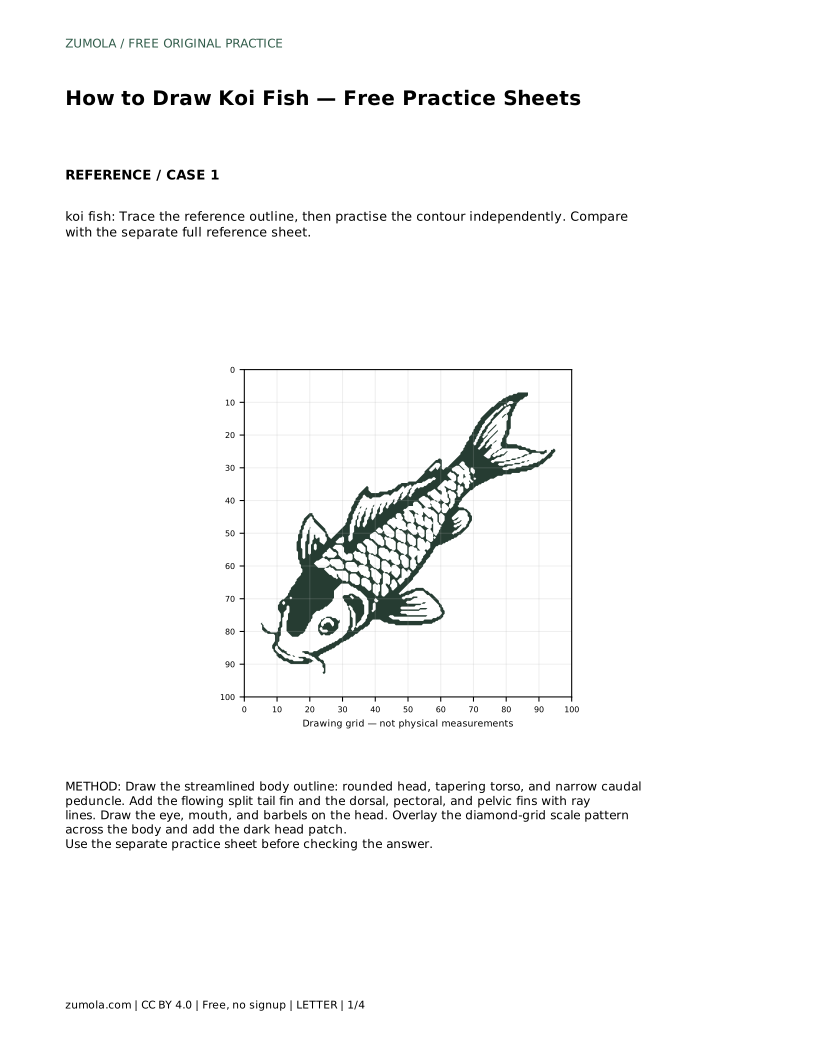
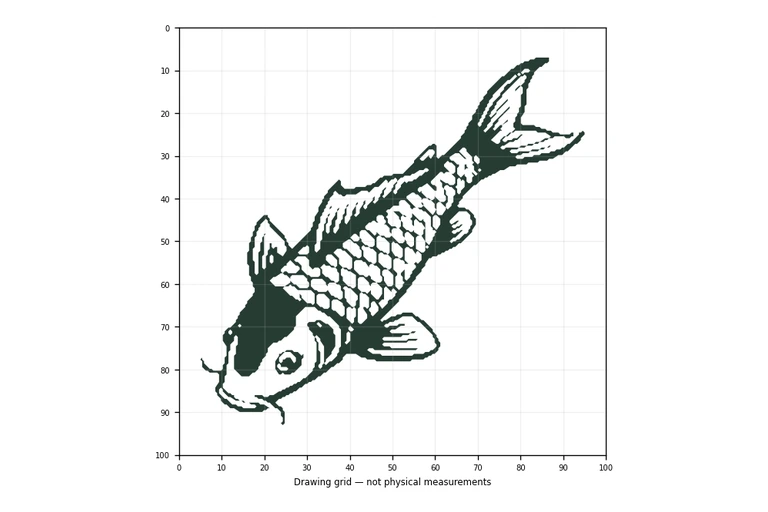
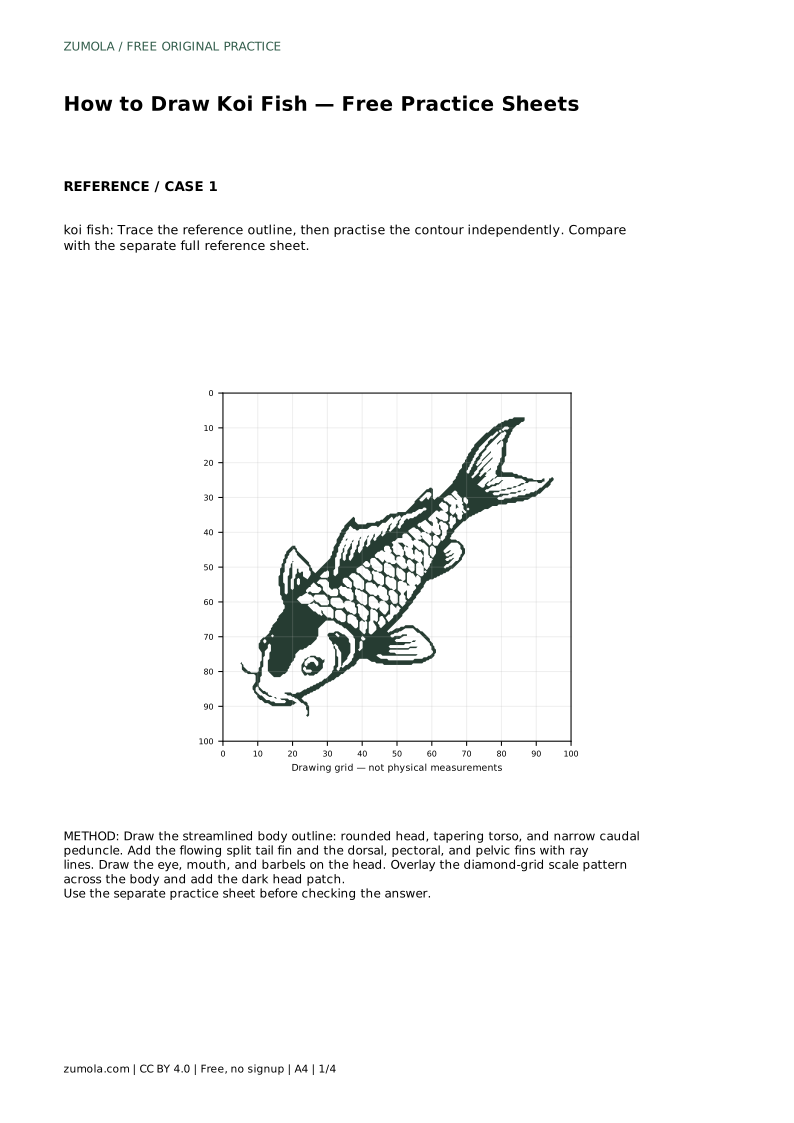
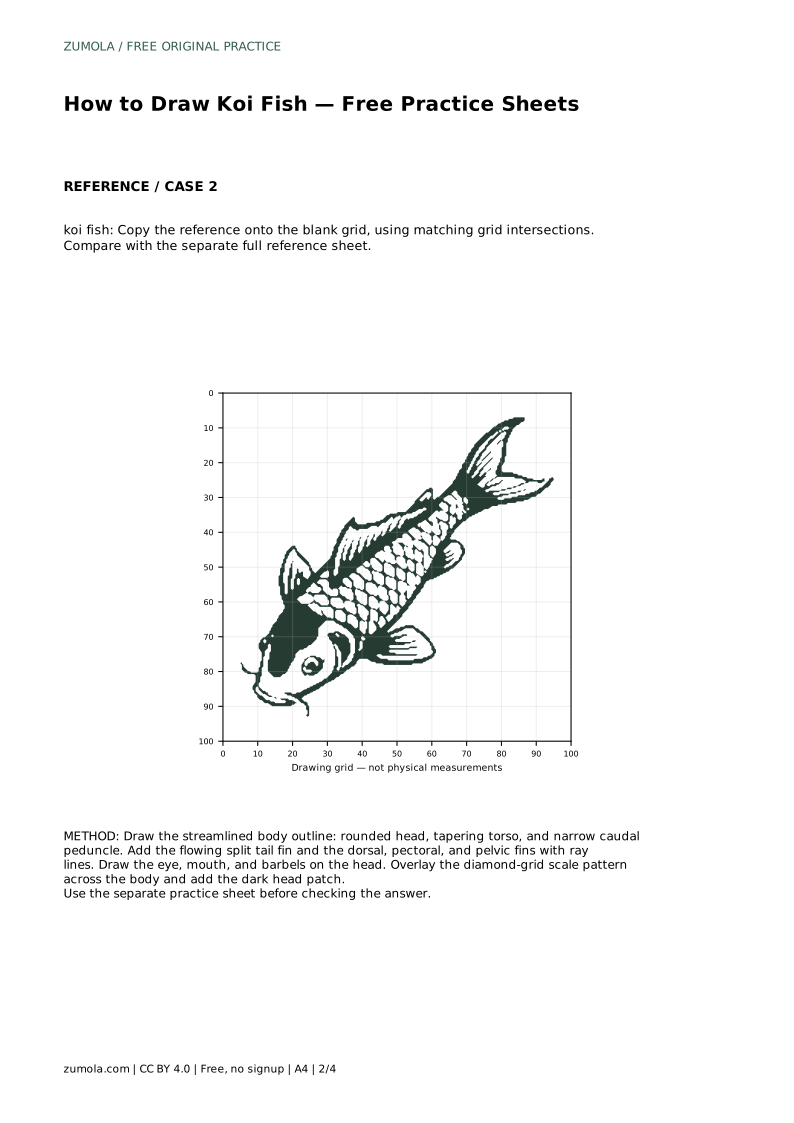
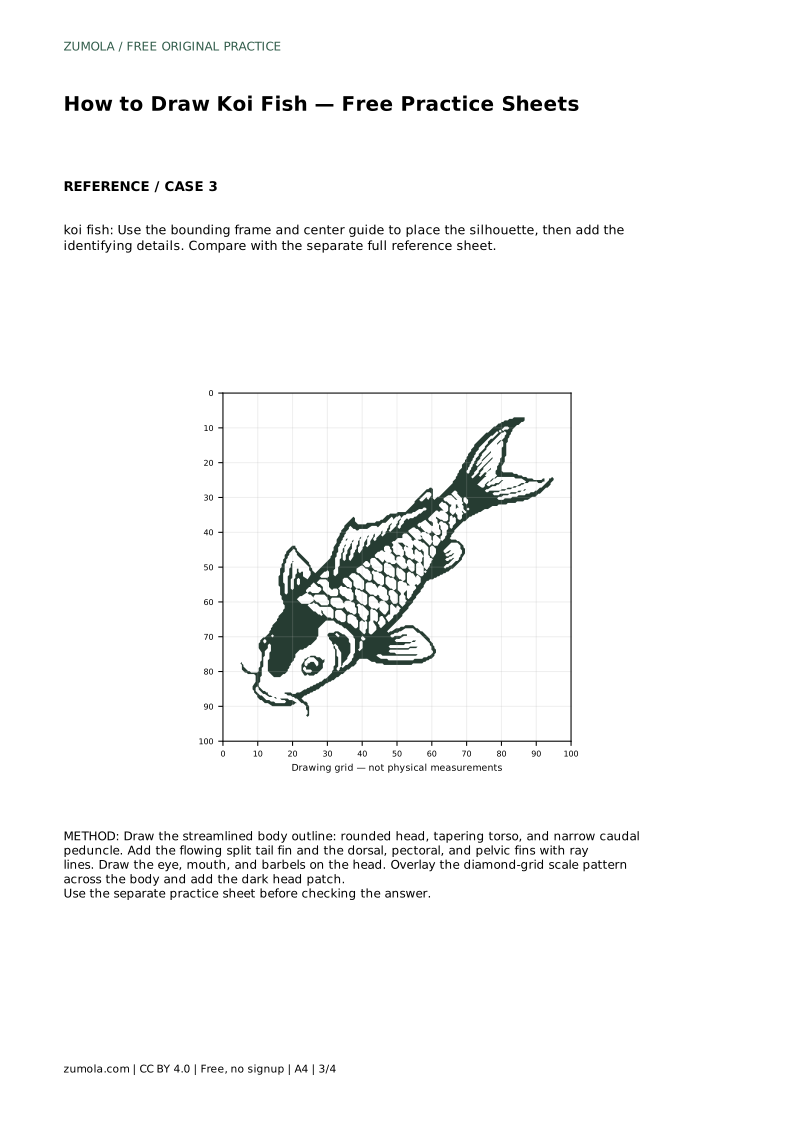
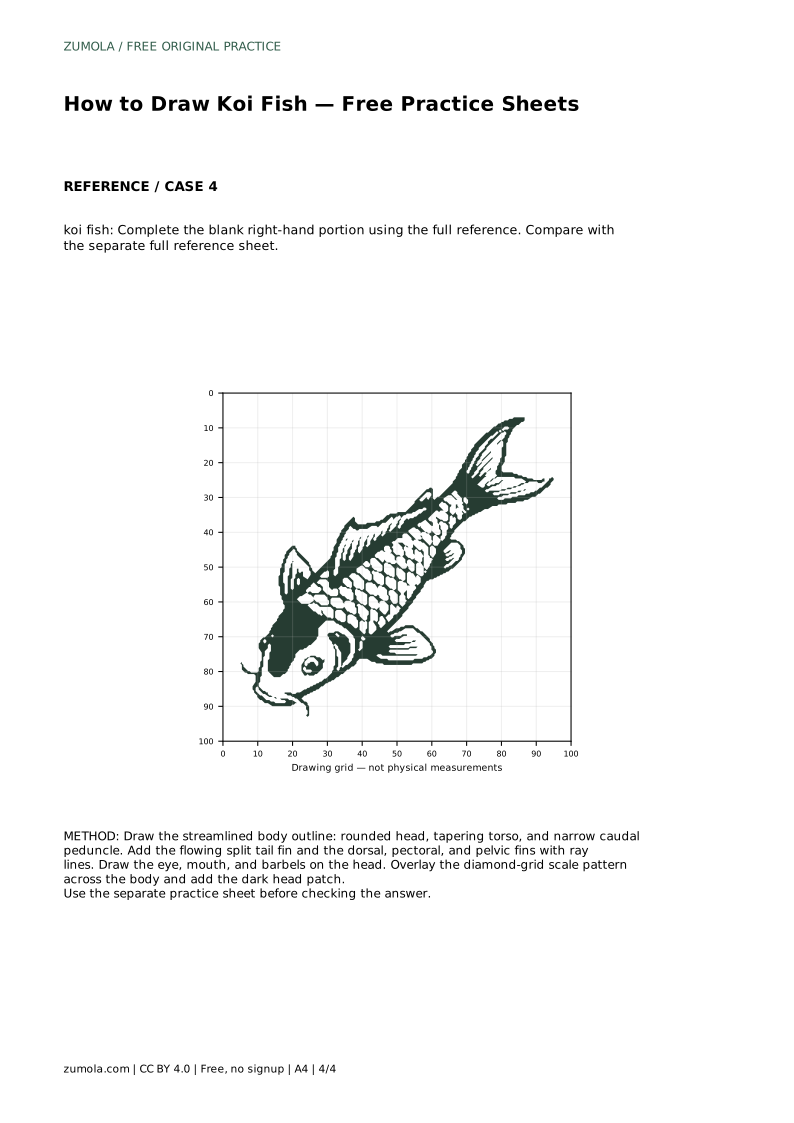
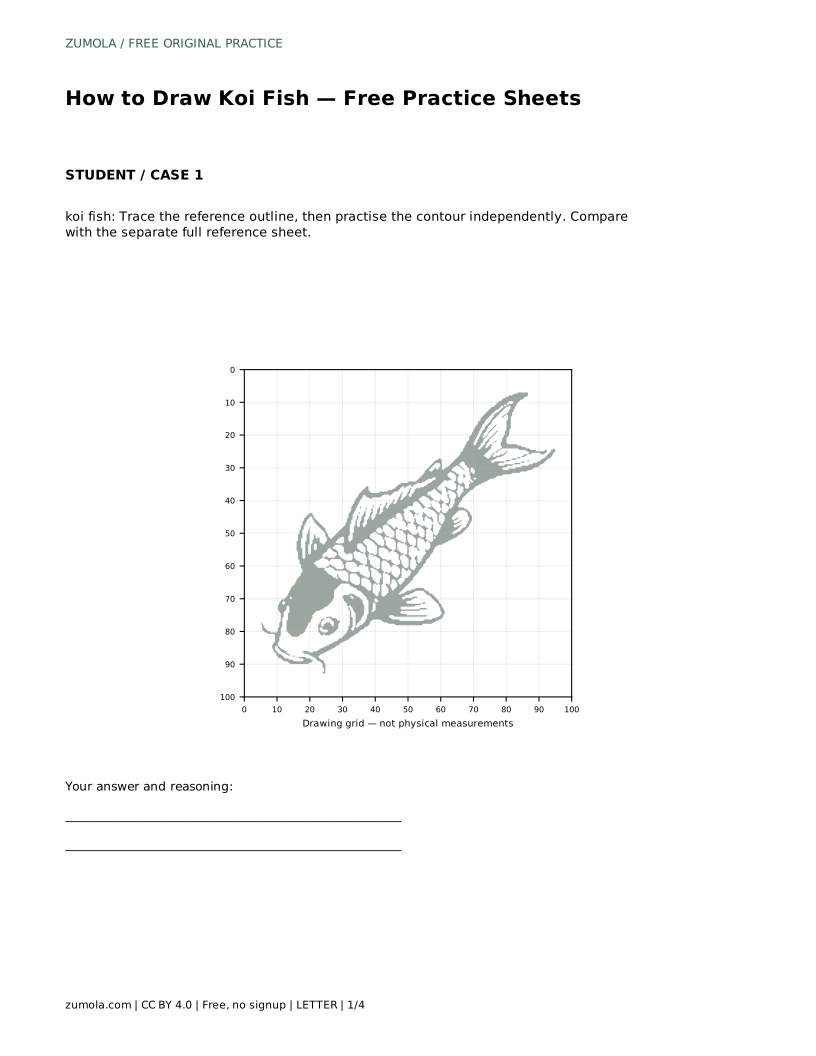
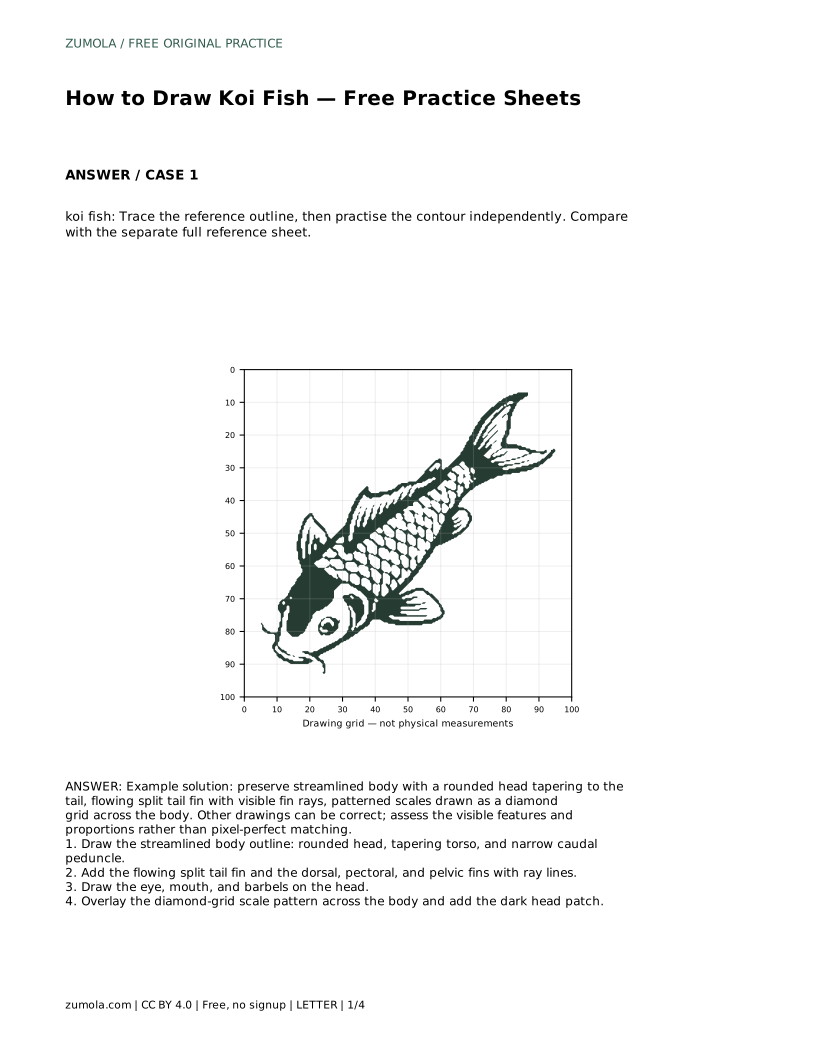
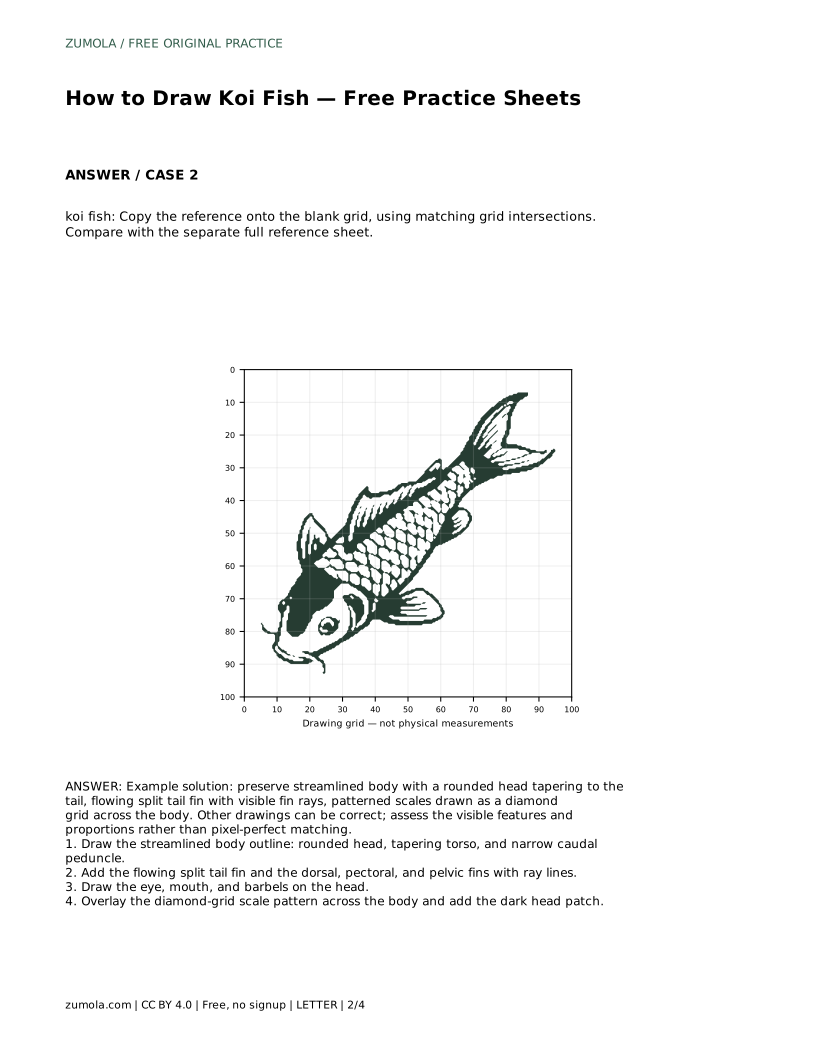
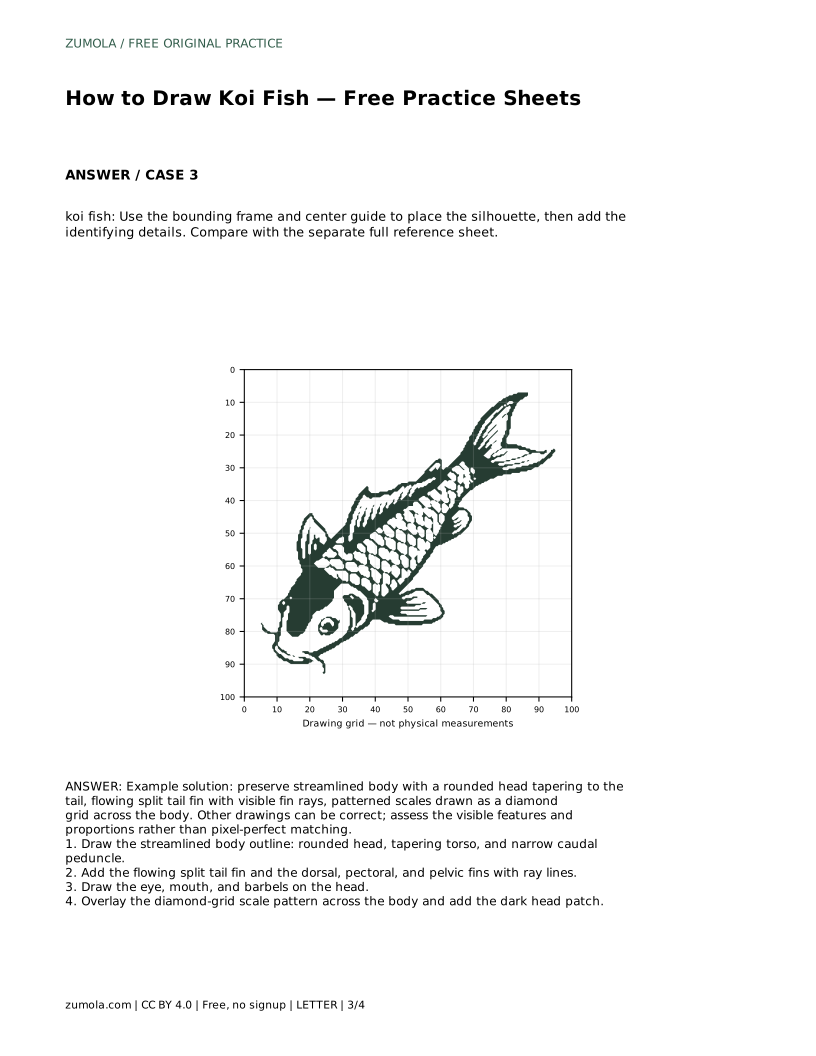
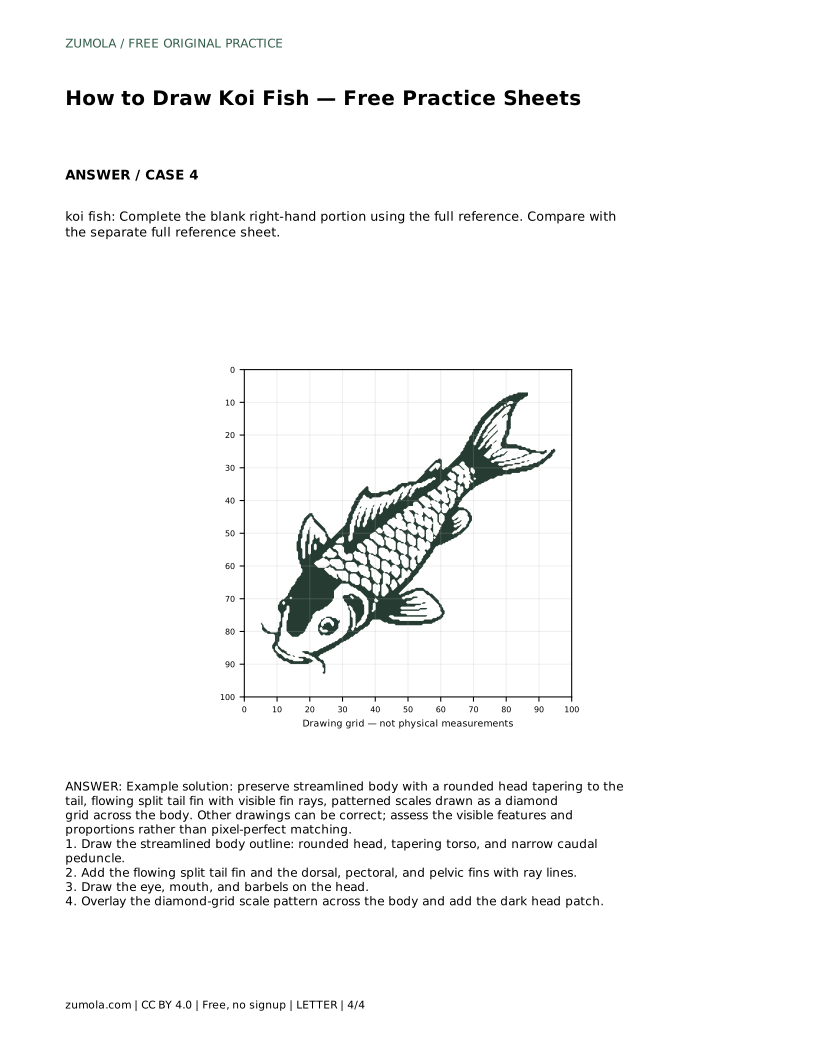
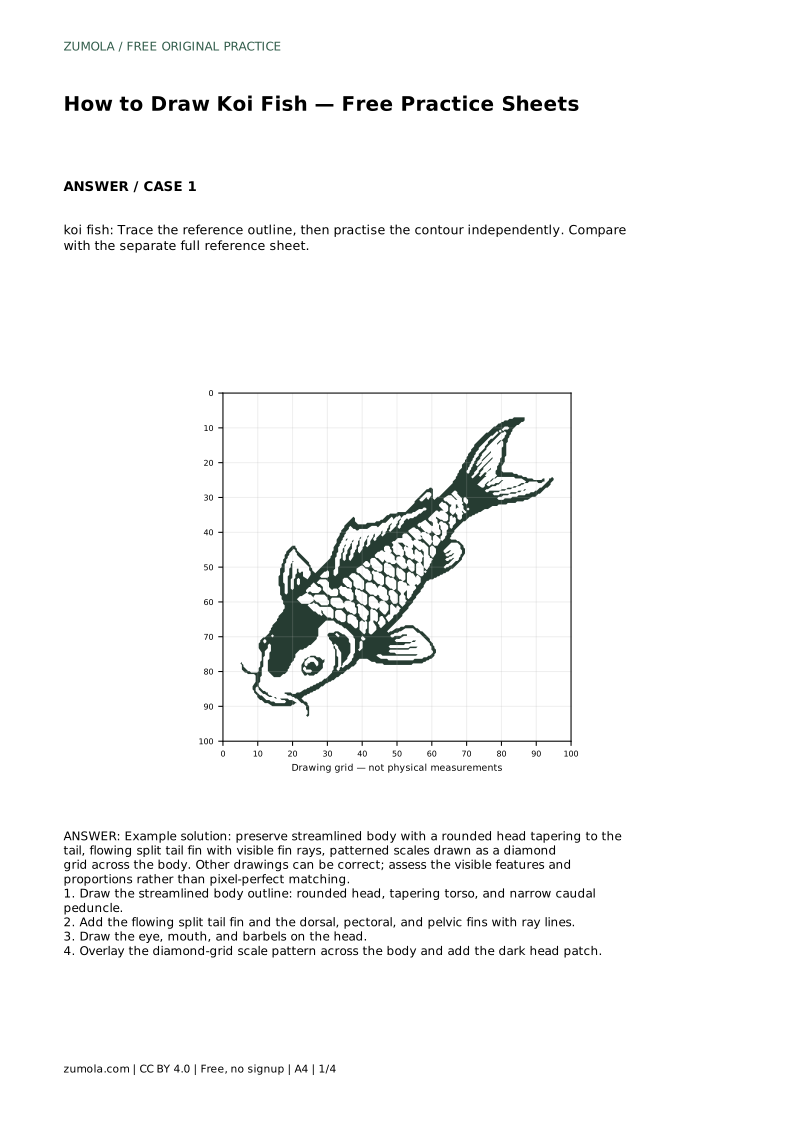
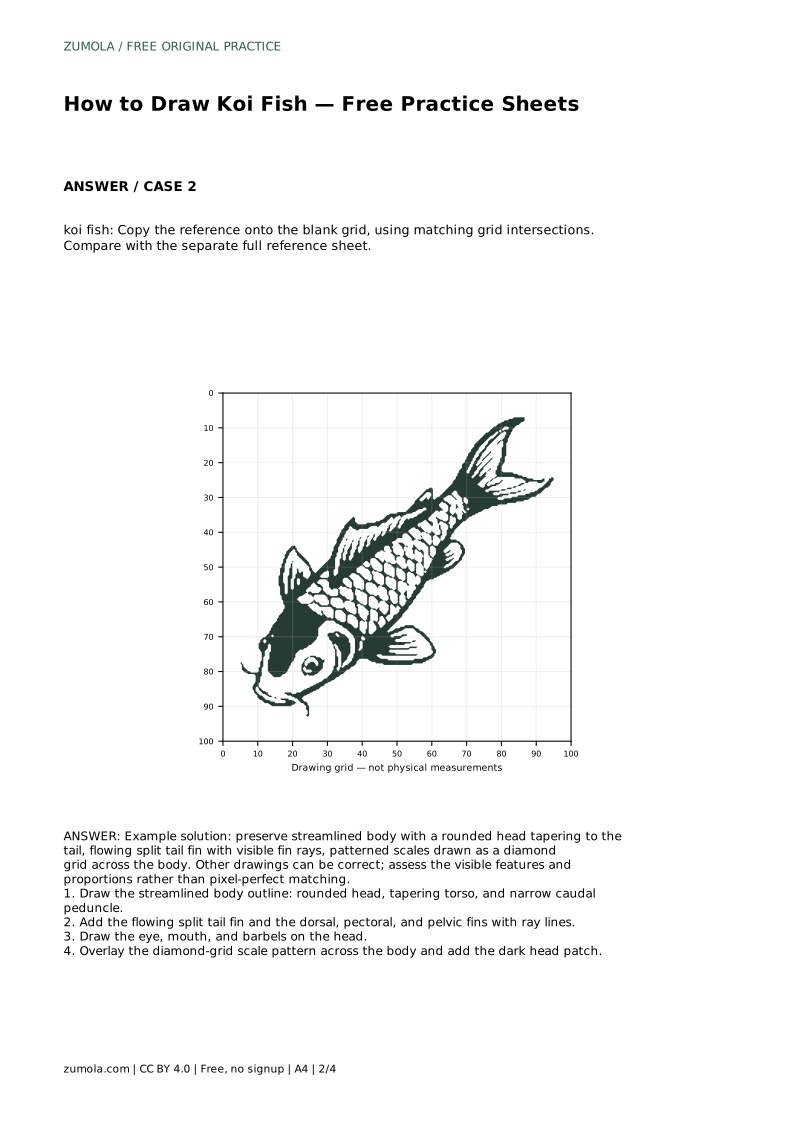
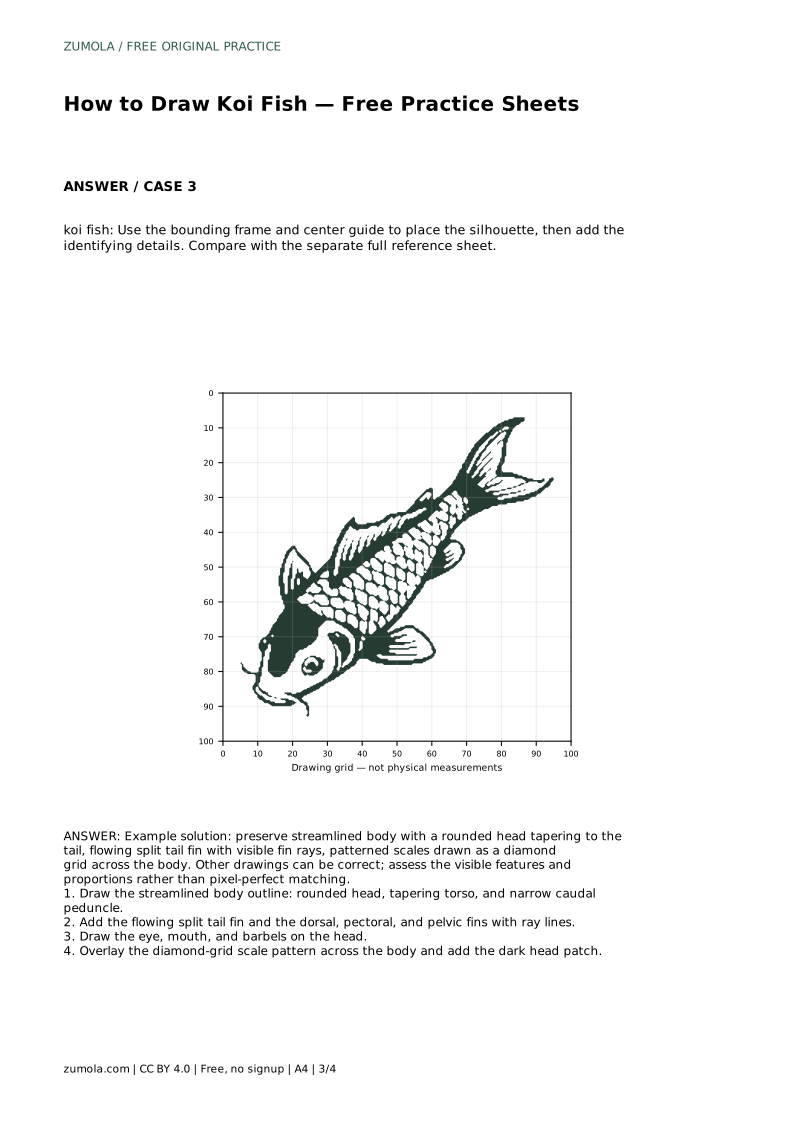
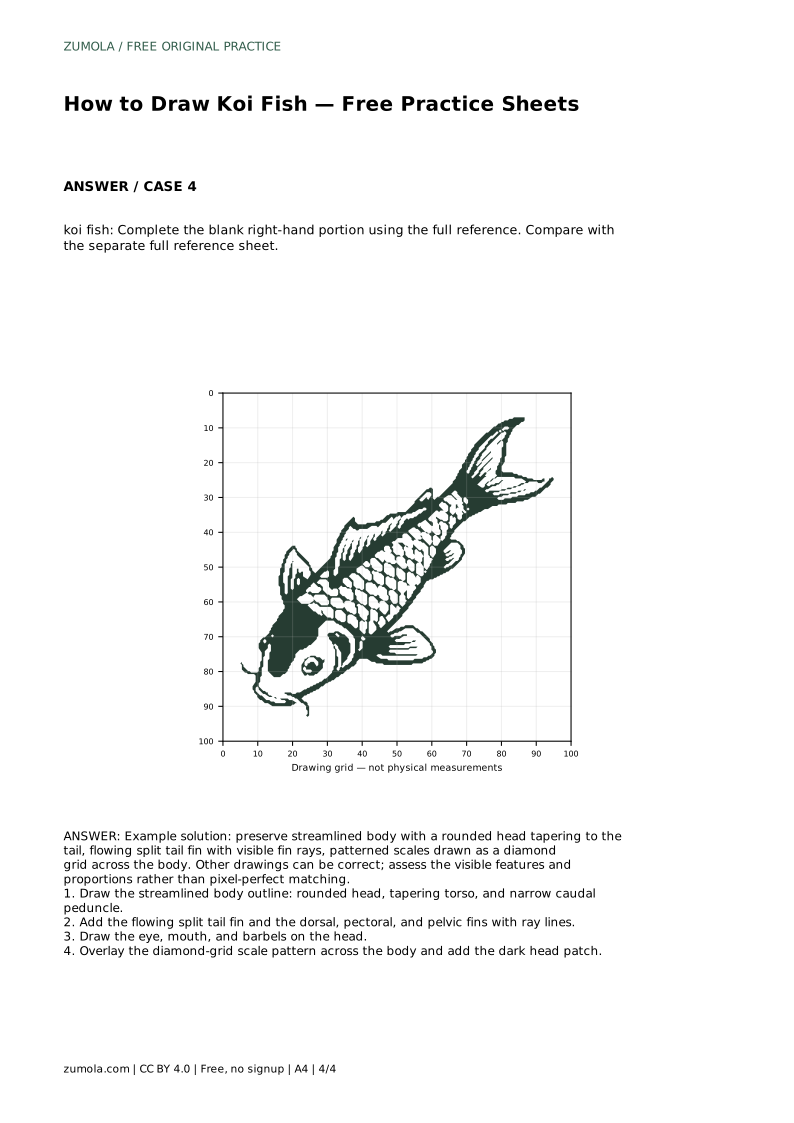
A koi fish drawing works best when you build it in layers: body shape first, then fins, then head details, then the scale pattern. This page walks through that order so each part sits correctly before you add the next. The goal is not a pixel-perfect copy but a drawing that keeps the koi's rounded head, tapering torso, narrow caudal peduncle, flowing split tail, and diamond-grid scales. Compare your result with a full reference sheet and judge the visible features.
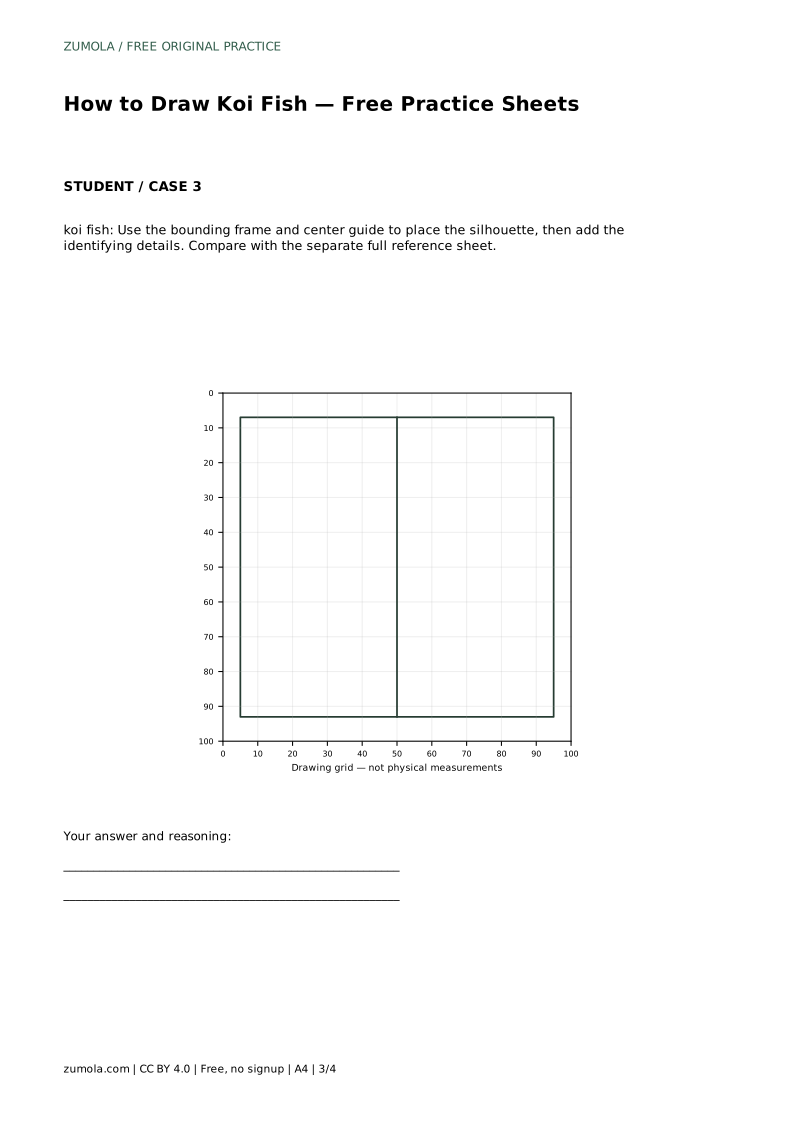
Begin with the body before any fins or pattern. A koi body is streamlined: a rounded head, a torso that swells slightly and then tapers, and a narrow caudal peduncle where the tail attaches. Keep the head end blunt rather than pointed, and let the taper happen gradually along the back half. If you are using a bounding frame or center guide, place the silhouette inside it first and check that the head and tail sit on opposite sides of the center line. The body should read as one continuous curve, not a series of separate blobs.
The tail fin is the most distinctive fin on a koi: it flows and splits into two lobes. Draw the split tail attached at the caudal peduncle, then add ray lines running outward from the base to the edge of each lobe. Add the dorsal fin along the top of the back, and the pectoral and pelvic fins on the lower body. Ray lines on each fin help the fin read as a fin rather than a flat shape. On the head, place the eye, the mouth at the front, and the barbels as short whisker-like lines near the mouth. Keep the eye small relative to the head.
Koi scales are often drawn as a diamond grid across the body. Work in rows: draw one row of diamond shapes along the flank, then offset the next row so the diamonds interlock like a net. Keep the diamonds smaller near the head and tail and slightly larger across the middle of the body. The pattern should follow the body's curve, not sit as a flat rectangle on top of it. Add any dark head patch after the grid so it sits over the pattern rather than interrupting it.
When the drawing is complete, set it beside a full reference sheet and compare features rather than exact lines. Check the body taper, the split in the tail, the presence of ray lines, the head details, and the diamond grid. If the tail looks too small, redraw it larger at the peduncle. If the scales look flat, curve the rows to follow the body. Multiple drawings can be correct; judge whether the identifying features are visible and the proportions hold together.
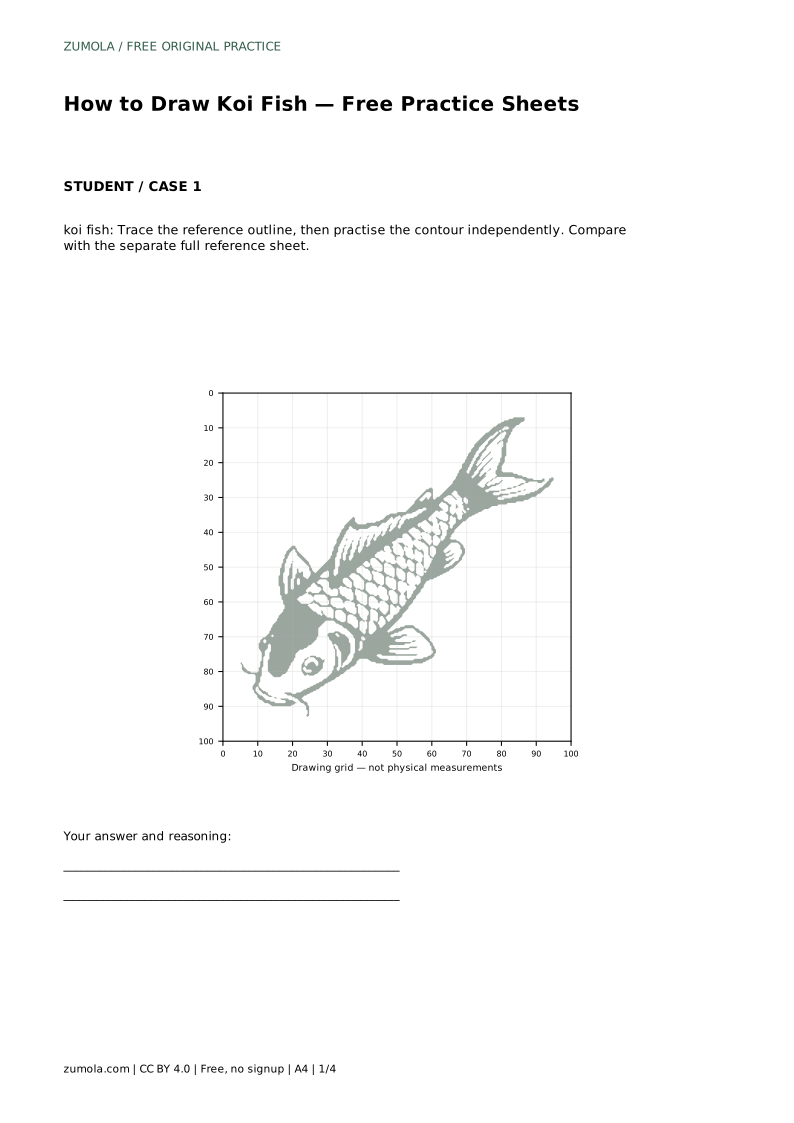
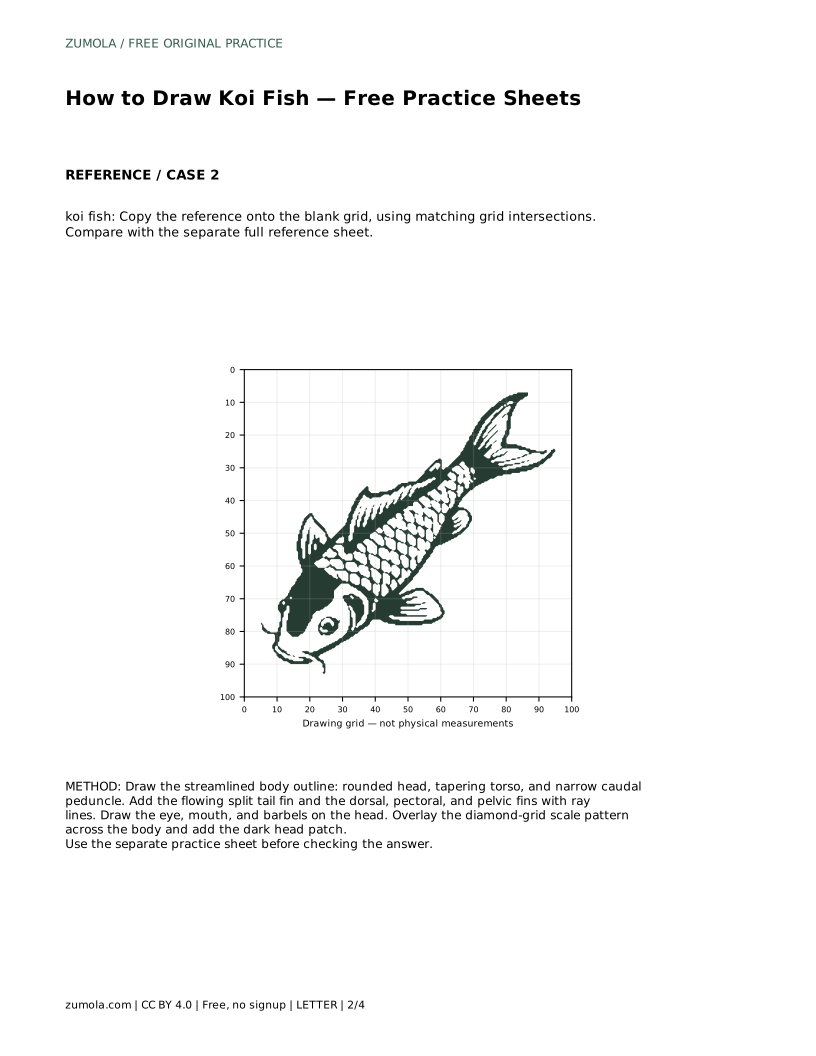
koi fish: Trace the reference outline, then practise the contour independently. Compare with the separate full reference sheet.
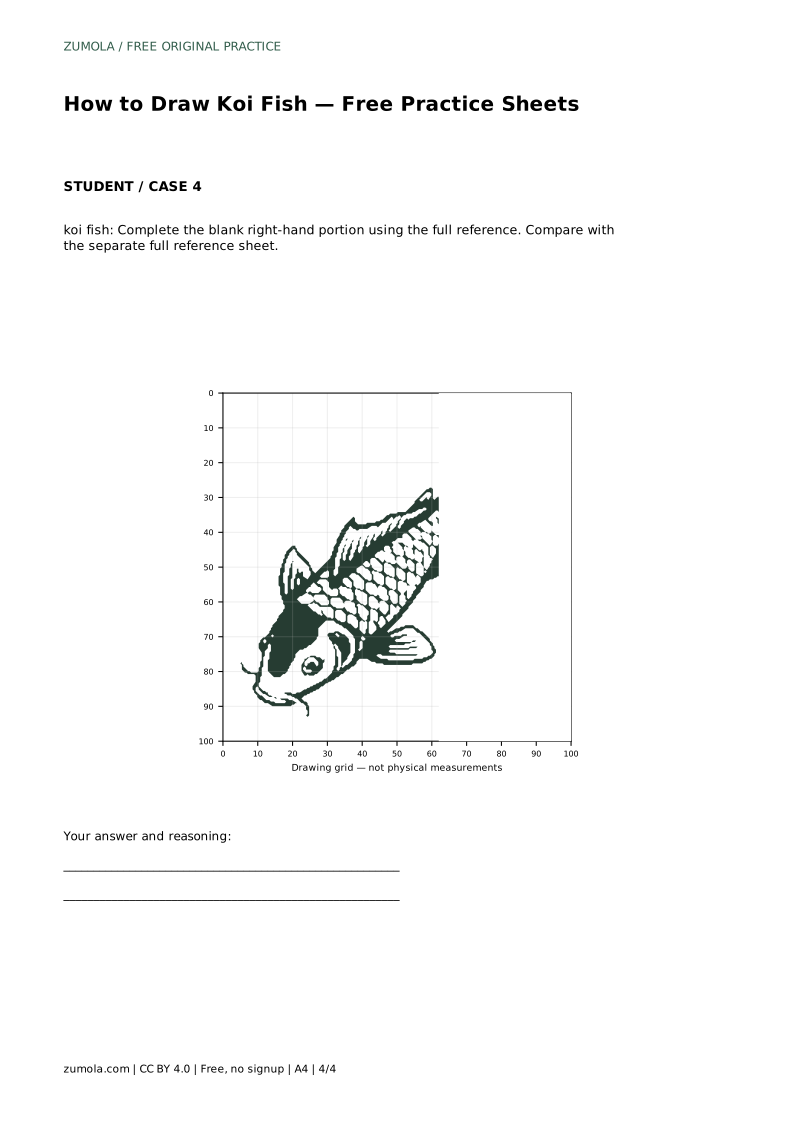
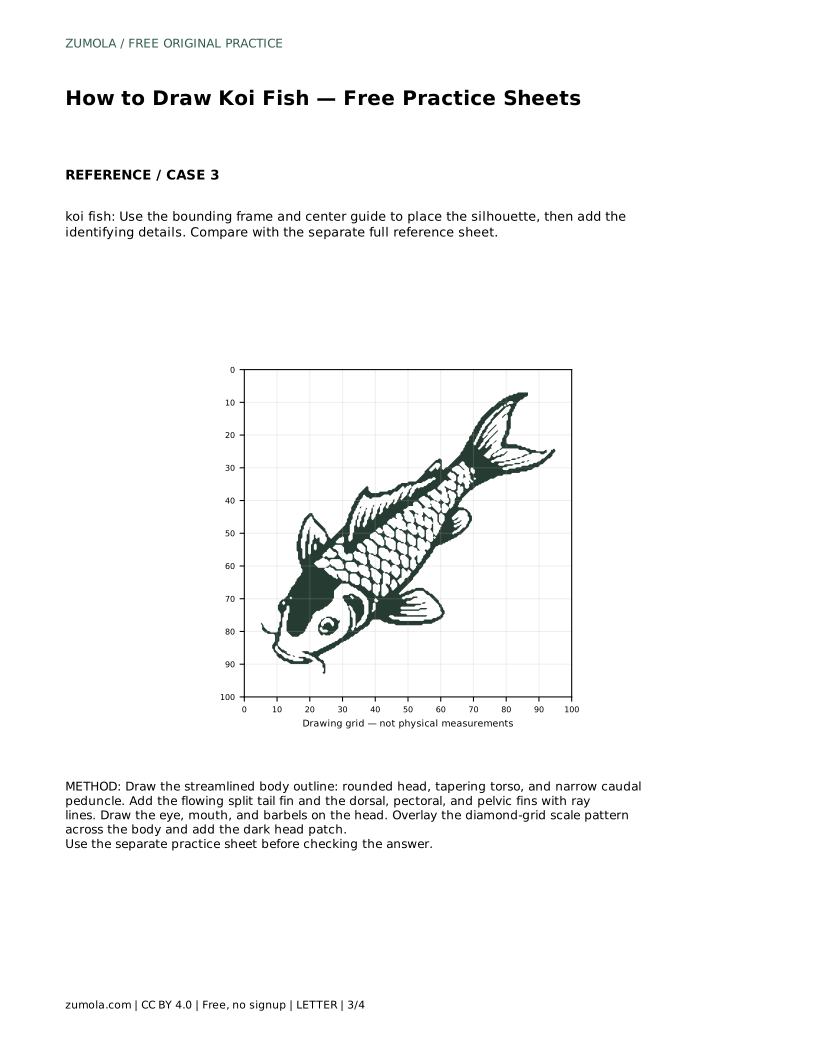
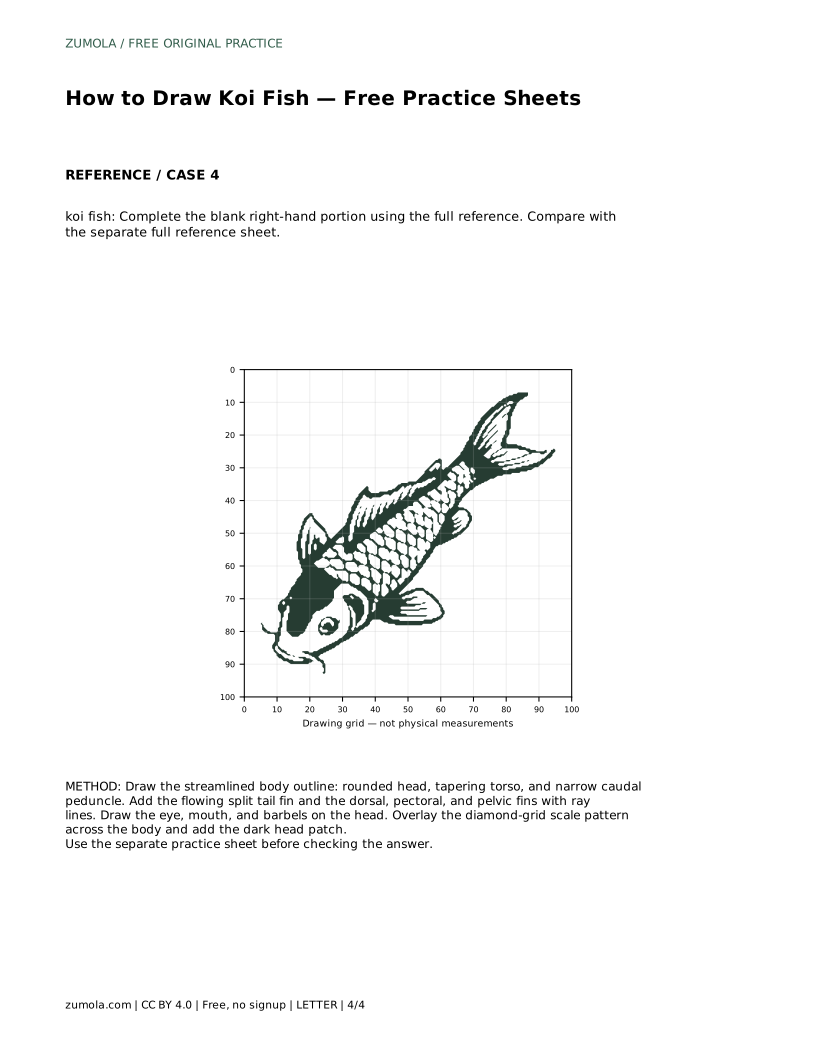
Example solution: preserve streamlined body with a rounded head tapering to the tail, flowing split tail fin with visible fin rays, patterned scales drawn as a diamond grid across the body. Other drawings can be correct; assess the visible features and proportions rather than pixel-perfect matching. Draw the streamlined body outline: rounded head, tapering torso, and narrow caudal peduncle. Add the flowing split tail fin and the dorsal, pectoral, and pelvic fins with ray lines. Draw the eye, mouth, and barbels on the head. Overlay the diamond-grid scale pattern across the body and add the dark head patch.
No. A consistent diamond grid across the body is enough to read as koi scales; you do not need to fill every diamond individually.
Draw the body first so the caudal peduncle gives you a clear attachment point, then add the split tail fin.
Compare visible features and proportions with a full reference sheet. Several drawings can be valid; check the rounded head, taper, split tail, ray lines, barbels, and diamond grid.
All drawing practice · Free coordinate paper
Original resources · CC BY 4.0 · Free for personal and classroom use with attribution.