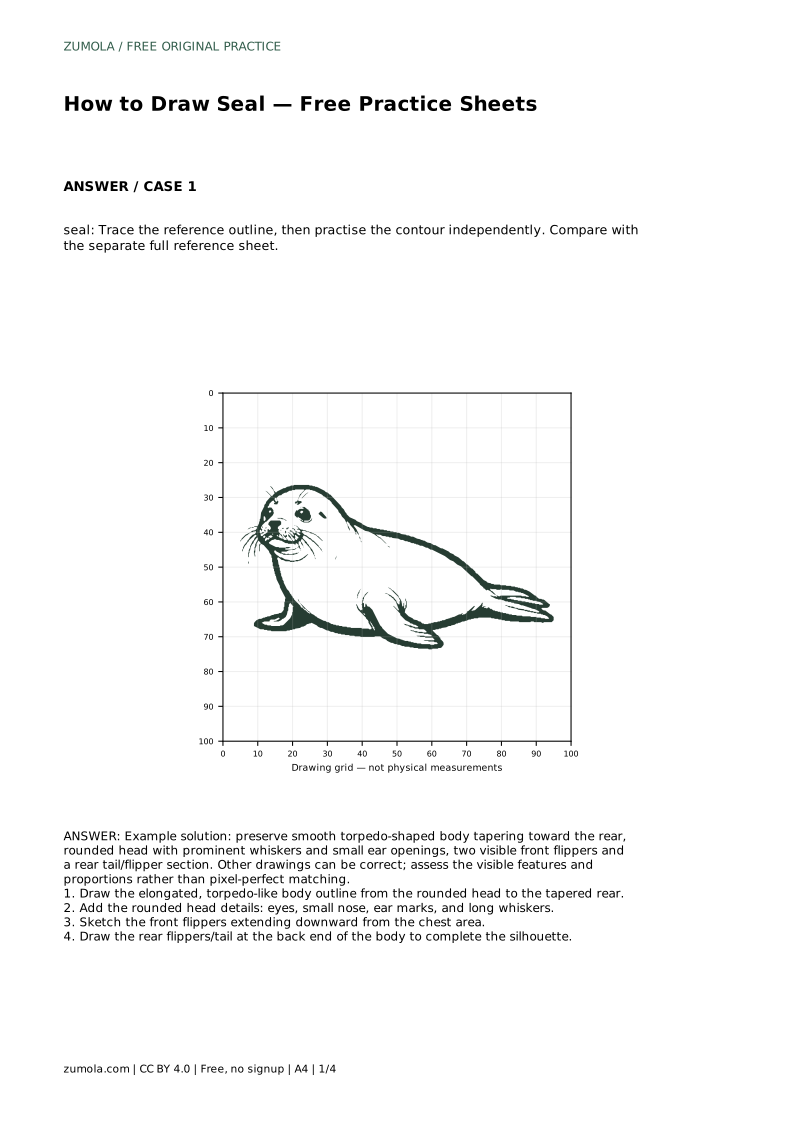
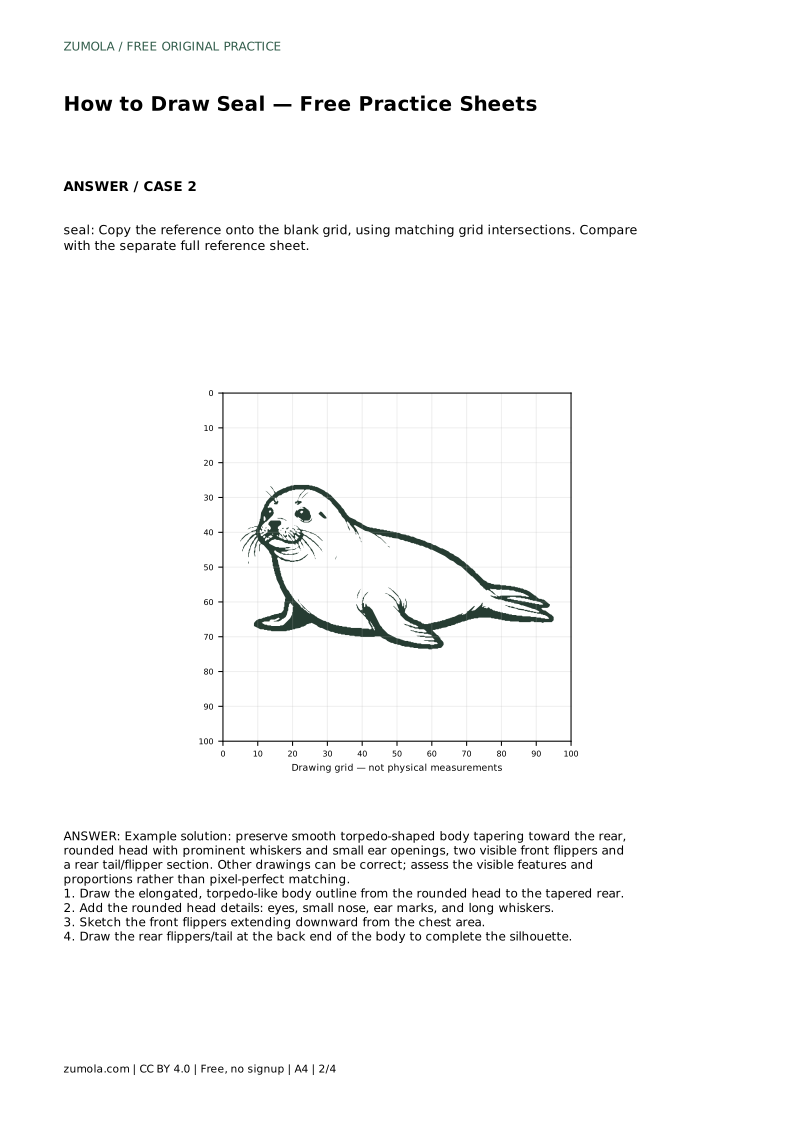
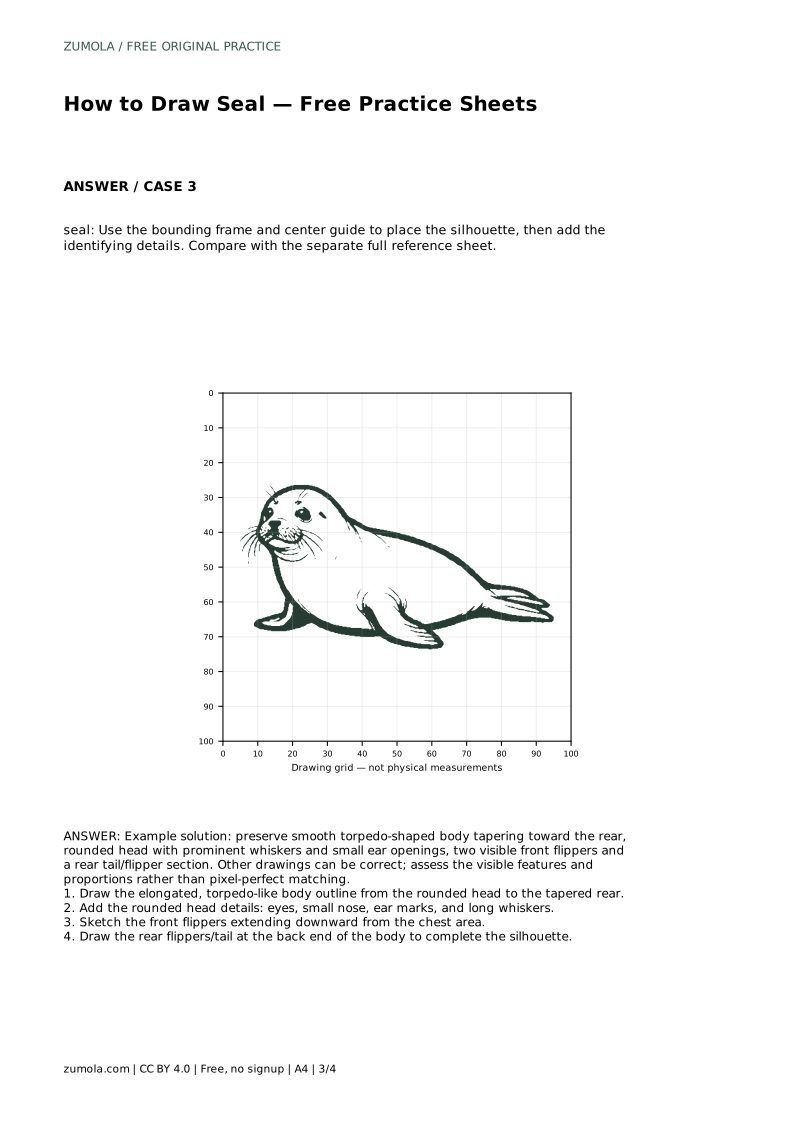
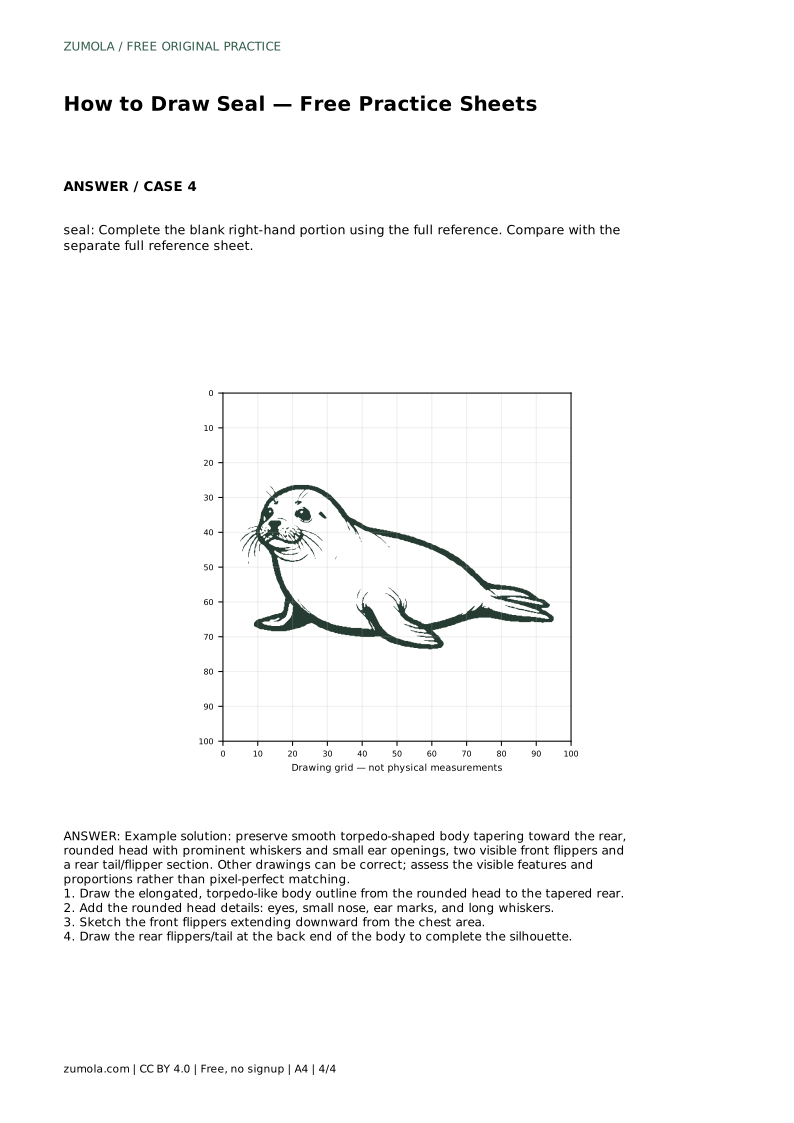
Reference diagrams
LETTER · Download PDF
A4 · Download PDF
Free original resources
Learn to draw a seal by building a smooth torpedo-shaped body, rounded head, whiskers, front flippers, and rear flippers, then check your work with a clear rubric.
Four original cases, with reference diagrams, practice sheets and worked answers. Everything is free; no signup required.
LETTER · Download PDF
A4 · Download PDF
LETTER · Download PDF
A4 · Download PDF
LETTER · Download PDF
A4 · Download PDF
Use A4 or US Letter to match your printer. Use the stated values and conditions to solve each exercise; diagrams are not physical measuring rulers.
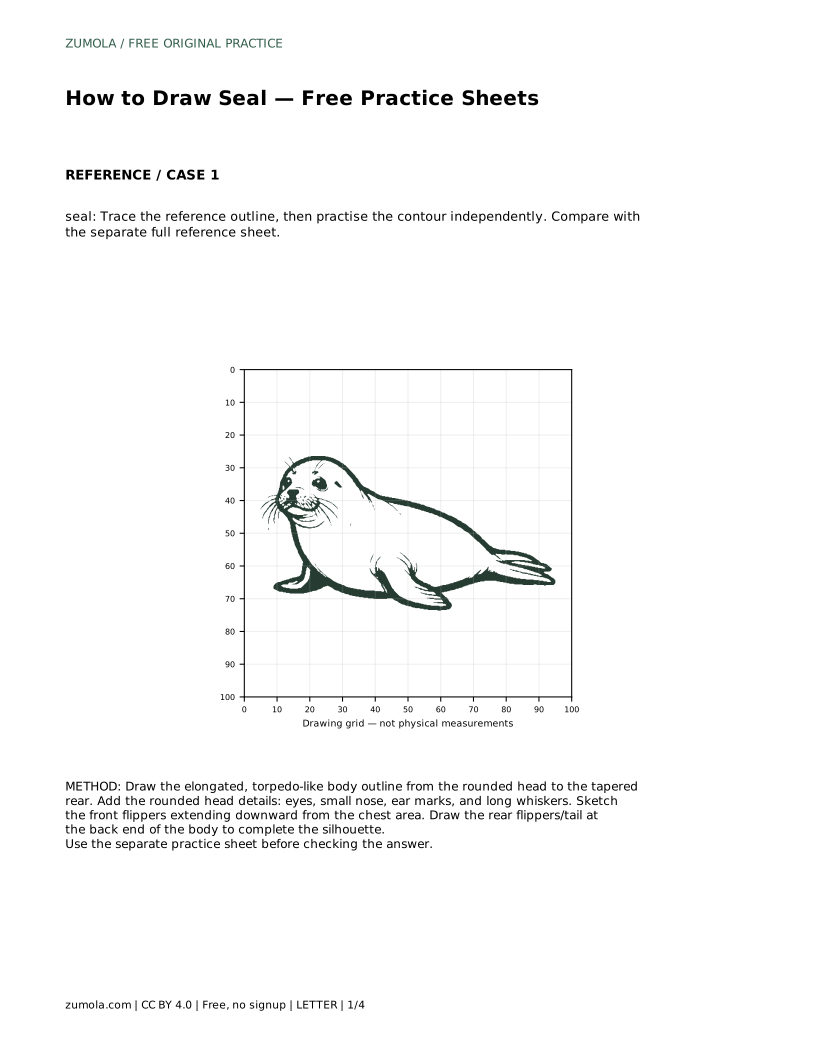
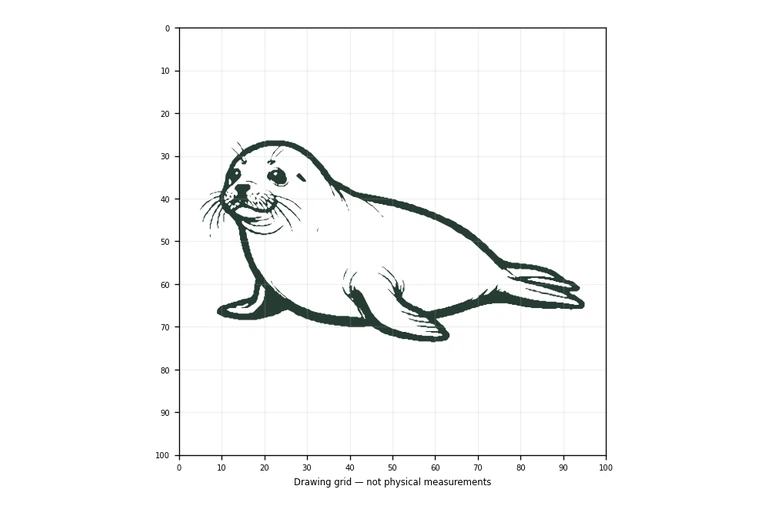
Drawing a seal is mostly a problem of proportion and smooth contour. The body should read as one long, tapered form from a rounded head to a narrow rear, with flippers placed where they support that shape rather than interrupt it. This page explains a reliable order for constructing the outline and details, then gives you a rubric for judging your own drawing. Because animal art has many valid outcomes, compare visible features and proportions instead of expecting a pixel-perfect match.
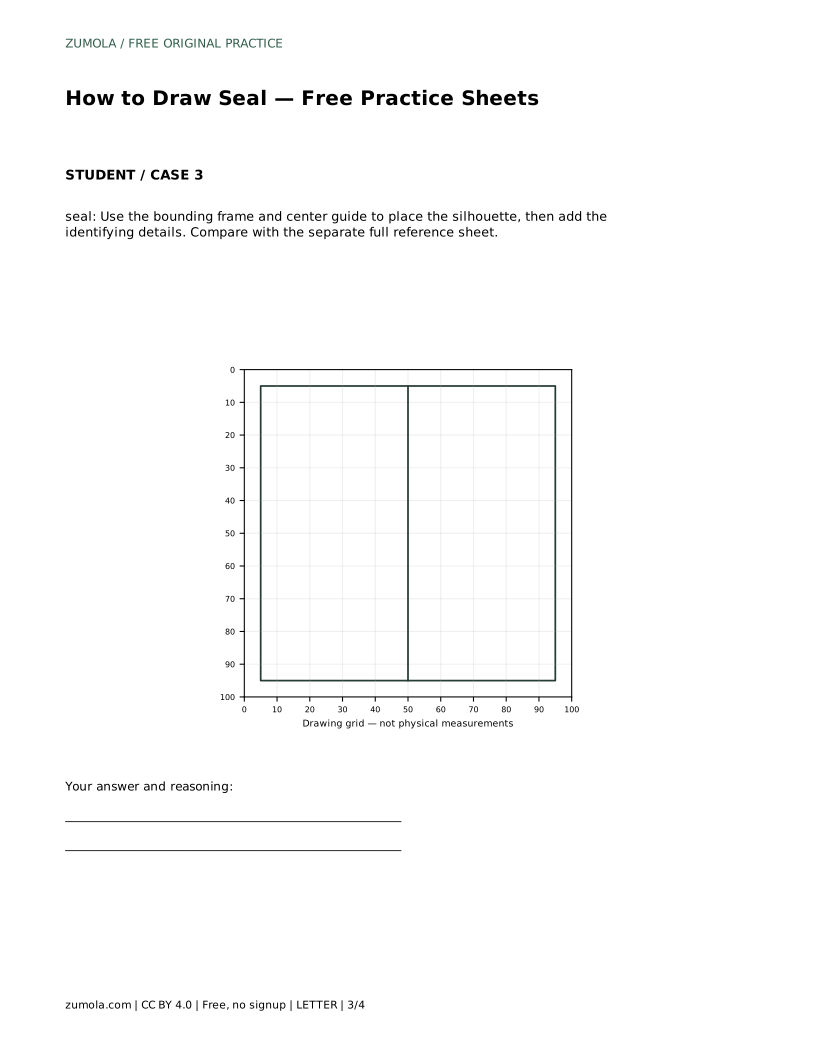
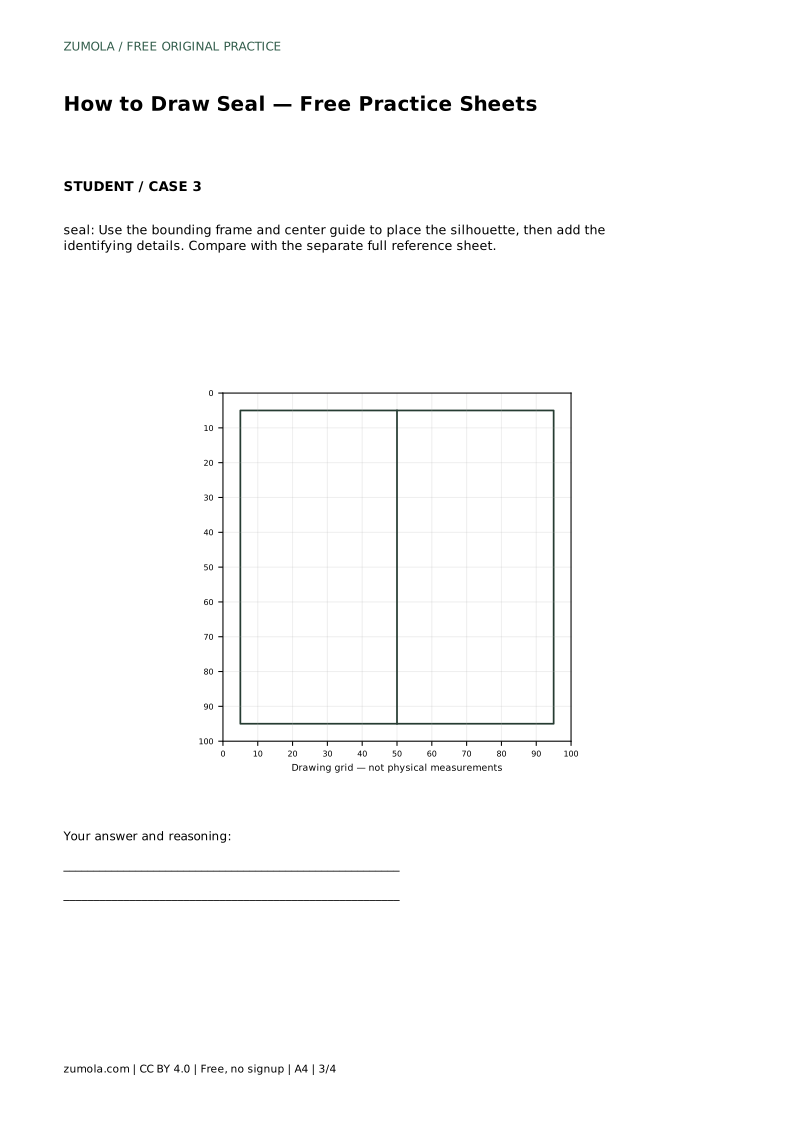
Begin with the largest shape, not the face. A seal's body is elongated and torpedo-like: widest through the chest and middle, then tapering gradually toward the rear. Keep the top and bottom contour lines flowing rather than adding bumps for each flipper. A light center guide helps you keep the head, chest, and tail on one axis before you commit to darker lines.
Work from the head end backward. Place a rounded head shape first, then extend the body behind it in one continuous sweep. The rear should narrow into a tail or rear flipper section rather than ending in a blunt block. Check that the body length is clearly greater than its height; a short, round body will read more like a different animal.
The head carries most of the seal's identity. Keep it rounded and compact relative to the long body. Place the eyes on the upper half of the head, with a small nose near the front. Small ear openings sit behind the eyes; they are marks, not large protruding ears. Whiskers are long and prominent, fanning outward from the muzzle. Draw them as light, slightly curved lines rather than stiff straight spokes.
Add these details after the silhouette is stable. If you draw whiskers first, they tend to pull the head out of proportion. Keep the muzzle short and the forehead smooth, and avoid turning the head into a dog-like shape with a long snout.
Front flippers extend downward from the chest area, roughly below or slightly behind the head. They should look like flattened paddles attached to the body, not separate limbs sticking out at sharp angles. Sketch them as tapered shapes that follow the body's curve. The rear flipper or tail section completes the silhouette at the narrow end; keep it connected to the body so the outline stays continuous.
Two visible front flippers are enough for a side or three-quarter view. If your view hides one, that is acceptable as long as the visible flipper is placed sensibly. Judge placement by whether the flippers support the swimming posture and whether the rear section matches the taper you established.
Use the rubric below to review your work. It focuses on observable features and proportions, so different drawings can all score well. Compare your sheet with the separate full reference sheet only after you have finished your own attempt; that keeps the practice about construction rather than copying.
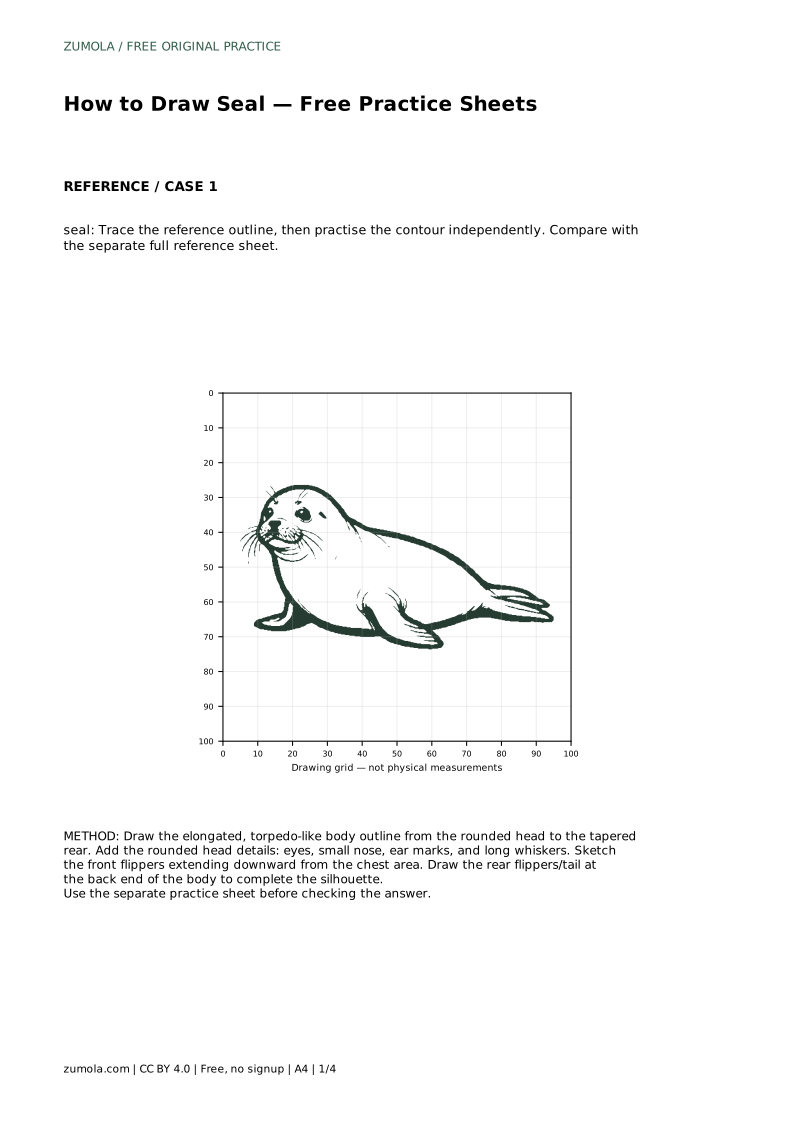
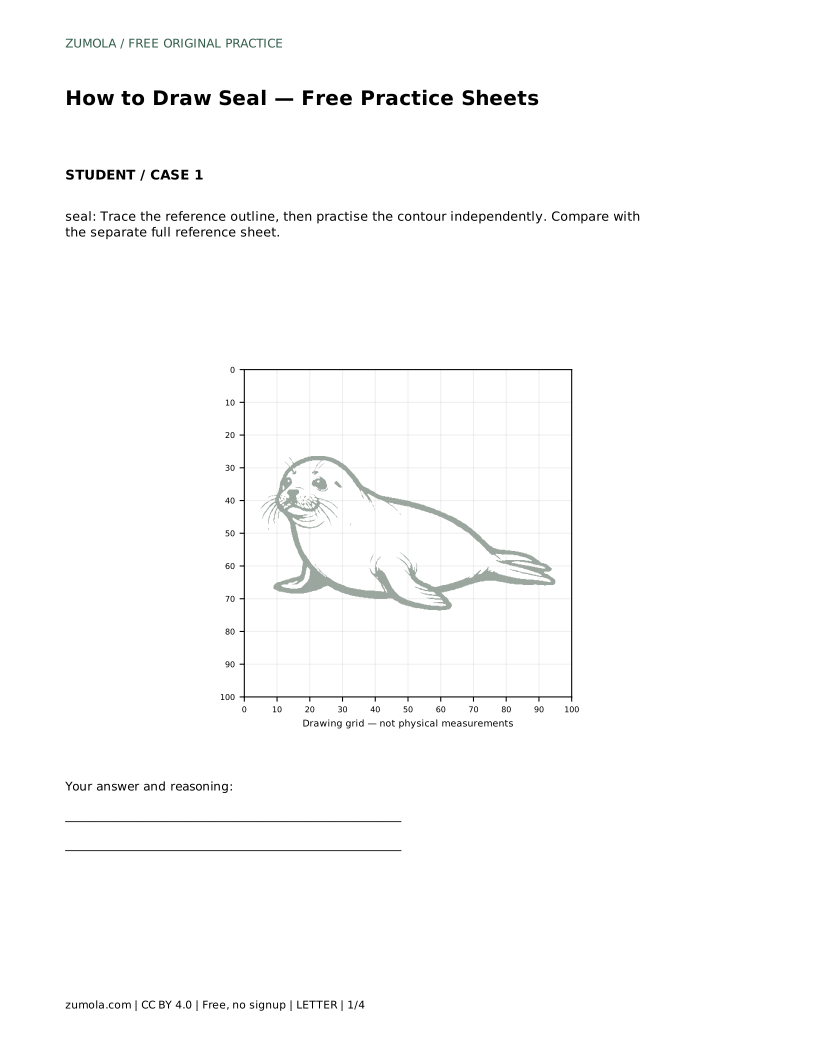
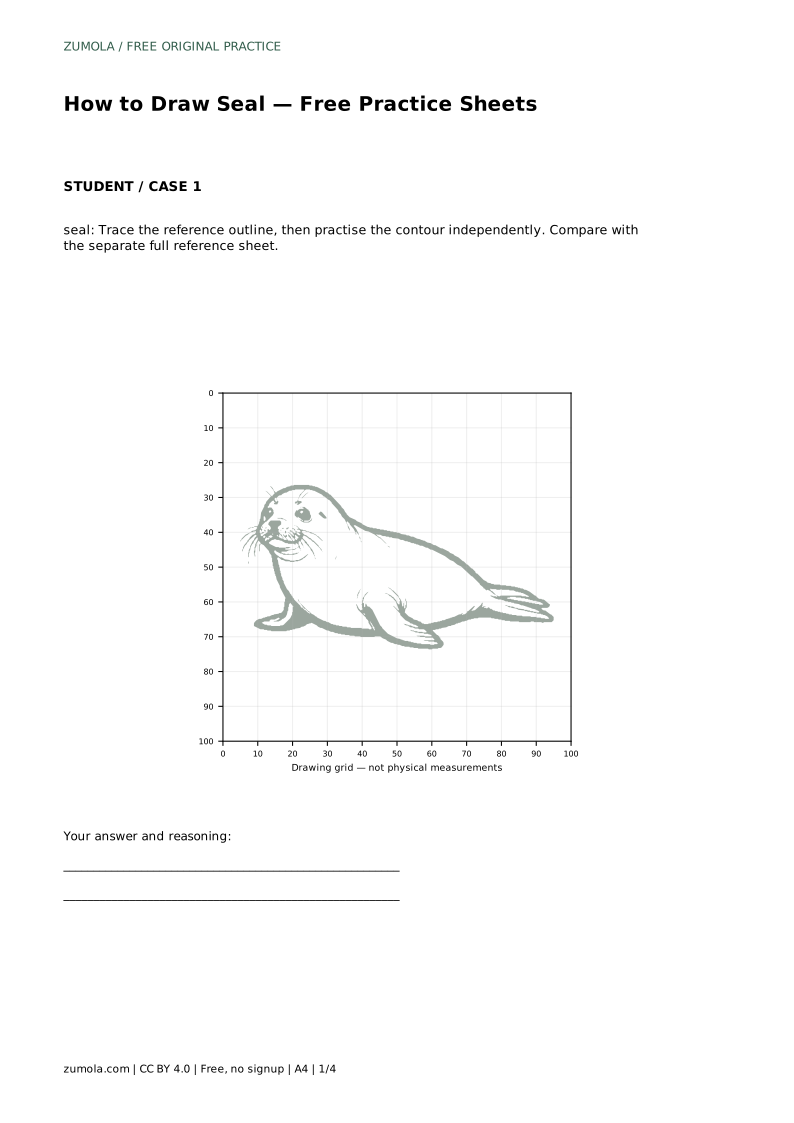
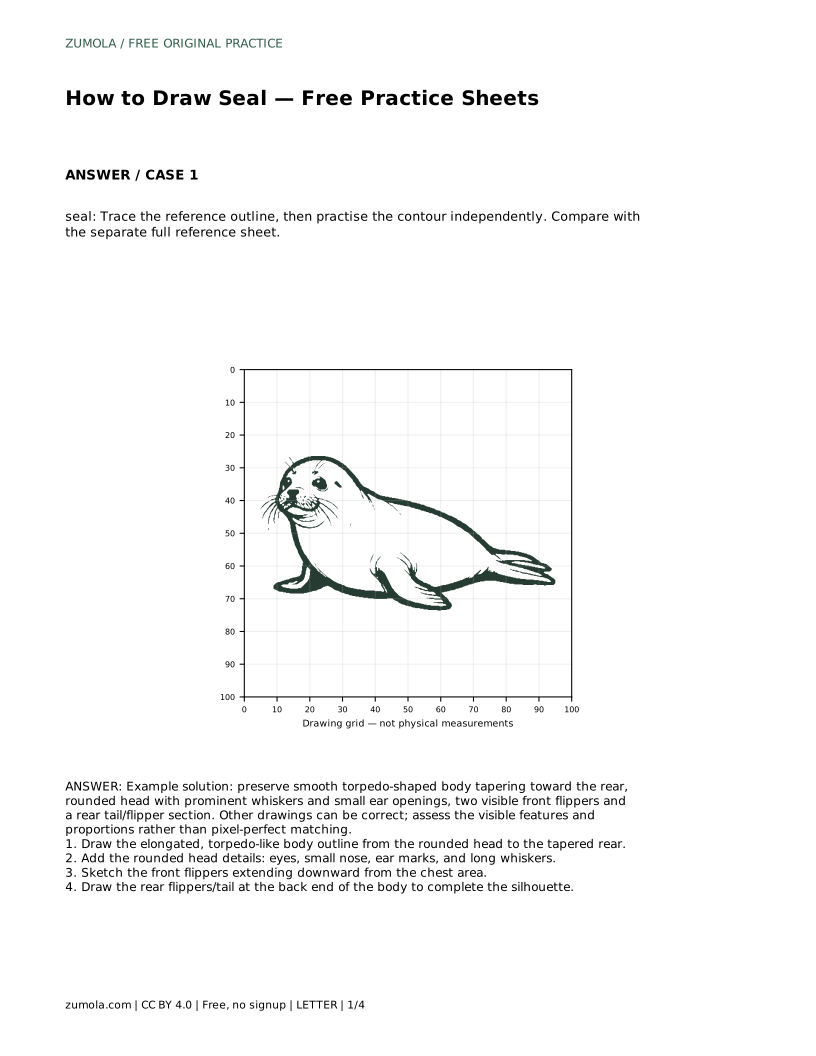
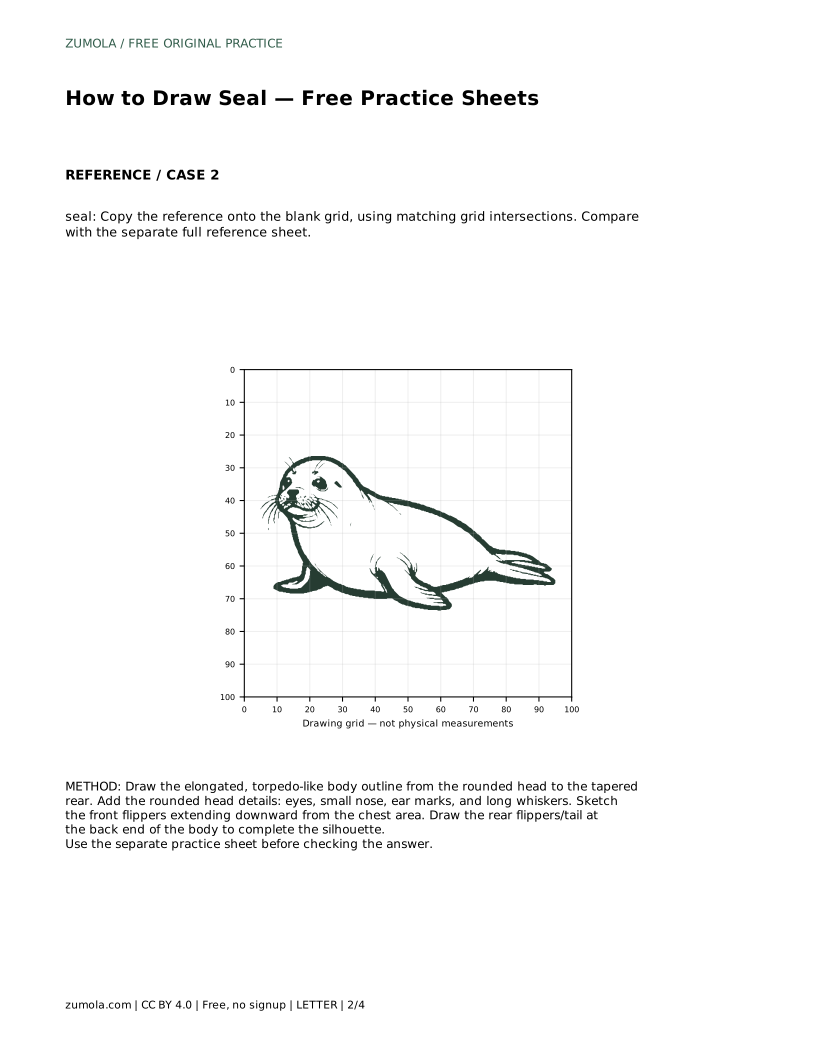
seal: Trace the reference outline, then practise the contour independently. Compare with the separate full reference sheet.
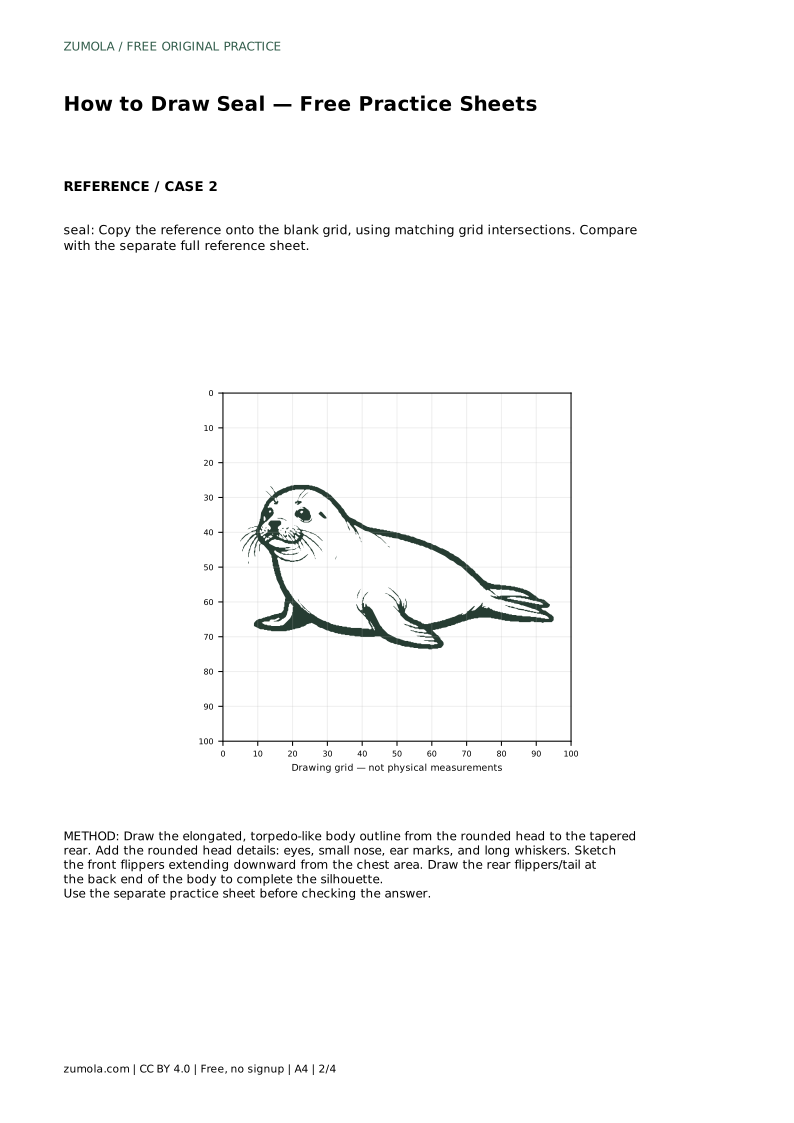
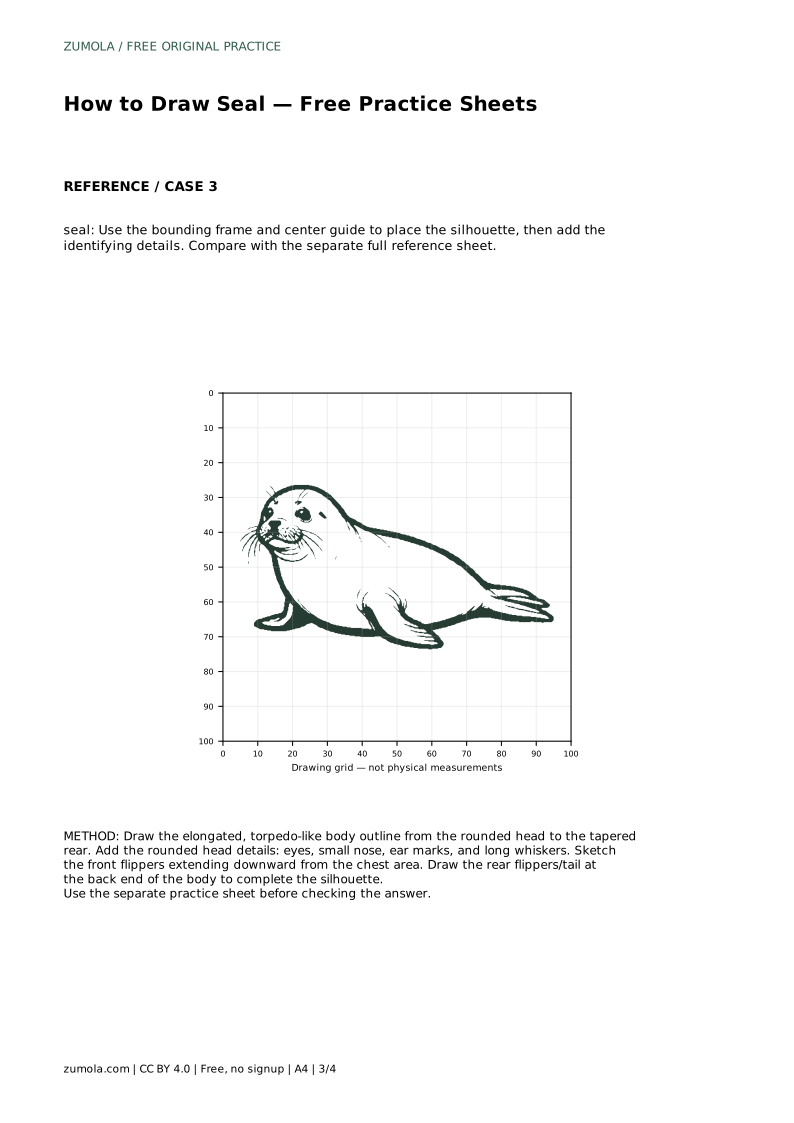
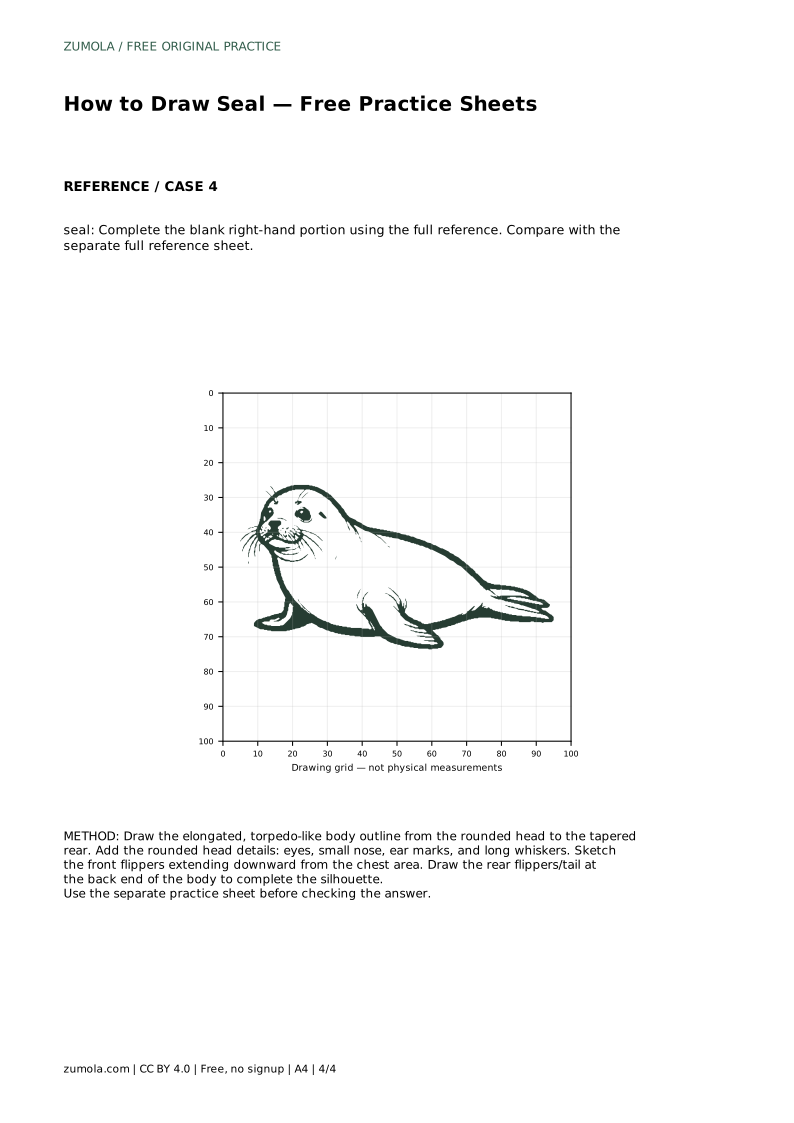
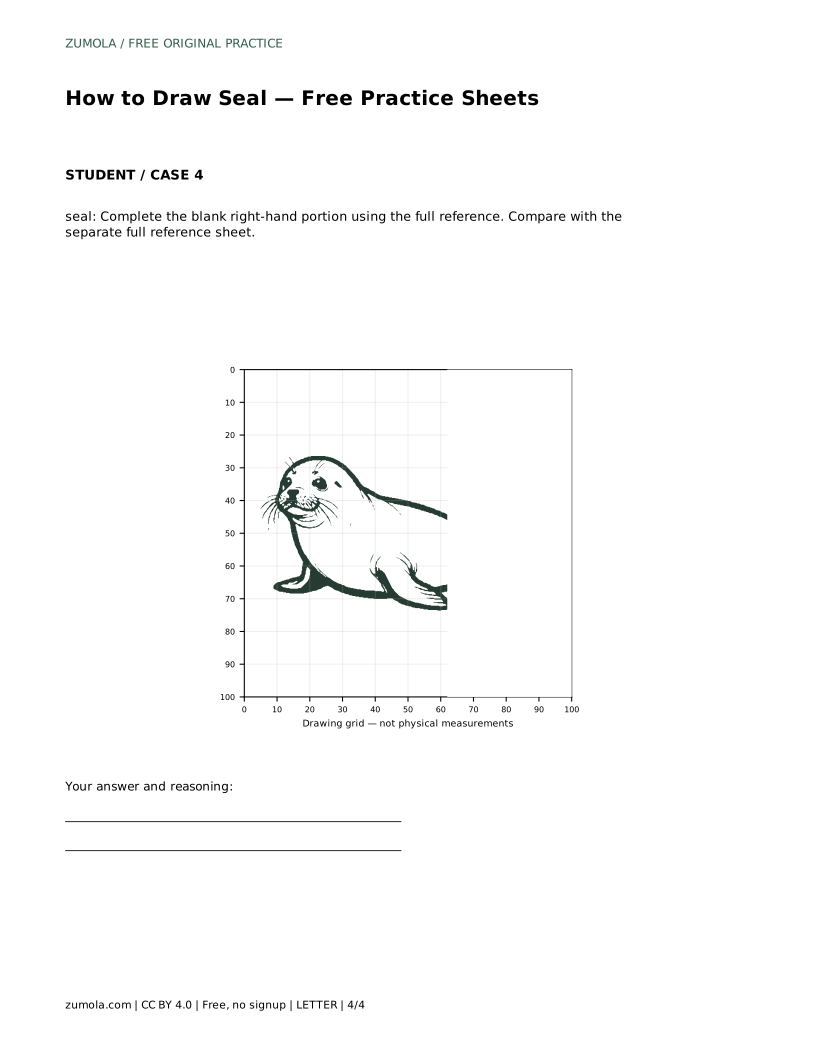
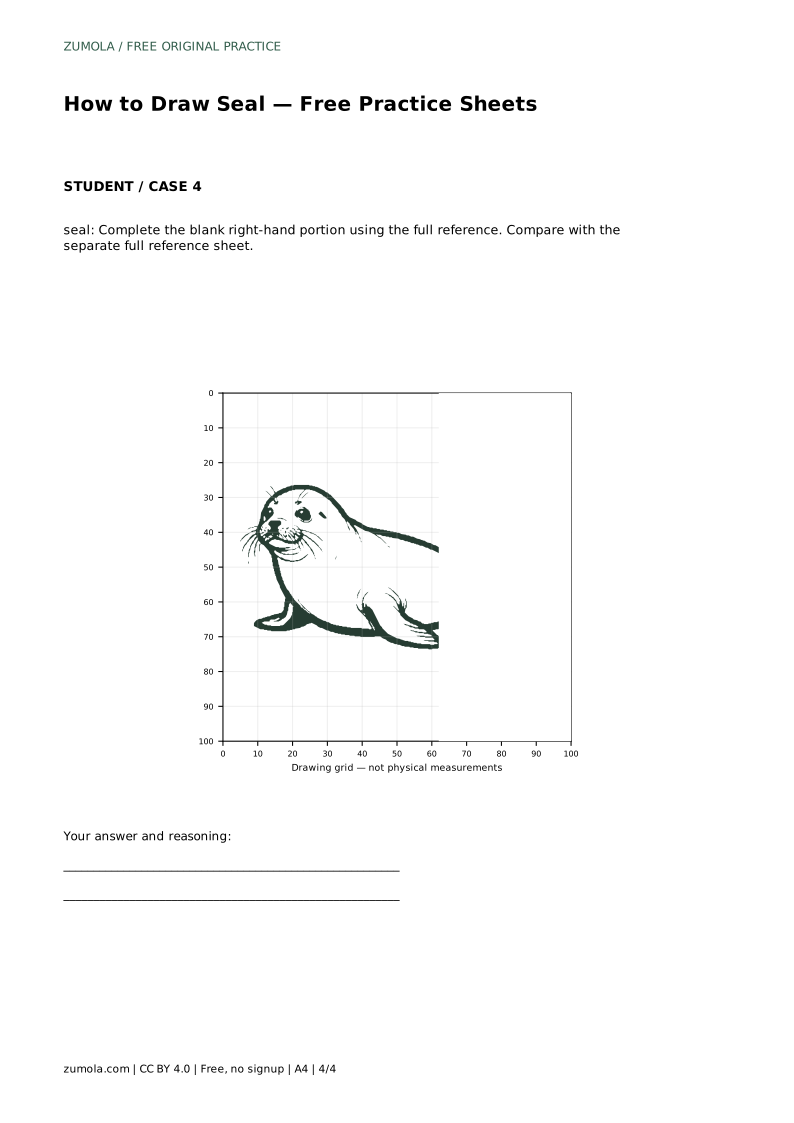
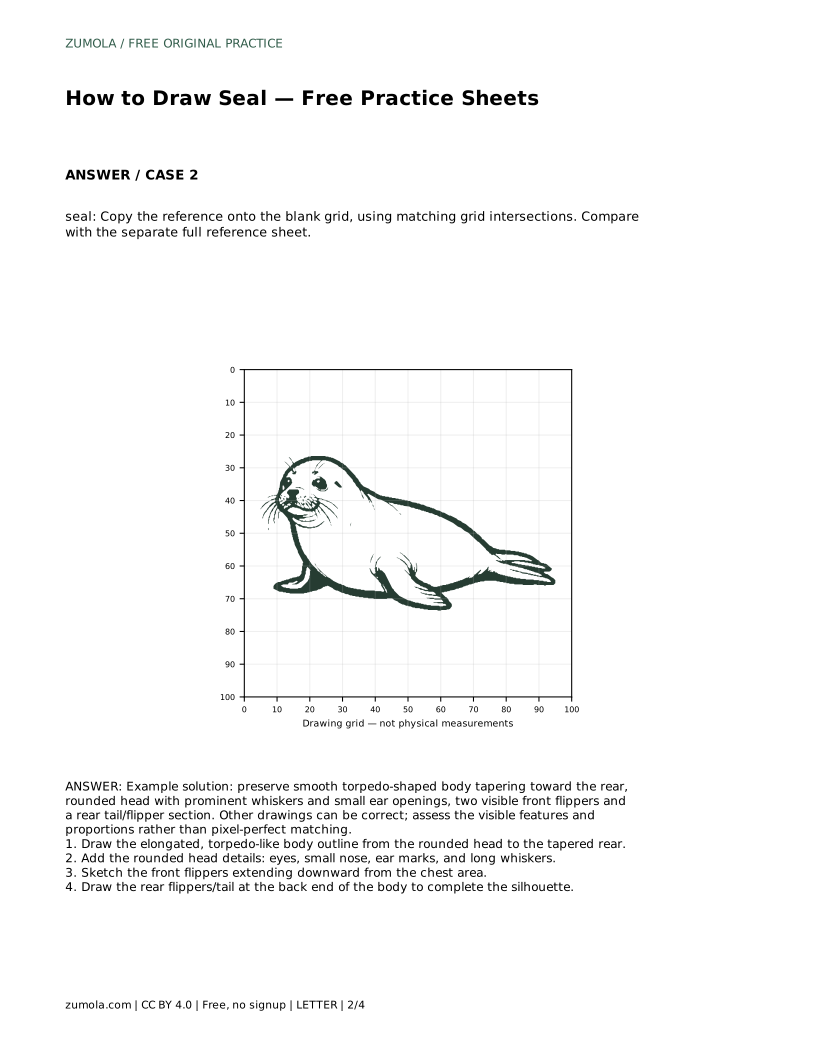
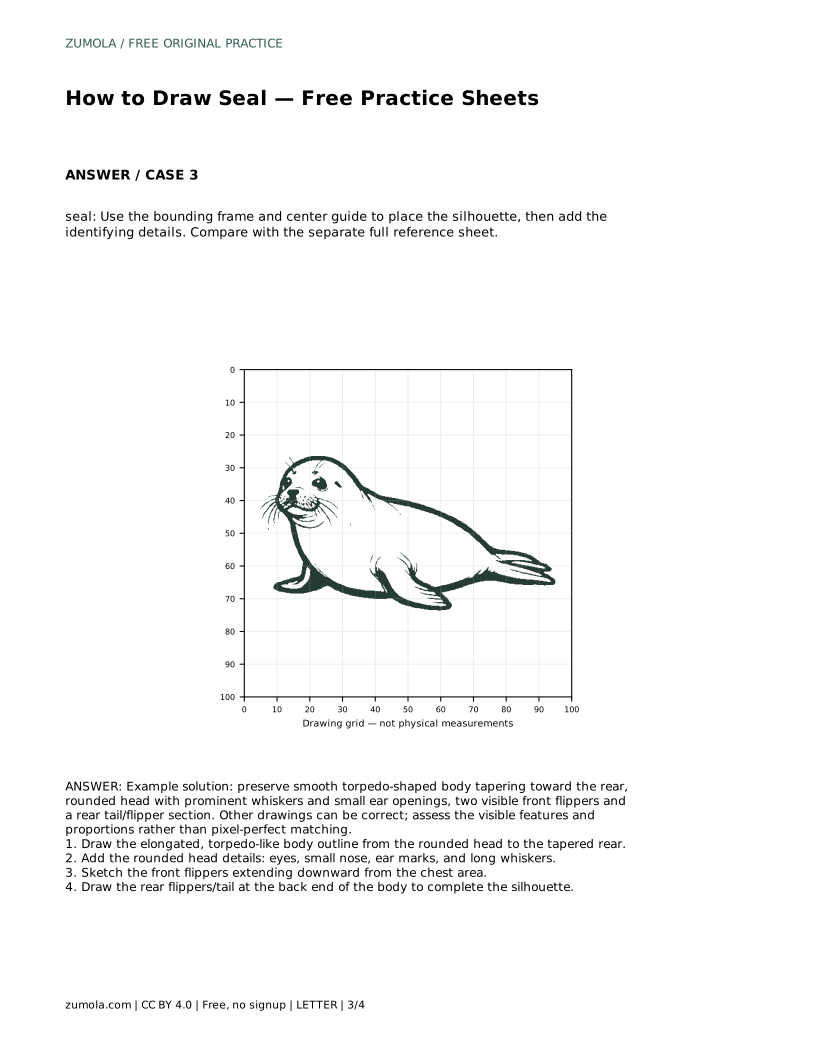
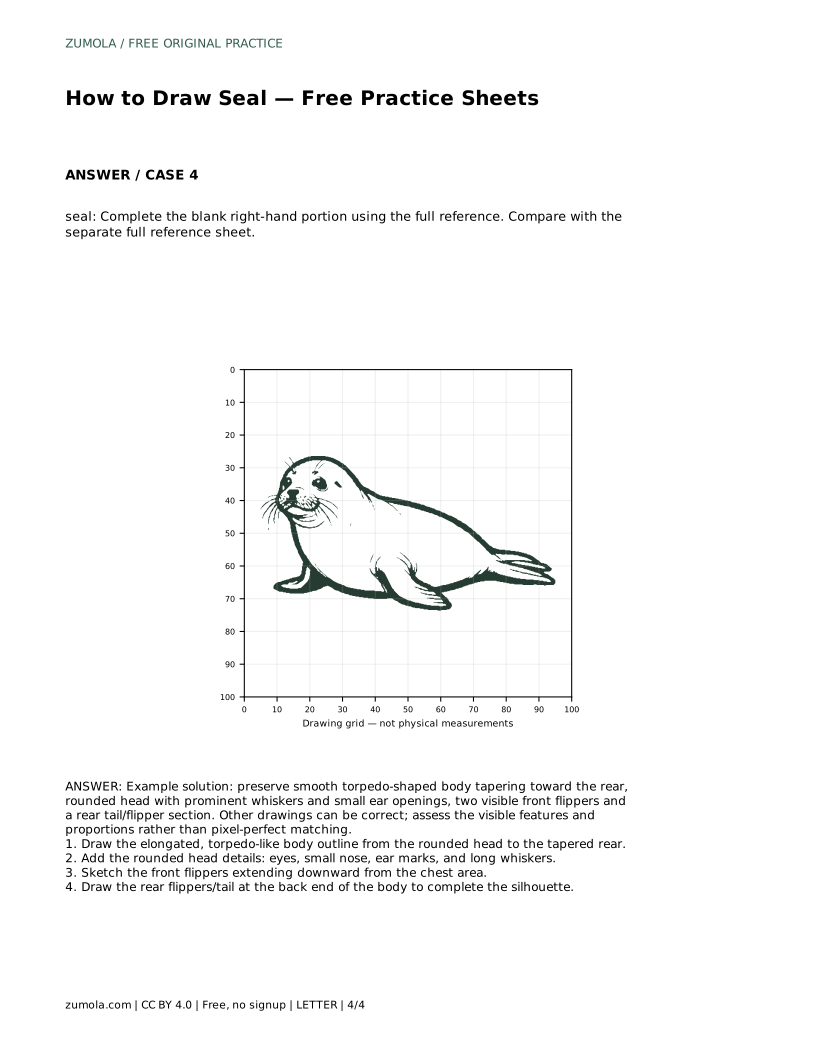
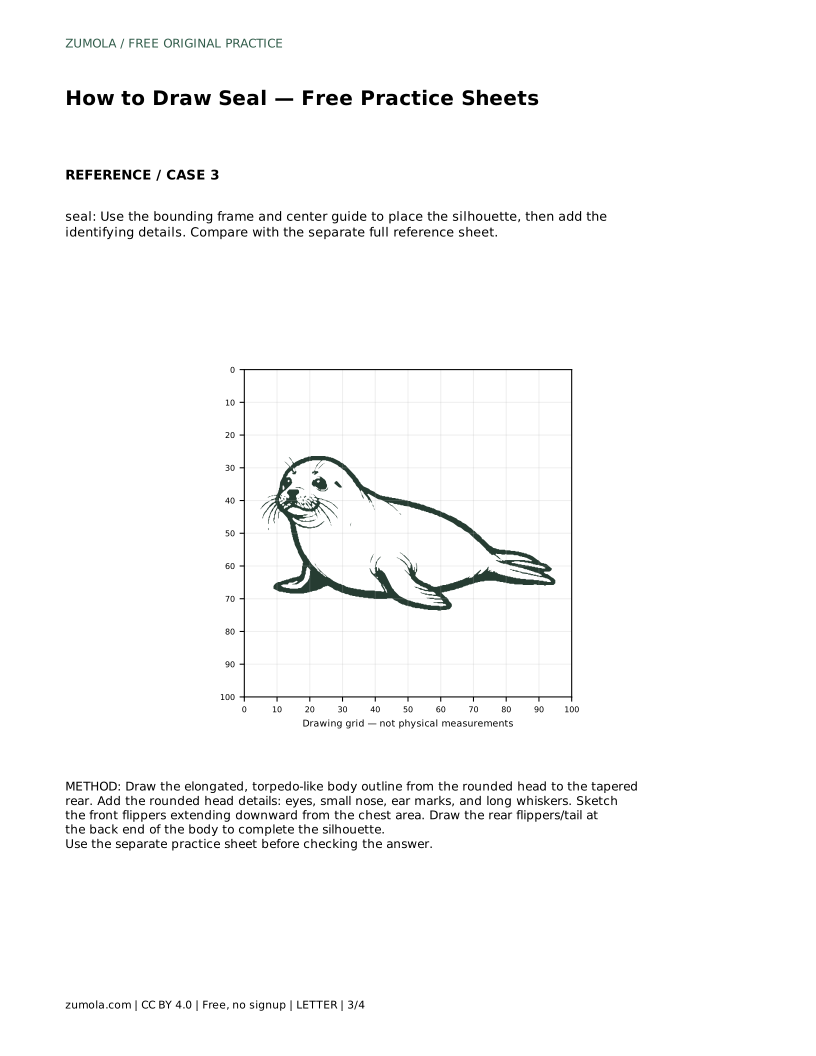
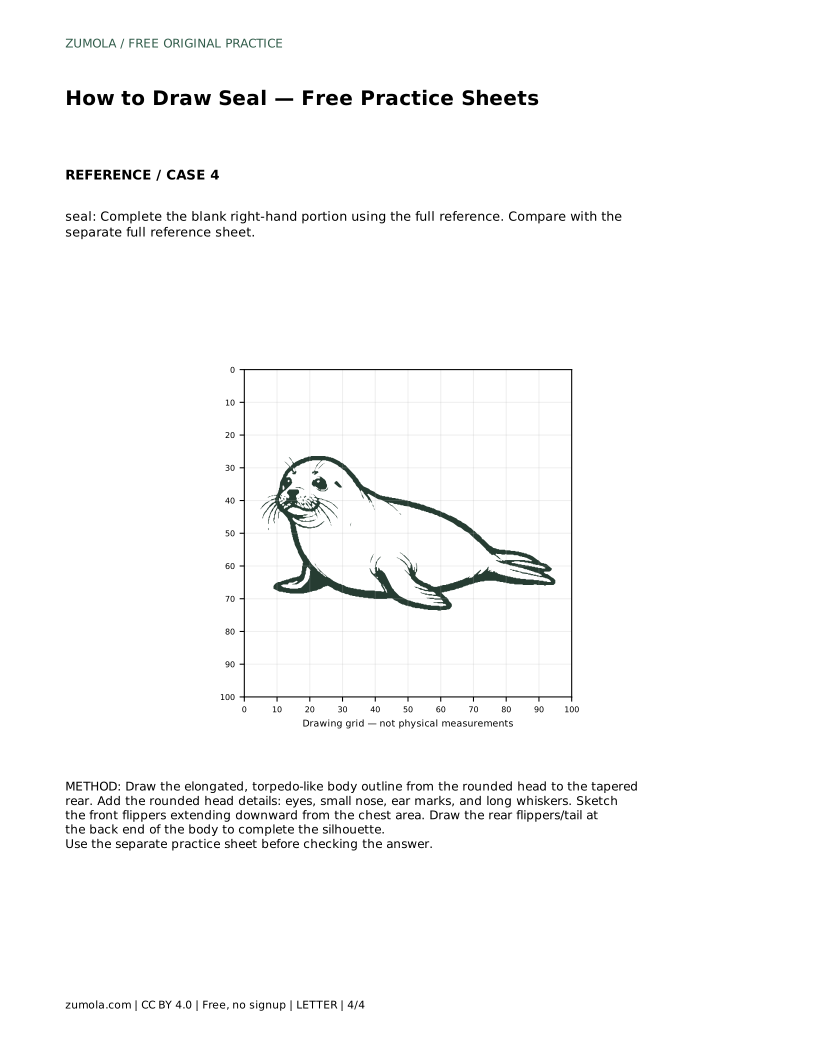
Example solution: preserve smooth torpedo-shaped body tapering toward the rear, rounded head with prominent whiskers and small ear openings, two visible front flippers and a rear tail/flipper section. Other drawings can be correct; assess the visible features and proportions rather than pixel-perfect matching. Draw the elongated, torpedo-like body outline from the rounded head to the tapered rear. Add the rounded head details: eyes, small nose, ear marks, and long whiskers. Sketch the front flippers extending downward from the chest area. Draw the rear flippers/tail at the back end of the body to complete the silhouette.
No. Seal drawings have multiple valid outcomes. Assess whether the torpedo-shaped body, rounded head, whiskers, ear marks, front flippers, and rear flipper section are present and proportioned sensibly.
Draw the body silhouette first. A stable outline makes it easier to place the eyes, nose, ear marks, and whiskers in proportion.
Two visible front flippers suit a side or three-quarter view. If one is hidden by the pose, that is fine as long as the visible flipper is placed sensibly on the chest area.
All drawing practice · Free coordinate paper
Original resources · CC BY 4.0 · Free for personal and classroom use with attribution.