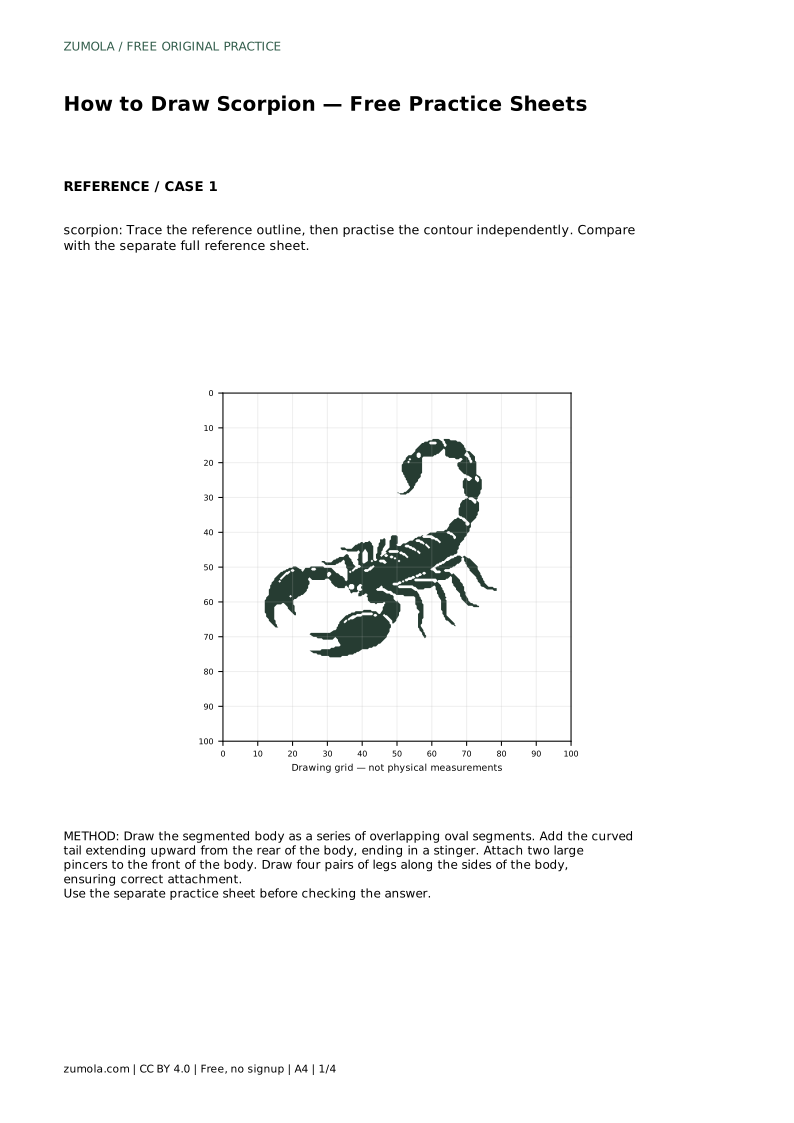
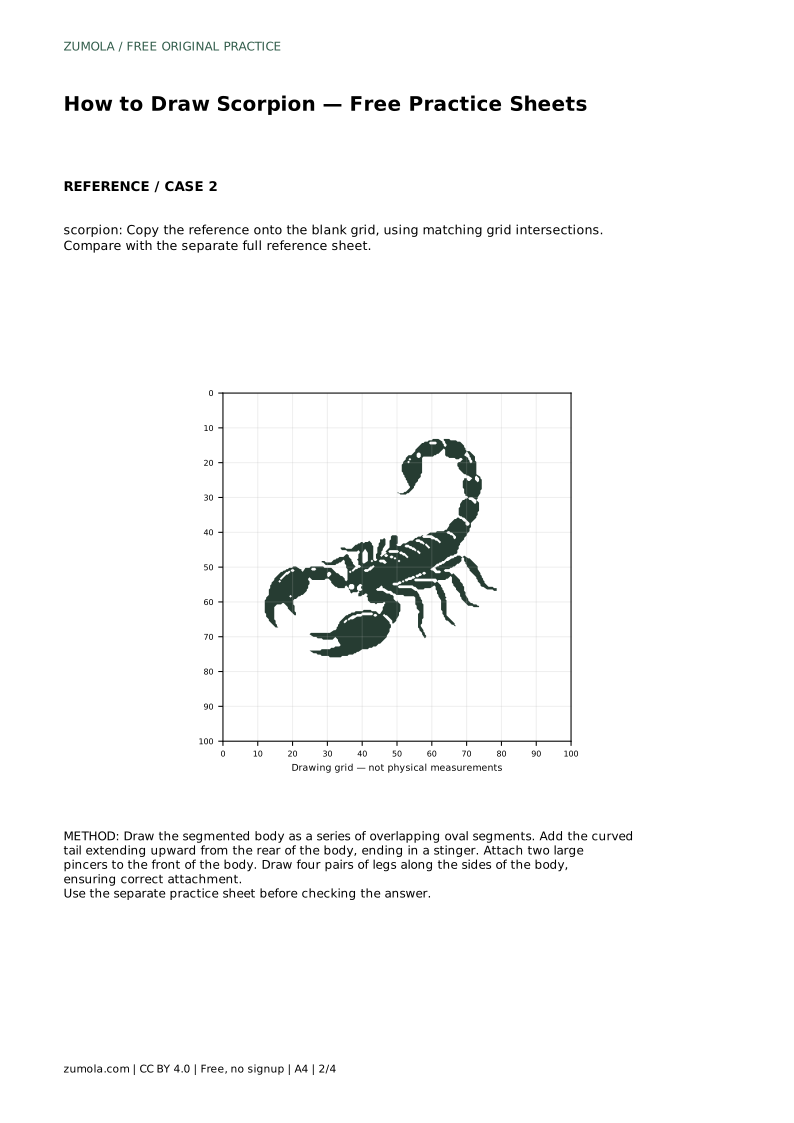
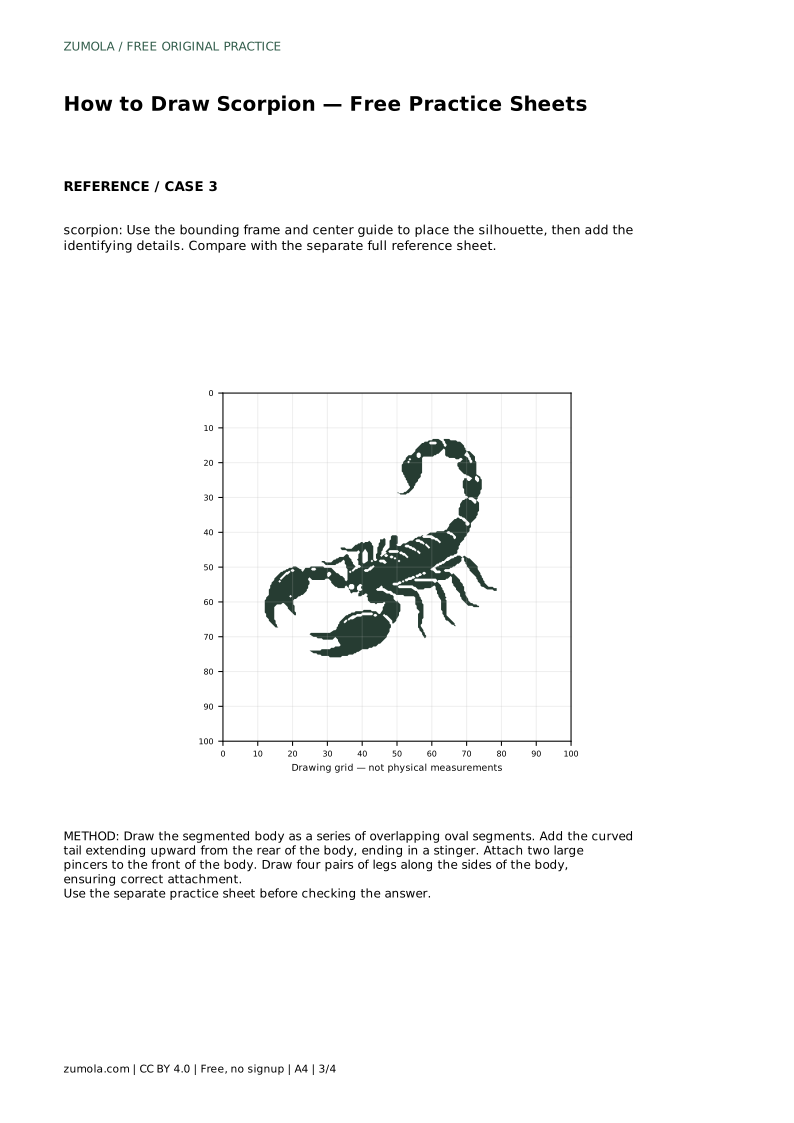
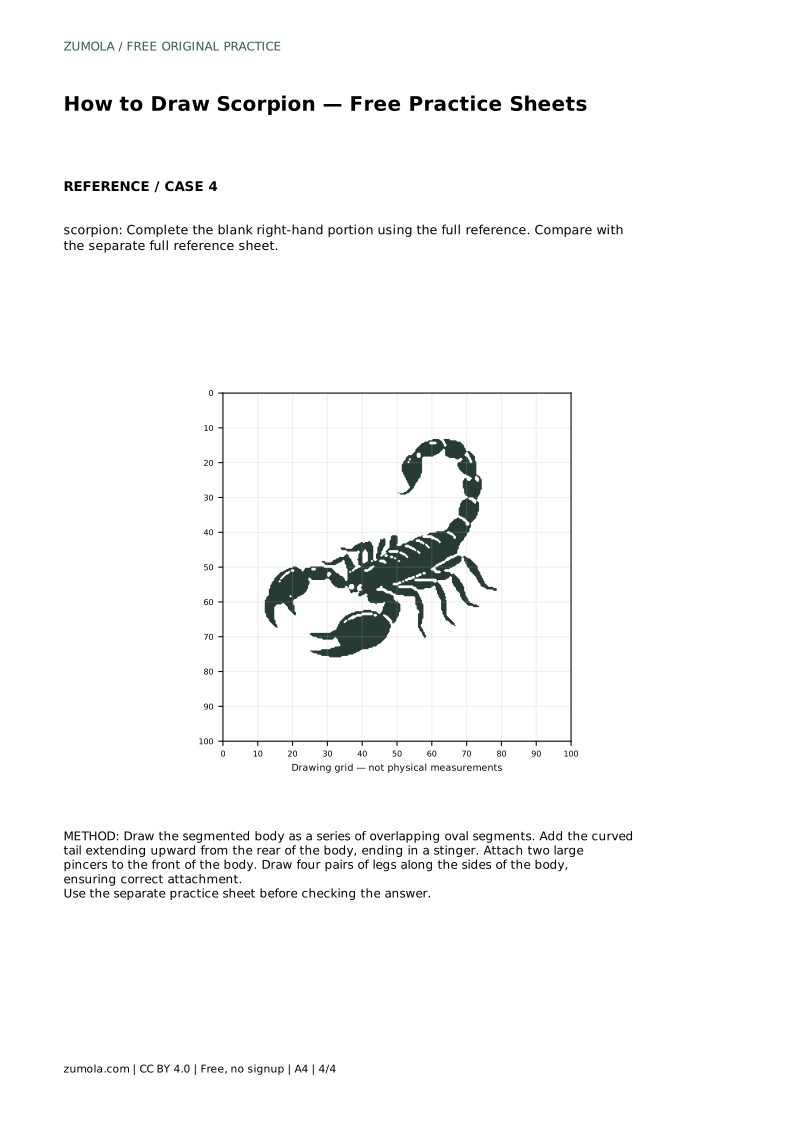
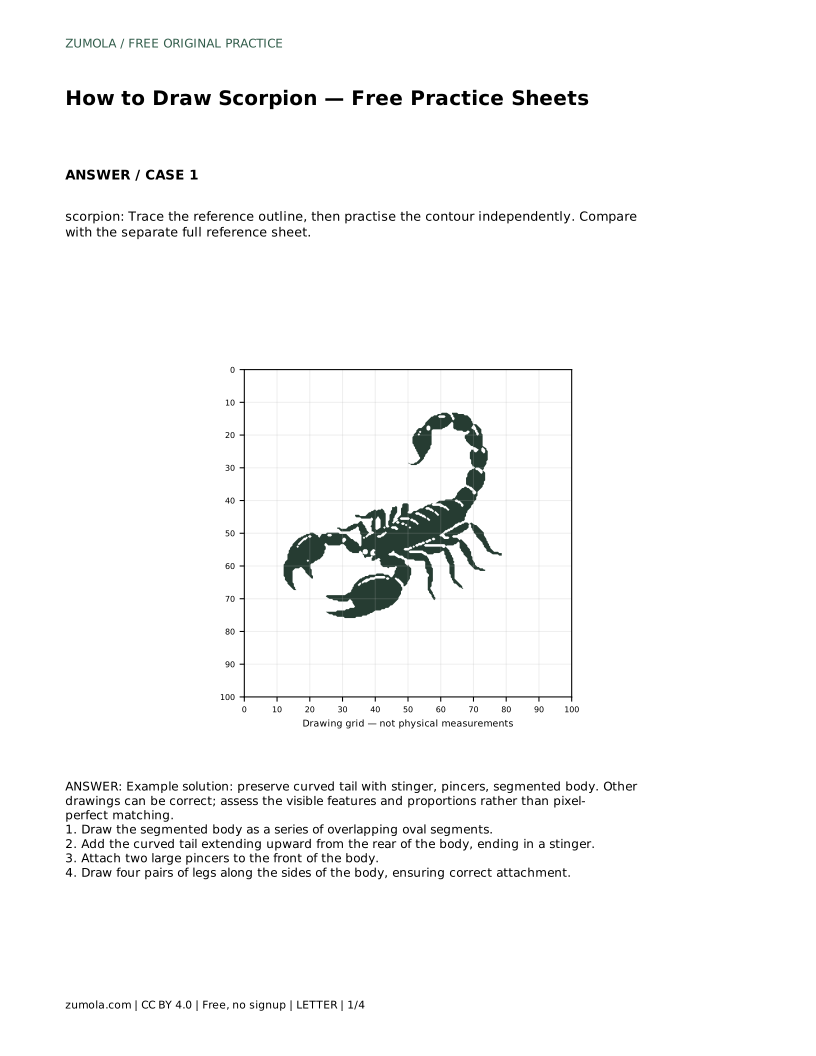
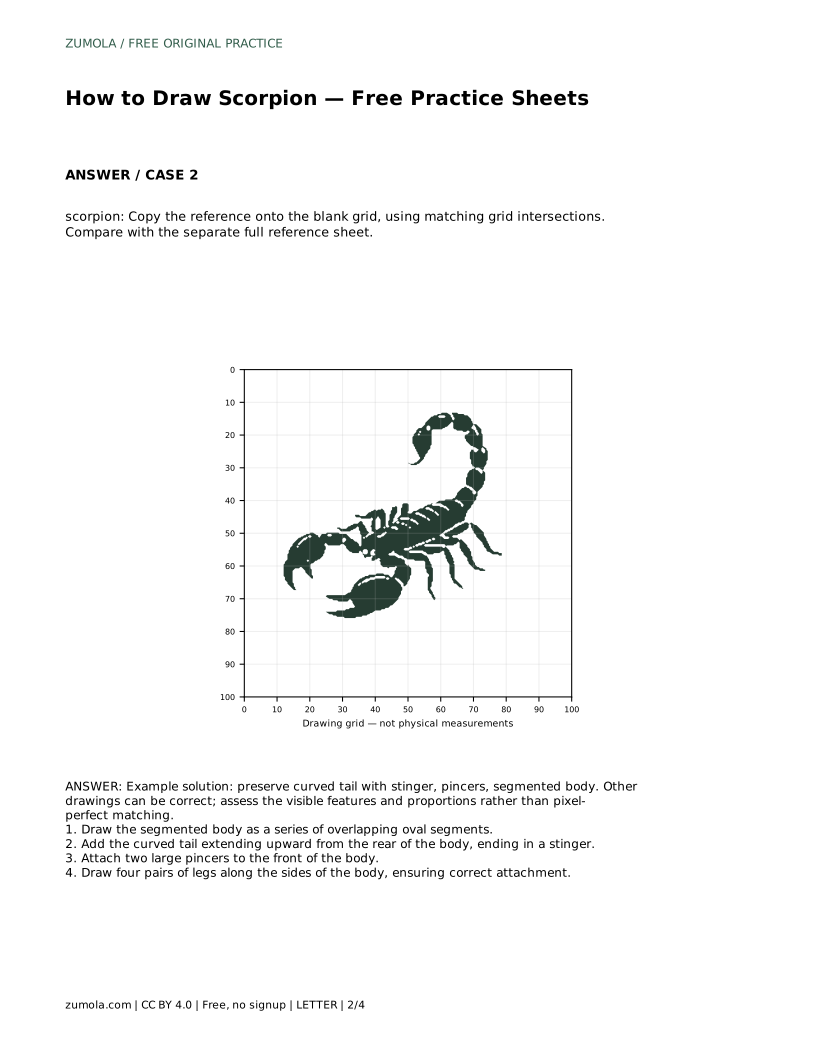
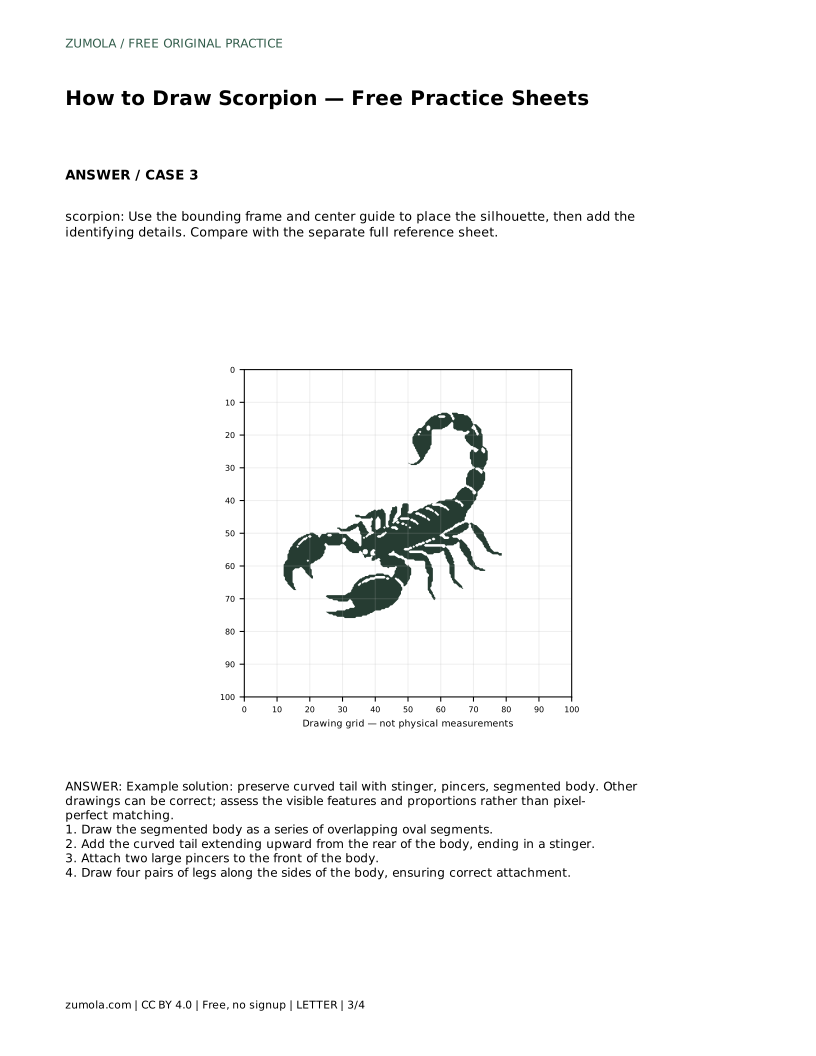
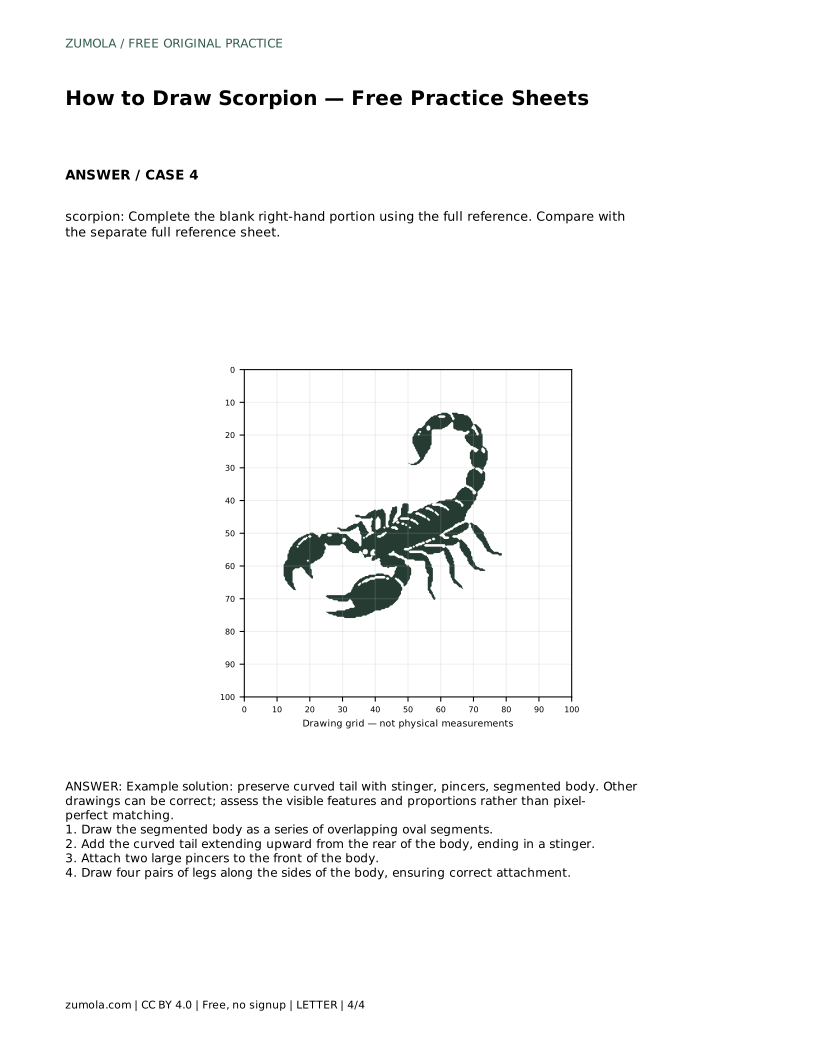
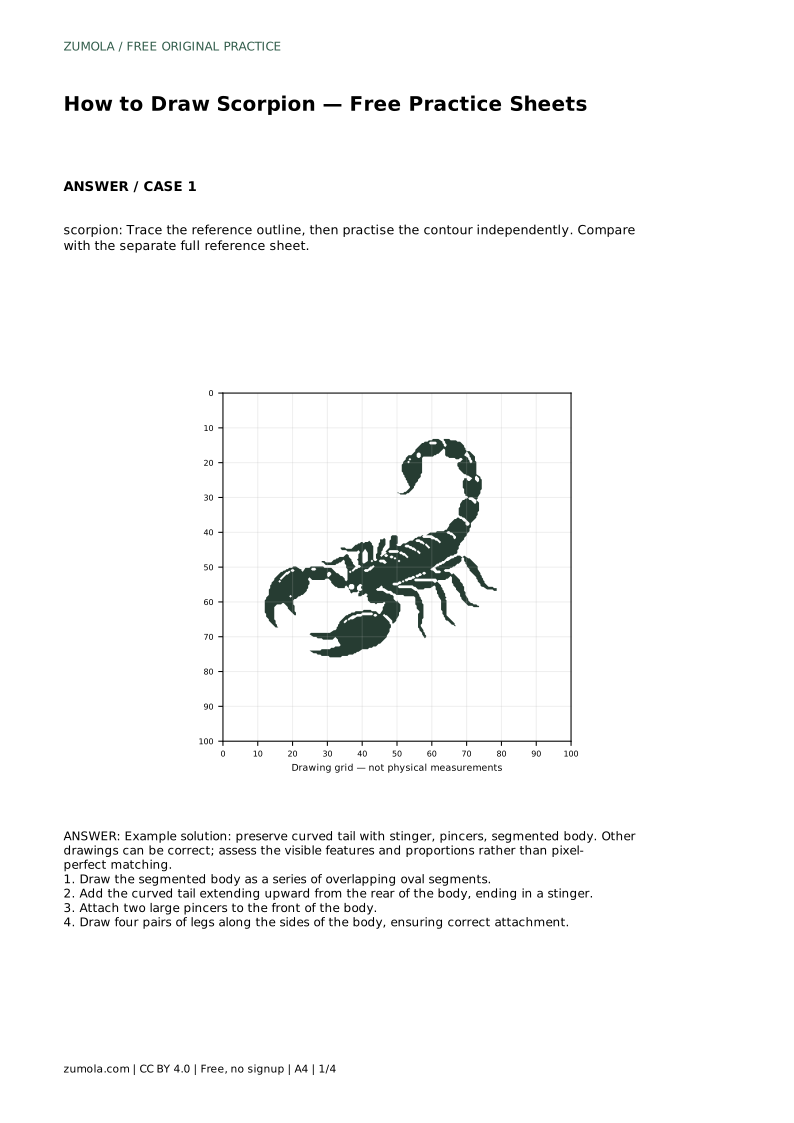
Reference diagrams
LETTER · Download PDF
A4 · Download PDF
Free original resources
Learn to draw a scorpion by building a segmented body, curved stinger tail, pincers and four pairs of legs, then practise with tracing, grid and frame sheets.
Four original cases, with reference diagrams, practice sheets and worked answers. Everything is free; no signup required.
LETTER · Download PDF
A4 · Download PDF
LETTER · Download PDF
A4 · Download PDF
LETTER · Download PDF
A4 · Download PDF
Use A4 or US Letter to match your printer. Use the stated values and conditions to solve each exercise; diagrams are not physical measuring rulers.
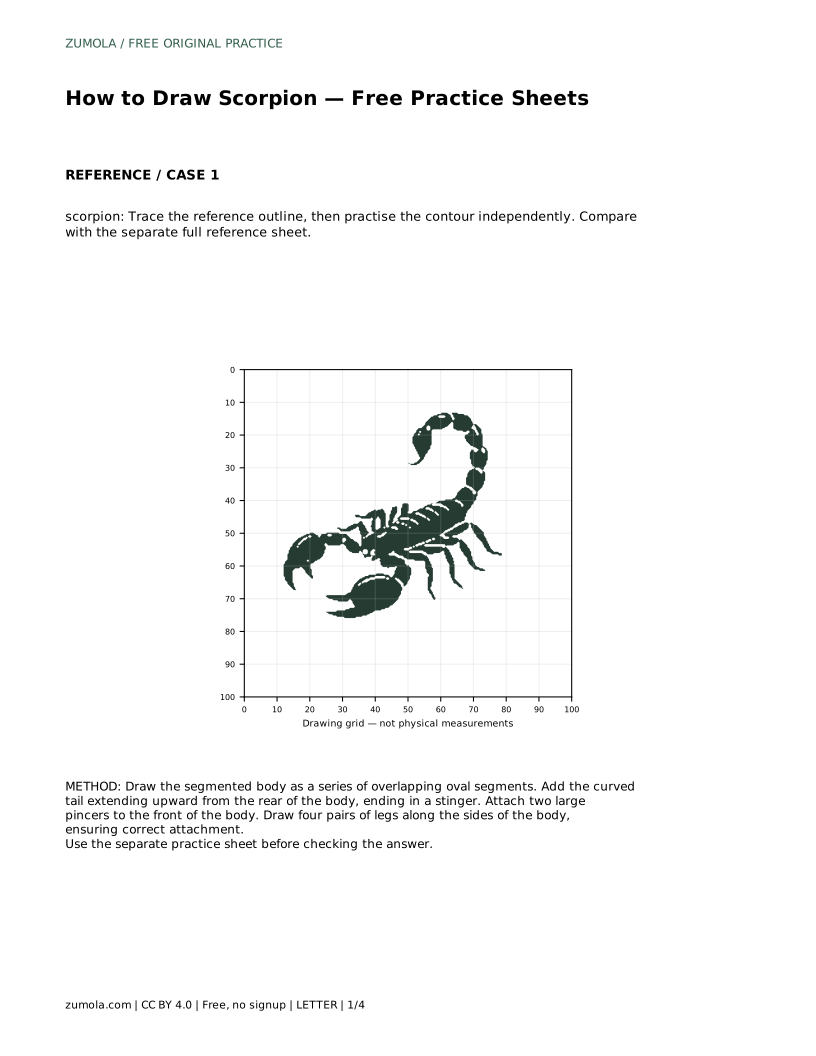
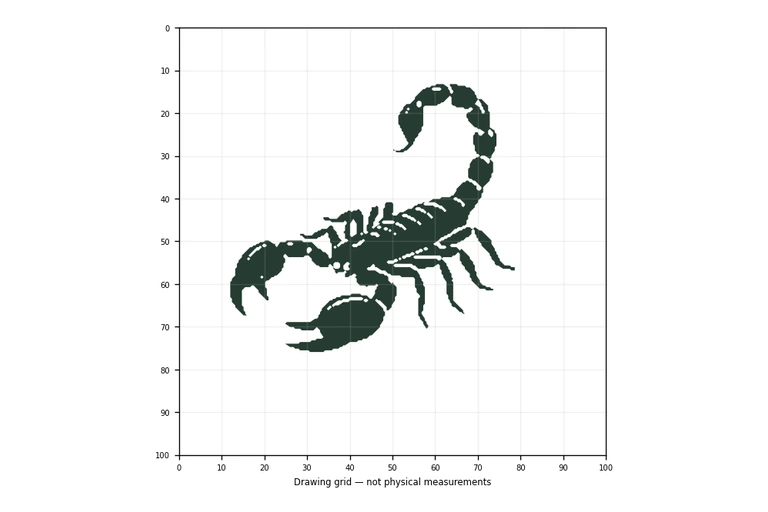
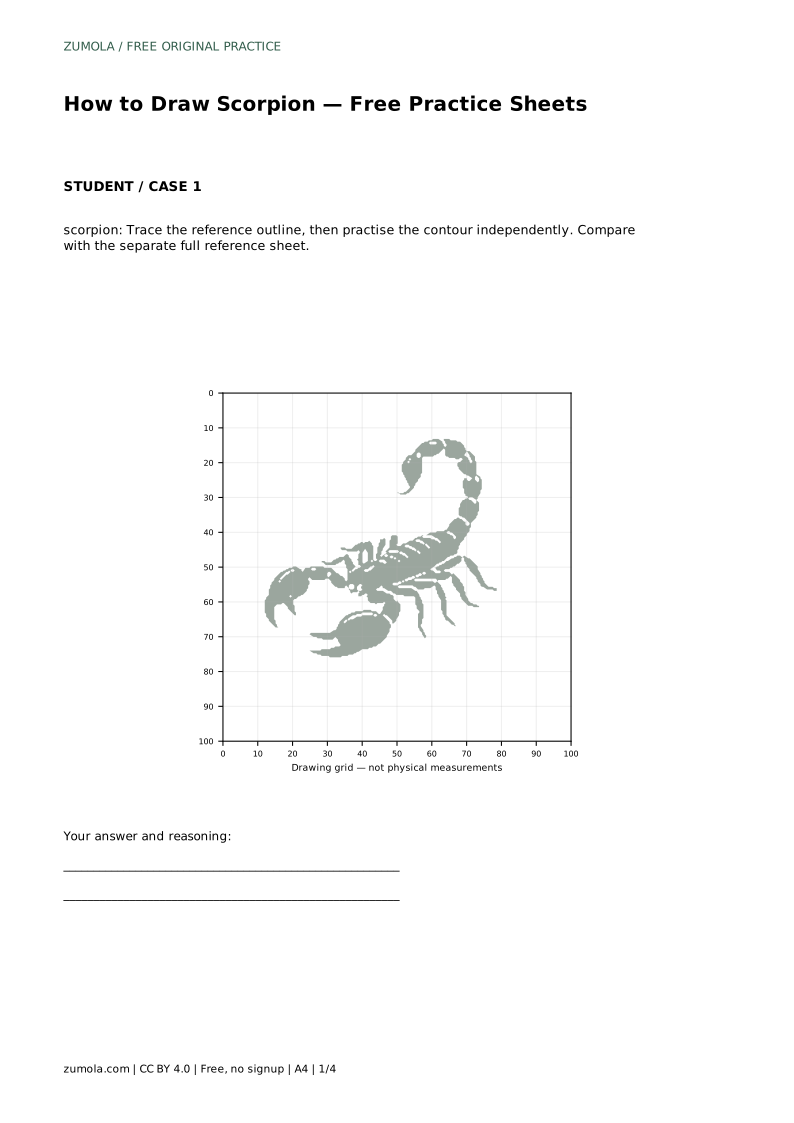
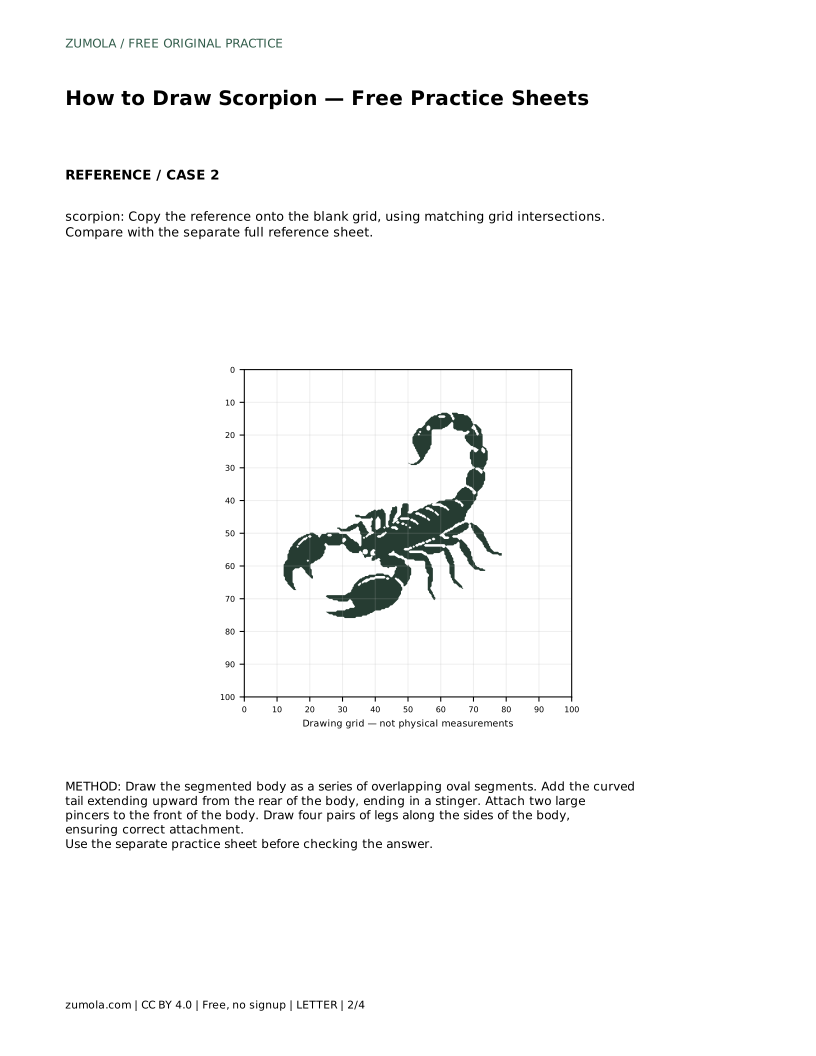
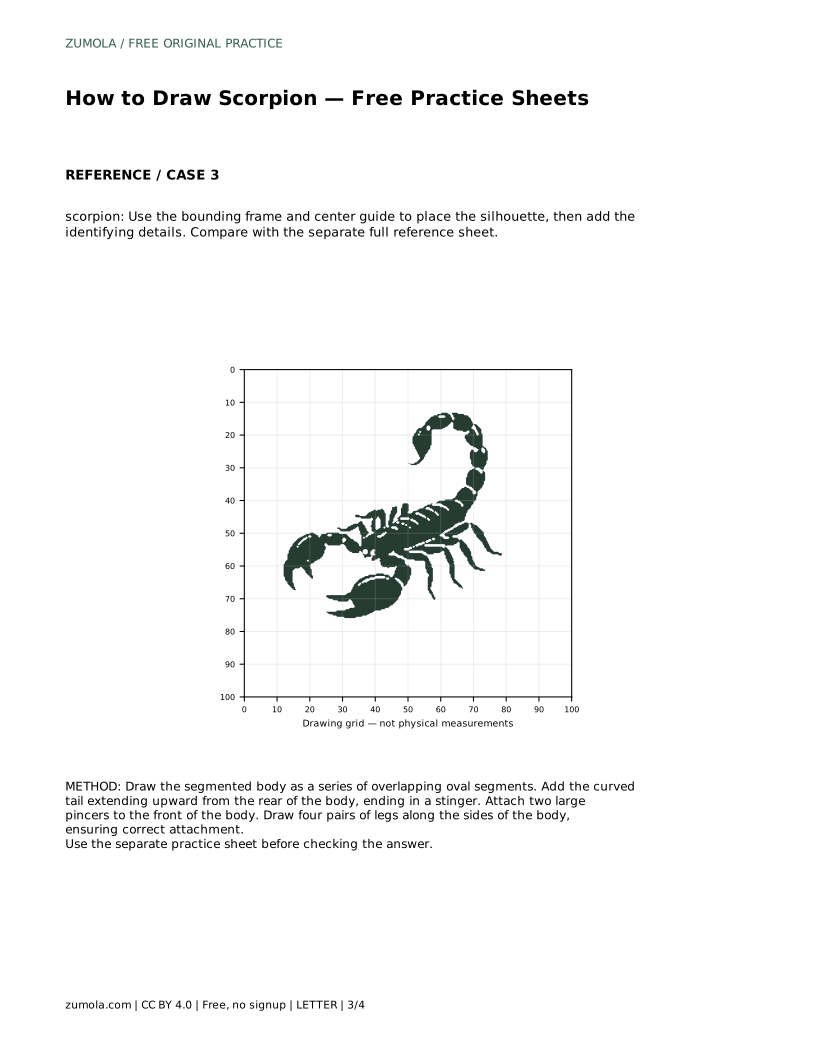
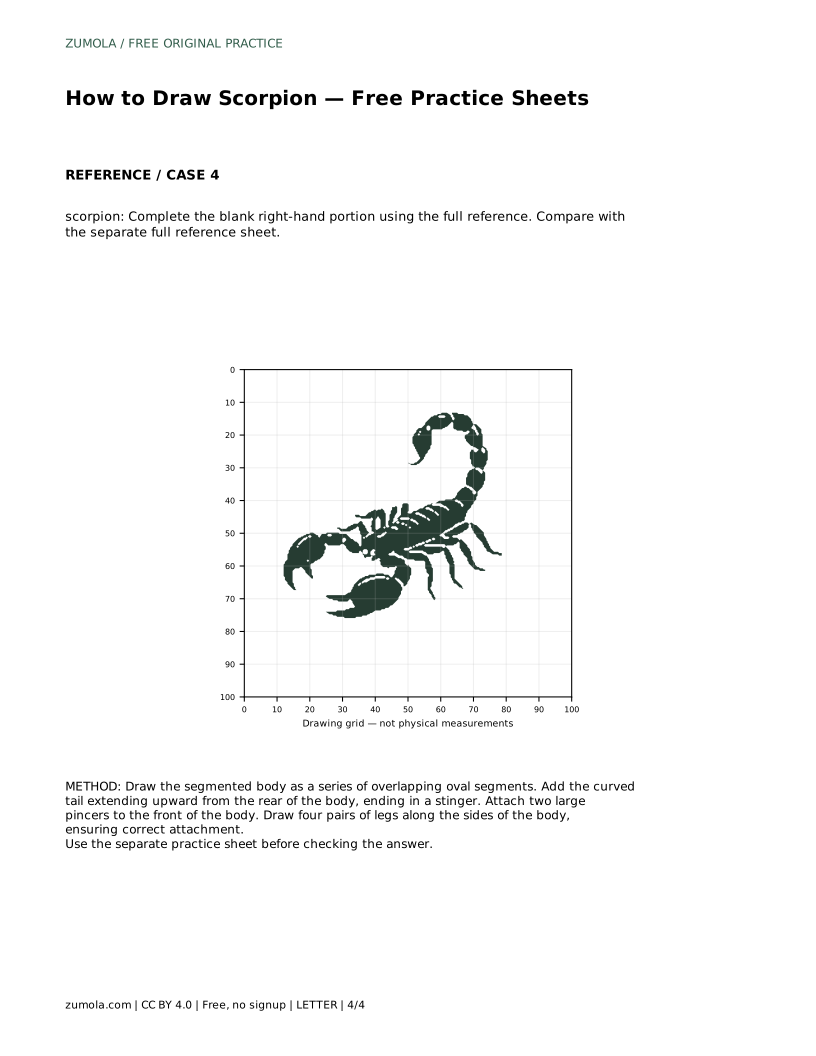
A scorpion drawing is mostly a problem of arrangement: one segmented body, a tail that curves up and ends in a stinger, two pincers at the front, and four pairs of legs along the sides. This page explains how those parts connect and how to keep their proportions believable. The practice sheets let you trace a reference outline, copy it onto a grid, place the silhouette inside a bounding frame, or complete a partly blank drawing.
Start with the body rather than the legs. A scorpion's main body reads as a short chain of overlapping oval segments, widest near the front and tapering toward the rear where the tail begins. Draw each oval lightly so later segments can overlap earlier ones without looking crowded. Keep the ovals roughly in line; a body that zigzags sideways will make the tail and legs hard to place.
The tail grows from the rear of the body, not from the middle. Treat it as a continuation of the same segmented rhythm: a series of short sections that curve upward and finish in a pointed stinger. The curve should be smooth and deliberate, so decide early whether the tail arcs forward over the body or sweeps to one side.
The pincers sit at the front, one on each side, and should look large enough to balance the tail. Draw the upper and lower jaw of each pincer as a pair of curved shapes that meet at a gap. If the pincers look small, the drawing will read as an insect rather than a scorpion.
Legs attach along the sides of the body, four on each side. Each leg should begin at the body edge, angle outward, then bend down. Keep the pairs roughly opposite one another so the stance looks stable. Legs that start too far from the body or cross the tail will make the silhouette confusing.
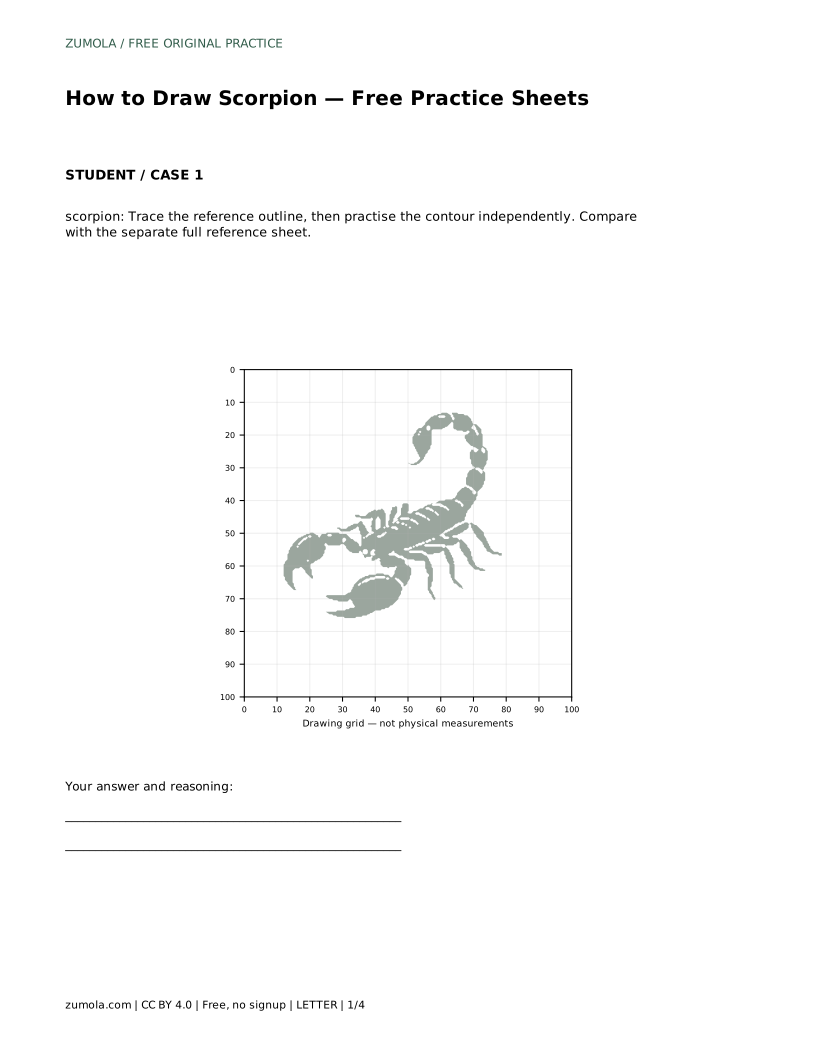
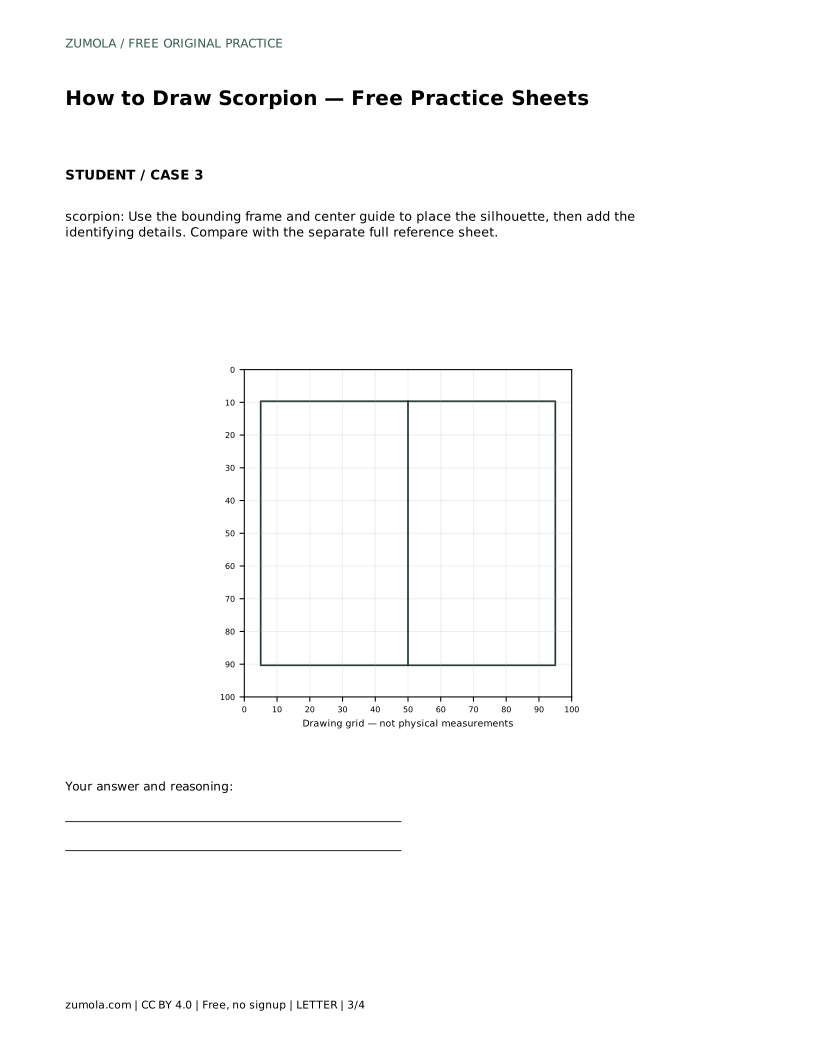
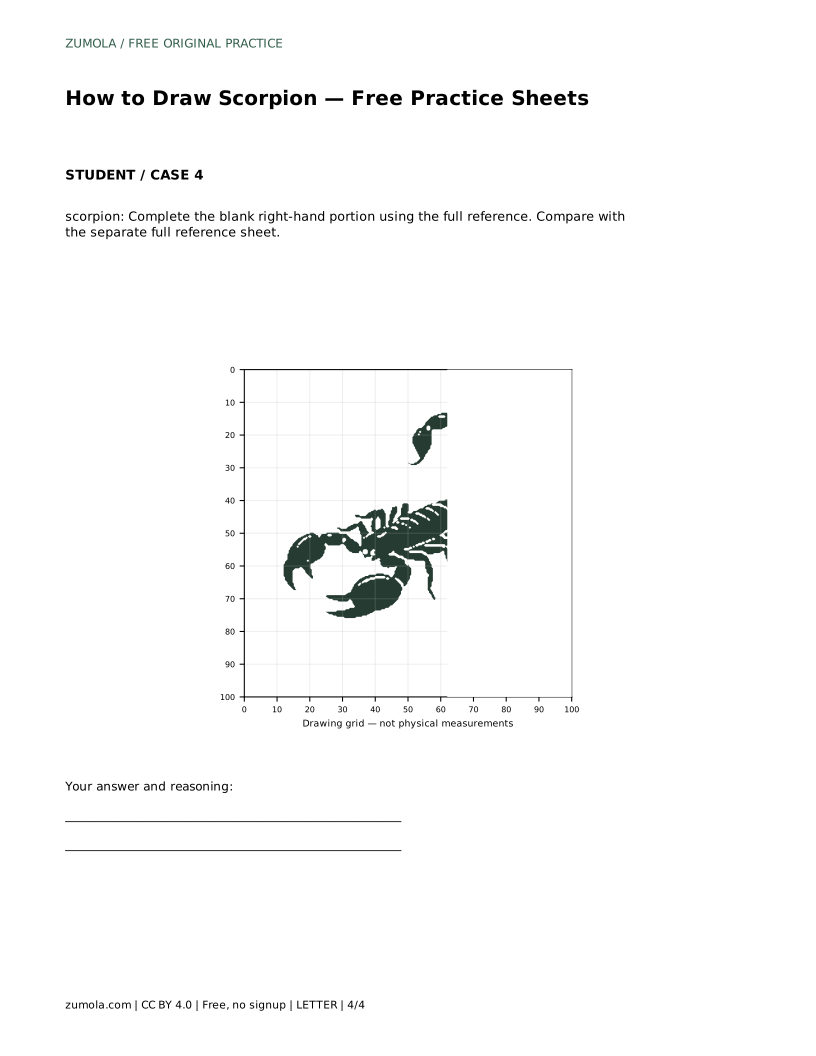
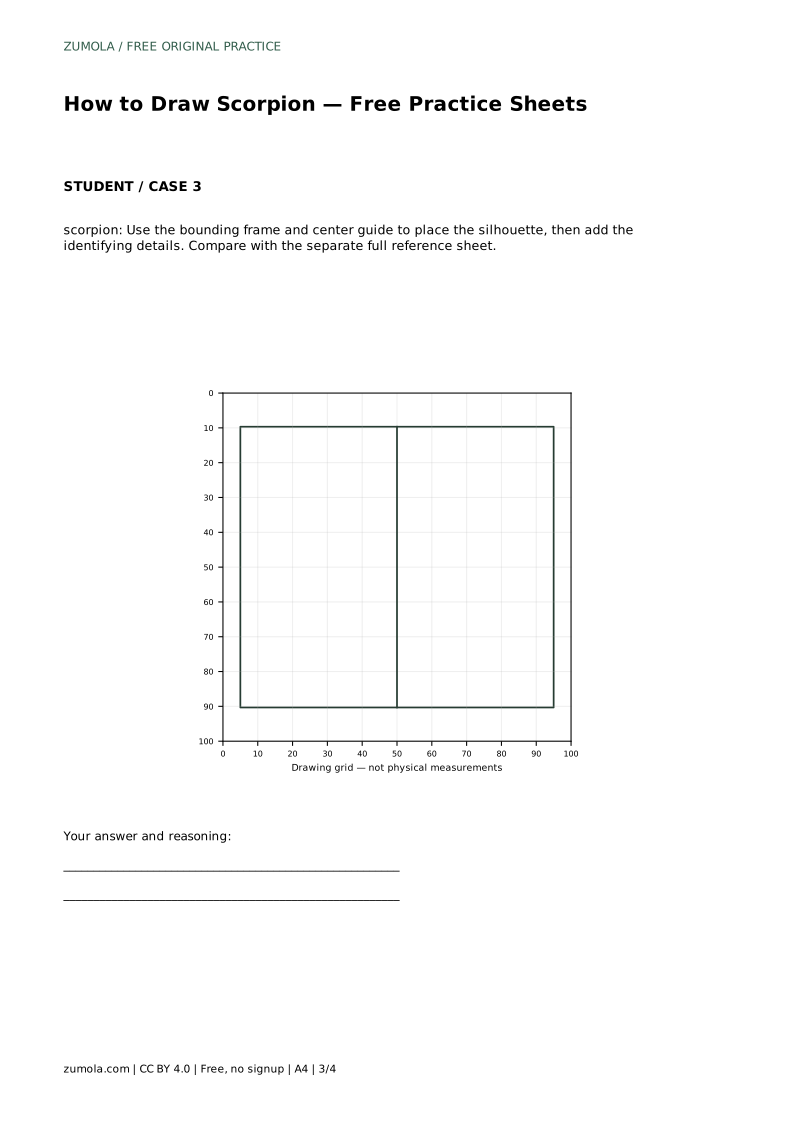
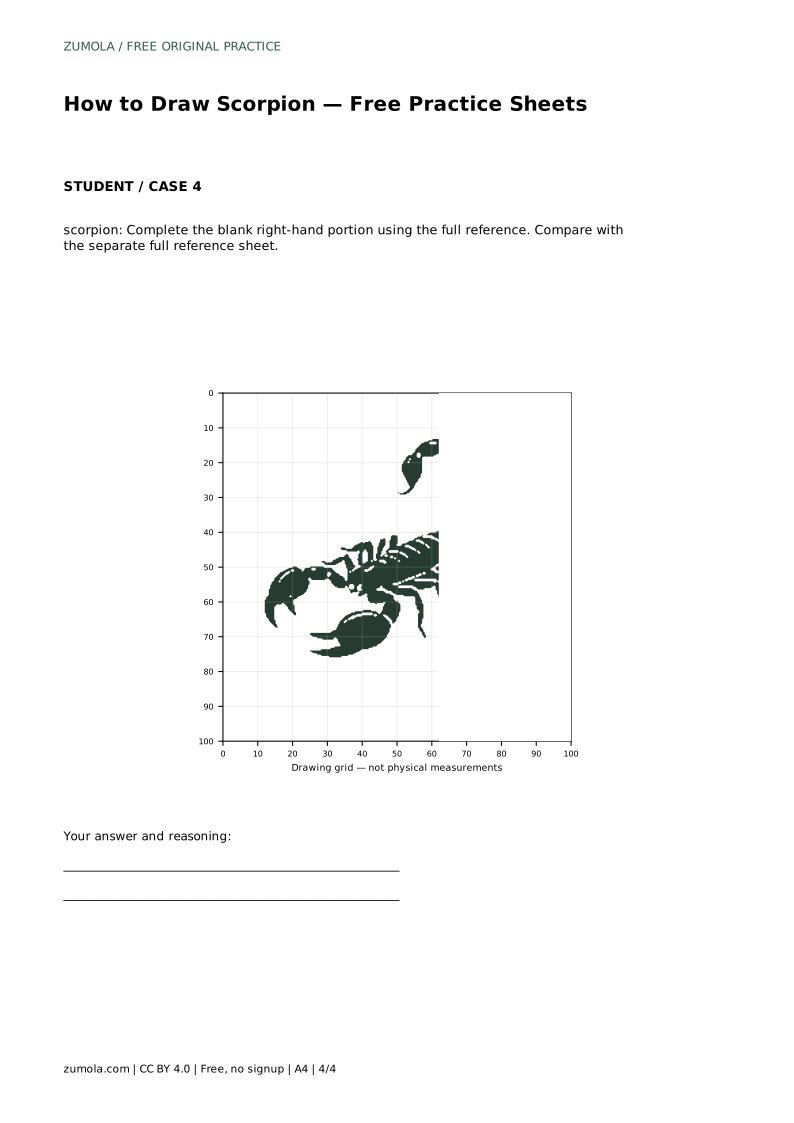
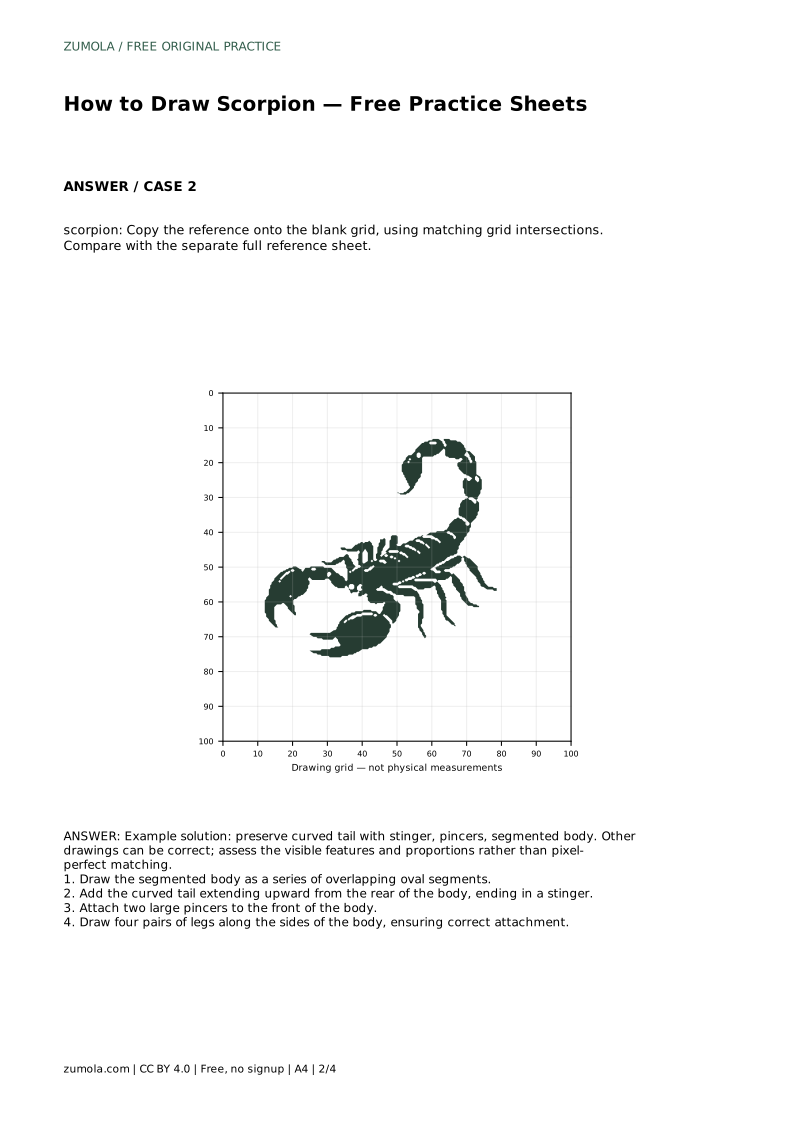
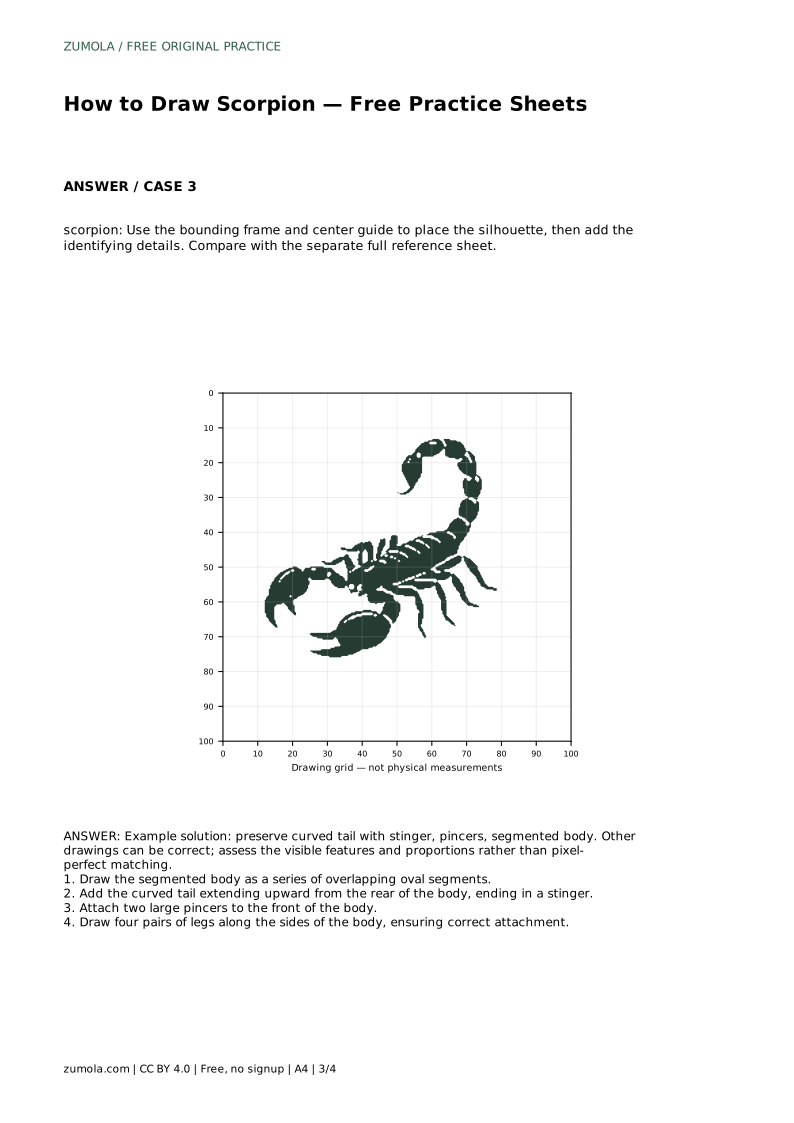
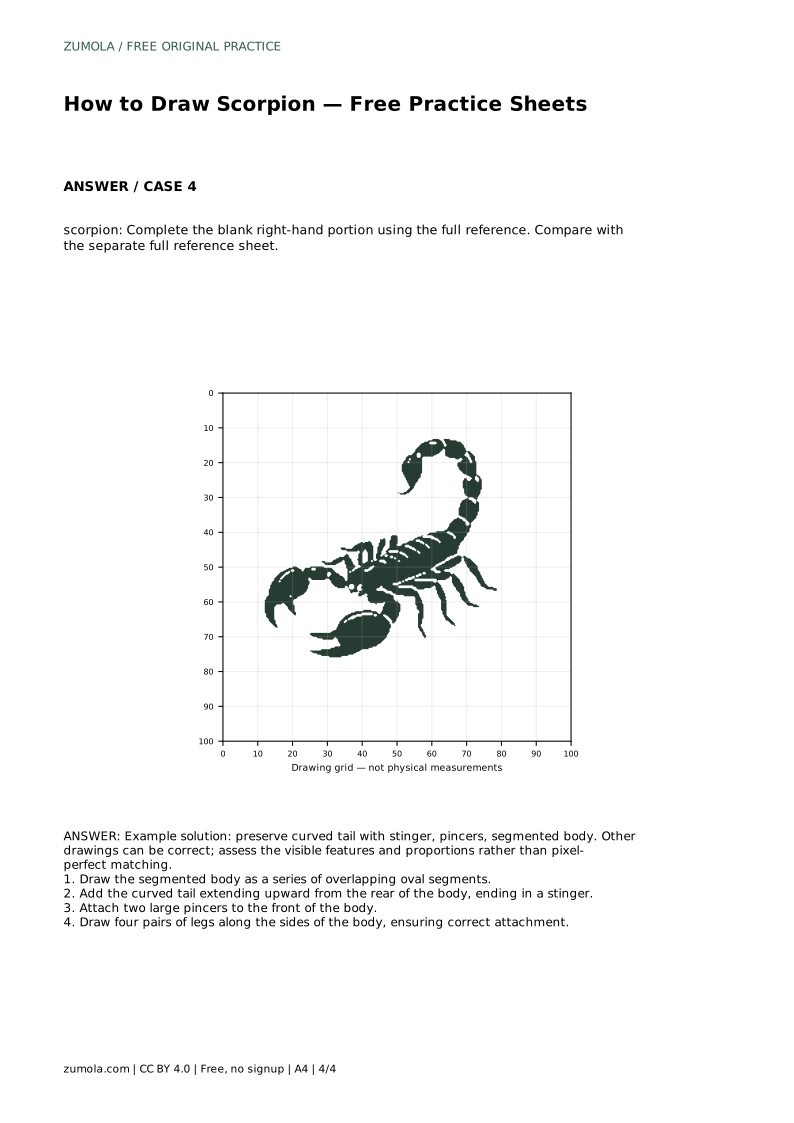
The tracing sheet asks you to follow the reference outline first, then repeat the contour on your own. The grid sheet asks you to copy the reference onto a blank grid, matching where lines cross grid intersections. The frame sheet gives a bounding box and center guide so you can place the whole silhouette before adding details. The partial sheet leaves the right-hand portion blank for you to complete from the full reference.
In every case, compare your finished drawing with the separate full reference sheet. The goal is not a pixel-perfect match. Preserve the curved tail with stinger, the pincers, the segmented body and the correct leg count, and judge the proportions by eye.
Read your drawing as a silhouette first. Can you identify the body, the upward tail, the stinger and both pincers without labels? Then check the legs: four pairs, attached to the body sides, not floating. Finally, check the segment lines, which should follow the curve of the body and tail rather than cutting straight across.
Because drawings can be correct in different ways, assess visible features and proportions rather than exact matching. A tail that curves left instead of right is still valid if the segments, stinger and attachment are clear.
scorpion: Trace the reference outline, then practise the contour independently. Compare with the separate full reference sheet.
Example solution: preserve curved tail with stinger, pincers, segmented body. Other drawings can be correct; assess the visible features and proportions rather than pixel-perfect matching. Draw the segmented body as a series of overlapping oval segments. Add the curved tail extending upward from the rear of the body, ending in a stinger. Attach two large pincers to the front of the body. Draw four pairs of legs along the sides of the body, ensuring correct attachment.
Four pairs, so eight legs, attached along the sides of the body. The pincers are separate front appendages and are not counted as legs.
An upward curve ending in a stinger is the clearest reading, but a tail sweeping to one side is also valid if the segments and stinger remain visible.
Yes. Each sheet works independently, though tracing first can help you learn the contour before copying it onto the grid.
All drawing practice · Free coordinate paper
Original resources · CC BY 4.0 · Free for personal and classroom use with attribution.