Reference diagrams
LETTER · Download PDF
A4 · Download PDF
Free original resources
Learn to draw a mouse by building an oval body, pointed snout, rounded ears, short legs, and a long thin tail. Practice with tracing, grid, and frame sheets.
Four original cases, with reference diagrams, practice sheets and worked answers. Everything is free; no signup required.
LETTER · Download PDF
A4 · Download PDF
LETTER · Download PDF
A4 · Download PDF
LETTER · Download PDF
A4 · Download PDF
Use A4 or US Letter to match your printer. Use the stated values and conditions to solve each exercise; diagrams are not physical measuring rulers.
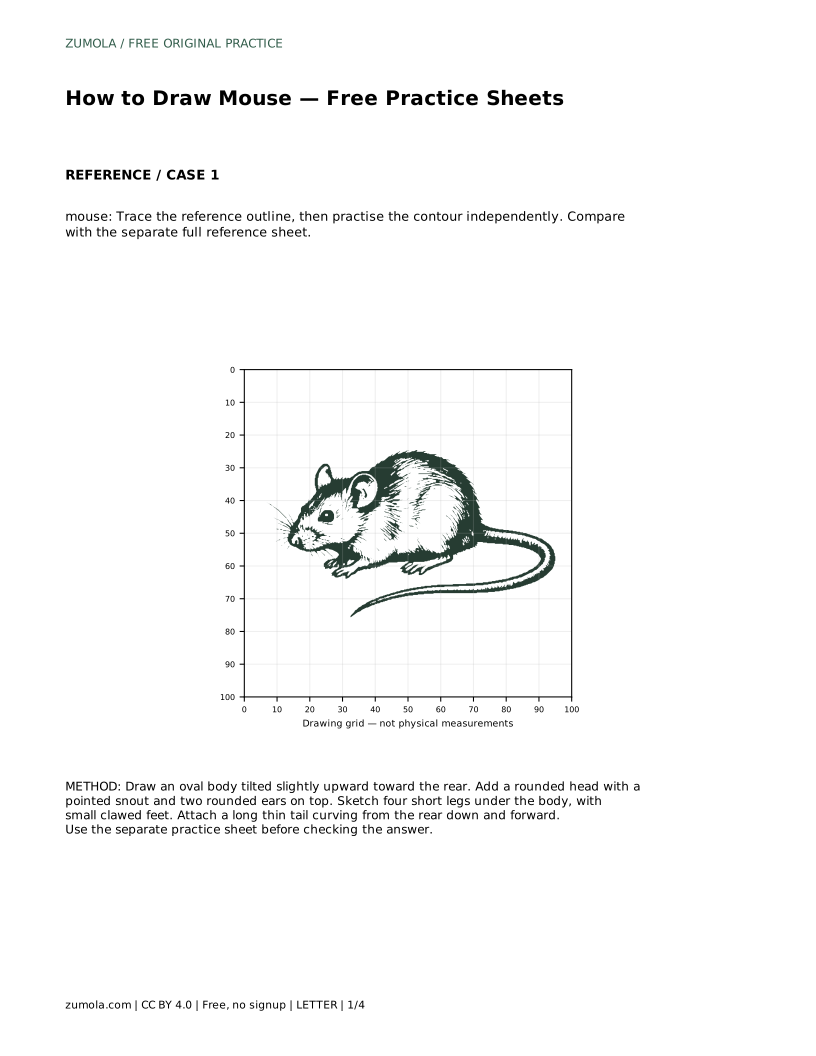
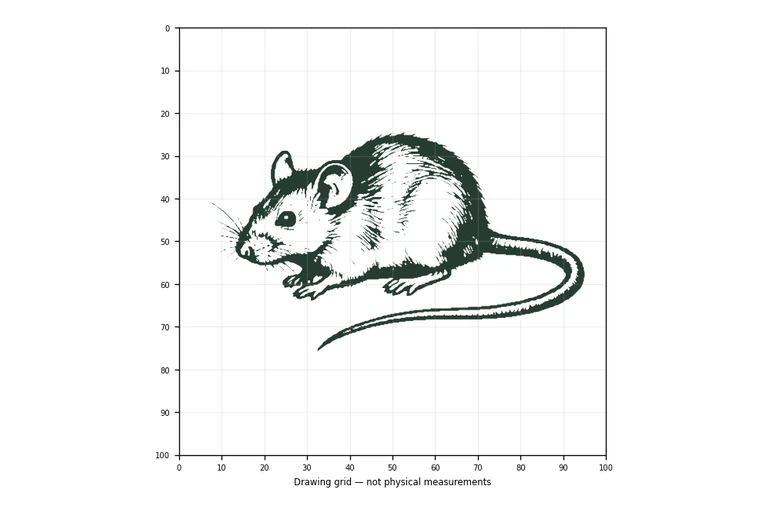
Drawing a mouse is mostly a problem of proportion and placement. The body is a soft oval, the head narrows to a pointed snout, the ears sit high and round, and the tail is long and thin. This page explains a reliable order for constructing those parts and how to use the practice sheets to check your work. Because drawings can differ and still be correct, you will assess visible features rather than exact matching.
Start with the largest shape and work toward the smallest. A mouse reads clearly when the body oval, head, ears, legs, and tail are placed in a sensible relationship before any detail is added. Keep the body oval tilted slightly upward toward the rear, so the head sits lower than the back. This tilt gives the animal a natural, alert posture without needing complex anatomy.
Place the head at the front of the body and narrow it toward the snout. The snout should come to a soft point rather than a sharp spike. Add two rounded ears on top of the head; they should be large enough to be obvious but not so large that they overwhelm the head. Then sketch four short legs beneath the body, ending in small feet. Finally, attach a long thin tail from the rear, curving down and forward. The tail is a strong identifying feature, so keep it clearly separate from the legs and body.
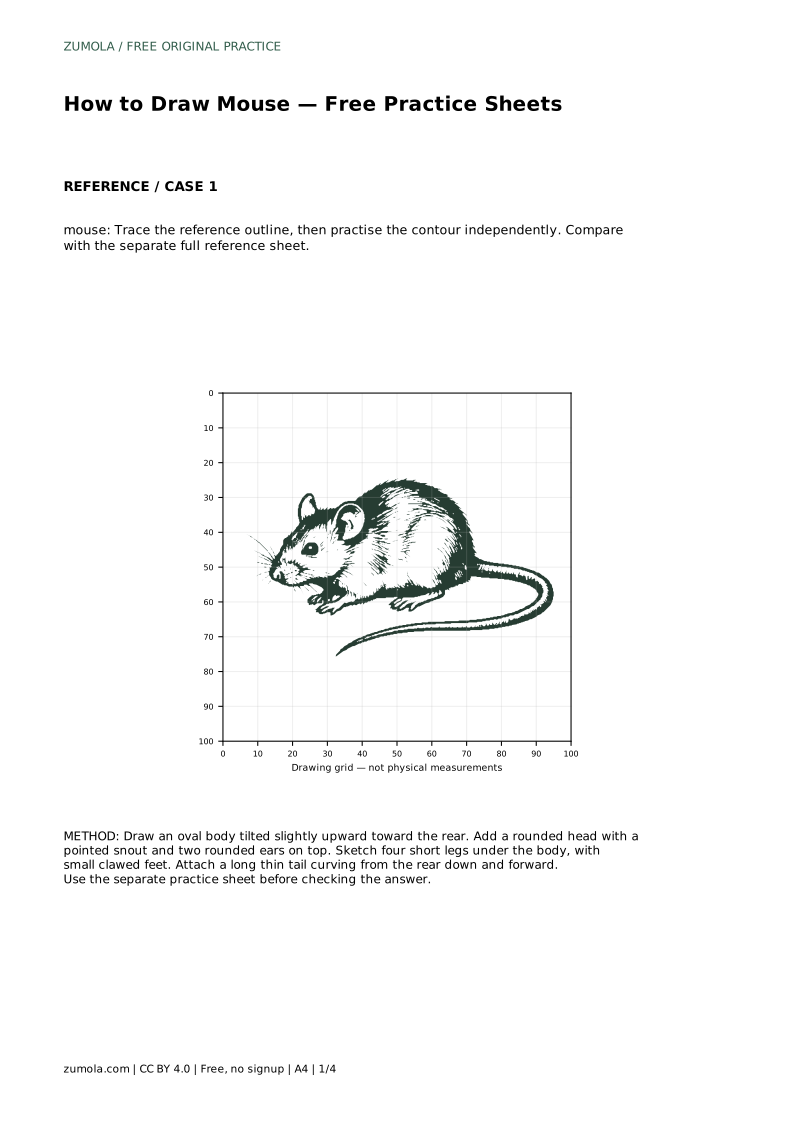
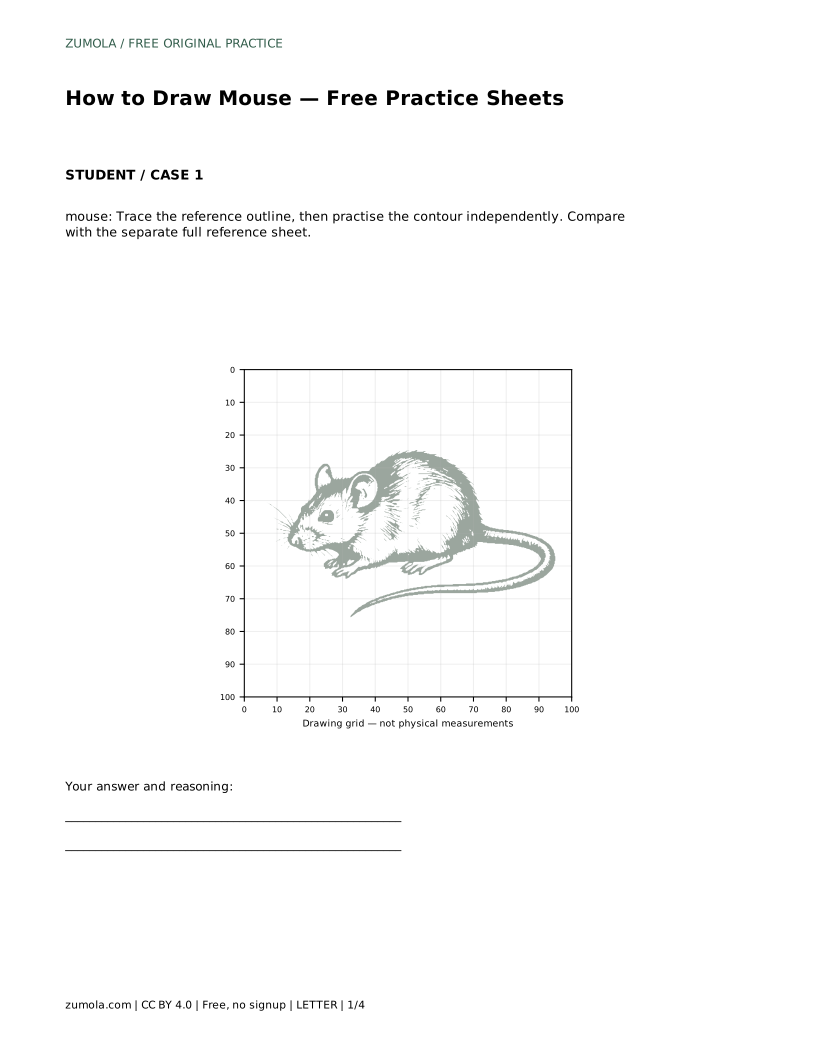
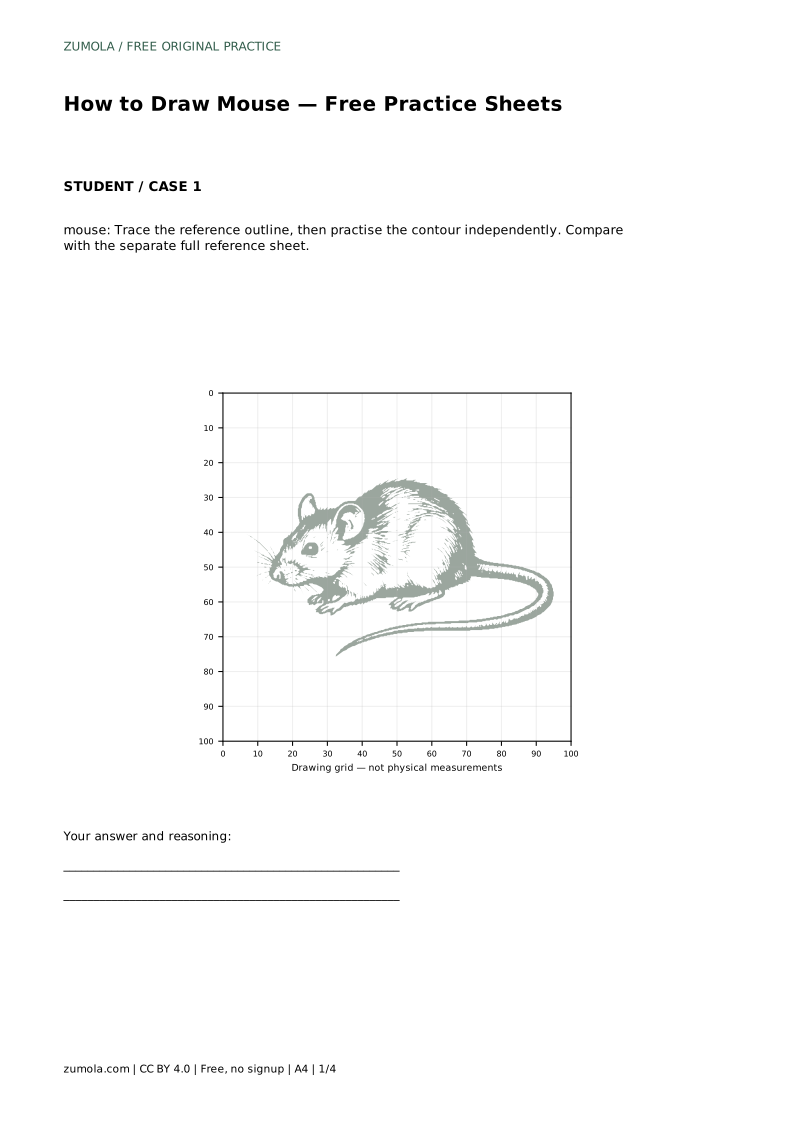
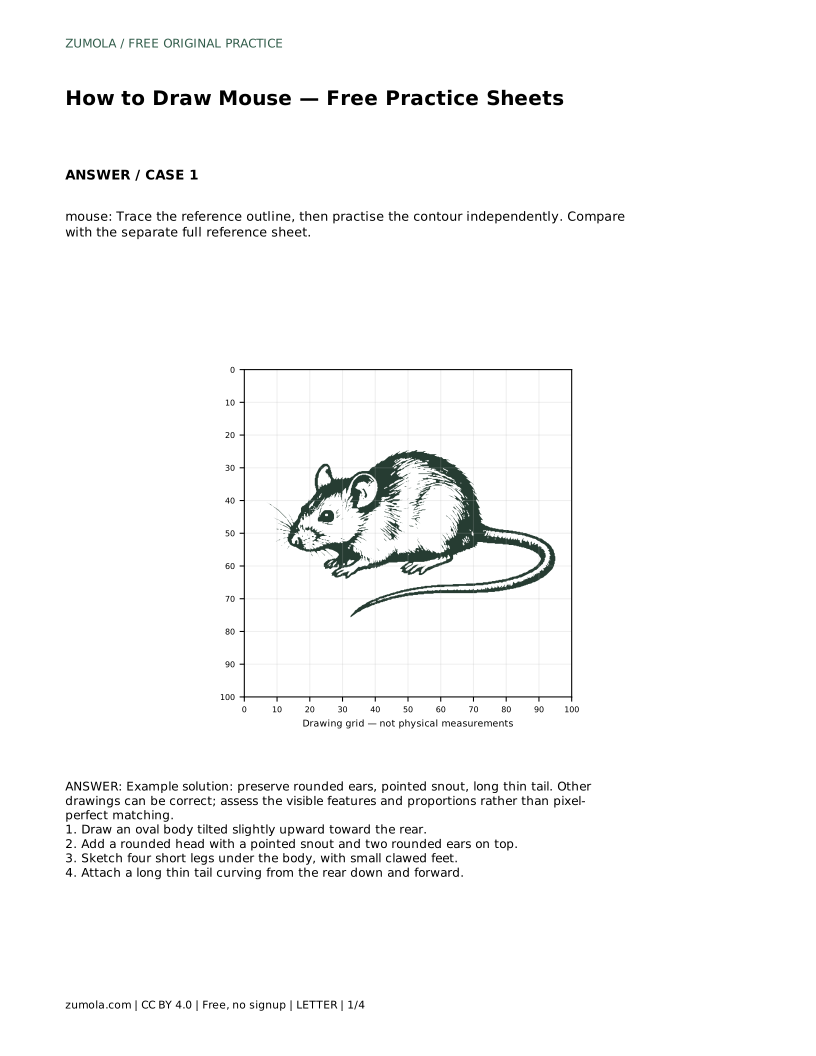
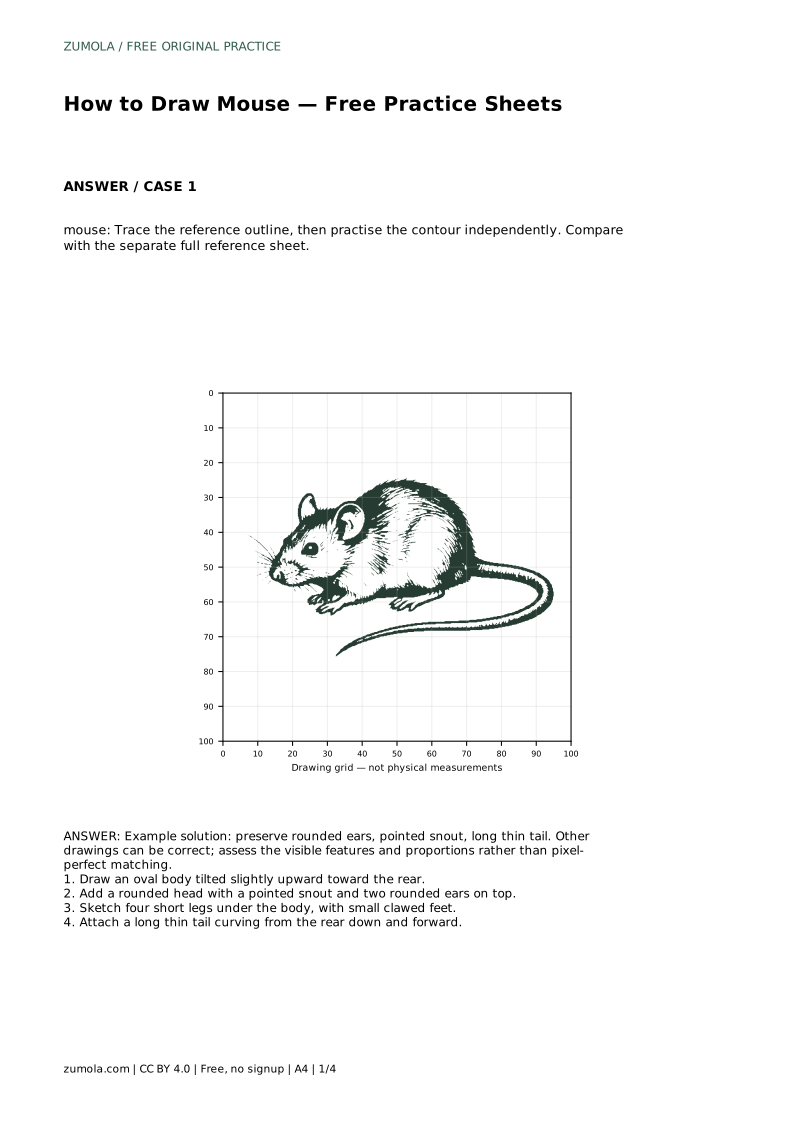
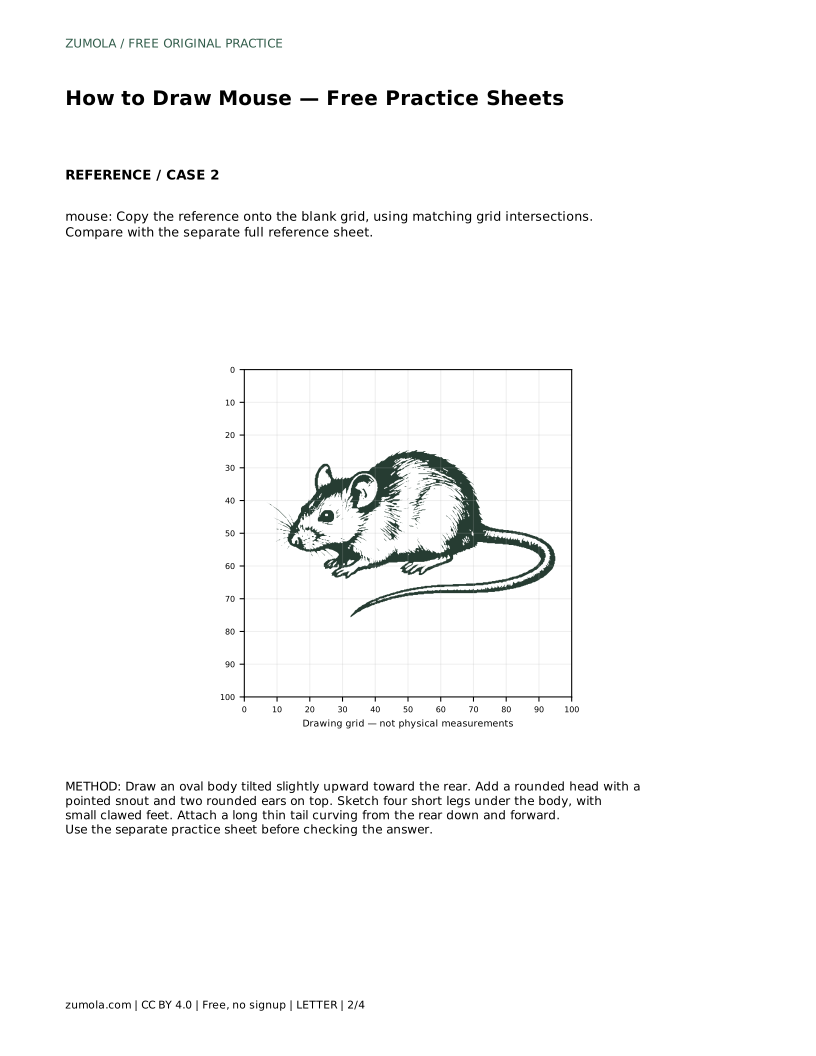
The tracing sheet asks you to follow the reference outline first, then practise the contour independently. Tracing helps you feel the sequence of curves, but the independent pass is where the learning happens. Compare your freehand contour with the separate full reference sheet and note which feature drifted: the ear size, the snout angle, the leg spacing, or the tail curve.
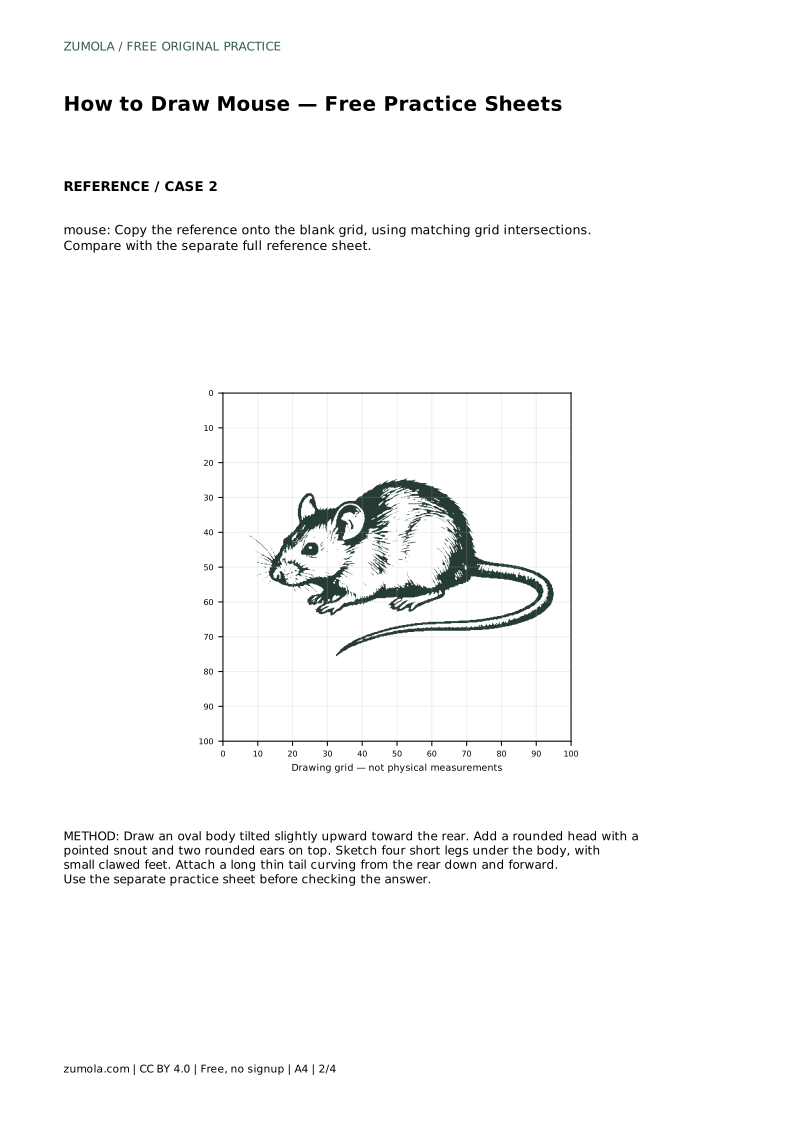
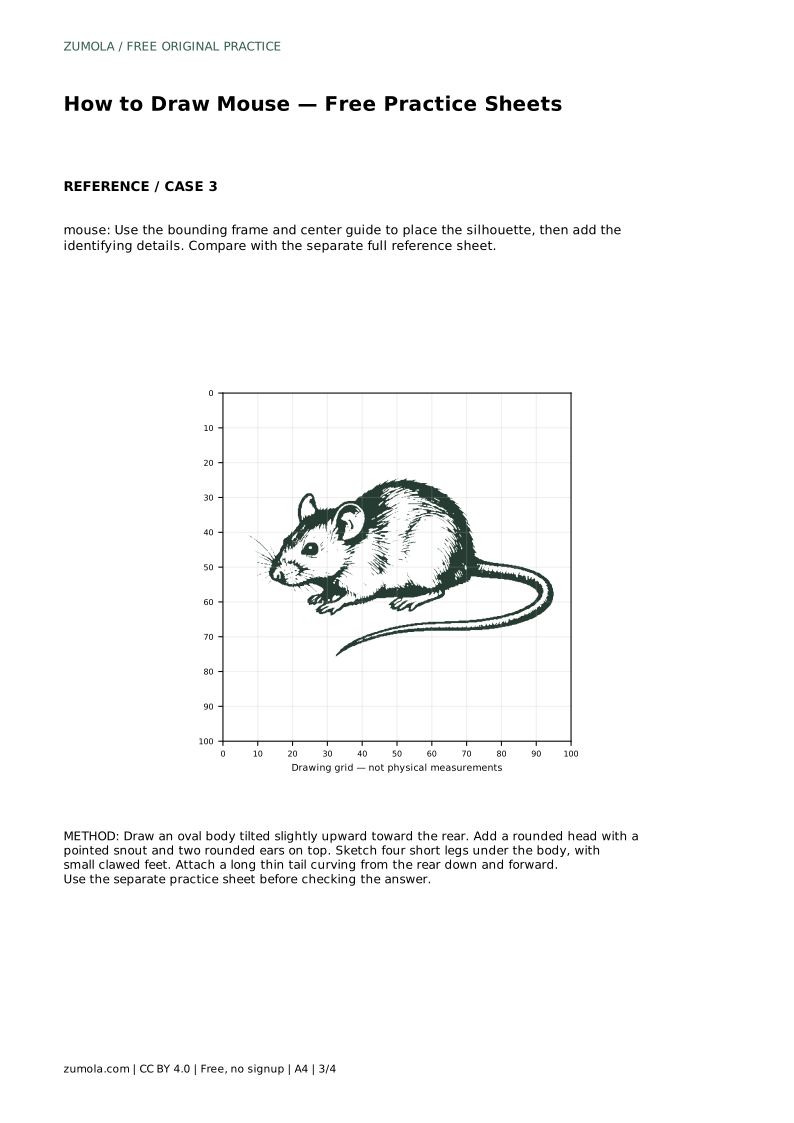
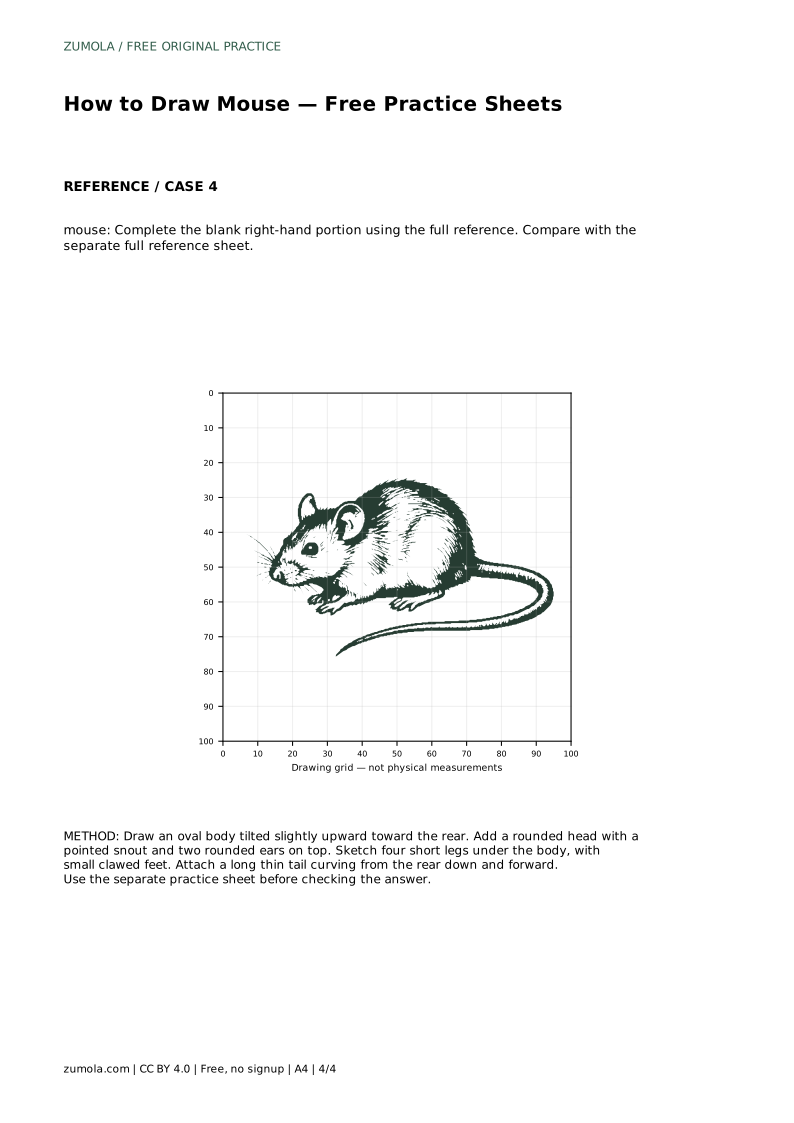
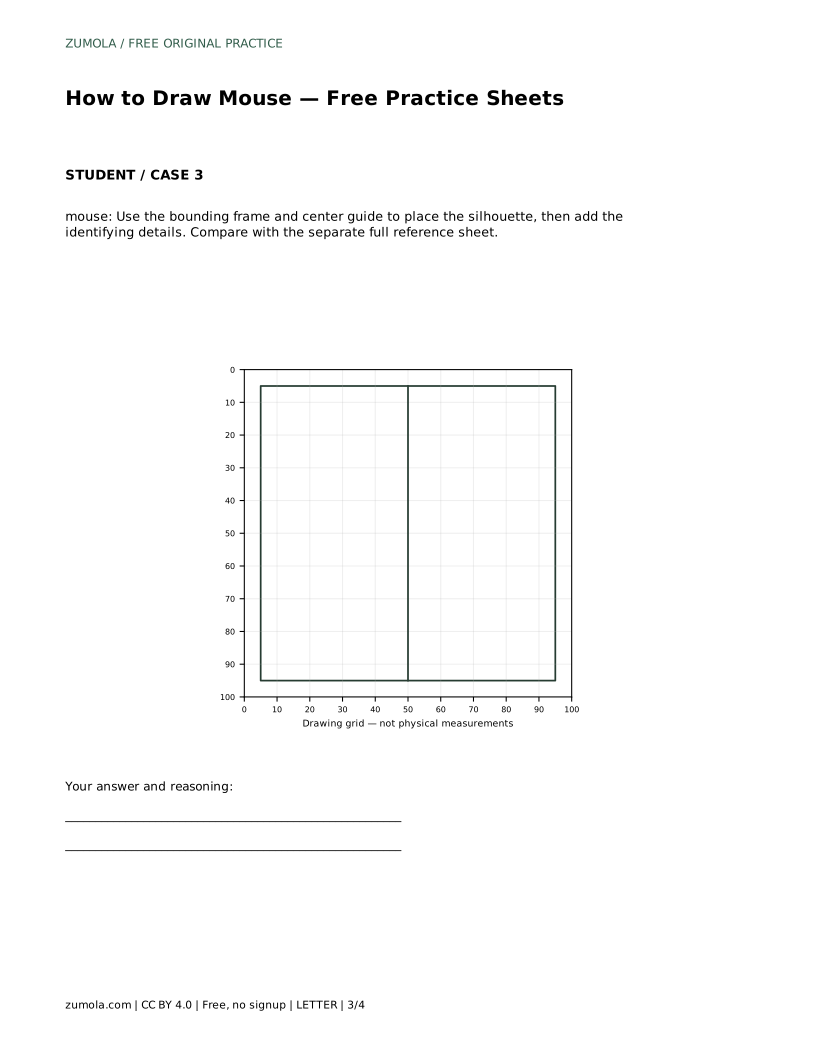
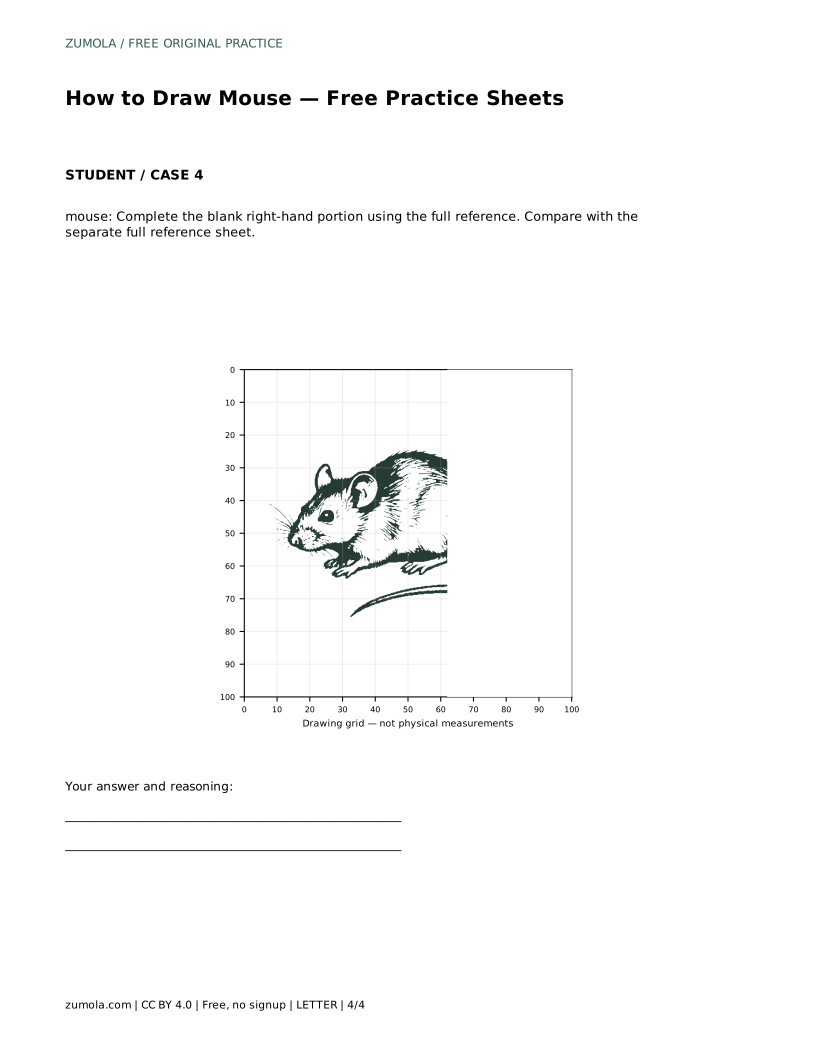
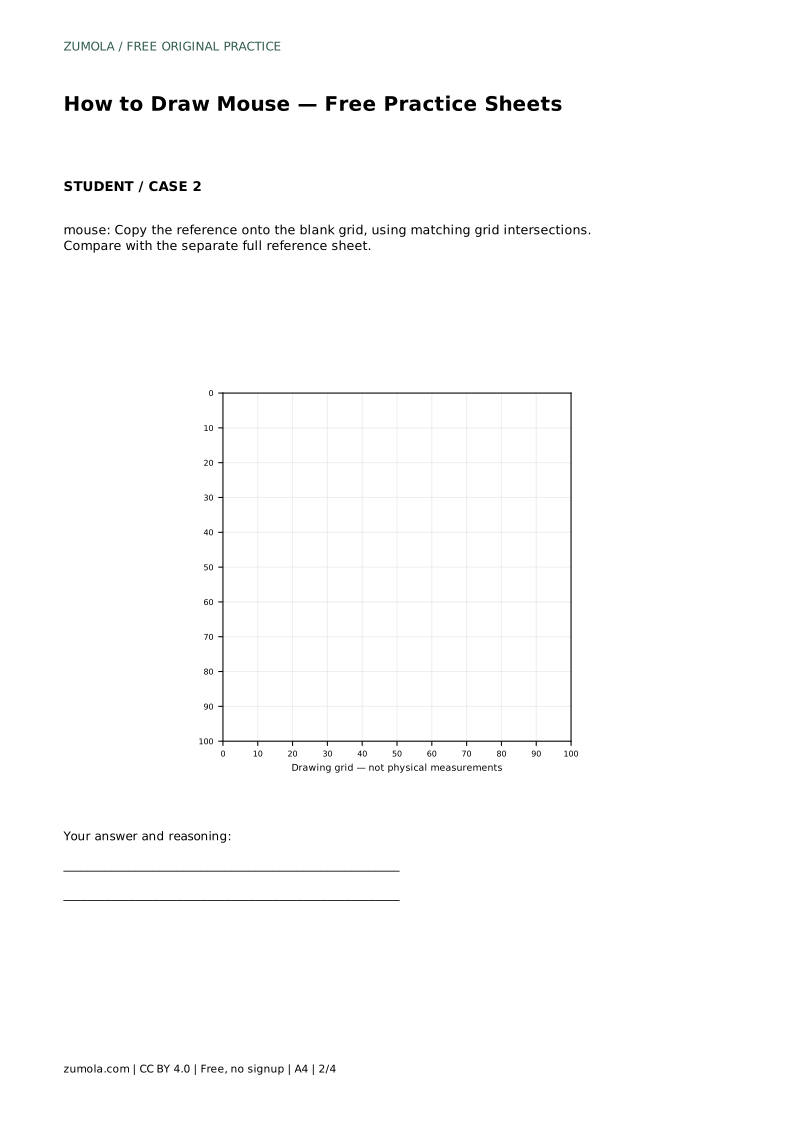
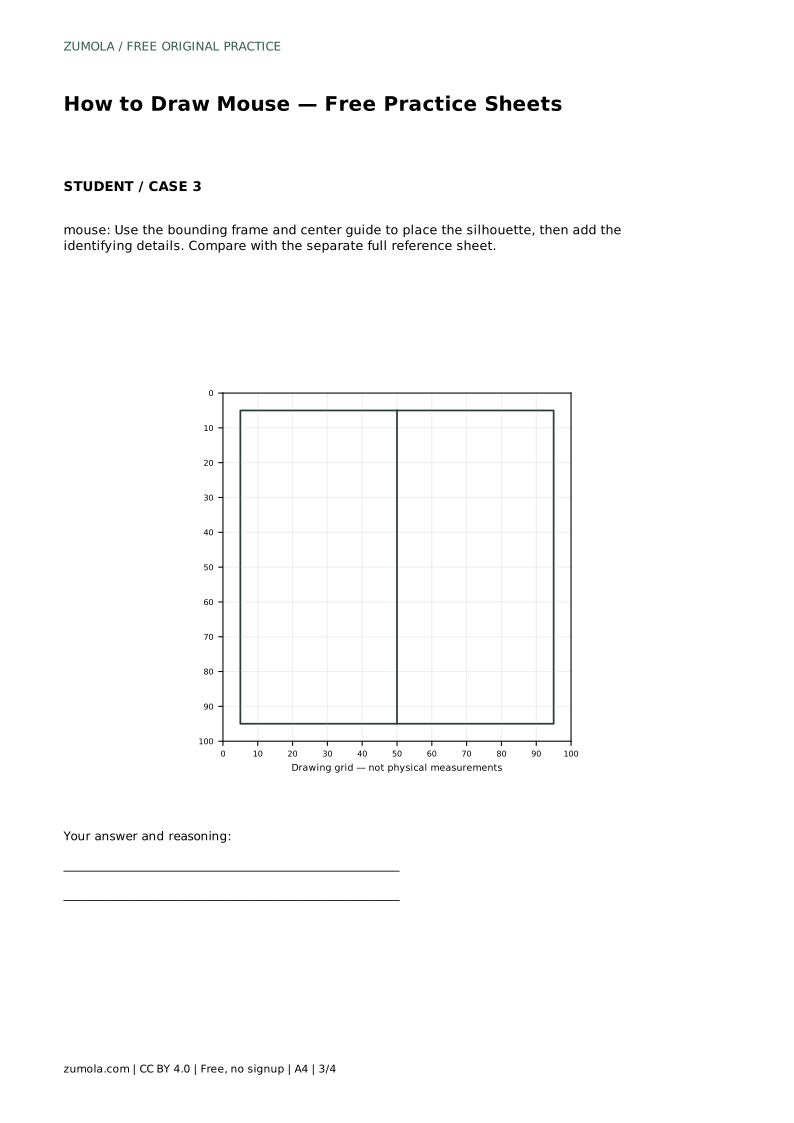
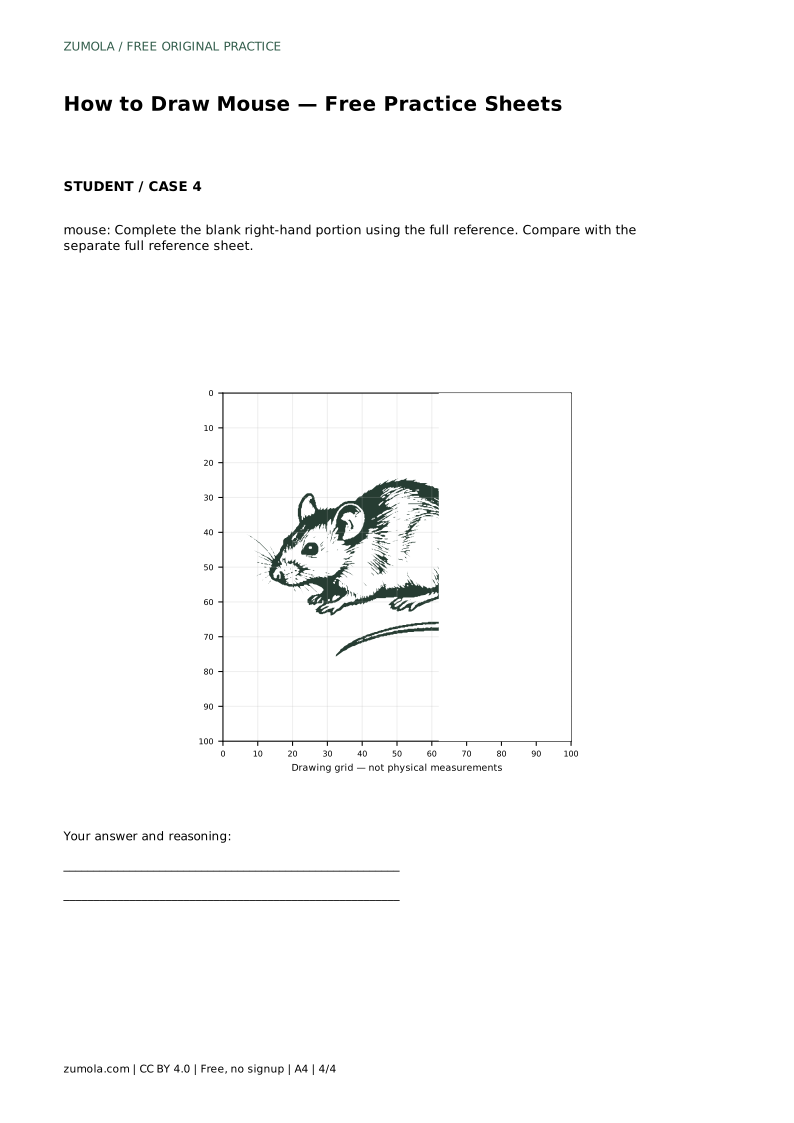
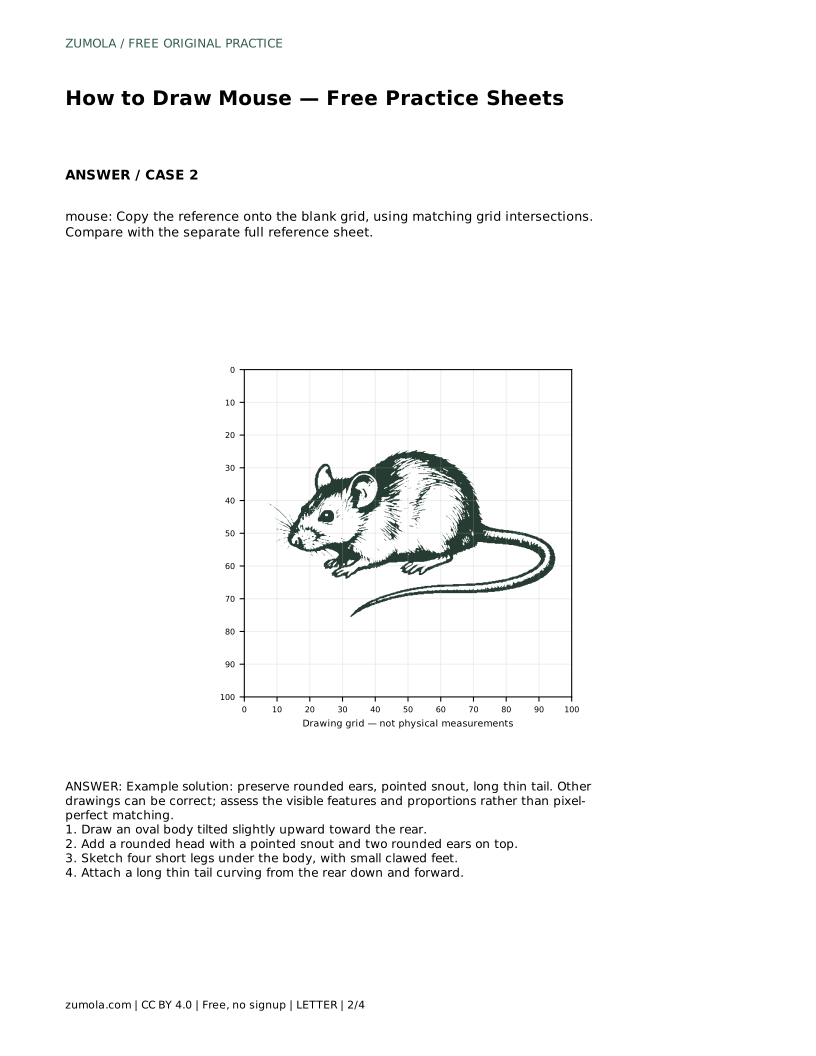
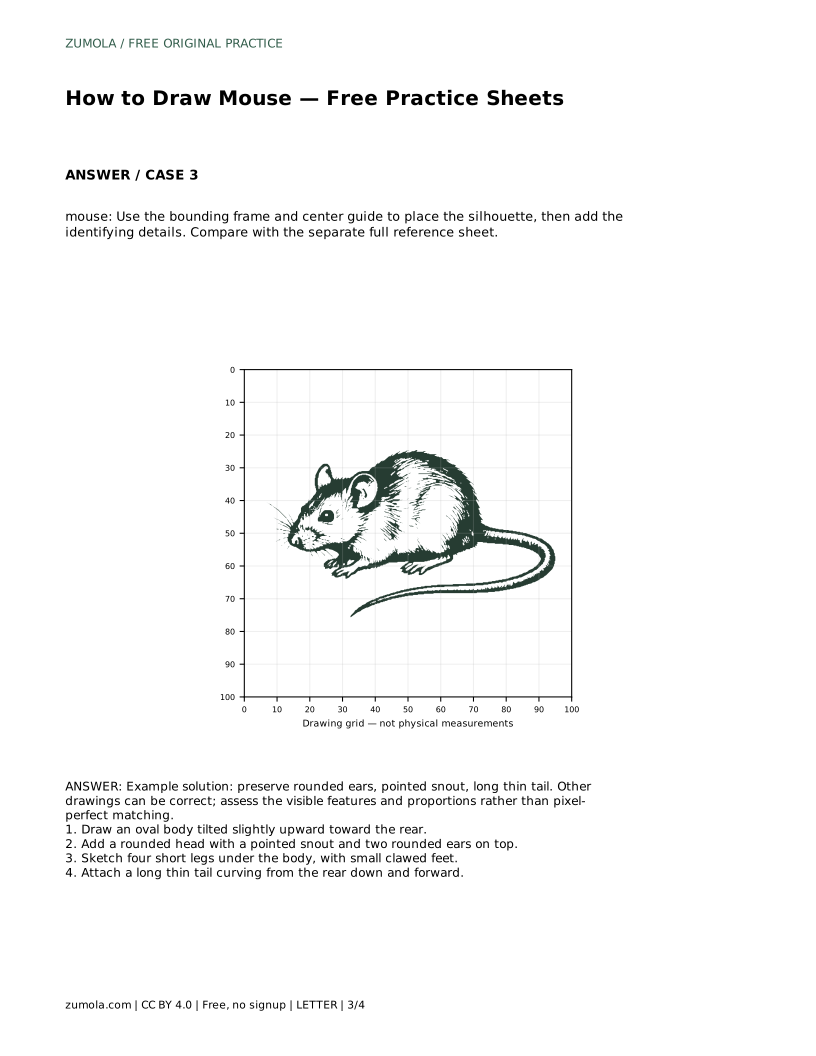
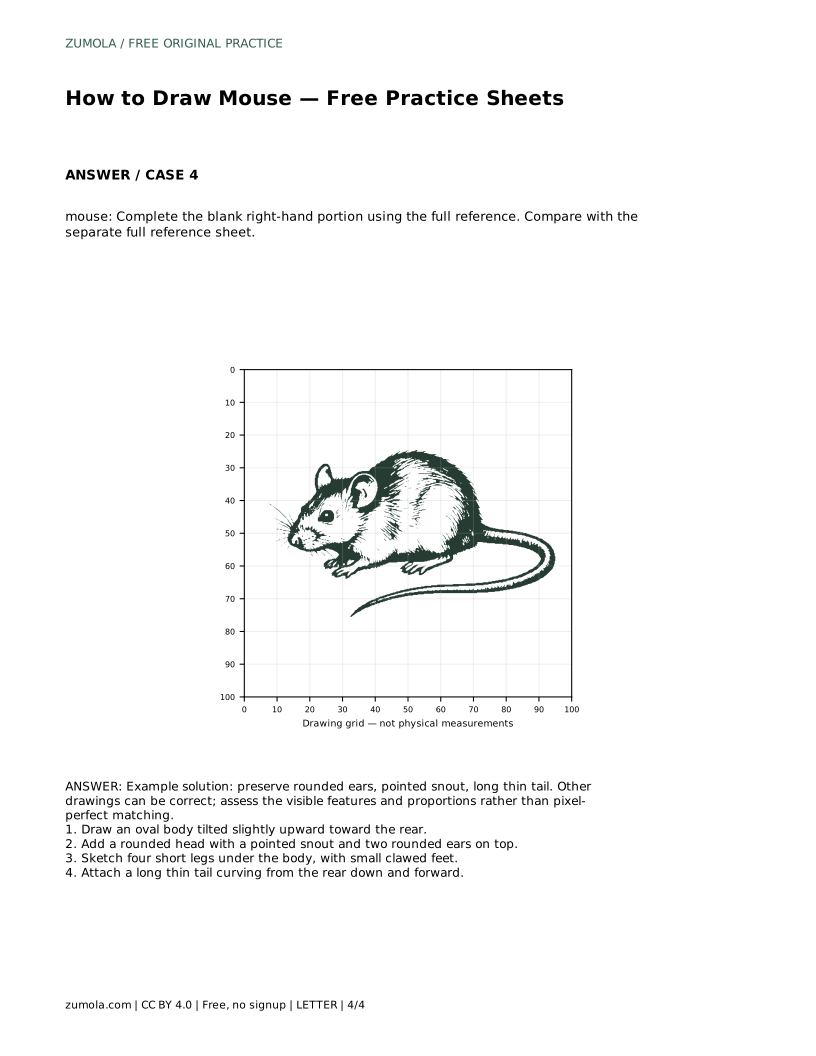
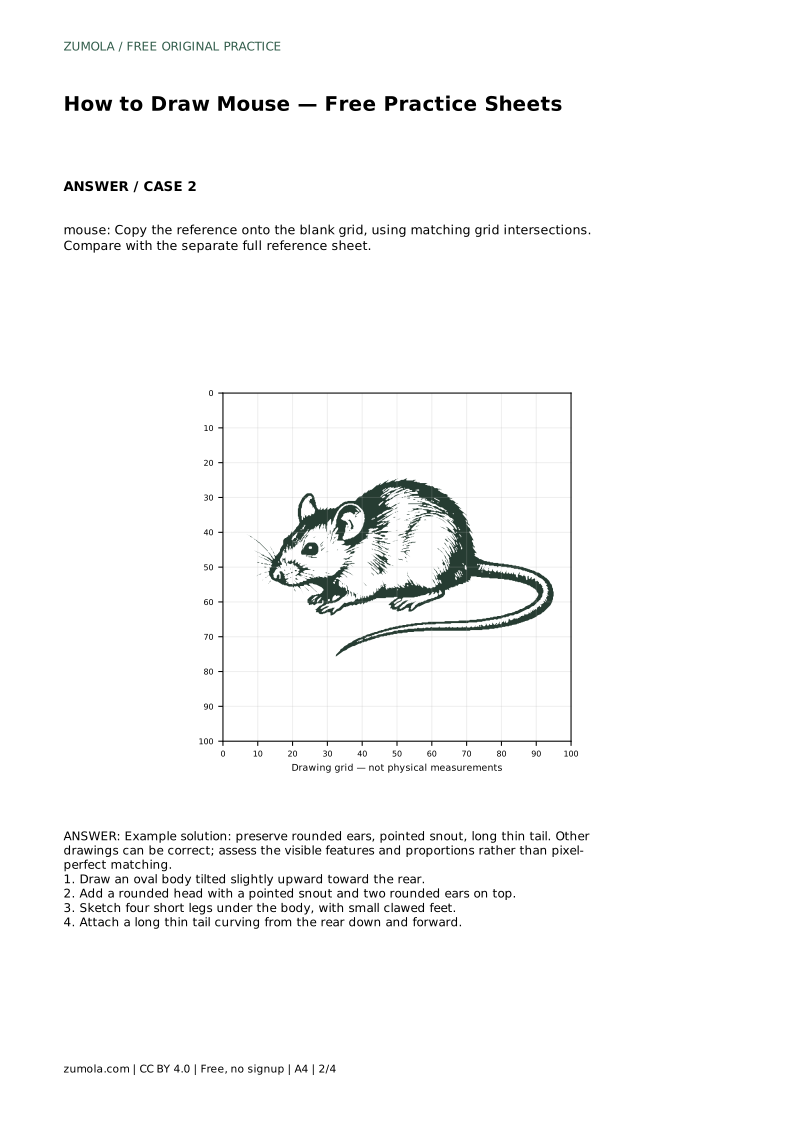
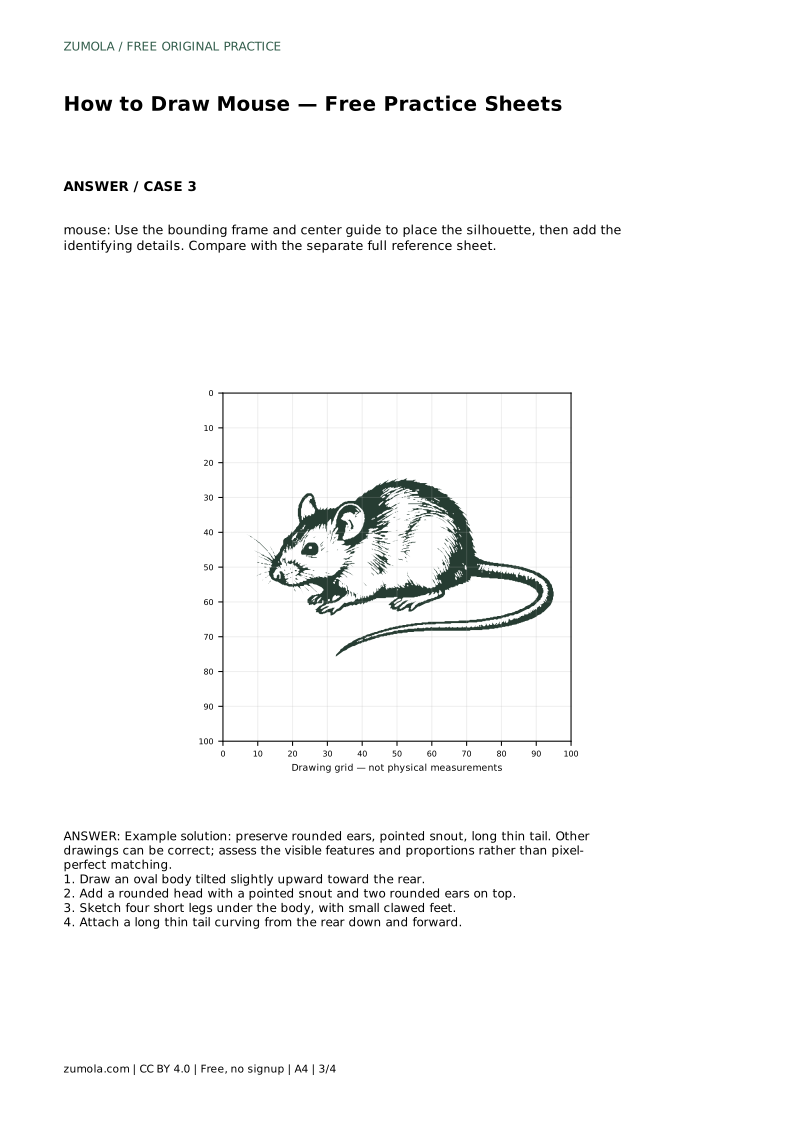
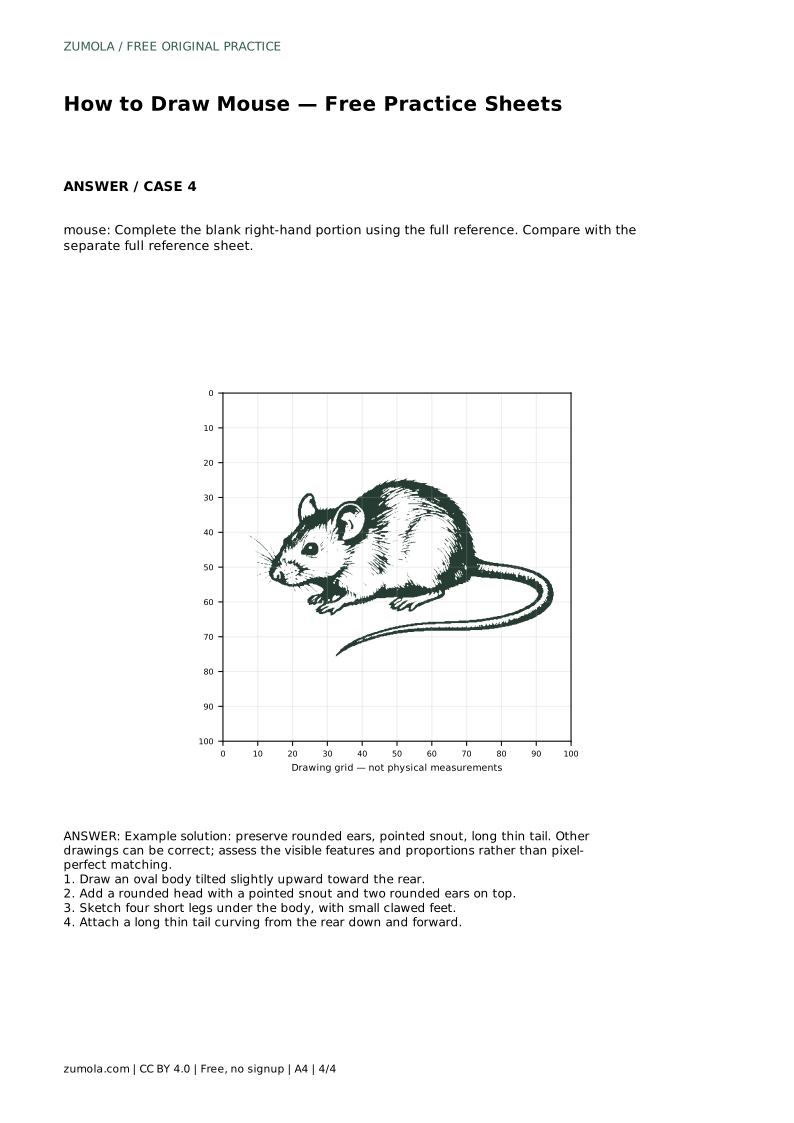
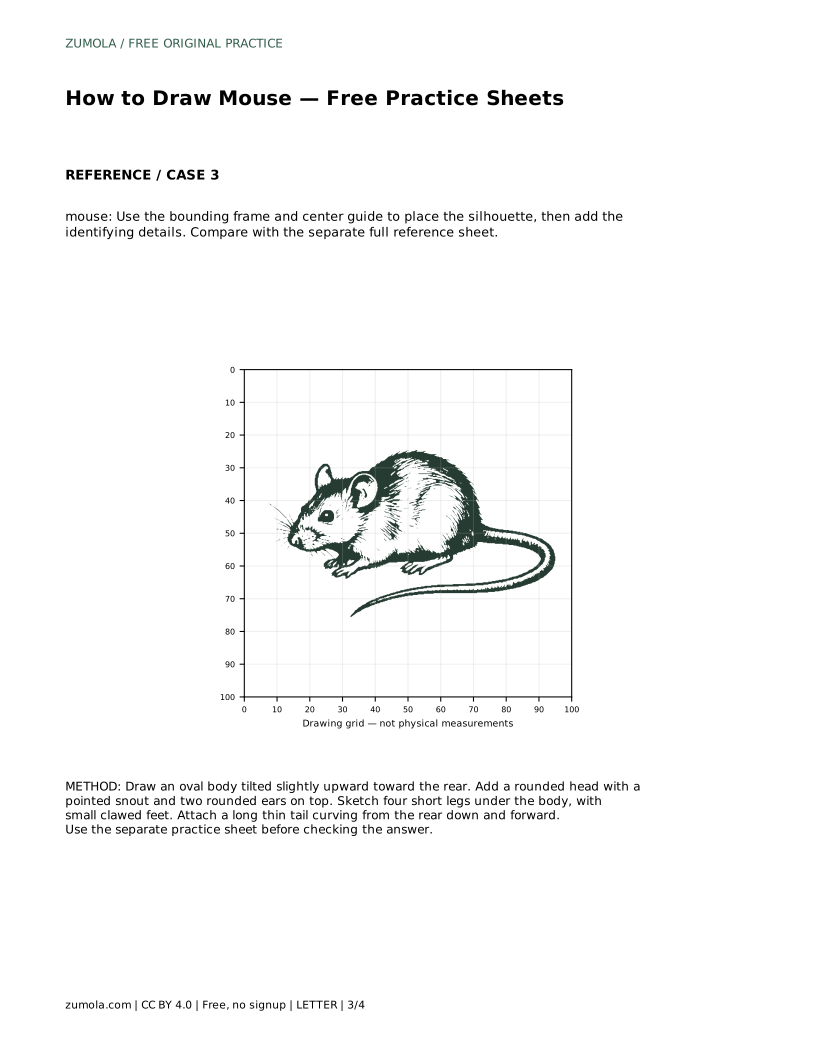
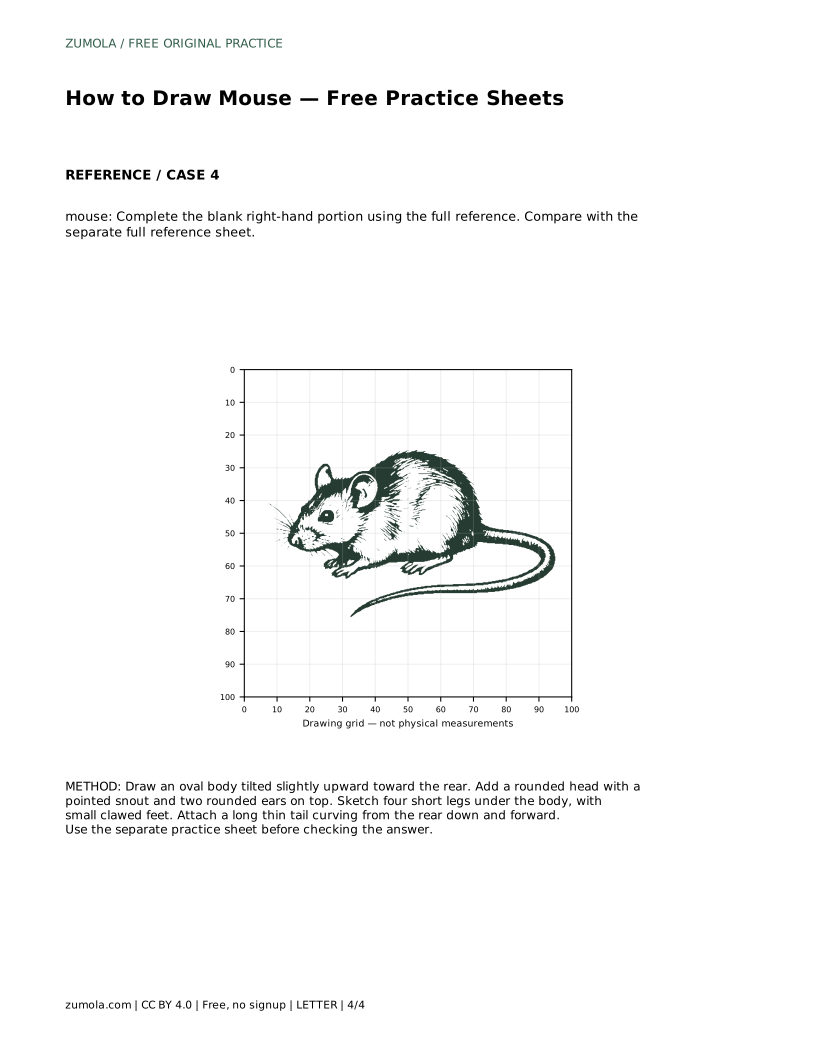
The grid sheet asks you to copy the reference onto a blank grid using matching grid intersections. Use the grid to judge where each major shape begins and ends, not to copy every tiny wobble. The bounding-frame sheet gives you a center guide and outer limits, so place the silhouette inside that frame before adding identifying details. The partial sheet asks you to complete the blank right-hand portion using the full reference, which tests whether you can continue a drawing rather than restart it.
A correct mouse drawing preserves the rounded ears, pointed snout, and long thin tail. Other drawings can be correct, so assess the visible features and proportions rather than pixel-perfect matching. Ask whether the ears are round and placed on top, whether the snout narrows clearly, whether four short legs sit under the body, and whether the tail is long and thin. Then check proportion: the tail should not be thicker than a leg, and the ears should not be larger than the head.
Keep the drawing as a construction exercise, not a clinical anatomy study. You are representing a recognizable mouse, not documenting internal structure. Small differences in curve and angle are acceptable as long as the identifying features remain clear and the parts relate sensibly to one another.
When you draw without a sheet, repeat the same order: body oval, head and snout, ears, legs, tail. Draw lightly at first so you can adjust placement. If the head feels too low, raise the body tilt slightly. If the tail crowds the legs, move its starting point farther back. These adjustments are normal and are part of learning to judge proportion.
Finish by comparing your drawing against the feature checklist rather than against a single ideal image. A drawing that keeps the rounded ears, pointed snout, and long thin tail, with four short legs under a tilted oval body, meets the task even if its curves differ from the reference.
mouse: Trace the reference outline, then practise the contour independently. Compare with the separate full reference sheet.
Example solution: preserve rounded ears, pointed snout, long thin tail. Other drawings can be correct; assess the visible features and proportions rather than pixel-perfect matching. Draw an oval body tilted slightly upward toward the rear. Add a rounded head with a pointed snout and two rounded ears on top. Sketch four short legs under the body, with small clawed feet. Attach a long thin tail curving from the rear down and forward.
No. Preserve the rounded ears, pointed snout, and long thin tail, and assess visible features and proportions rather than pixel-perfect matching.
Start with the tracing sheet to learn the contour, then use the grid or bounding-frame sheet to practise placement independently.
Show four short legs beneath the body, each ending in a small foot, so the mouse reads as a four-legged animal.
All drawing practice · Free coordinate paper
Original resources · CC BY 4.0 · Free for personal and classroom use with attribution.