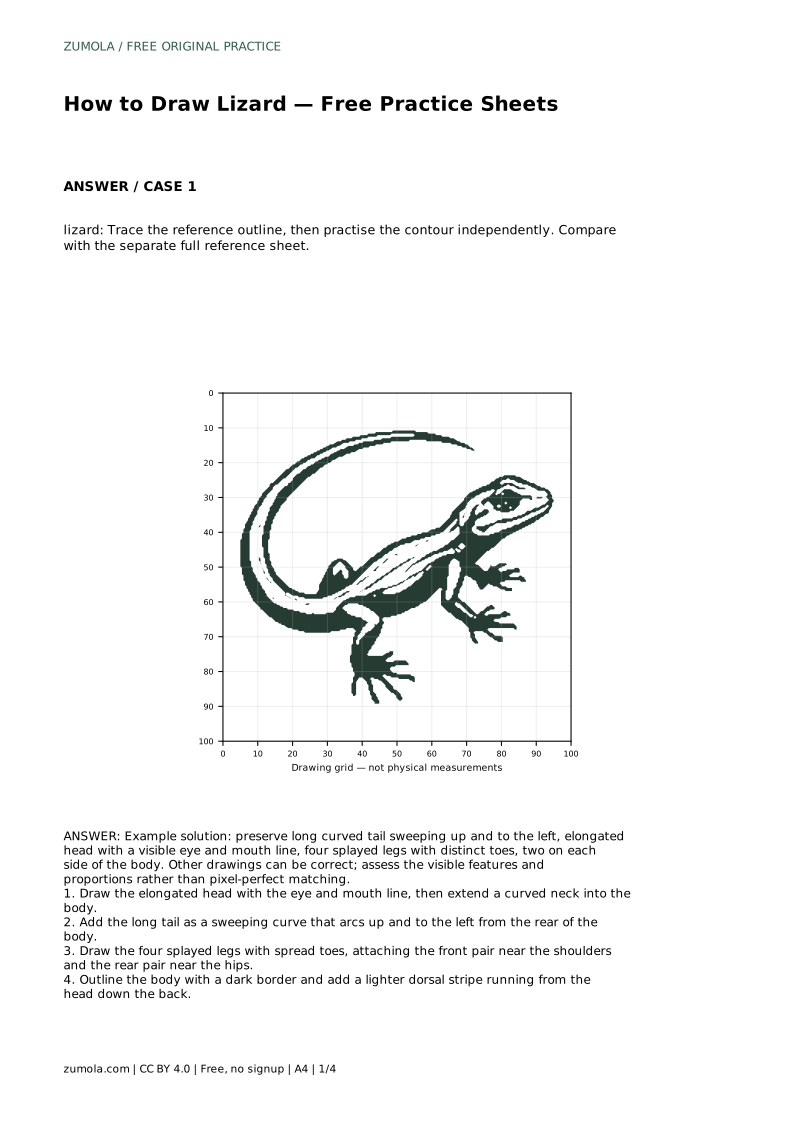
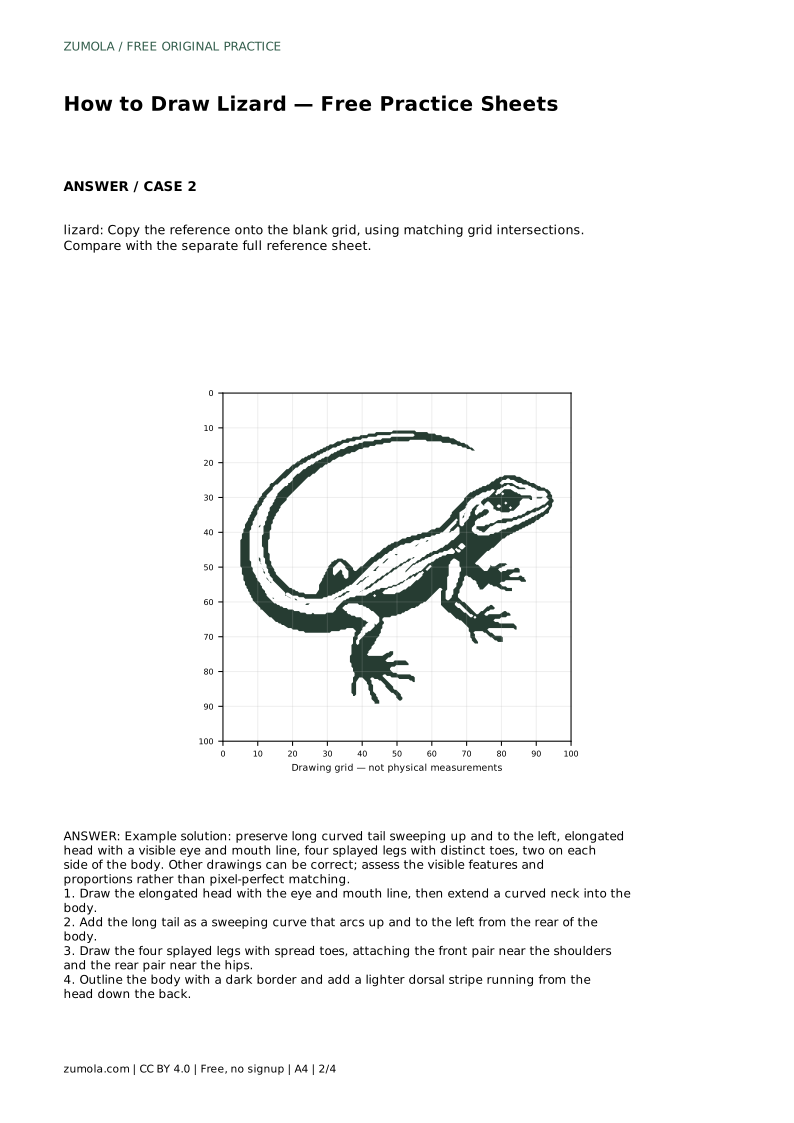
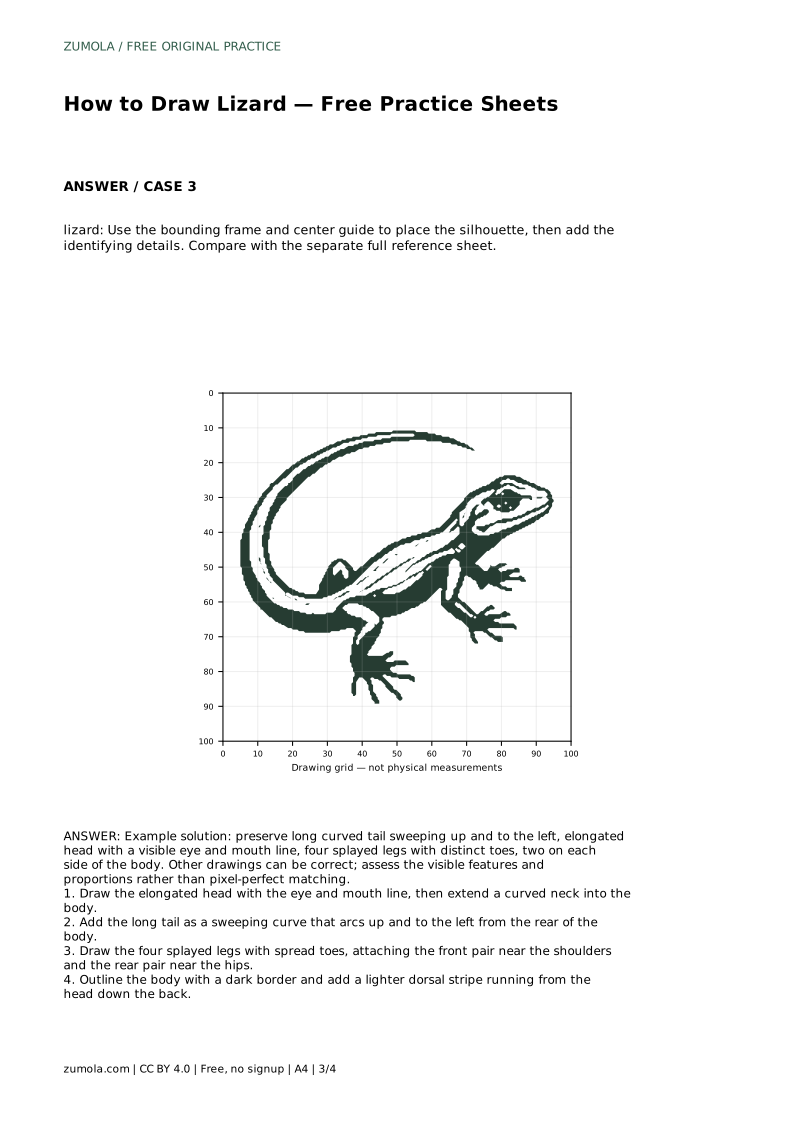
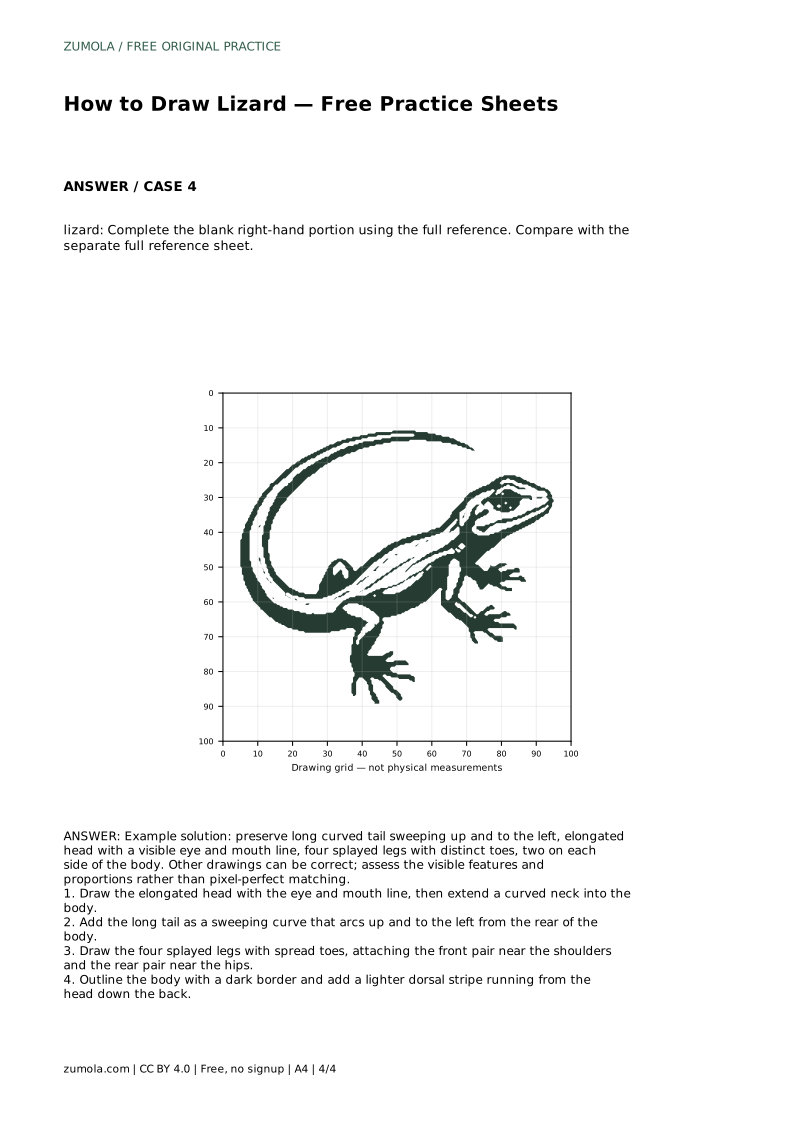
Reference diagrams
LETTER · Download PDF
A4 · Download PDF
Free original resources
Learn to draw a lizard by building an elongated head, a long curved tail, and four splayed legs with toes. Includes tracing, grid, and frame practice methods.
Four original cases, with reference diagrams, practice sheets and worked answers. Everything is free; no signup required.
LETTER · Download PDF
A4 · Download PDF
LETTER · Download PDF
A4 · Download PDF
LETTER · Download PDF
A4 · Download PDF
Use A4 or US Letter to match your printer. Use the stated values and conditions to solve each exercise; diagrams are not physical measuring rulers.
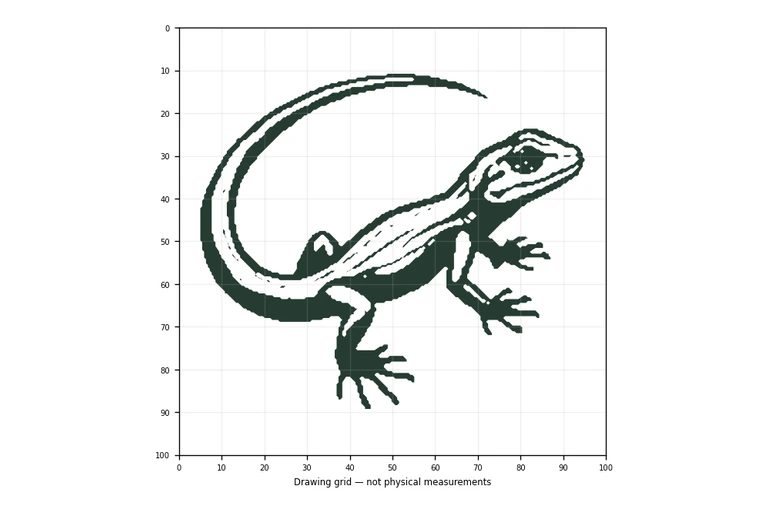
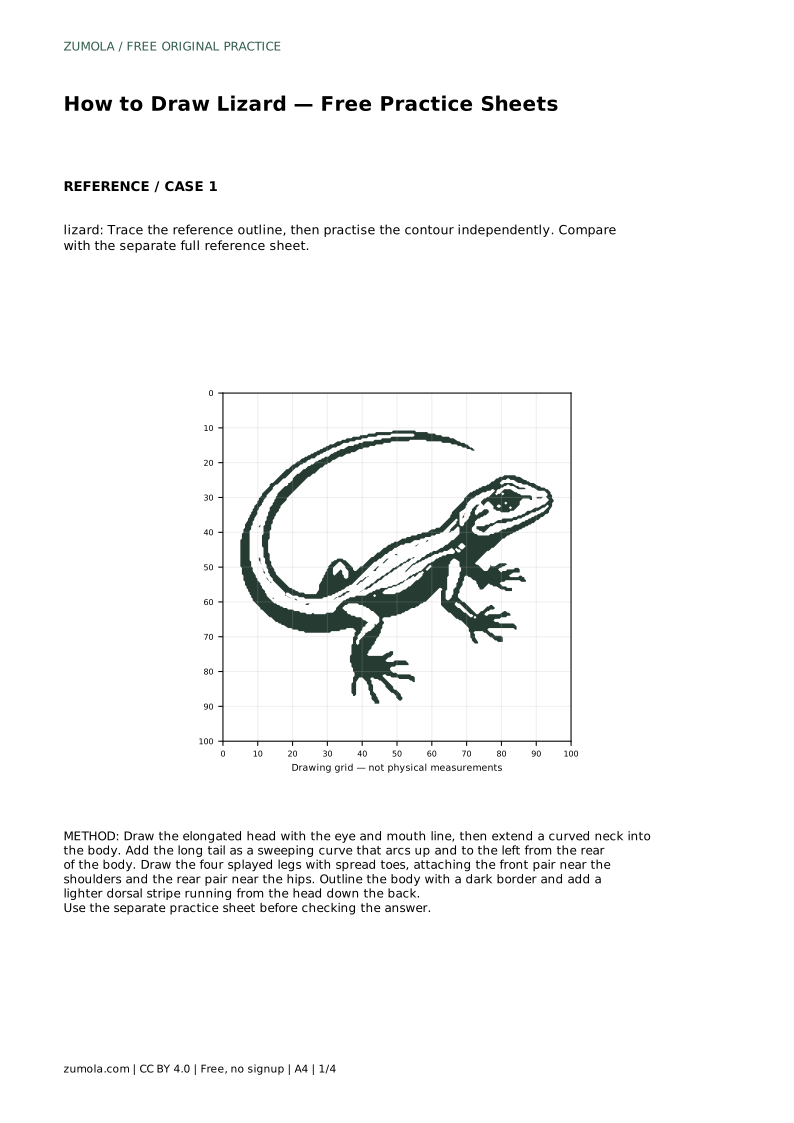
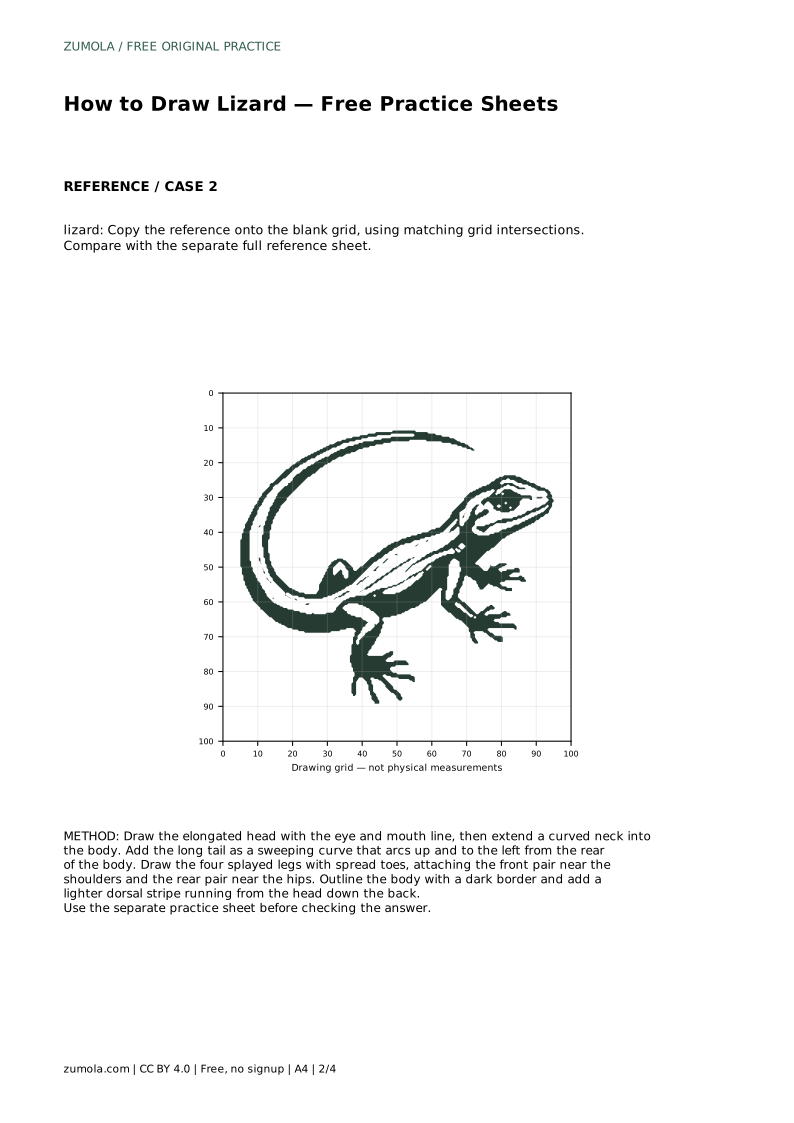
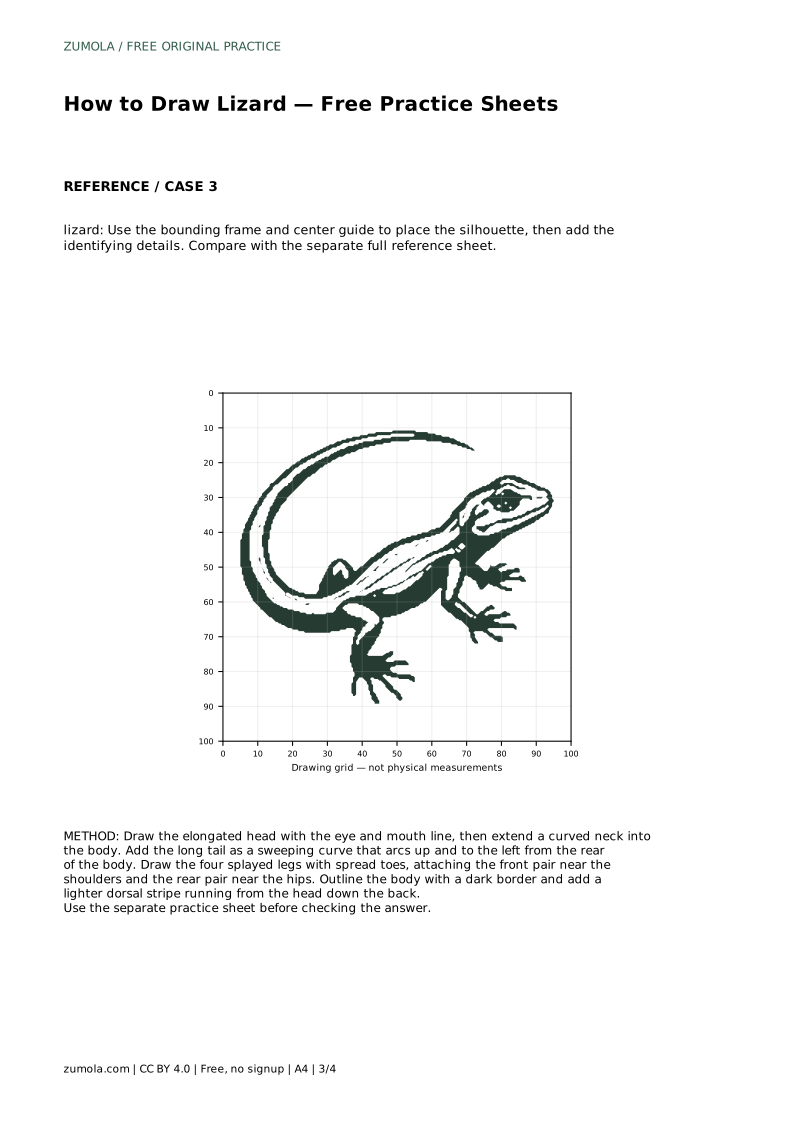
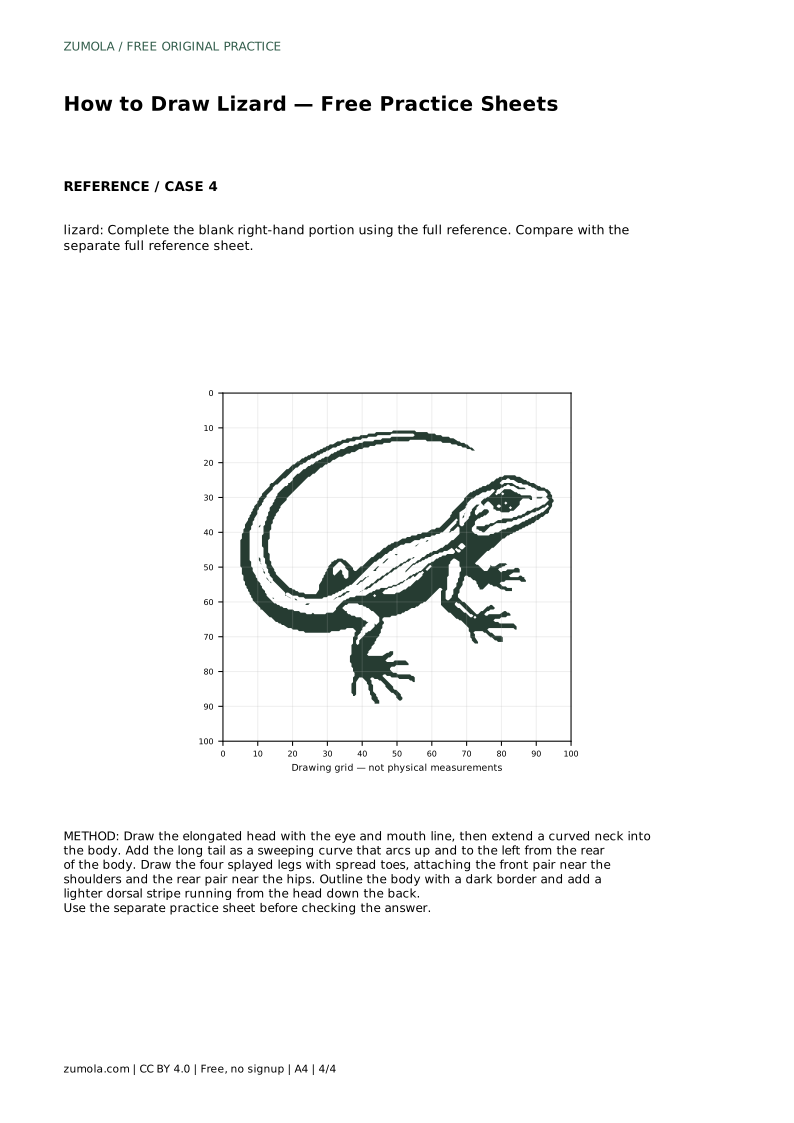
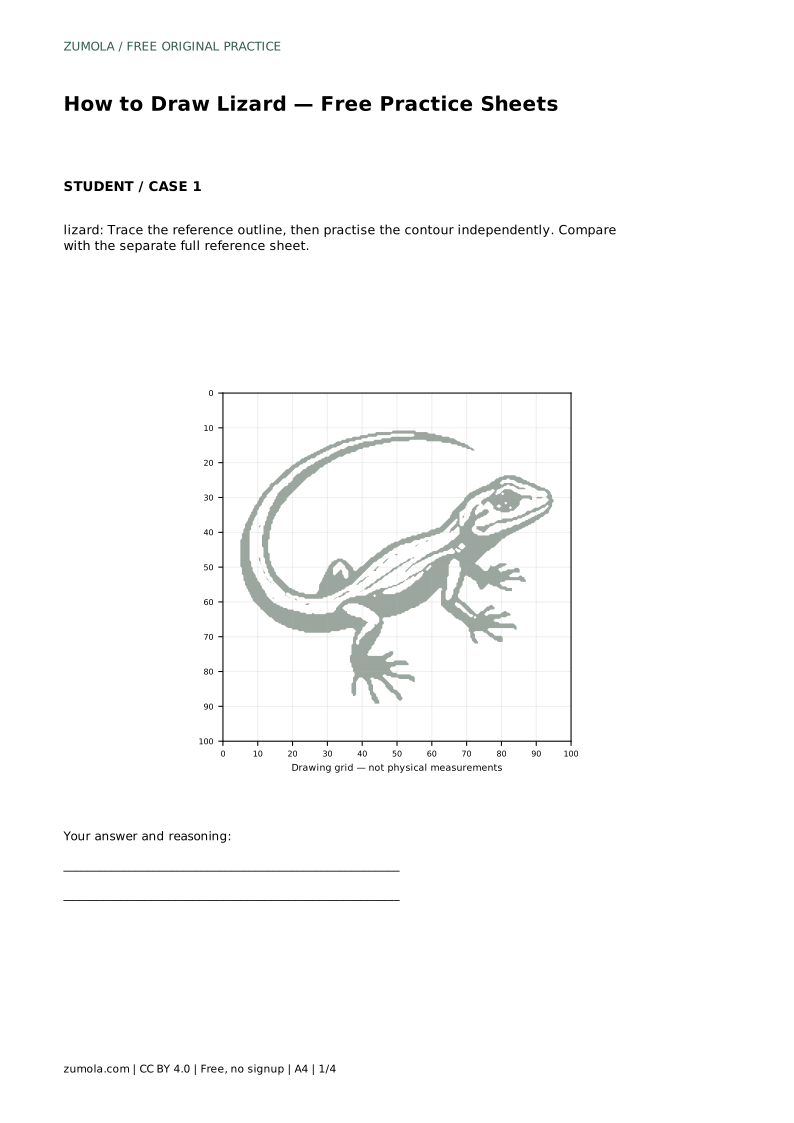
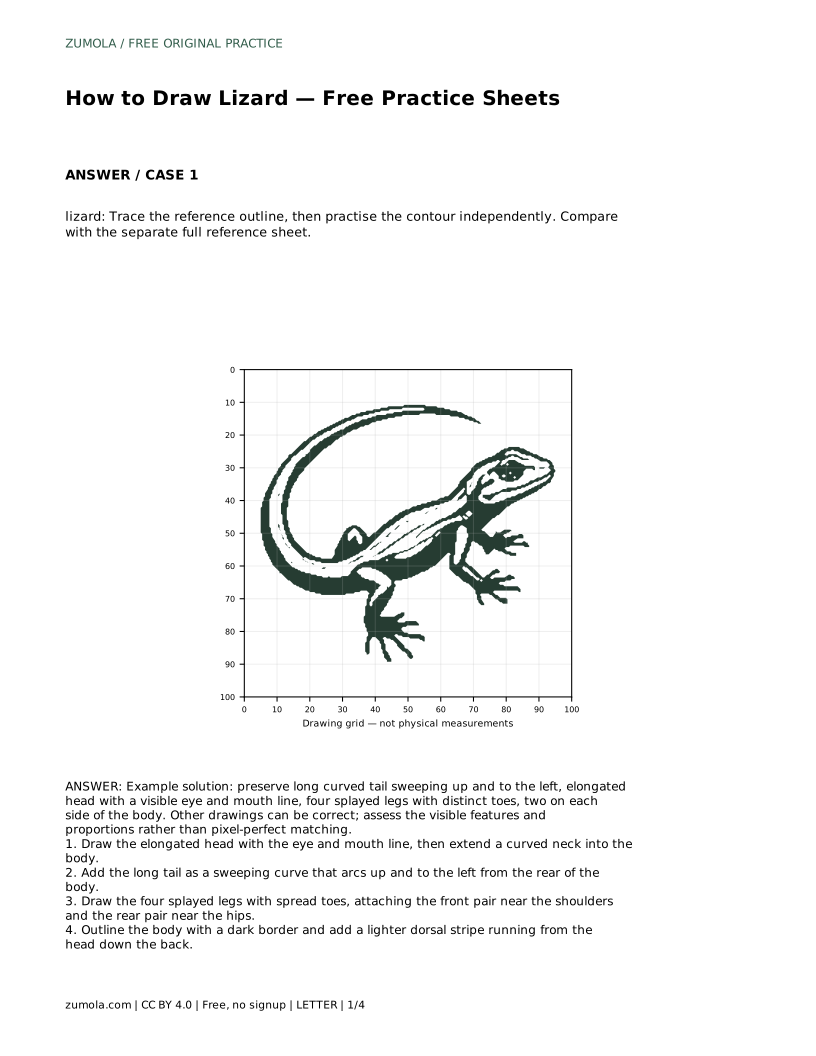
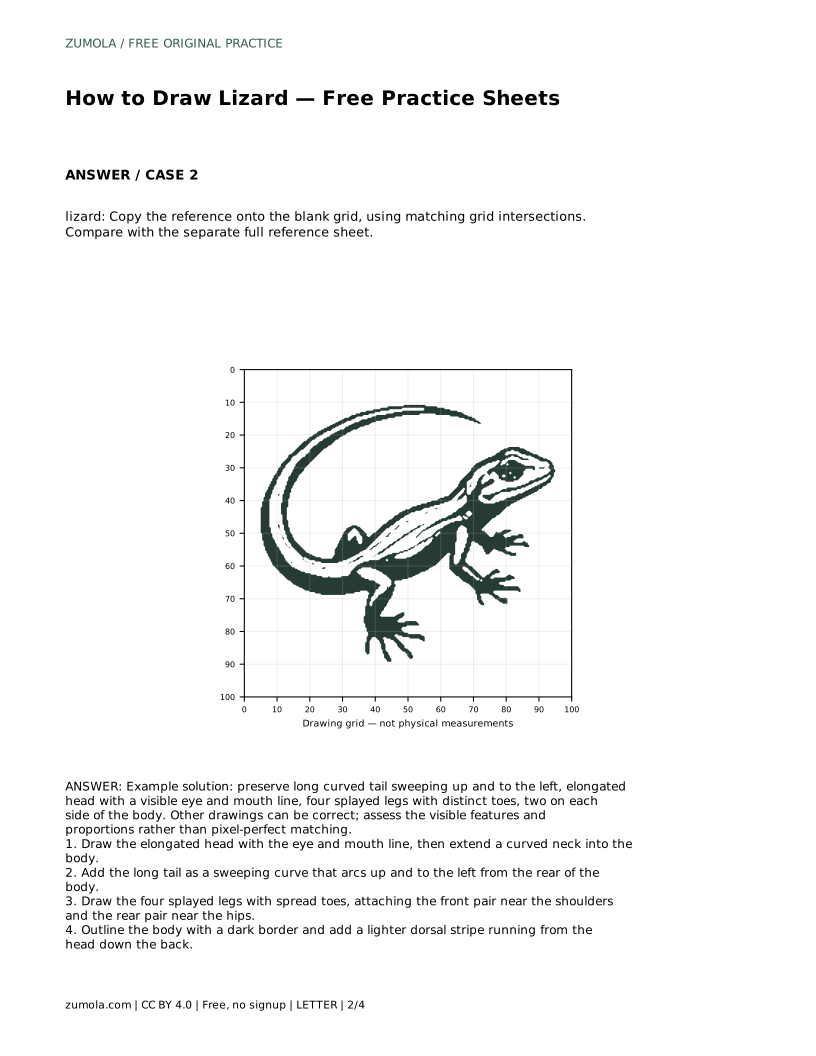
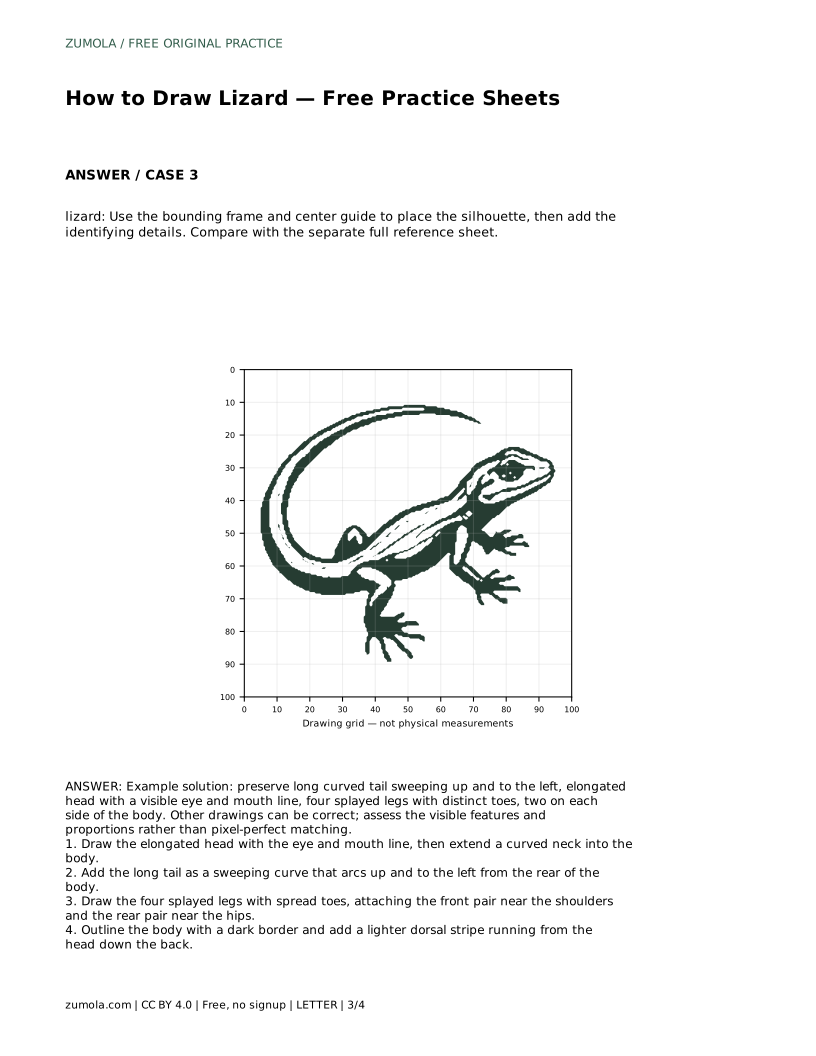
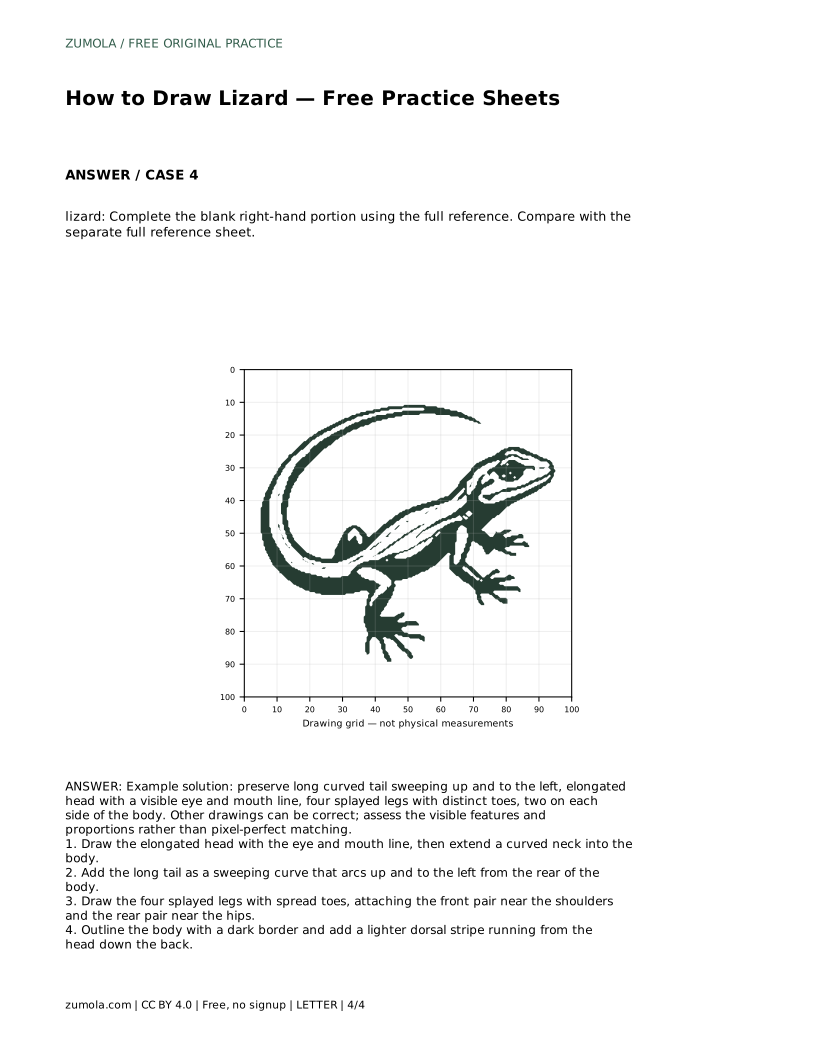
A convincing lizard drawing depends on a few clear shapes: an elongated head, a low body, four splayed legs with visible toes, and a long tail that sweeps away from the body. This page explains how to build those parts in order, then how to practise them with tracing, grid, and frame guides. The goal is not a pixel-perfect copy. Different drawings can be correct when the identifying features and proportions are visible and well placed.
Begin with the head rather than the outline of the whole animal. Draw an elongated oval or wedge for the skull, slightly wider at the back than at the snout. Place the eye near the upper front of the head and add a short mouth line along the lower edge. These two details do most of the work of making the shape read as a lizard rather than a generic blob.
From the back of the head, extend a curved neck into a low, slightly flattened body. Keep the body longer than it is tall. The neck should flow into the torso without a sharp corner, because lizards rest close to the ground and their profile is usually a continuous curve.
The tail is the largest single shape after the body. Draw it as a sweeping curve that arcs up and to the left from the rear of the body, tapering gradually toward the tip. Avoid a straight stick: a gentle S-curve or upward sweep gives the drawing movement and matches the reference layout used in the practice sheets.
Next, place four splayed legs. Attach the front pair near the shoulders and the rear pair near the hips. Each leg should angle outward from the body, and each foot should show distinct, spread toes. Toes are a key identifying feature, so do not reduce the feet to simple stubs. Keep the two legs on each side clearly separated so the animal does not look like it has only two limbs.
Once the main shapes are placed, outline the body with a dark border. A single confident contour line reads better than many sketchy strokes, so trace over your construction lines and then erase or ignore the guides. Add a lighter dorsal stripe running from the head down the back. This stripe helps separate the back from the sides and reinforces the long, low body shape.
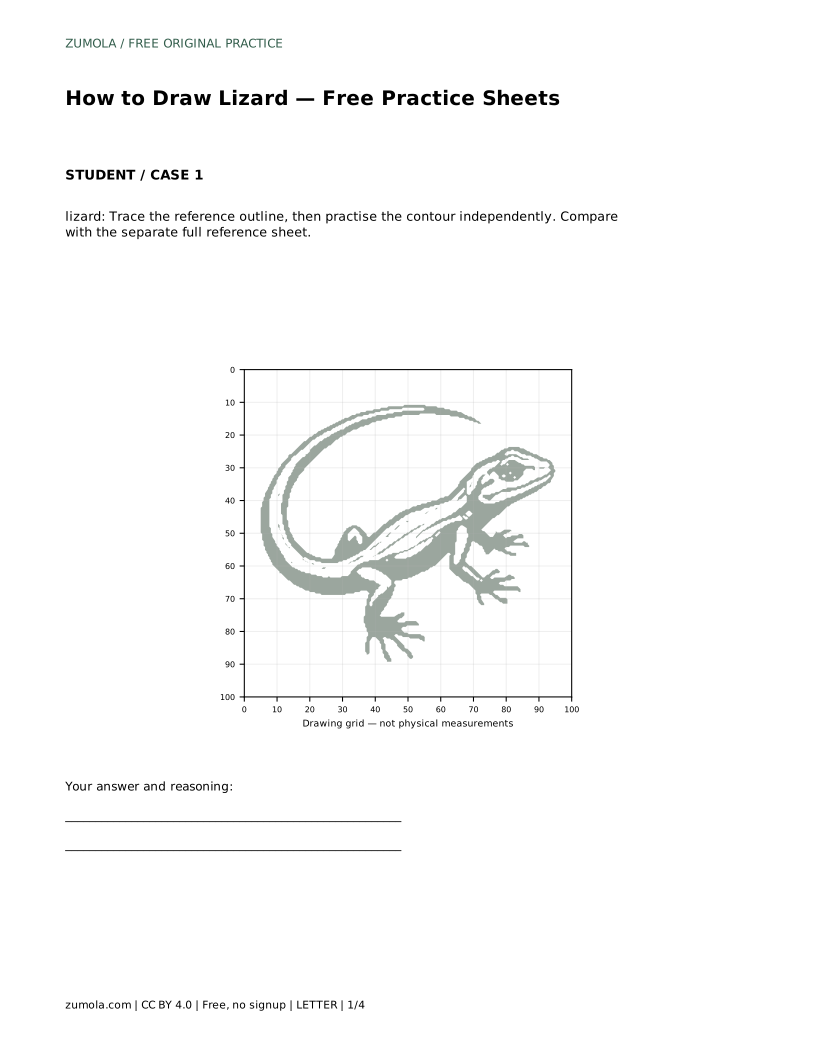
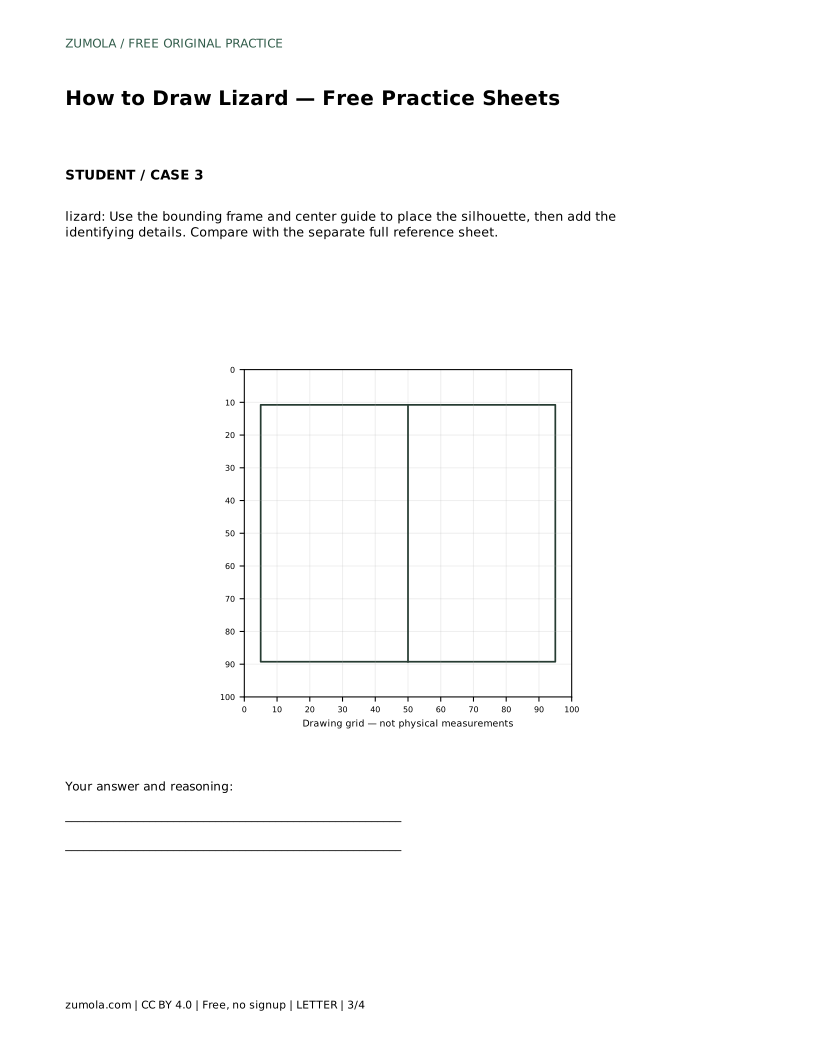
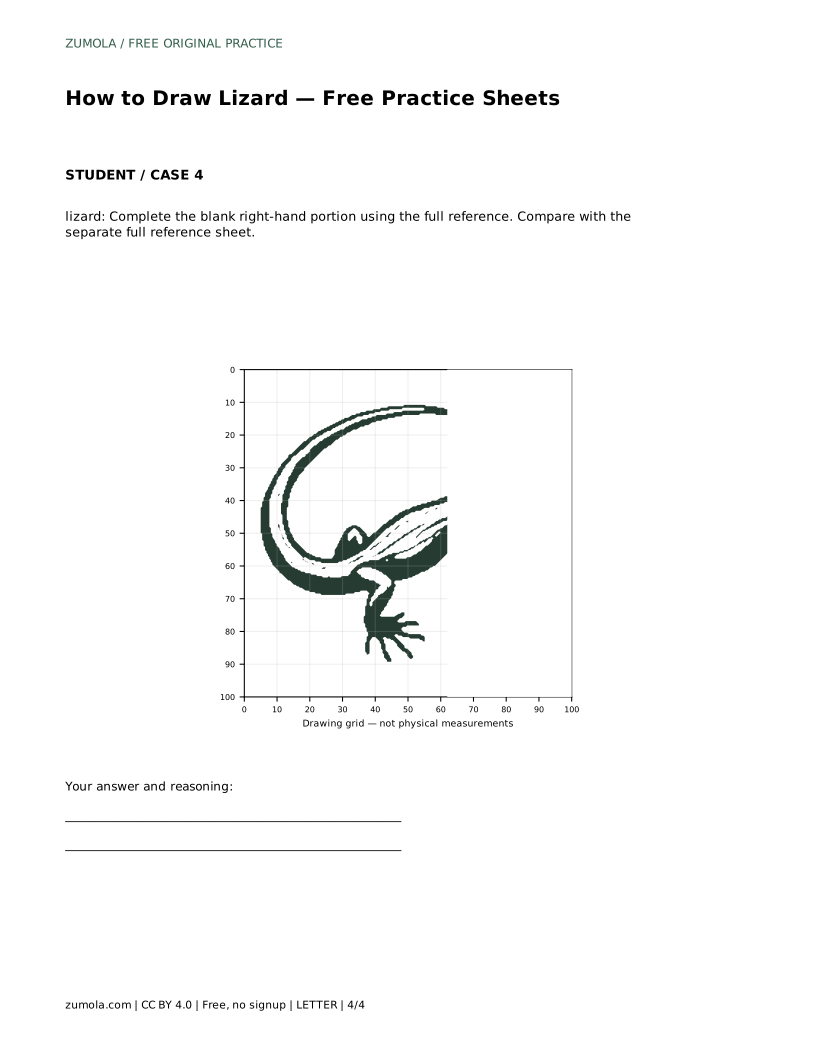
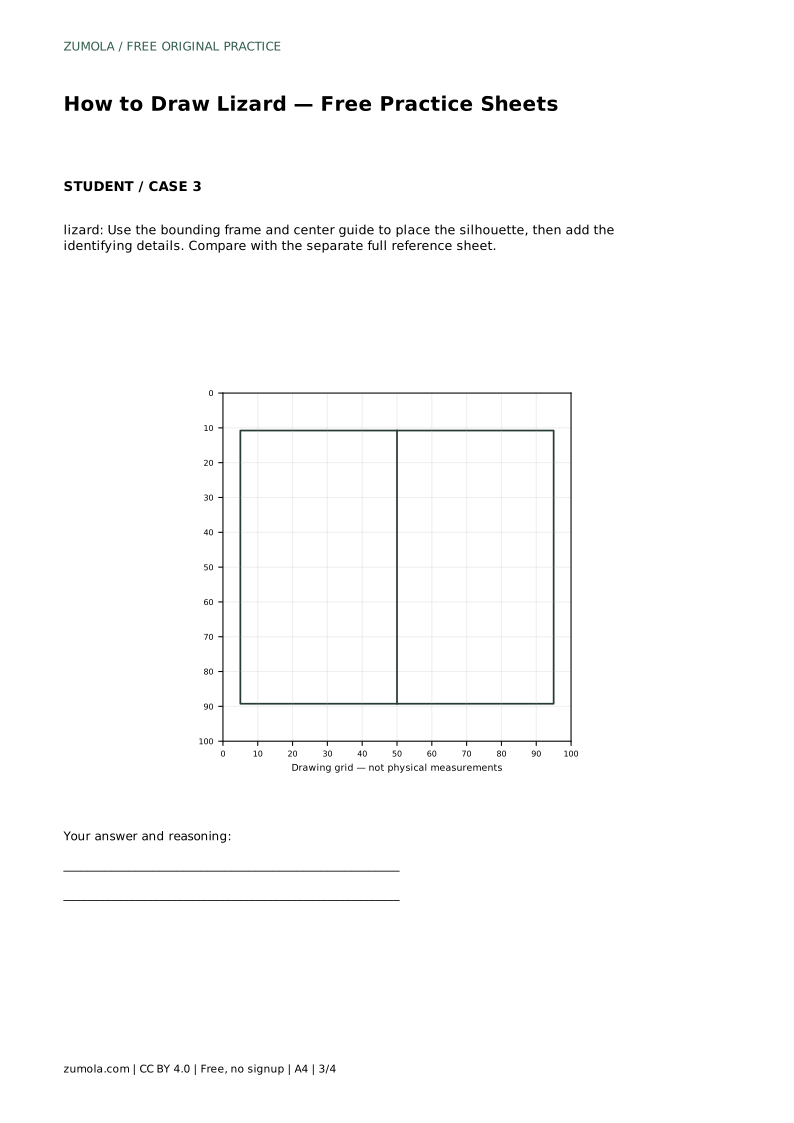
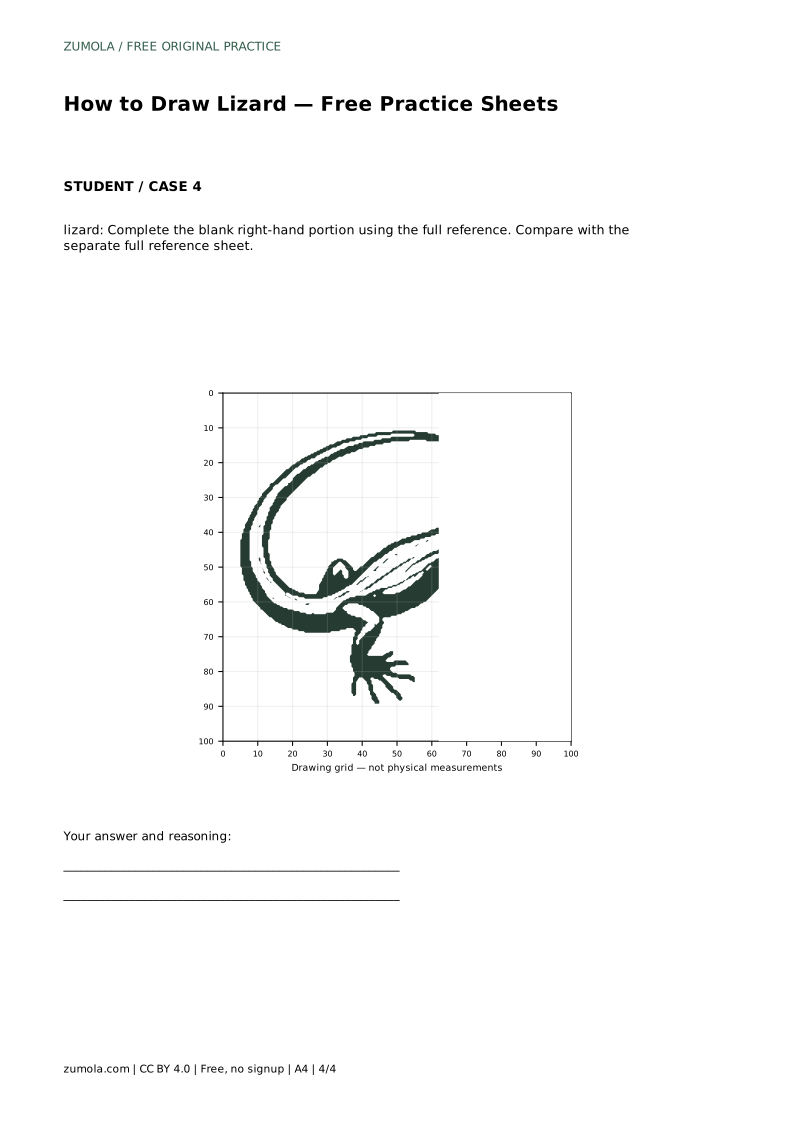
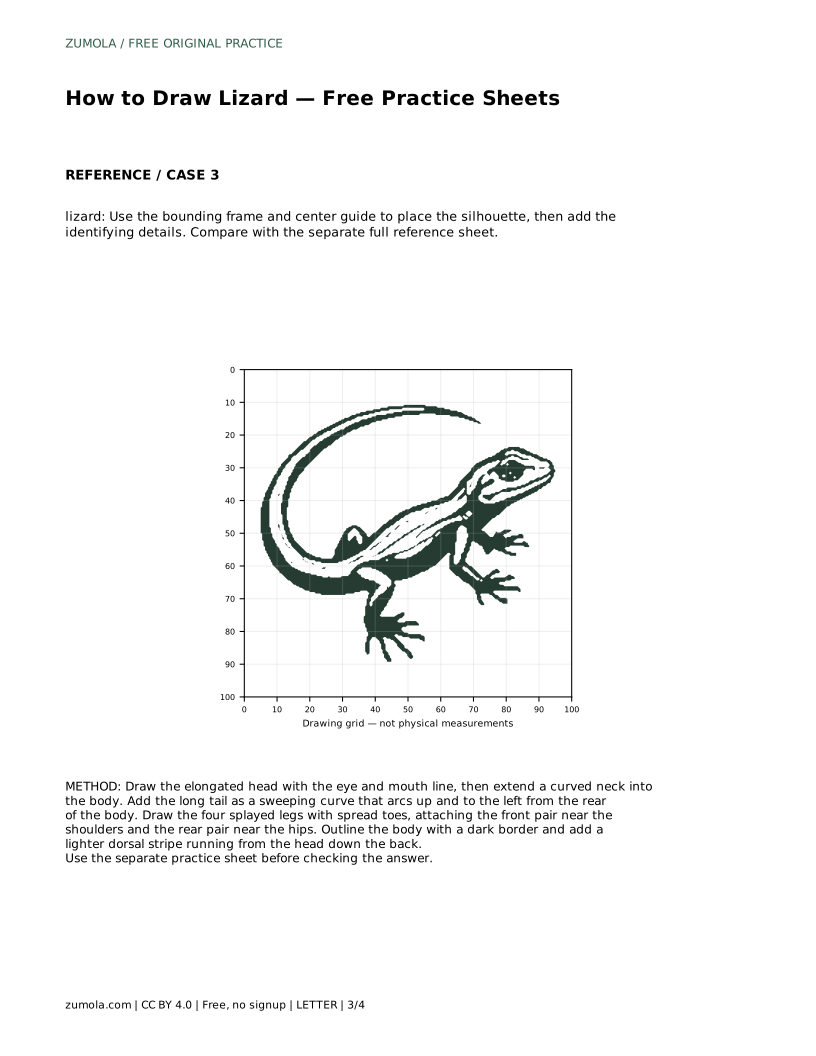
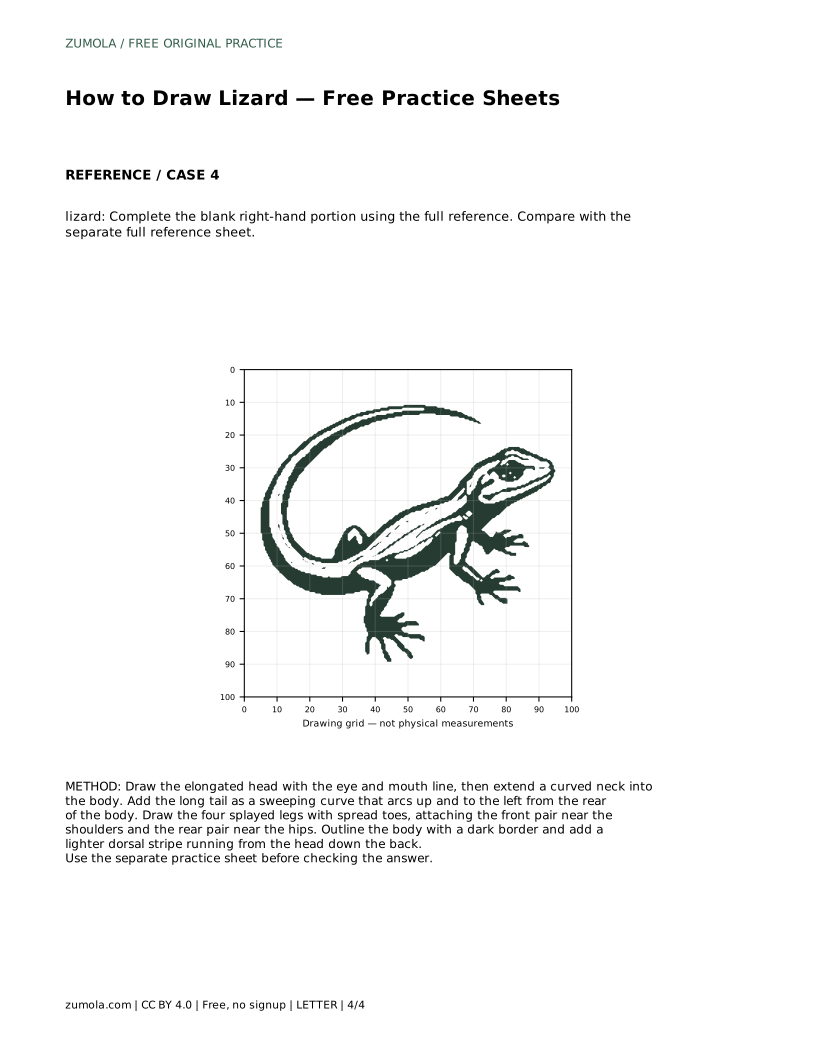
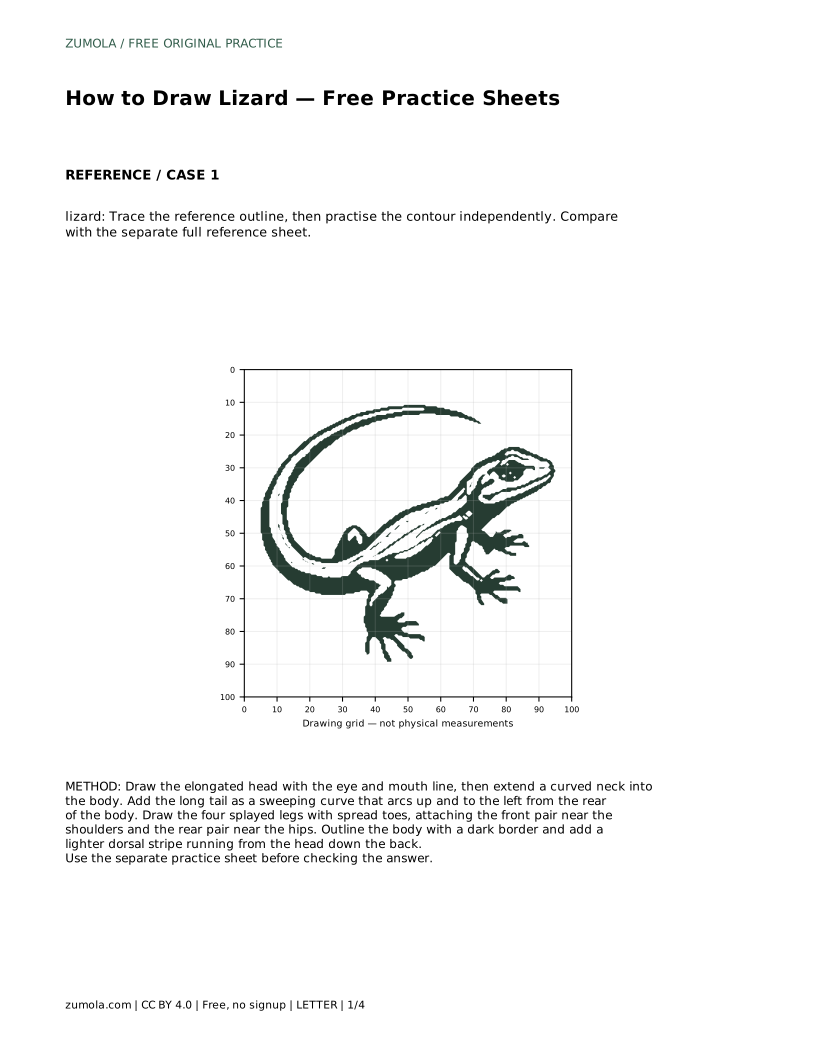
For guided practice, use the tracing sheet to follow the reference outline, then repeat the contour on blank paper without the guide. The grid sheet asks you to copy the drawing onto matching grid intersections, which trains placement and proportion. The frame and center-guide sheet helps you position the silhouette before adding details, and the partial sheet asks you to complete the blank right-hand portion from the full reference. In every method, compare your result with the separate full reference sheet and judge the visible features rather than exact line placement.
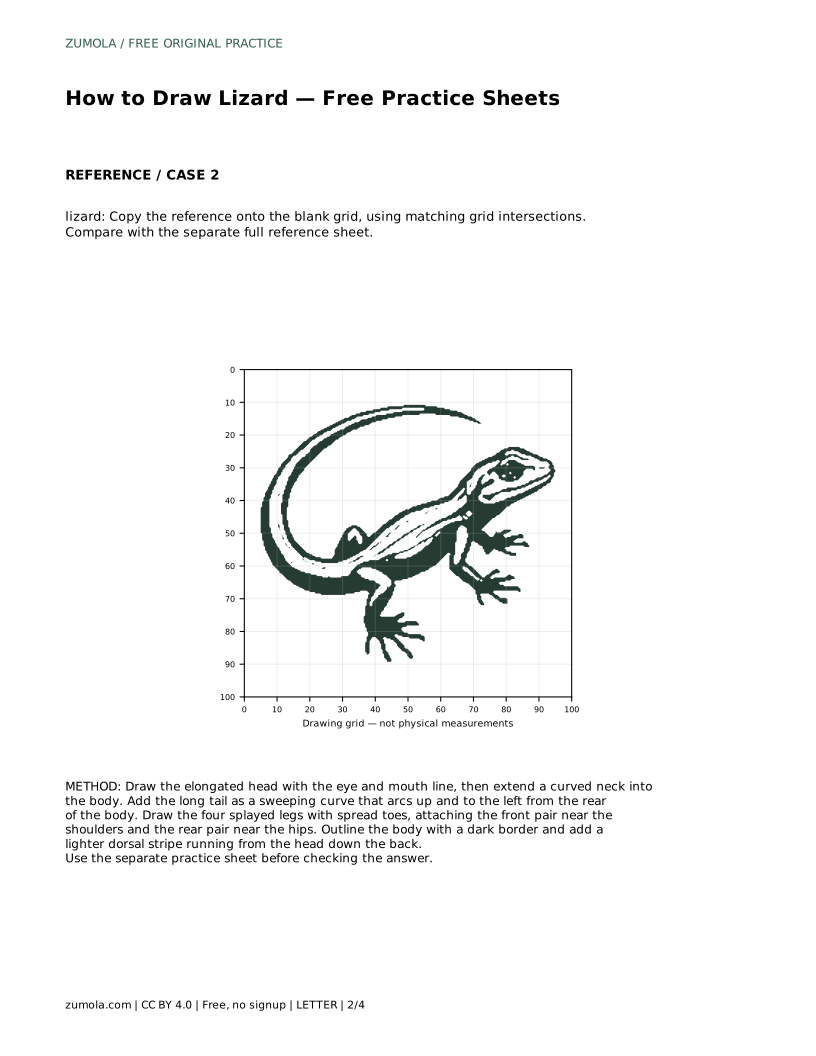
lizard: Trace the reference outline, then practise the contour independently. Compare with the separate full reference sheet.
Example solution: preserve long curved tail sweeping up and to the left, elongated head with a visible eye and mouth line, four splayed legs with distinct toes, two on each side of the body. Other drawings can be correct; assess the visible features and proportions rather than pixel-perfect matching. Draw the elongated head with the eye and mouth line, then extend a curved neck into the body. Add the long tail as a sweeping curve that arcs up and to the left from the rear of the body. Draw the four splayed legs with spread toes, attaching the front pair near the shoulders and the rear pair near the hips. Outline the body with a dark border and add a lighter dorsal stripe running from the head down the back.
No. Other drawings can be correct. Assess whether the elongated head with eye and mouth line, the long tail sweeping up and to the left, and the four splayed legs with distinct toes are present and reasonably proportioned.
Draw the head with the eye and mouth line first, extend a curved neck into the body, add the sweeping tail, then place the four legs with toes, and finish with a dark outline and a lighter dorsal stripe.
The grid sheet trains placement by matching intersections, and the frame with center guide helps position the silhouette before details. Both are practice tools; compare the finished drawing with the full reference sheet.
All drawing practice · Free coordinate paper
Original resources · CC BY 4.0 · Free for personal and classroom use with attribution.