Reference diagrams
LETTER · Download PDF
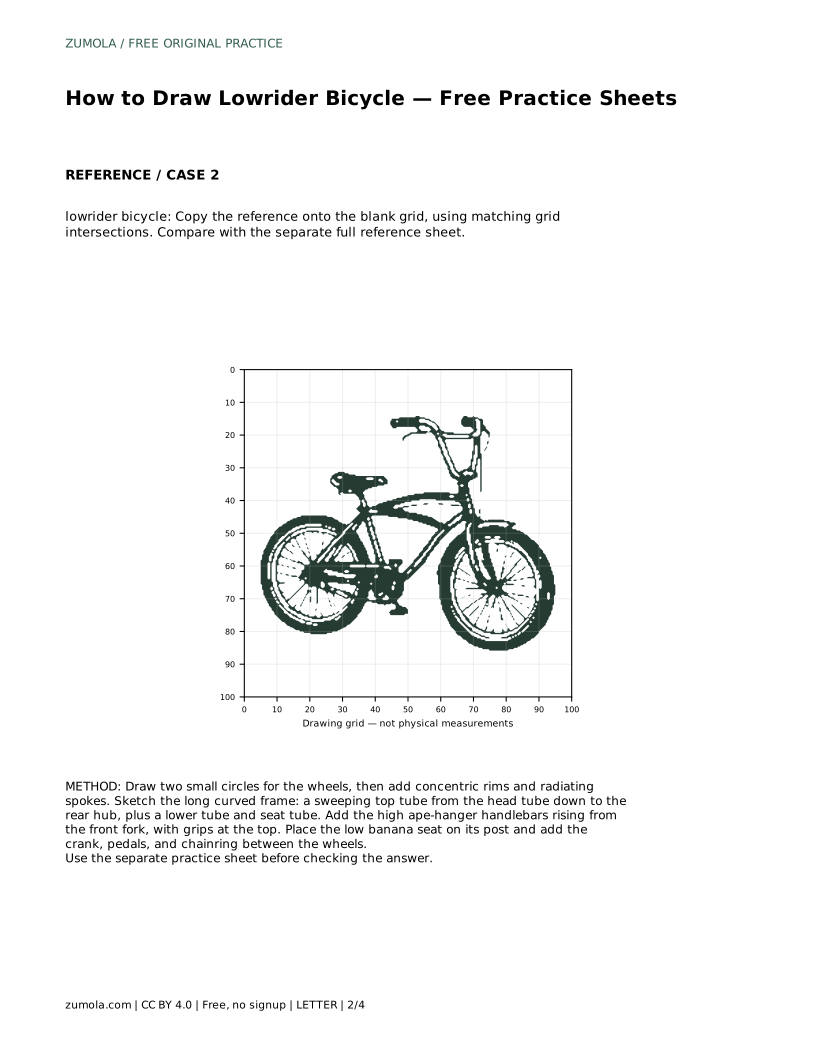
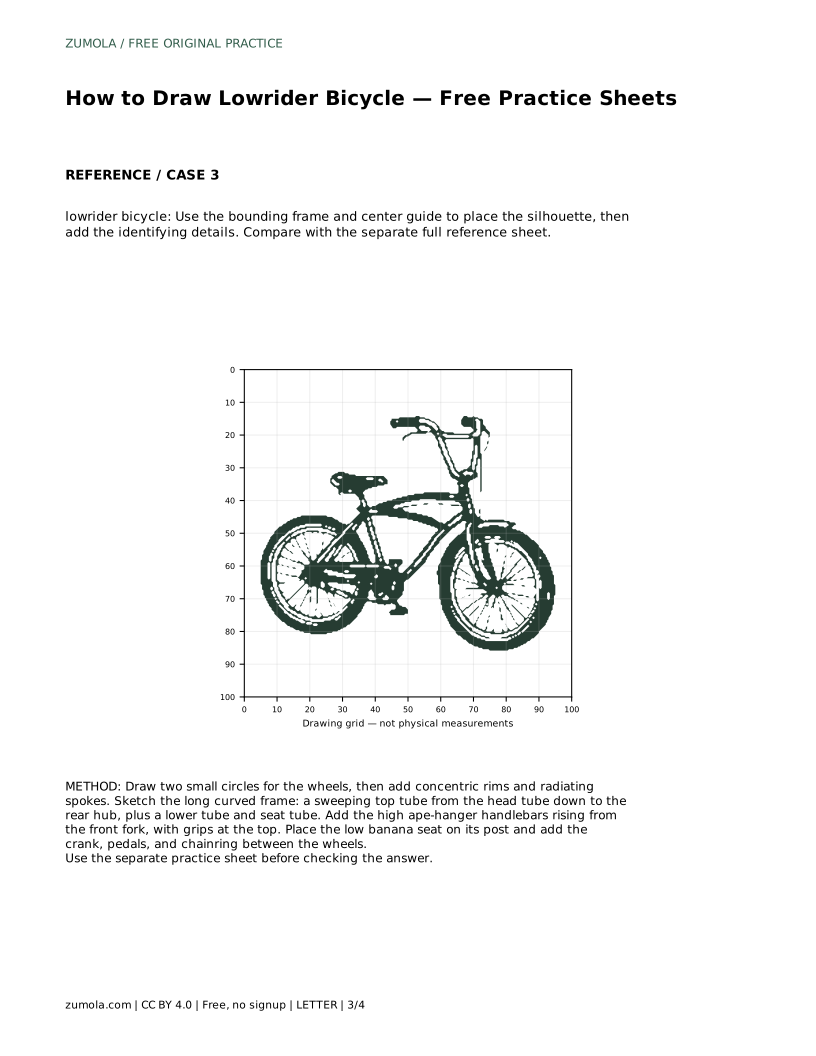
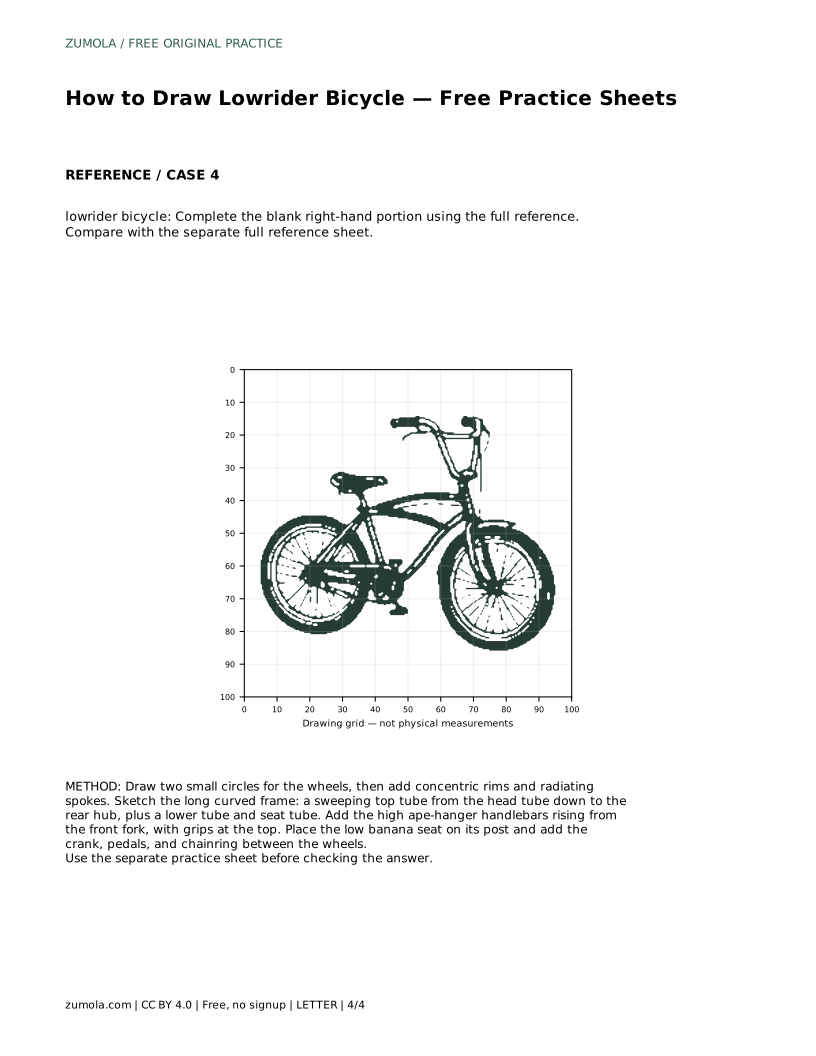
A4 · Download PDF
Free original resources
Learn to draw a lowrider bicycle by tracing, gridding, or completing a partial outline. Focus on long curved frame tubes, ape-hanger bars, and small wheels.
Four original cases, with reference diagrams, practice sheets and worked answers. Everything is free; no signup required.
LETTER · Download PDF
A4 · Download PDF
LETTER · Download PDF
A4 · Download PDF
LETTER · Download PDF
A4 · Download PDF
Use A4 or US Letter to match your printer. Use the stated values and conditions to solve each exercise; diagrams are not physical measuring rulers.
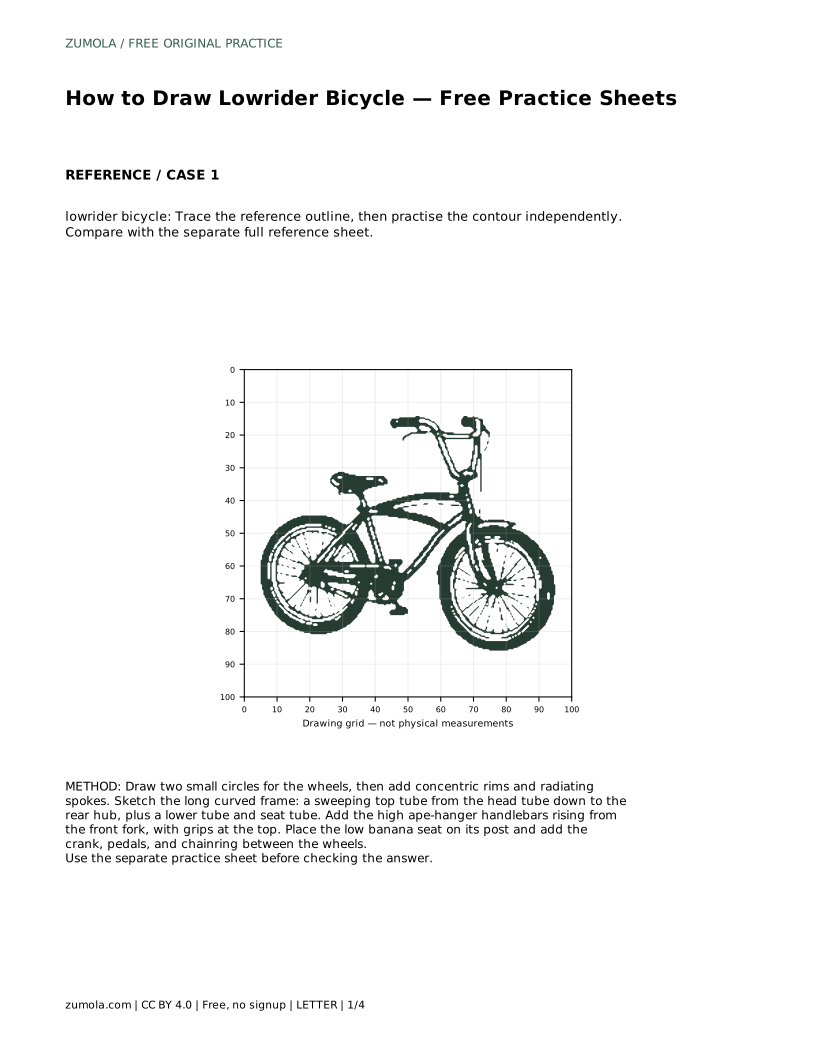
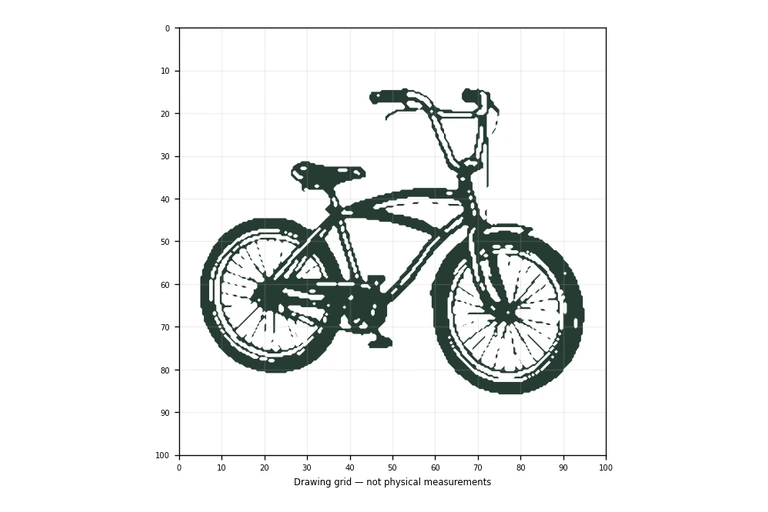
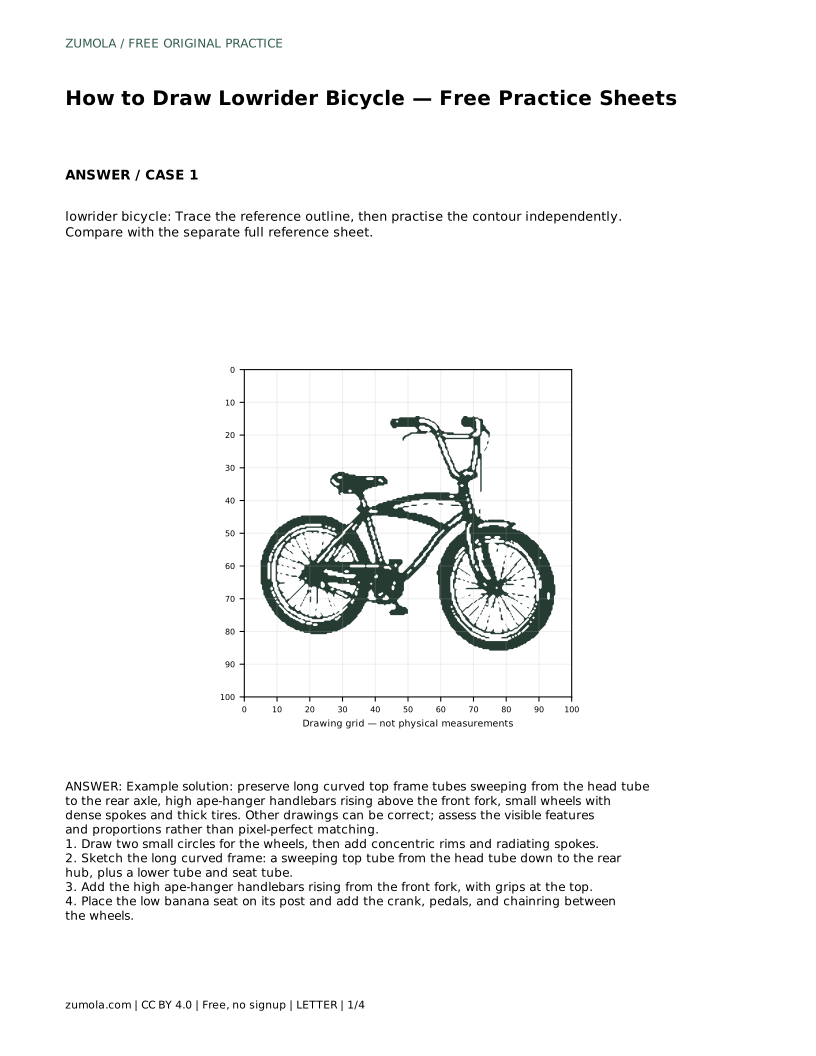
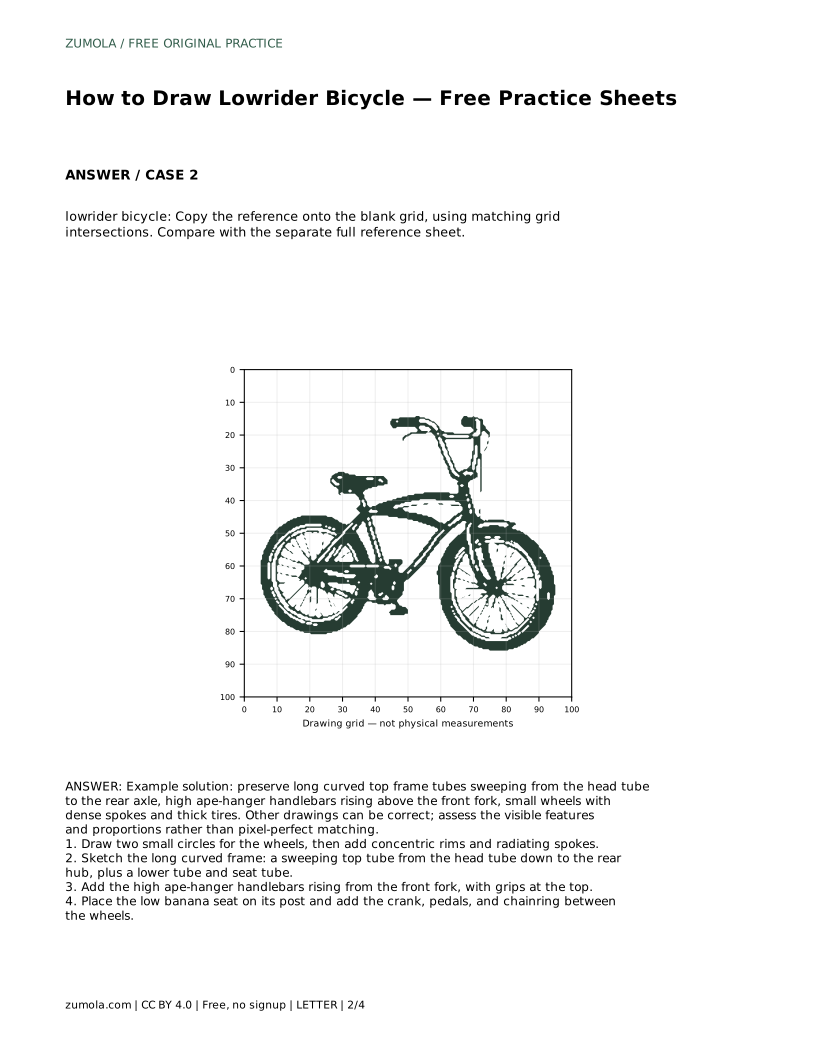
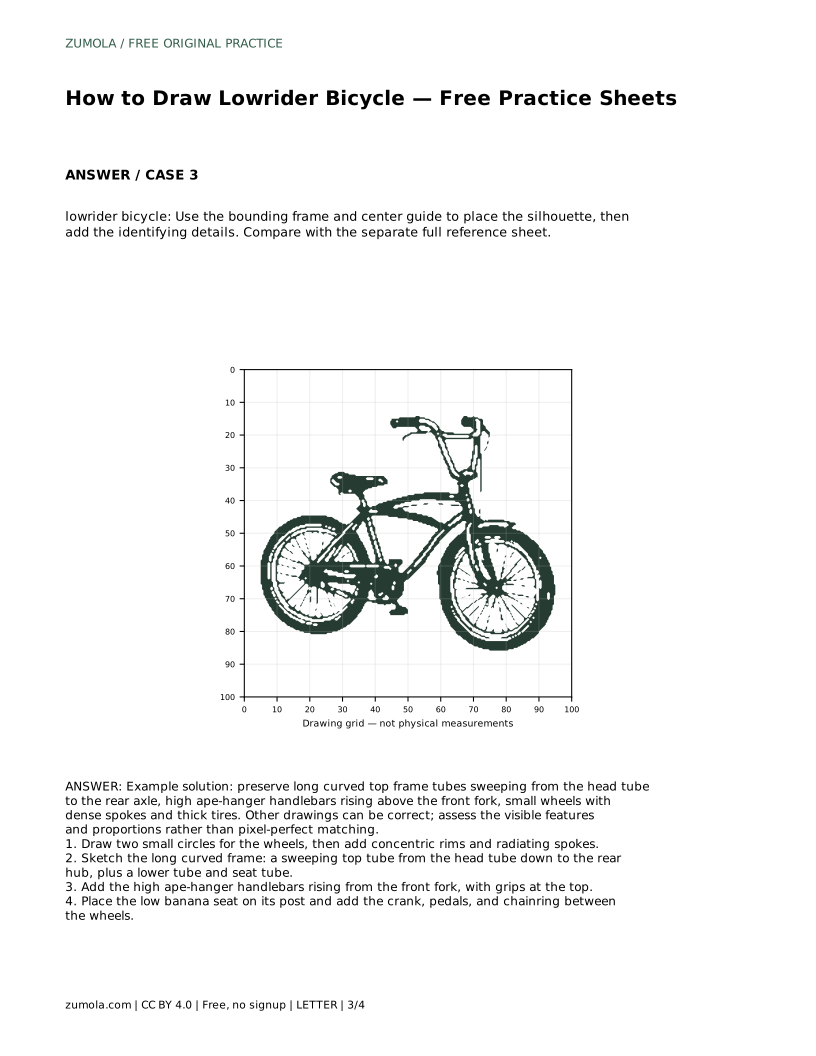
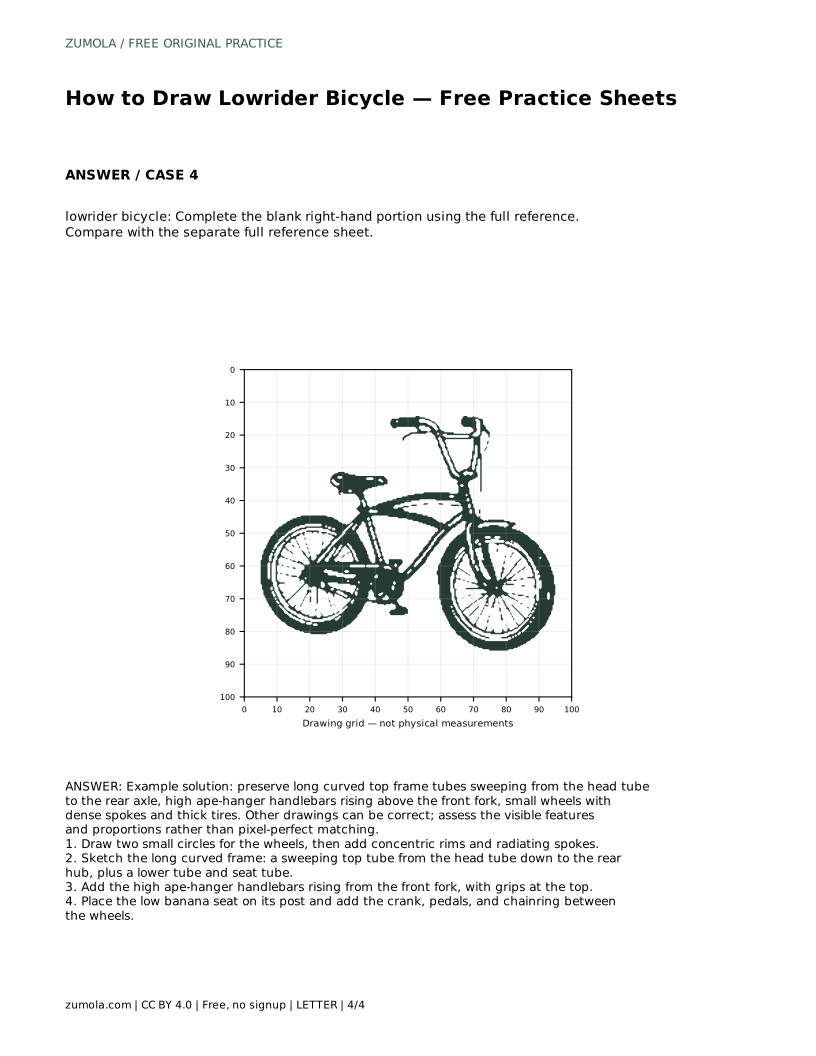
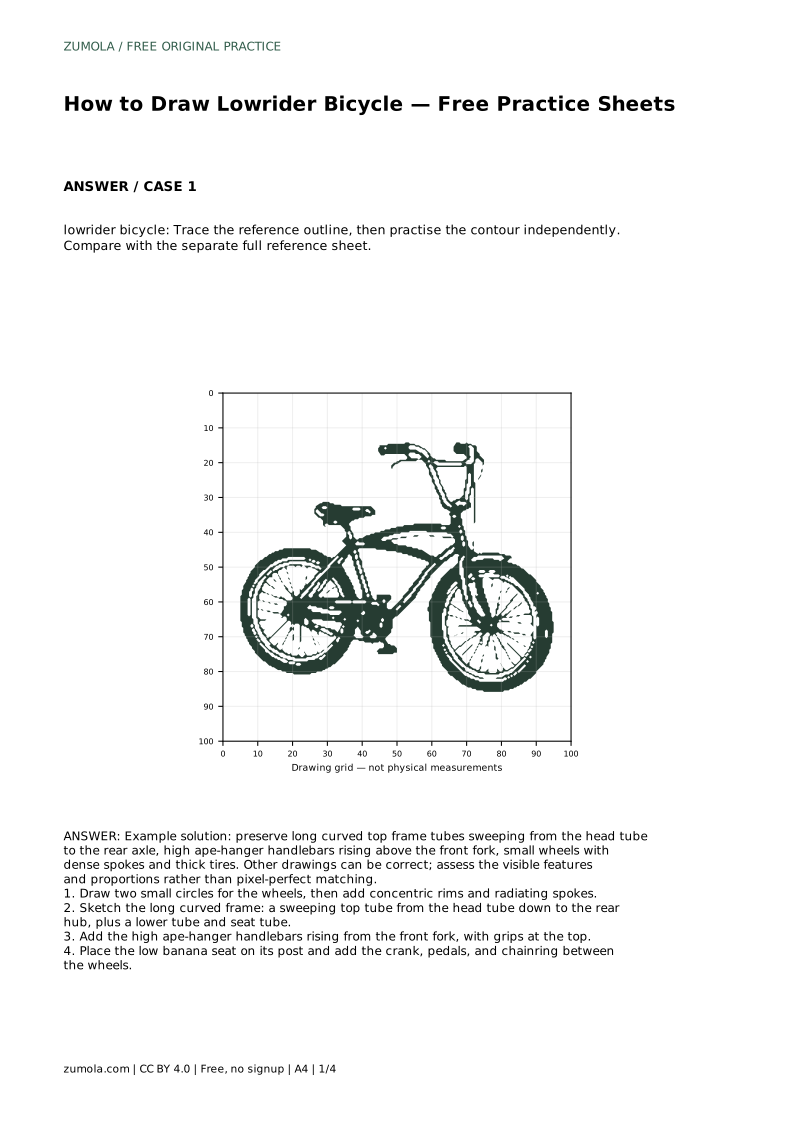
A lowrider bicycle is recognizable by its long, sweeping frame tubes, high ape-hanger handlebars, small wheels with dense spokes, and a low banana seat. This page explains how to capture those features using free printable practice sheets. You will trace a reference outline, copy onto a grid, use a bounding frame and center guide, or complete a blank portion. Each method builds the same core skill: placing the distinctive silhouette and details accurately. Art has multiple valid outcomes, so use the rubric to assess visible features and proportions rather than pixel-perfect matching.
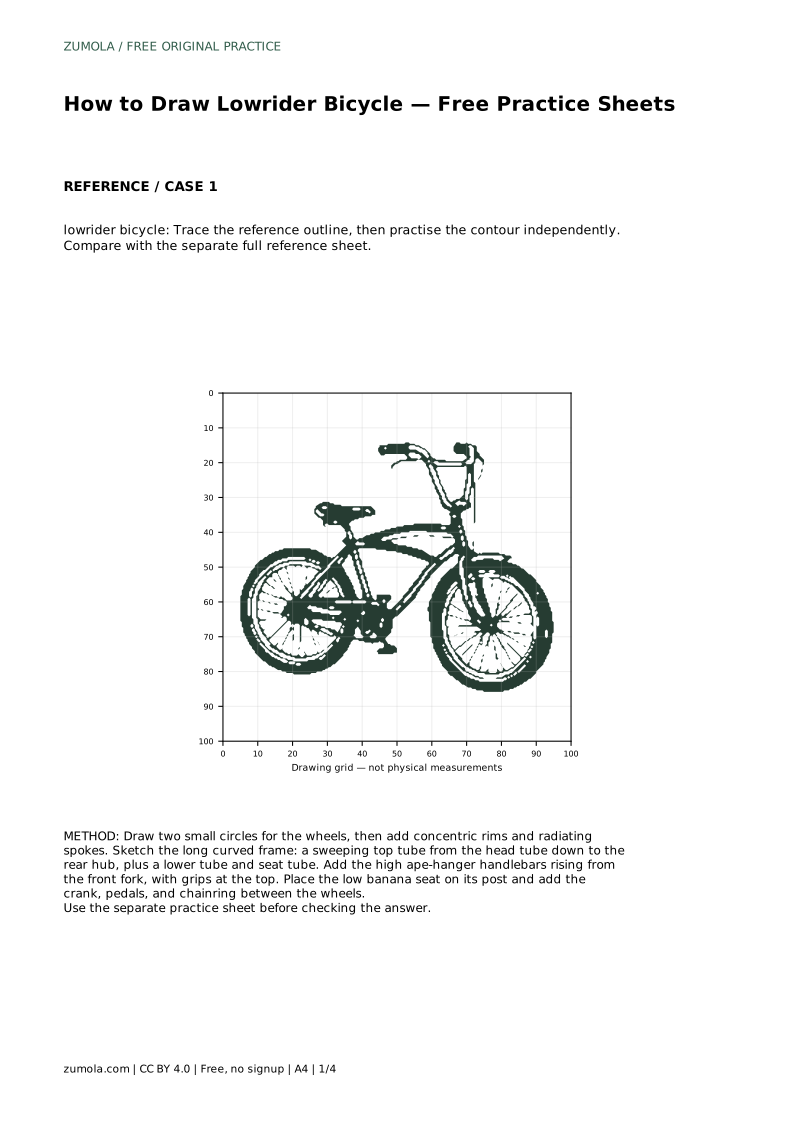
Begin by drawing two small circles for the wheels. Lowrider bicycles typically have smaller wheels than standard bikes, so keep them modest in size. Add concentric rims inside each circle, then draw radiating spokes from the hub to the rim. Dense spokes are a hallmark of lowrider style, so aim for many thin lines rather than a few thick ones.
Next, sketch the long curved frame. The top tube sweeps from the head tube (the short tube at the front that holds the fork) down toward the rear axle. Draw this as a smooth, continuous curve. Add a lower tube and a seat tube to complete the main triangle, but keep the top tube’s sweep prominent. The frame should look stretched and low, not compact.
The handlebars are a key identifier. Draw them rising high above the front fork, curving upward and then back toward the rider. The grips sit at the top of these tall bars. Keep the bars narrow and tall rather than wide and flat.
The seat is a banana seat: long, low, and slightly curved. Place it on a seat post that is not too high, so the seat sits close to the frame. This low seating position contributes to the lowrider look. Finally, add the crank, pedals, and chainring between the wheels. The chainring is a toothed circle near the crank, and the pedals extend from the crank arms.
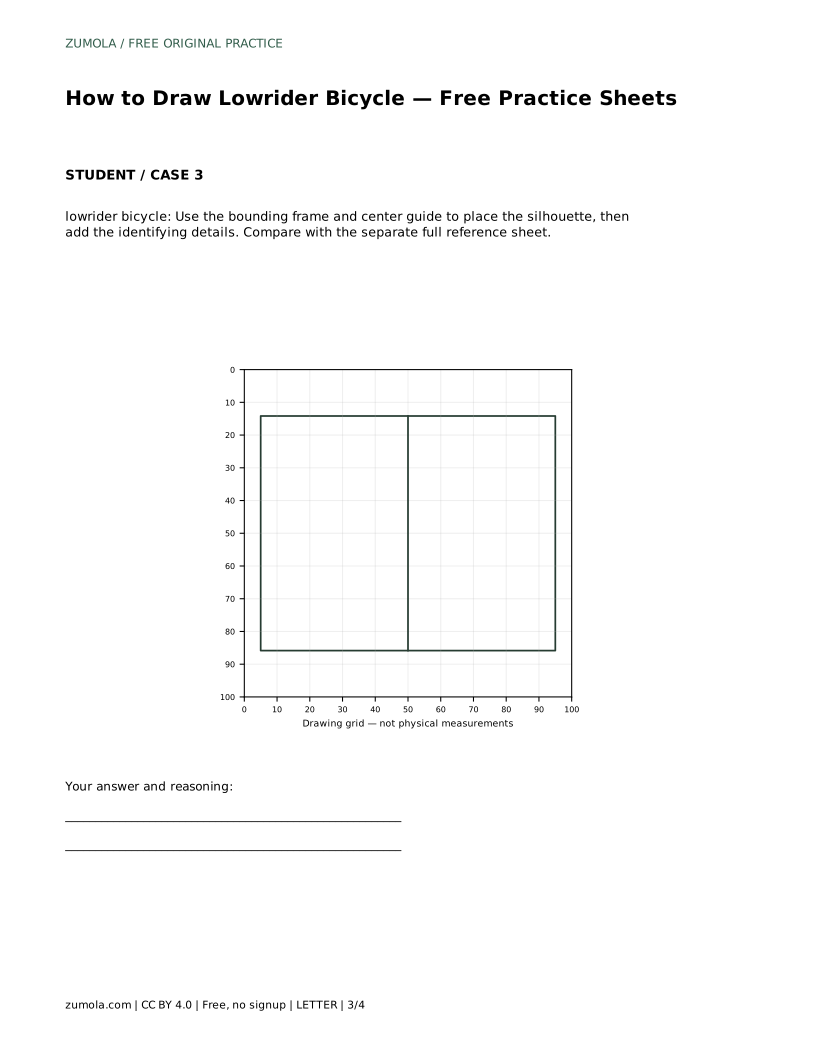
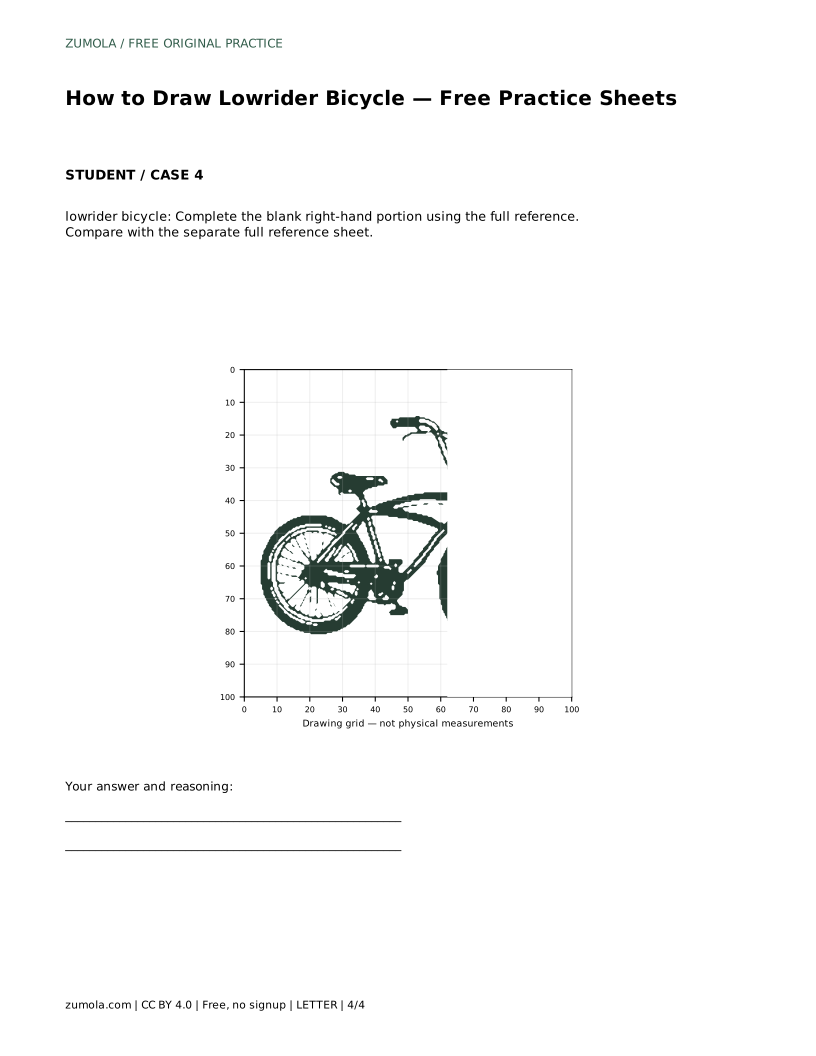
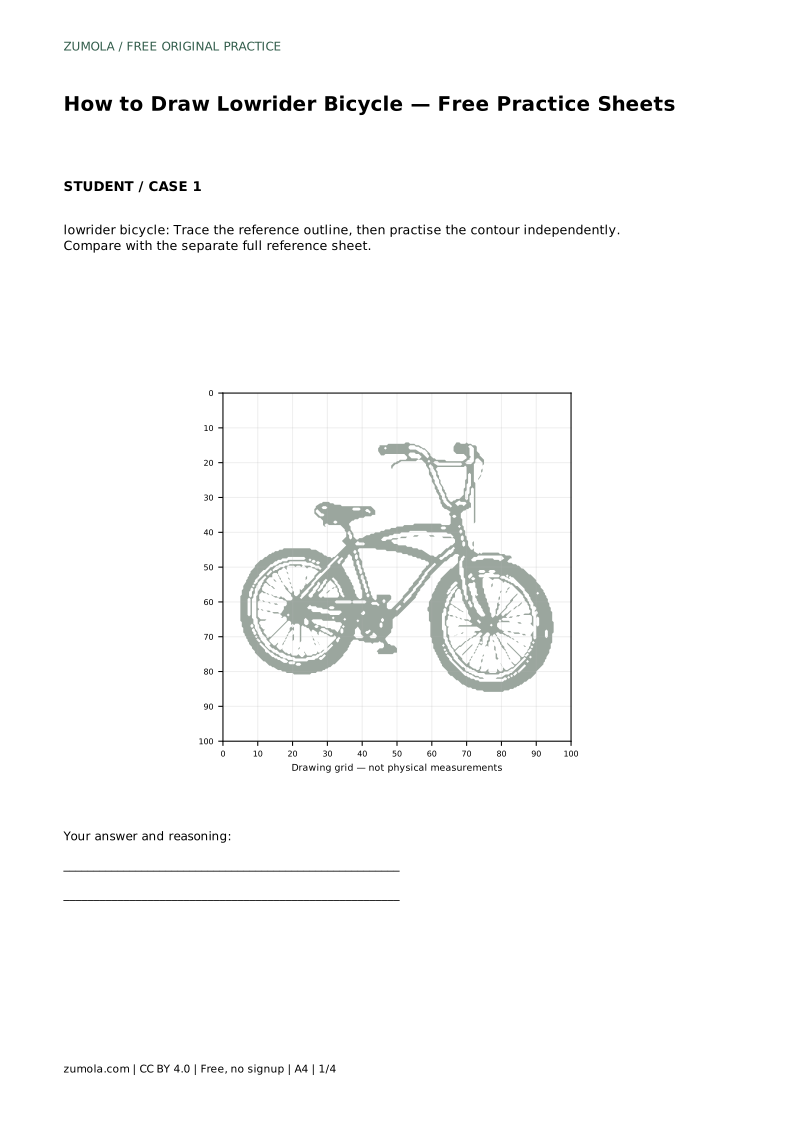
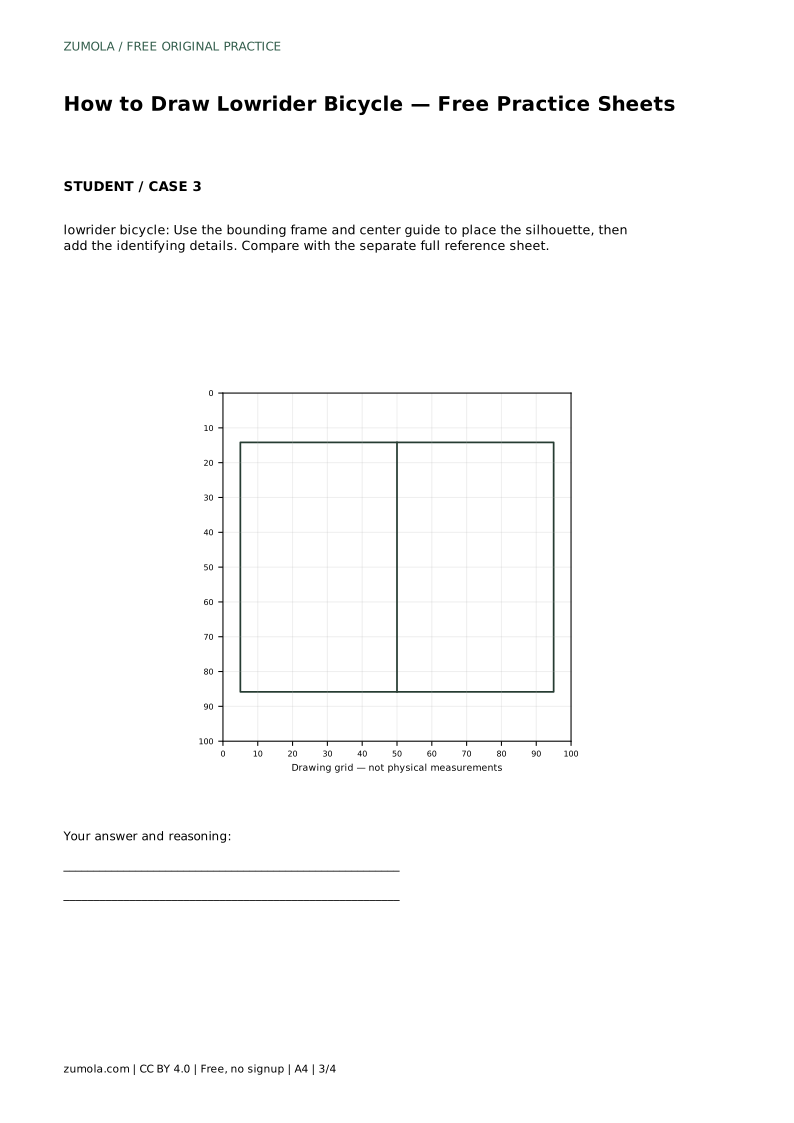
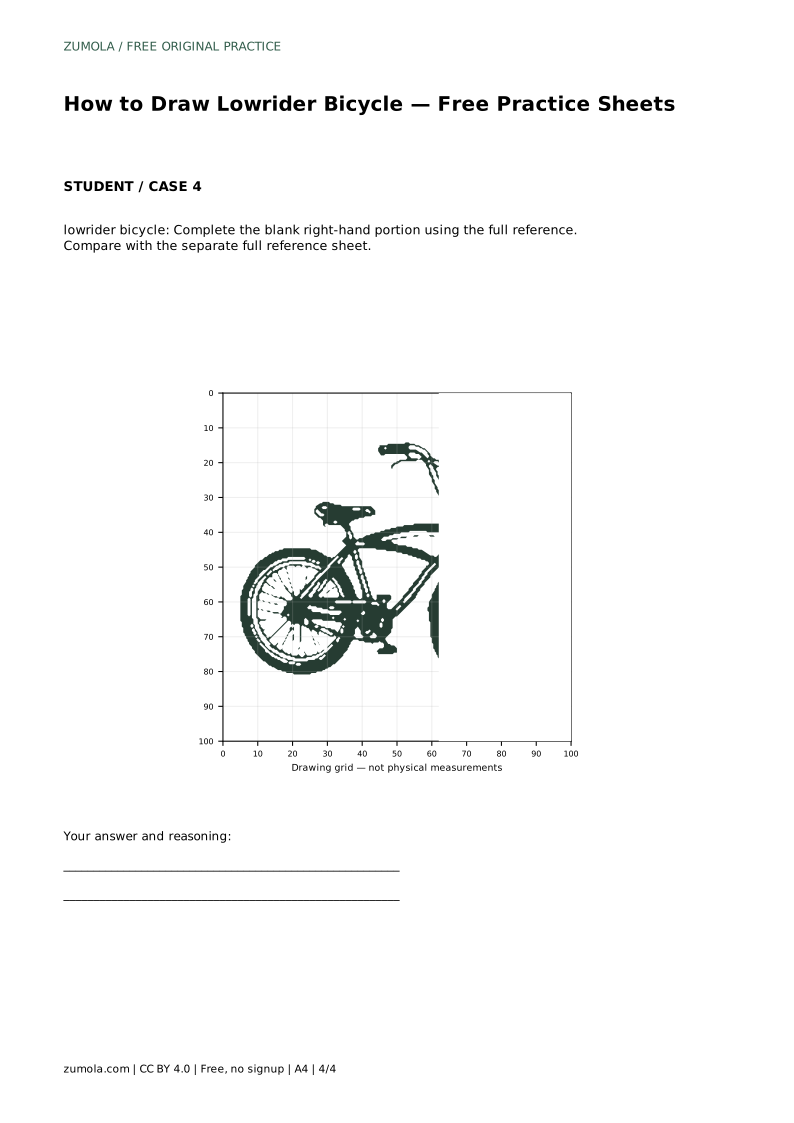
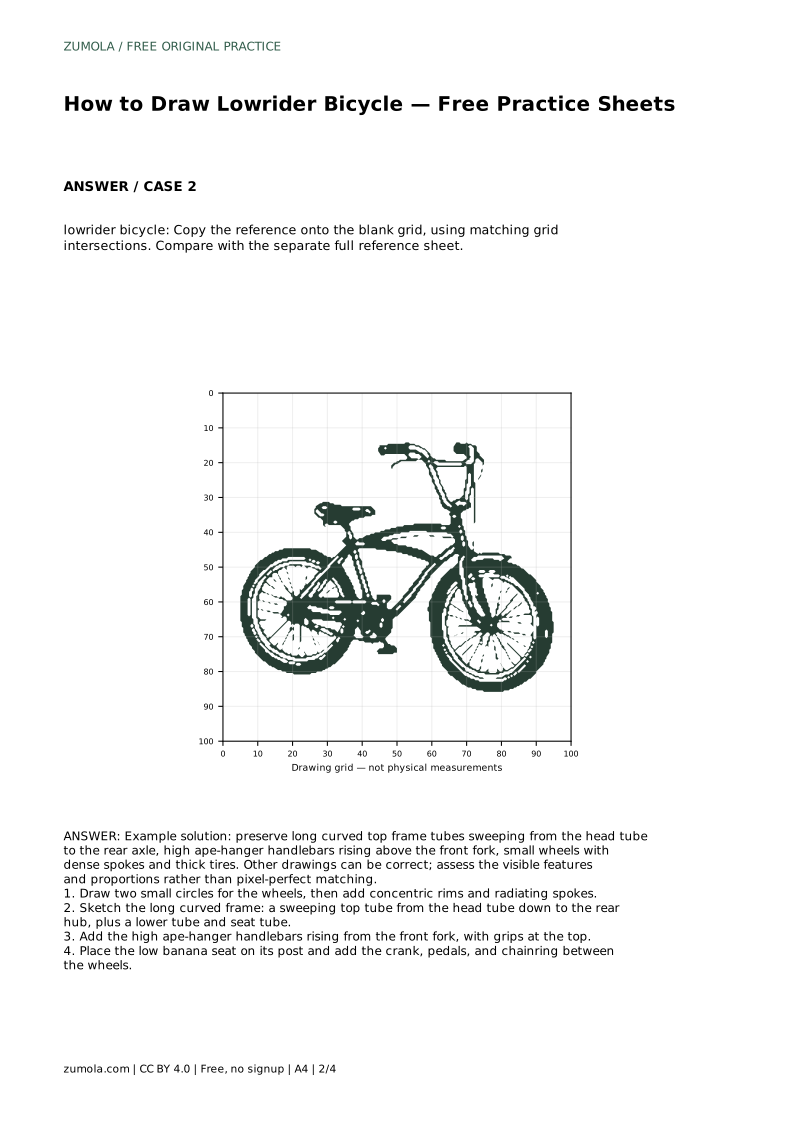
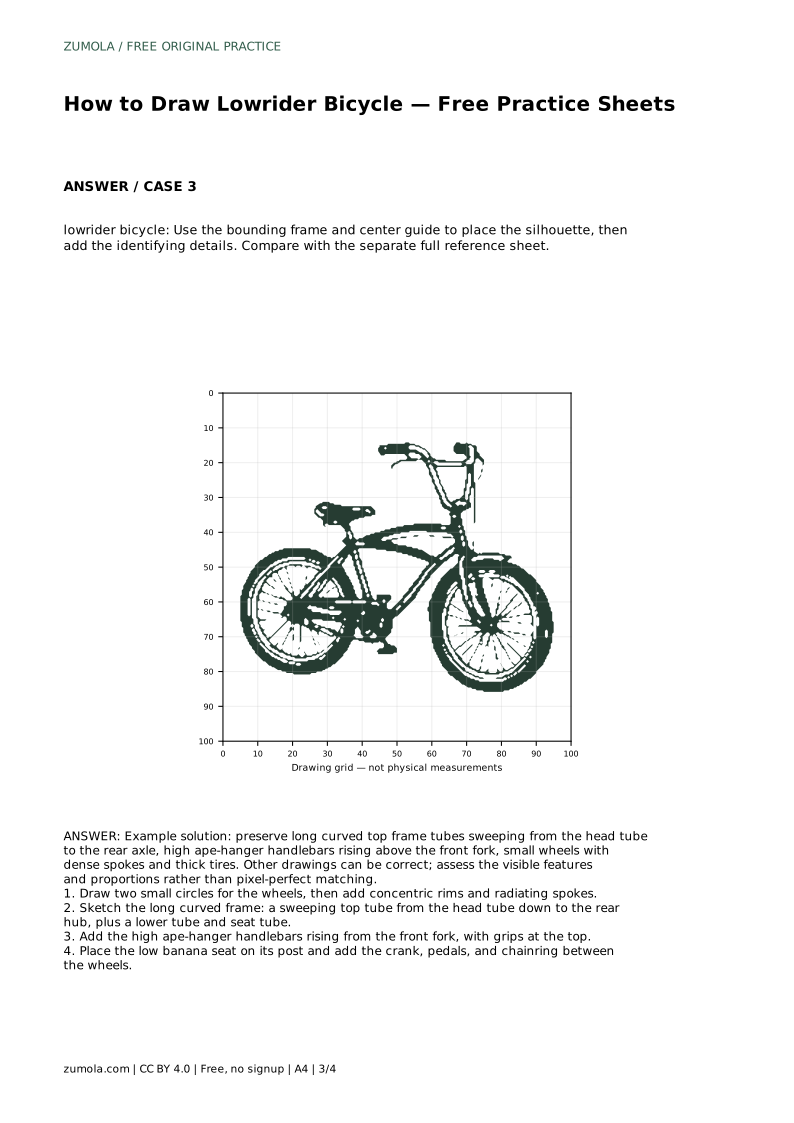
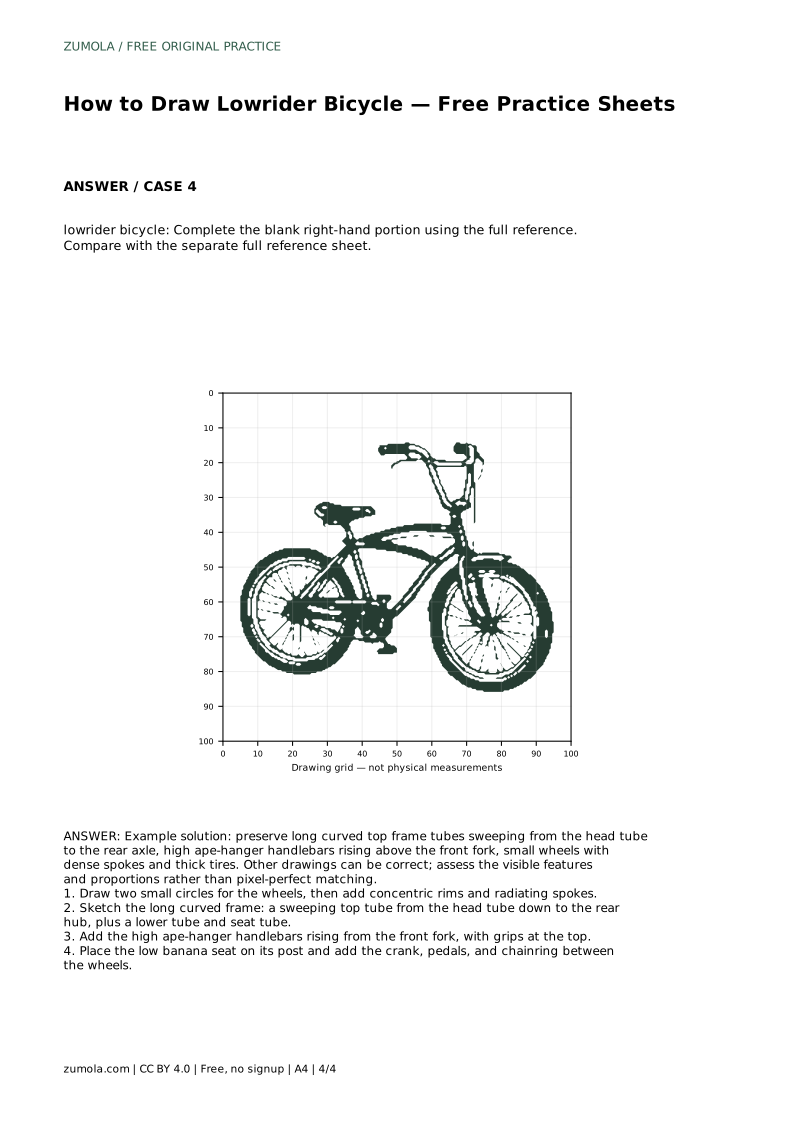
Each printable sheet offers a different way to practice. Tracing the reference outline helps you learn the contour and proportions. Copying onto a blank grid trains you to match intersections and relative positions. Using a bounding frame and center guide helps you place the overall silhouette before adding details. Completing a blank right-hand portion tests your ability to infer the missing side from the full reference.
After each attempt, compare your drawing with the separate full reference sheet. Check that the long curved top tube sweeps from the head tube to the rear axle, the ape-hanger bars rise above the front fork, the wheels are small with dense spokes and thick tires, and the banana seat sits low. Other drawings can be correct; assess the visible features and proportions rather than pixel-perfect matching.
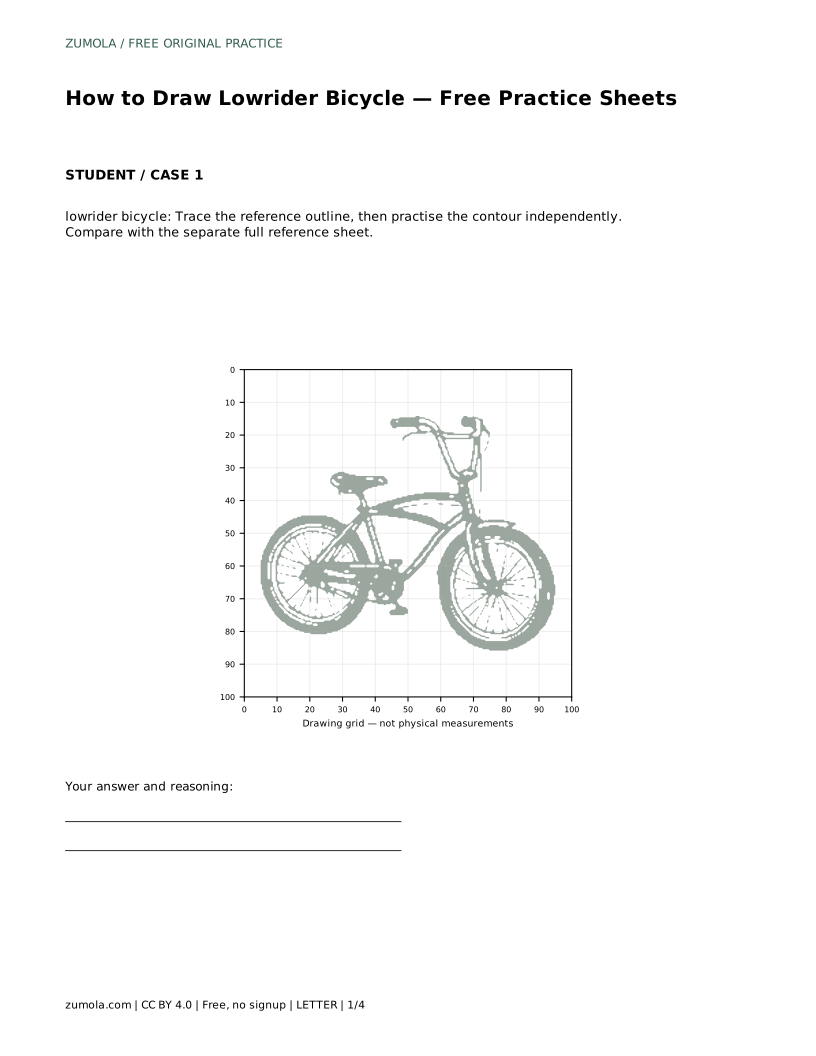
lowrider bicycle: Trace the reference outline, then practise the contour independently. Compare with the separate full reference sheet.
Example solution: preserve long curved top frame tubes sweeping from the head tube to the rear axle, high ape-hanger handlebars rising above the front fork, small wheels with dense spokes and thick tires. Other drawings can be correct; assess the visible features and proportions rather than pixel-perfect matching. Draw two small circles for the wheels, then add concentric rims and radiating spokes. Sketch the long curved frame: a sweeping top tube from the head tube down to the rear hub, plus a lower tube and seat tube. Add the high ape-hanger handlebars rising from the front fork, with grips at the top. Place the low banana seat on its post and add the crank, pedals, and chainring between the wheels.
No. Draw enough radiating lines to suggest dense spokes. The goal is the visual impression of many thin spokes, not an exact count.
Yes. Some people prefer to start with the frame or handlebars. The key is to include all identifying features and keep proportions consistent.
Use the rubric to check for the long curved top tube, high ape-hanger bars, small wheels with dense spokes, thick tires, and a low banana seat. Multiple valid outcomes exist.
All drawing practice · Free coordinate paper
Original resources · CC BY 4.0 · Free for personal and classroom use with attribution.