Reference diagrams
LETTER · Download PDF
A4 · Download PDF
Free original resources
Learn an easy rocket drawing method: build a tapered body, pointed nose cone, porthole, and three fins, then check proportions with a clear rubric.
Four original cases, with reference diagrams, practice sheets and worked answers. Everything is free; no signup required.
LETTER · Download PDF
A4 · Download PDF
LETTER · Download PDF
A4 · Download PDF
LETTER · Download PDF
A4 · Download PDF
Use A4 or US Letter to match your printer. Use the stated values and conditions to solve each exercise; diagrams are not physical measuring rulers.
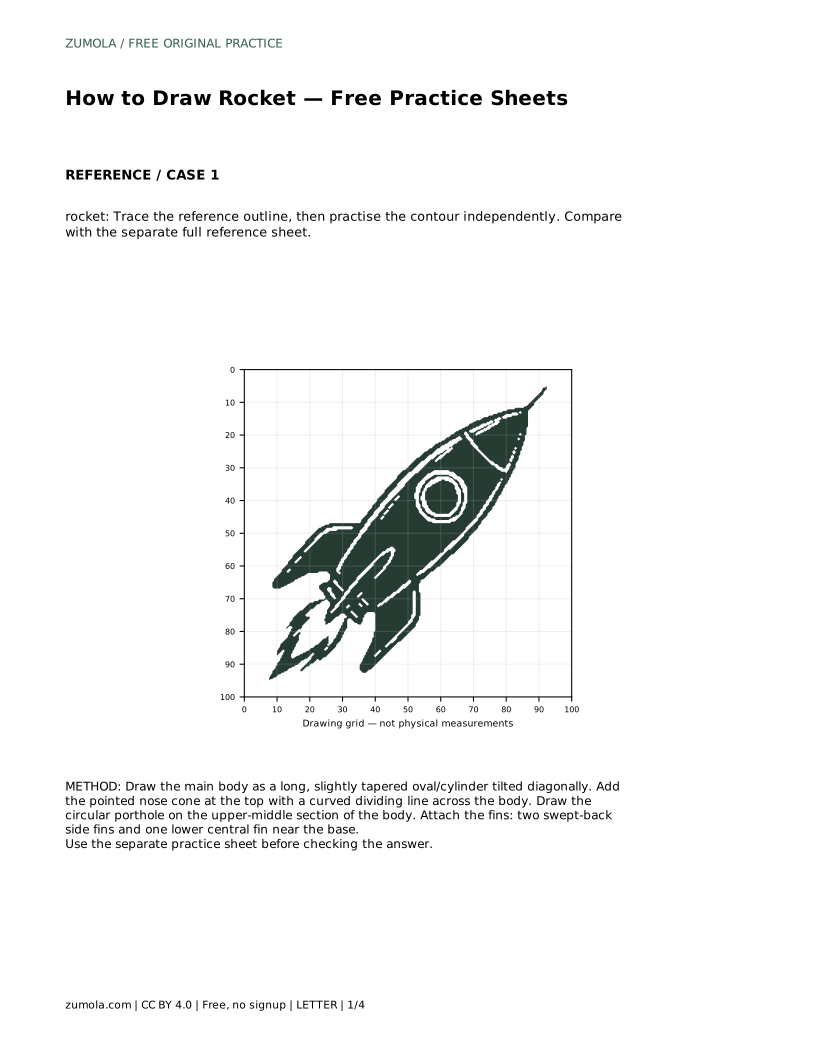
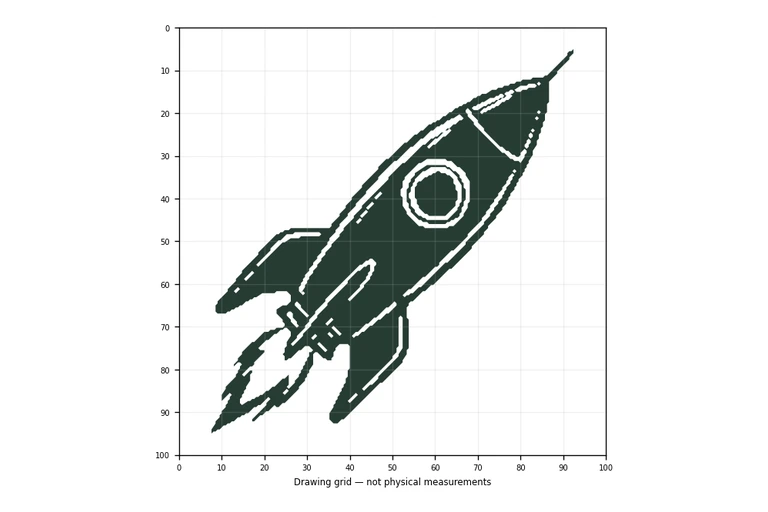
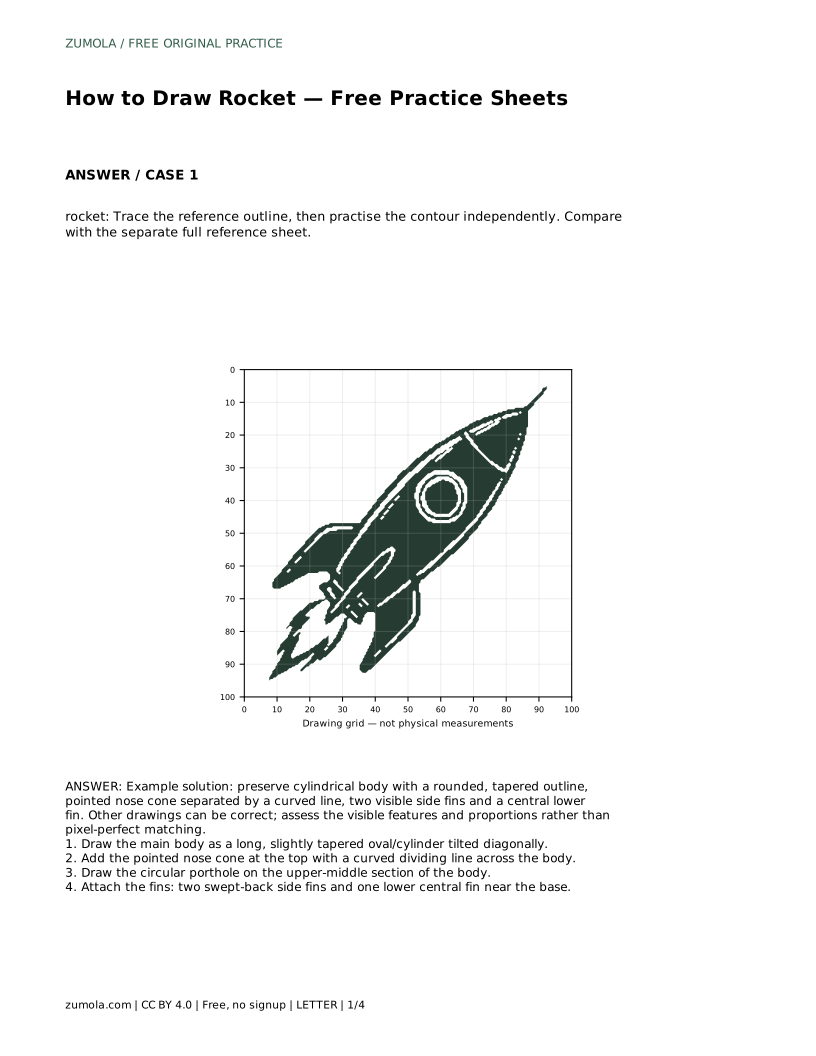
Drawing a rocket is a good way to practise combining simple shapes into one clear silhouette. The aim is not a perfect copy but a recognisable structure: a long body that narrows slightly, a pointed nose cone, a round porthole, and fins that sweep back from the base. This guide explains how to place those parts in order, how to use tracing, grid, frame, and partial-reference sheets, and how to judge your own drawing fairly.
Start with the body, because every other part is positioned relative to it. Draw a long oval or cylinder that is slightly narrower at the top than at the base, tilted diagonally across the page. Keep the two long sides smooth and gently curved rather than perfectly straight; a rocket body reads as a rounded, tapered form.
Next, add the nose cone. Place a pointed shape at the top of the body and separate it with a curved line running across the body. That dividing line should follow the curve of the body, not cut straight across like a flat lid. Then draw a circular porthole on the upper-middle section, keeping it round rather than oval unless you deliberately tilt the whole rocket.
Finally, attach the fins near the base: two swept-back side fins and one lower central fin. Side fins should mirror each other in general shape and angle, even if the diagonal tilt makes them look slightly different. The lower fin sits along the centre line of the body. Draw fins as extensions of the body outline, not as separate floating triangles.
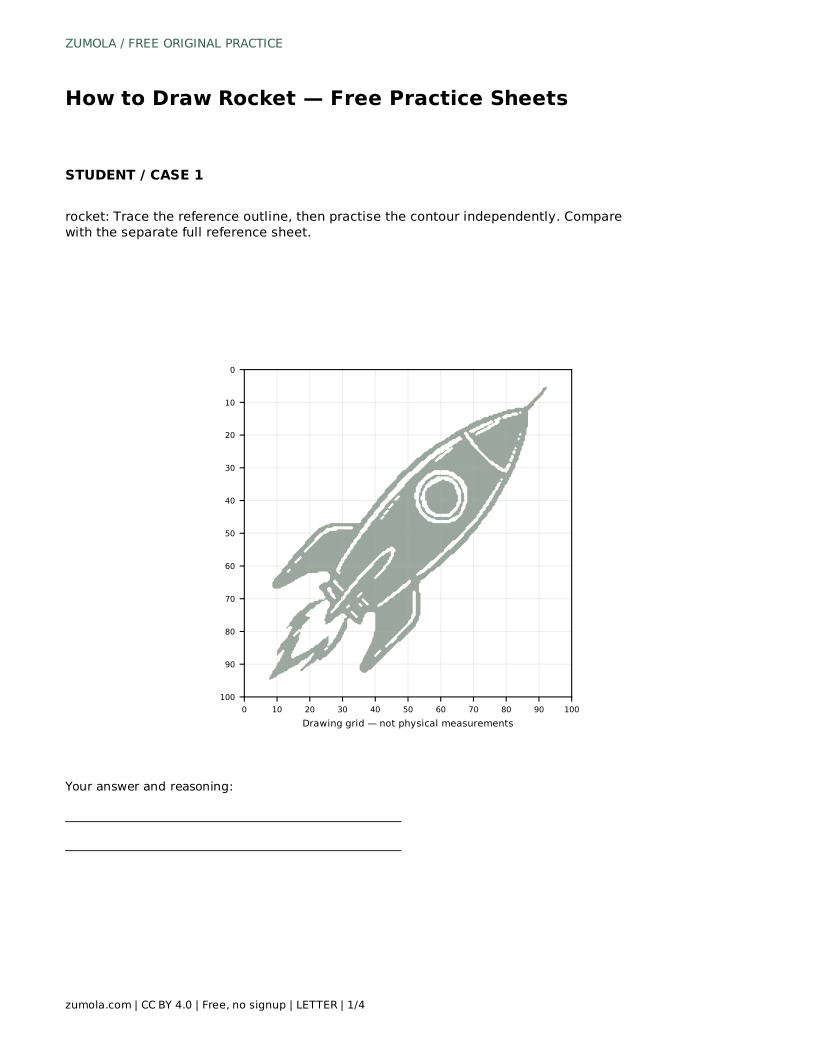
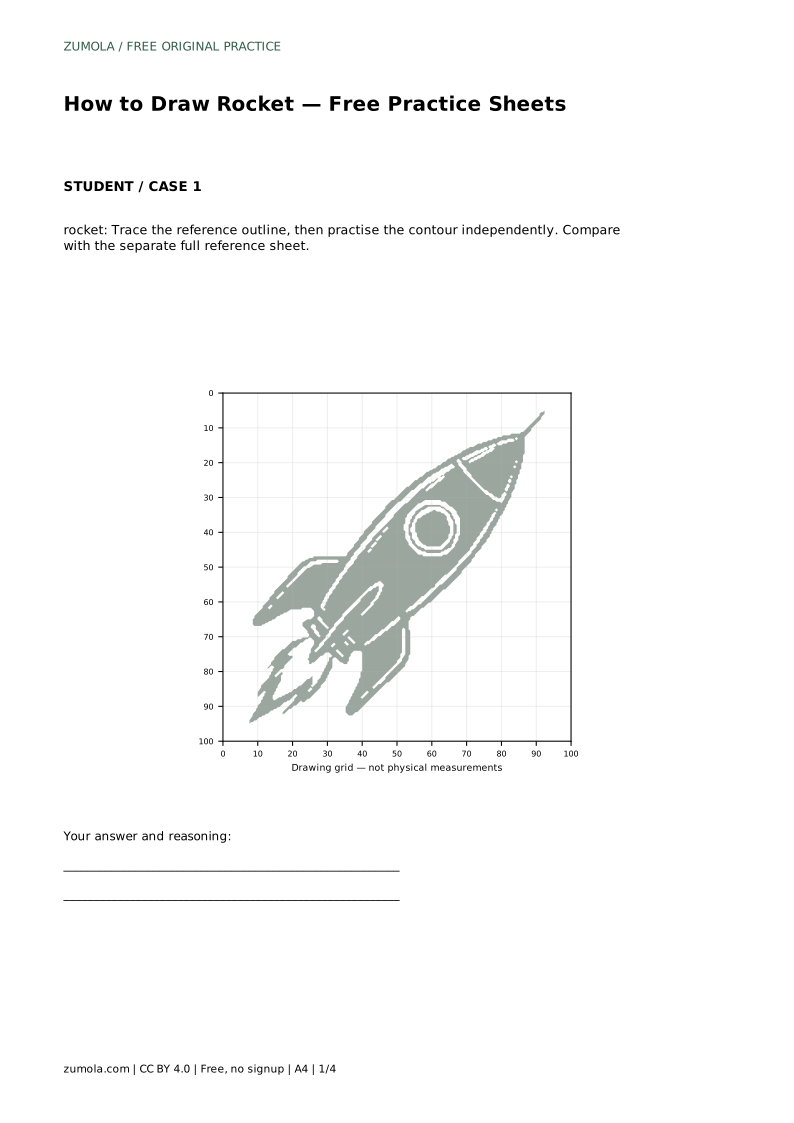
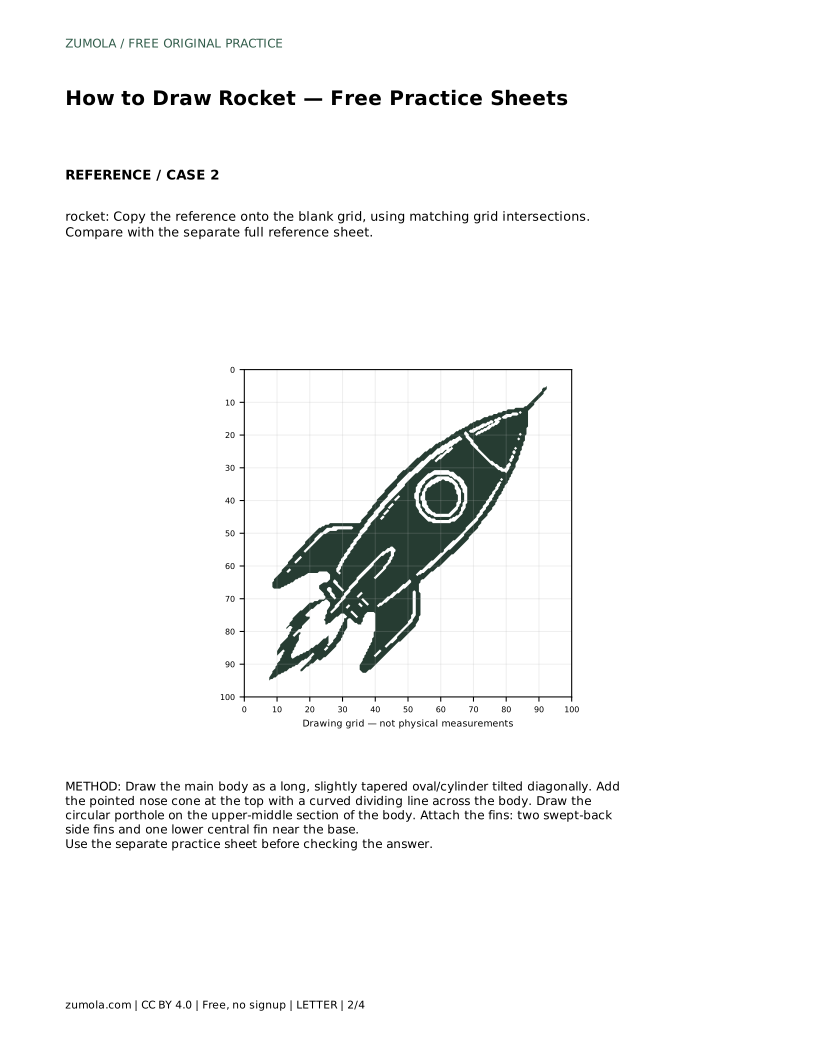
Tracing sheets help you feel the order of construction: body first, then nose cone, porthole, and fins. Trace the reference outline once, then cover it and draw the contour independently on blank paper. Compare your free drawing with the separate full reference sheet rather than with your traced copy, so you notice where your proportions drifted.
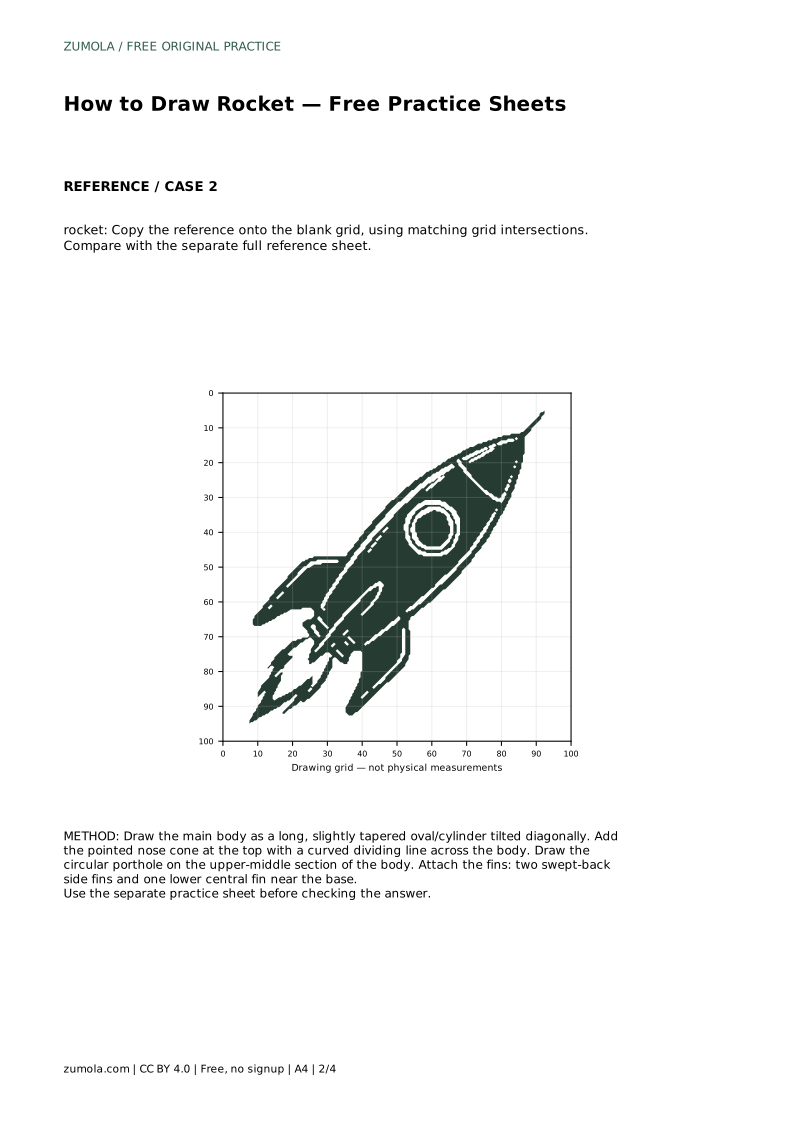
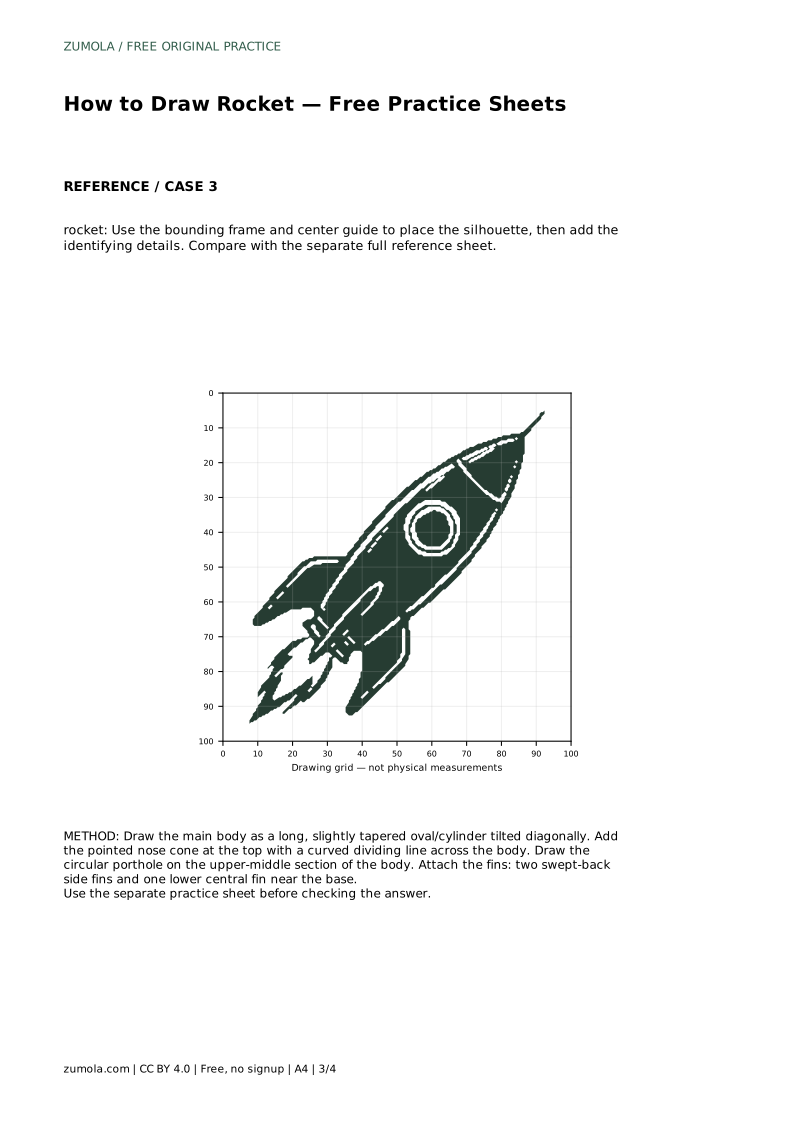
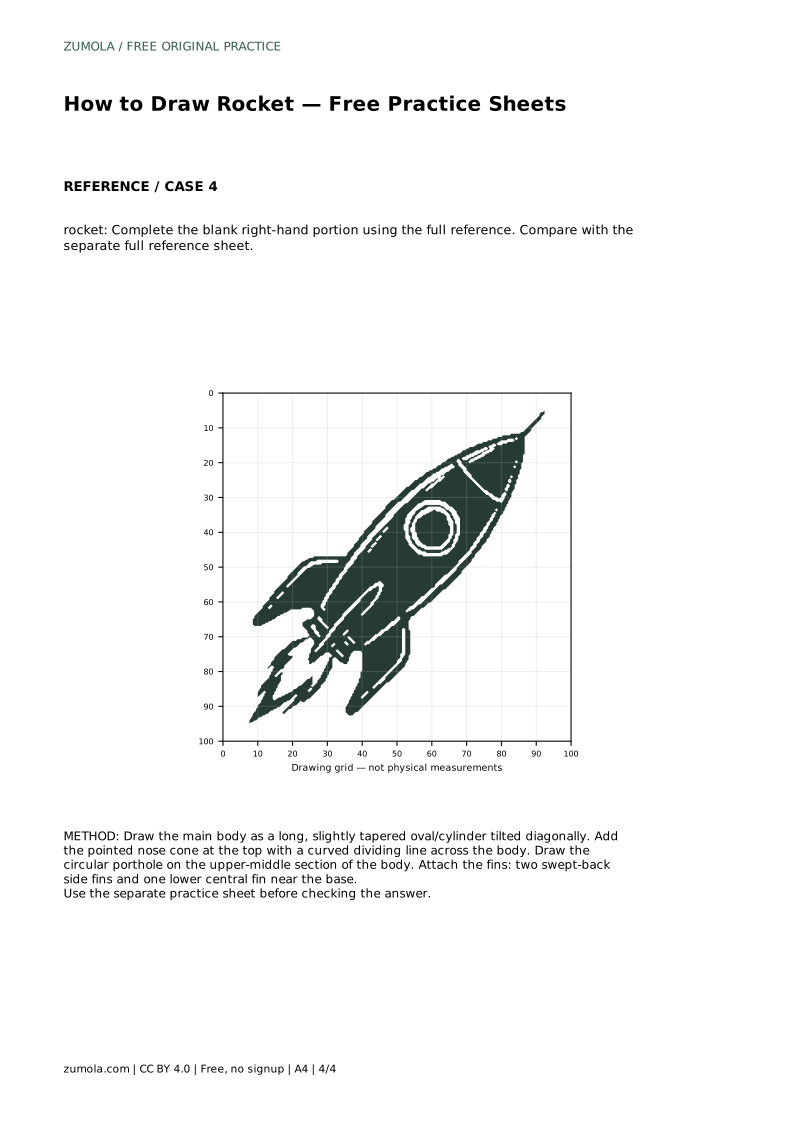
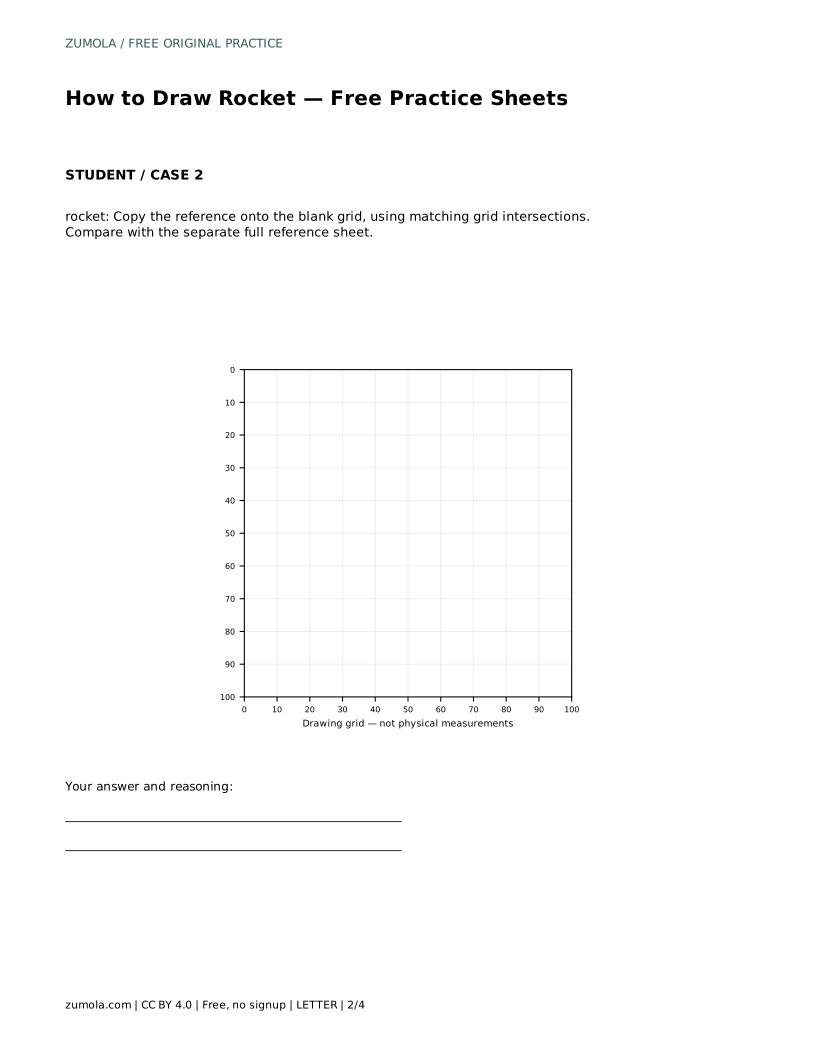
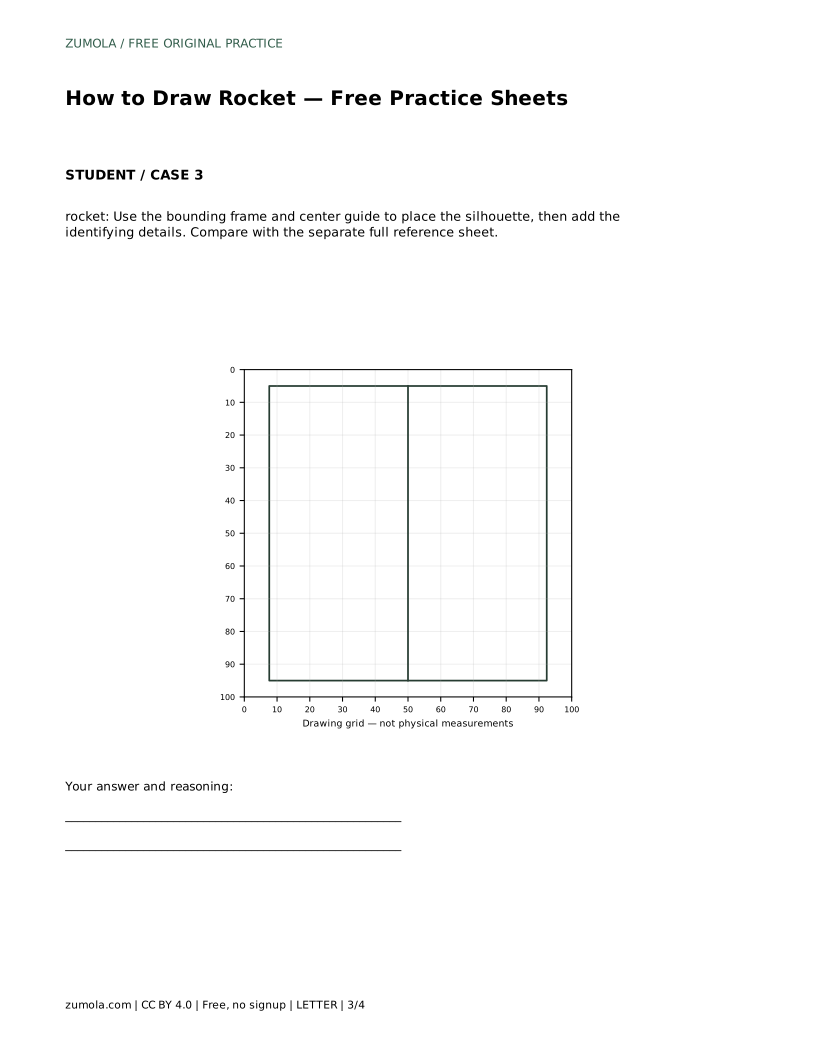
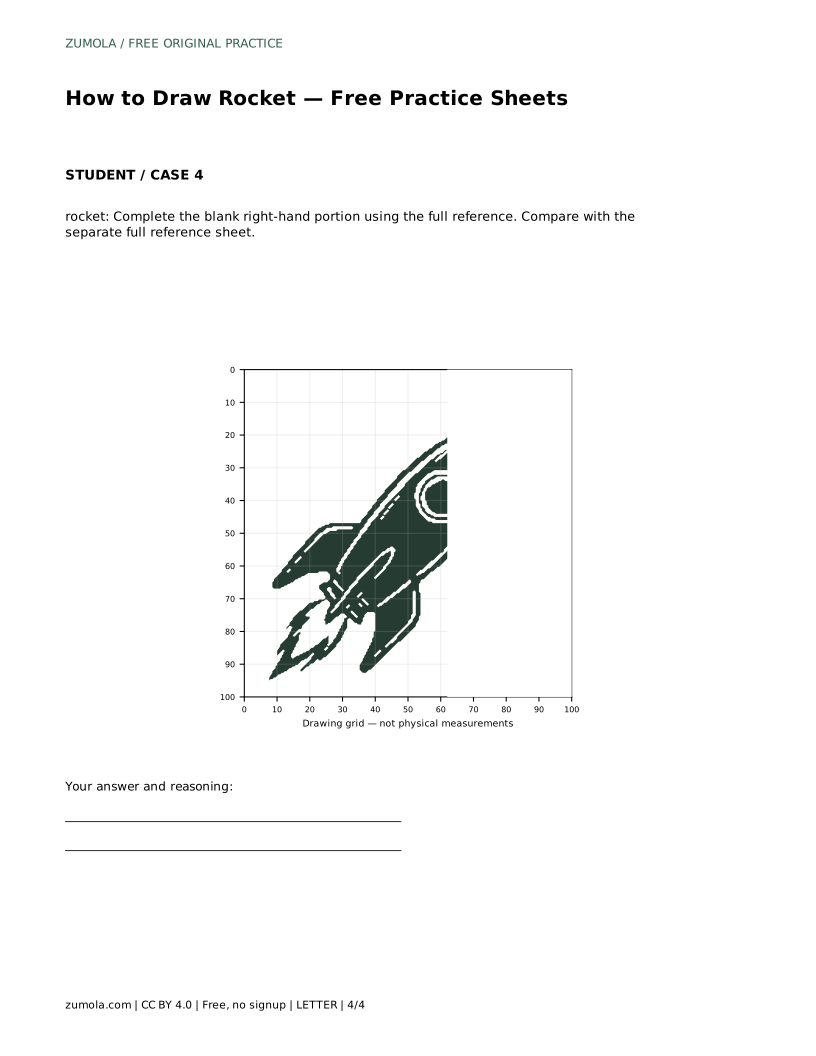
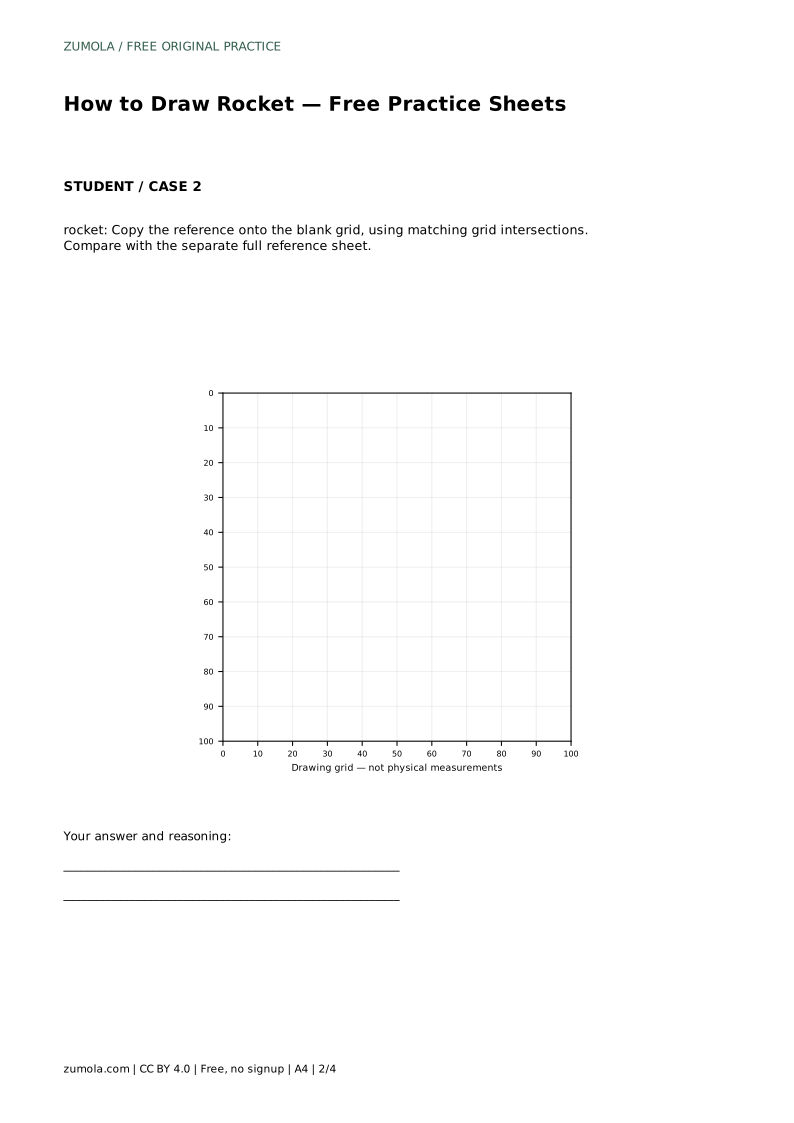
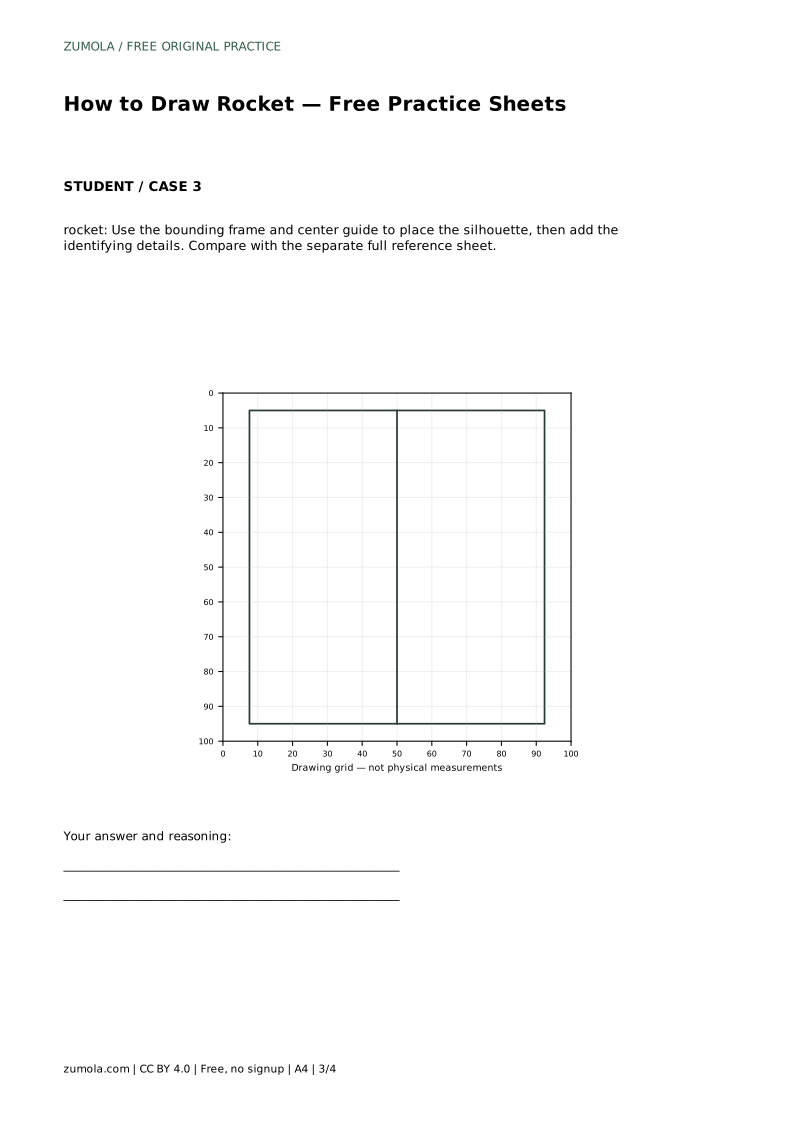
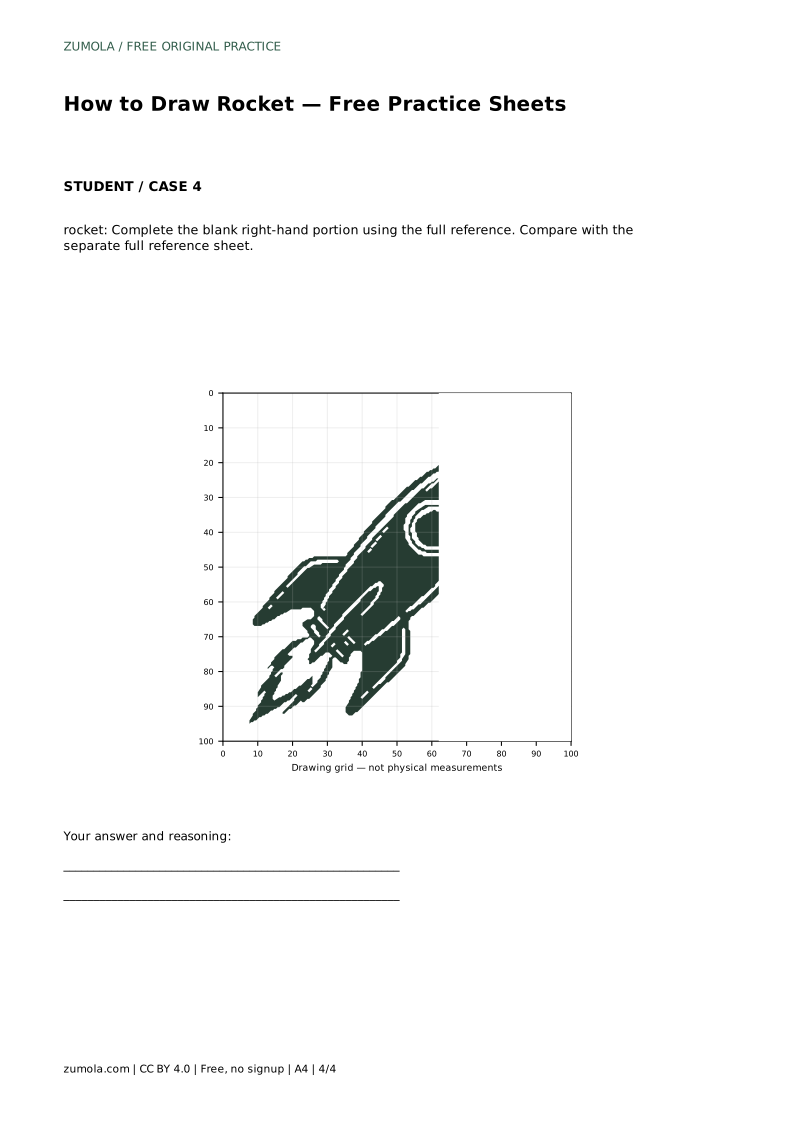
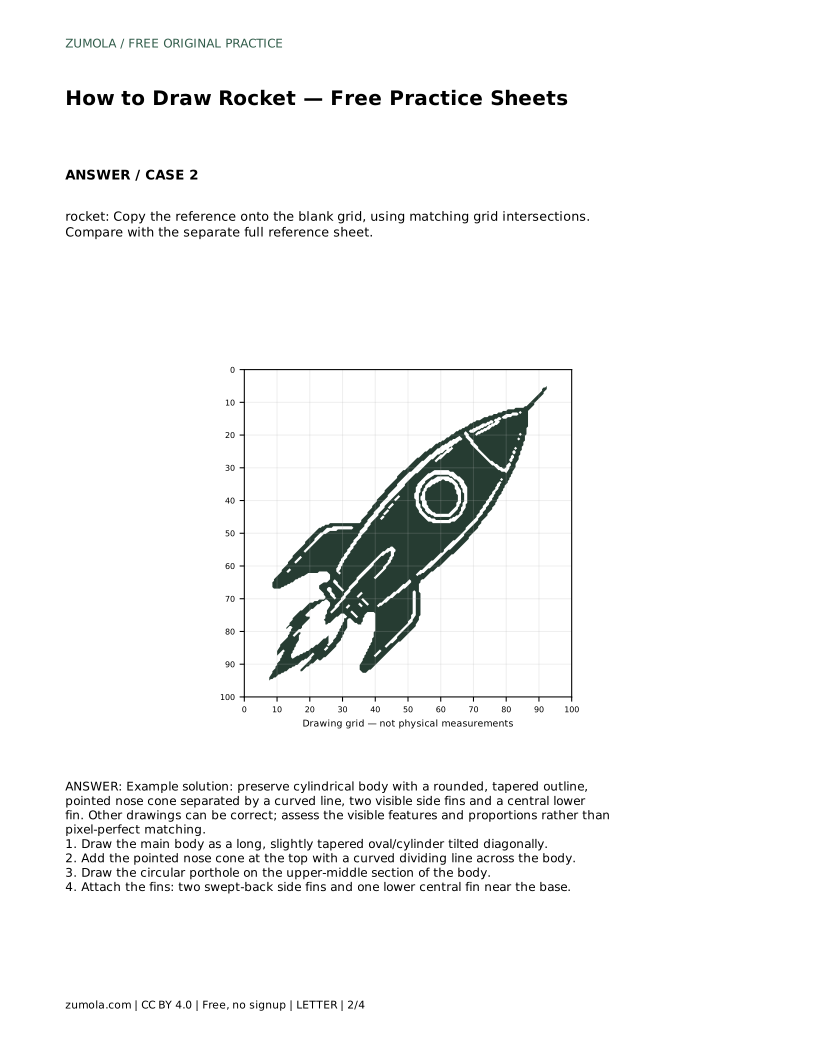
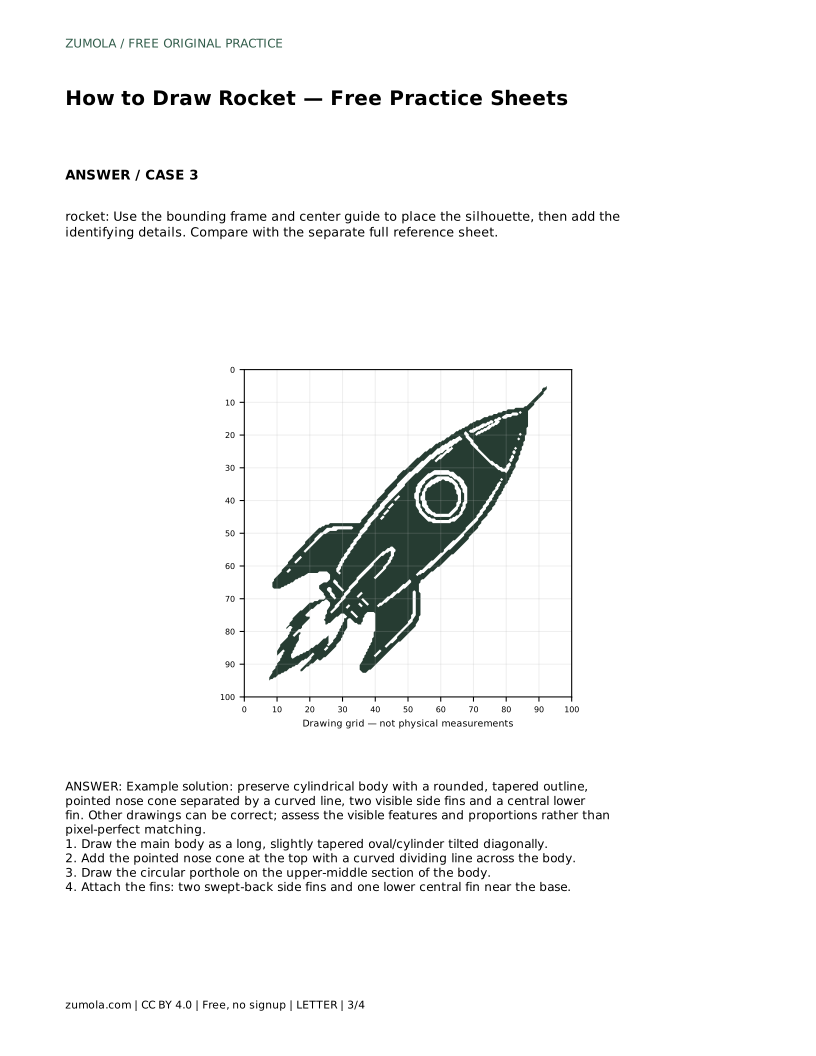
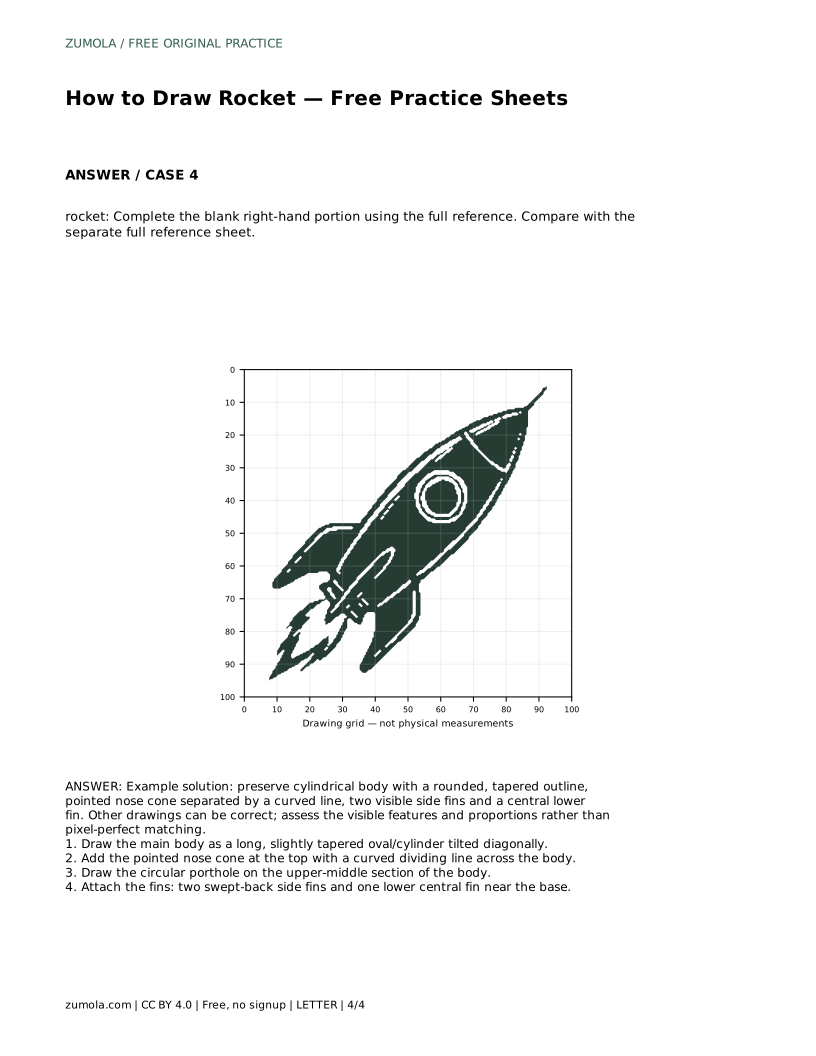
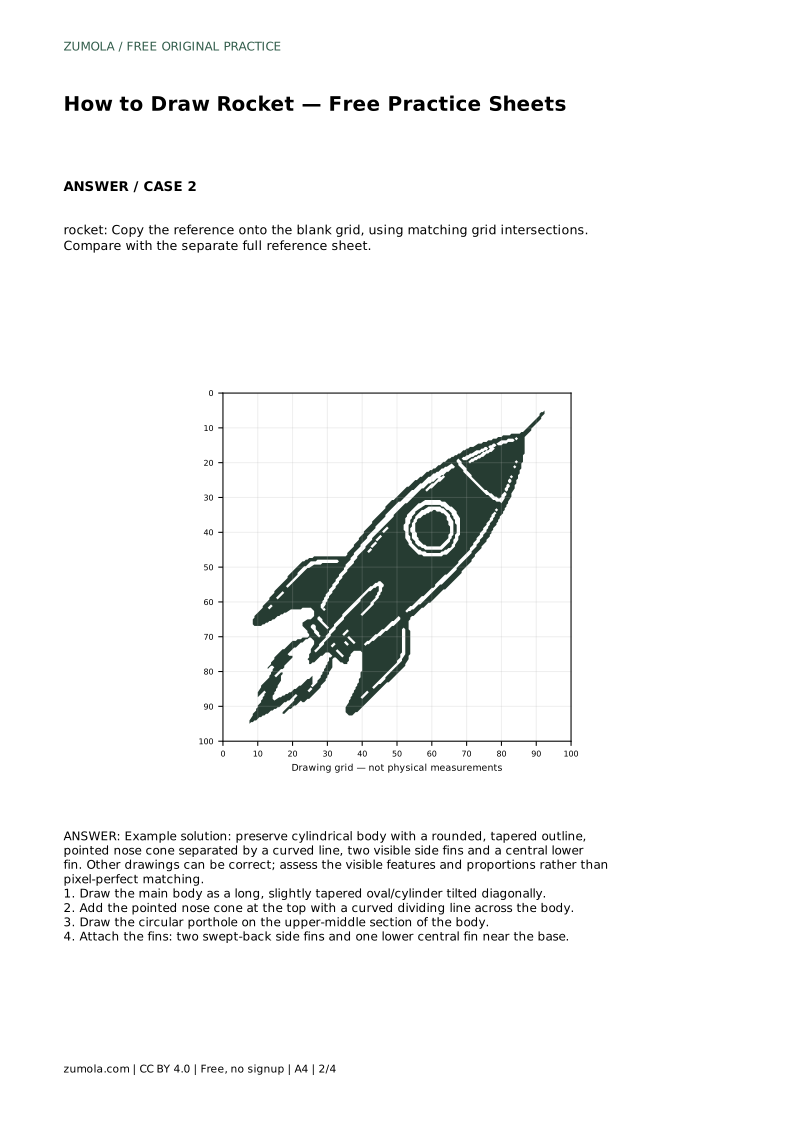
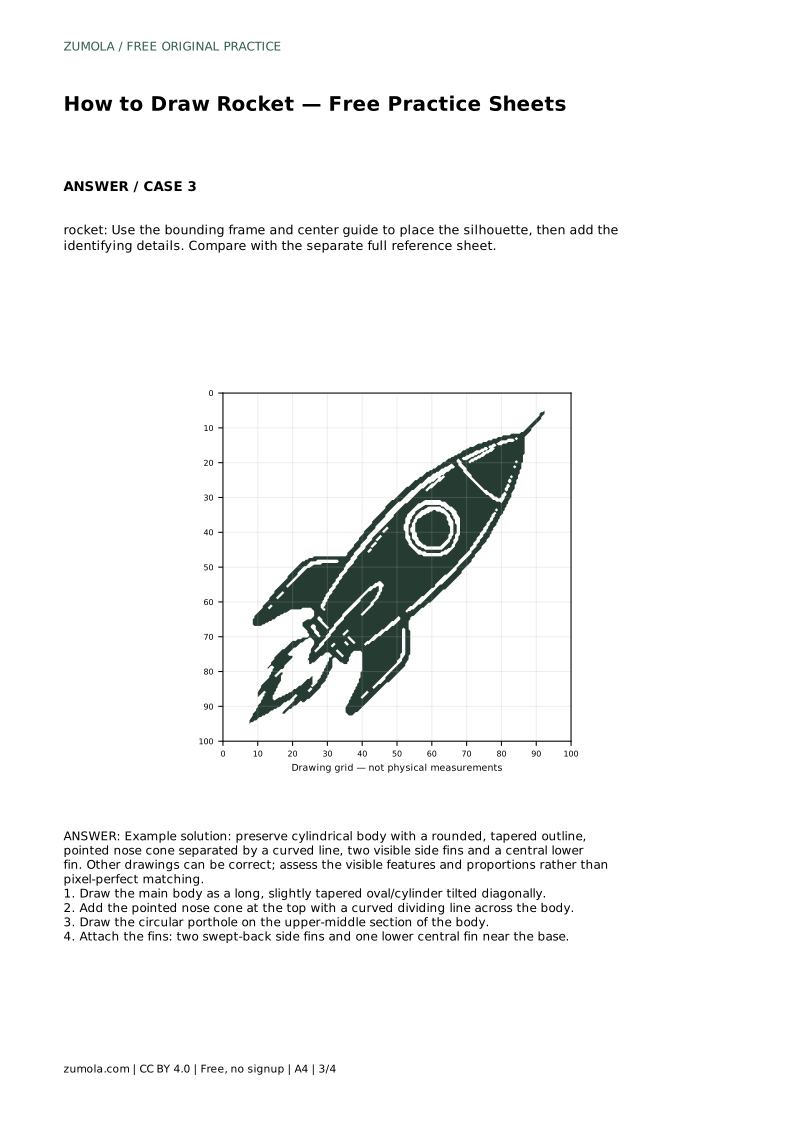
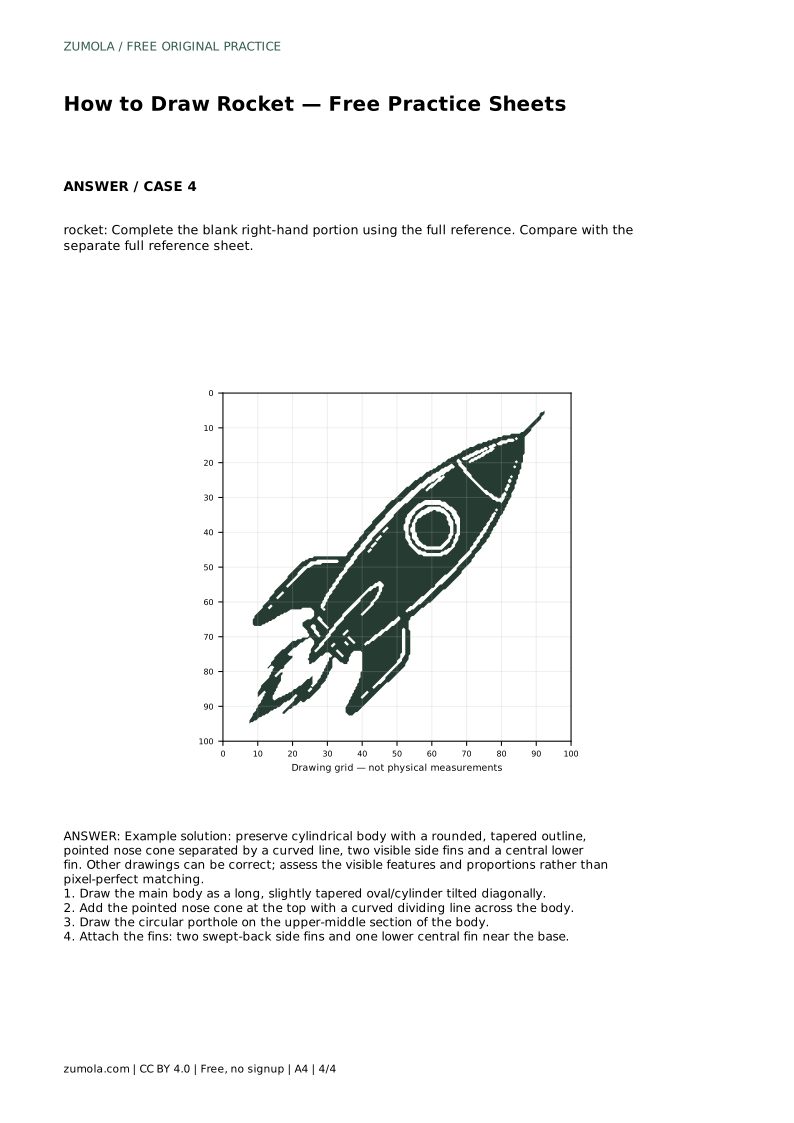
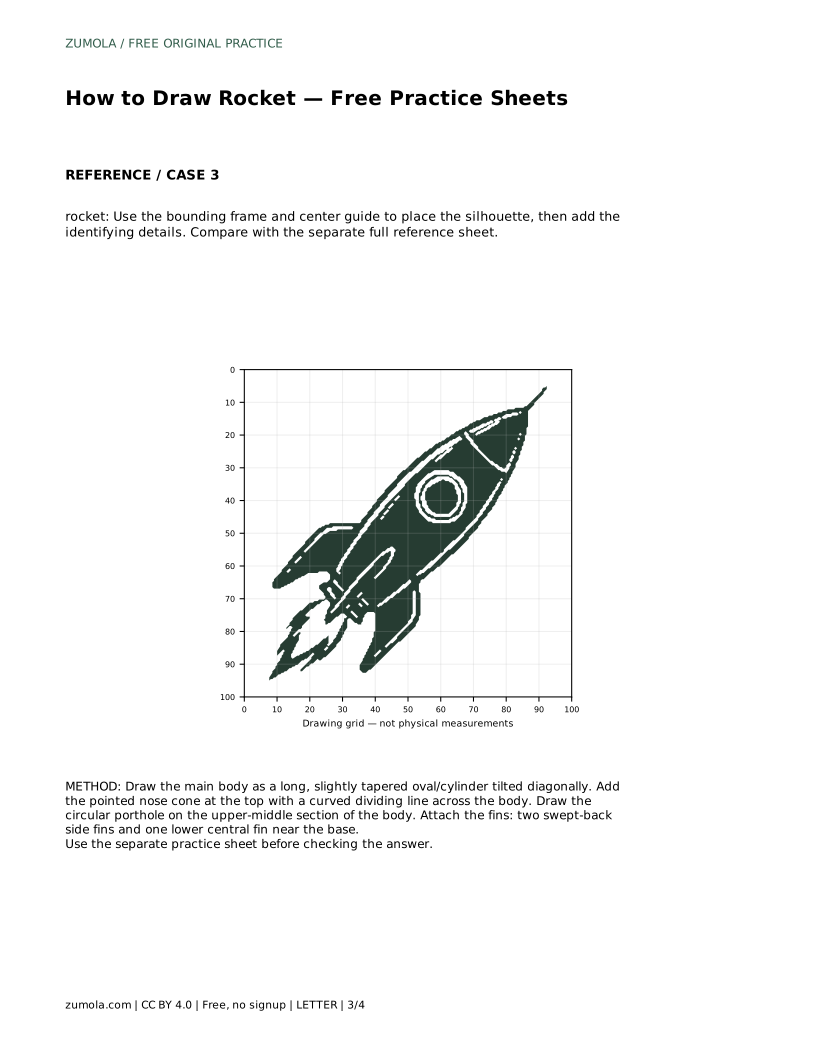
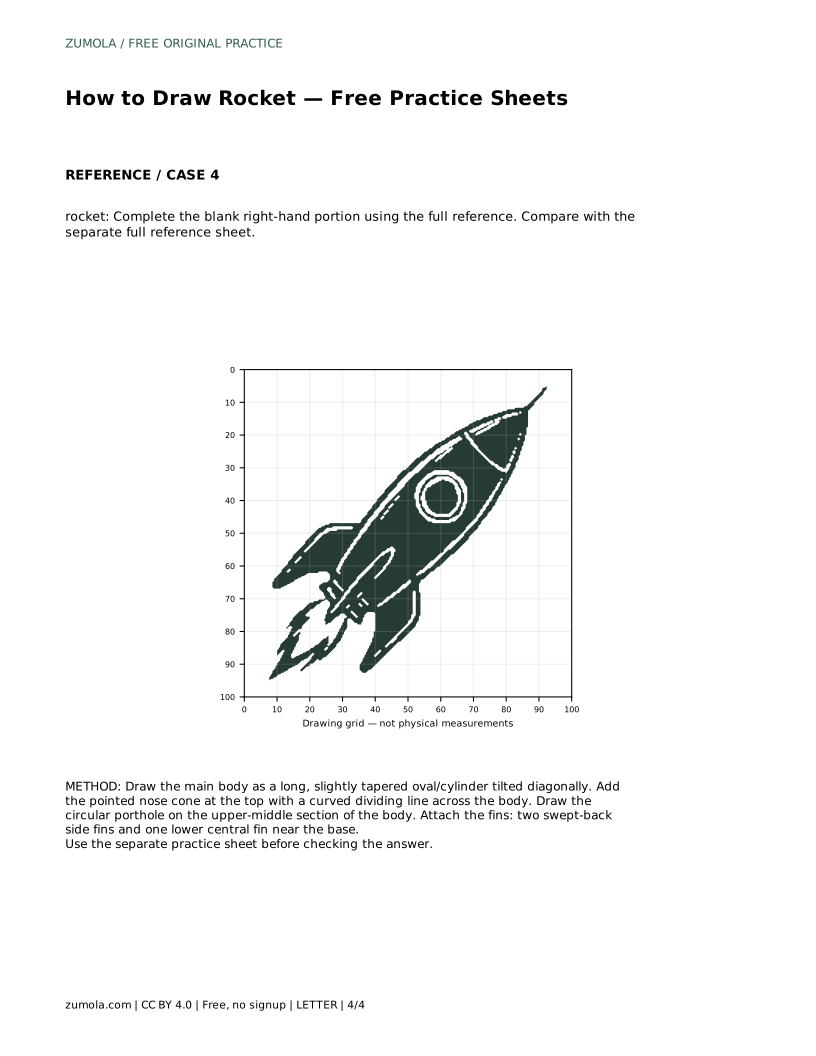
Grid sheets ask you to copy the reference onto a blank grid using matching intersections. Work square by square for the outline, then check the whole silhouette before adding details. Frame-and-centre-guide sheets help you place the overall silhouette inside a boundary before committing to details, which is useful when your rocket keeps drifting off-centre. Partial-reference sheets give you the full reference beside a blank right-hand portion; complete the missing side by matching the visible landmarks, such as where the nose cone meets the body and where each fin begins.
Rocket drawings have many valid outcomes. A steeper tilt, a wider body, or rounder fins can all be correct. Judge the visible features and proportions instead of pixel-perfect matching. Ask whether the body is cylindrical and tapered, whether the nose cone is pointed and separated by a curved line, whether the porthole is circular and placed on the upper-middle body, and whether two side fins plus one lower central fin are present.
Proportion matters more than decoration. The nose cone should be a modest portion of the total height, not half the rocket. Fins should look attached and swept back, not stuck on at random angles. If one side fin is much larger than the other, redraw both from the same starting point on the body.
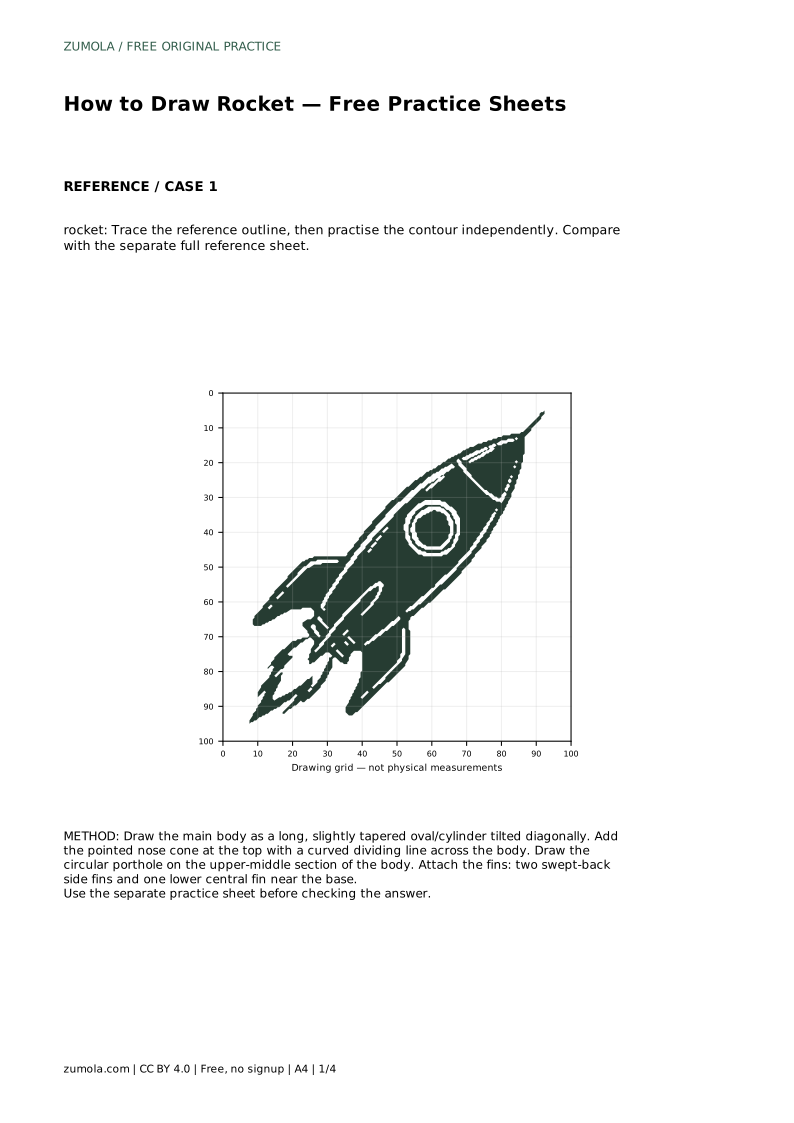
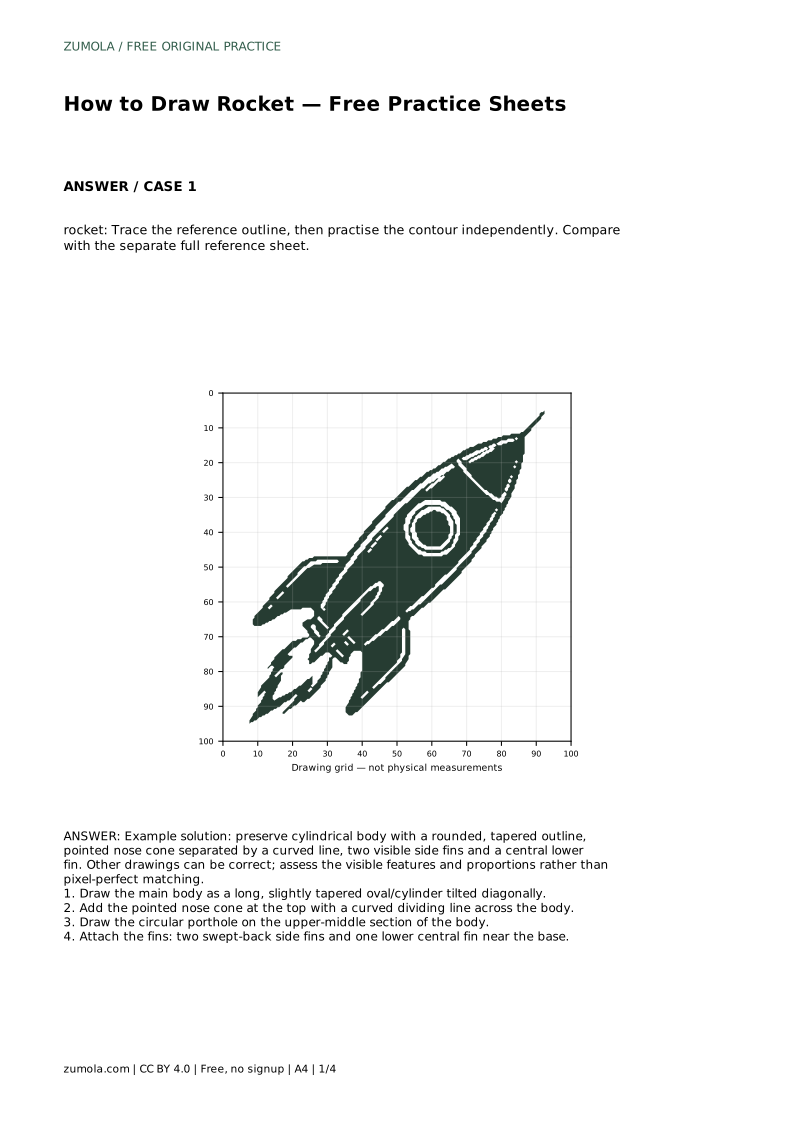
Prompt: Trace the reference outline, then practise the contour independently. Compare with the separate full reference sheet. A sensible result keeps the main features in proportion: a long tapered body, a pointed nose cone with a curved dividing line, a circular porthole on the upper-middle section, two swept-back side fins, and one lower central fin. If your independent drawing has a shorter body or a porthole placed too low, adjust those landmarks first; small surface details can wait.
rocket: Trace the reference outline, then practise the contour independently. Compare with the separate full reference sheet.
Example solution: preserve cylindrical body with a rounded, tapered outline, pointed nose cone separated by a curved line, two visible side fins and a central lower fin. Other drawings can be correct; assess the visible features and proportions rather than pixel-perfect matching. Draw the main body as a long, slightly tapered oval/cylinder tilted diagonally. Add the pointed nose cone at the top with a curved dividing line across the body. Draw the circular porthole on the upper-middle section of the body. Attach the fins: two swept-back side fins and one lower central fin near the base.
No. A diagonal tilt is one clear way to show the body and fins, but an upright rocket can also be correct if the body, nose cone, porthole, and three fins are present and proportionate.
For this practice task, show two visible side fins and one lower central fin. That arrangement makes the base read clearly without hiding fins behind the body.
Check the body outline and overall height first, then the nose-cone dividing line, then the porthole position, and finally the fin angles. Correcting large shapes before small details saves redrawing.
All drawing practice · Free coordinate paper
Original resources · CC BY 4.0 · Free for personal and classroom use with attribution.